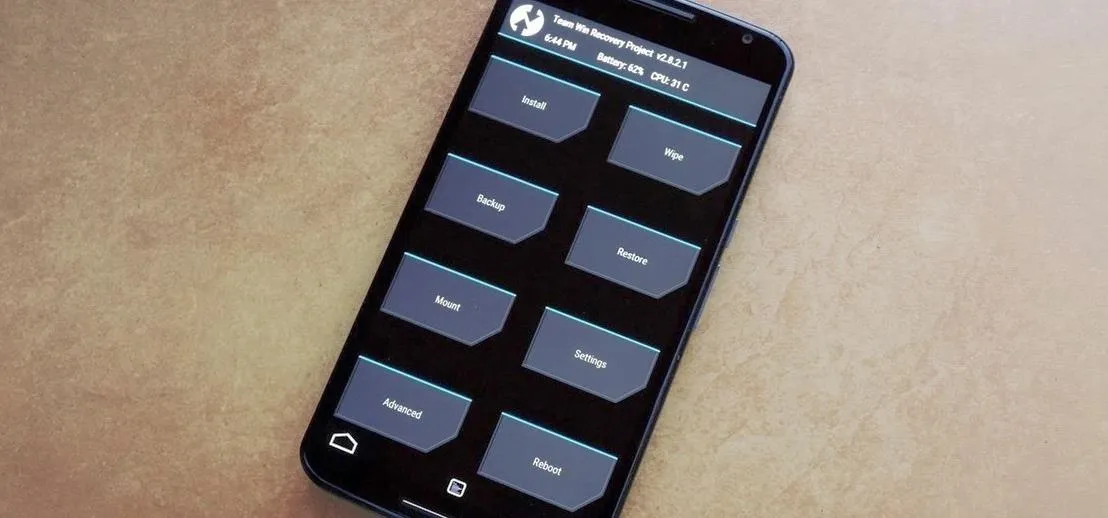
With Android devices, there are two main ways to modify the actual operating system on a deep level—root and custom recovery. Some users may prefer the ease of use that root brings, since it operates while Android is running and can utilize apps to make any modifications. Others, however, may prefer to remain unrooted and simply use custom recovery to make modifications, since it's generally the more secure route and comes with the added bonus of being able to create full system backups.
Most custom recovery installation methods require that your device is already rooted, but a built-in Android feature called Fastboot will actually allow you to install a custom recovery even if you're not rooted. You'll need a computer to use this method, and you'll have to unlock your device's bootloader, which in turn will wipe all of your data. Beyond that, though, the process is relatively simple, and I'll cover it all in detail below.
Back Up Your Data
Before you begin, be sure to back up any data that you'd like to keep, since part of this process involves unlocking your bootloader, which in turn will completely wipe your device. Apps, contacts, and other similar information will be restored when you log back into your Google account, but anything that isn't backed up to the cloud should be transferred to a separate storage device for safekeeping.
Step 1: Install ADB & Fastboot on Your Computer
First things first, you'll need to install Android Debug Bridge (ADB) and Fastboot on your computer to send a few commands over to your Nexus device. This process can vary greatly depending on your computer's operating system, so we've covered all of the methods with a separate tutorial here. Once you've installed the software, go ahead and connect your Nexus to your computer with a USB data cable.
Step 2: Download TWRP Recovery
Next up, using your computer, click one of the links below to download TWRP recovery for your Nexus device:
- TWRP for Nexus 5
- TWRP for 2013 Nexus 7 (Wi-Fi)
- TWRP for 2013 Nexus 7 (3G)
- TWRP for Nexus 6
- TWRP for Nexus 9
From here, rename the TWRP file you just downloaded to "recovery.img" in order to simplify things. If there is no file extension listed (.img), simply rename the file to "recovery" and move on.
After that, copy the file and paste it into the "platform-tools" folder inside of your ADB and Fastboot installation directory. Windows users that followed the guide in Step 1 can skip this step and simply leave the recovery.img file in their download folder instead.
Step 3: Put Your Nexus into Bootloader Mode
To make things easier, manually boot your Nexus into bootloader mode at this time. To do that, start by powering the device completely off. When the screen goes black, press and hold the volume down and power keys simultaneously. This will put your Nexus into bootloader mode, which is a black screen with green and white text. From here, just set your device aside and make sure it's still connected to your computer.


Step 4: Unlock Your Bootloader
Warning: Unlocking the bootloader will reset your device to its factory condition. It is advised to back up all of your important data before proceeding. If your bootloader is already unlocked, you can skip this step.
On your computer, open a command prompt window and change directories to the "platform-tools" folder inside of your ADB and Fastboot installation directory. If you used the Windows ADB installation method linked in Step 1, simply navigate to the folder with the recovery.img file, then hold down the shift button on your keyboard, right-click any empty space in the folder, and choose "Open Command Window Here."
Next up, enter the following command to unlock your device's bootloader:
- fastboot oem unlock
At this point, you'll see a menu on your device asking if you'd like to unlock the bootloader. Press the volume up button once to highlight "Yes," then press the power button to confirm your choice. The process will take up to a few minutes, so wait until it's finished before proceeding to the next step.

Step 5: Flash TWRP Recovery
Now you're ready to install a custom recovery on your device. To make sure everything is still connected properly, enter the following command into the same terminal window:
- fastboot devices
If this returns a series of letters and numbers, that means your device is still connected via fastboot, so you're good to go. From here, enter the following command to install TWRP recovery on your device:
- fastboot flash recovery recovery.img
At this point, your computer will send the TWRP recovery image over to your phone, which in turn will install the custom recovery. When the command prompt window says "finished," disconnect the USB cable from your phone, but don't touch anything else.
Step 6: Make TWRP Your Permanent Recovery
Back over on your phone, don't boot into Android quite yet. Instead, press the volume down button twice to highlight the "Recovery Mode" option in the bootloader menu, then press the power button to select it. When TWRP starts up for the first time, you'll see a menu saying "Swipe to allow modifications or keep read only." Make sure to swipe the slider at the bottom of the screen here to make TWRP your permanent recovery.


Once you've taken care of that, you'll have TWRP recovery installed on your Nexus. Now that you're all set up, be sure to check out this guide on using TWRP recovery to create backups and flash ZIPs.


Comments
No Comments Exist
Be the first, drop a comment!