We live, work, and play in drastically different environments, so it only makes sense that we'd want our Nexus 5 smartphones to automatically adapt to our needs when in certain locales at certain times.
If you're at home, you want Wi-Fi enabled so that it will connect automatically. When you're out on the town, your phone's ringtone volume needs to be all the way up so you can hear it through ambient noise. When you clock in, you might want your Bluetooth enabled so you can connect to your wireless headphones while you work.
Unfortunately, fussing with these settings from place to place can be a bit of a bother. We never remember to turn our Wi-Fi off when it's not in use to save battery, and our phones end up blaring their ringtones on Monday morning.
Enter developer Steve Spear and his automation app Fences. Based on your location, among other contexts, Fences can automatically change these settings for you—without even using root. Comparable apps like Tasker may offer similar functionality, but the interface of Fences is a lot less intimidating, and the app is available for free.
Step 1: Install Fences
Just tap this link on your Nexus 5, or just search for and install Fences from Google Play.
Step 2: Initial Setup
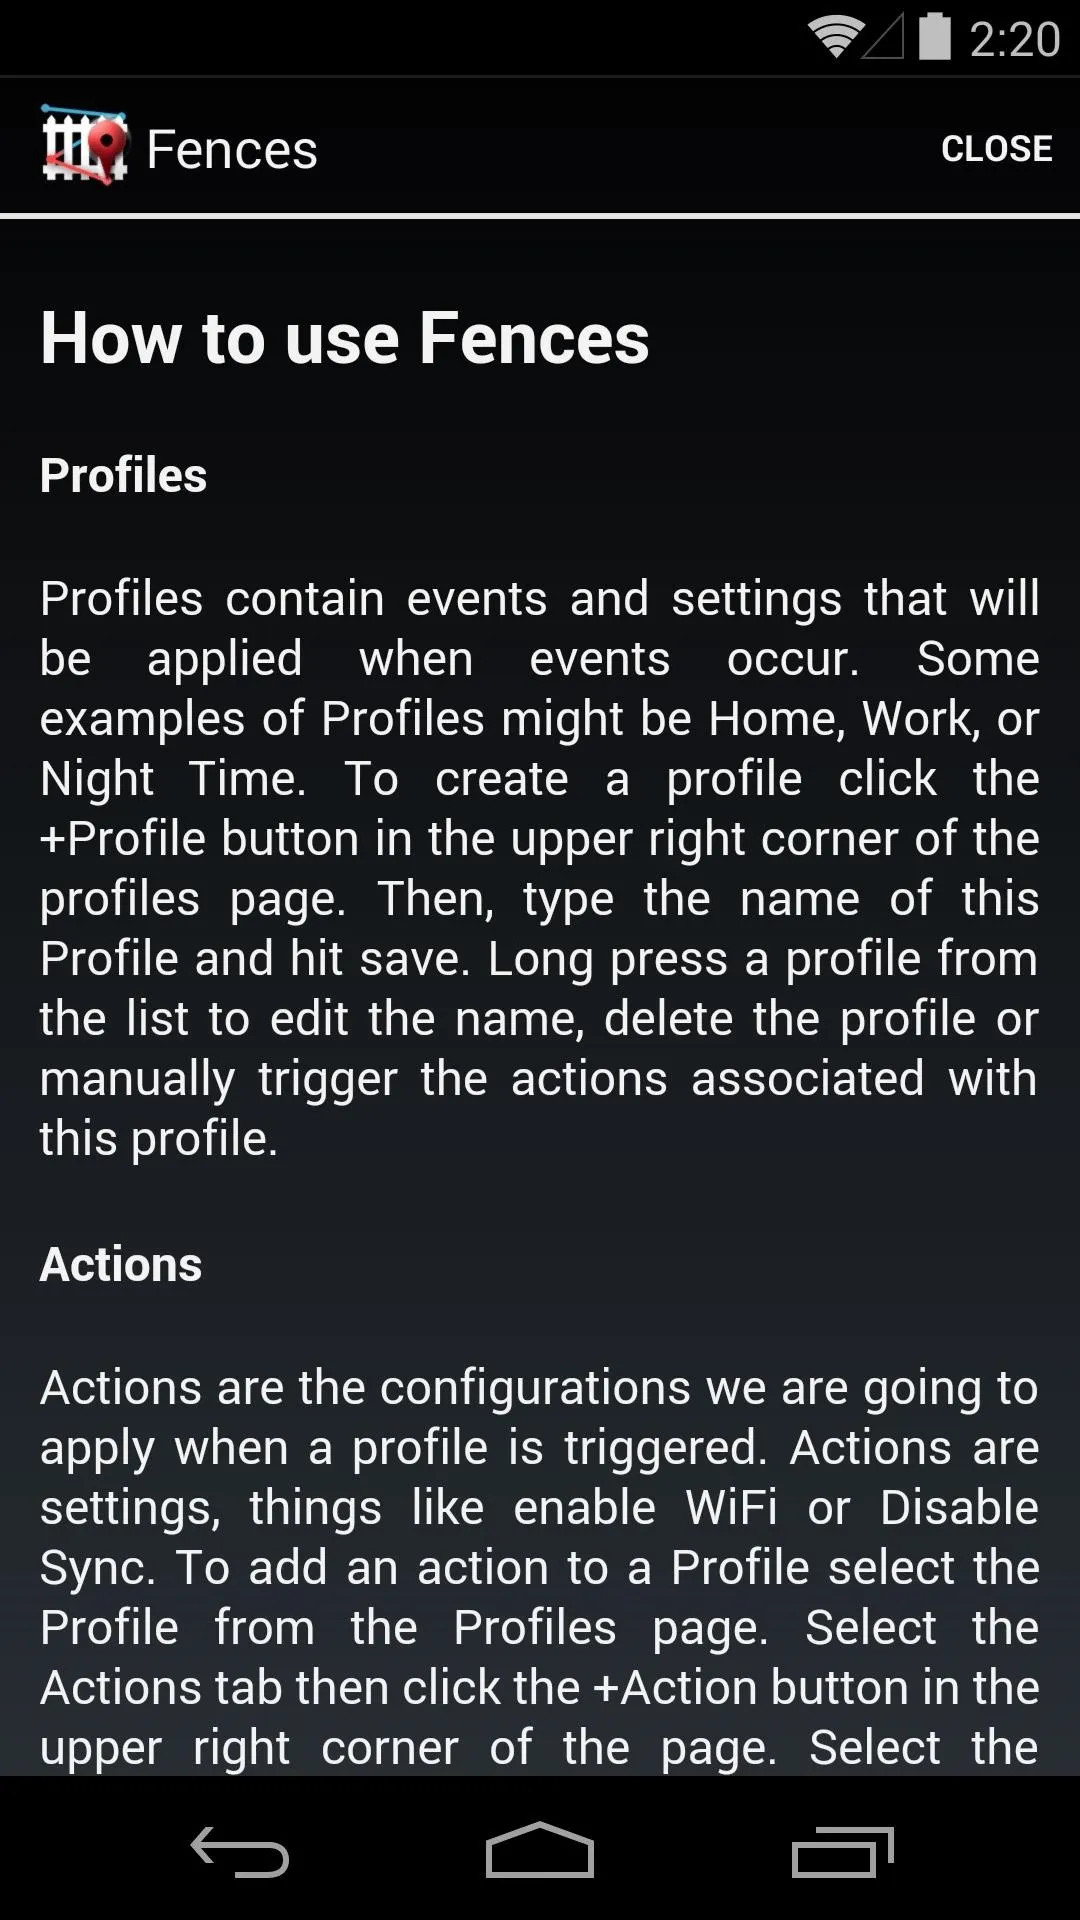
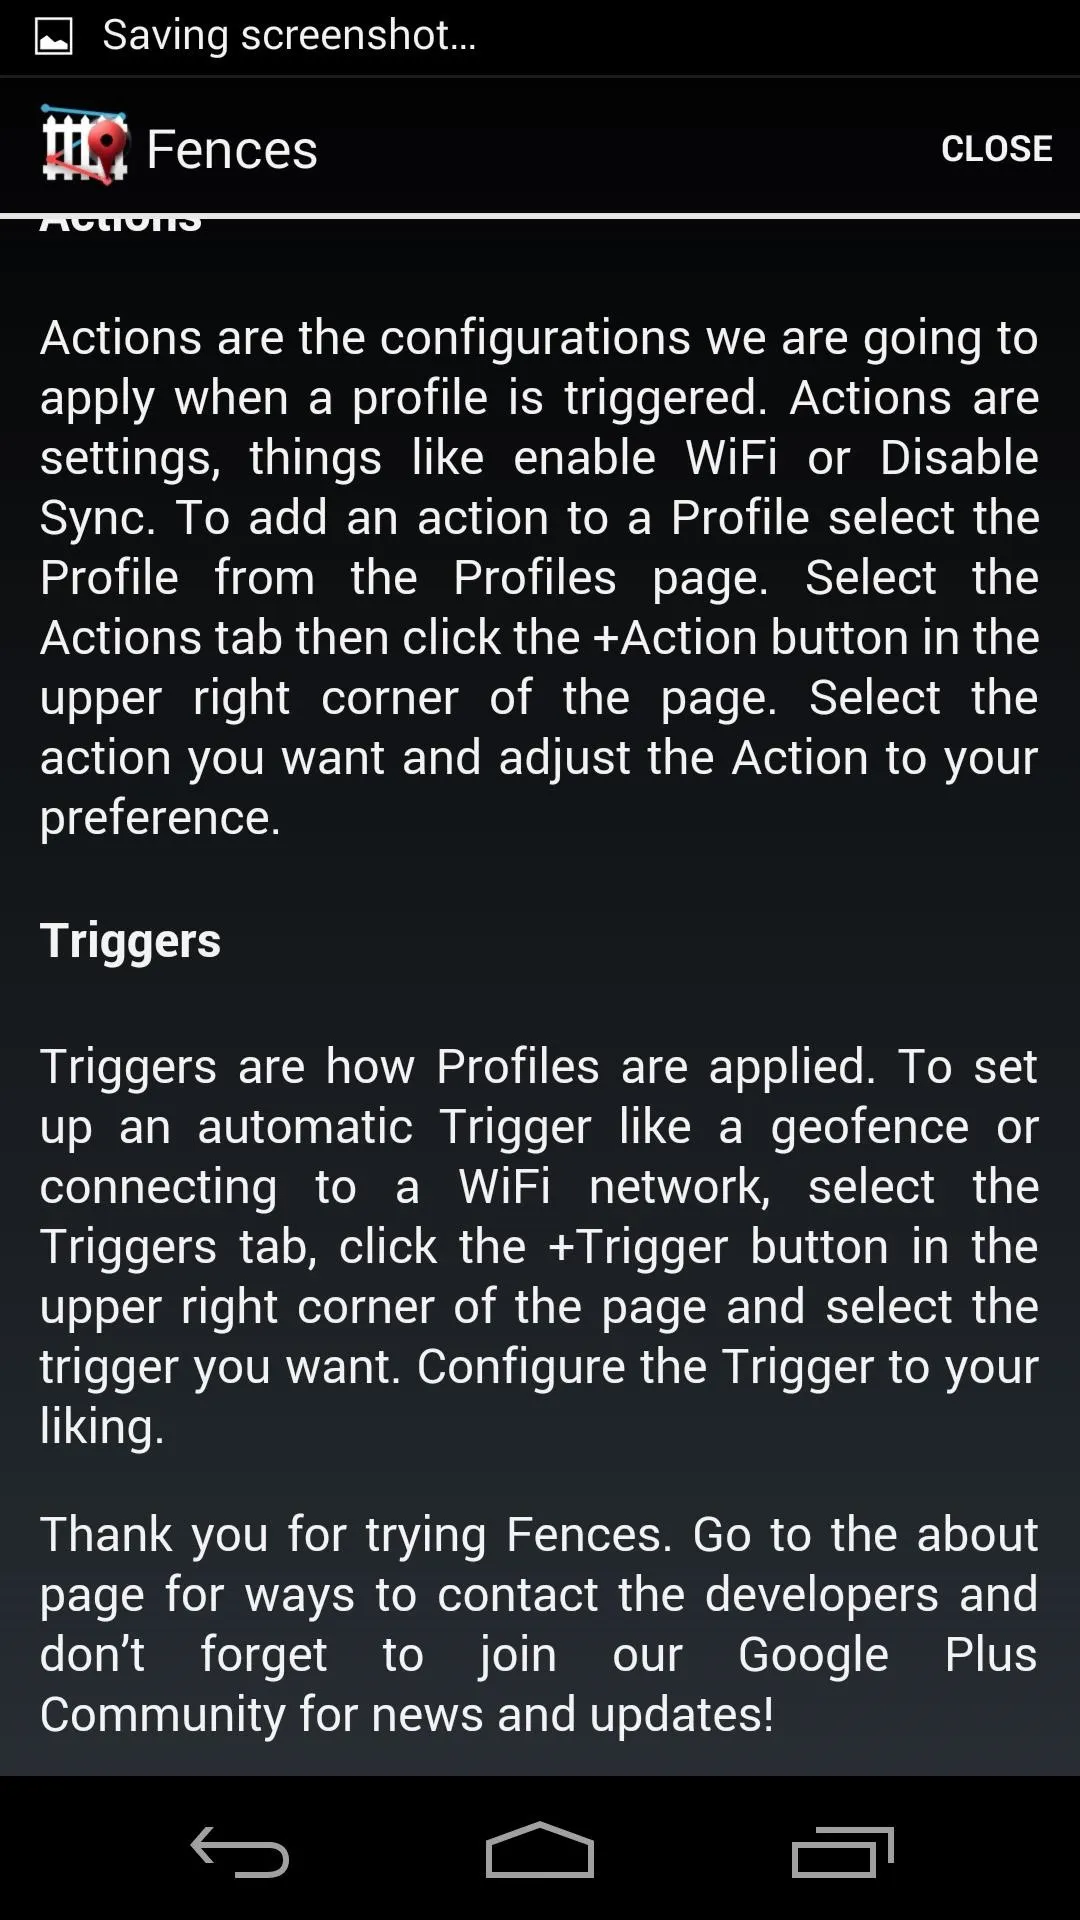
As soon as you open Fences, you are greeted with a nice overview of the app's capabilities. Read through these to get a good idea of what the app can do for you, and when you're finished, tap Close.


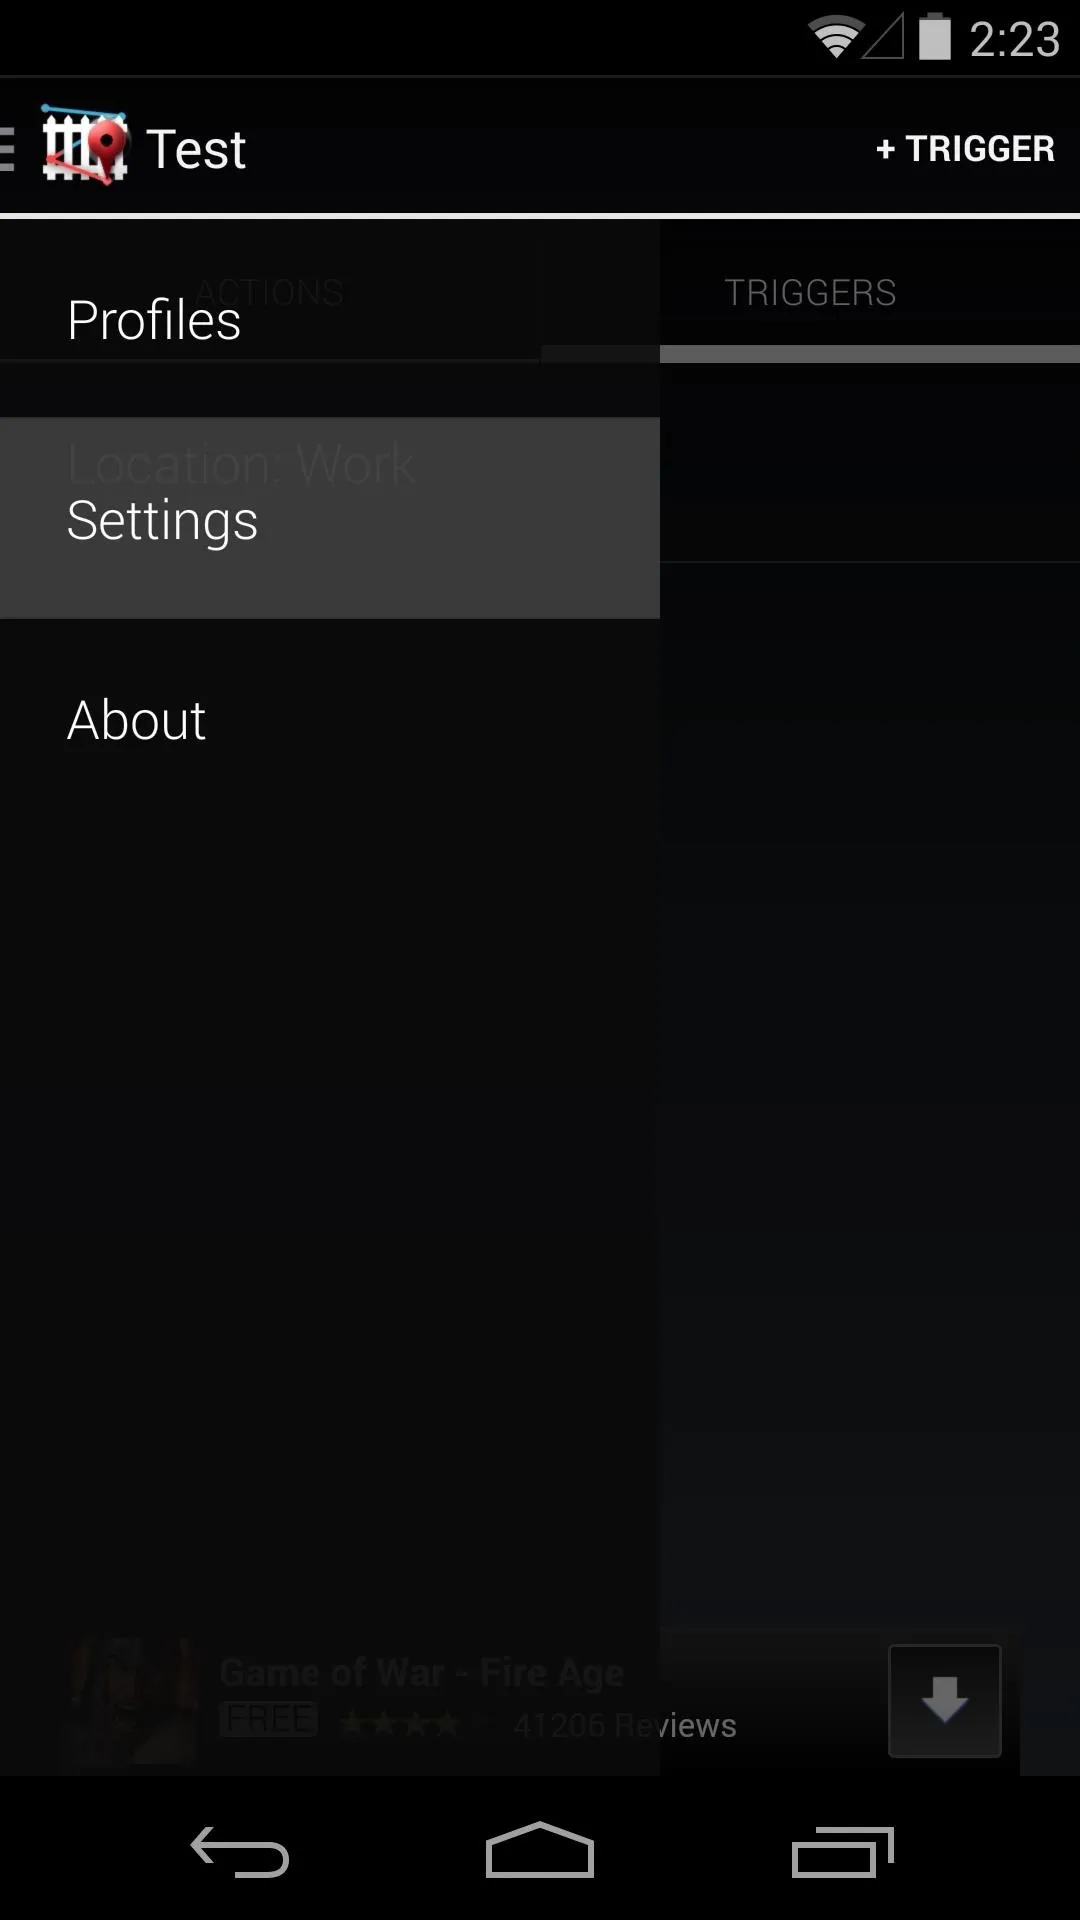
From the app's main screen, slide out the side menu on the right. From here, select Settings to configure a couple of options. Our main point of interest in here is Max Scan Interval.
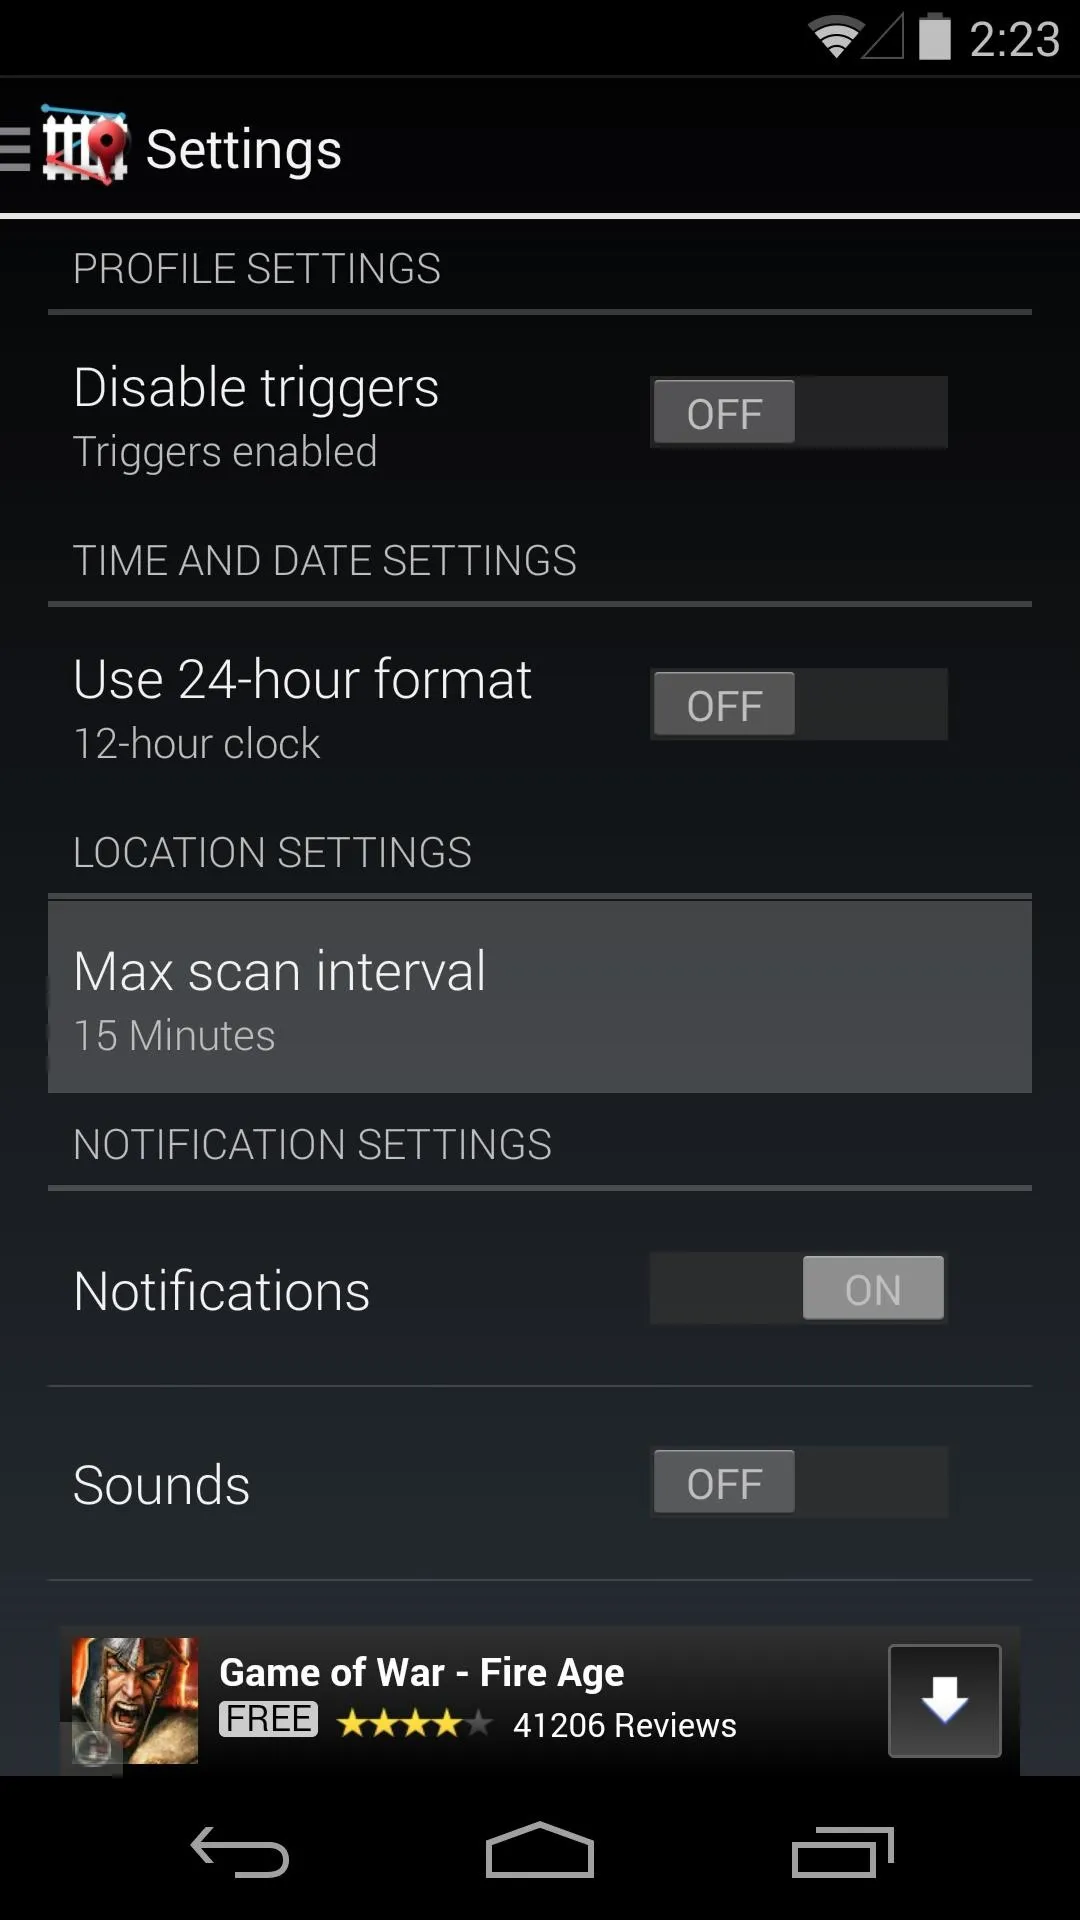


This option sets the frequency at which Fences polls your device for updated location data. The smaller the interval here, the higher the battery drain. But if you set this to a value that polls too infrequently, Fences may not learn your new location until after you've arrived.
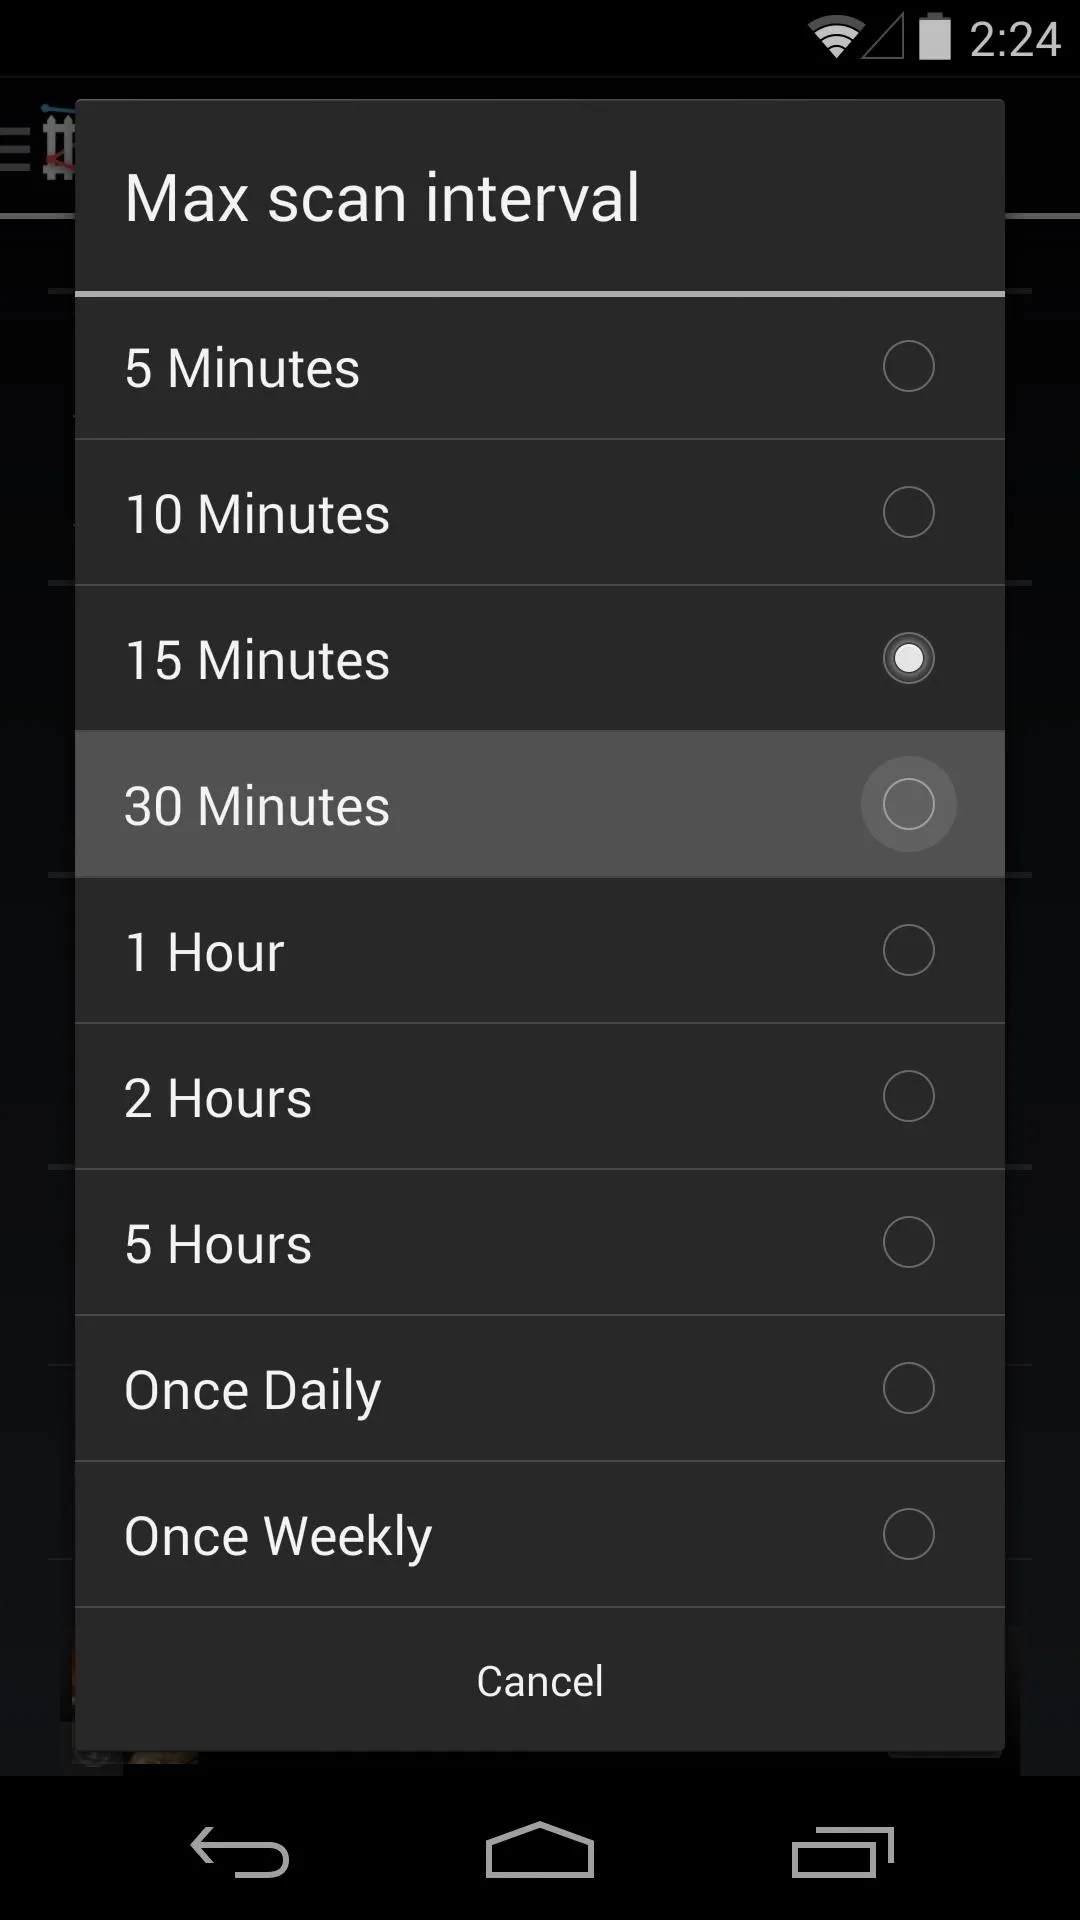
As a happy medium of sorts, I've set this value to 30 Minutes, but some experimentation may be warranted on your part.
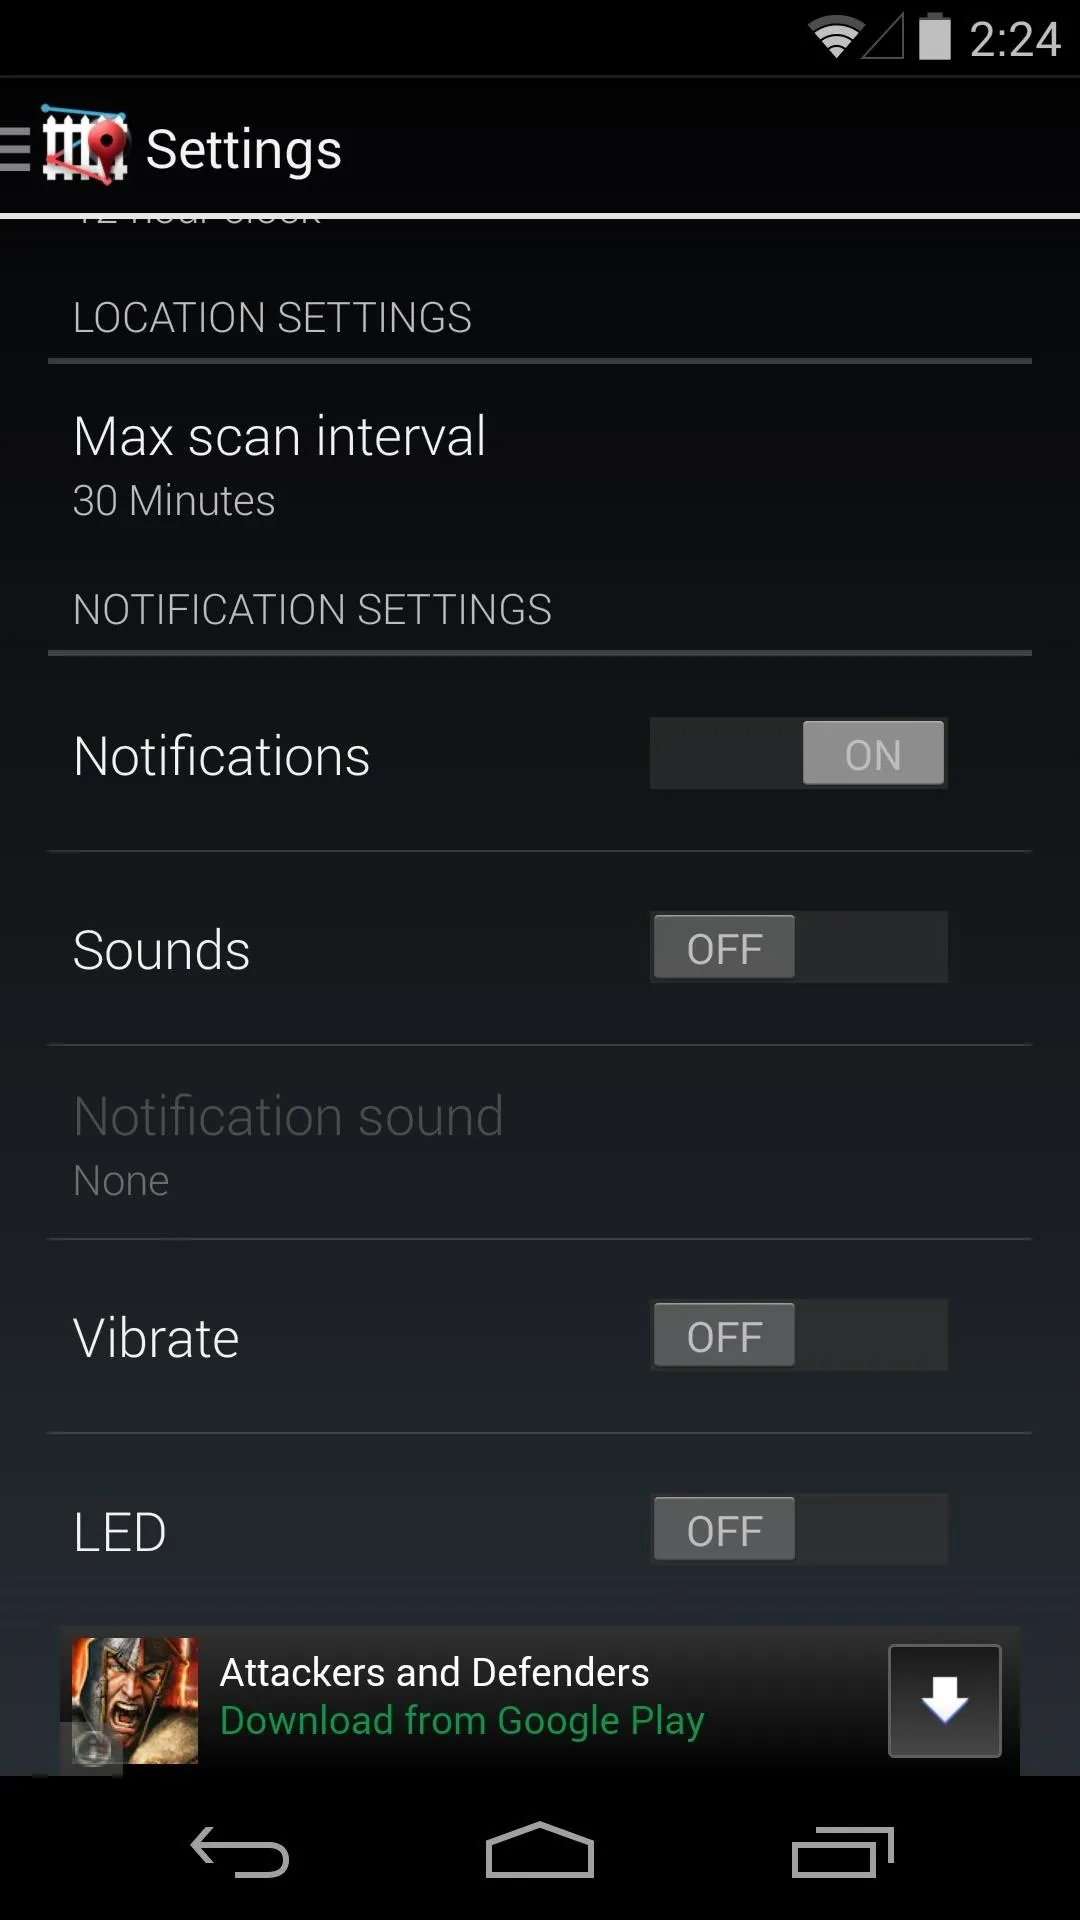


While you're in here, you can also change options for notifications from this app. If you'd like to be notified of a settings change with a sound, vibration, or blinking LED, you can enable those options here.
Step 3: Create a Profile
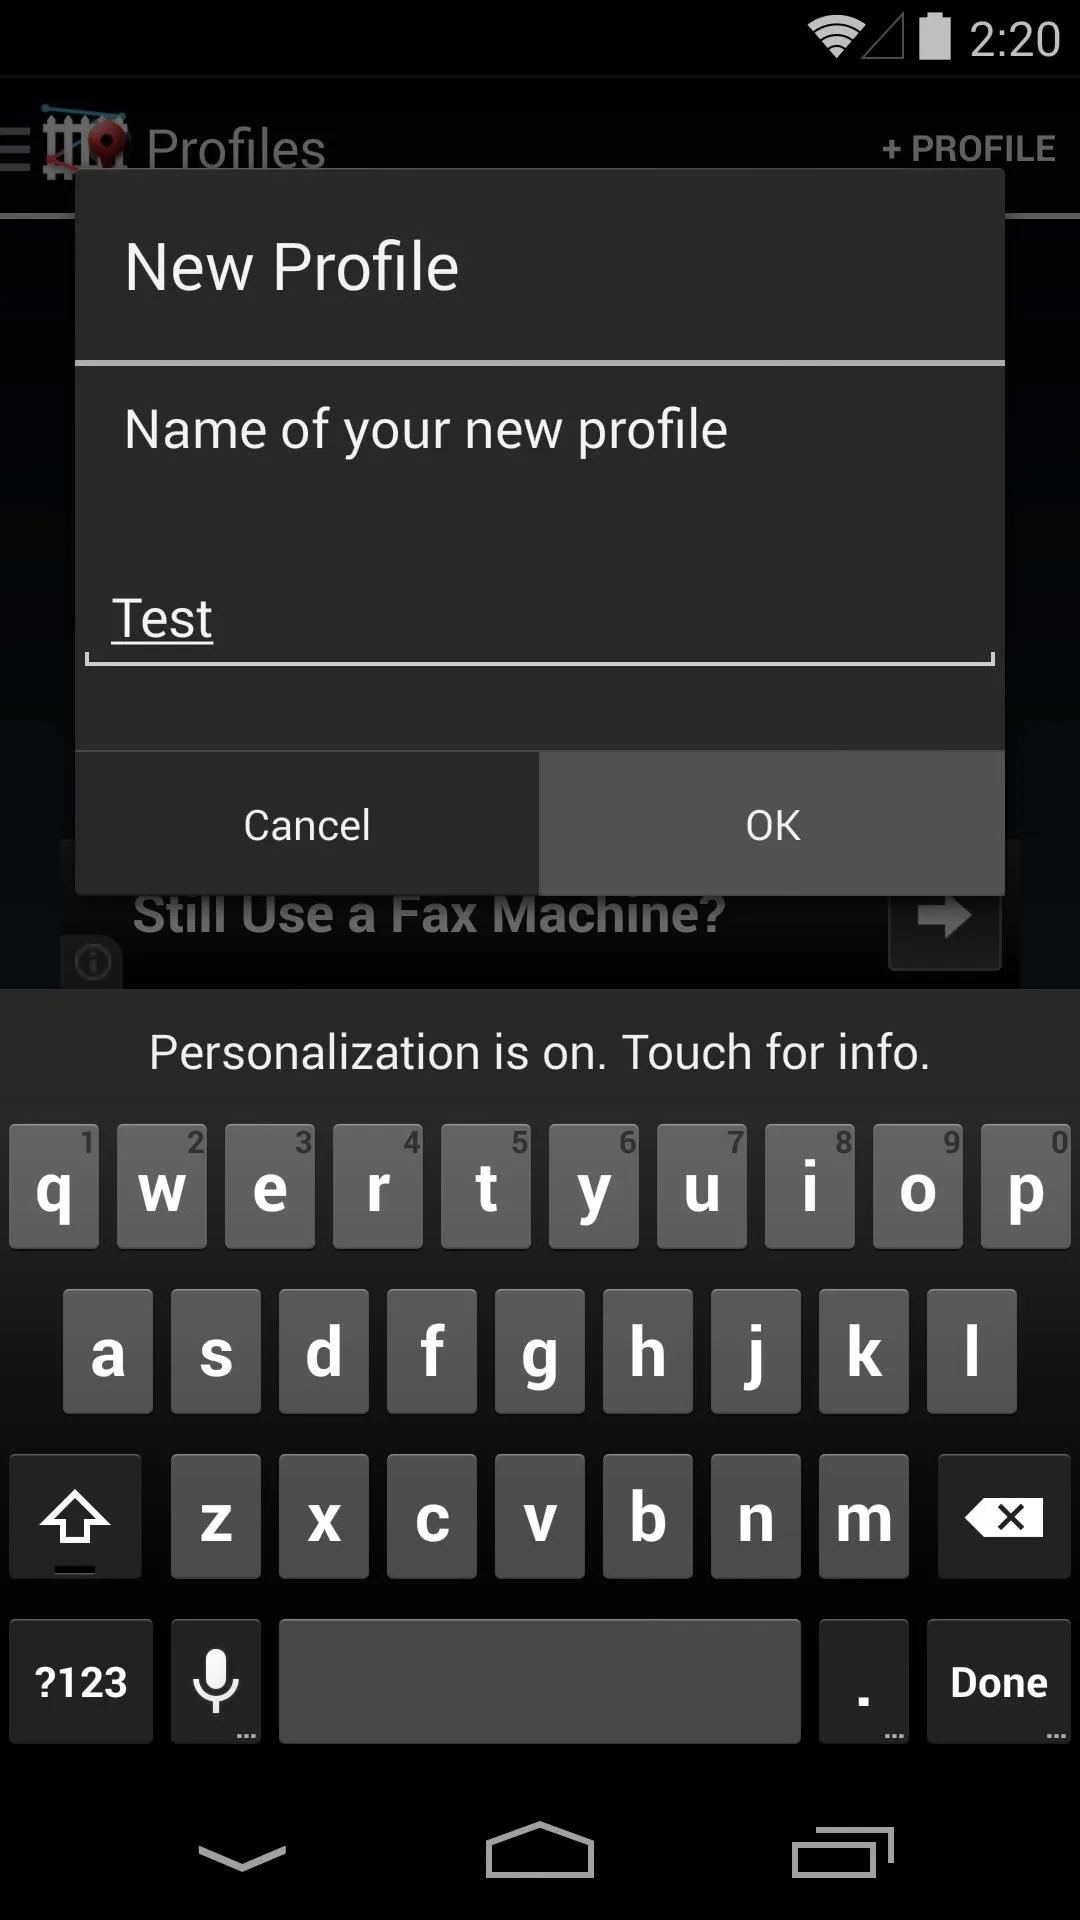
From the app's main screen, tap + Profile to begin. You will be asked to name the profile, so something simple and easy to remember will do. This name is really for your own reference, but the profile itself refers to the set of actions and triggers that you'll configure later.



Step 4: Add Actions to Your Profile
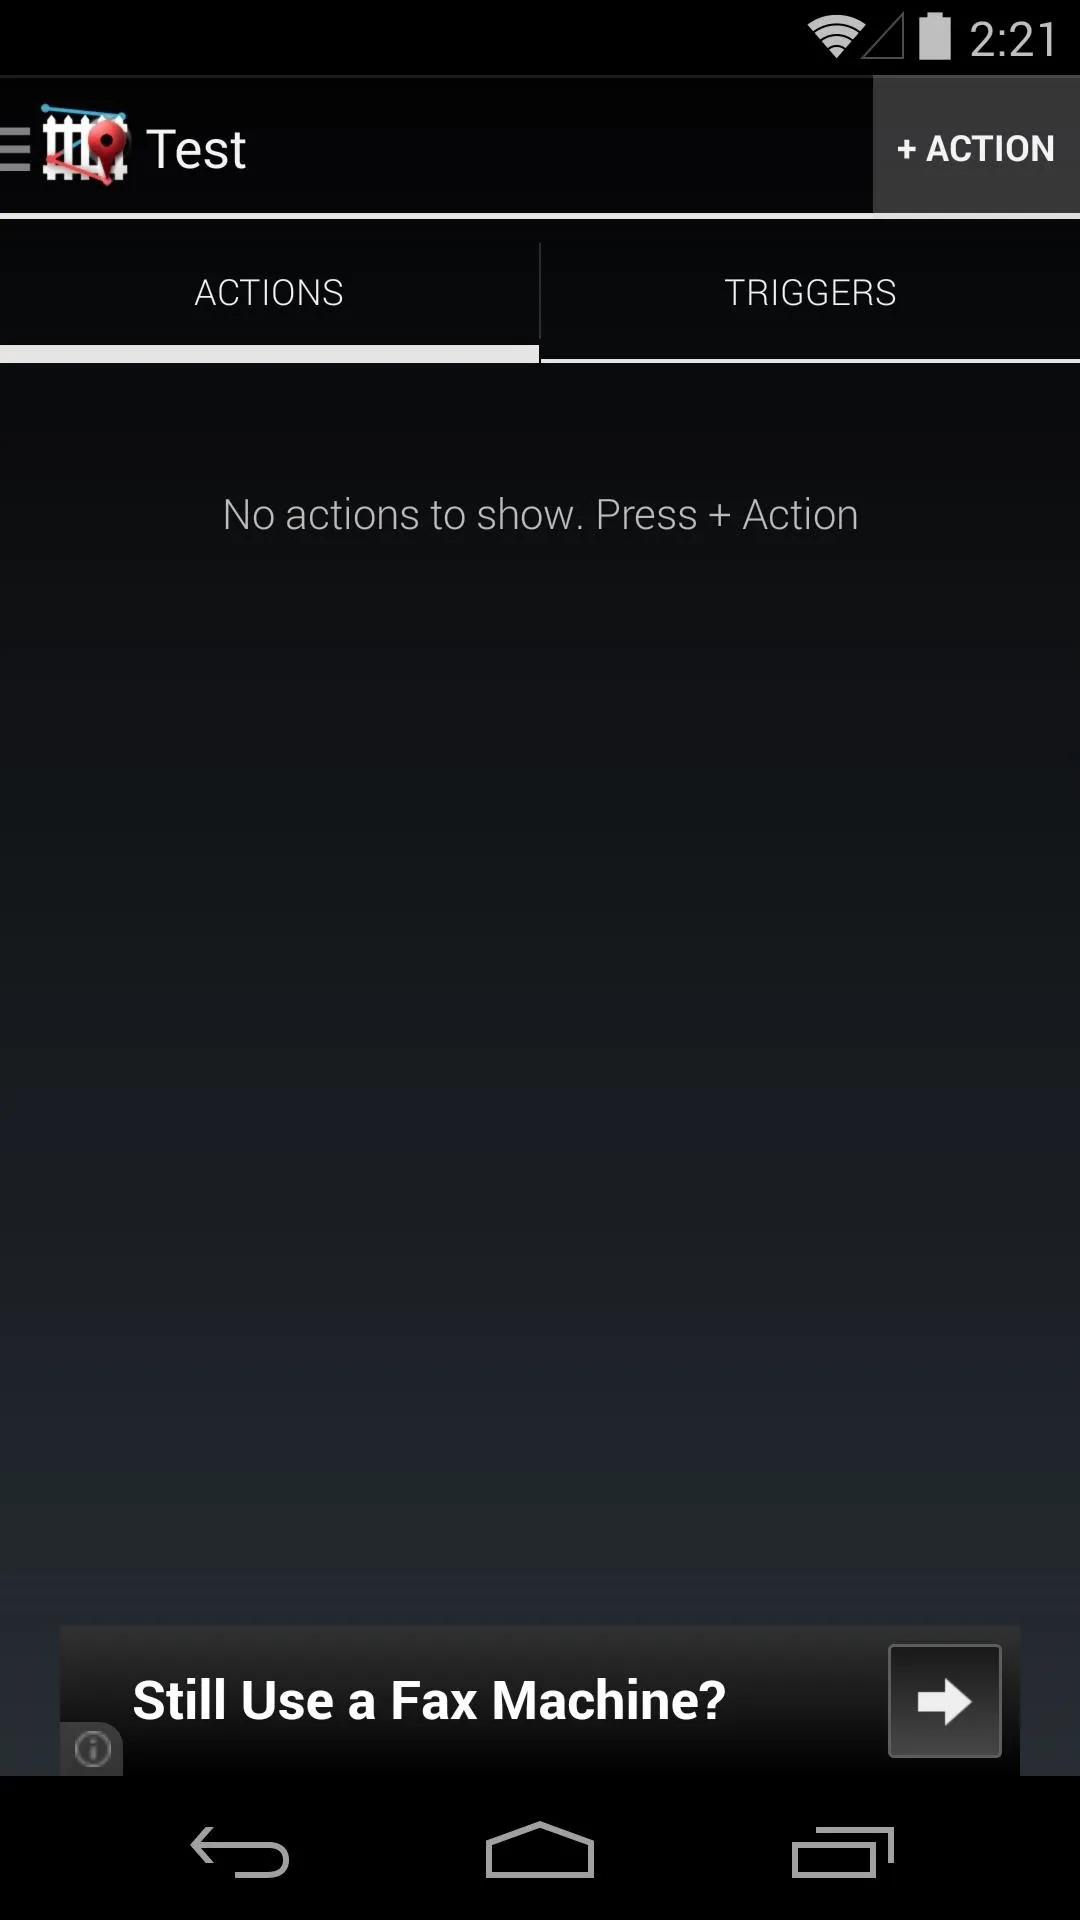
After you've named your profile, you'll be taken directly to the Actions screen. Actions are the settings that Fence will change for you automatically. For example, if you want to create a profile that enables Wi-Fi when you get home, Wi-Fi is the action.
From this screen, tap + Action and select the action you want Fence to perform.
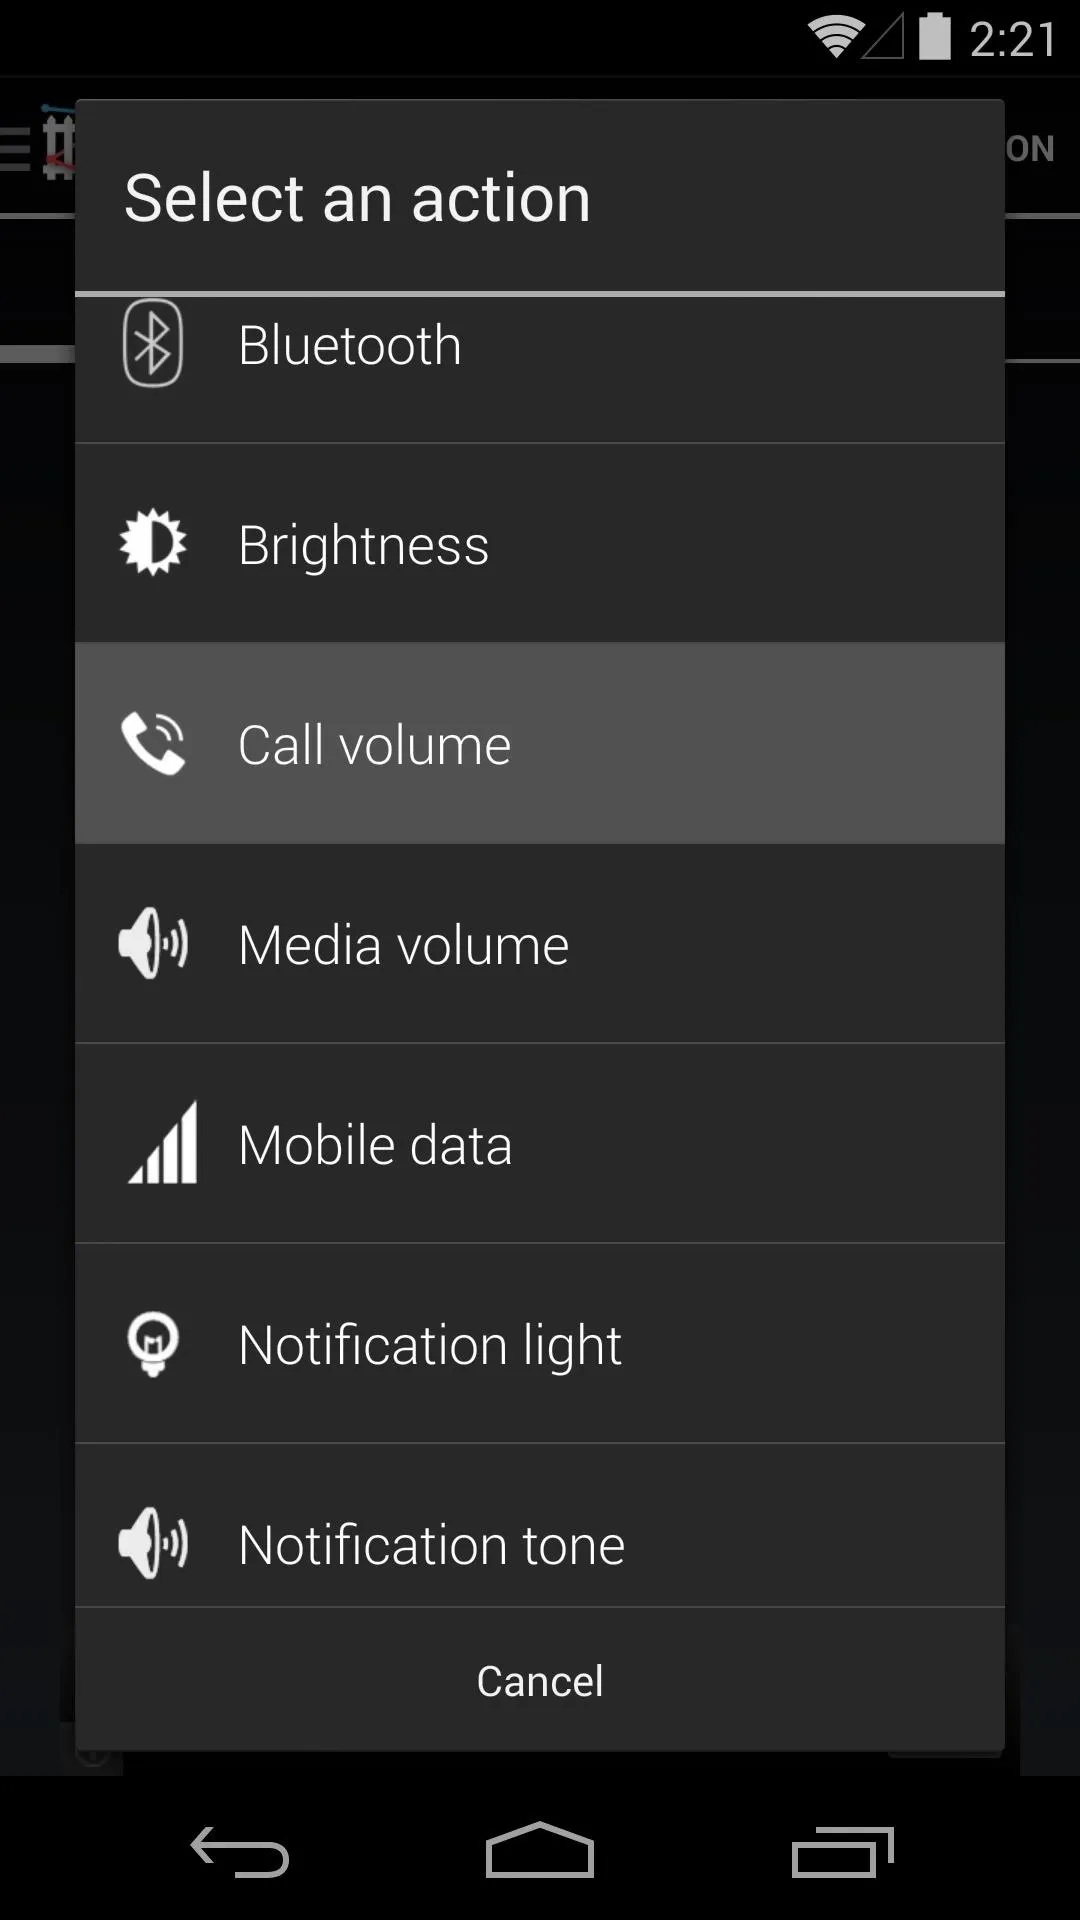


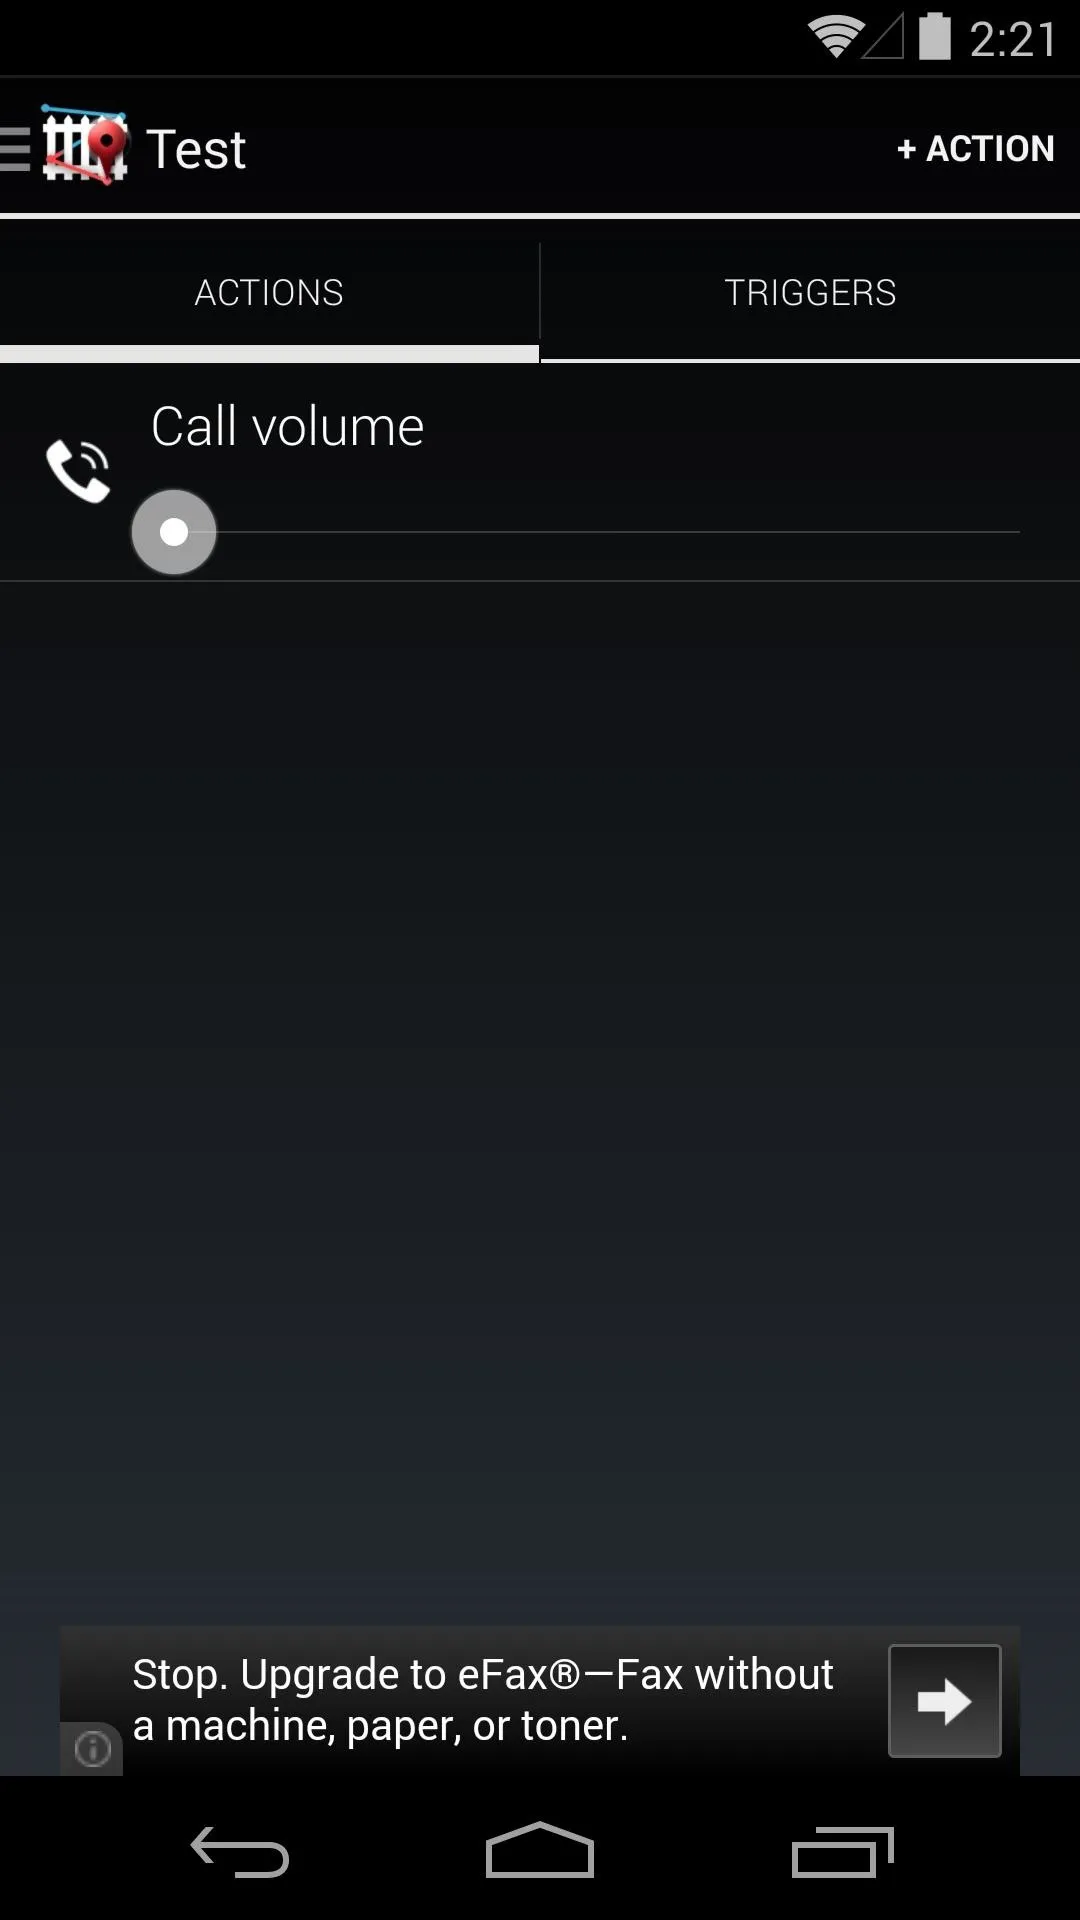
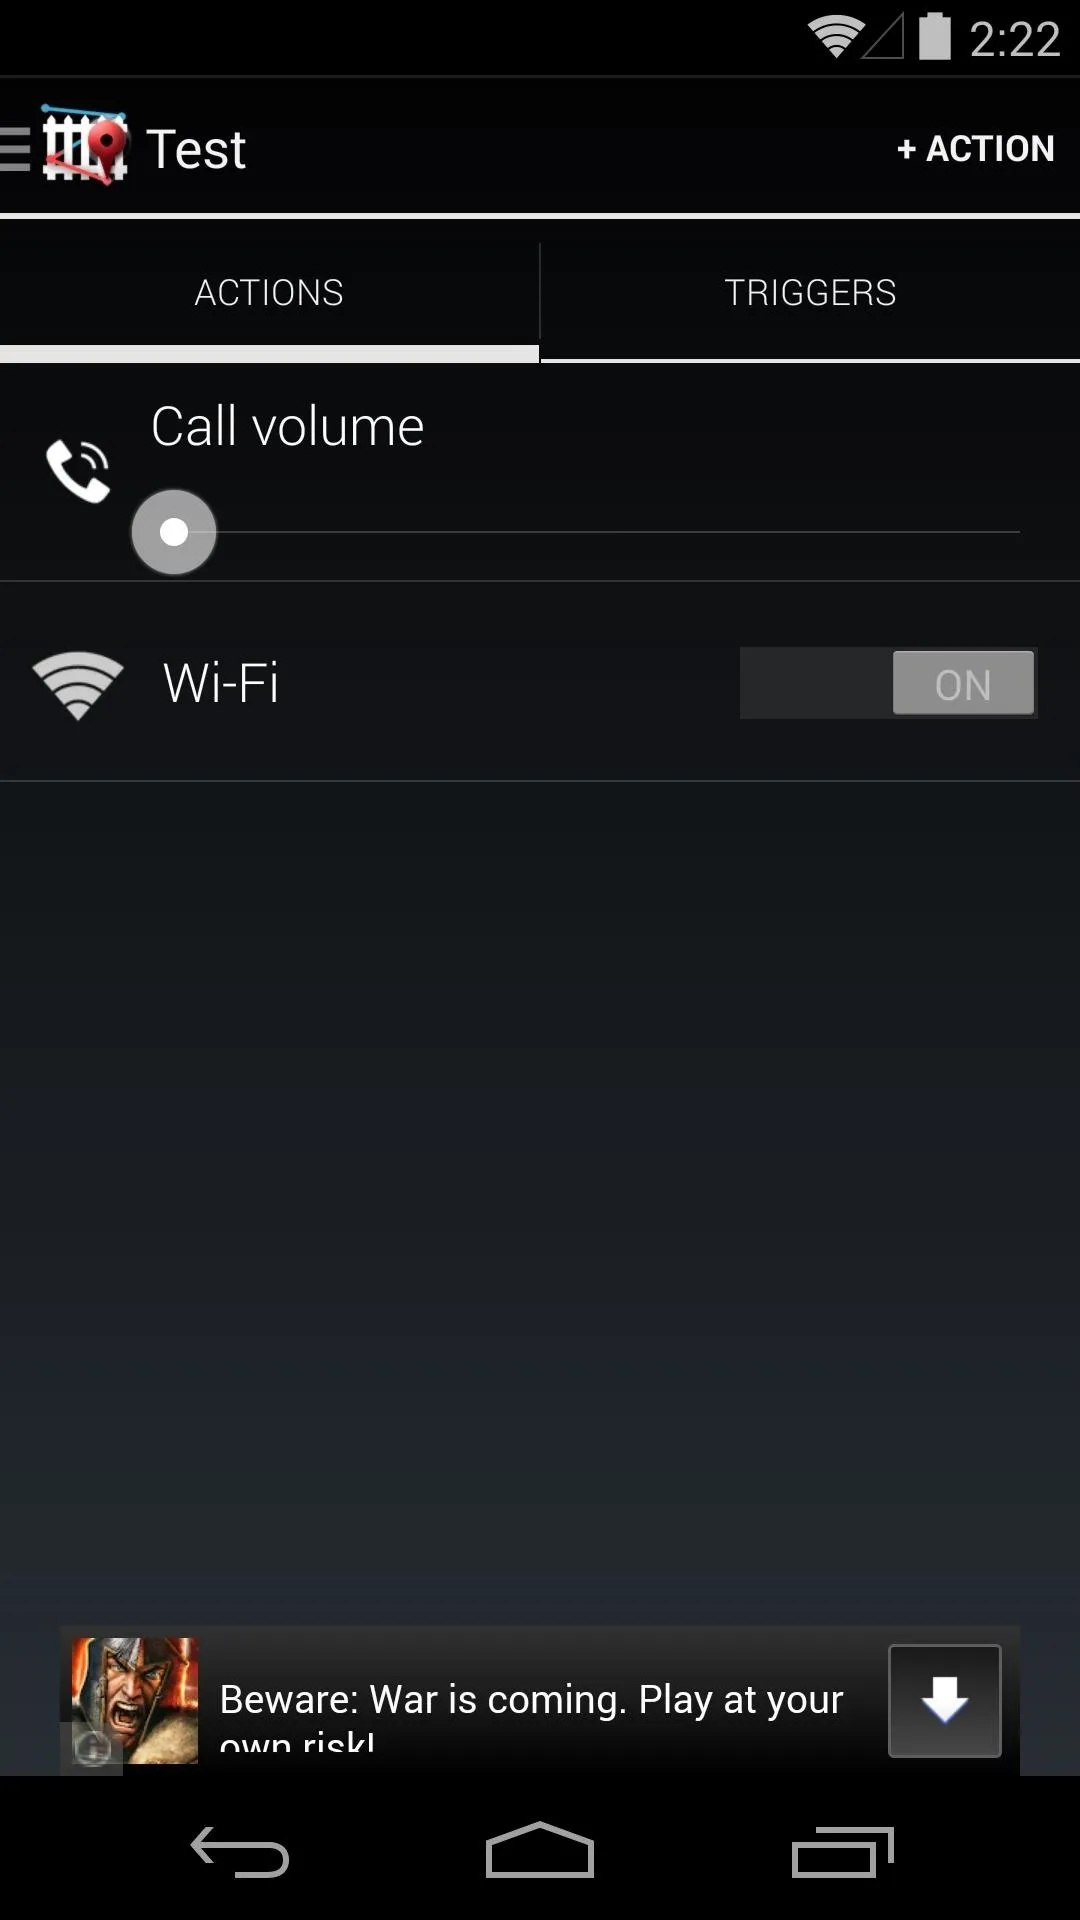
The list will be populated automatically, and you can add more actions if you wish. Just tap + Action again to add a second action, and so on.


Step 5: Create a Trigger
Now that we have the Action in place, we need to create a Trigger to launch it. Tap the Triggers tab, then hit + Trigger. There are 5 different contexts that can be used to trigger your Actions, but we'll use Location for this example.
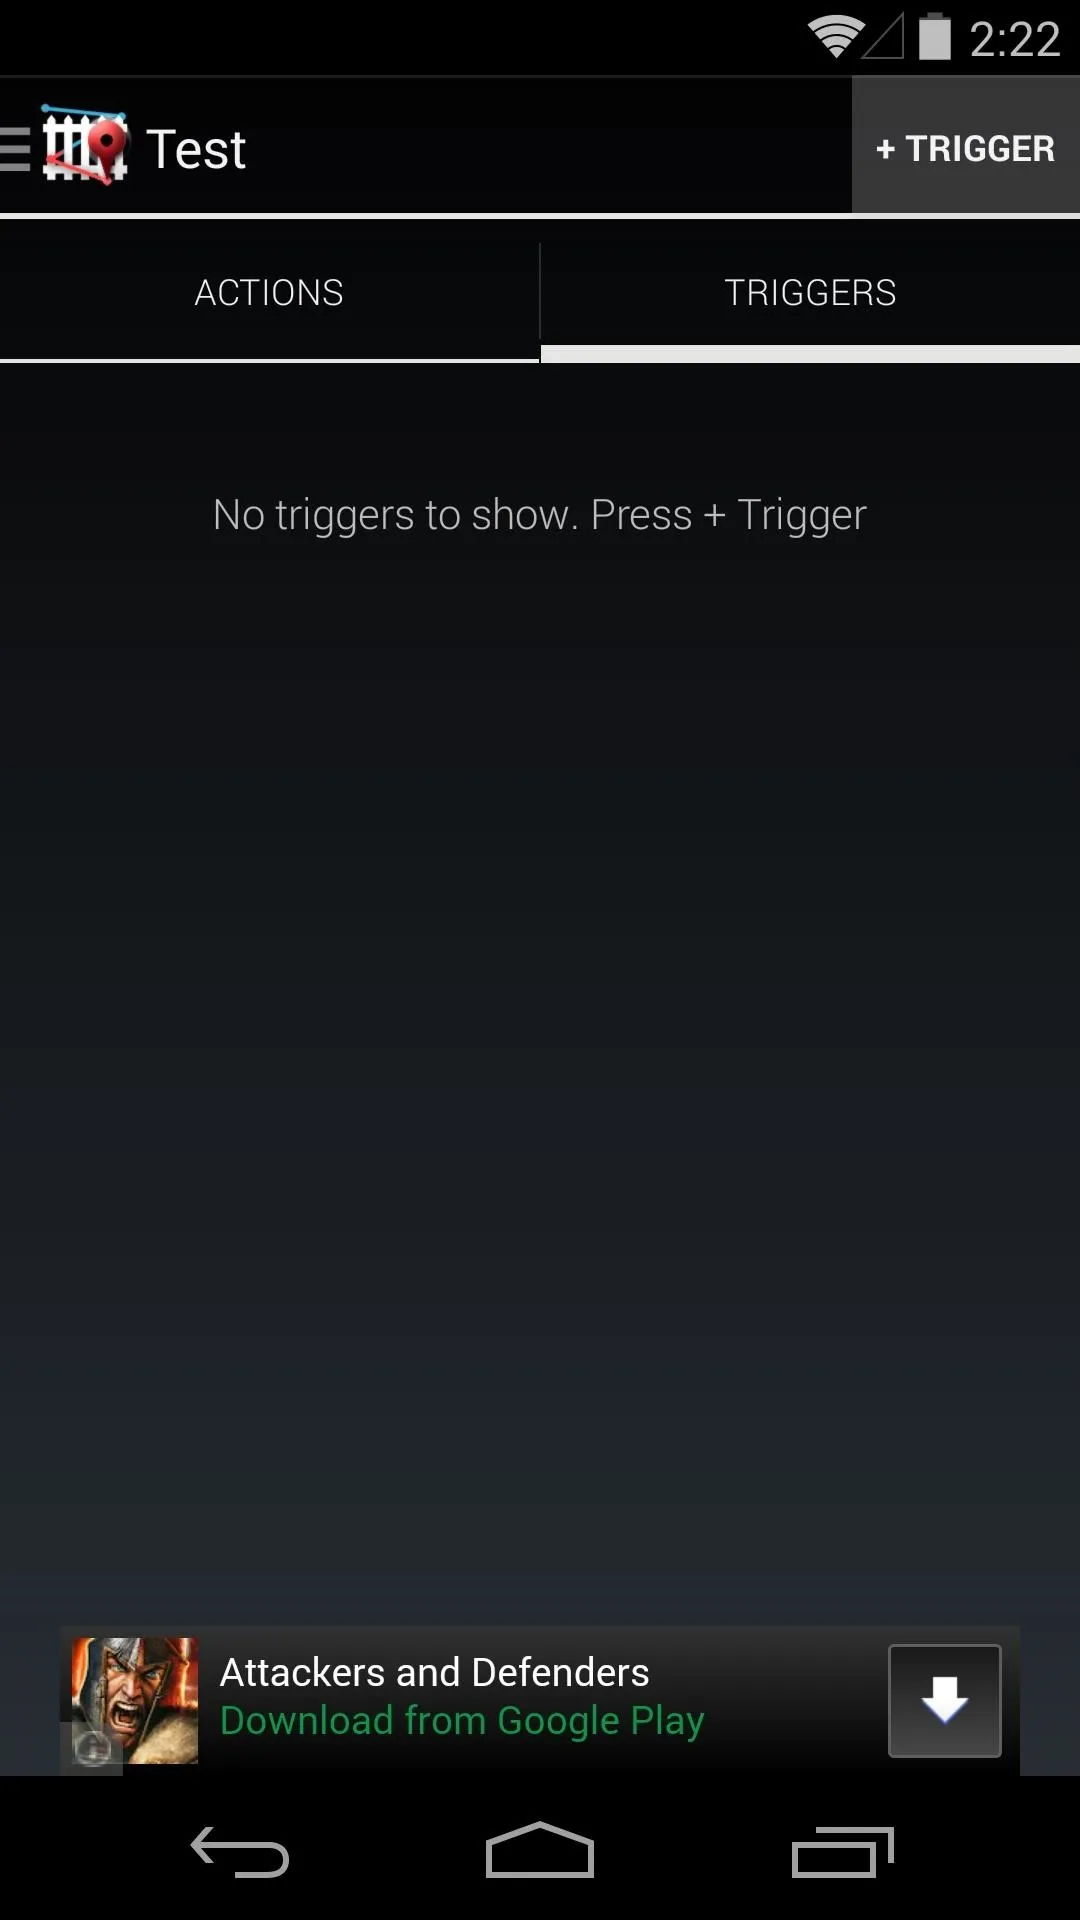
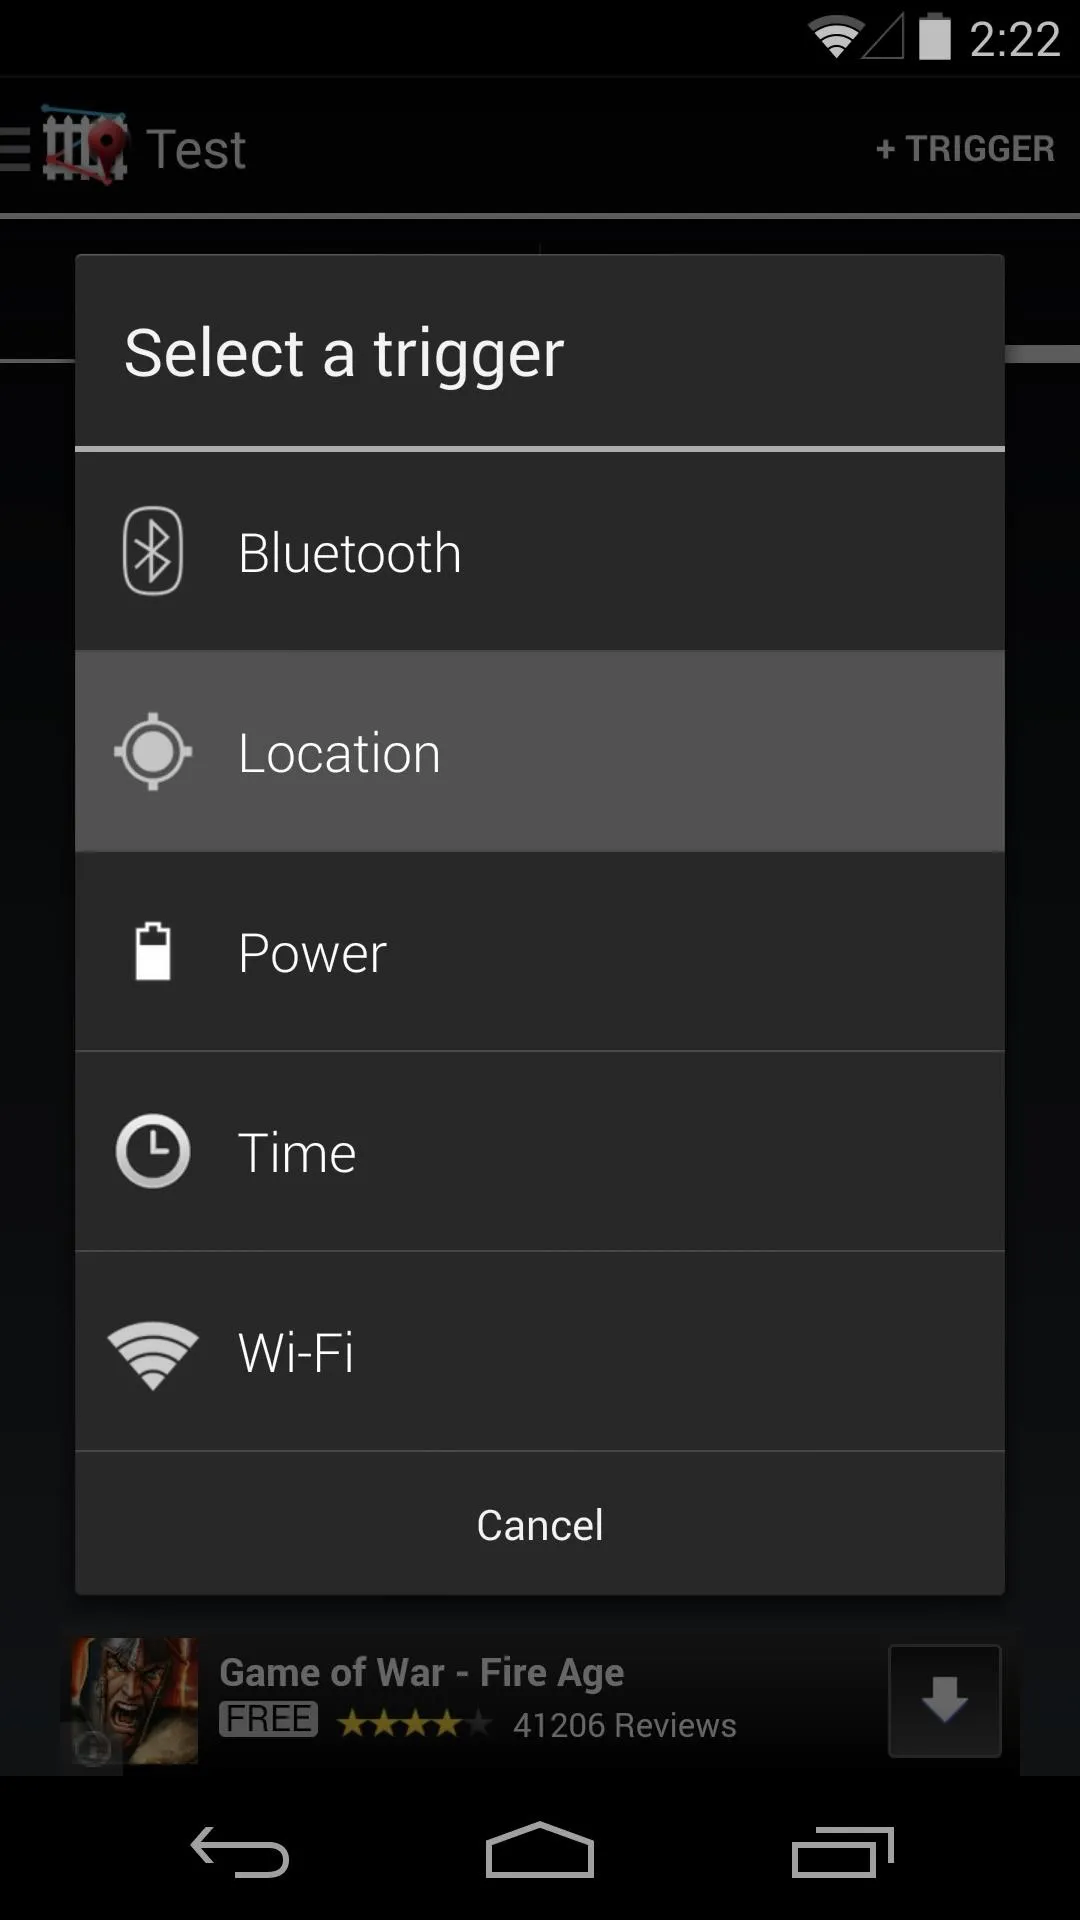


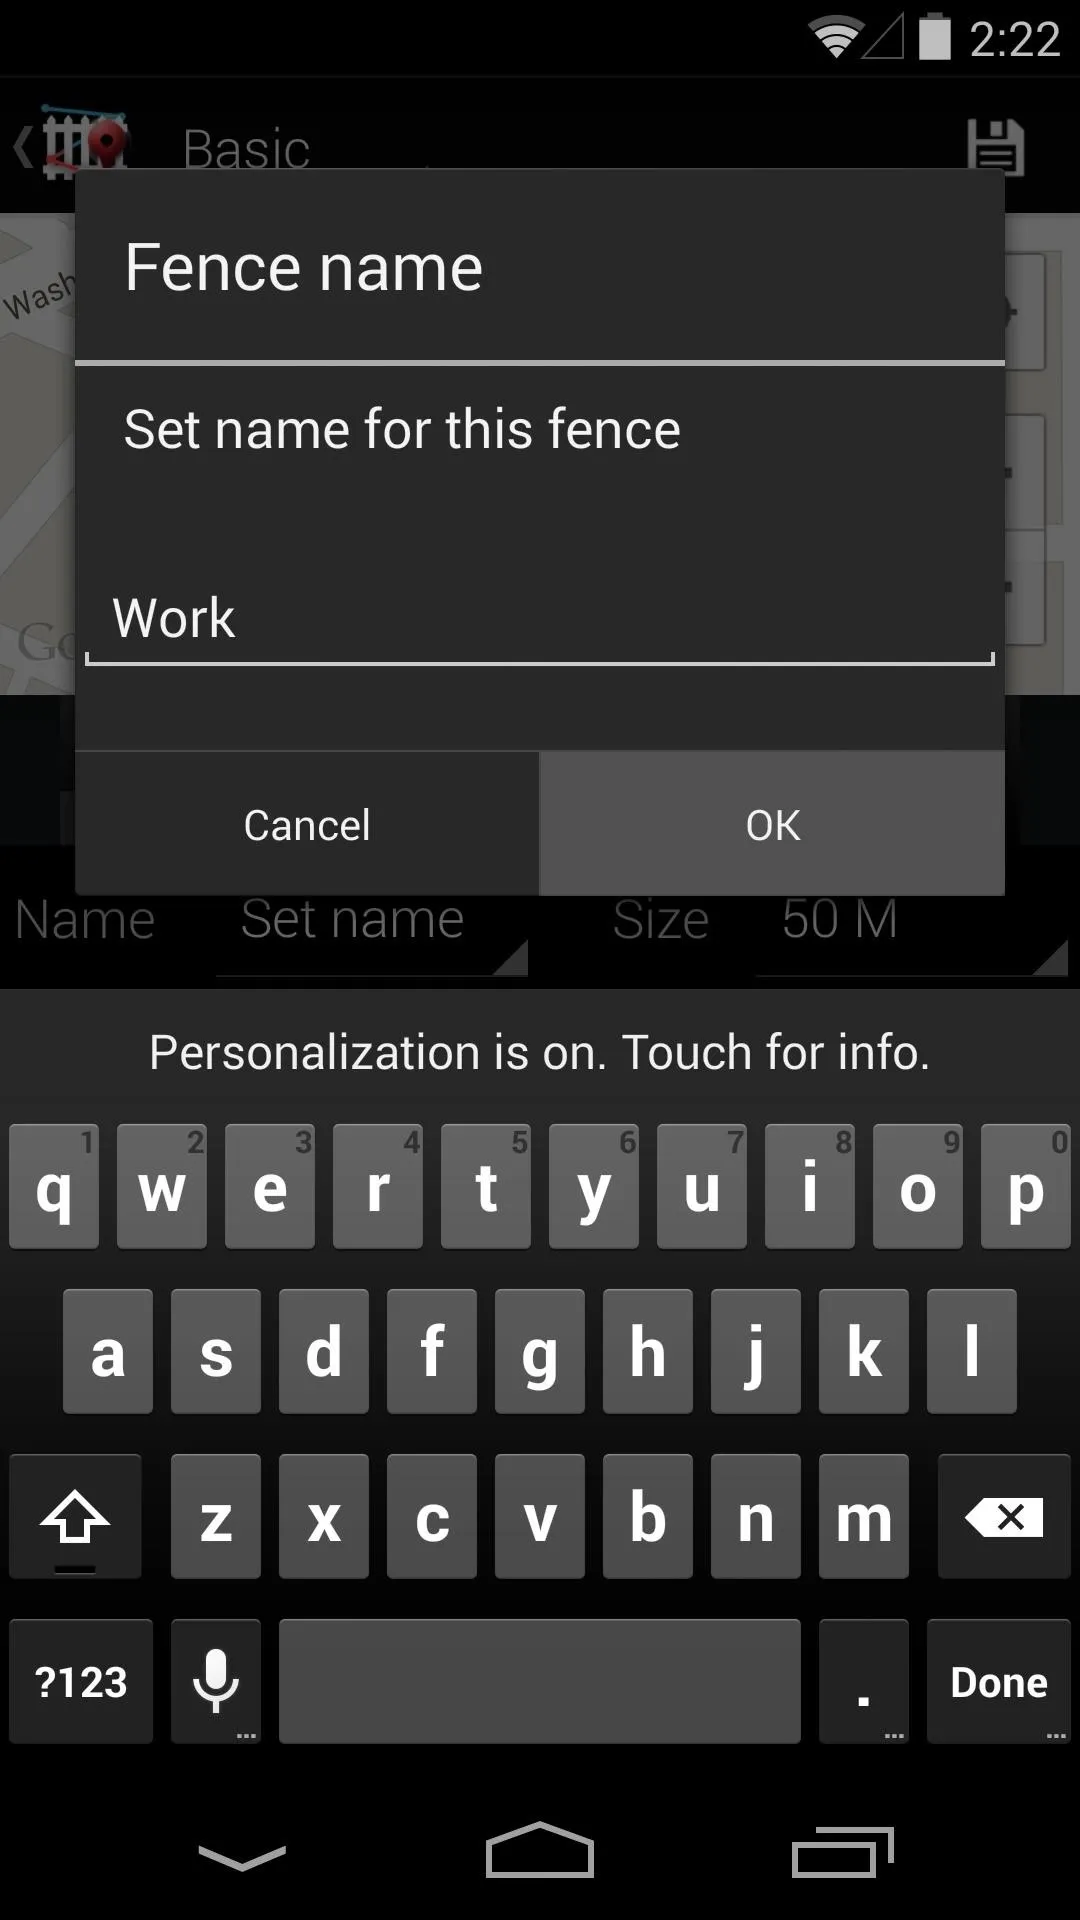
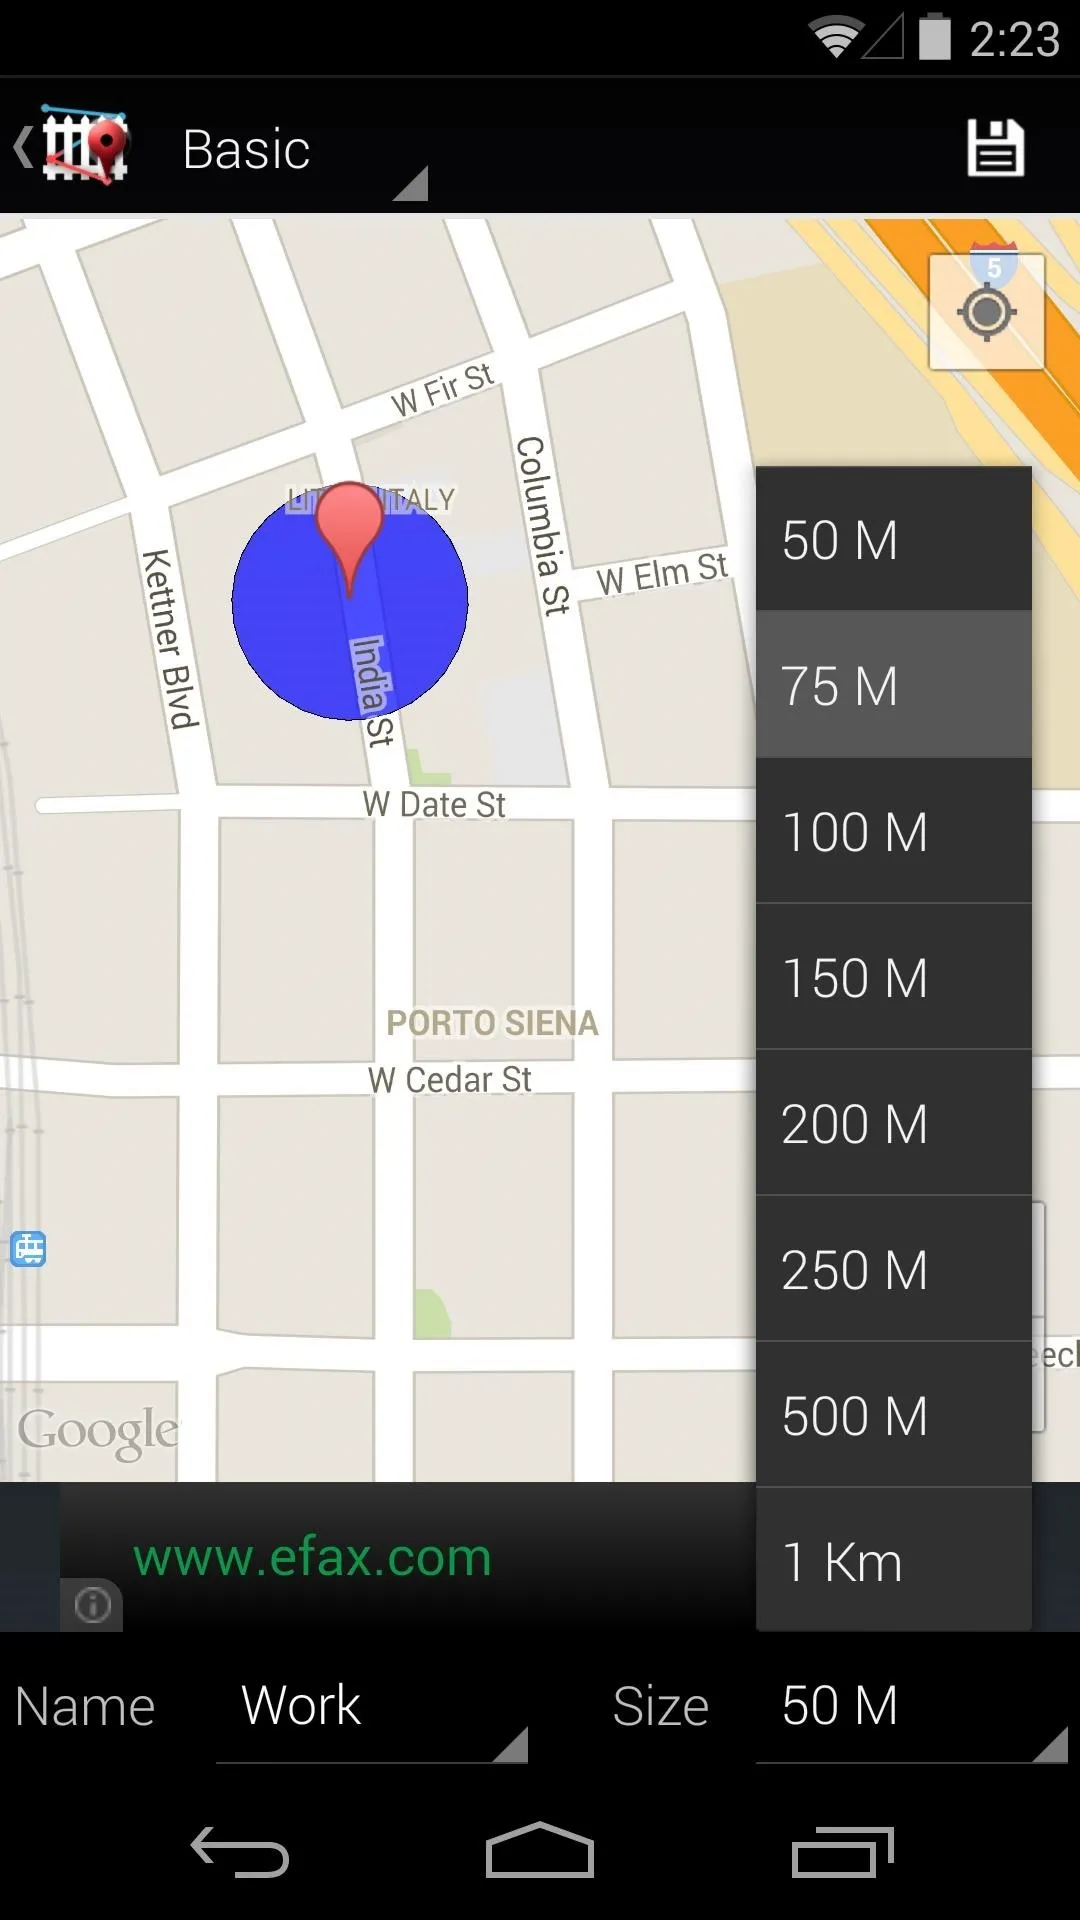
Next, you'll be asked to name your location—or, as it is called here, a "Fence". Type in a relevant name like Work, Home, or Bar, then you'll be presented with a map. Tap the location in question, and you'll see a circle that represents the area your Action will be triggered in.
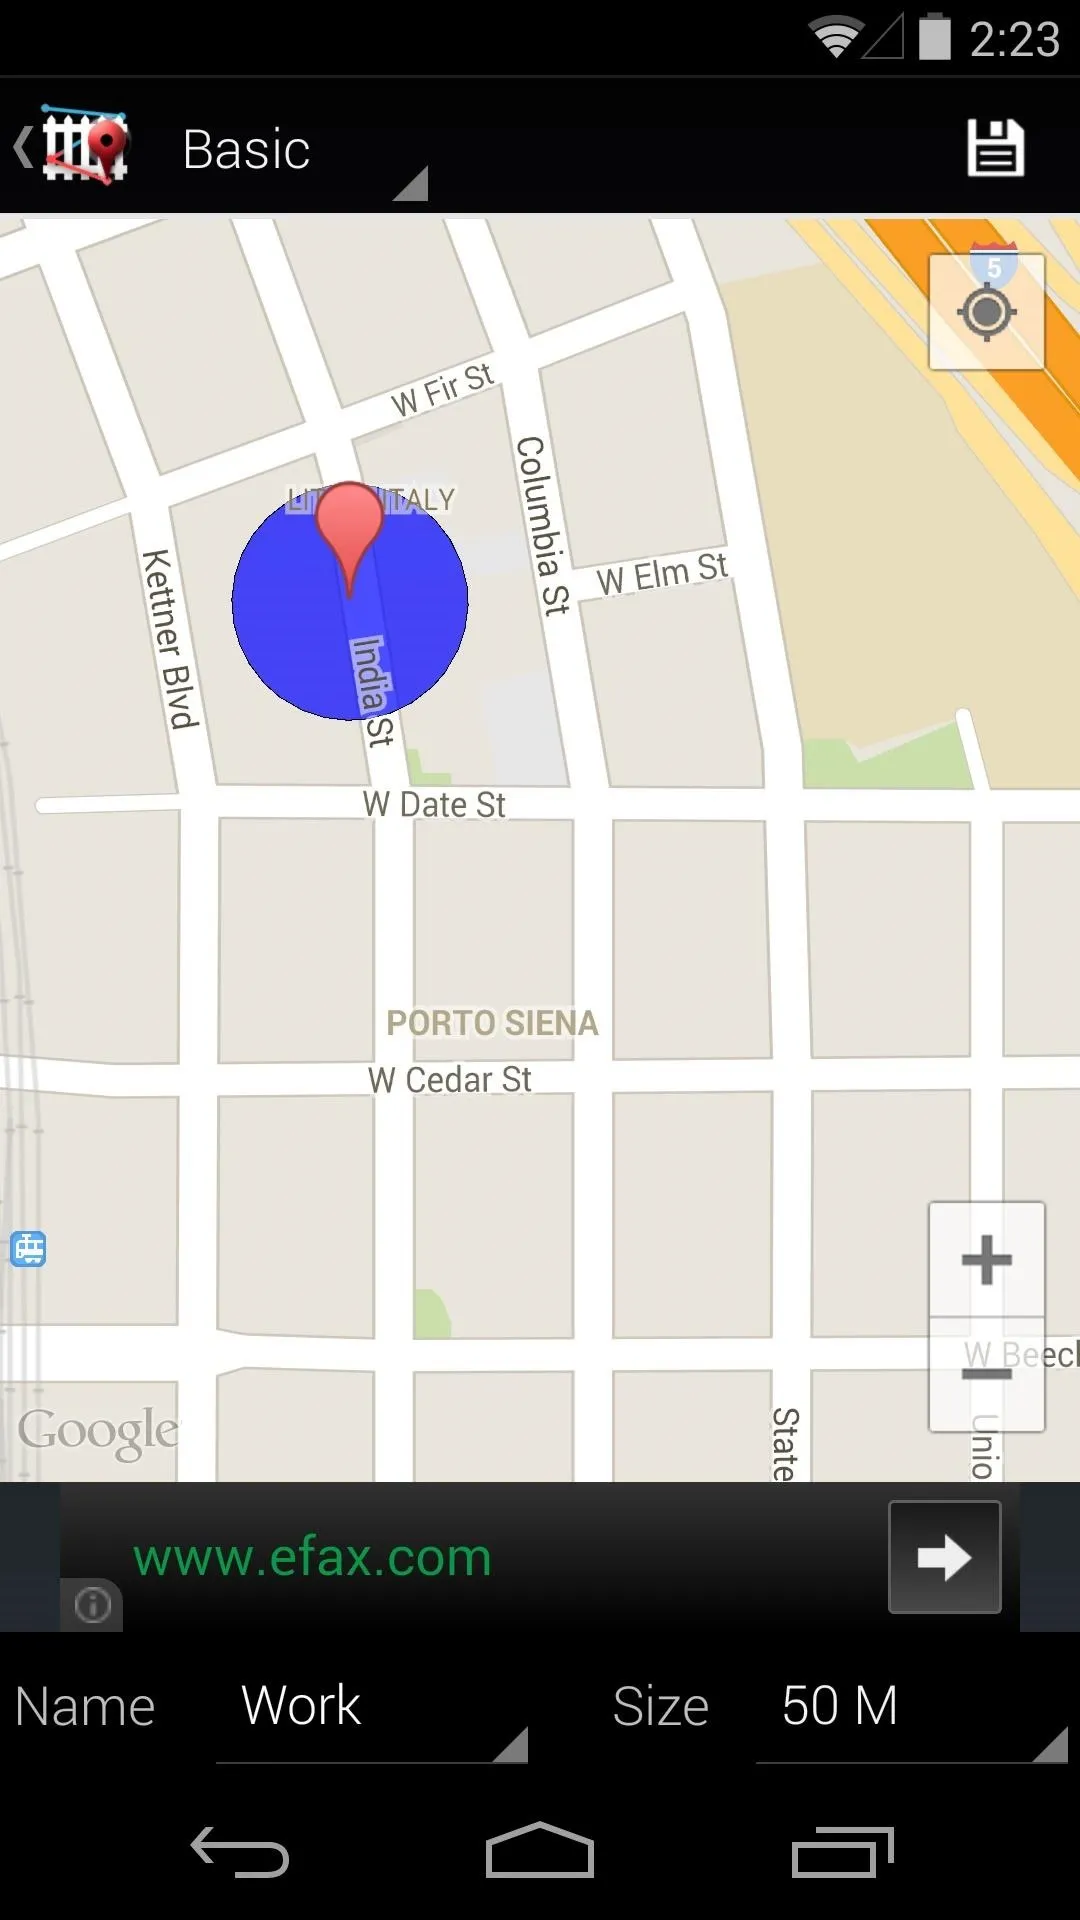


You can increase the area that will trigger your Actions by using the drop-menu to the right of Size. Do this if you want Fence to change your settings just before you enter a location, or if the location in question is a rather large area.
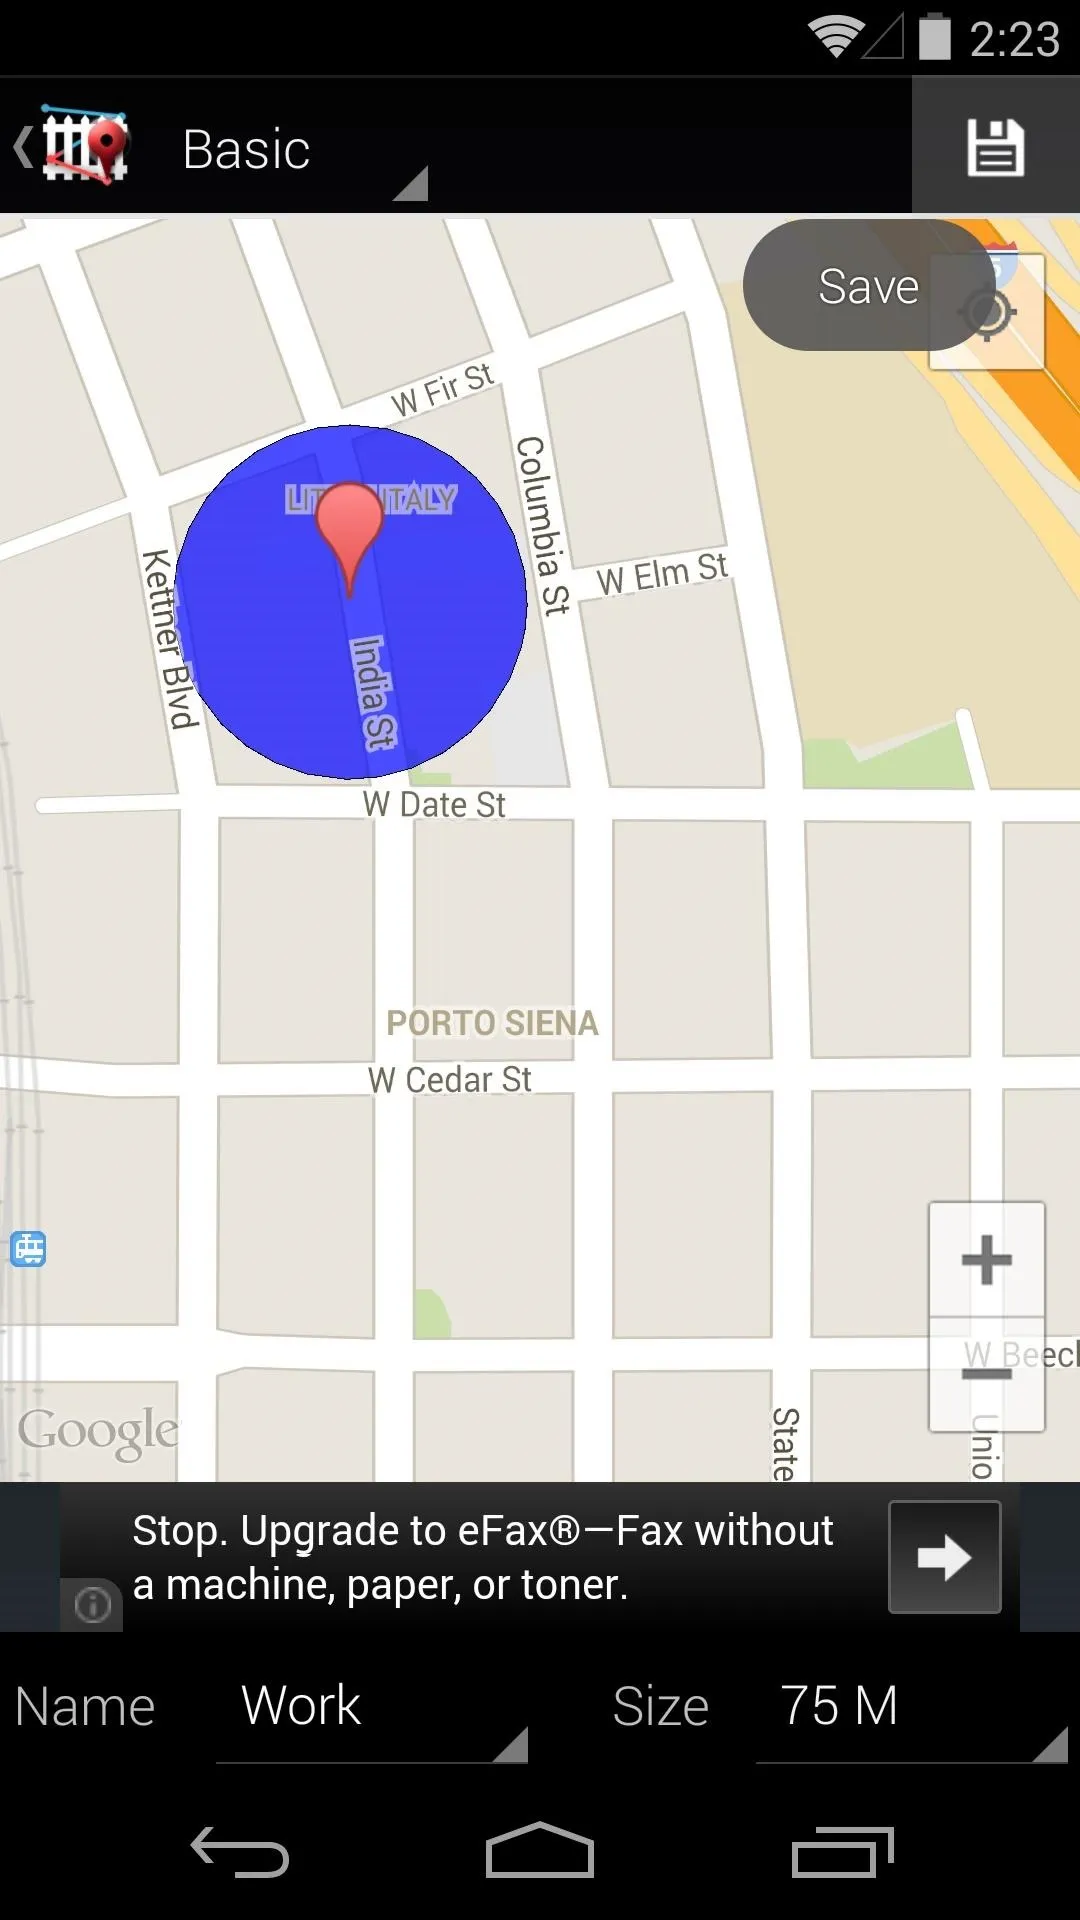


When you're satisfied with your adjustments, tap Save, then you can back out of the app completely and the Profile will take effect.
Now you don't have to worry about manually changing your phone's settings depending on where you are—Fences will take care of that for you as soon as you walk in.
What are some profiles that you've set up? Let us know in the comments section below.


Comments
No Comments Exist
Be the first, drop a comment!