Deep down at the core of Android lies the system kernel, which serves as a bridge between software and hardware. Custom kernels can be installed in place of the stock offering, and these are generally optimized for better performance or increased battery efficiency.
If you've installed a custom kernel on your Android device, chances are you're not quite taking full advantage of it. Beyond simply installing the kernel, tweaks can be made to the CPU clock speed, performance governor, and I/O scheduler that could suit your particular usage even better.
But rather than installing a simple kernel management app that applies these tweaks system-wide, wouldn't it be nice if we could handle things like CPU voltage and clock speed on a per-app basis? Considering that some apps could use a little boost, while others don't require your CPU to be running at full speed, adjusting kernel settings to better suit particular apps could lead to better performance and battery life.
So developer Mertcan Özdemir created an app that will allow you to adjust your custom kernel settings automatically when certain conditions are met. These conditions can be almost anything—when you launch a particular app, turn your screen off, or your battery runs low, for instance—so you'll be able to control your kernel like never before.
Requirements
Step 1: Download Kernel Tasker
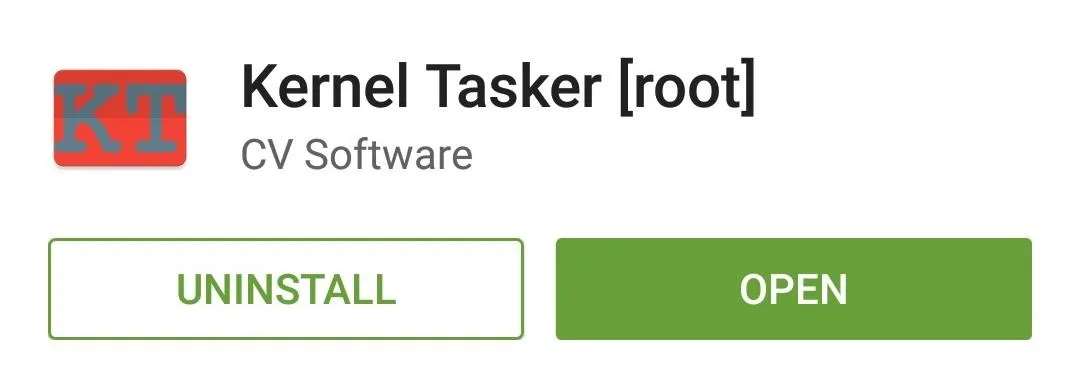
Özdemir's app is called Kernel Tasker, and it's available on the Google Play Store for free. Search the app by name to get it installed, or head directly to the install page at this link.
Step 2: Set Default Kernel Options
When you first launch Kernel Tasker, the app will ask for Superuser access. So tap "Grant" on the popup, then you'll be taken to the app's main menu.

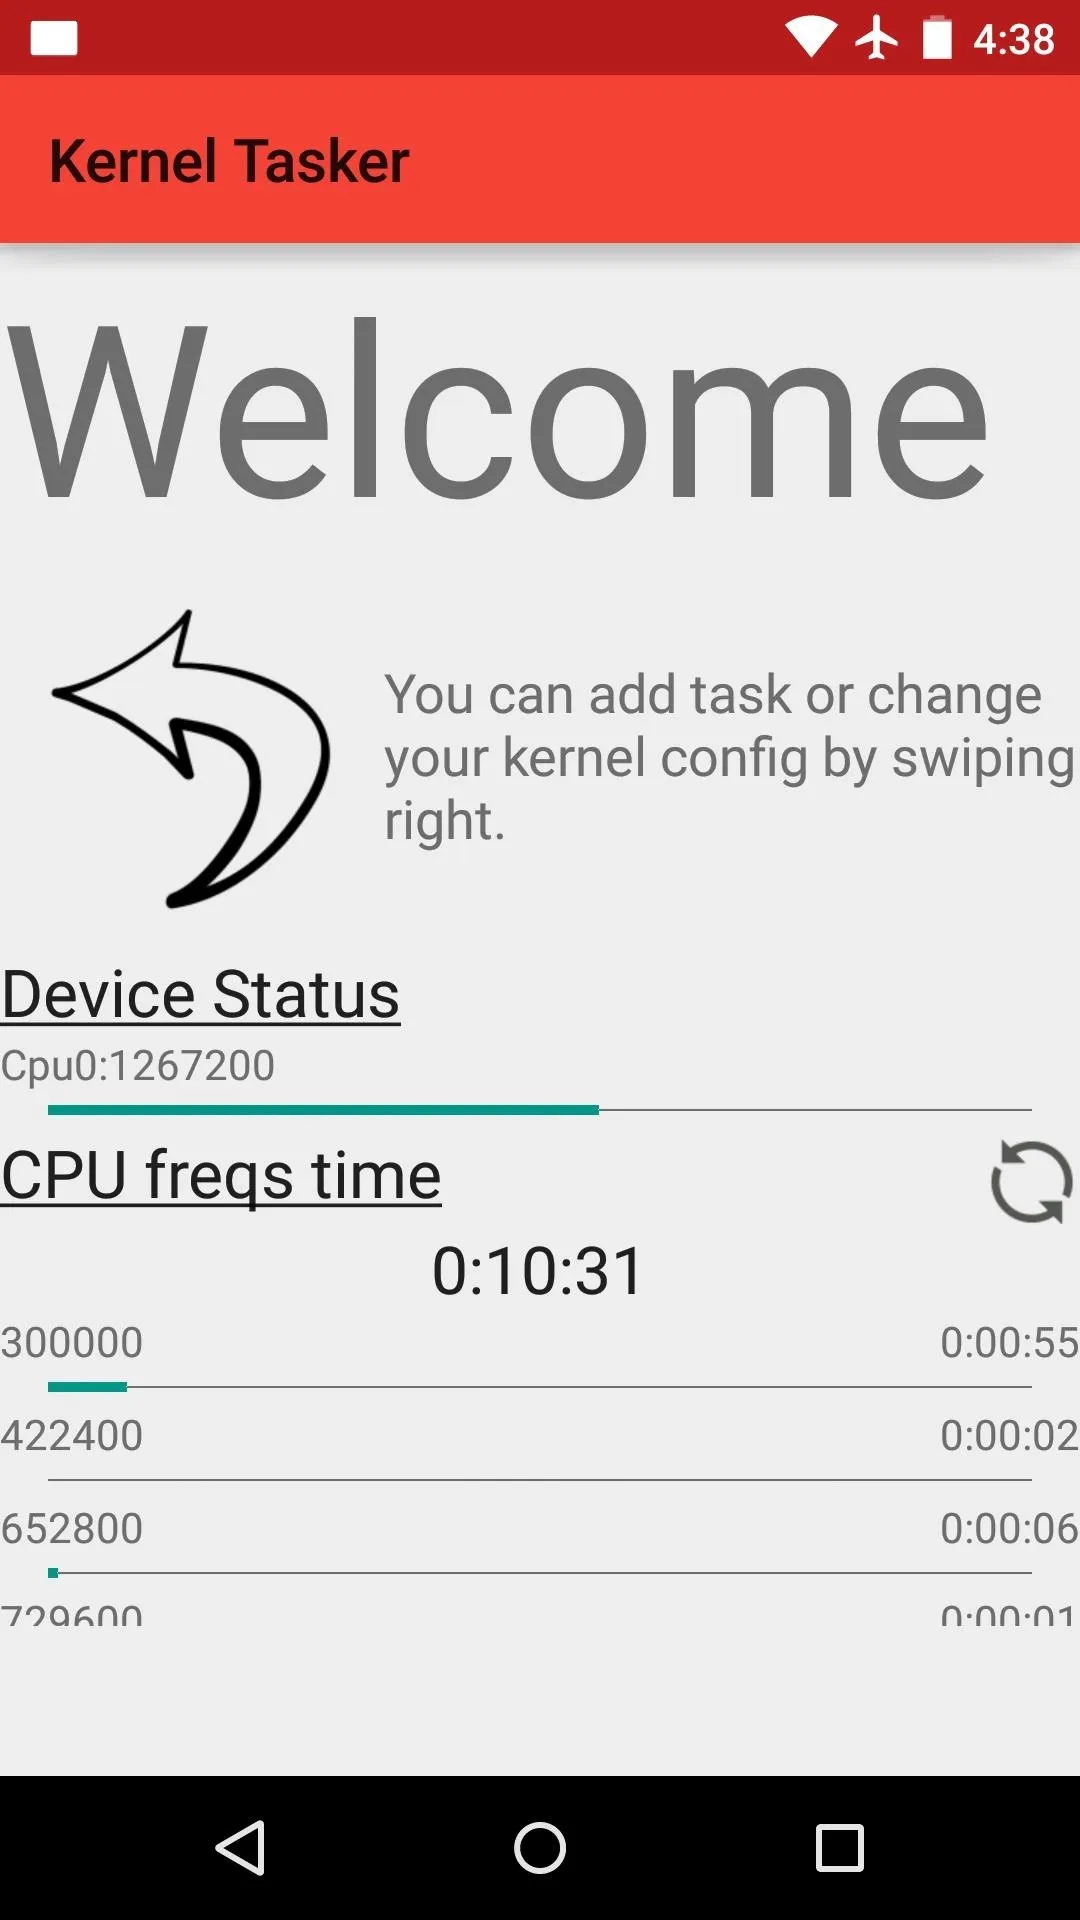


From here, configure the default options for your kernel if you'd like to set them to something other than what the kernel developer adjusted them to. These settings will be applied at all times, system-wide.
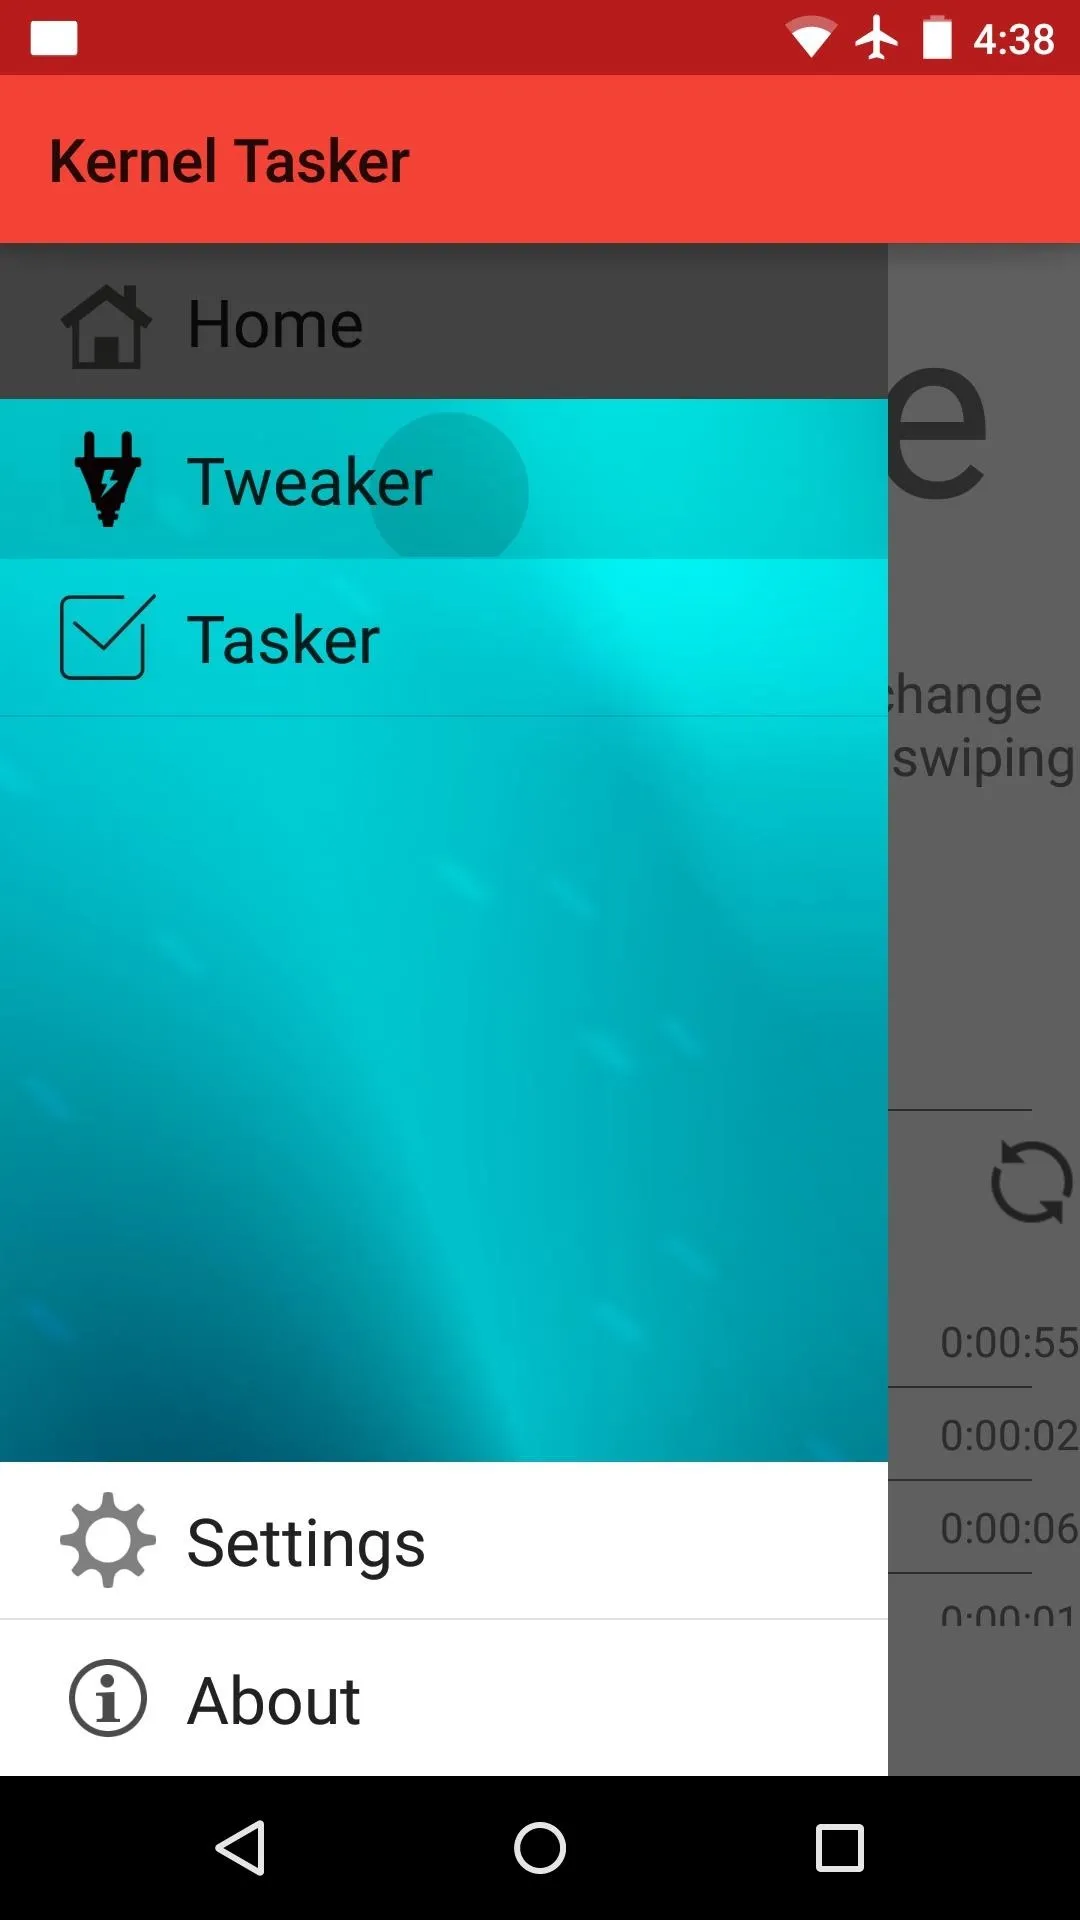
To adjust your default kernel settings, head to the side navigation menu and select "Tweaker." The options in this menu will vary from kernel to kernel, but most custom settings that can be applied to your particular kernel will be available.
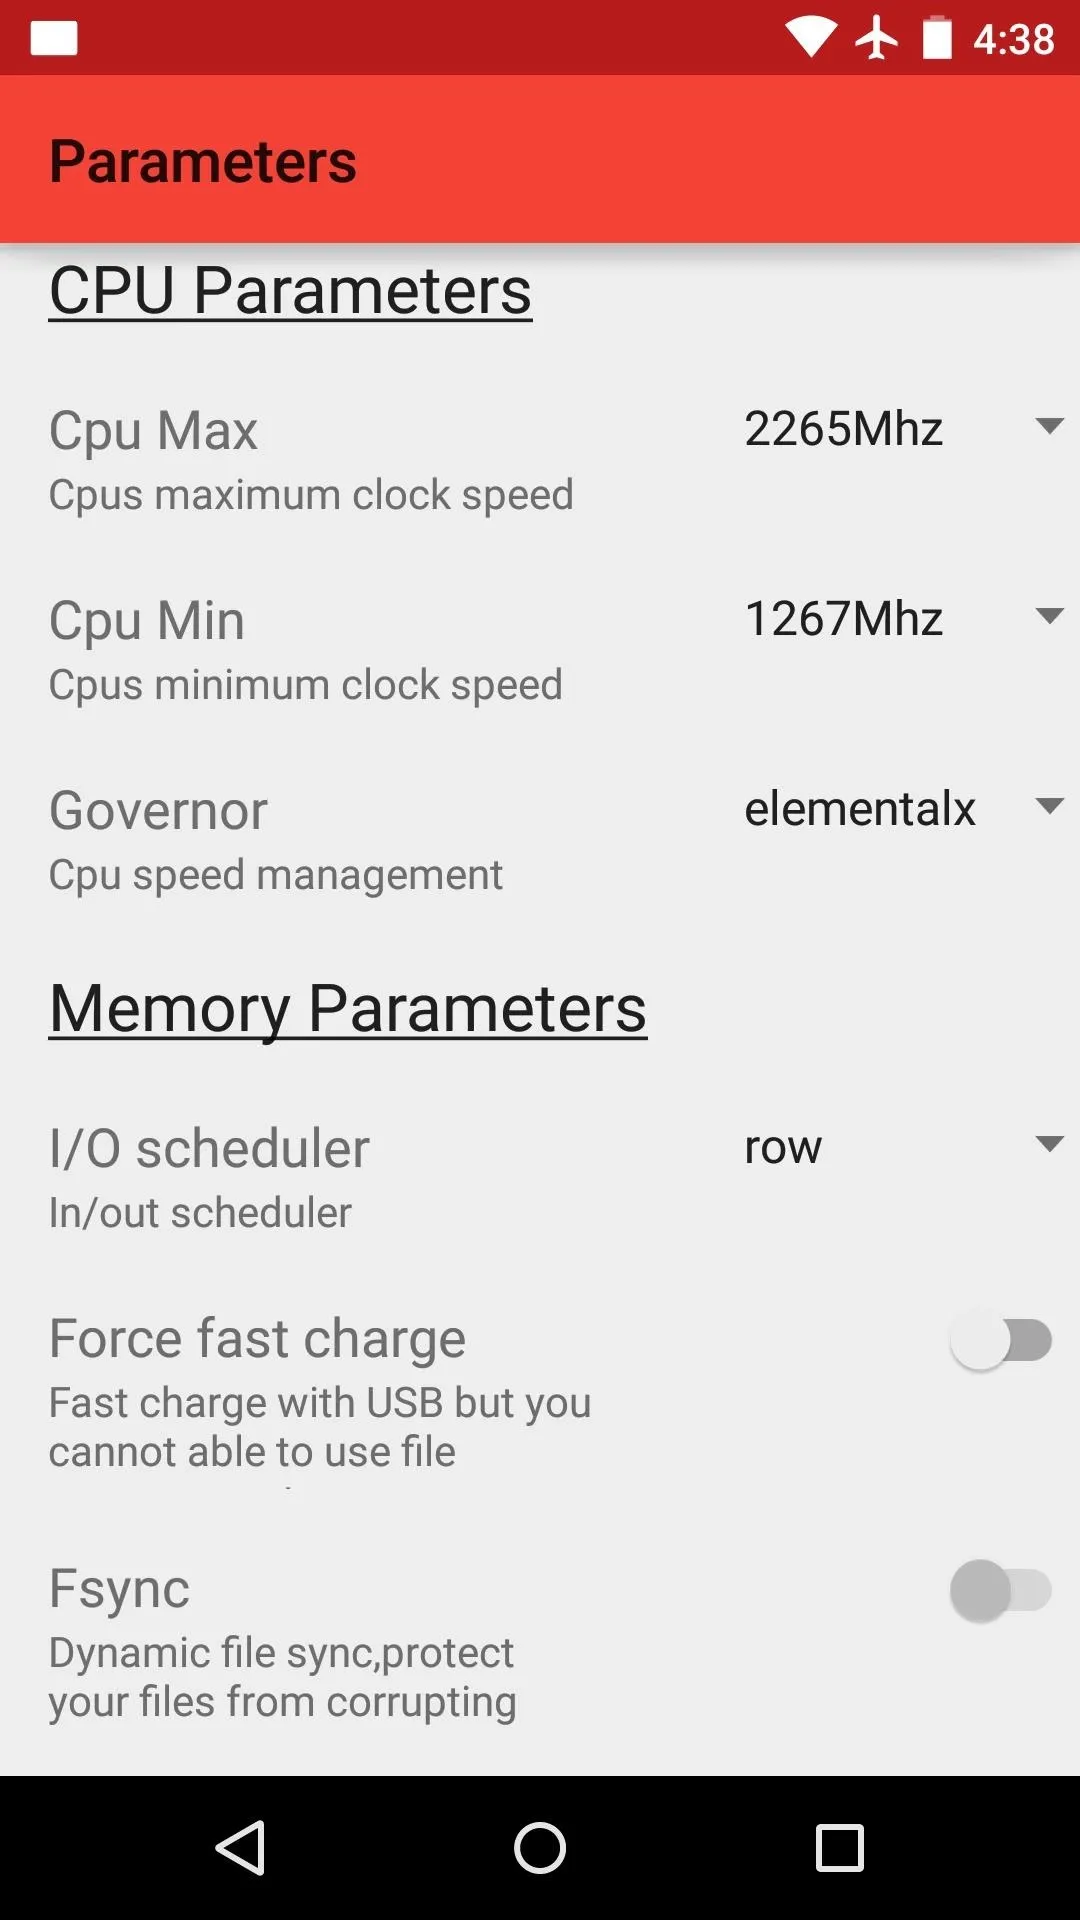


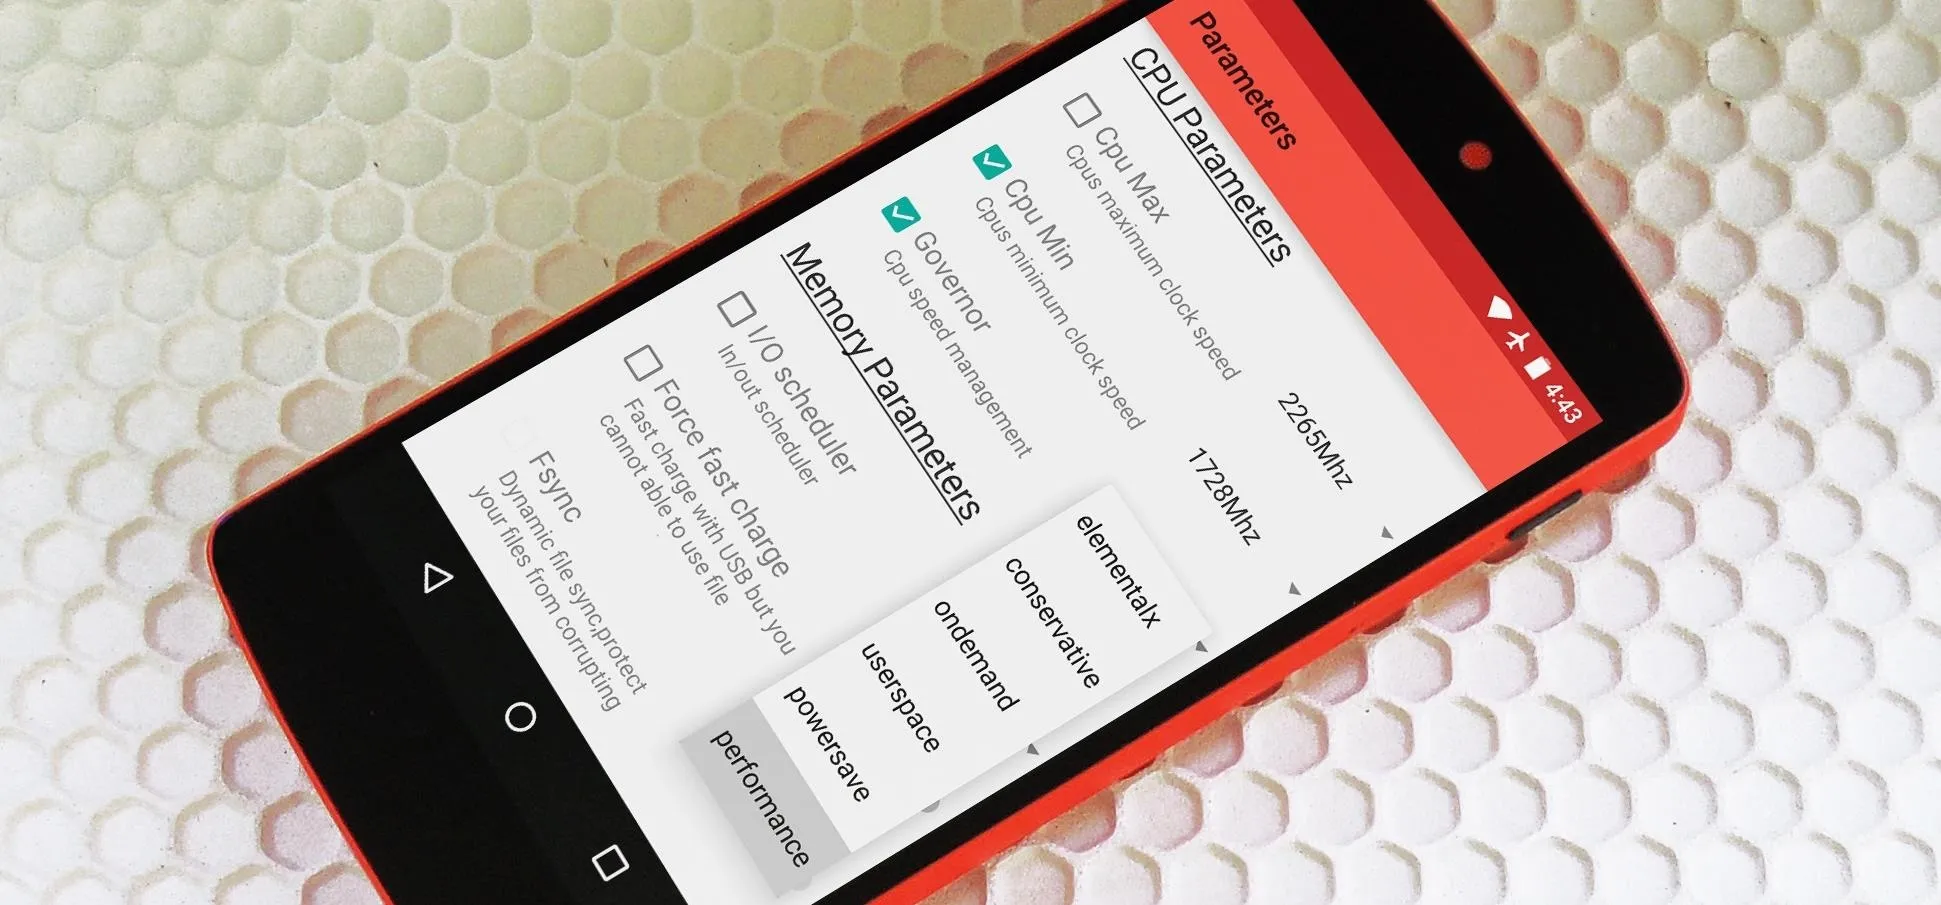
Use this menu to set default values for CPU frequencies and governors. Memory management can also be performed here on most custom kernels, so choose your I/O scheduler as well. These will be the values used when your future kernel profiles are not active.
Step 3: Set Up Kernel Profiles
This app shares a name with the popular Android automation app Tasker for a reason—you can set up Profiles with certain conditions, and when these conditions are met, changes to your kernel settings will automatically be applied.
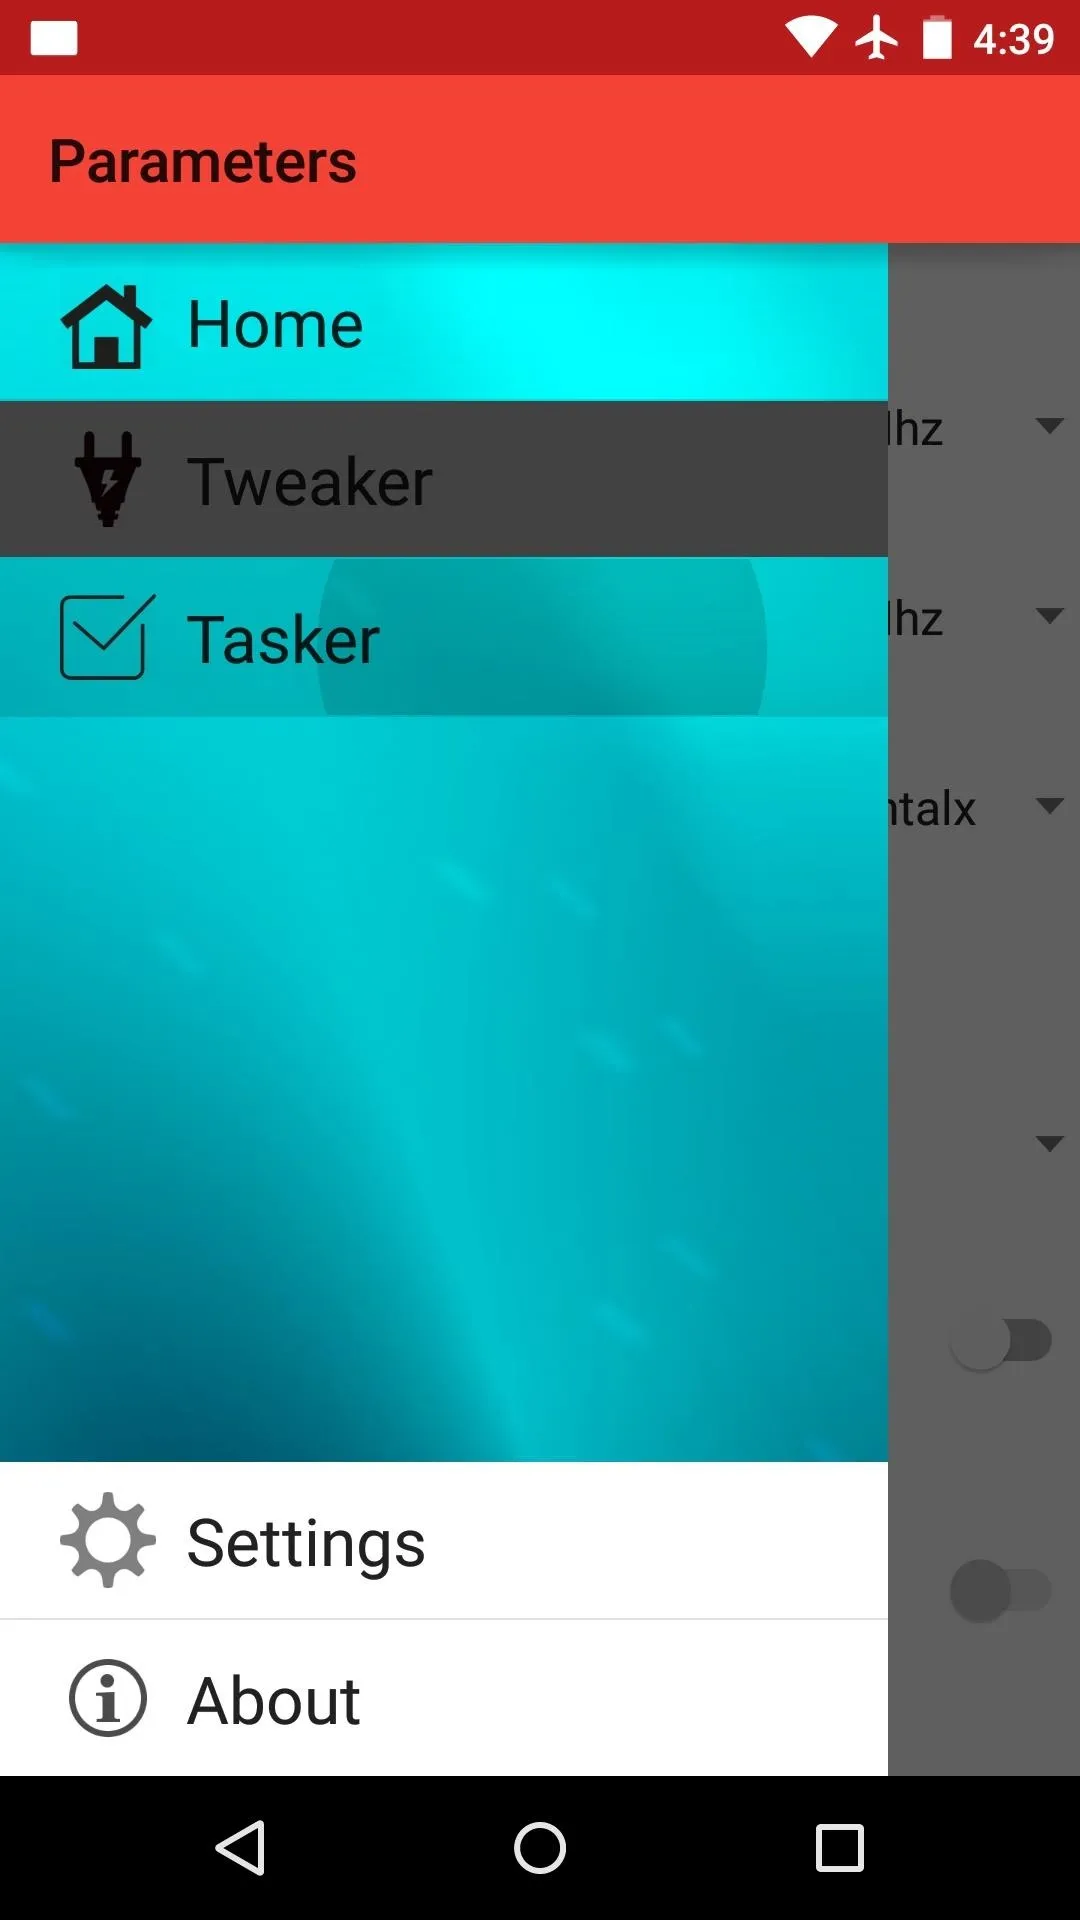
To begin setting up a kernel profile, head to the side navigation menu and choose the "Tasker" entry. From here, tap the floating + button to add your first profile.
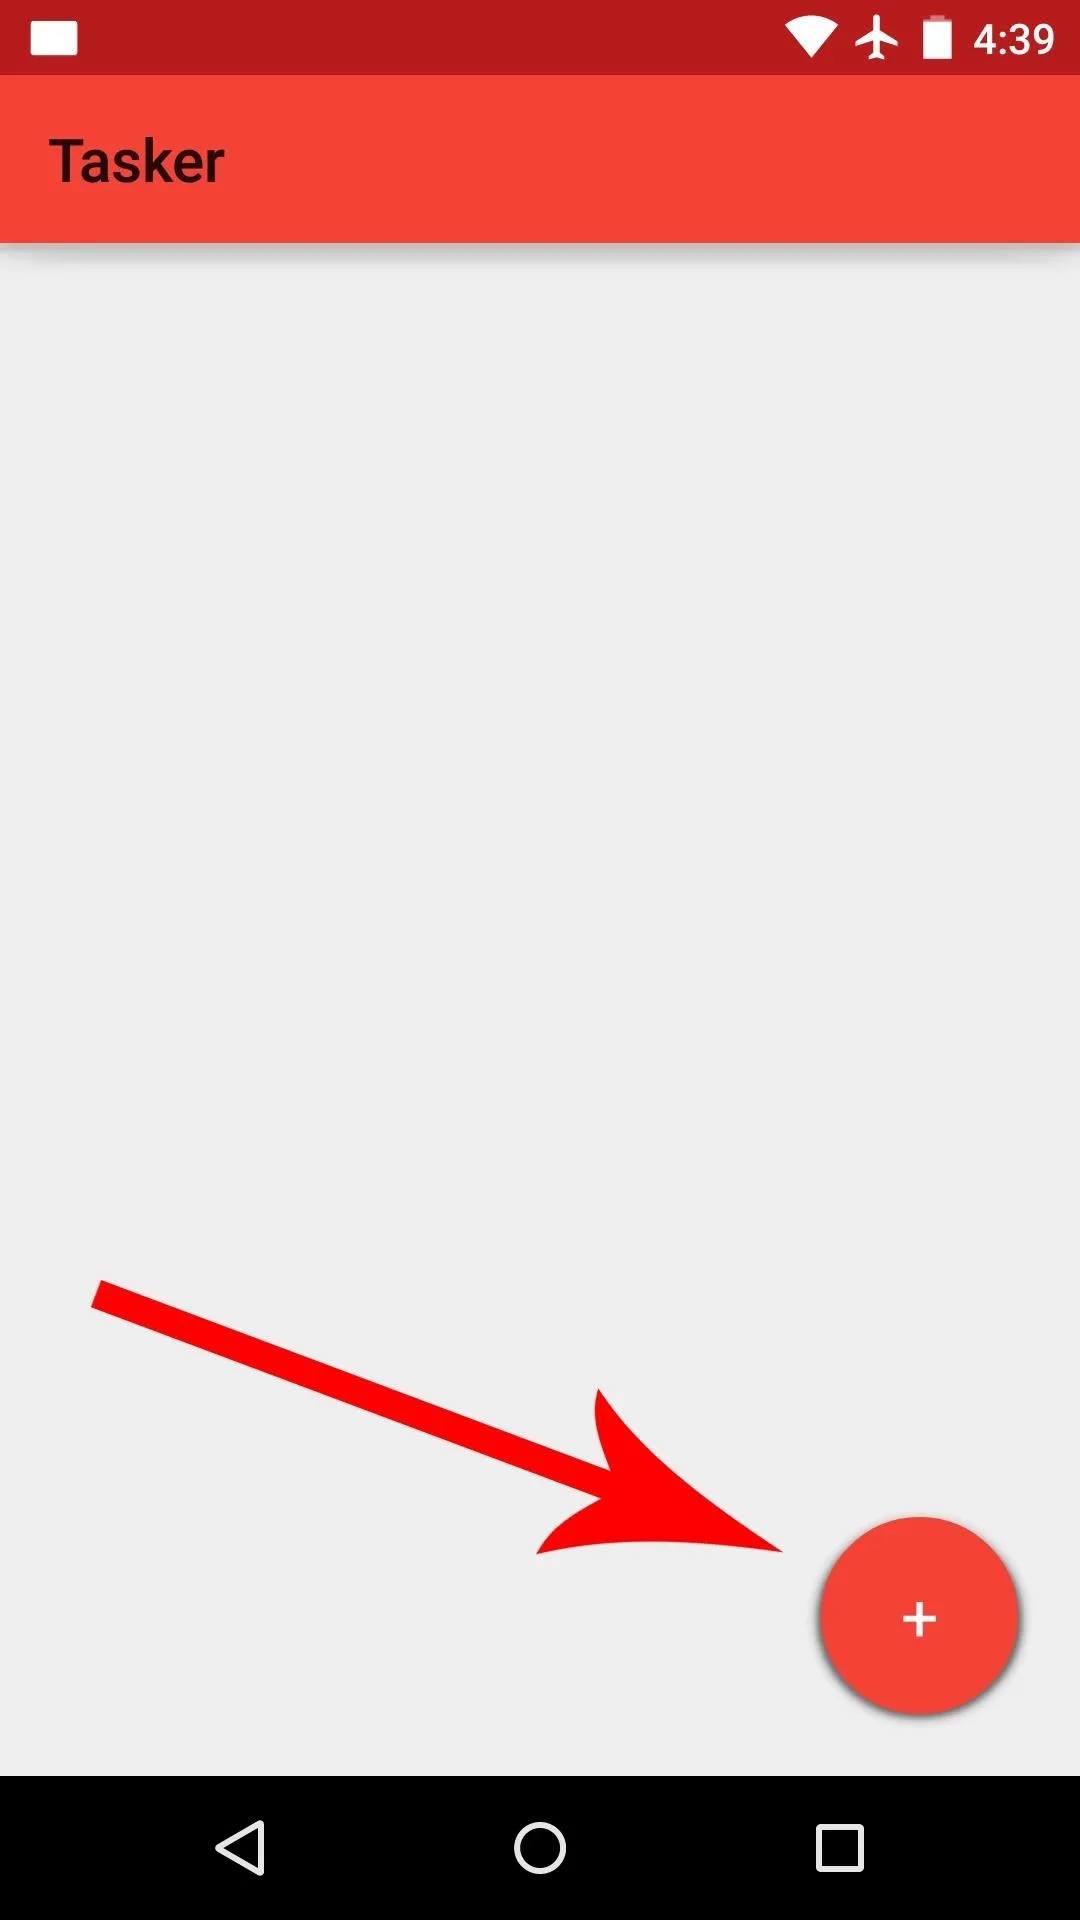


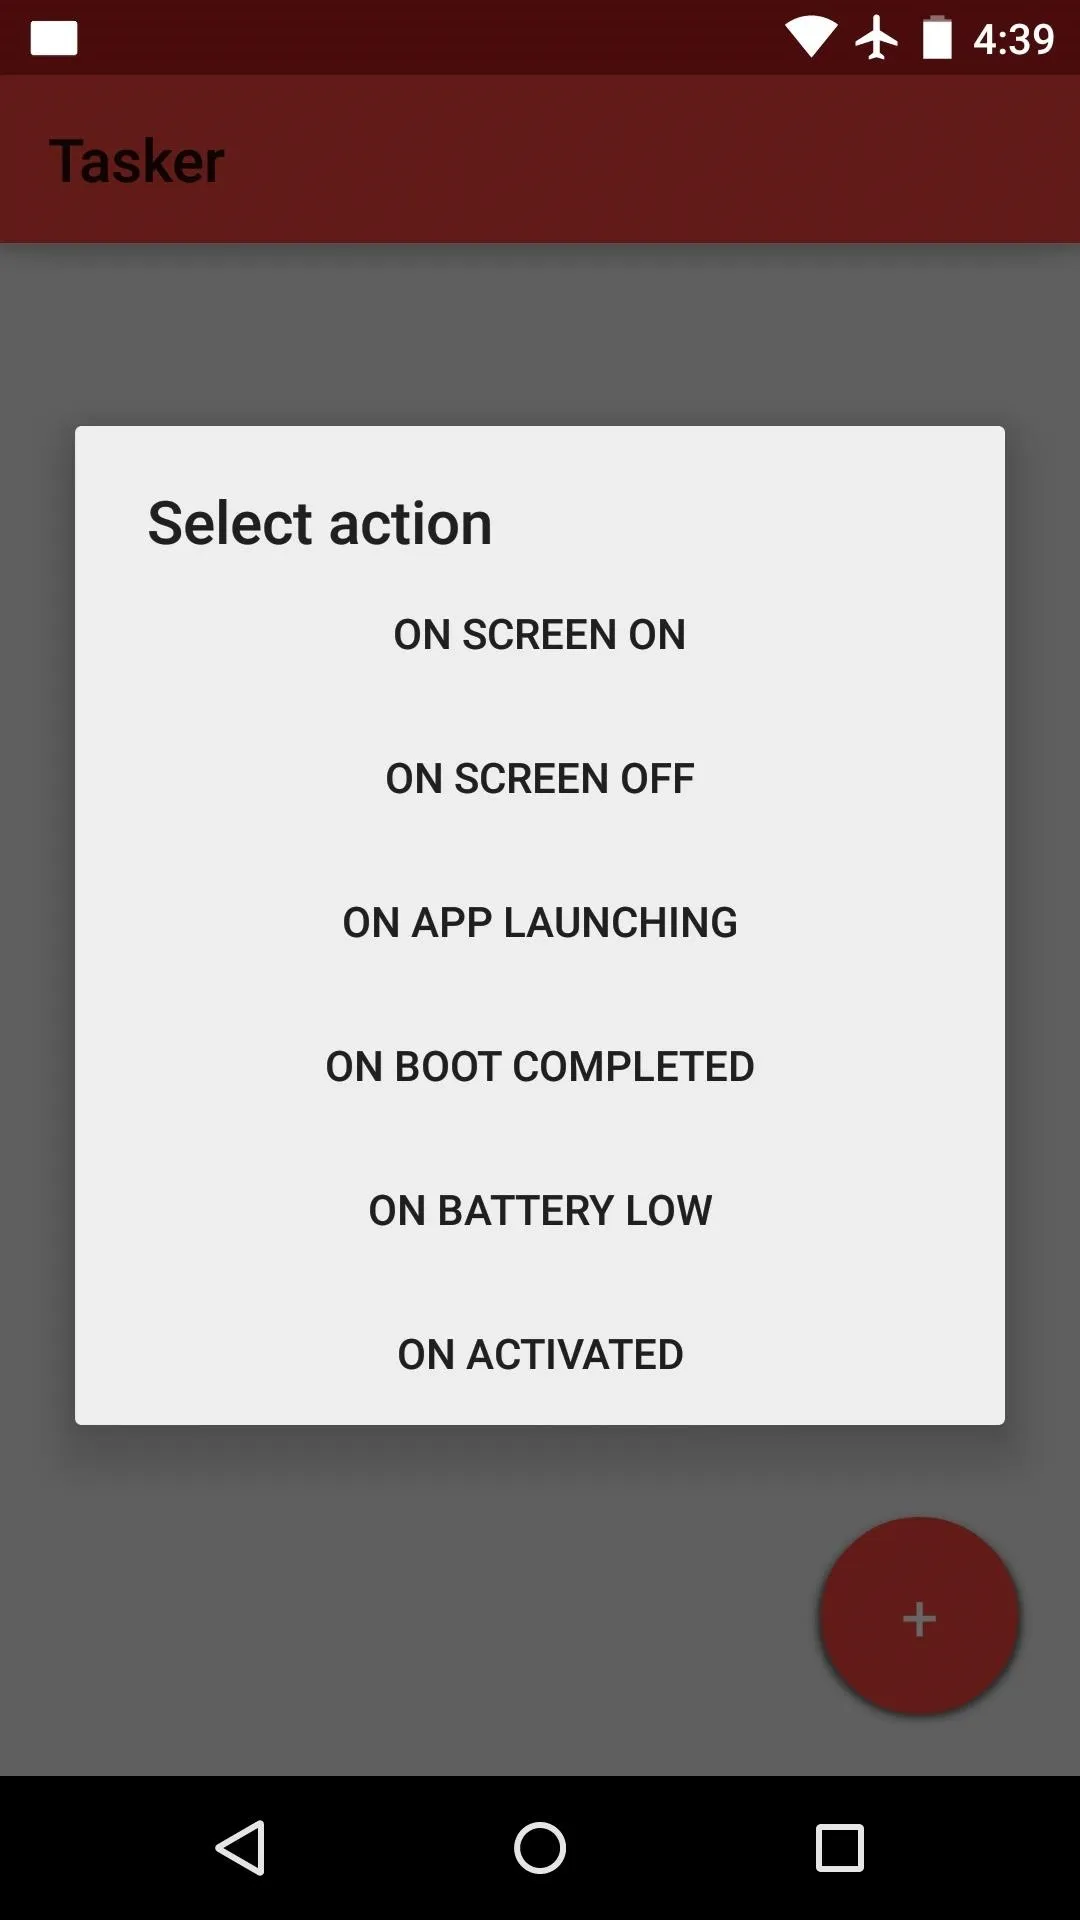
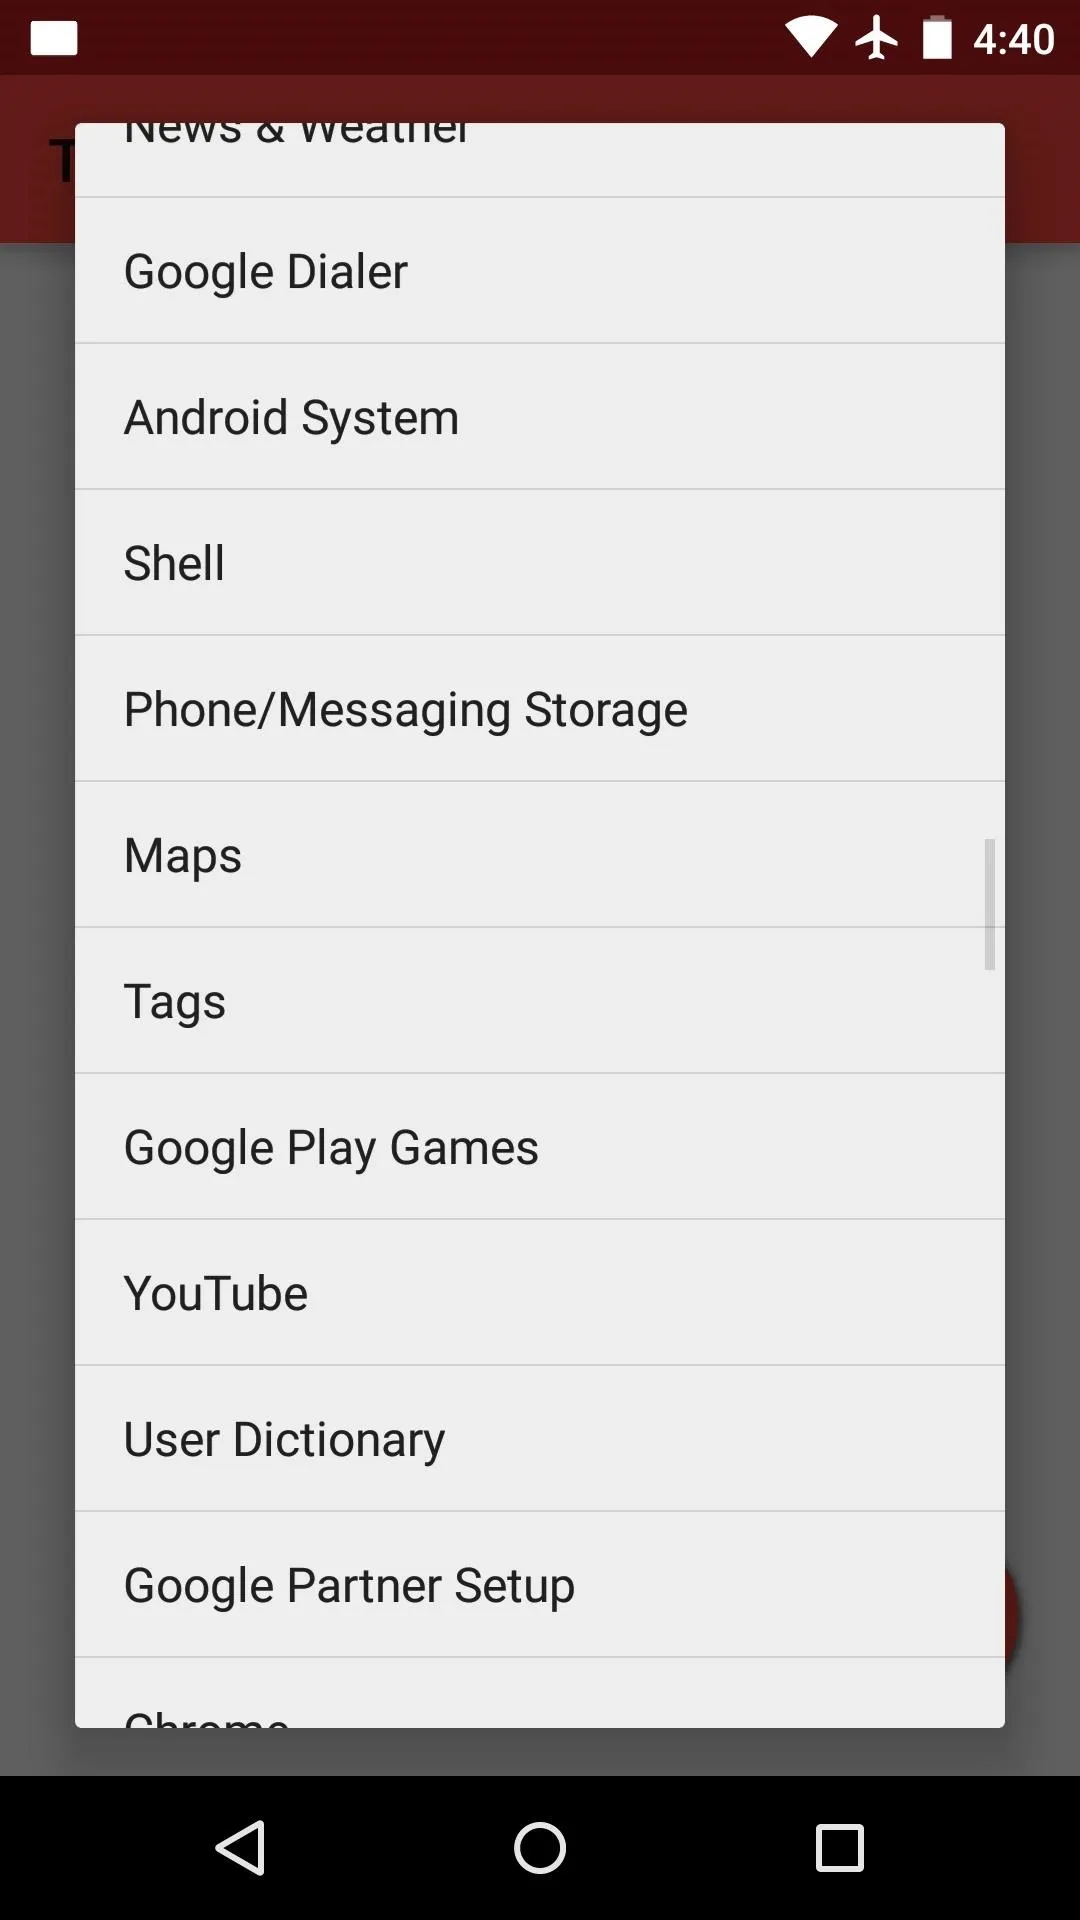
Next, choose a context for your profile. This is a condition that, if met, will automatically trigger the changes to your kernel settings. So for example, if you want to speed up your processor while you're running a certain app, select "On App Launching" here, then choose the app in question from the following list.


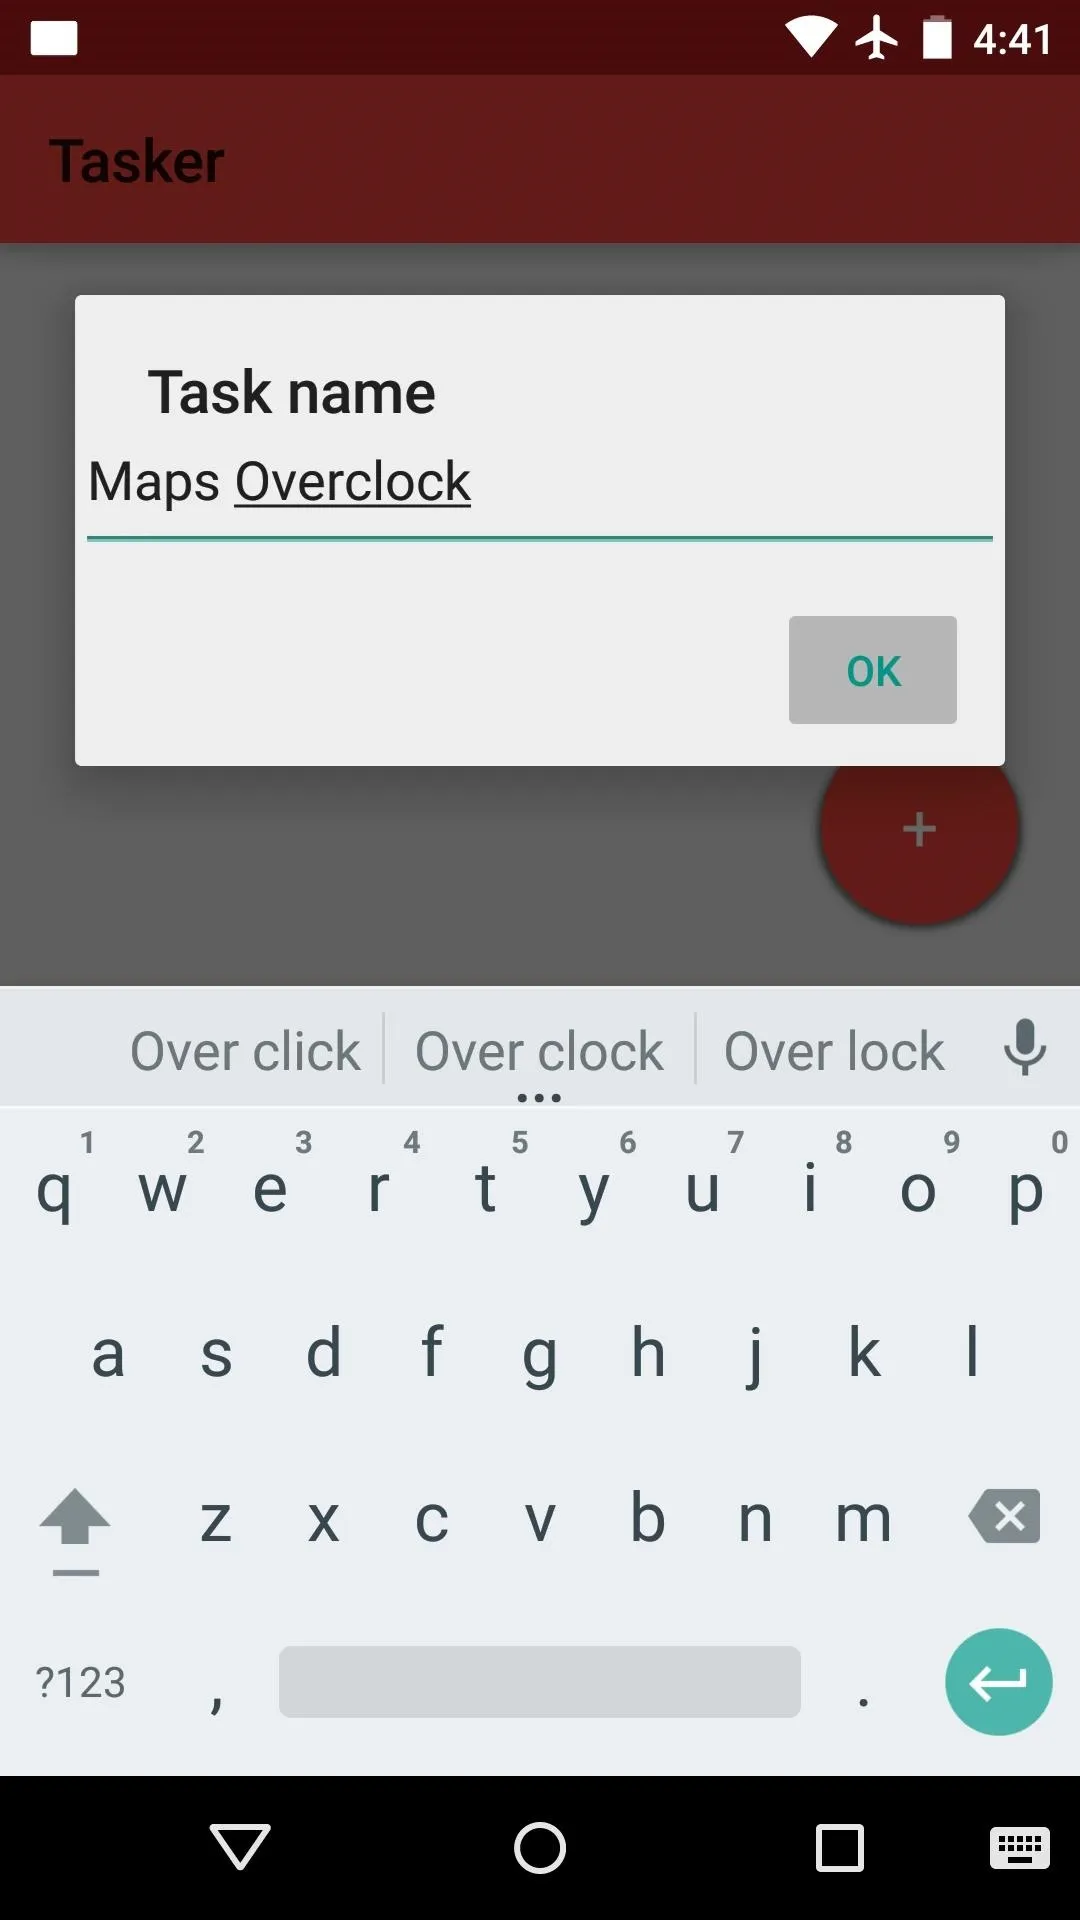
Next, you'll be asked to name this profile. Any name will work, as this is for your own reference. Press "OK" when you're done, then you'll be taken to the kernel configuration screen.
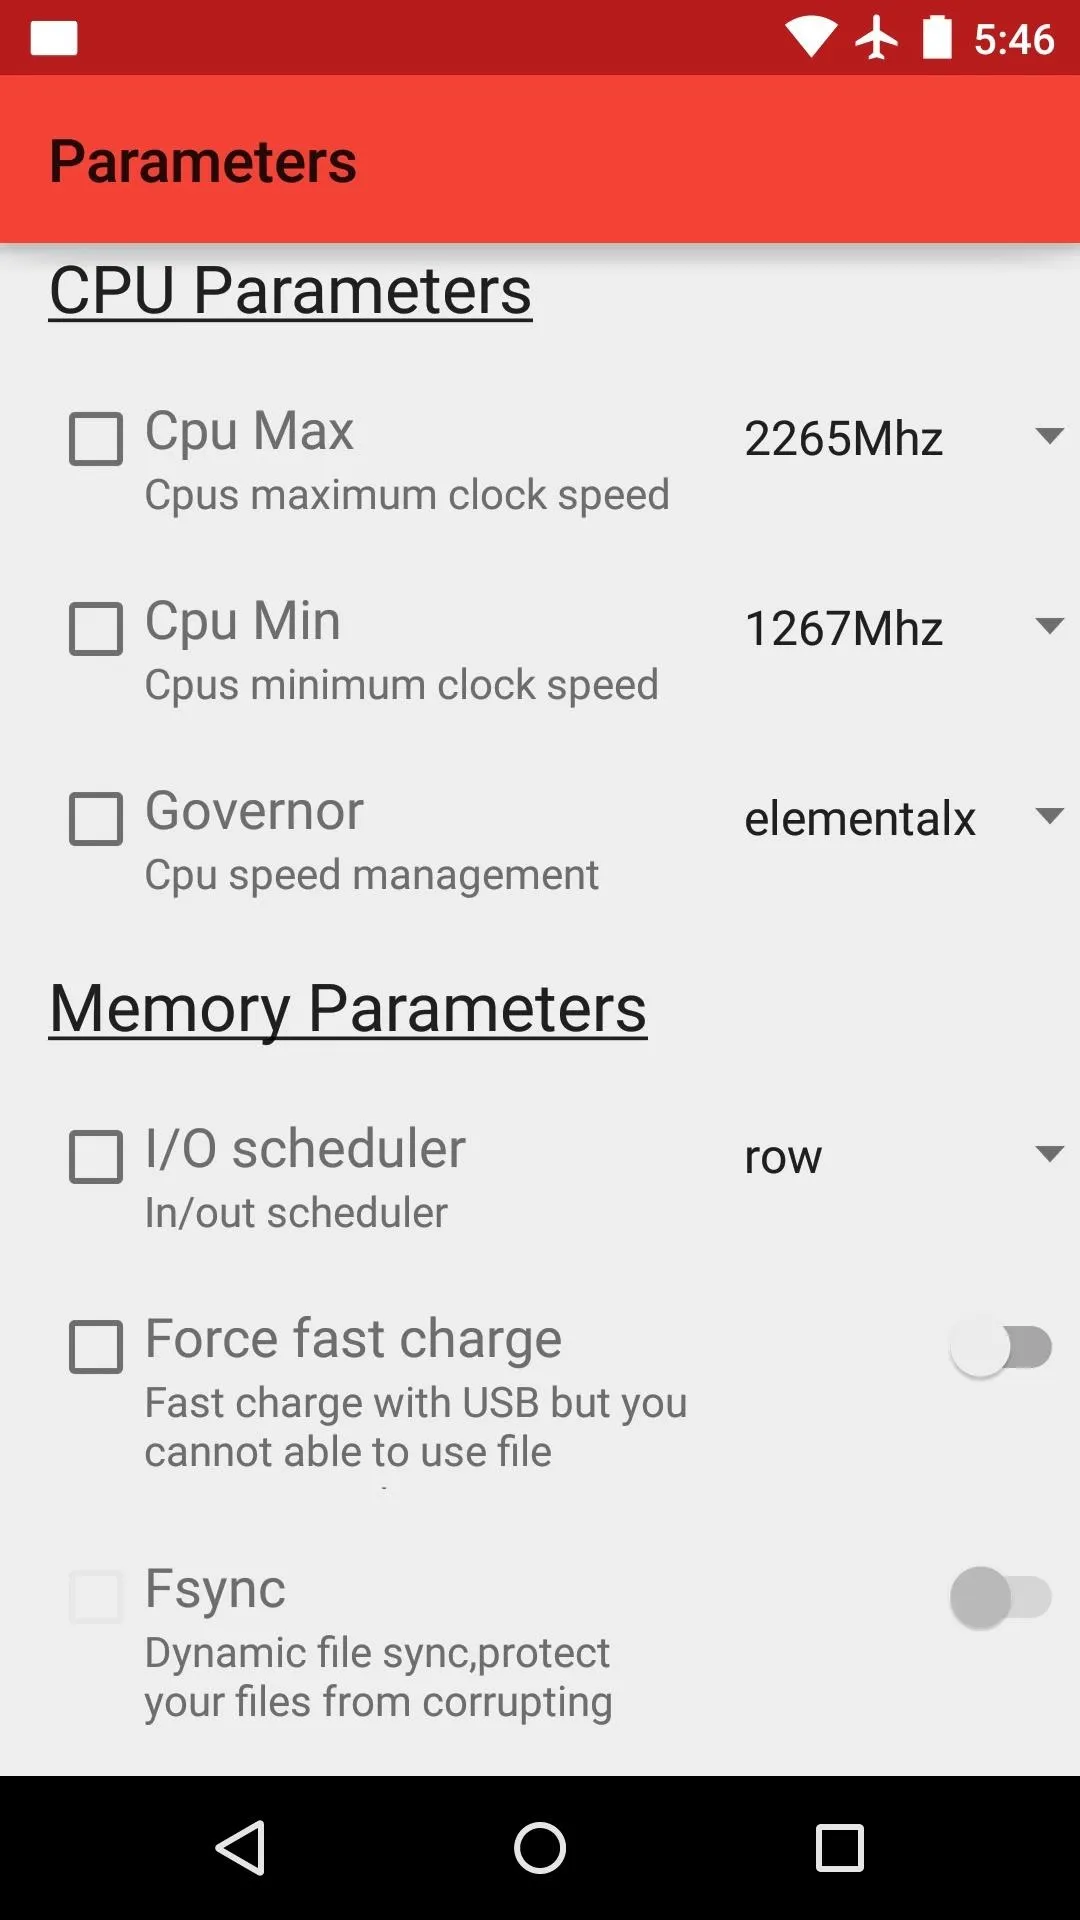


From here, tick the box next to any option that you would like to adjust automatically when this profile's conditions are met. In this example, I want to prevent my CPU from running slower than a certain clock speed when I open the Maps app, so I'll tick the box next to "CPU Min." After that, adjust the associated value—here, I'm raising the minimum CPU frequency to force my CPU to run at a faster speed while using this app.
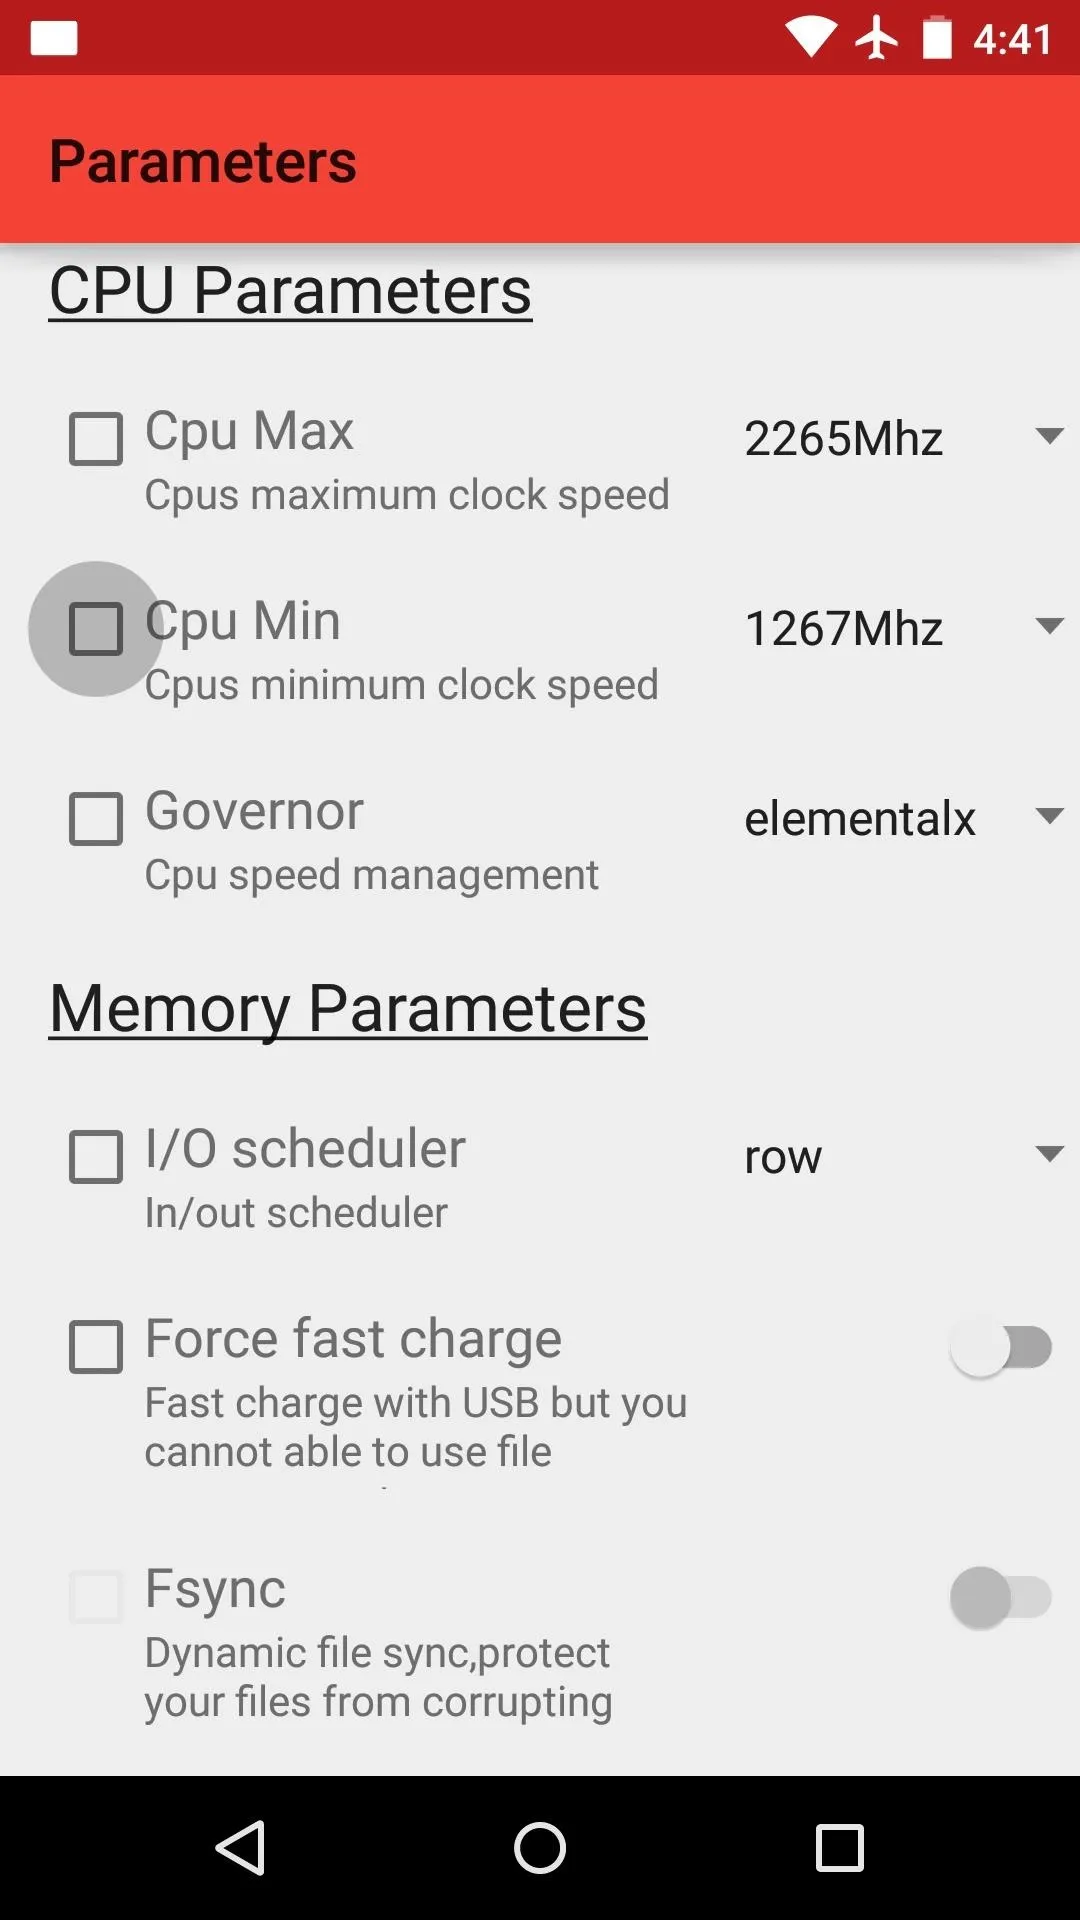
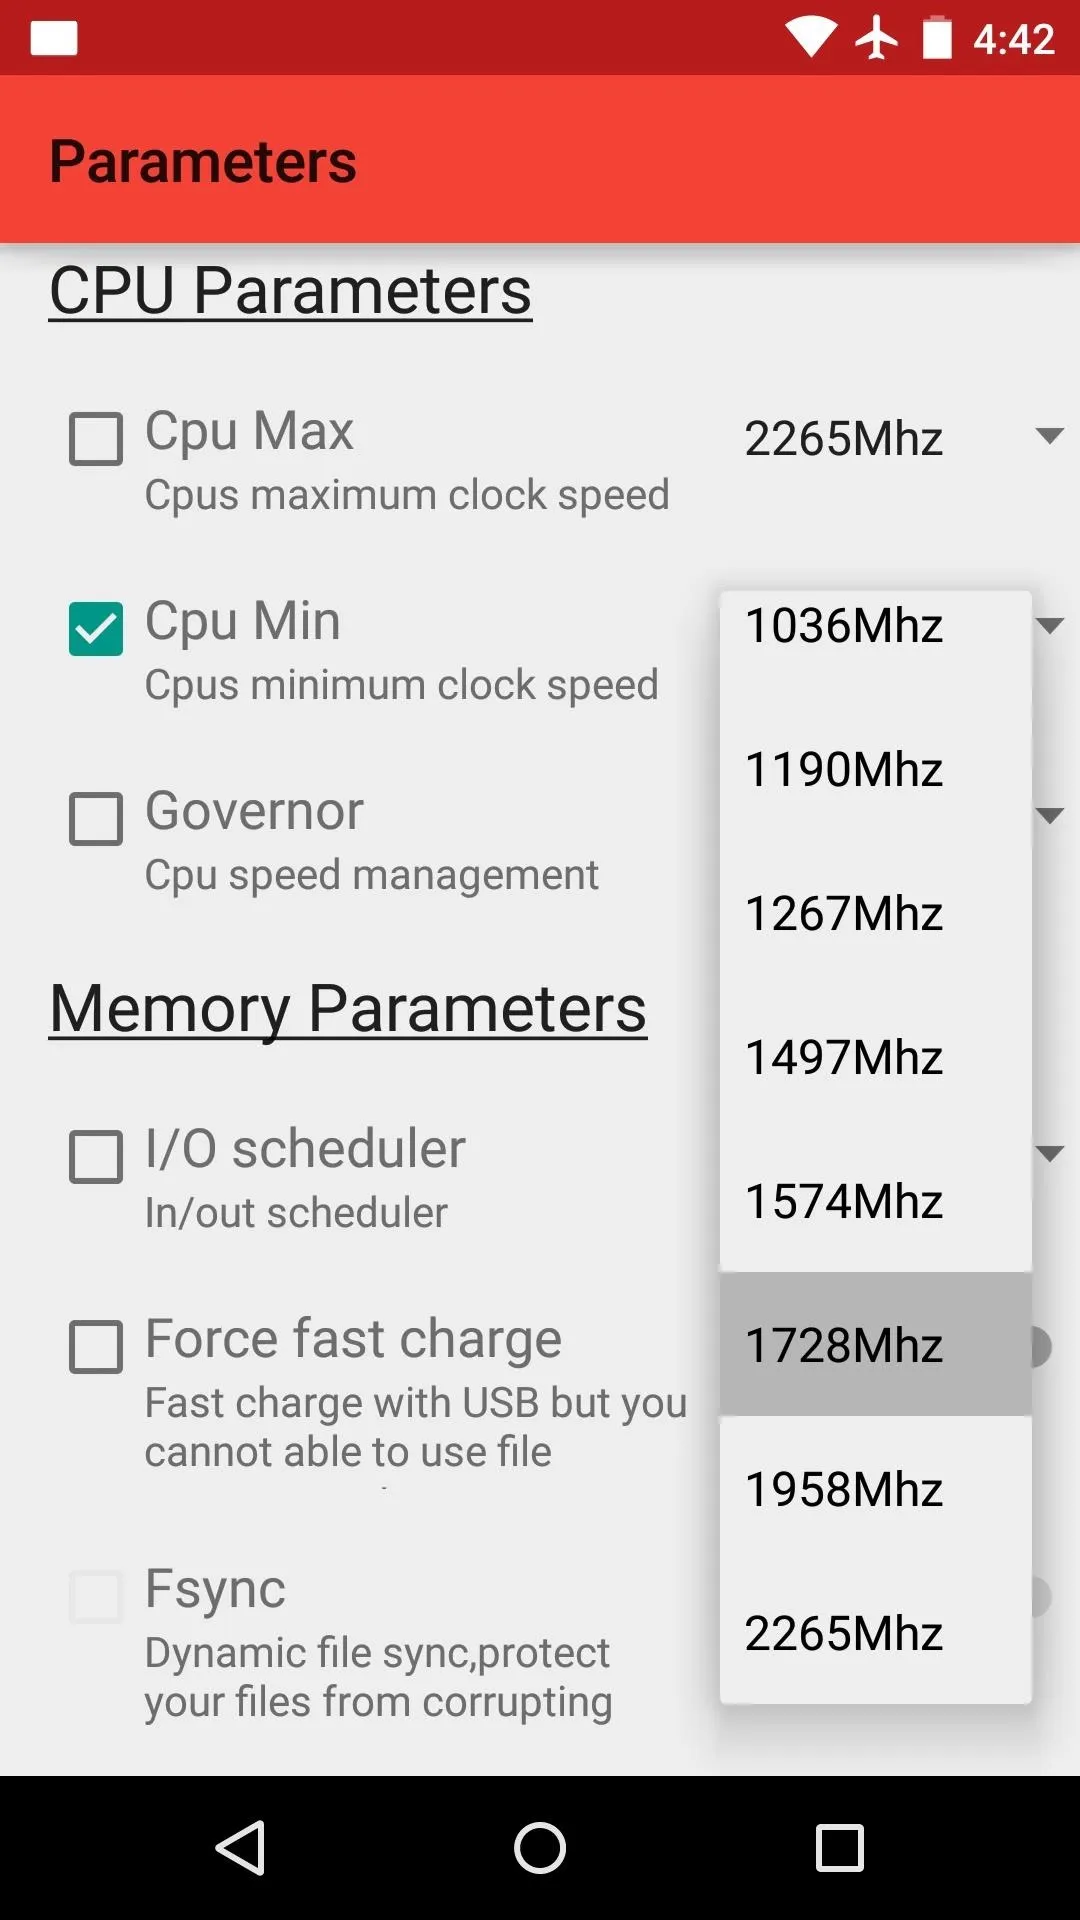


You can make changes to any of the other available options in this same manner—just tick the corresponding box, then set the value.
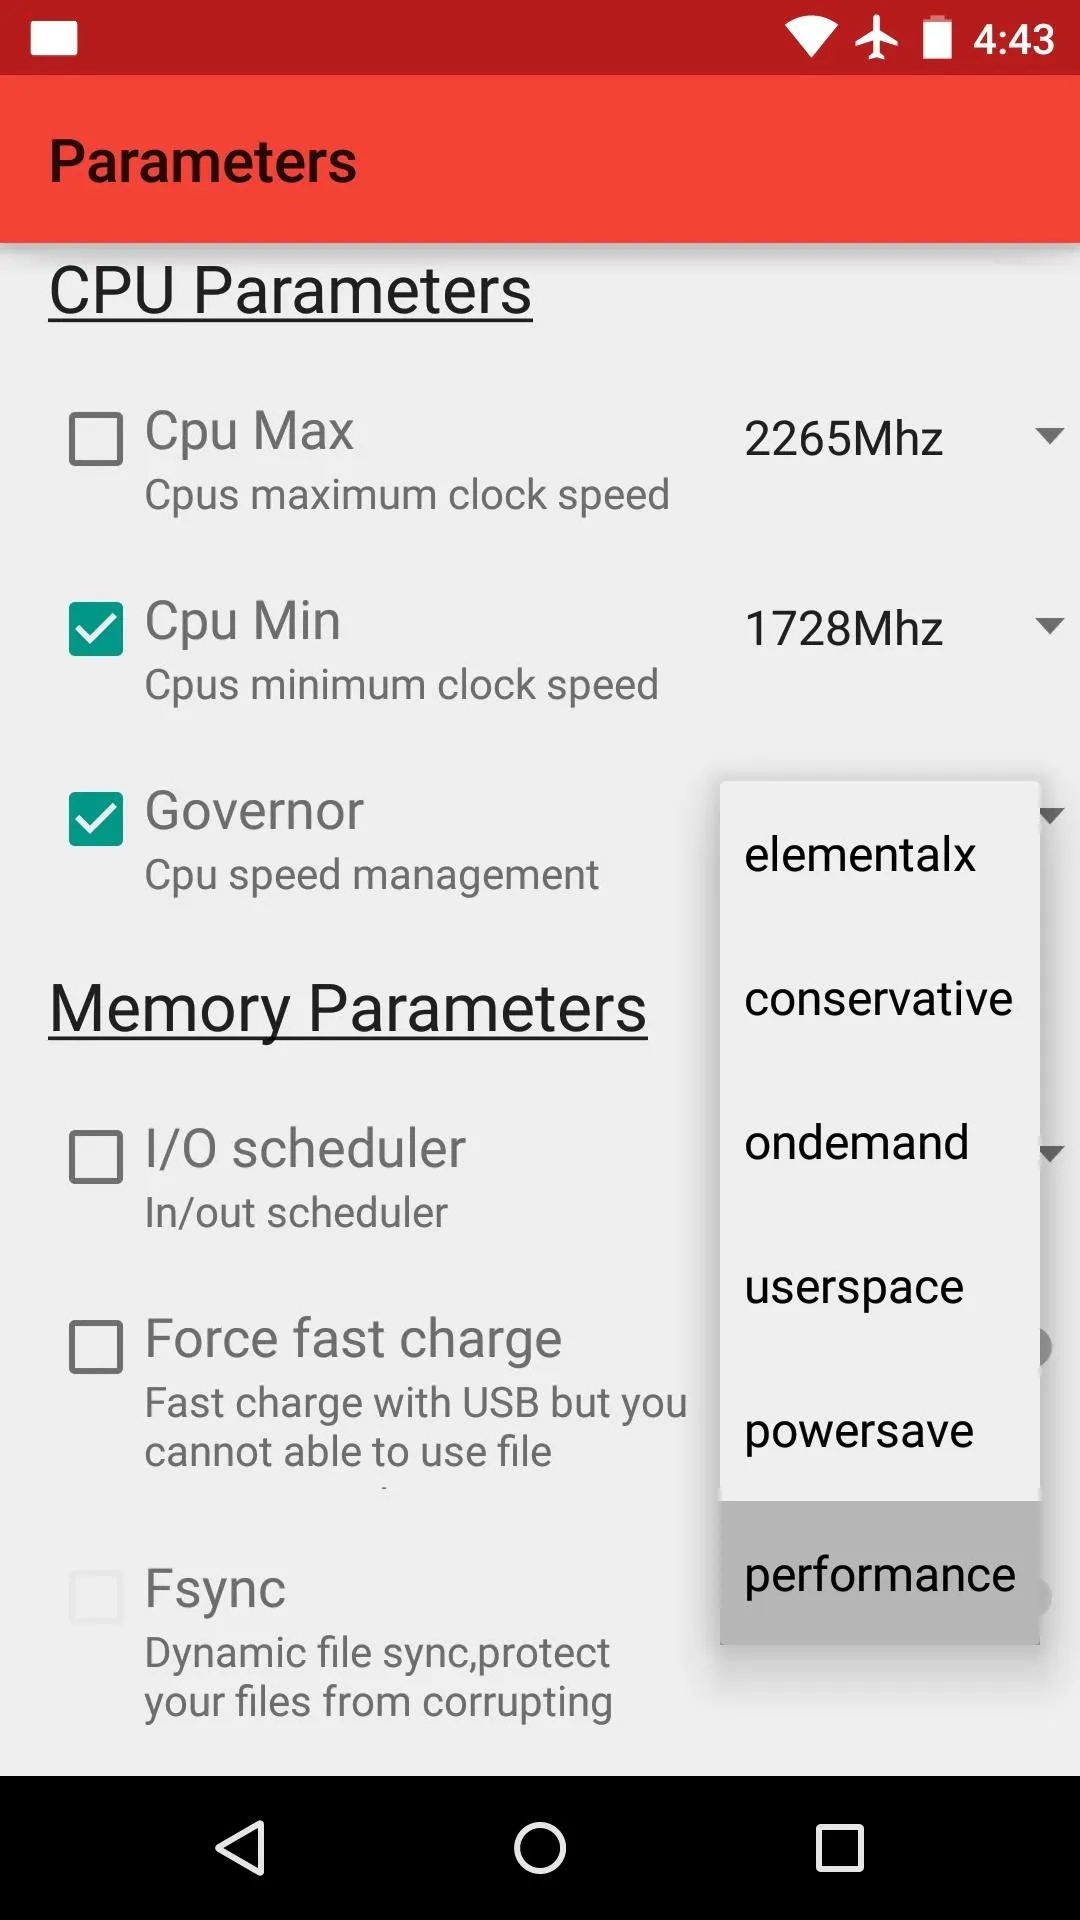
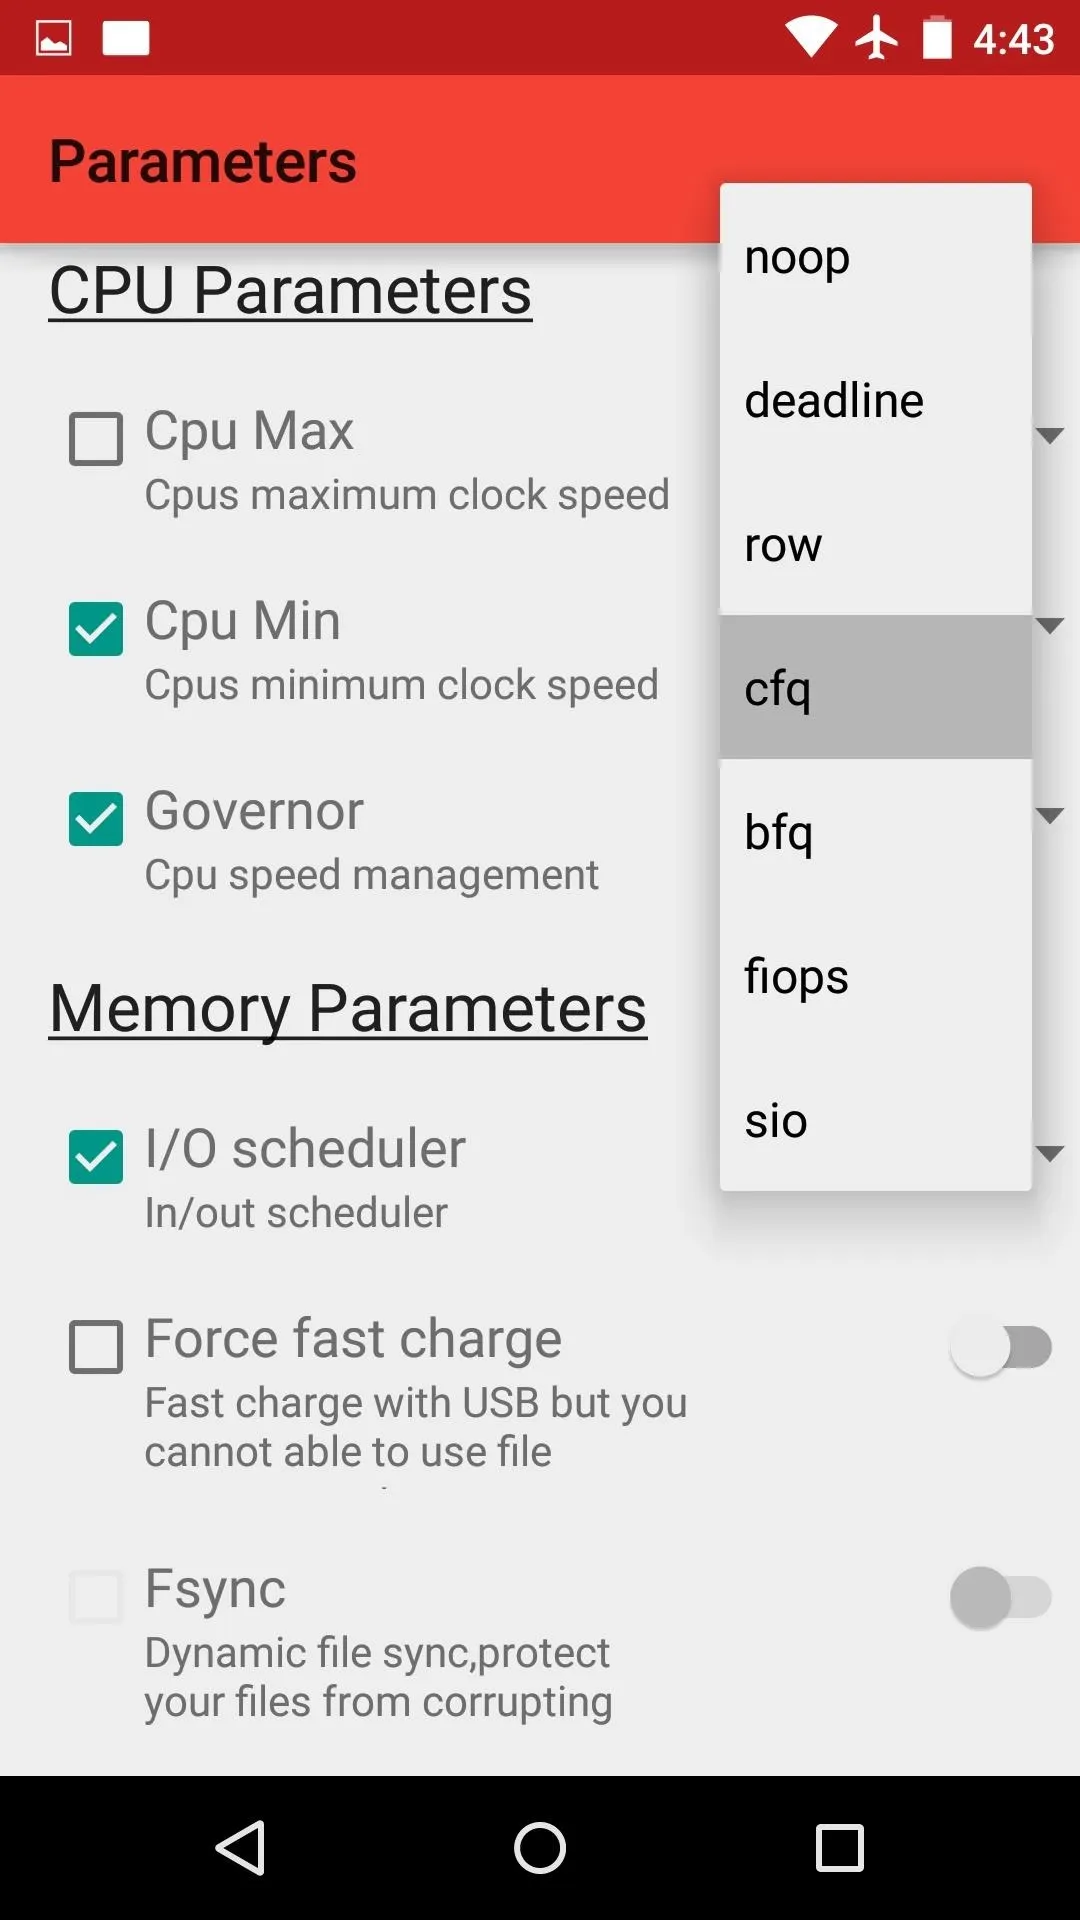


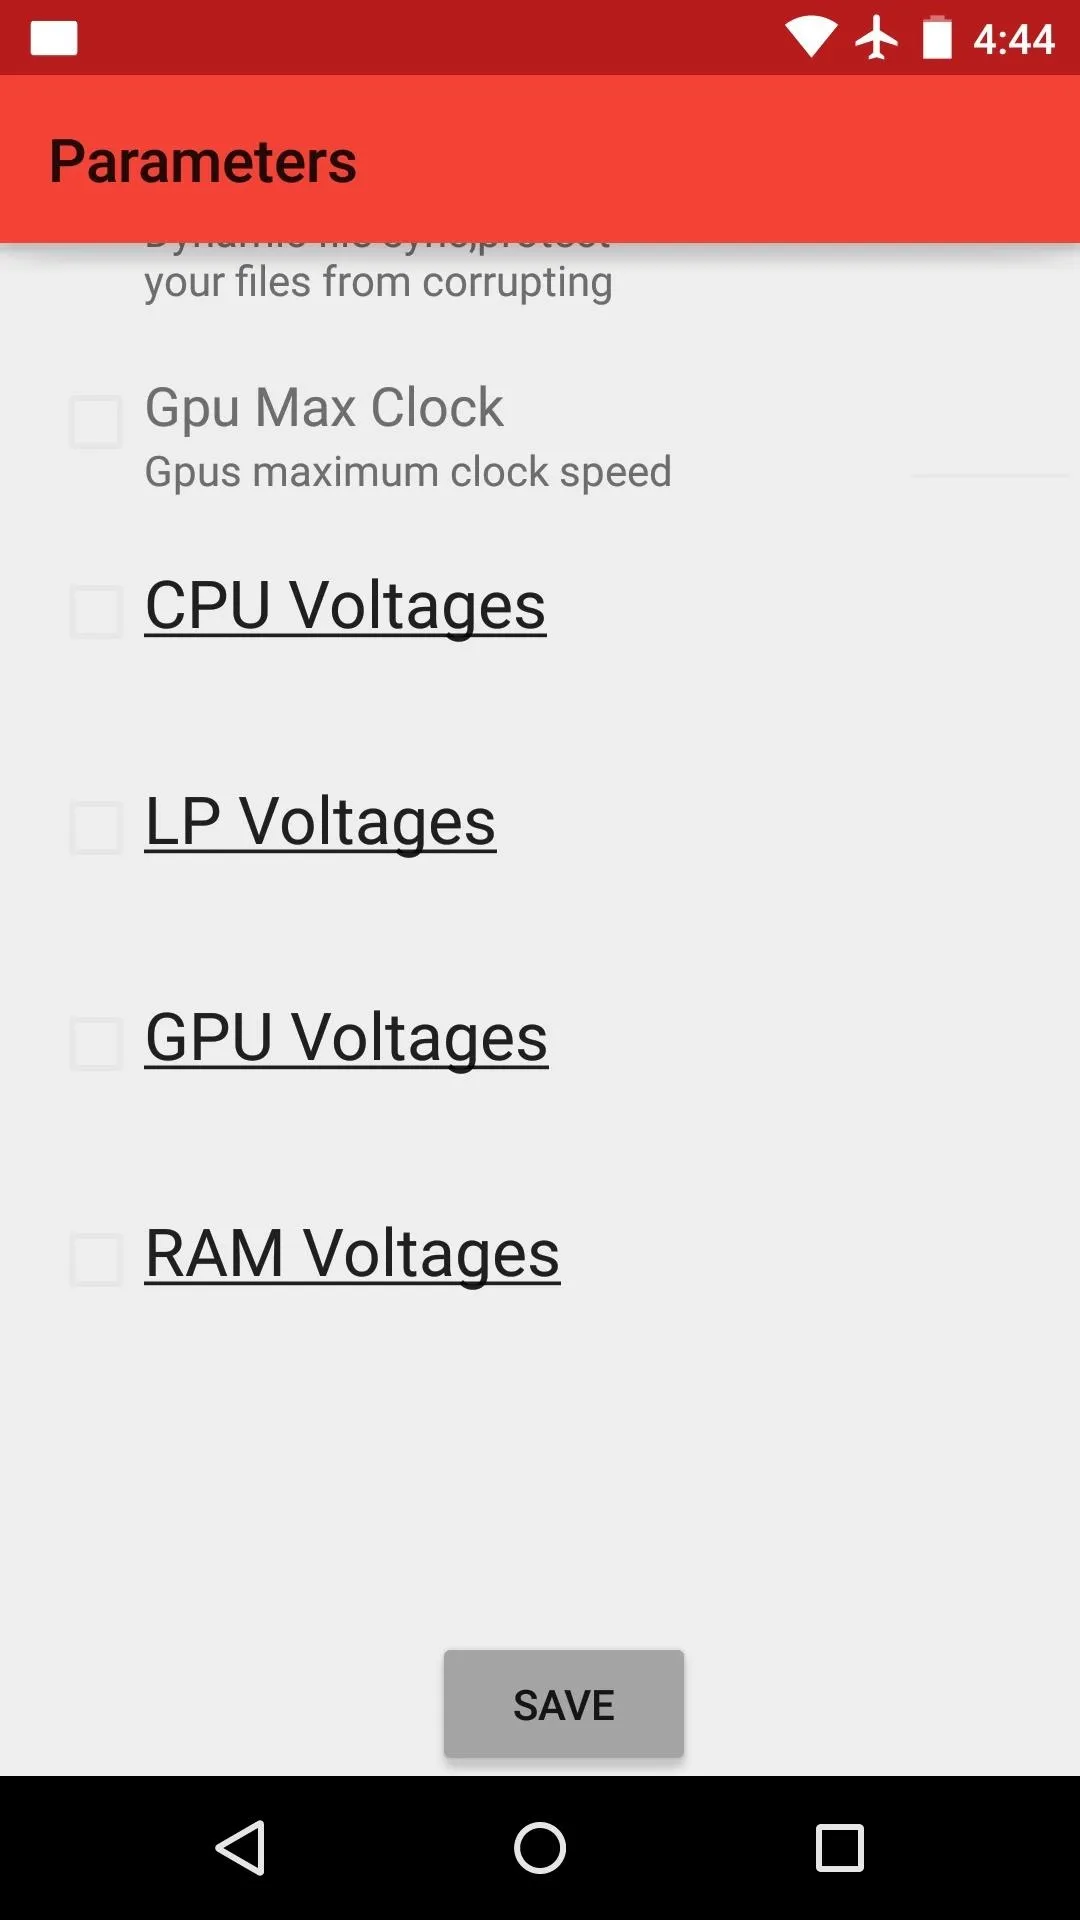
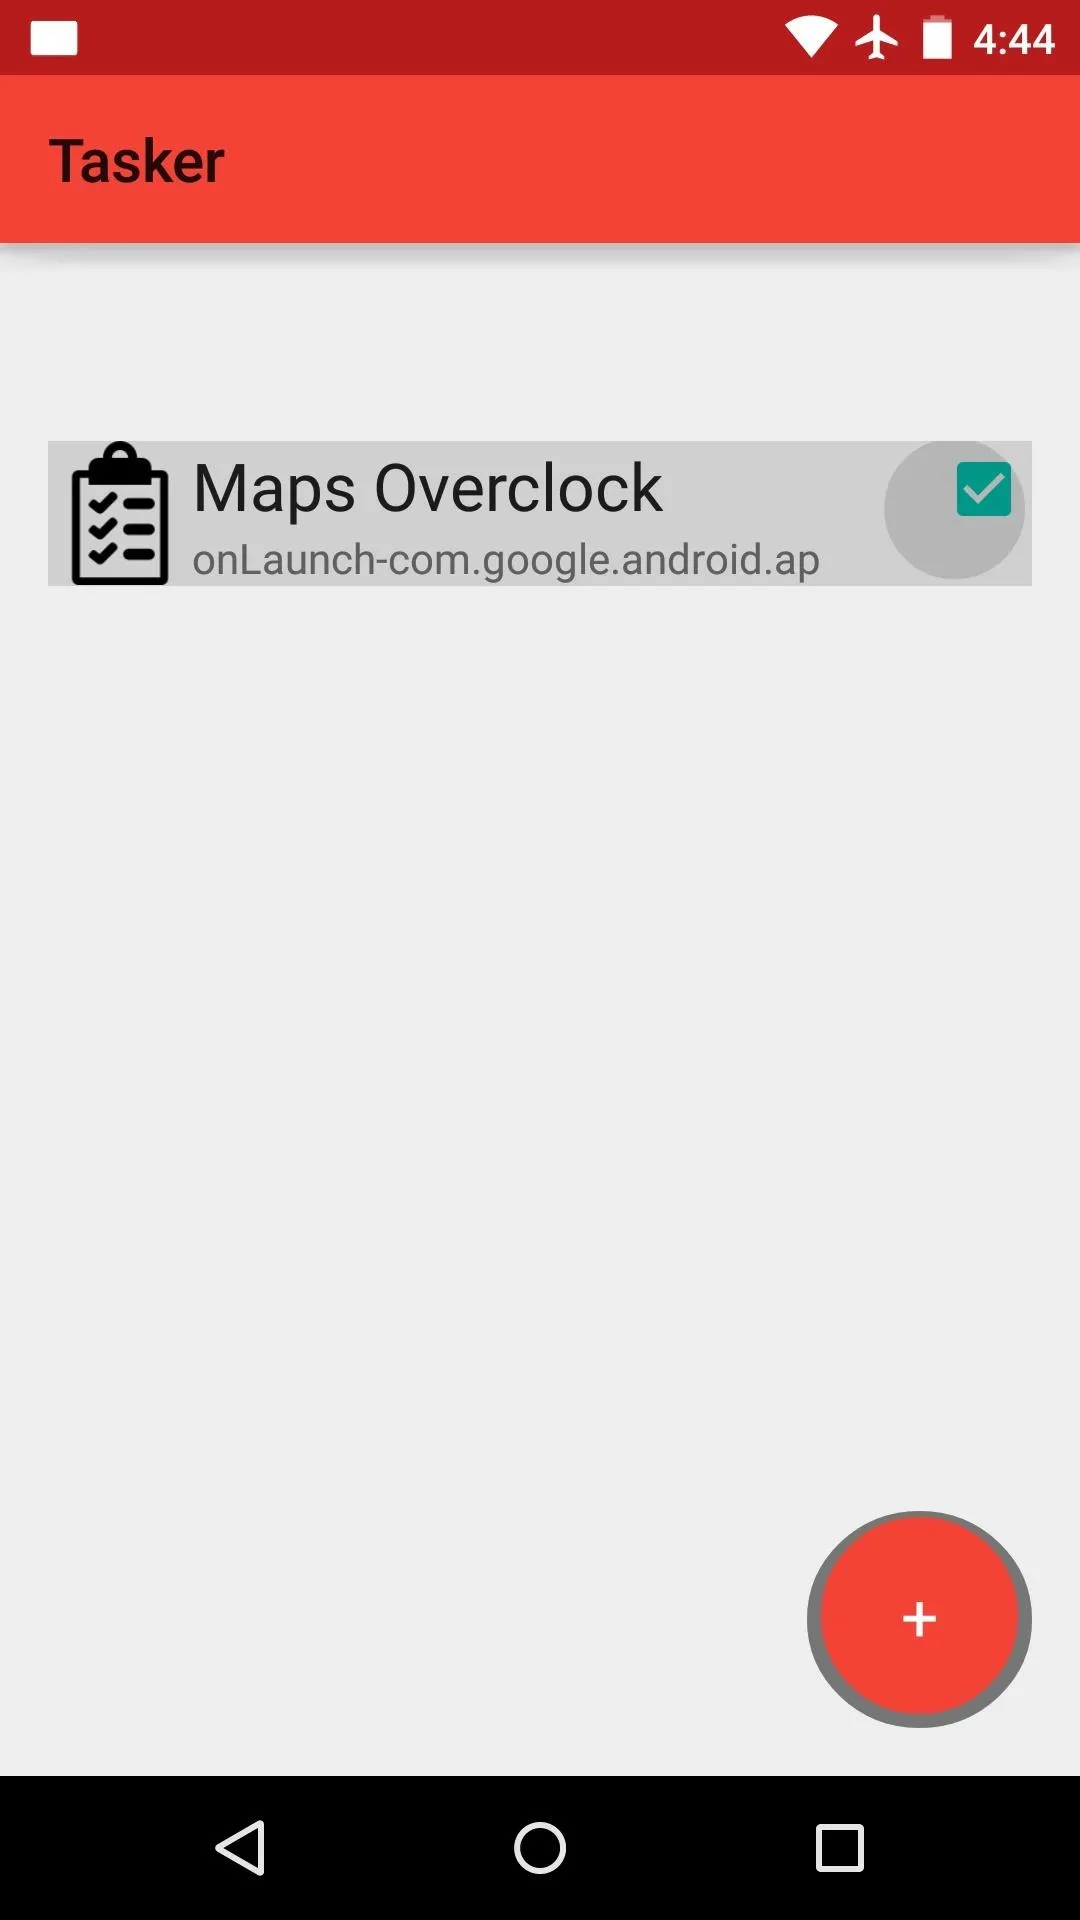
When you're done tweaking the settings, scroll down to the bottom of this menu and tap "Save." On the next screen, make sure to tick the box next to your new profile to enable it.


From now on, any time this profile's conditions are met, your kernel will automatically switch to the values you entered. In this example, when I open my Maps app, my CPU will be forced to run at a faster speed and the governor will switch to "cfq" mode automatically. When the profile's conditions stop being met (in this case, when I exit my Maps app), the kernel will go back to the default values that you configured in Step 2.
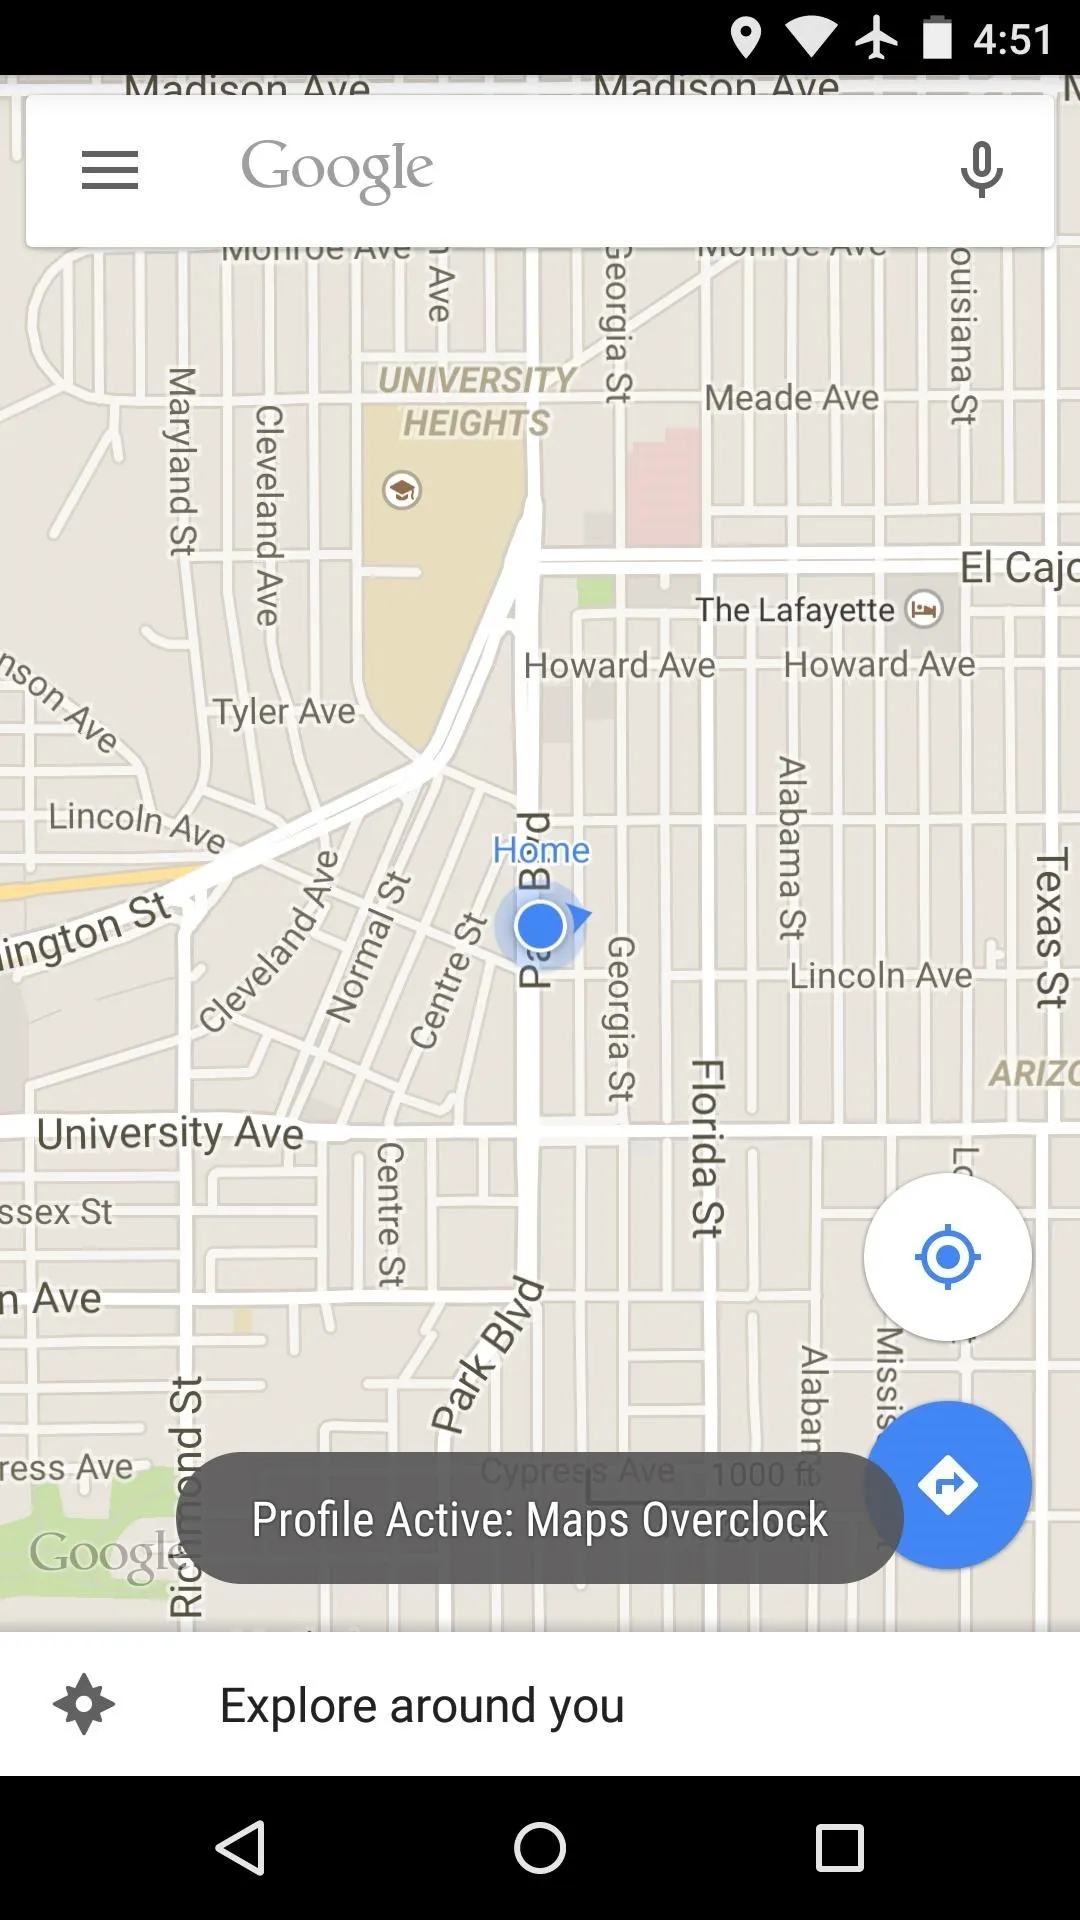
Kernel Profile triggered

Kernel settings revert when leaving the app

Kernel Profile triggered

Kernel settings revert when leaving the app
You can use this app to tailor your kernel settings to your particular usage, so the possibilities are almost endless. For example, you can underclock your CPU when your screen is off to conserve battery, then have it ramp back up automatically when you turn your screen back on.
Now that you know how it all works, what profiles do you plan on creating, or have created already, with Kernel Tasker?
Follow Gadget Hacks on Facebook, Google+, or Twitter for more tips.



Comments
No Comments Exist
Be the first, drop a comment!