There's a known issue affecting some Nexus 5 users where the speaker volume is fairly low. This could be attributed to a manufacturing defect, which you could possibly fix with a hot needle, but if your built-in speakers and headphones seem muted, don't take your Nexus apart just yet.
If your music is playing too softly on the built-in speakers and you're having slightly muted audio on your headphones, your Nexus 5 system volume levels might just need tweaked.
Developer Marc Robillard (presumably no relation to the Canadian musician) has released an app that streamlines the process of boosting the Nexus 5's volume. Based on work done by fellow developer SuperHanssover on XDA, his app Nexus 5 Real Volume Booster lets you create a flashable ZIP with customized volume levels.
What You'll Need for This softMod
- Rooted Nexus 5
- Custom Recovery
- Nexus 5 Real Volume Booster (free from Google Play)
Step 1: Set the Volume Levels
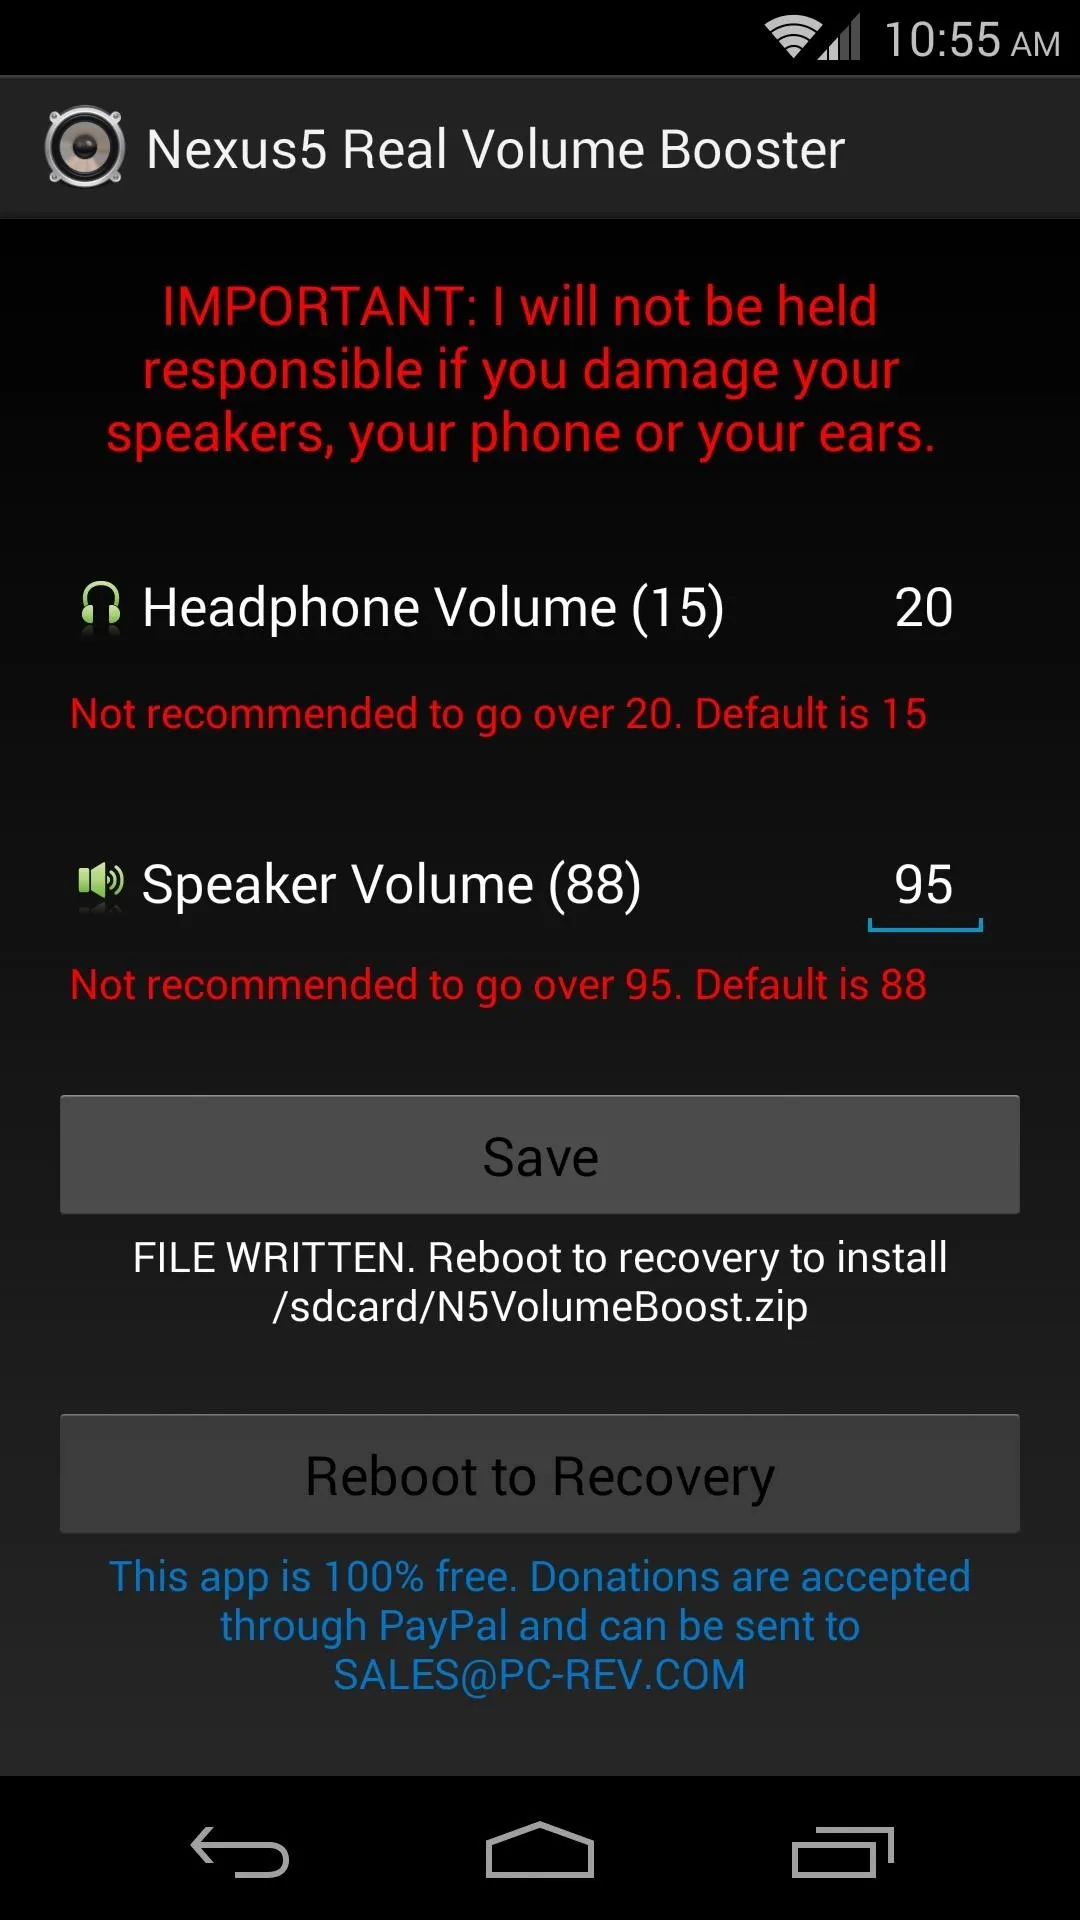
Once you have N5RVB open, you can set the volume levels to your liking. The higher the numbers you enter, the higher the volume will be.
The first value will change the output volume for media playing through your headphones. The second value will change the volume level for anything coming through your phone's speaker.
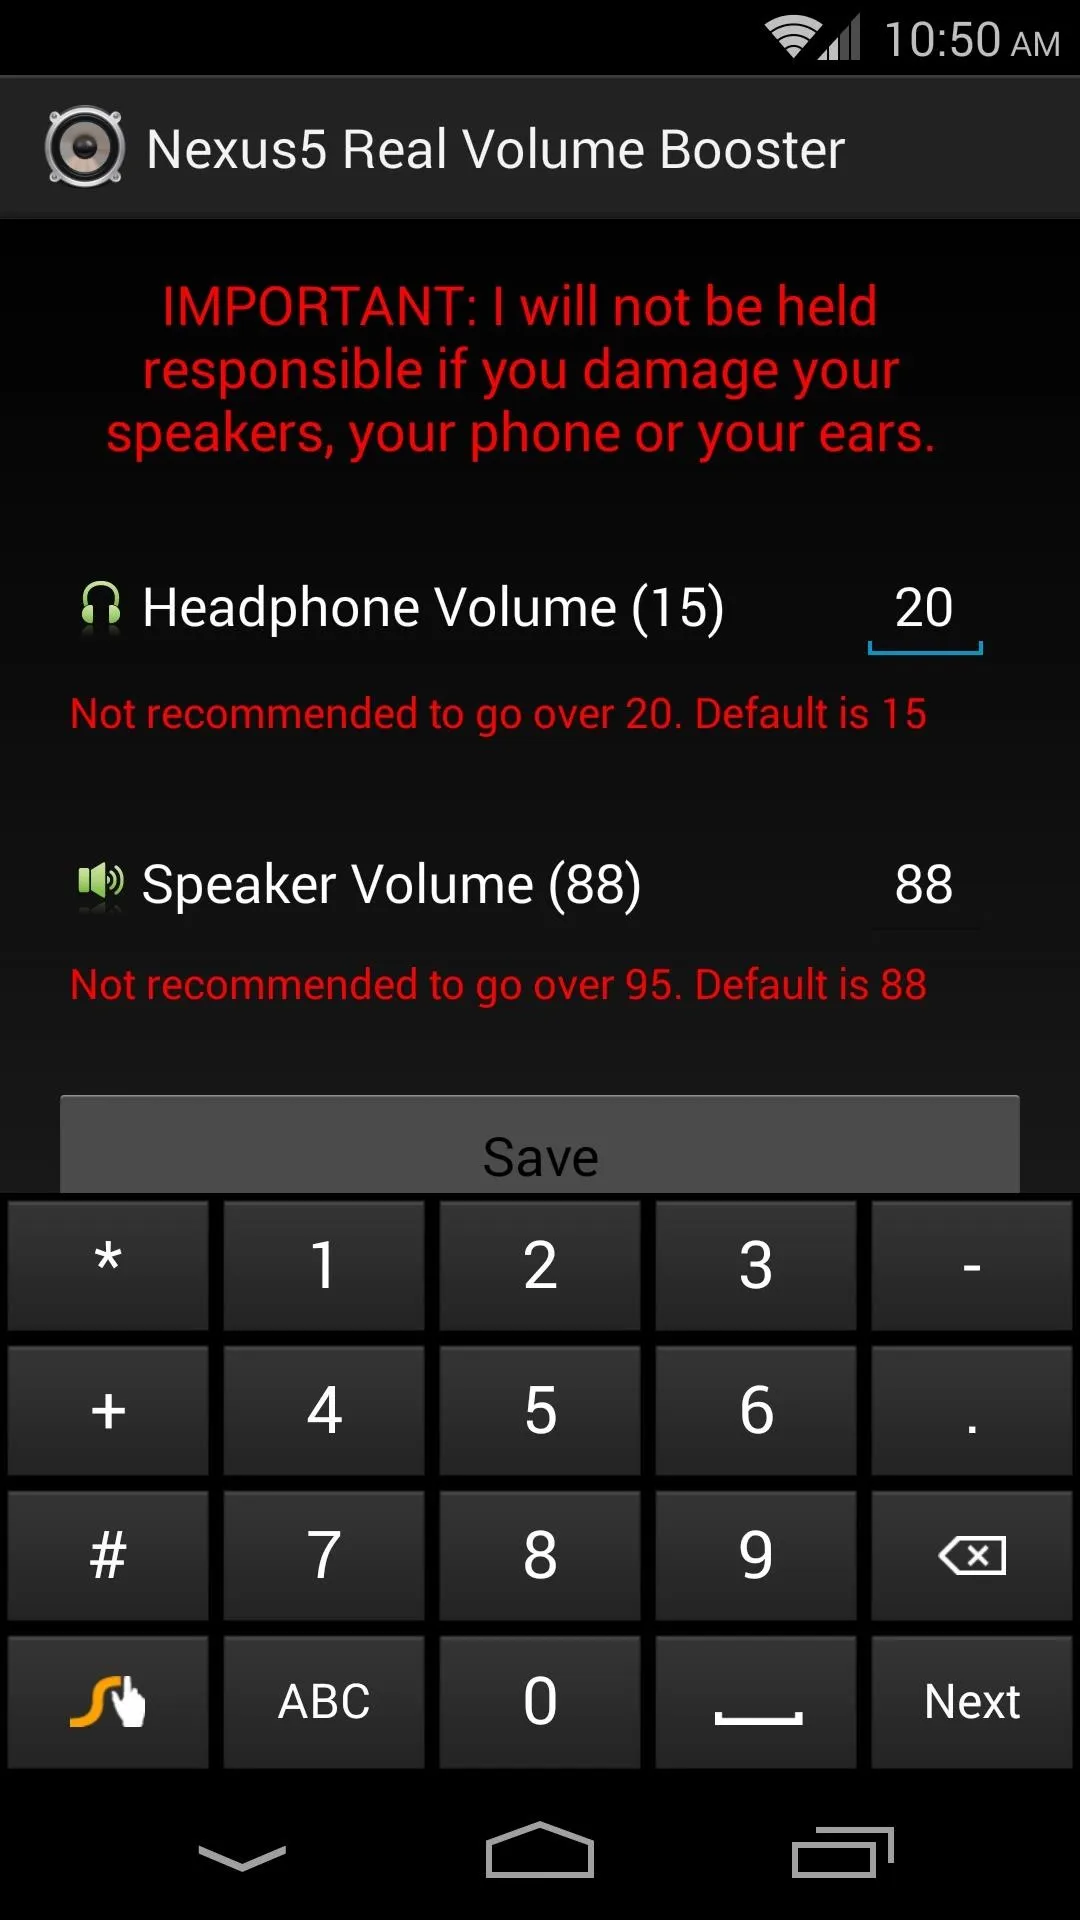
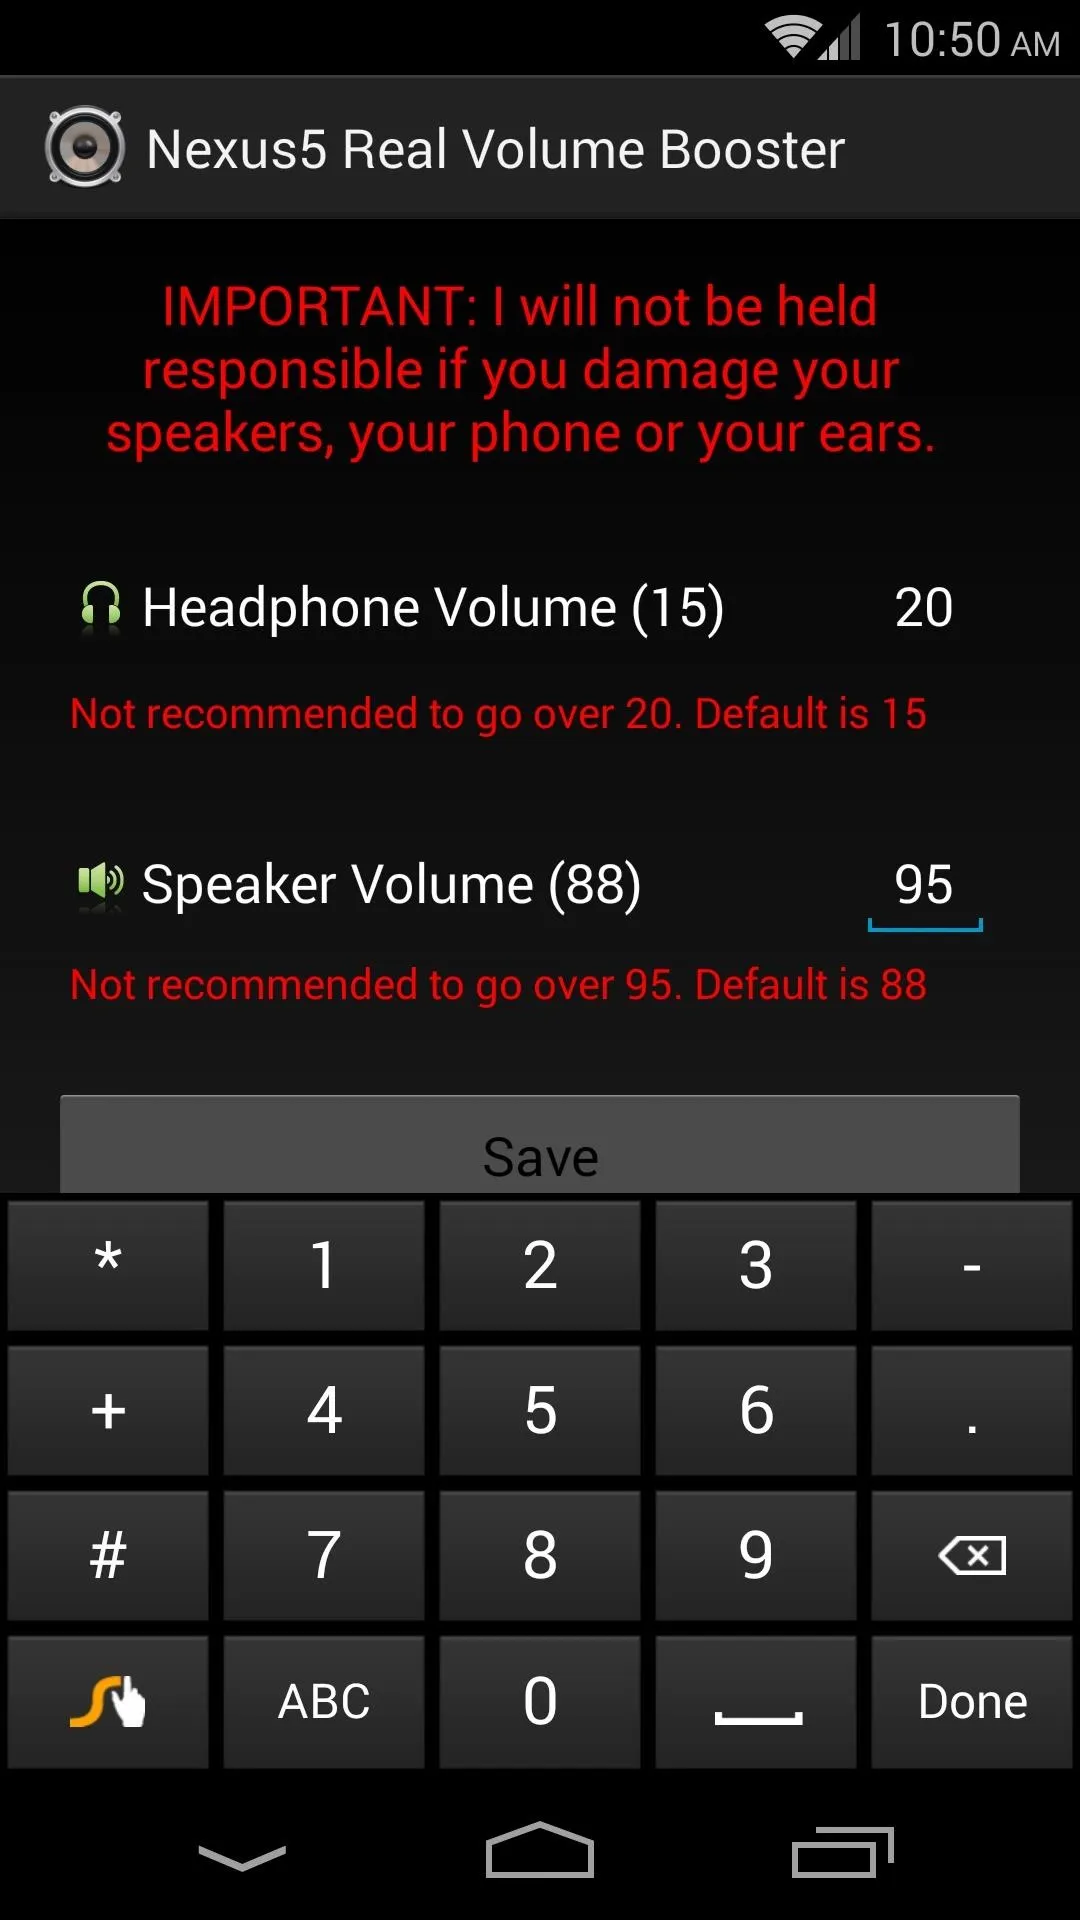


The most important thing to note here is the Maximum Value depicted in red below each entry. For Headphone Volume, do not exceed 20. For Speaker Volume, do not exceed 95.
Step 2: Create the Flashable ZIP
When you're satisfied with your volume level entries, you'll need to create a ZIP file that can be flashed in custom recovery to apply these changes. Do that by tapping the Save button.
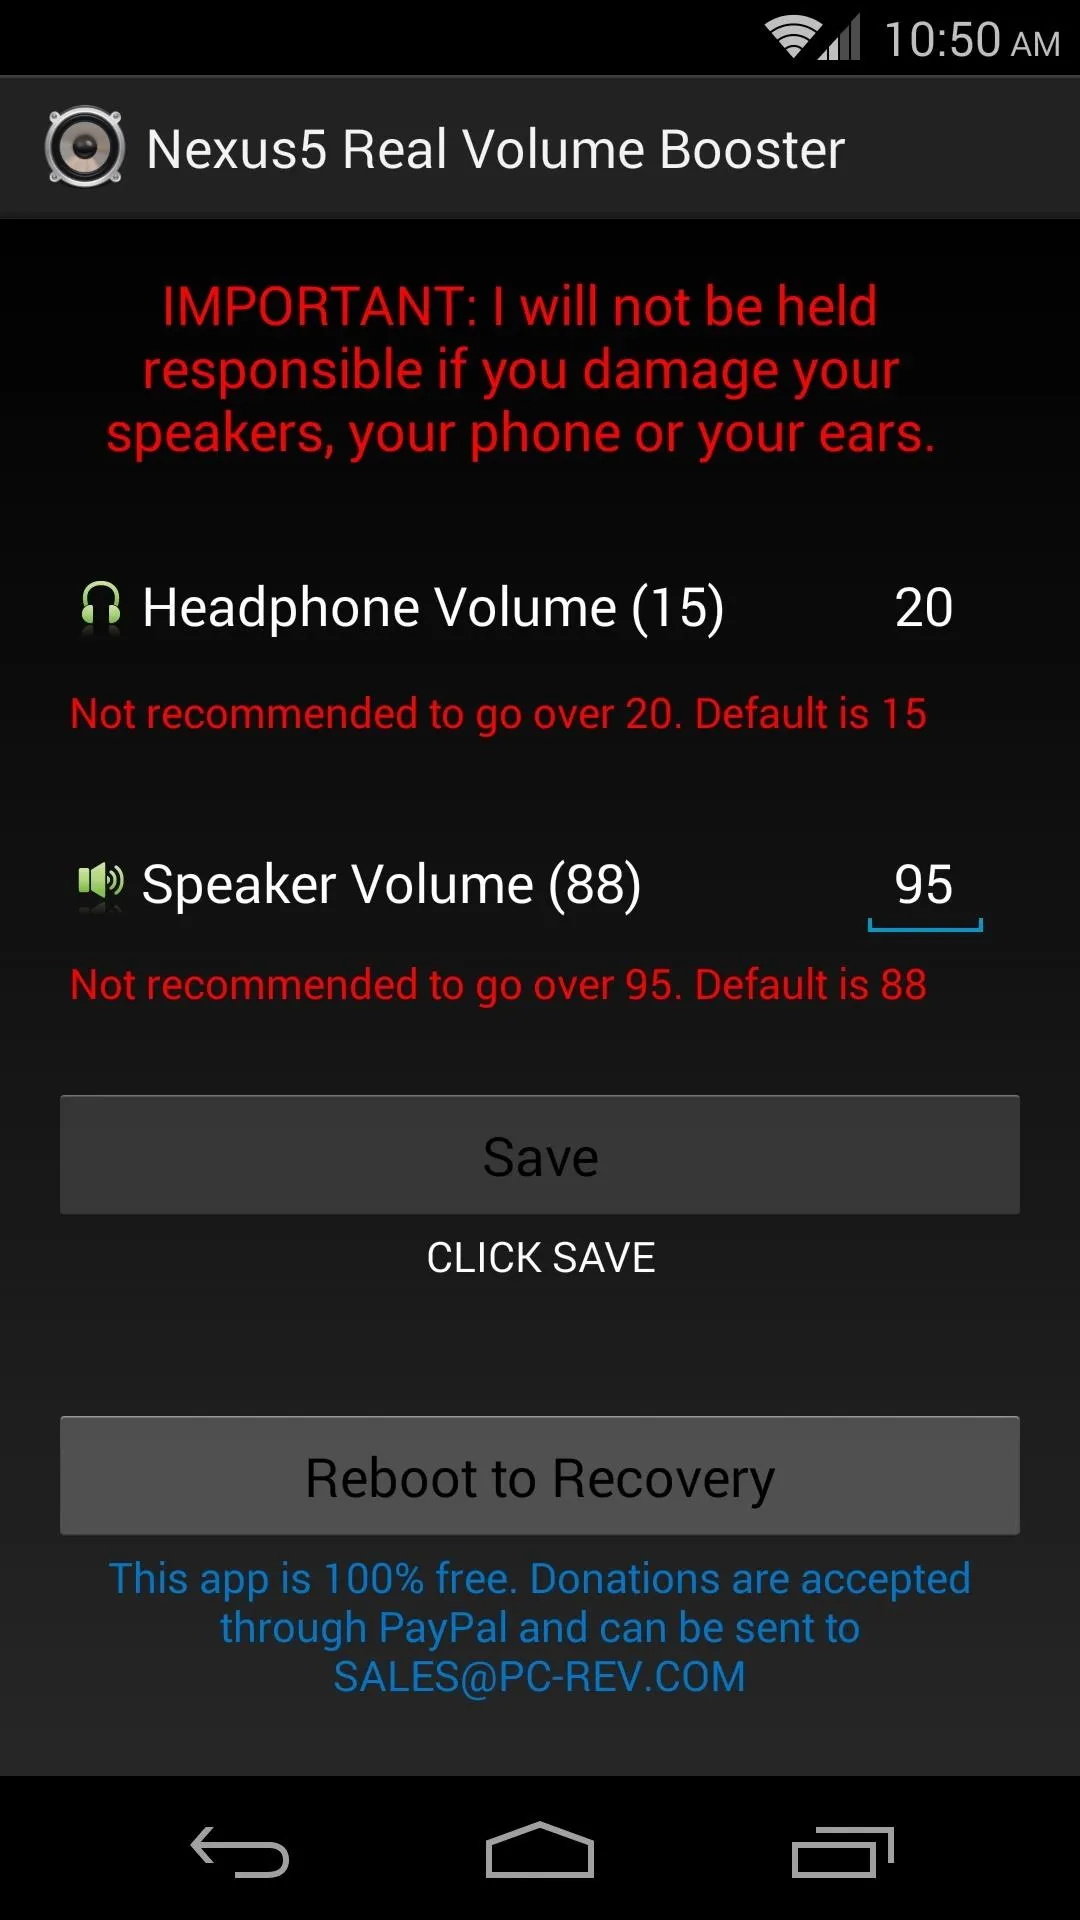
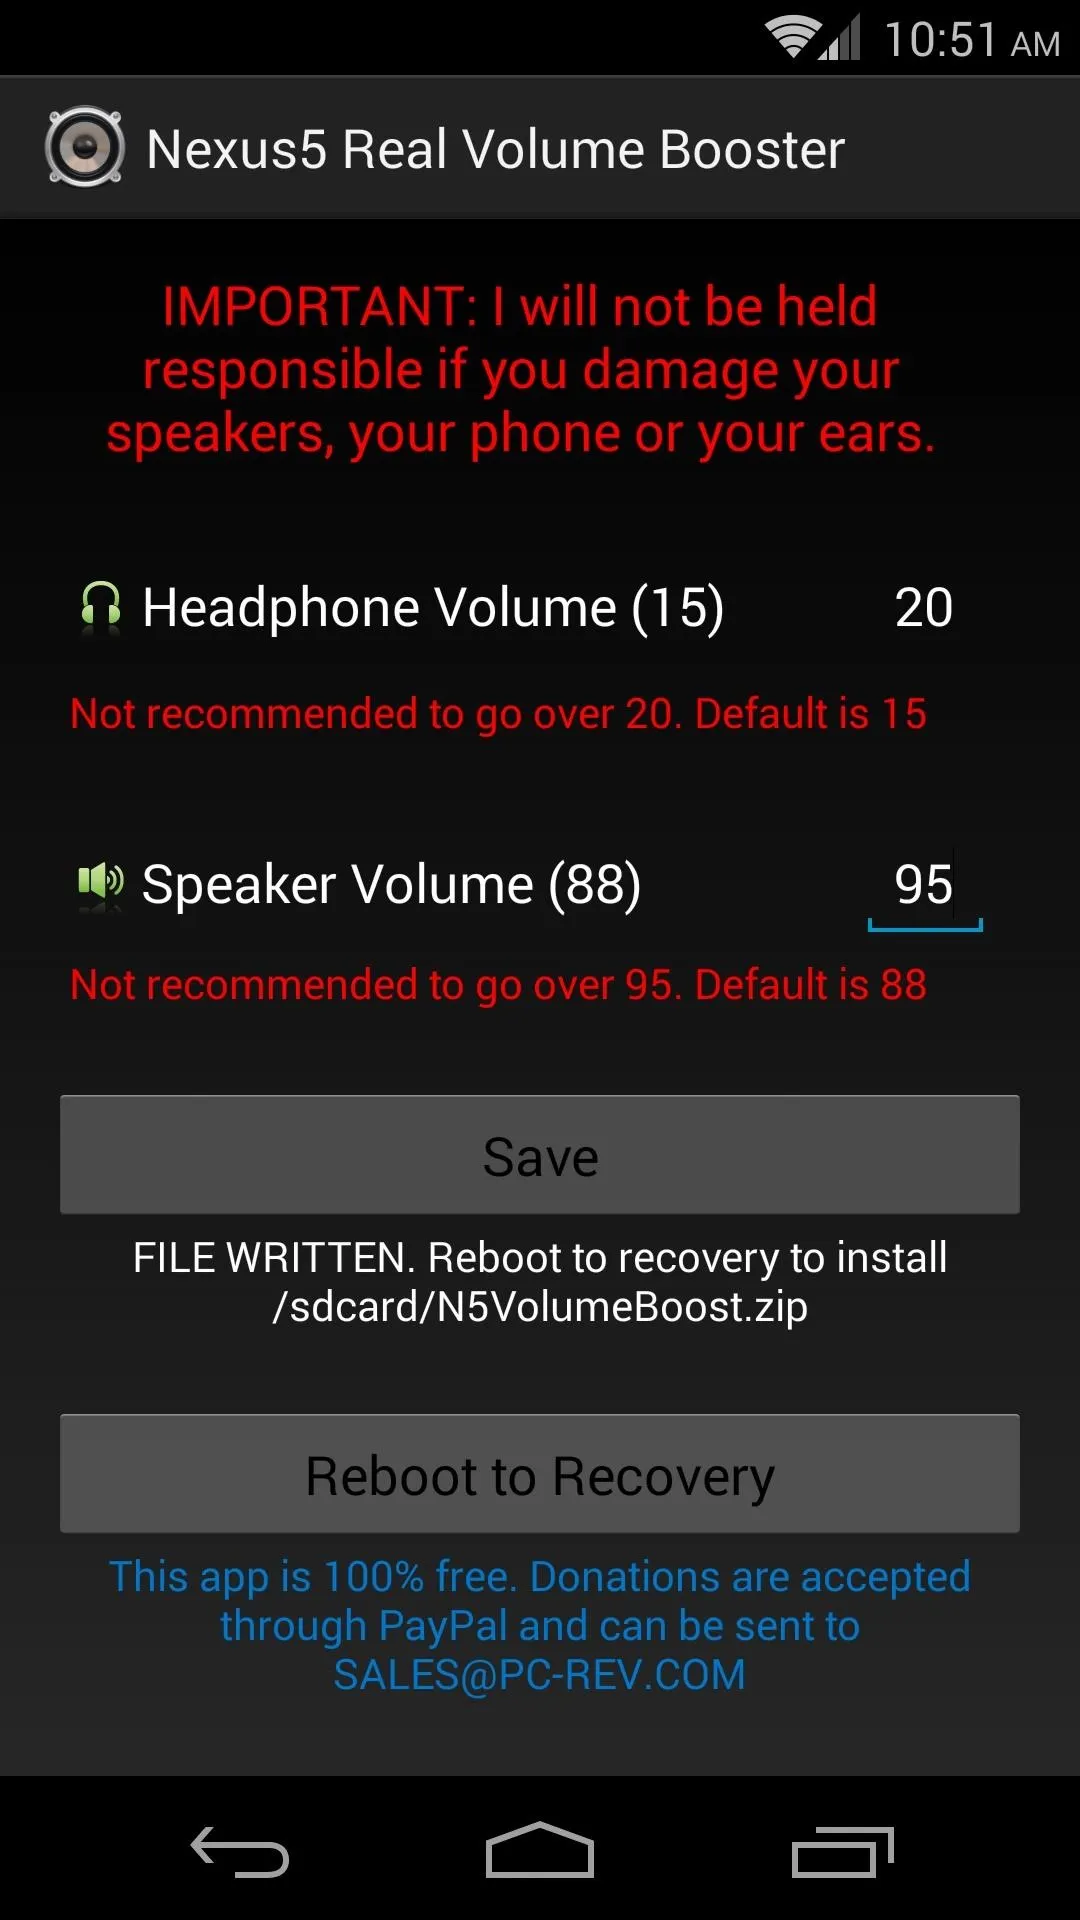


A message will appear below the save button telling you that the file was created and where it was stored. Be sure to note this location, as you'll need to find the file later when it comes time to flash.
Step 3: Reboot into Recovery
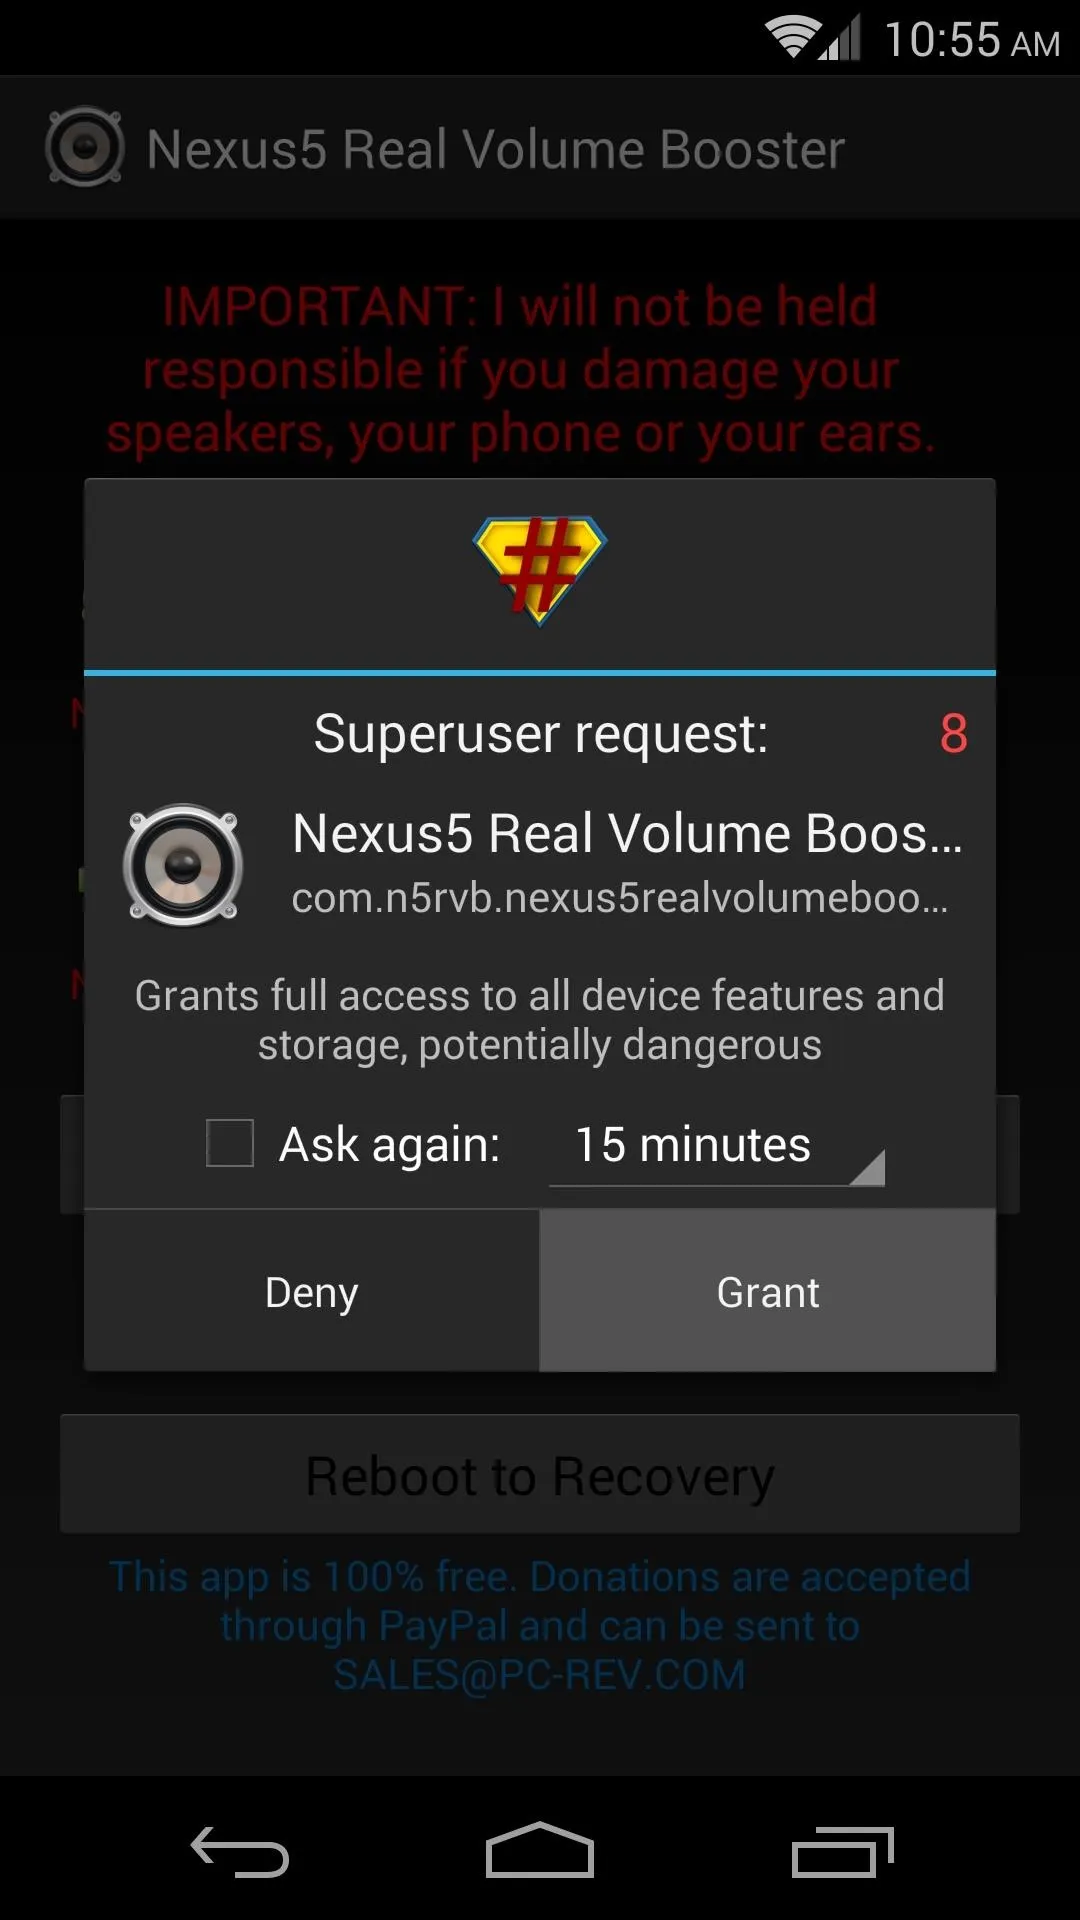
Next up, tap the Reboot to Recovery button. A dialog will pop up asking to grant the app superuser privileges. Hit Grant, and your phone will automatically boot into recovery.


Step 4: Flash the ZIP That You Created
As always, before flashing anything in recovery, it's best to have a backup handy just in case.
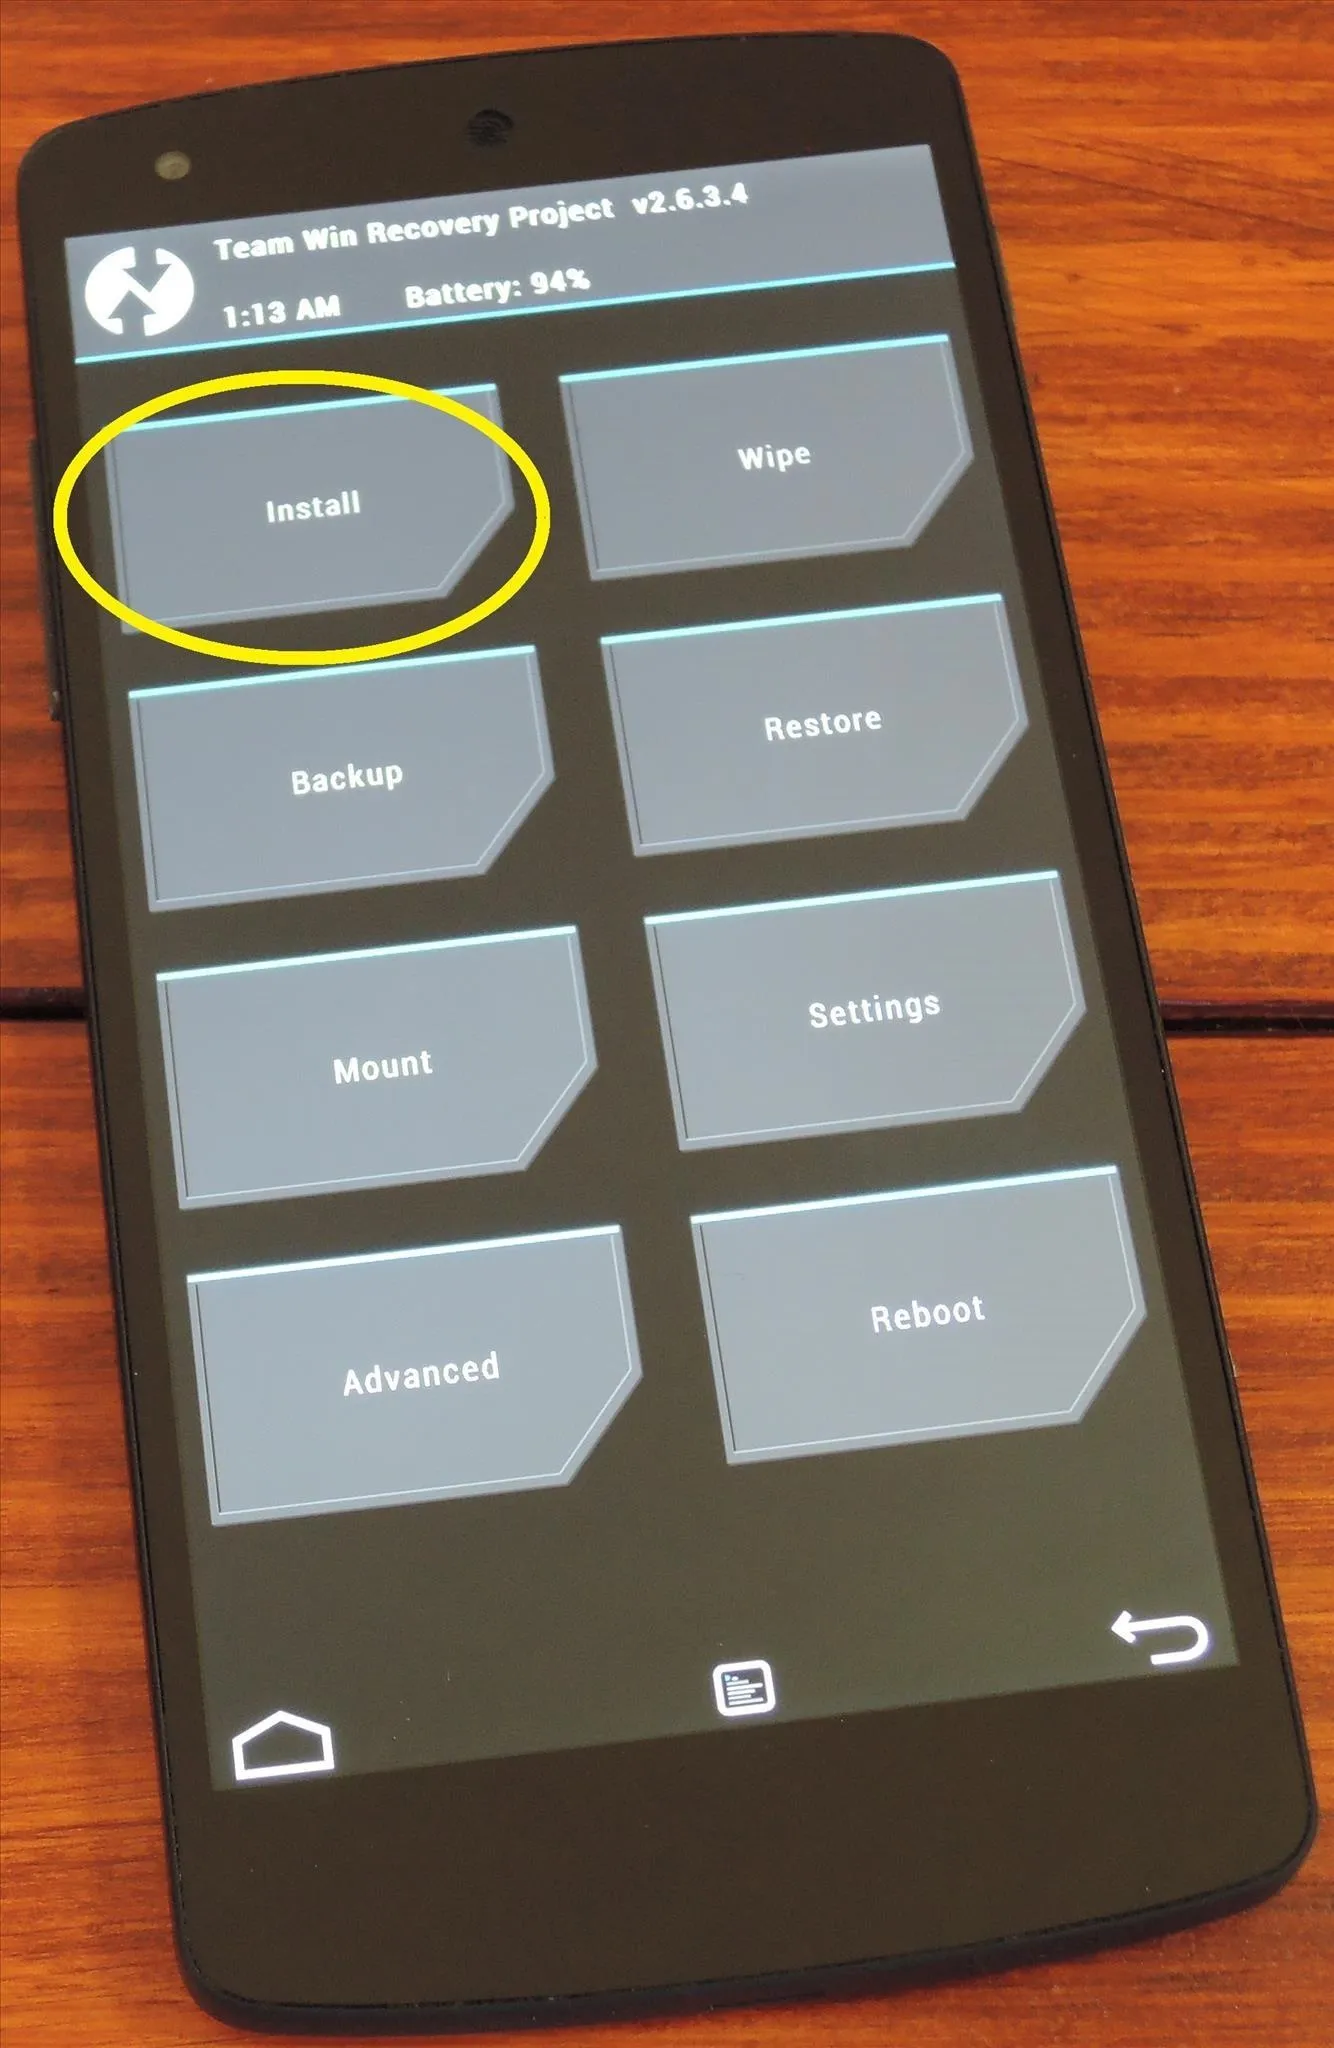
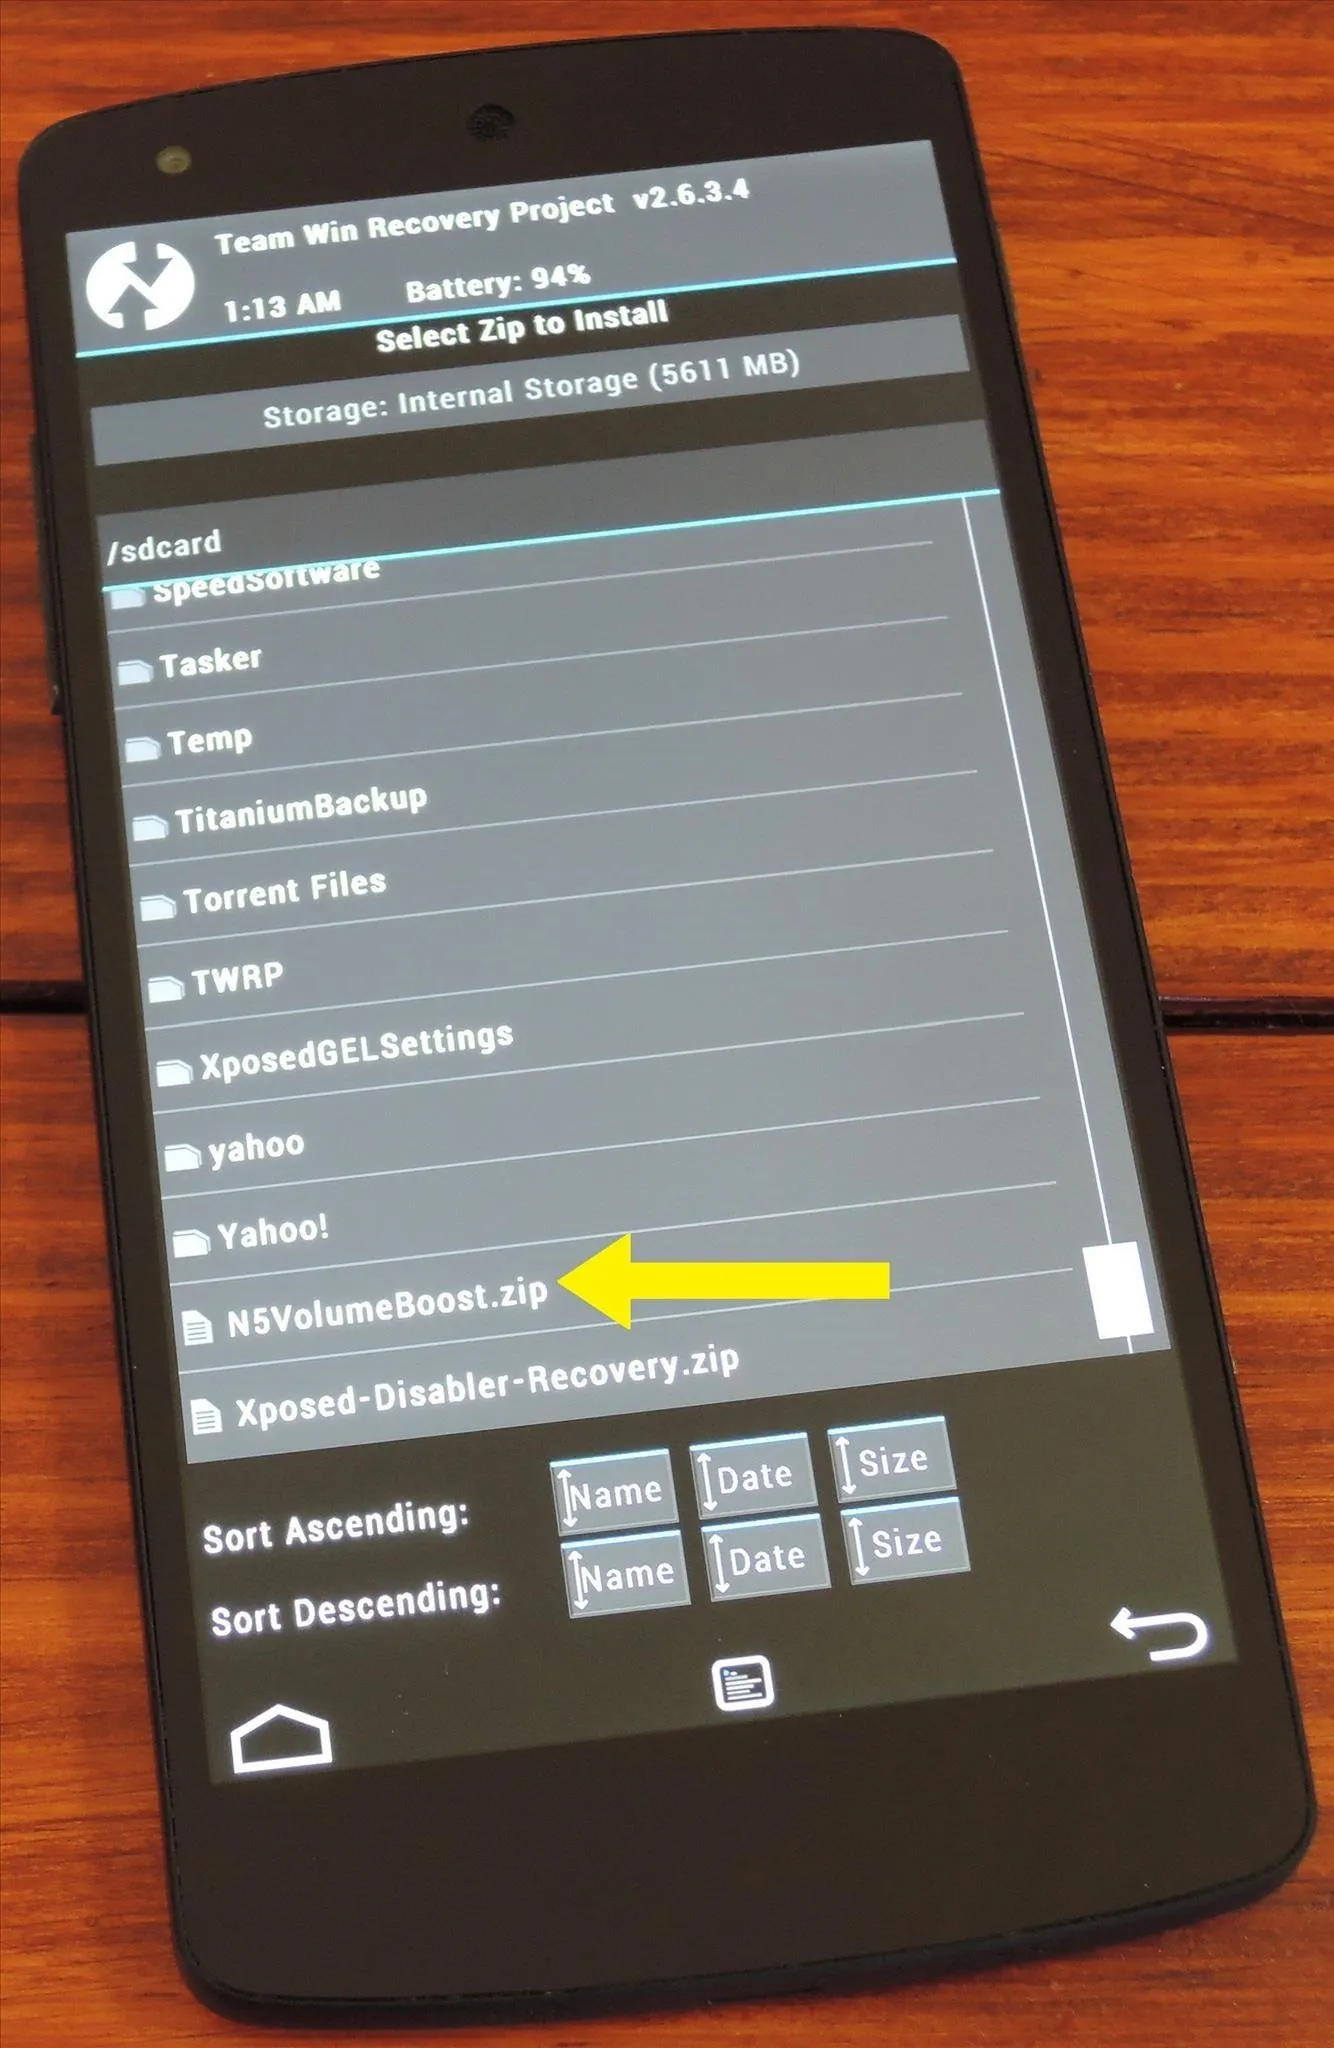
From the home screen of TWRP Recovery, tap the Install button. Navigate to the file you created earlier, which should be located on your SD card and named N5Volume. Tap the file, then swipe the slider to initiate installation.
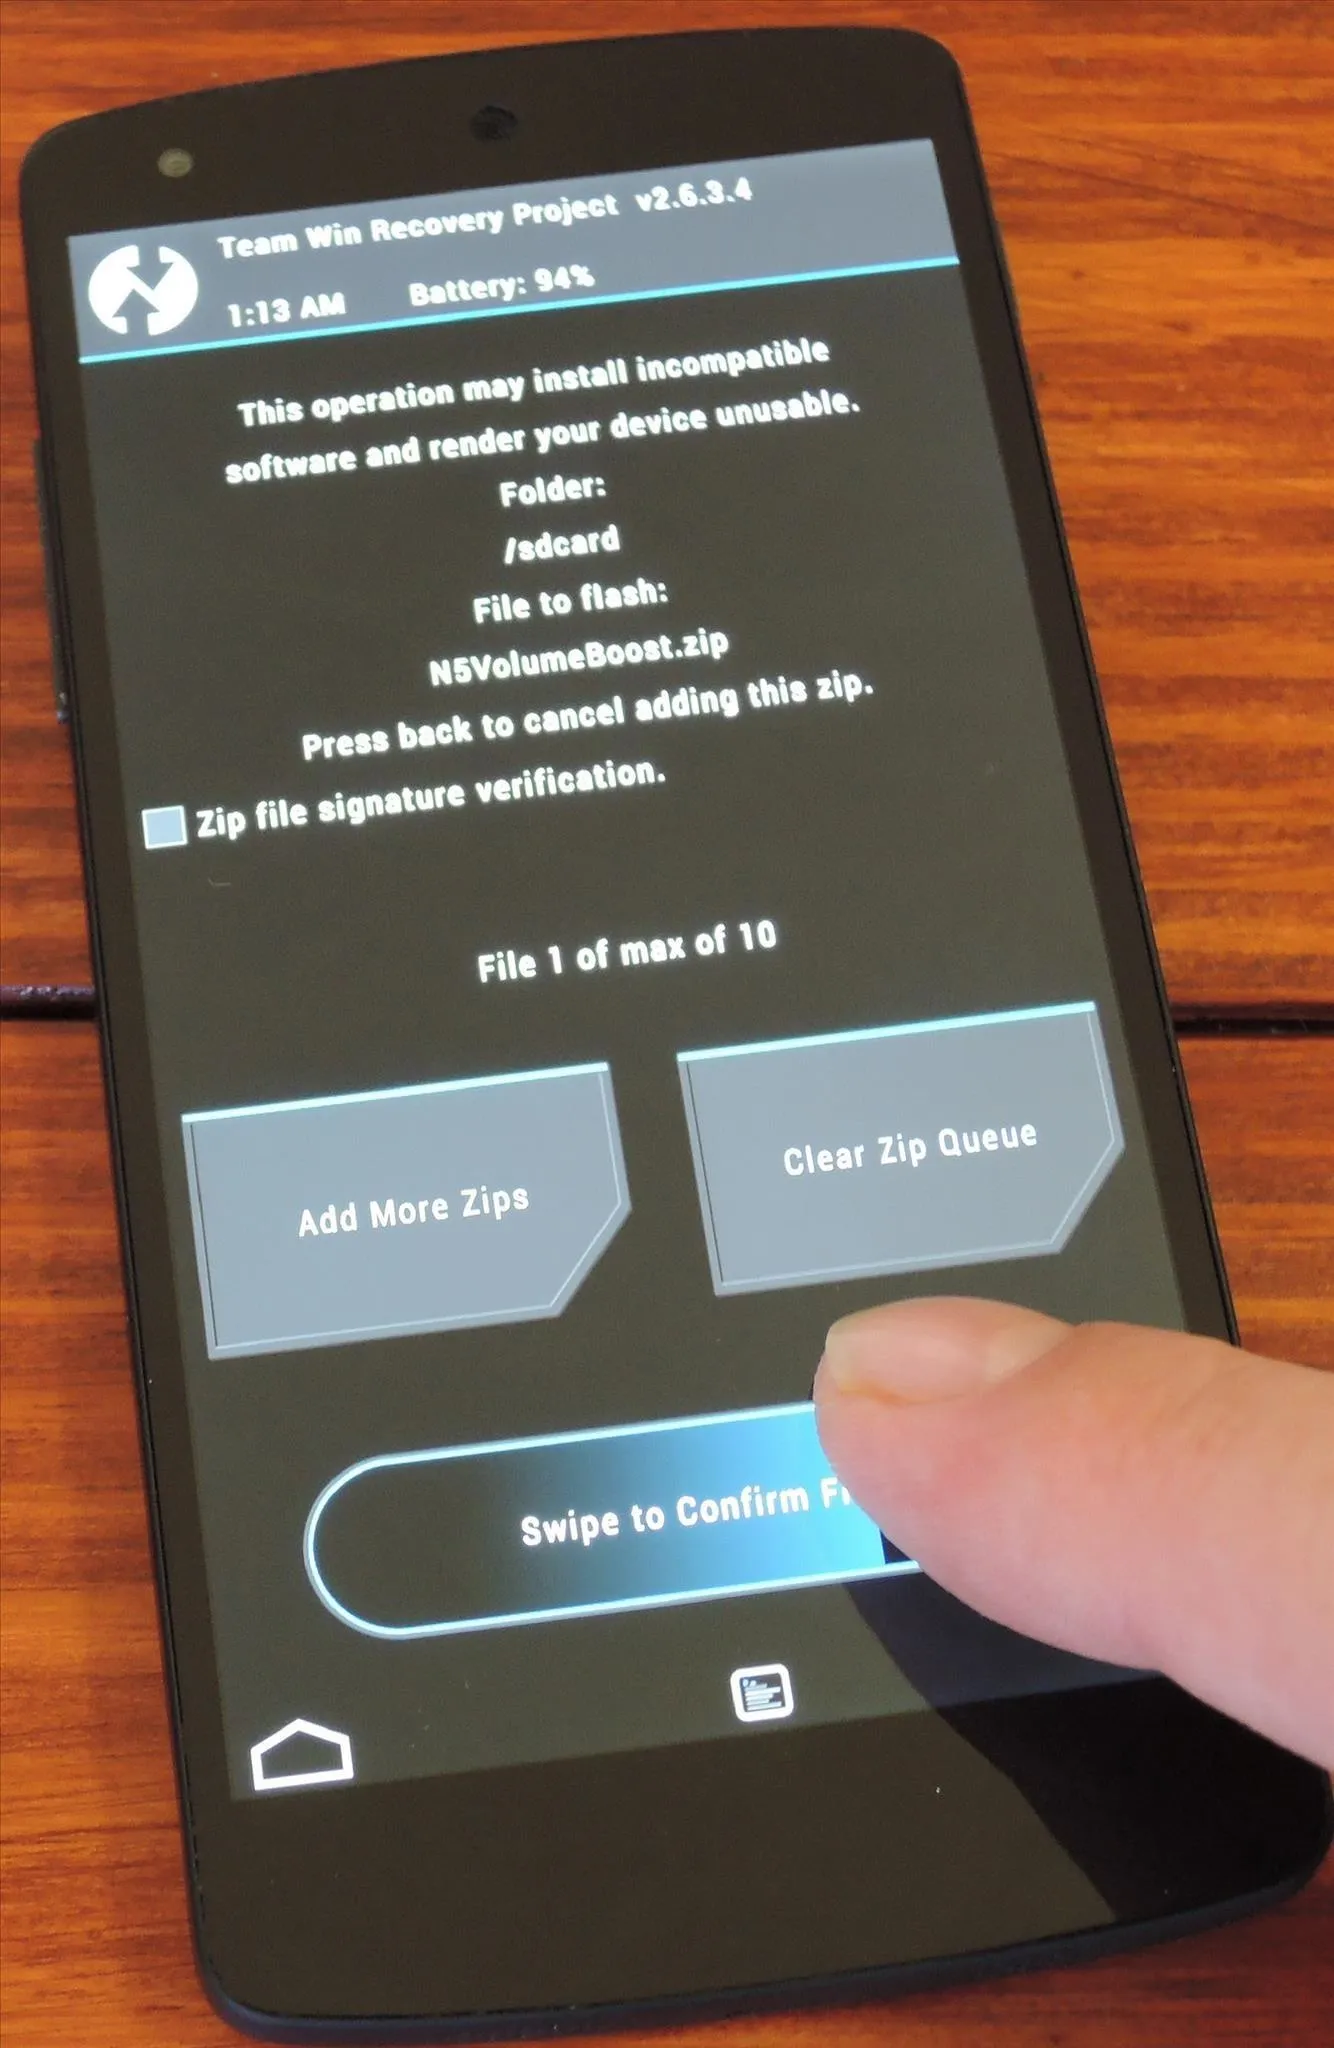


When finished, tap Reboot System and the changes will have taken effect. The process should be the same with other recoveries like CWM.
You can now enjoy louder sound on your Nexus 5.
How to Get Back Your Stock Volume Levels
If you wish to revert to the stock volume levels, open the N5RVB and enter the default values, which are in parenthesis next to both entries. Create a new ZIP and flash it just like you did with the first time around and you're back to normal.


Comments
No Comments Exist
Be the first, drop a comment!