Google Play Music is one of the best cloud music services out there. Without ever paying a dime, you can upload as many as 20,000 songs to Google's servers, then use the app on your smartphone to stream these songs without taking up any of your storage space. And if you're willing to shell out $9.99 a month, you can even play songs from the massive All Access library.
But our phones aren't always connected to the internet. Sometimes, when you need access to your music the most—during a flight or while traveling through a remote area—there is no data connection to be found. It's during these times that having quick access to music stored for offline playback would come in handy the most.
While Play Music offers a "Save for offline playback" function, the actual files that are saved are stored in a randomized folder structure with obfuscated file names. This makes transferring these files or playing them with another music app very difficult.
That's where developer David Schulte and his app Play Music Exporter come into play. With root privileges, the app allows you to easily transfer offline music files to the Music folder on your SD card for easy playback and copying, complete with proper file names and even ID3 tags. Even better still, Play Music Exporter allows you to save songs from the All Access library.
Prerequisites
- Rooted Nexus 5 (or any other rooted Android device)
- Unknown Sources enabled
Step 1: Install Play Music Exporter
Play Music Exporter is not available on the Play Store for obvious reasons, so you'll have to download the app's installer file yourself. I've got a direct link for the APKright here—just tap that link from your Android device to begin.
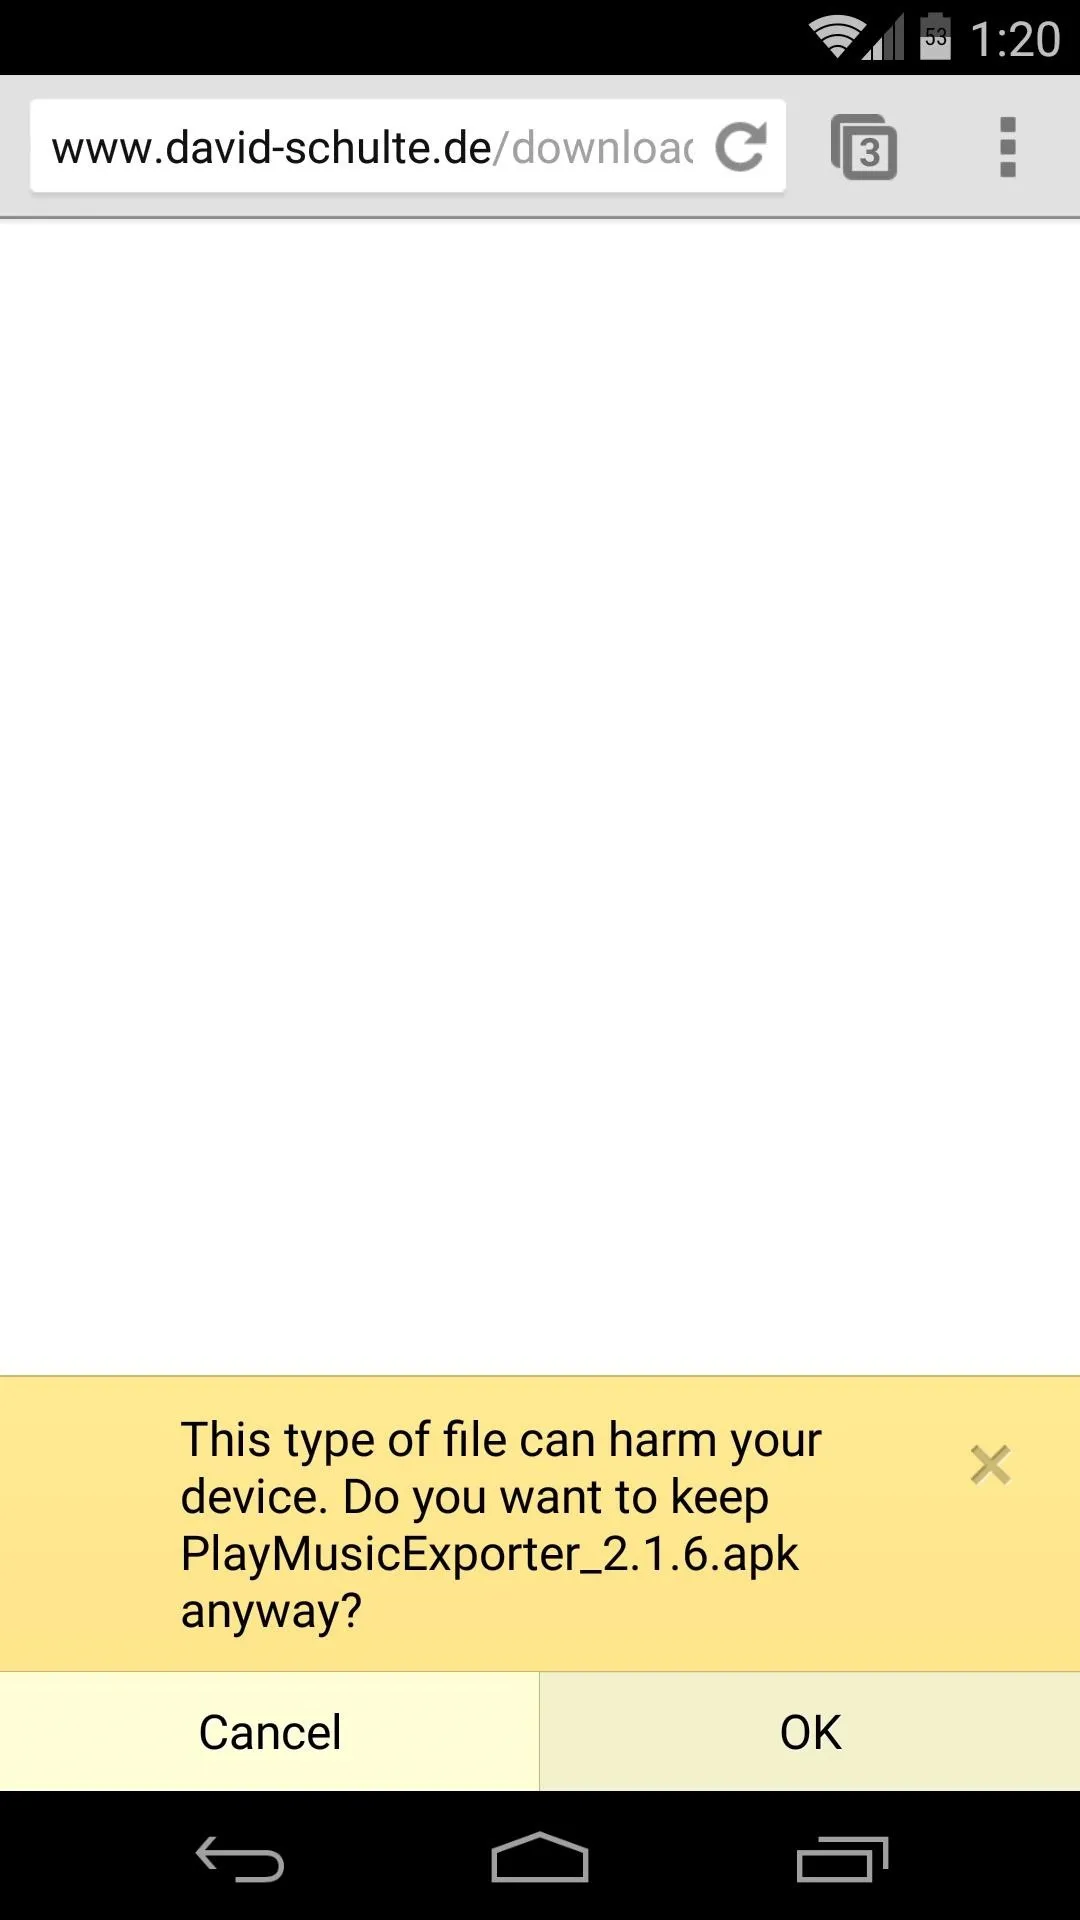


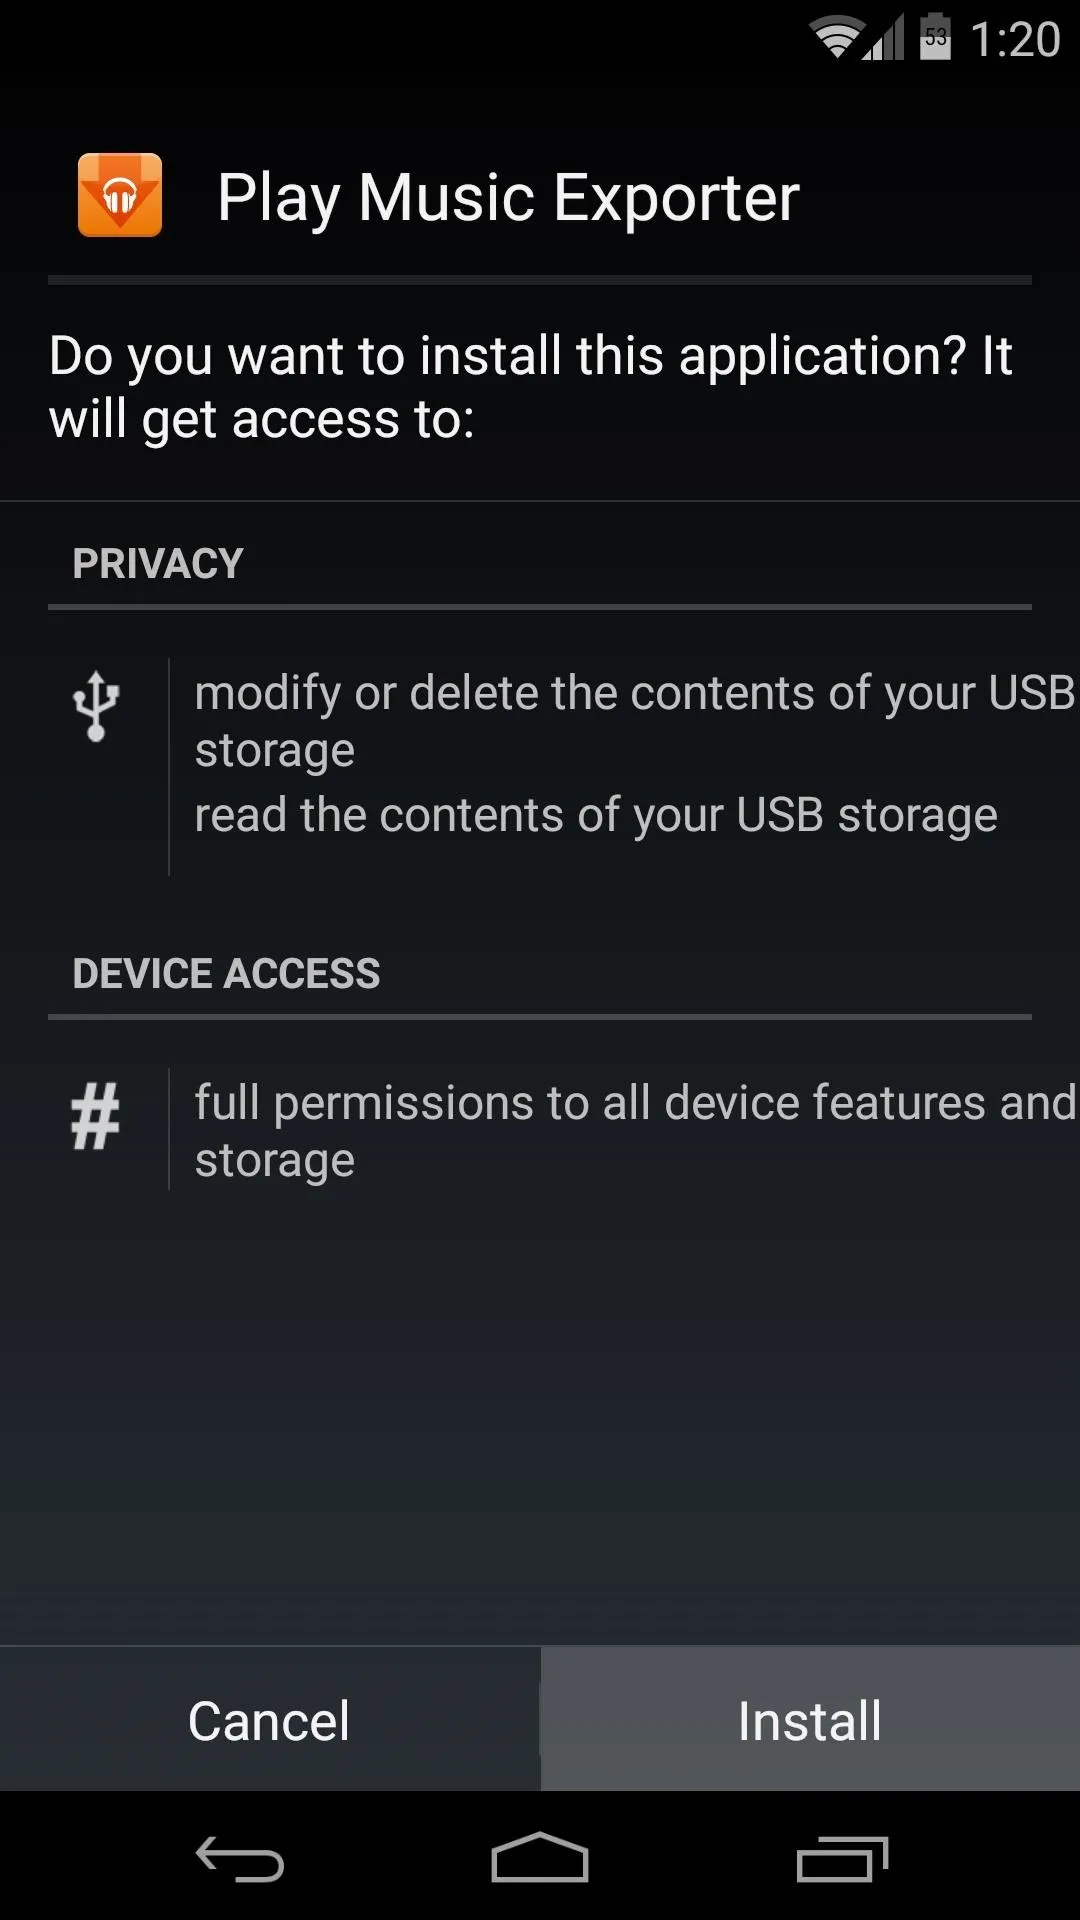
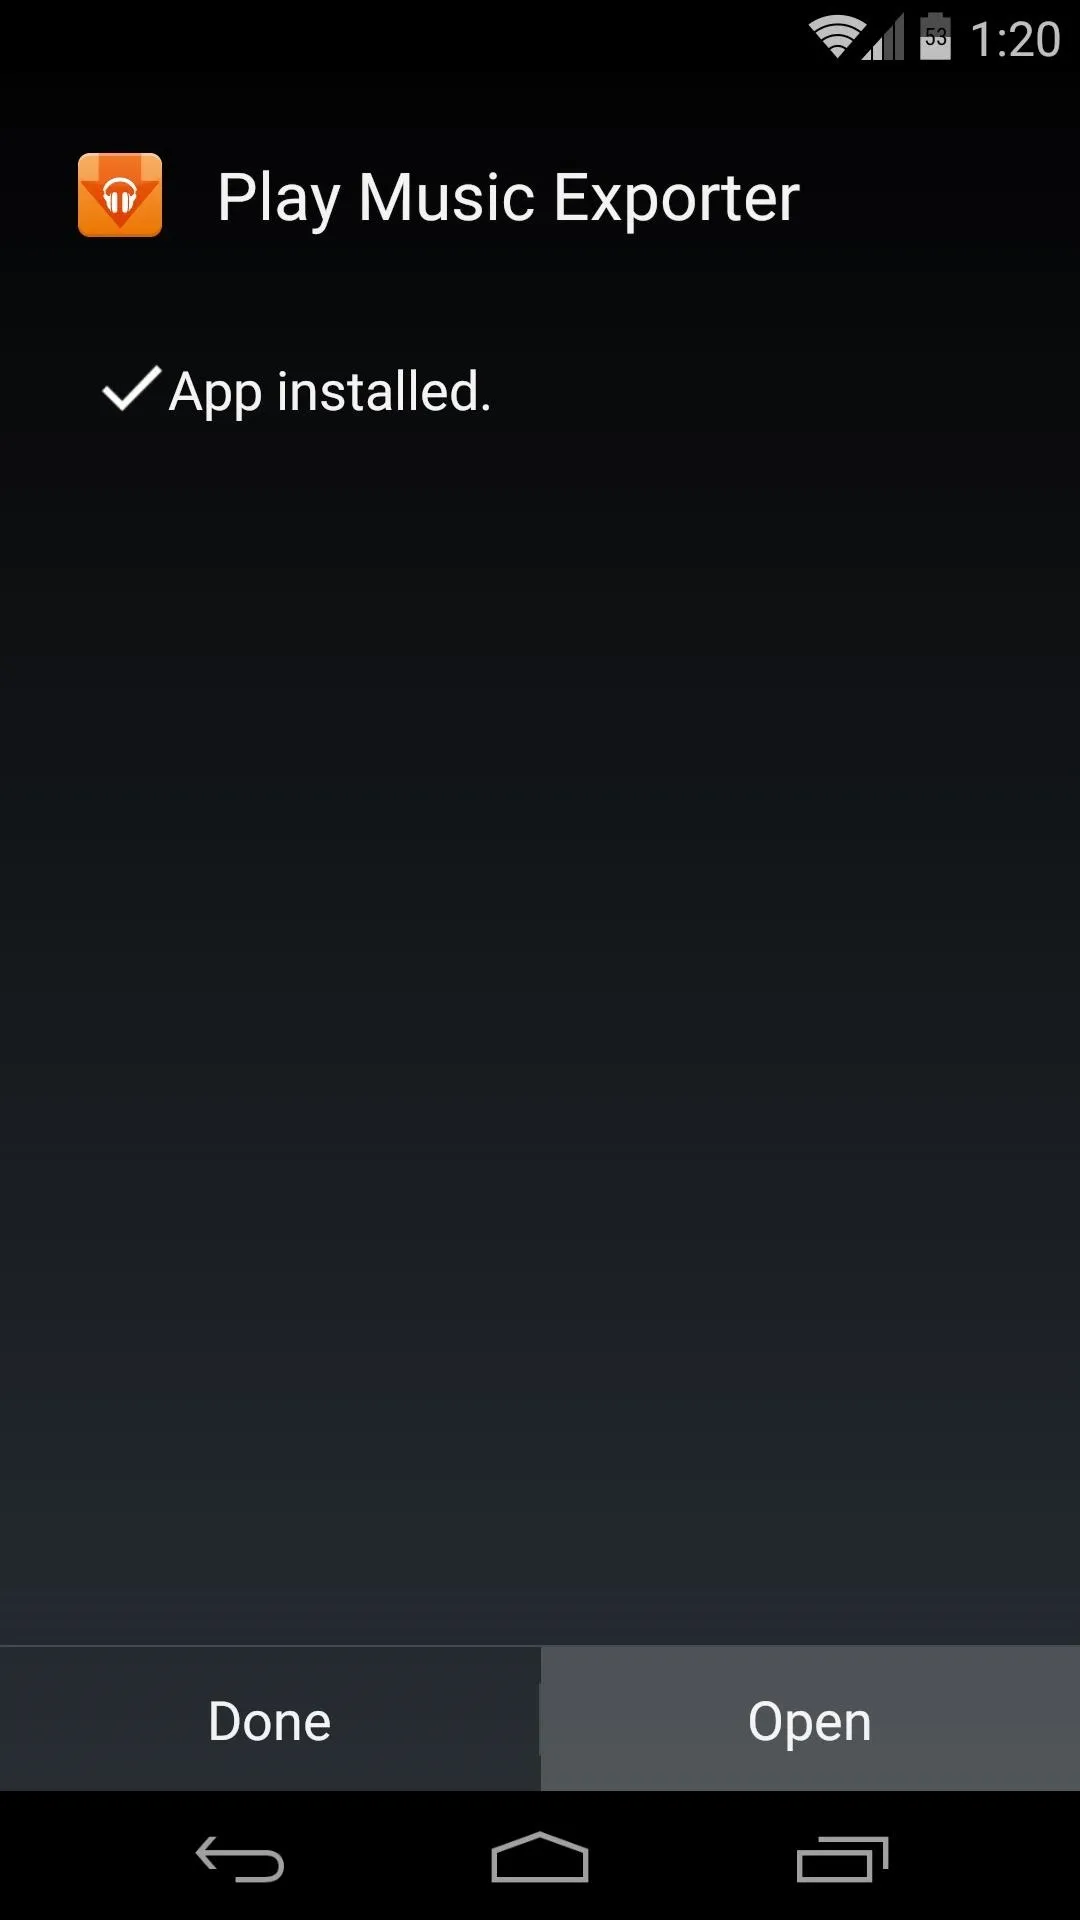
When the download is finished, tap the corresponding notification. From here, hit Install, and when that's finished, press Open.


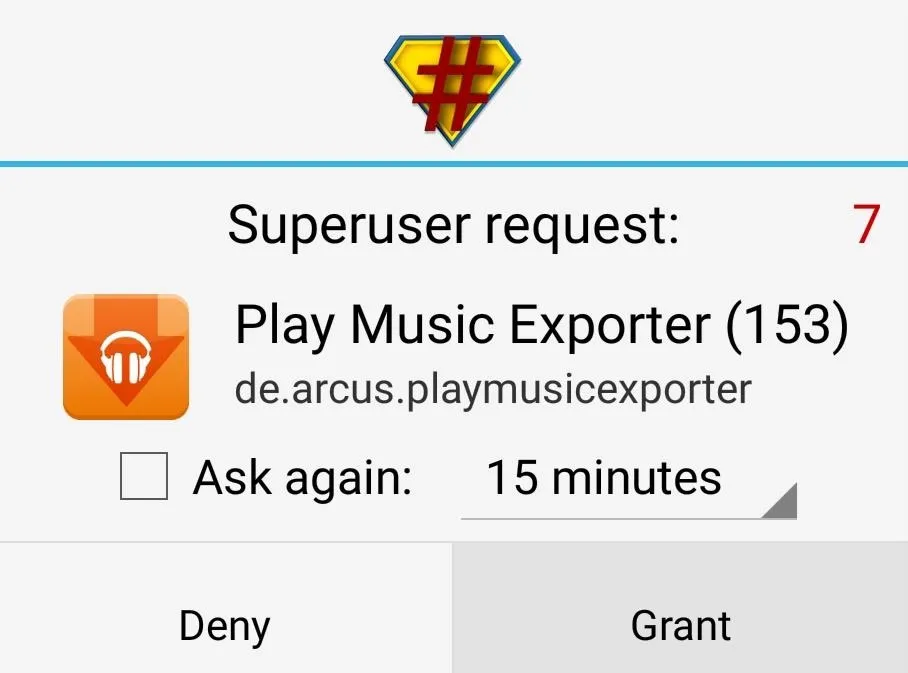
Next, the app will ask for Superuser permissions, so hit Grant on the following pop-up.
Step 2: Configure Play Music Exporter
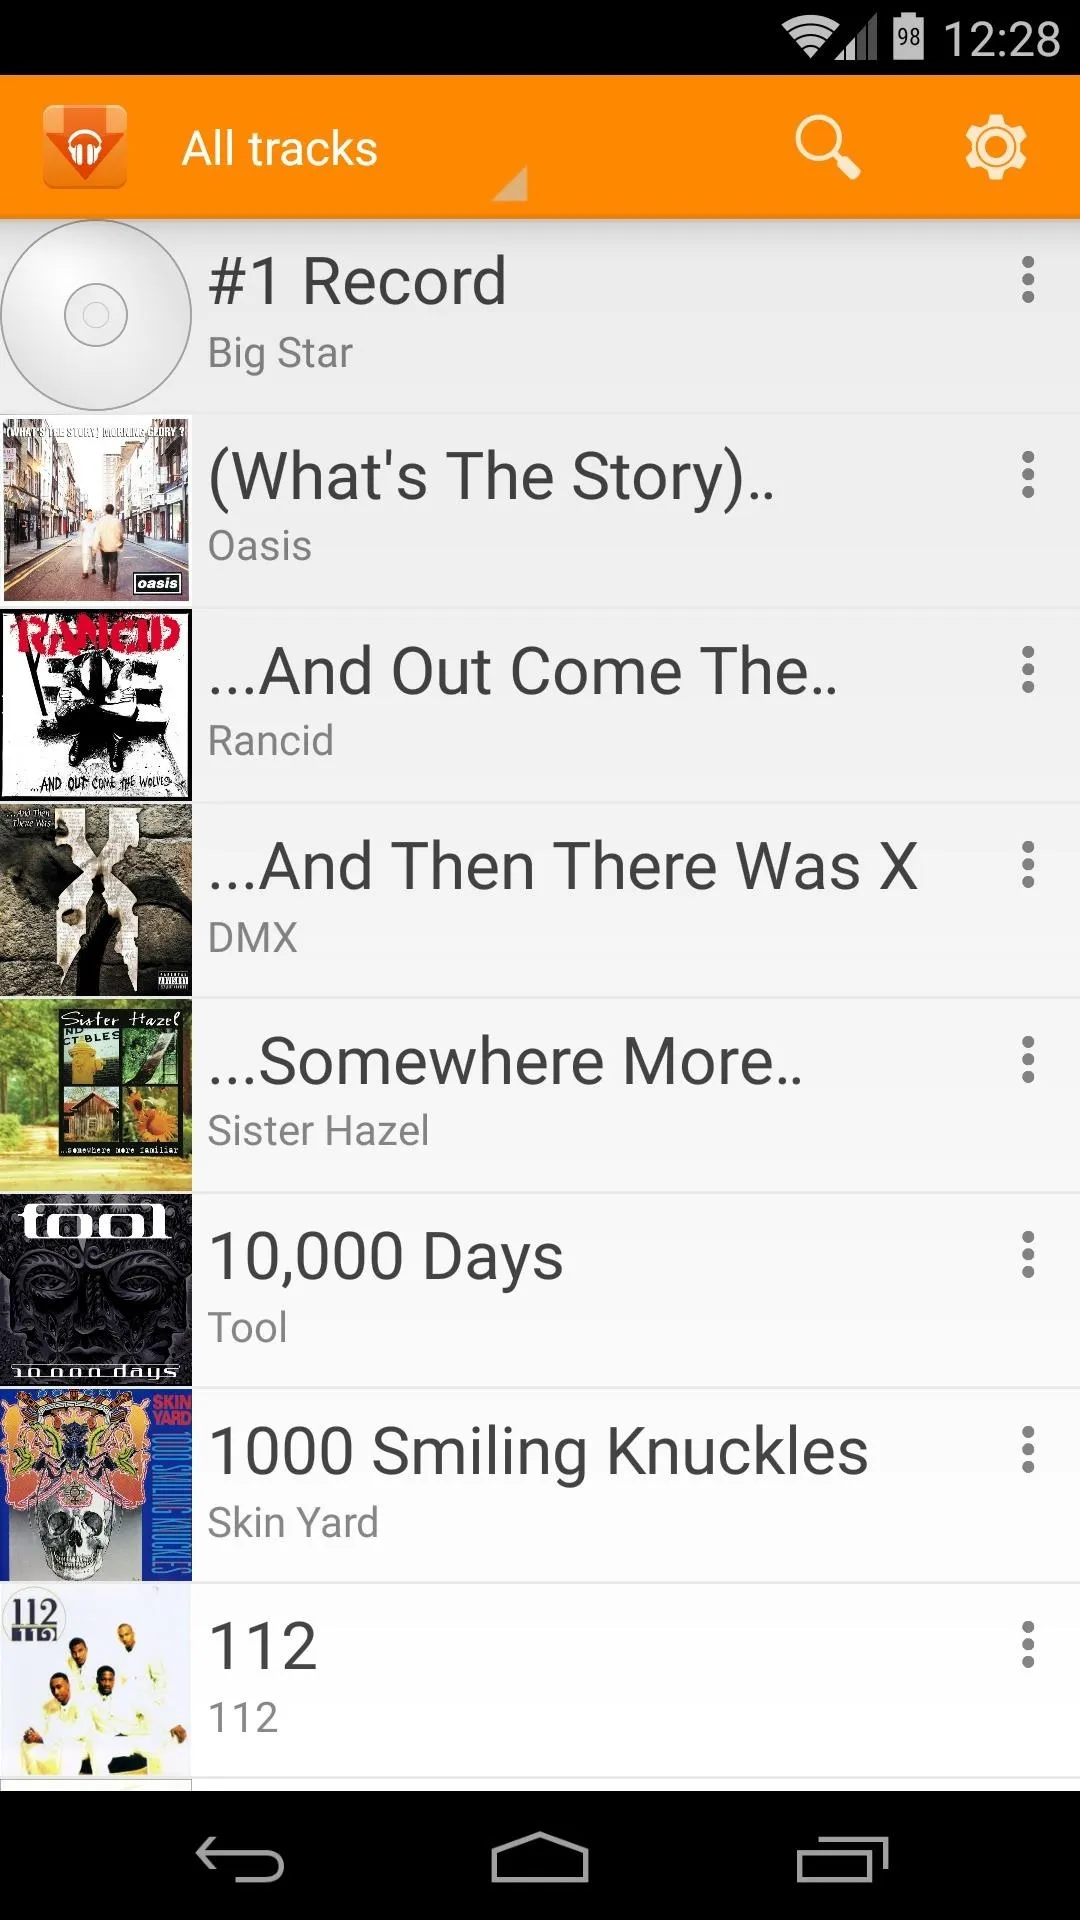
From the app's main screen, hit the Settings icon near the top-right to configure a few options.
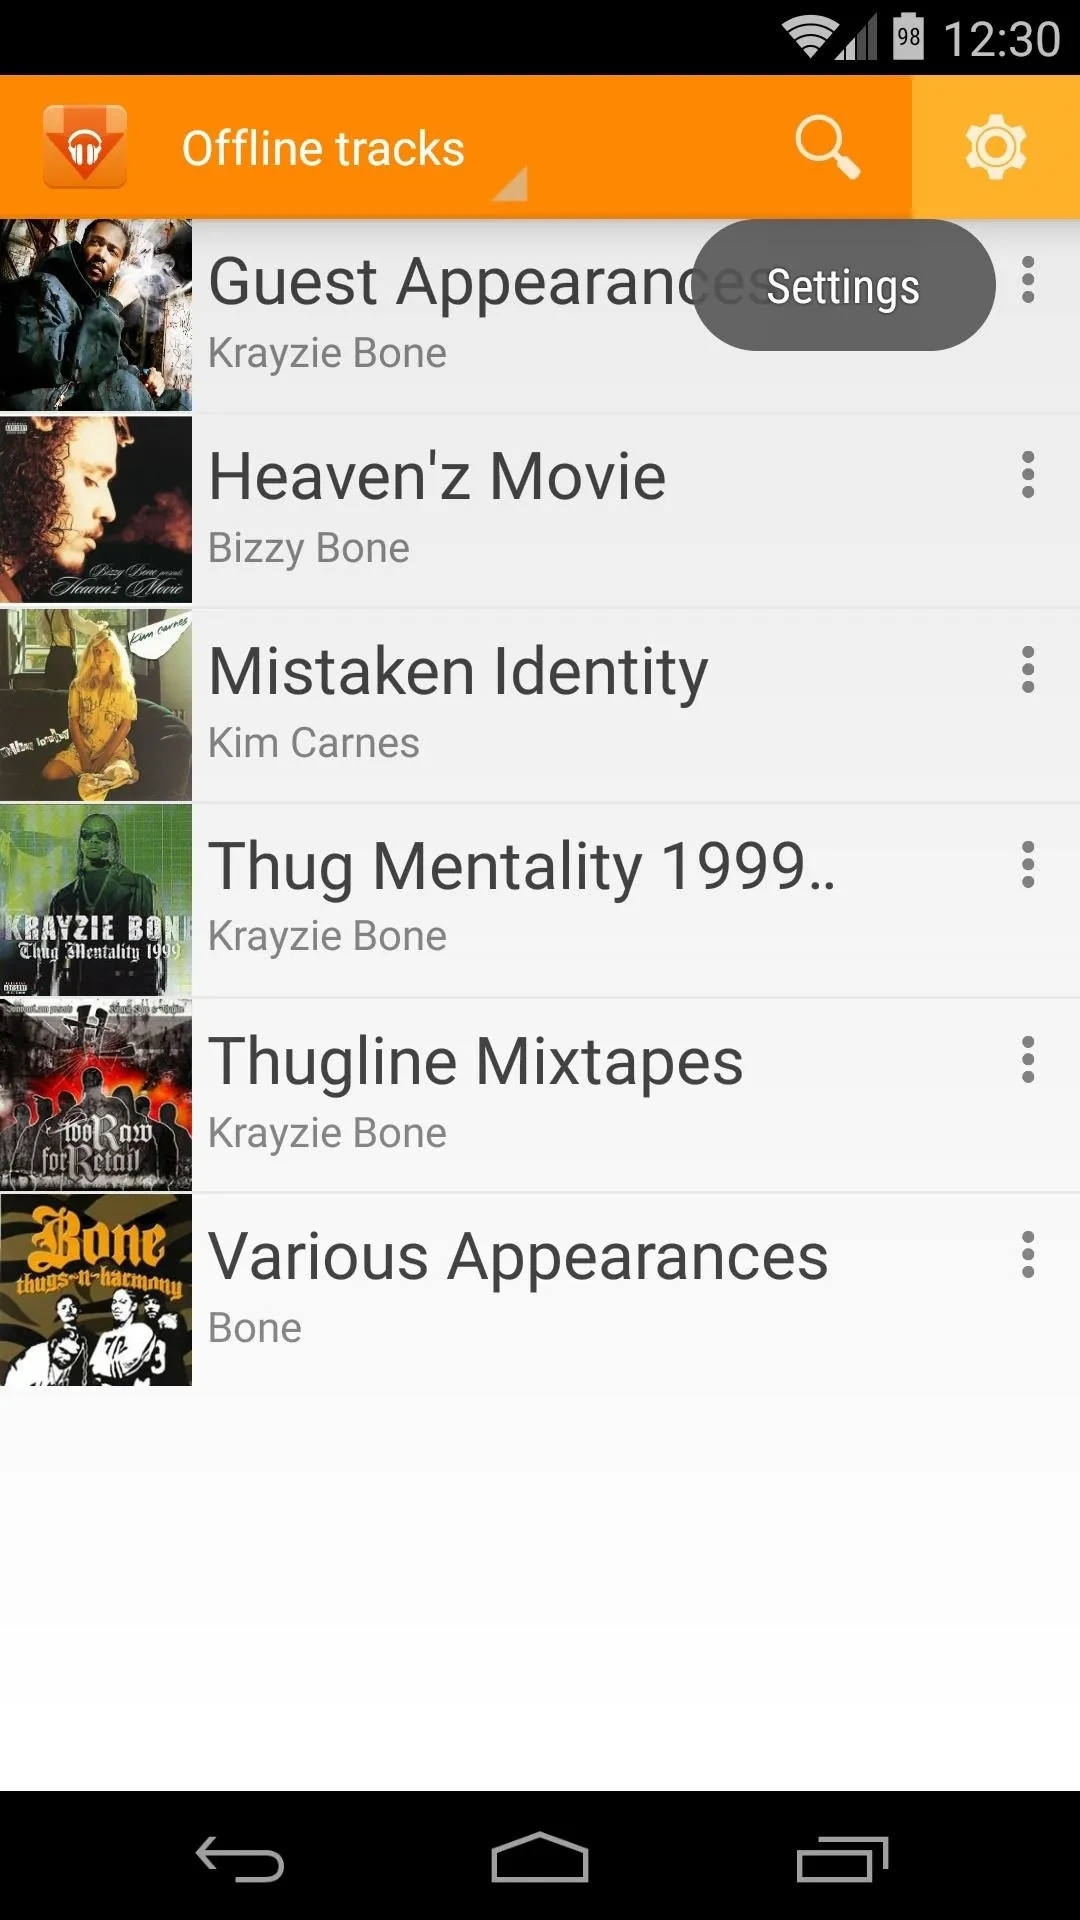


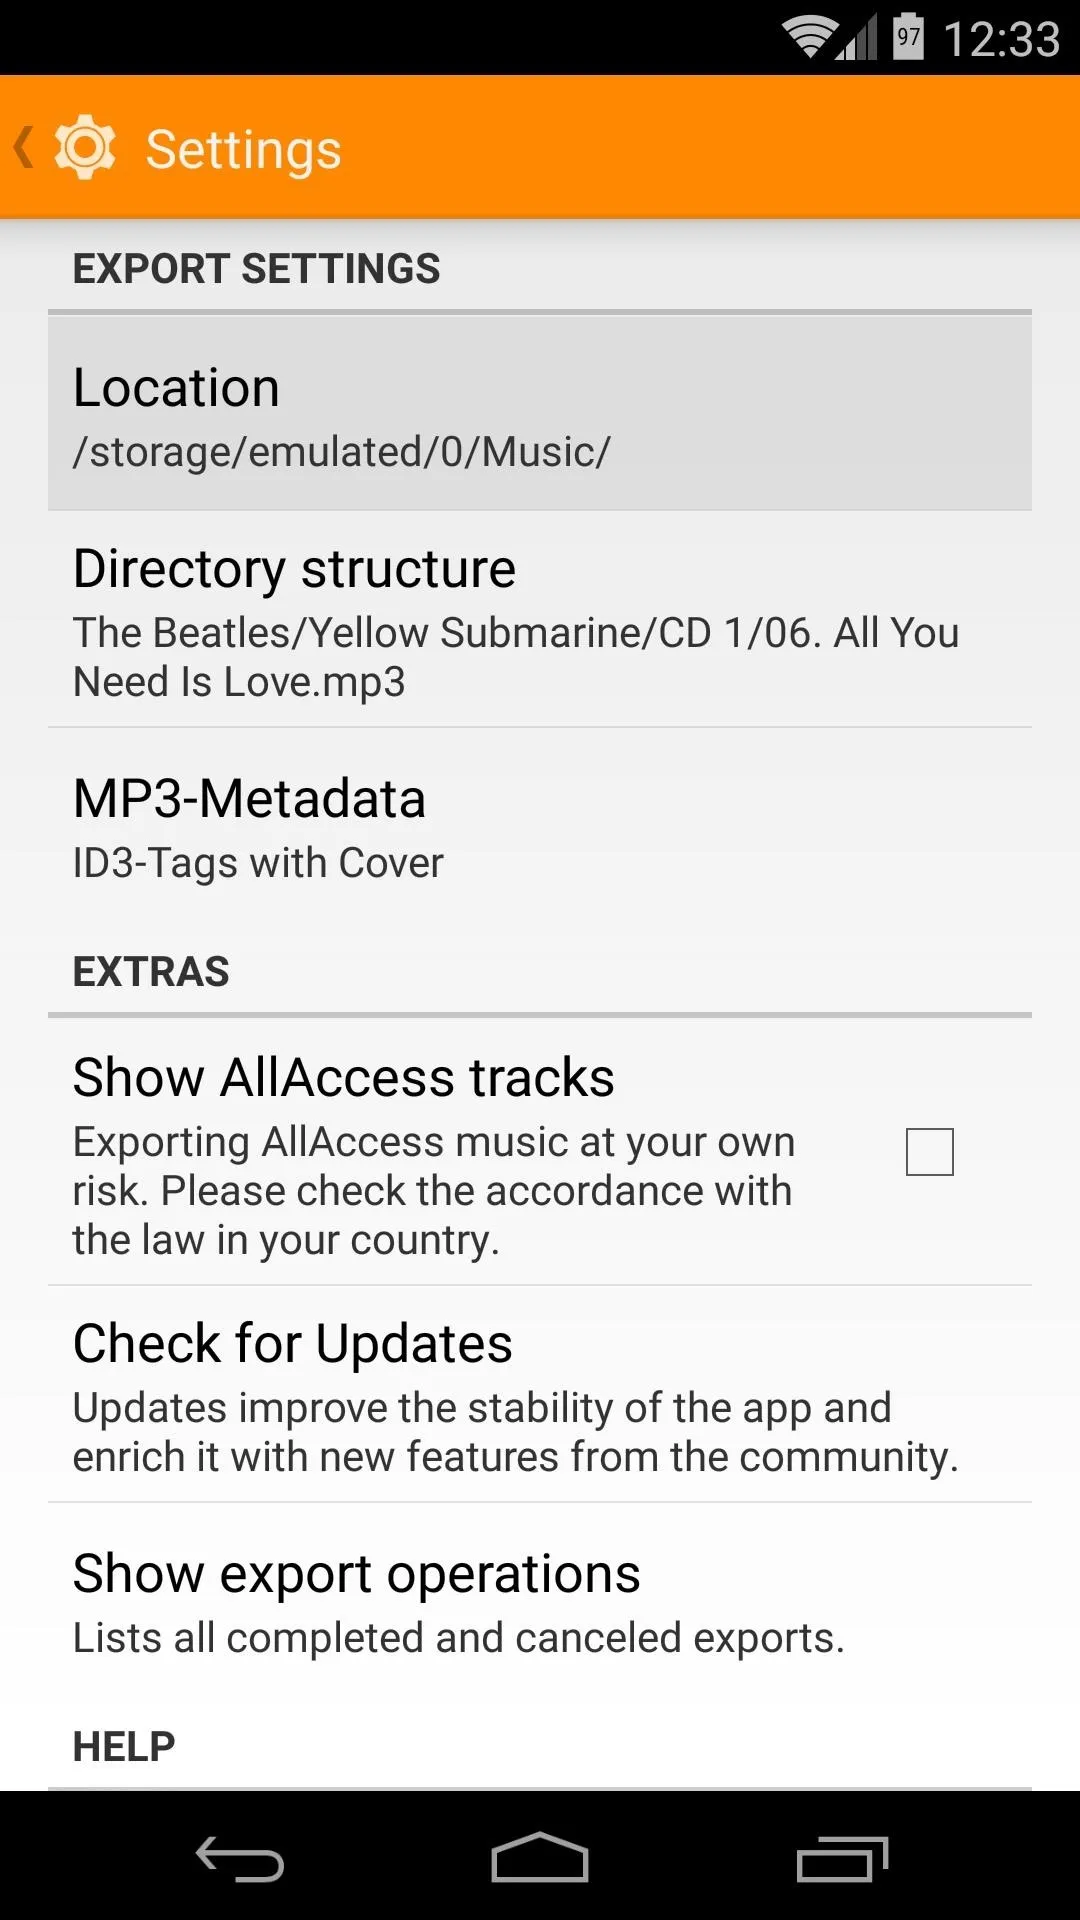
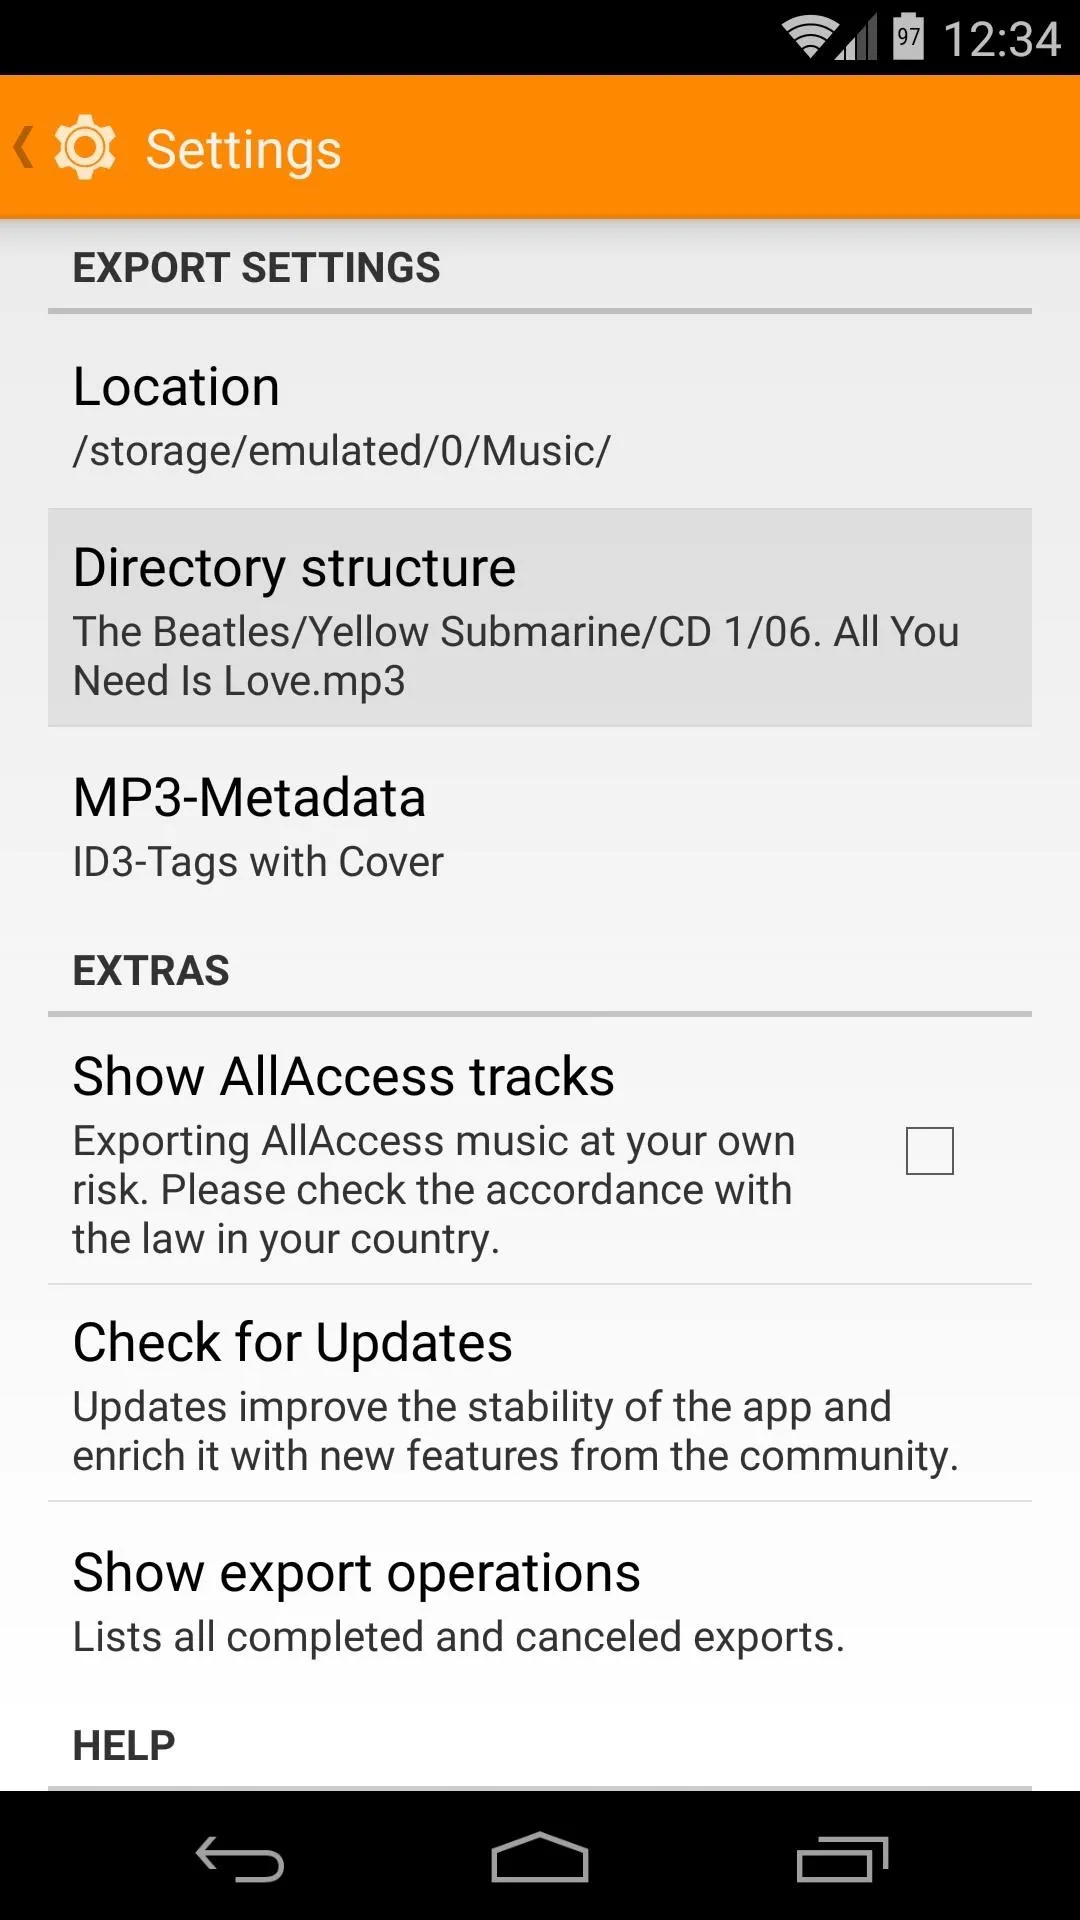
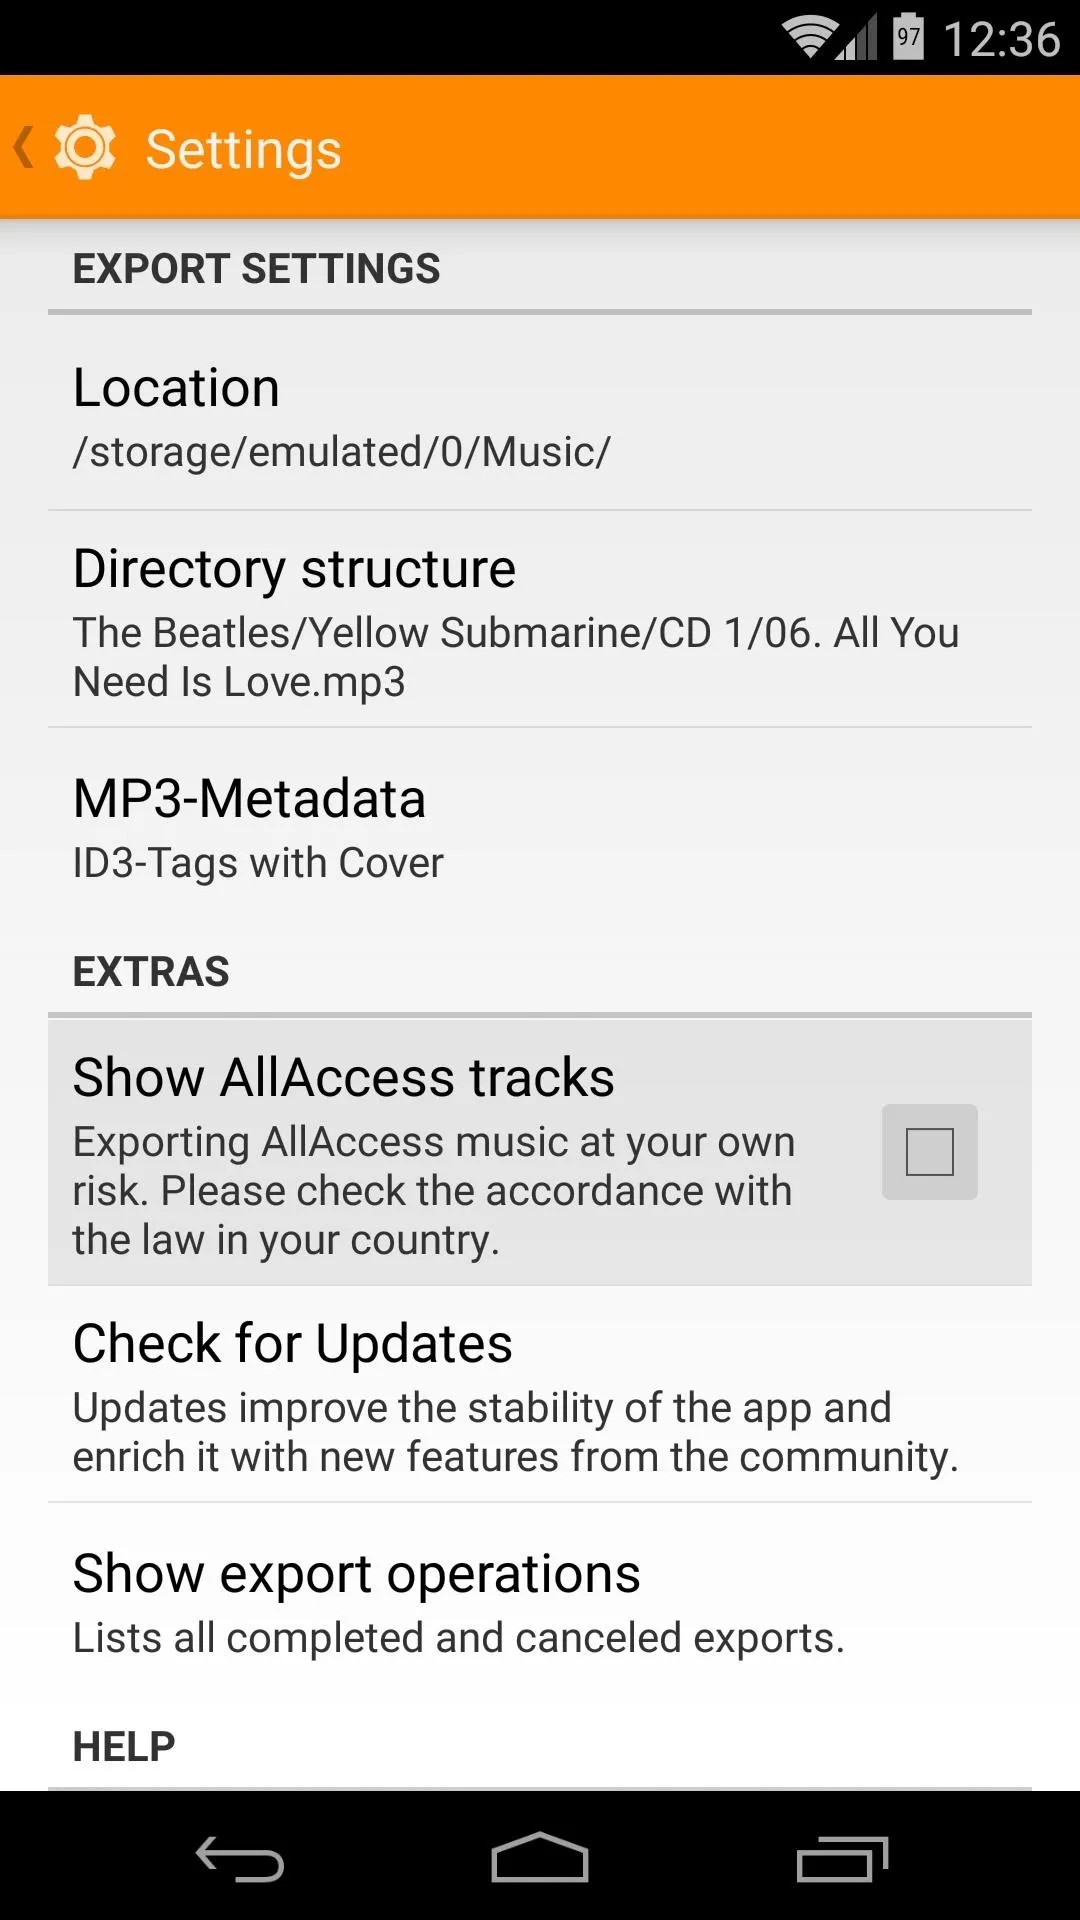
From here, you can tap the top entry to set the folder on your SD card that you'd like to use to store music. After that, the Directory Structure entry allows you to customize the folder tree that your downloaded files will use.
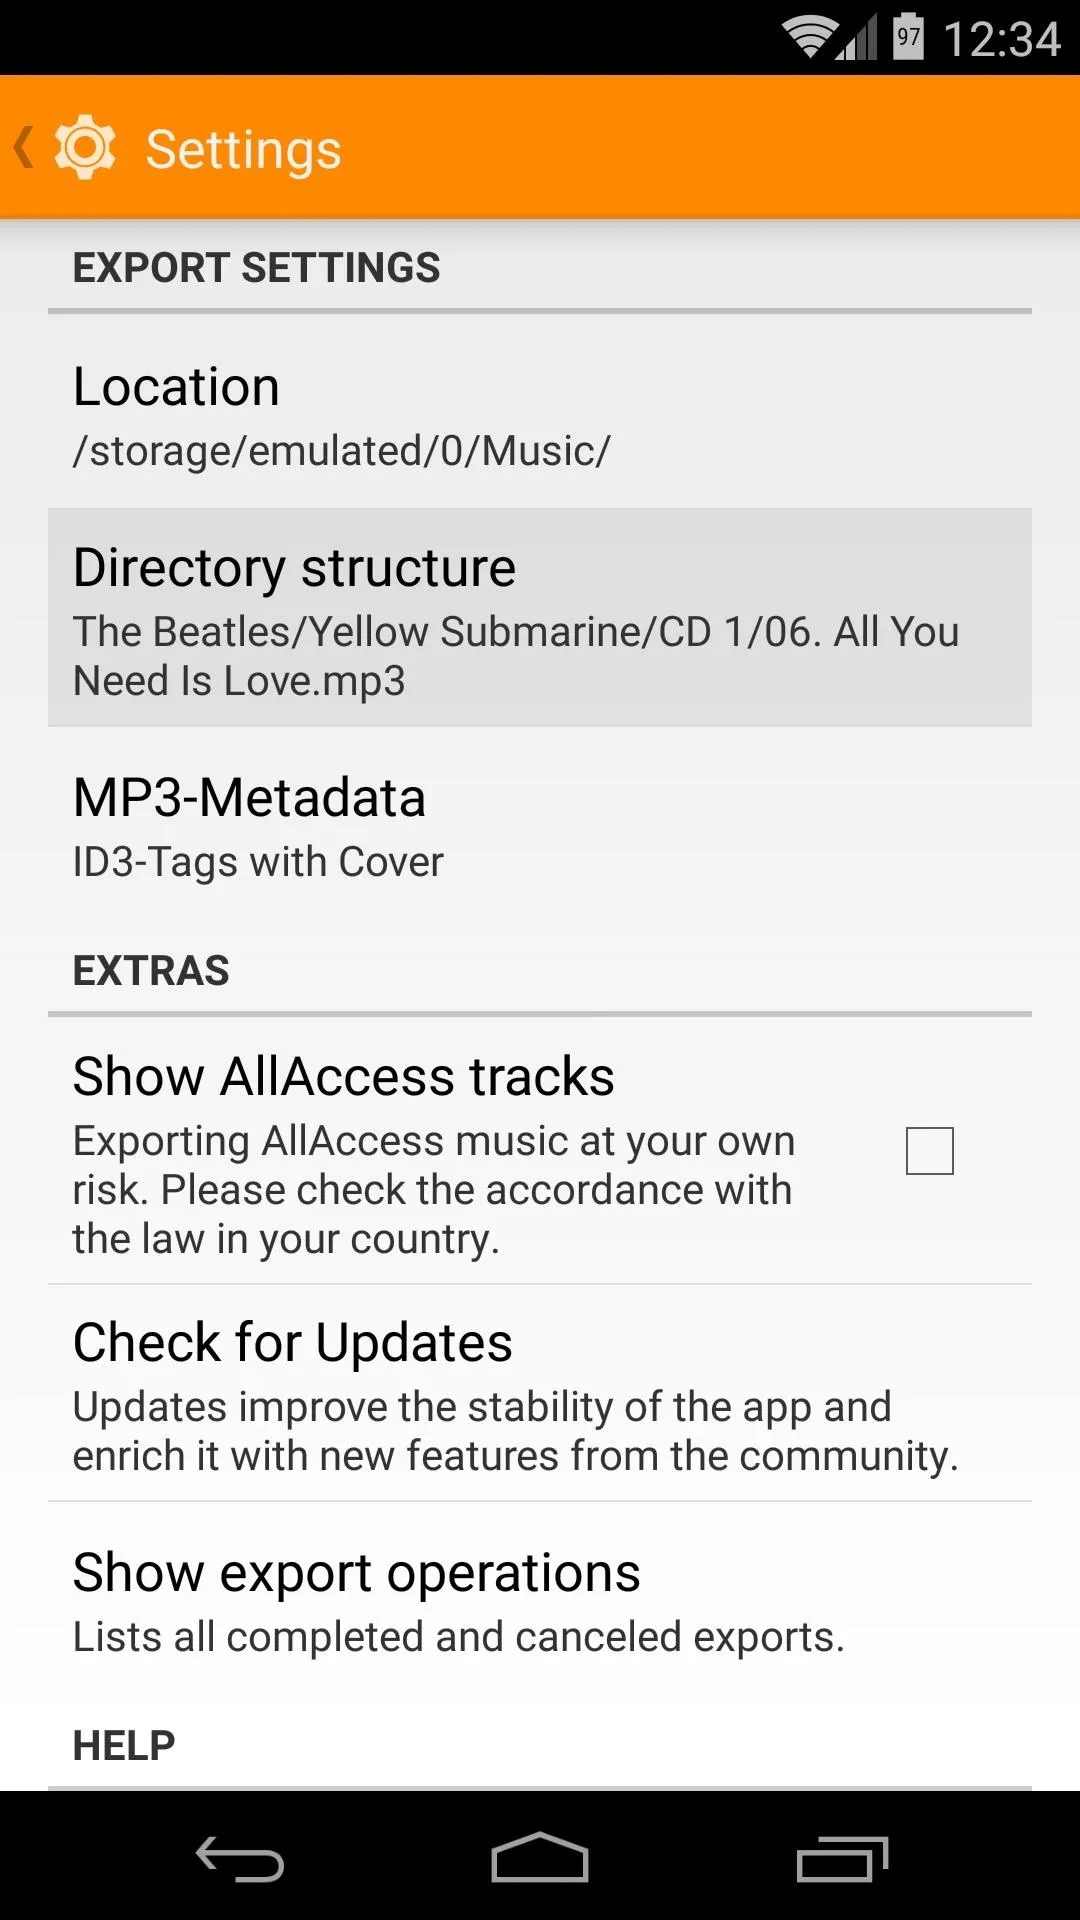


With the MP3-Metadata entry, you can choose what, if any, ID3 tags to save. Then, tick the box next to Show AllAccess tracks if you want to be able to download songs you've played from the All Access library.


Step 3: Exporting Songs
Play Music Exporter does not actually download any songs for you, it just transfers them from the Play Music app's cache directory, then renames the files and saves their tagging info.
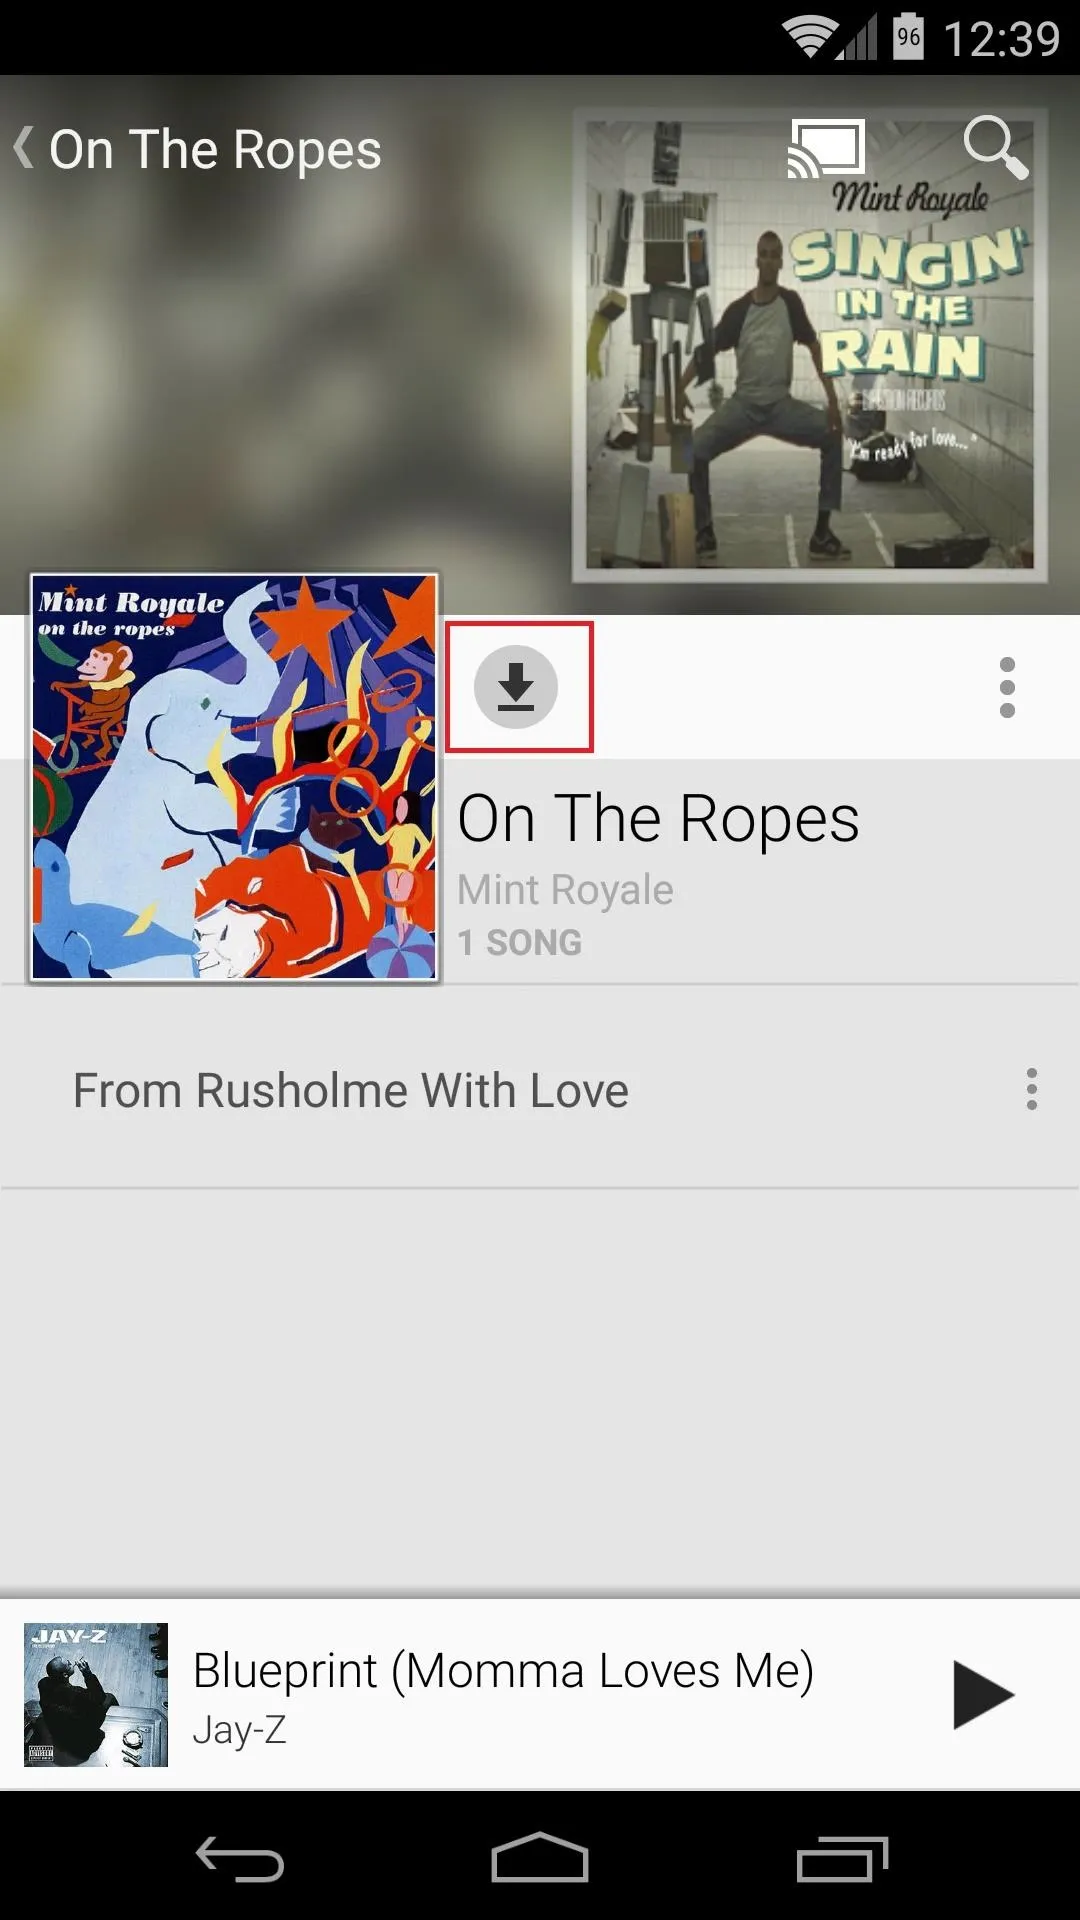
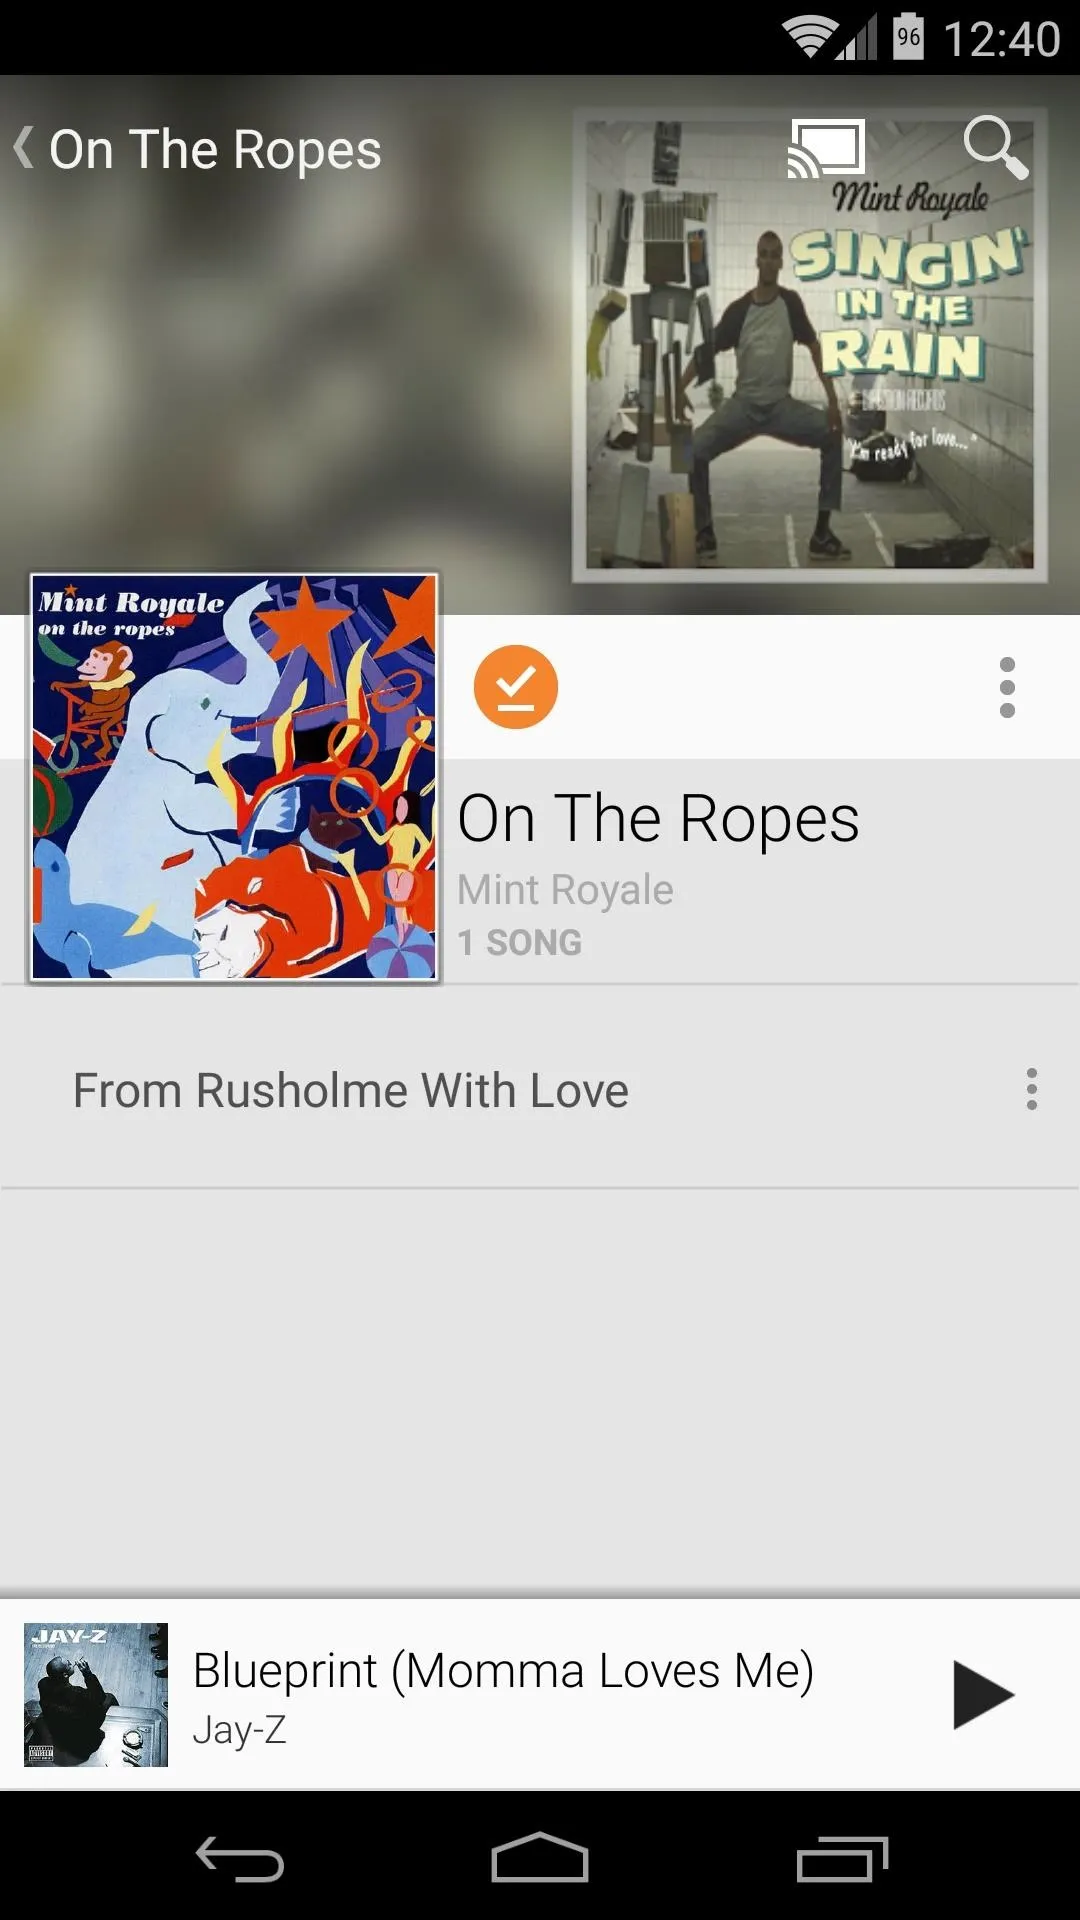
As such, to download a song, you'll need to first play it in your Play Music app, or use the "Save For Offline Playback" button when viewing a song.


After you've done that, just head to the Play Music Exporter app and tap any album that contains a song you'd like to download. This will expand the album entry to show all cached songs from that album. Tap a song, and it will automatically begin exporting.
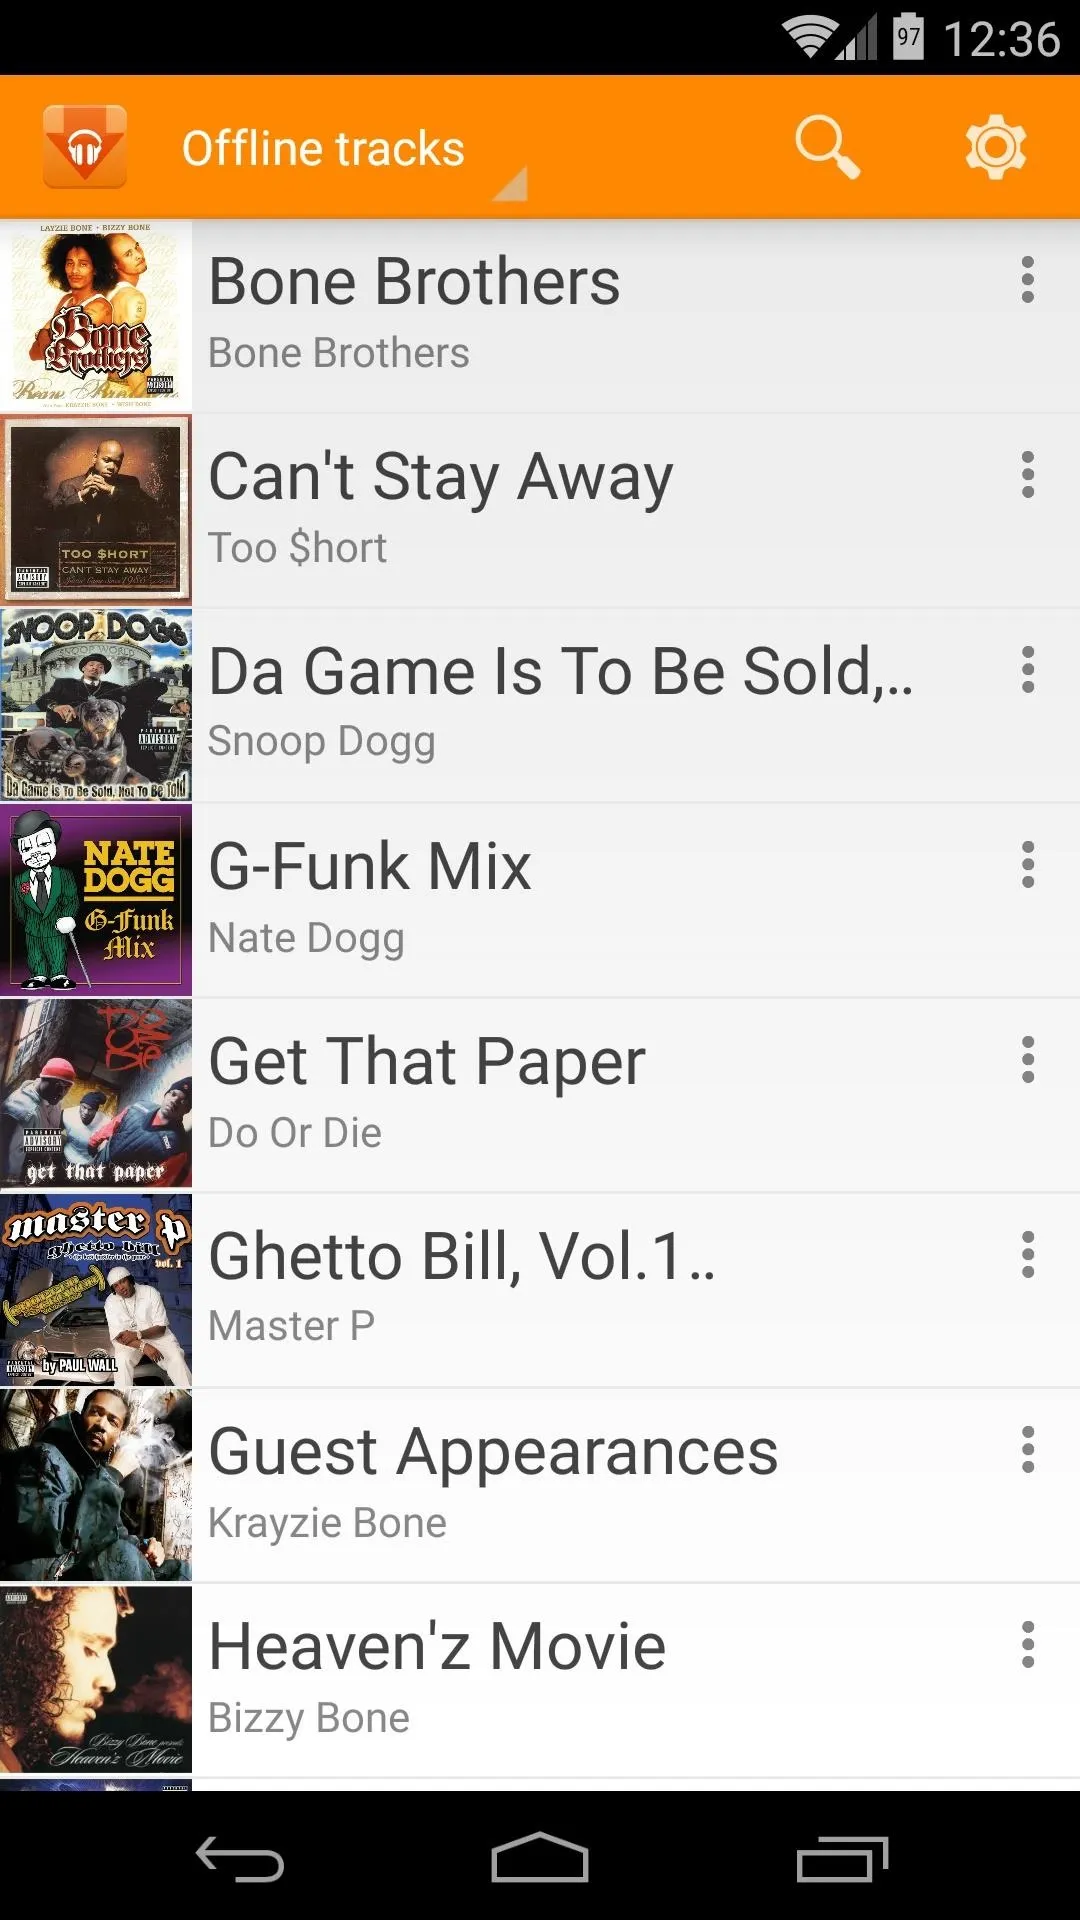
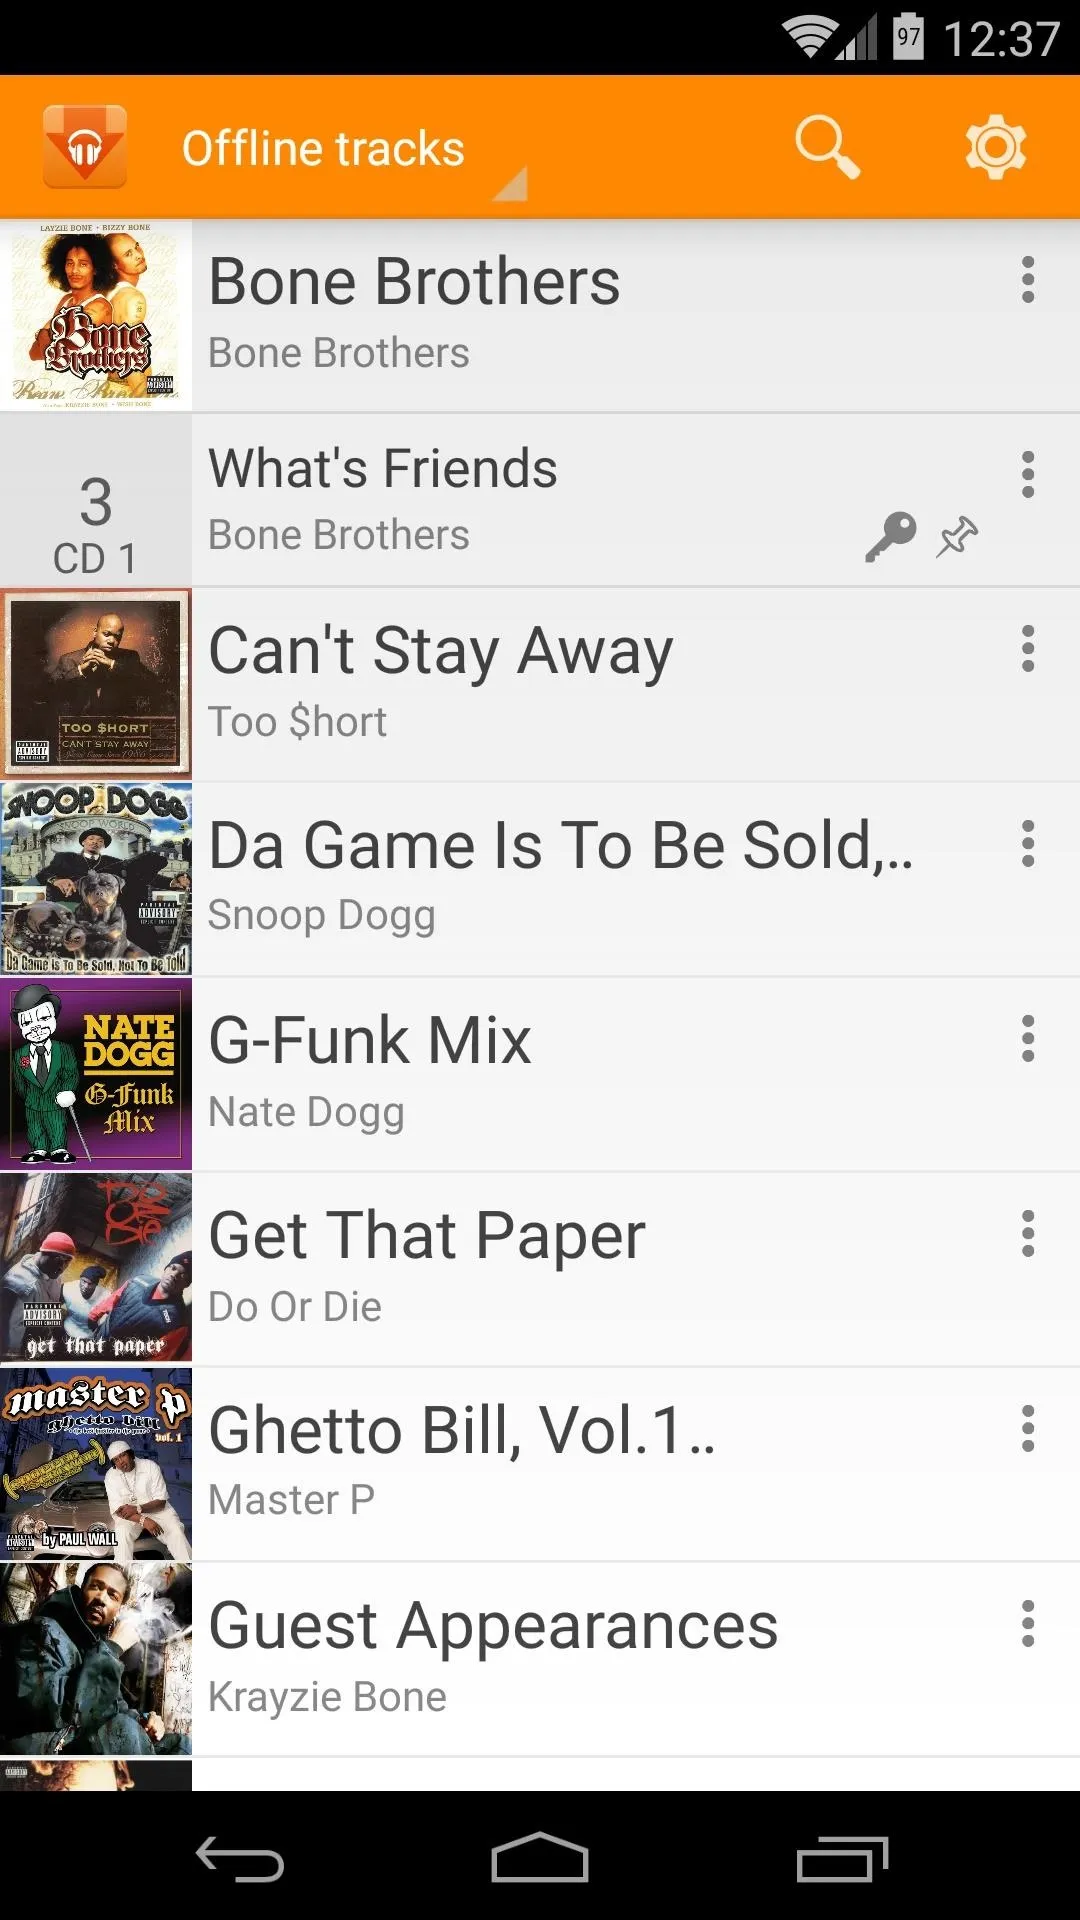
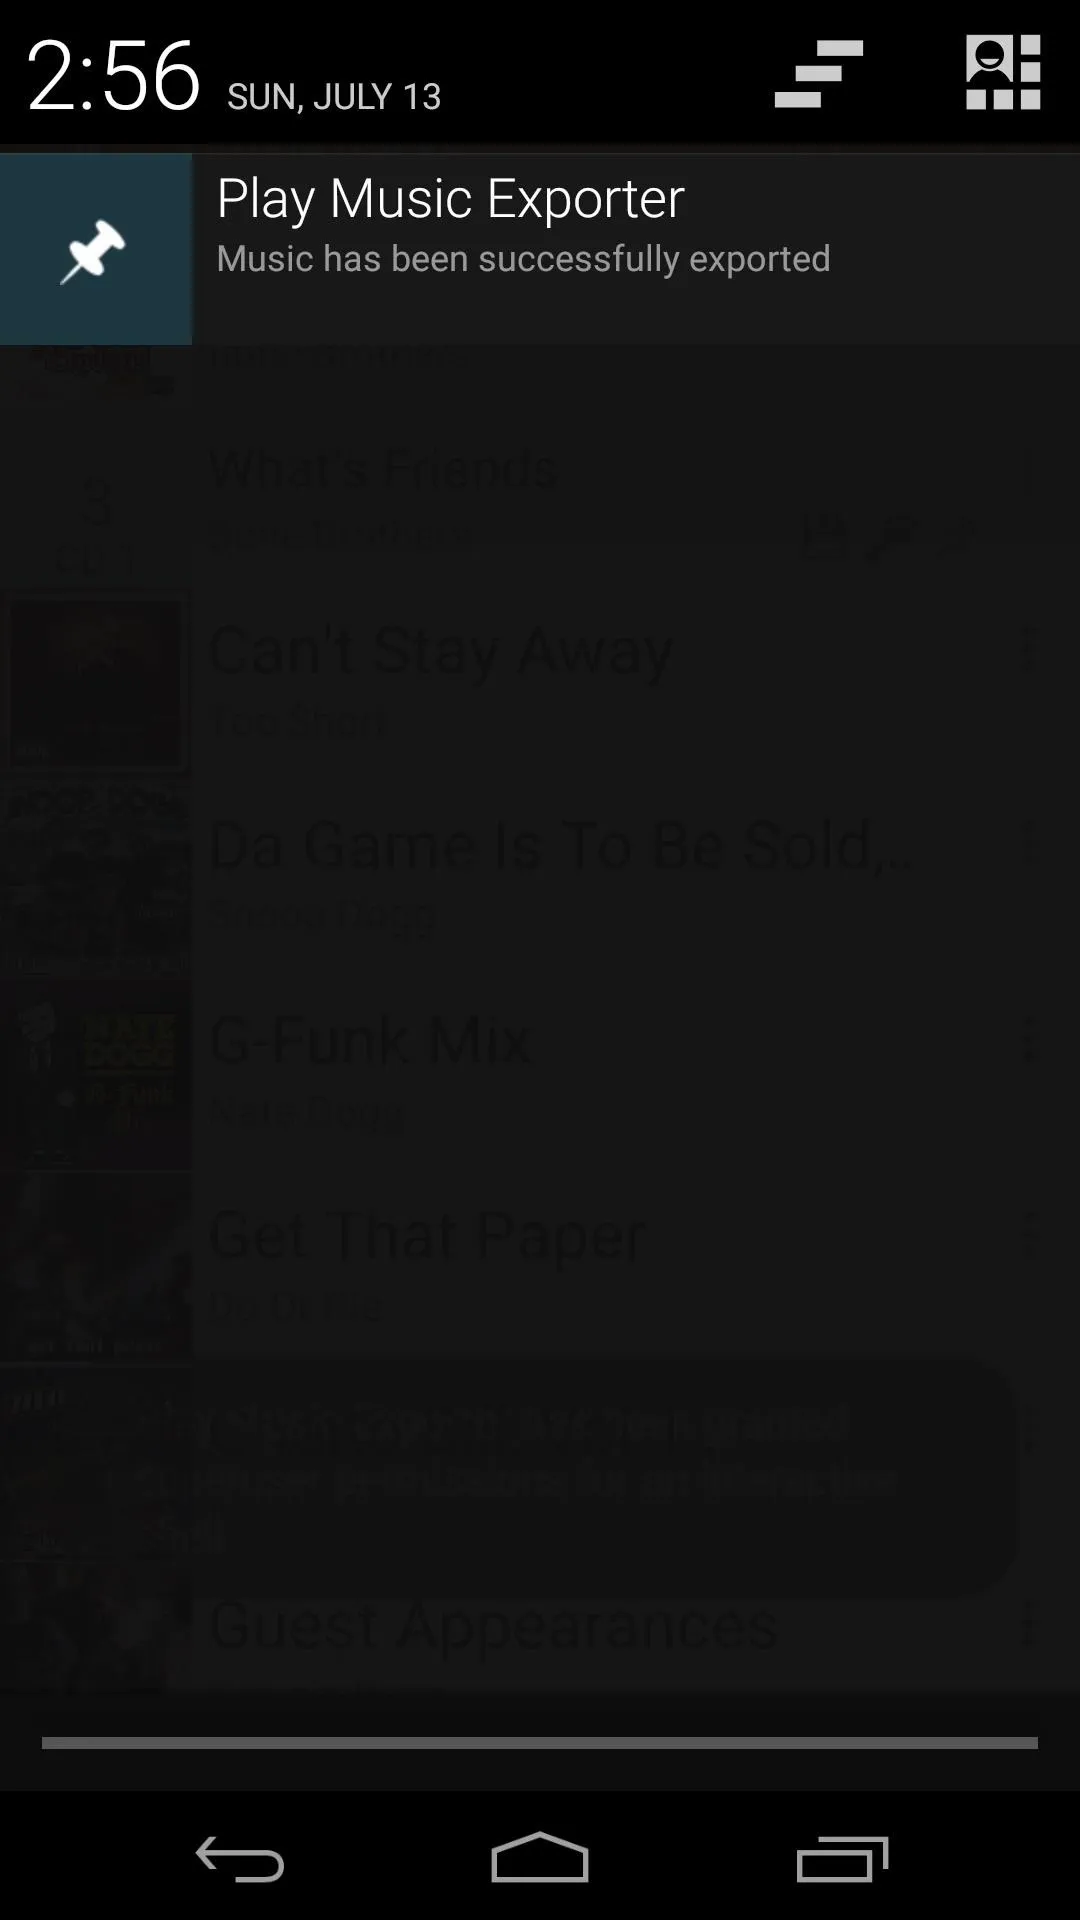


Now, the song can be easily accessed by any other music player app. And you can view the MP3 itself with any file browser. Since the files are stored on your SD card, you can even connect your phone to your Computer to transfer the files between devices.
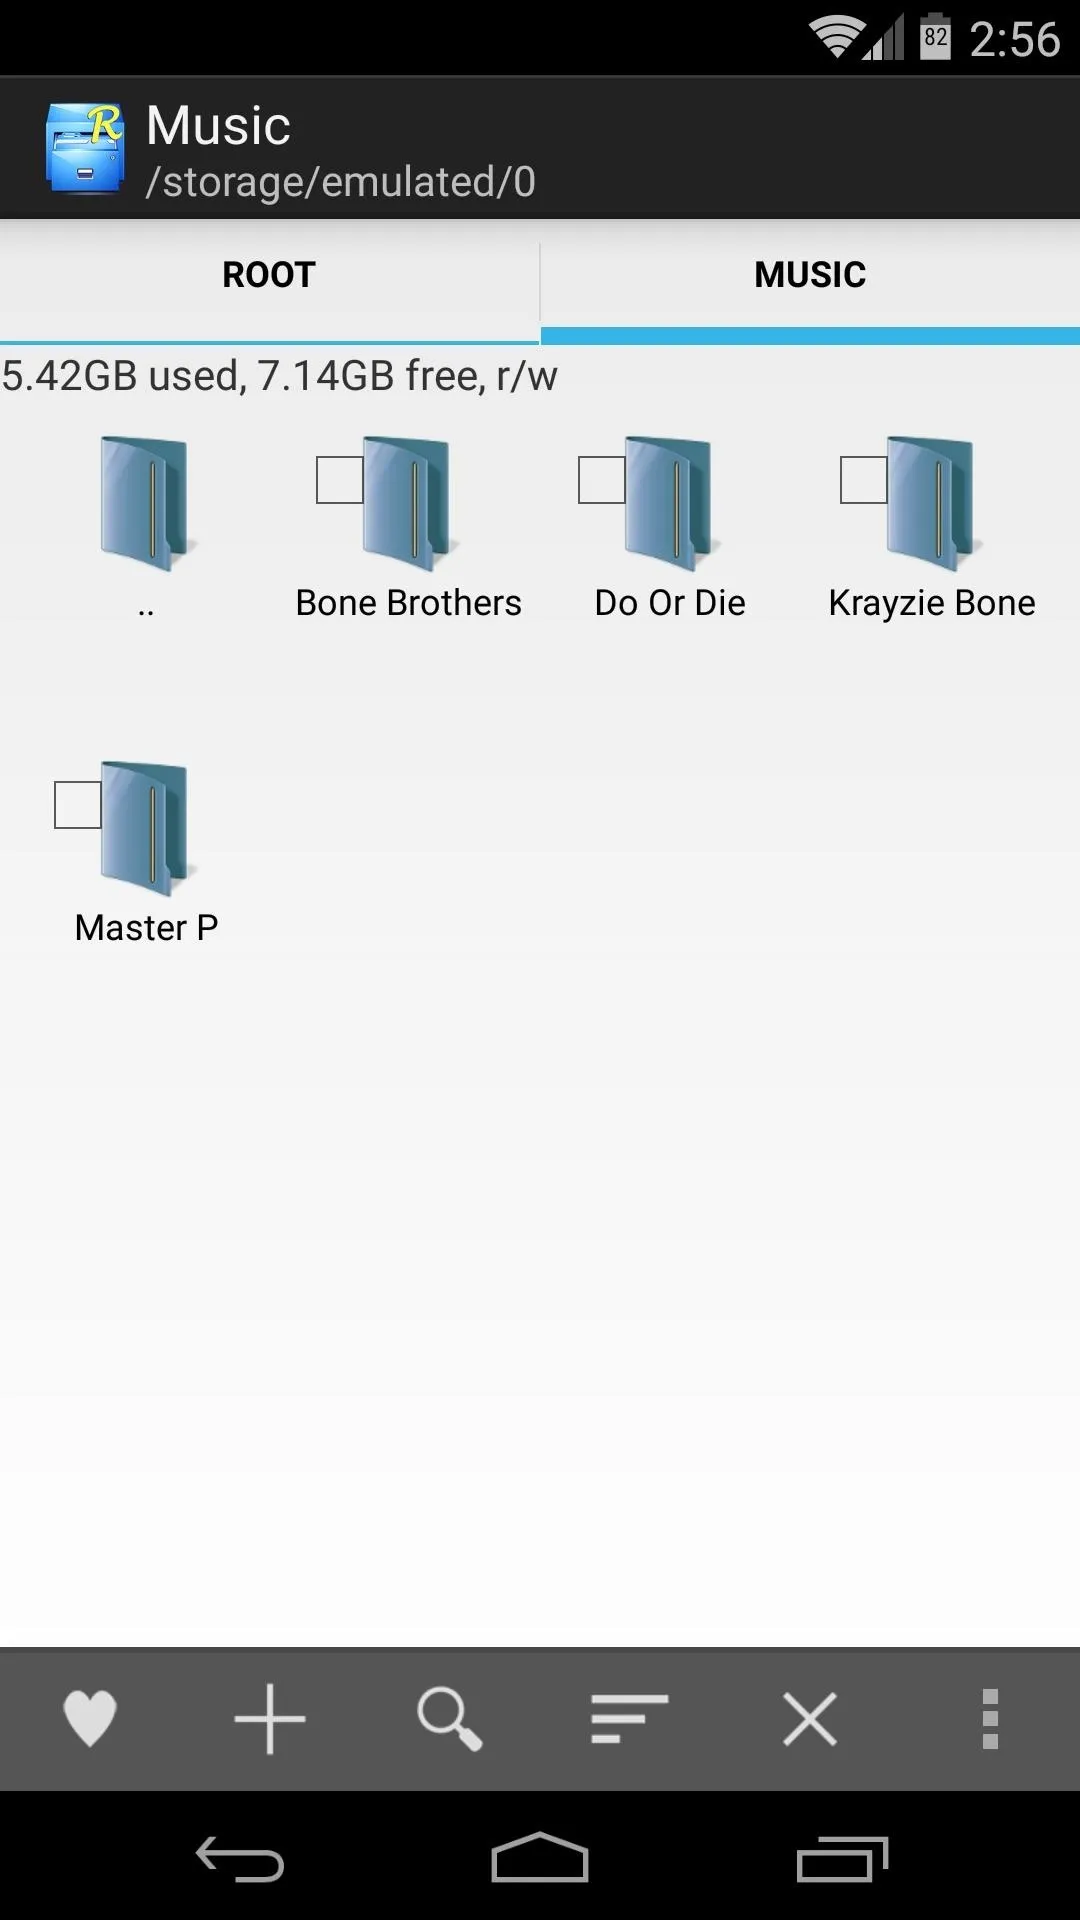
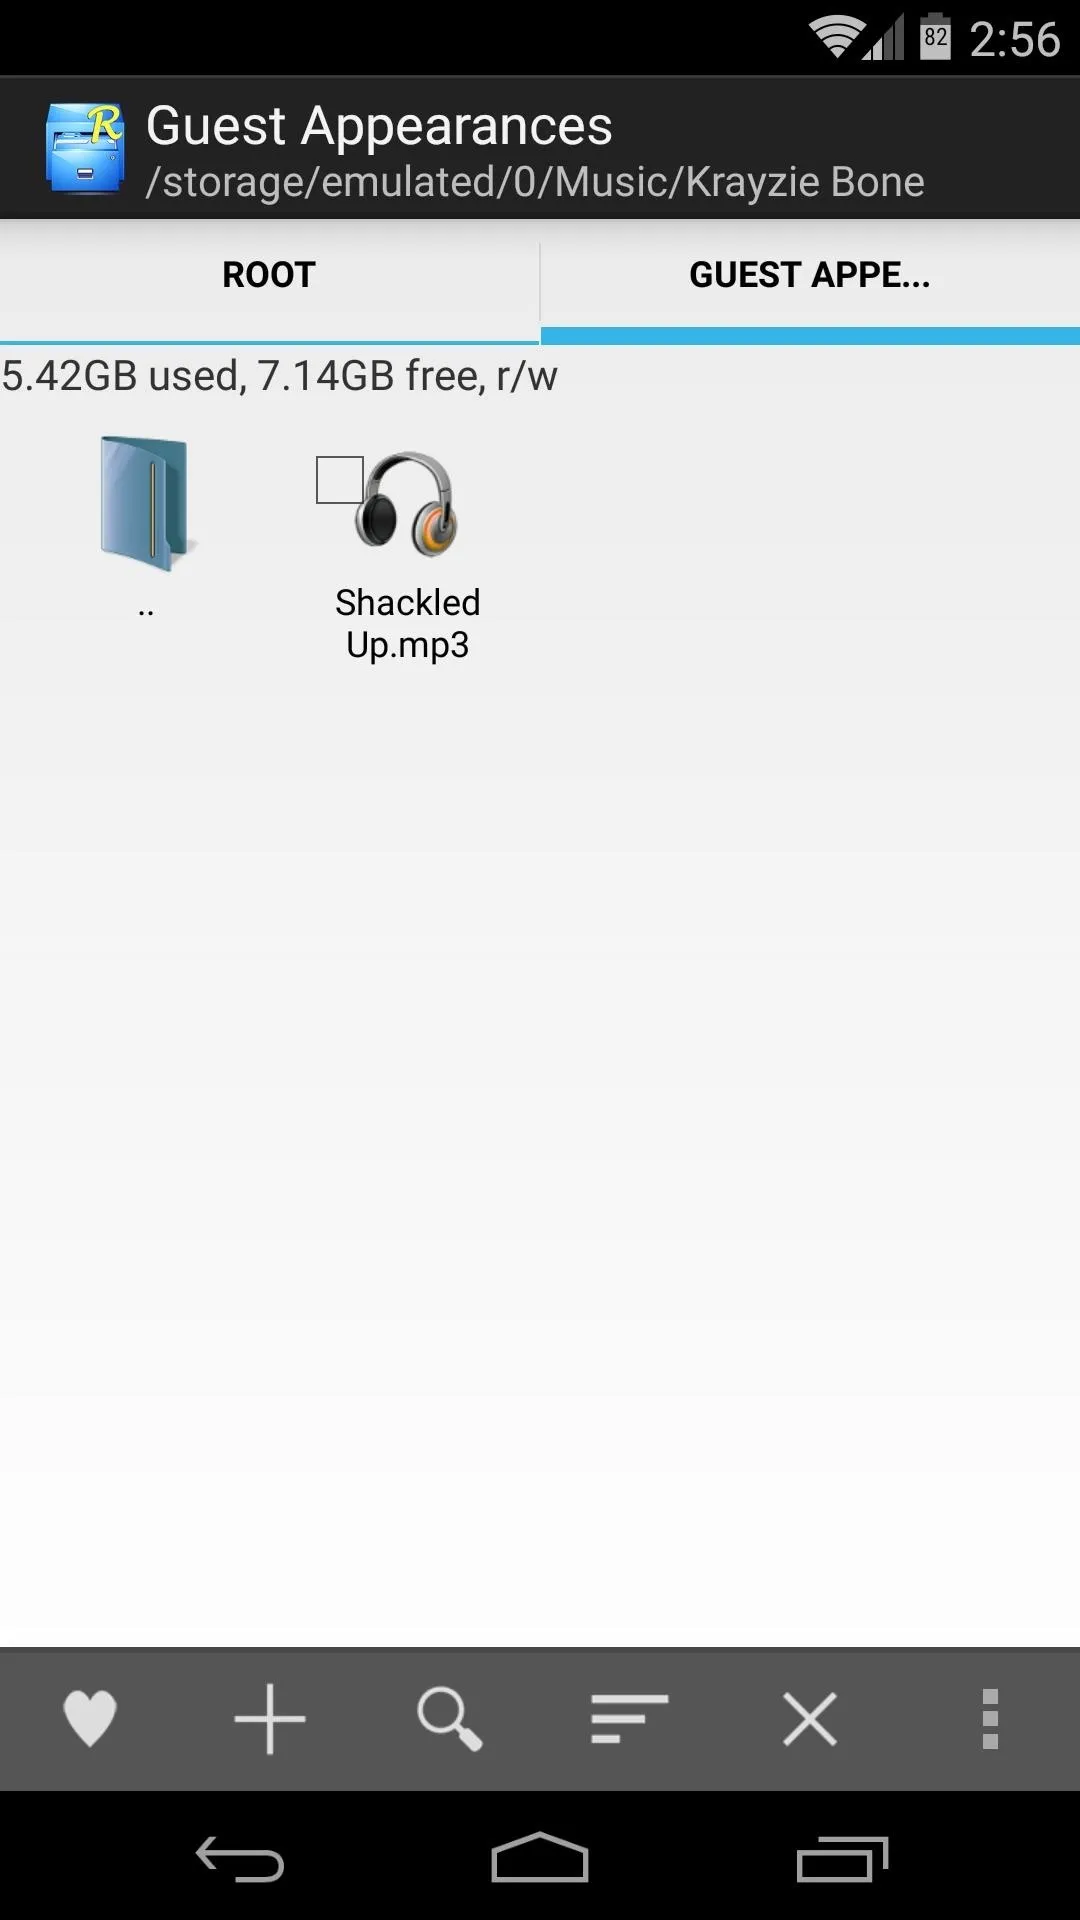


This makes building up your MP3 library incredibly easy, and all files are properly tagged and organized. How many songs have you downloaded using Play Music Exporter? Let us know in the comments section below.


Comments
No Comments Exist
Be the first, drop a comment!