The Nexus 6 has an AMOLED screen that uses virtually no power to display black pixels. To take advantage of this feature, Google included an Ambient Display notification system that shows a black and white version of your lock screen when you get a new message. As a result, the Nexus 6 doesn't use an LED light to notify you of new incoming messages like most phones.
But the Nexus 6 actually has a notification LED—it's hidden under the top speaker grill, and has simply been disabled by the phone's software. I've covered a method to enable this LED for incoming notifications, but this does not turn on the LED while you're charging your phone.
Realizing this, developer KDB created an app that will enable the Nexus 6's hidden LED light for use as a charging indicator. You can even set the app up to show the LED for a few other hardware events, so you'll have total control over when the hidden LED on your Nexus 6 lights up.
Requirement
Step 1: Install "LED Control"
KDB's app is called LED Control, and it's available on the Google Play Store for free. Search the app by name to get it installed, or head directly to the install page at this link.

Step 2: Enable the LED Control Service
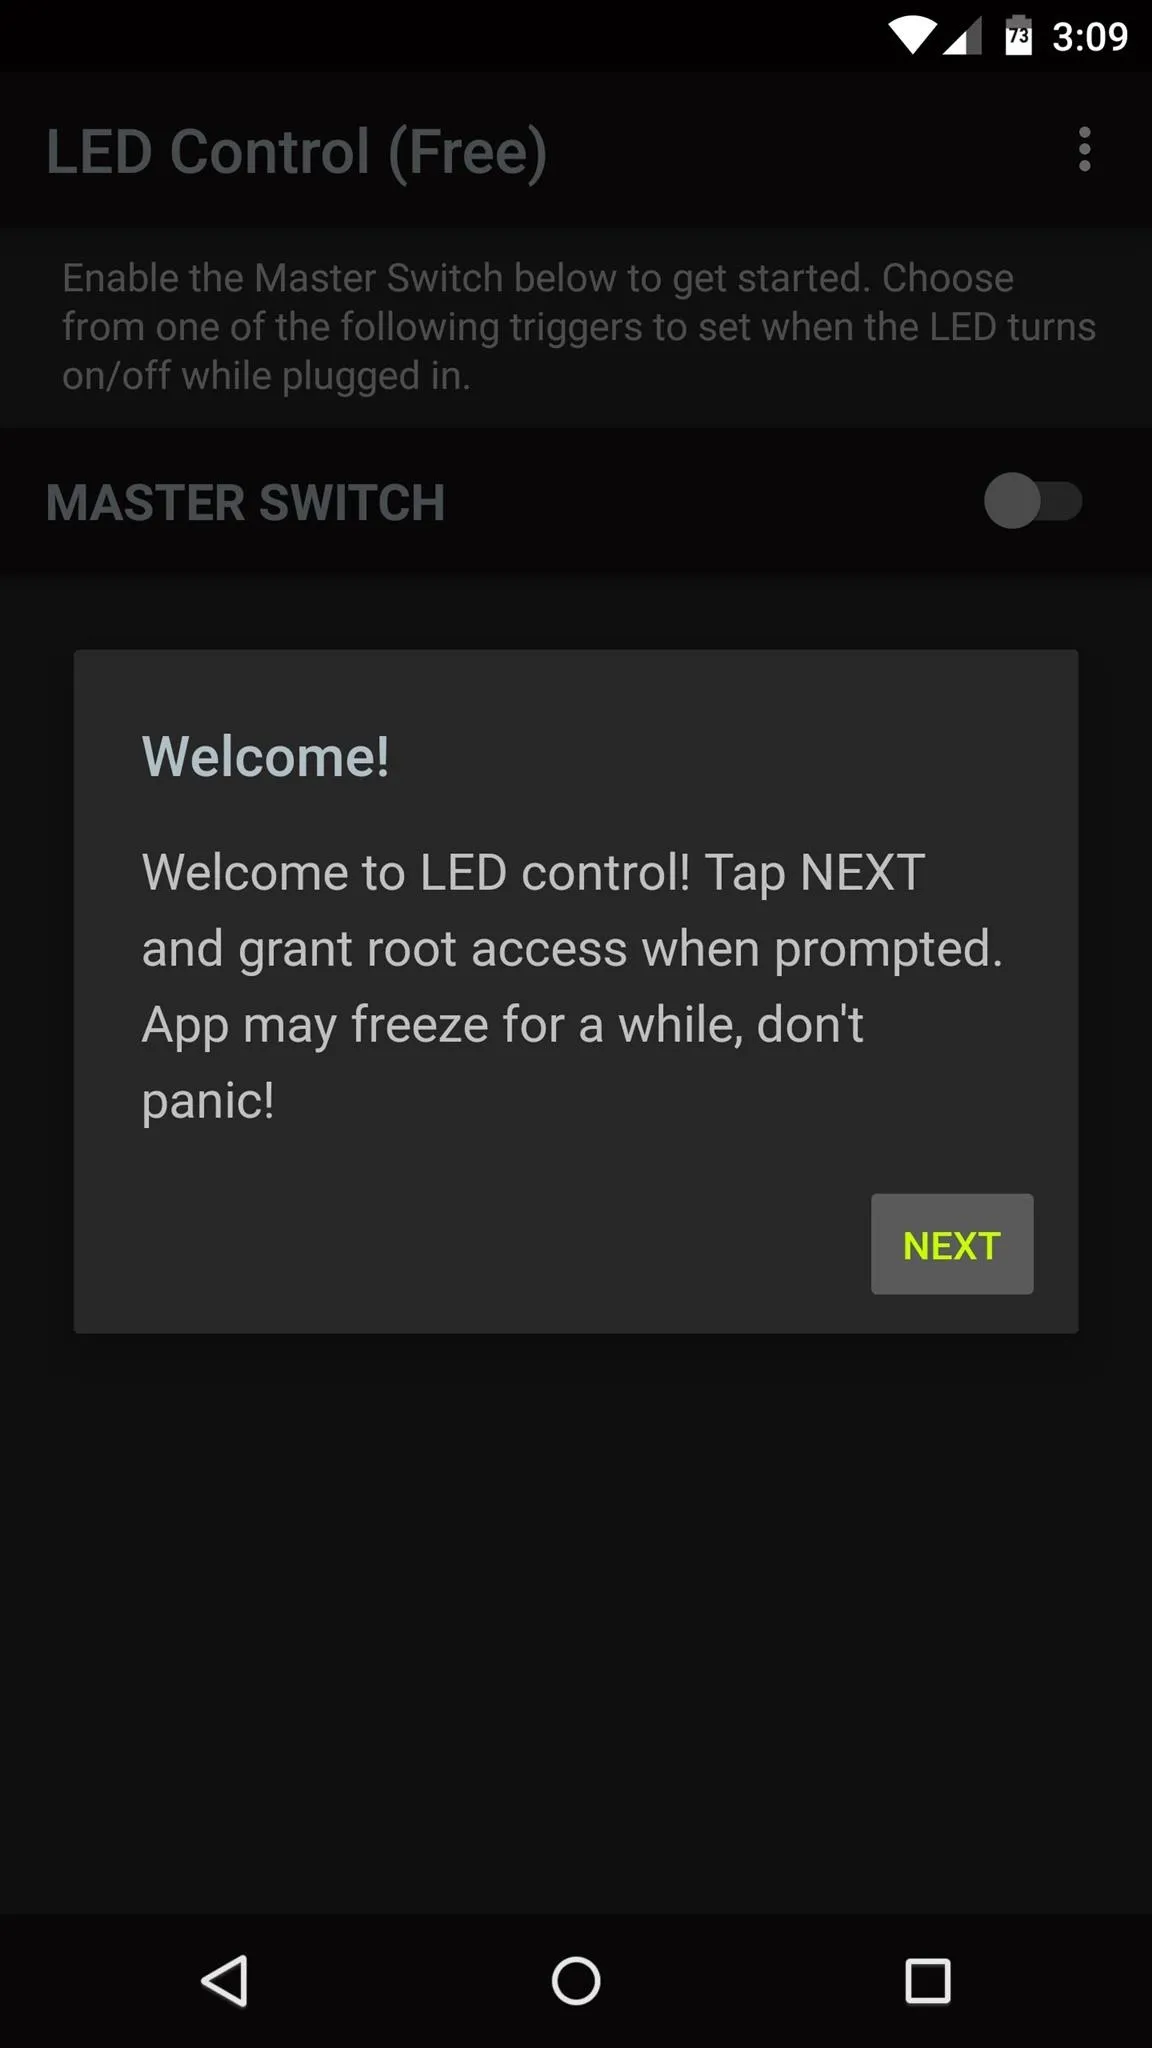
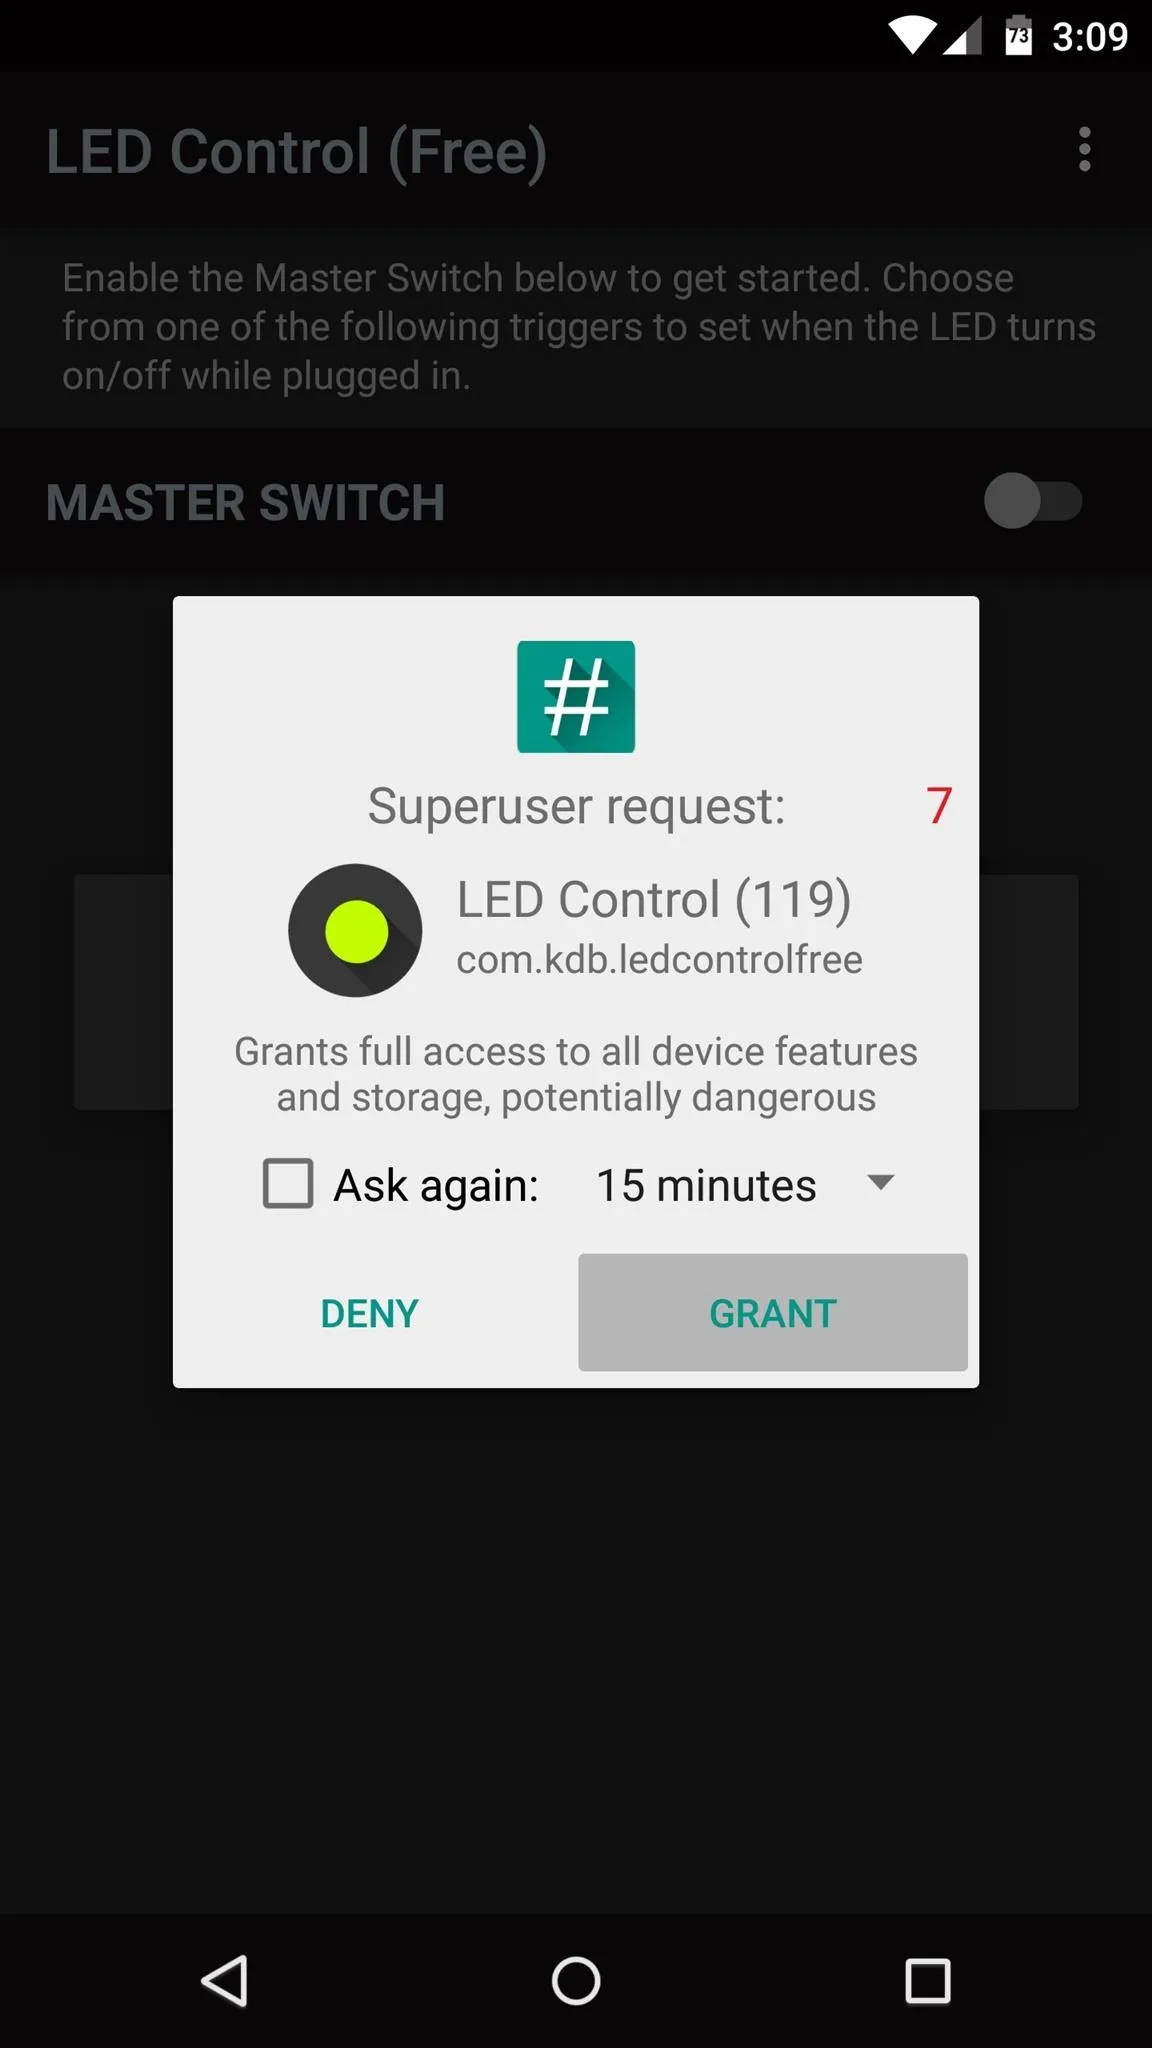
When you first launch LED Control, the app will inform you that it needs to ask for root access. Tap "Next" on this message, then hit "Grant" on the subsequent popup.


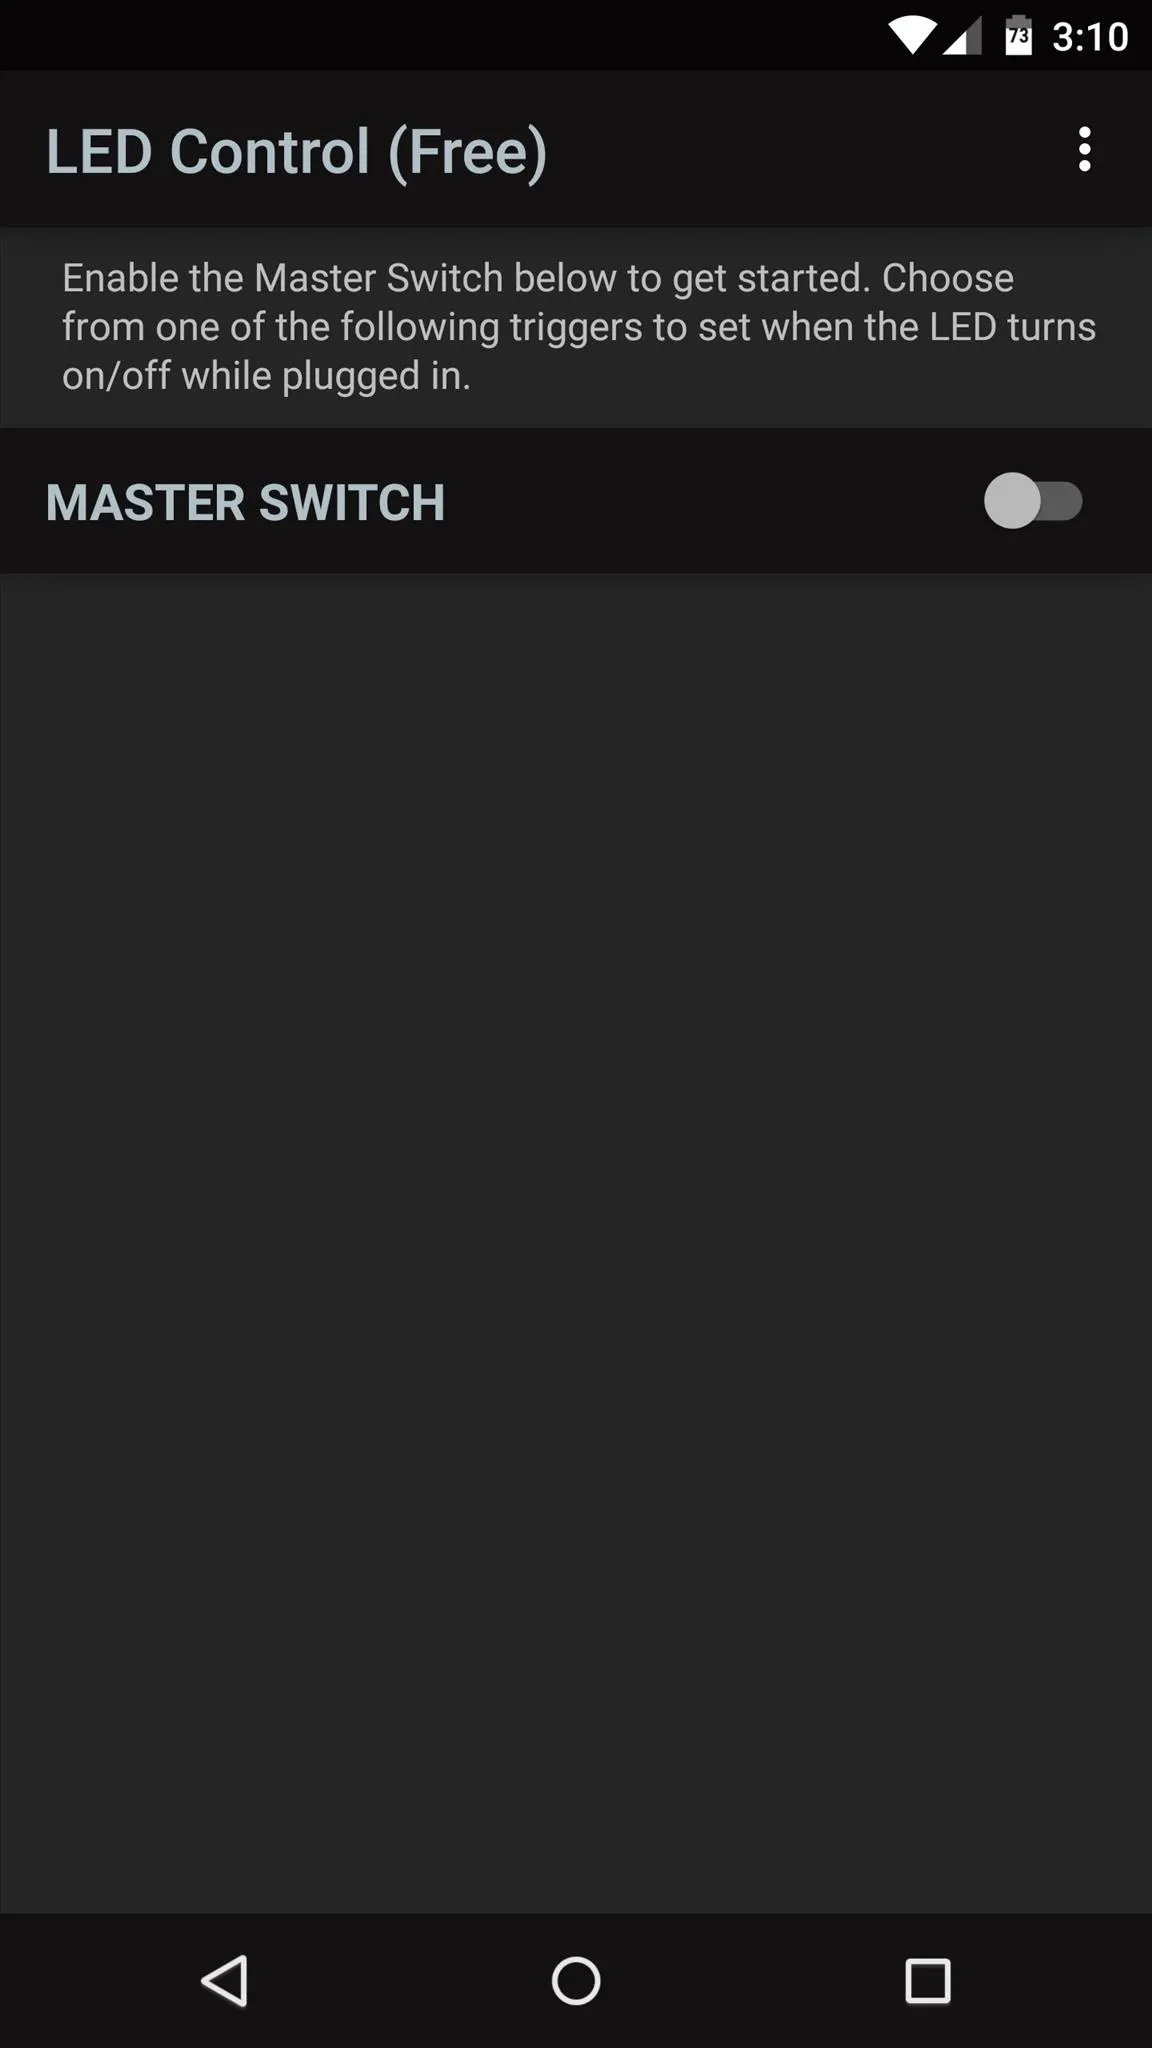
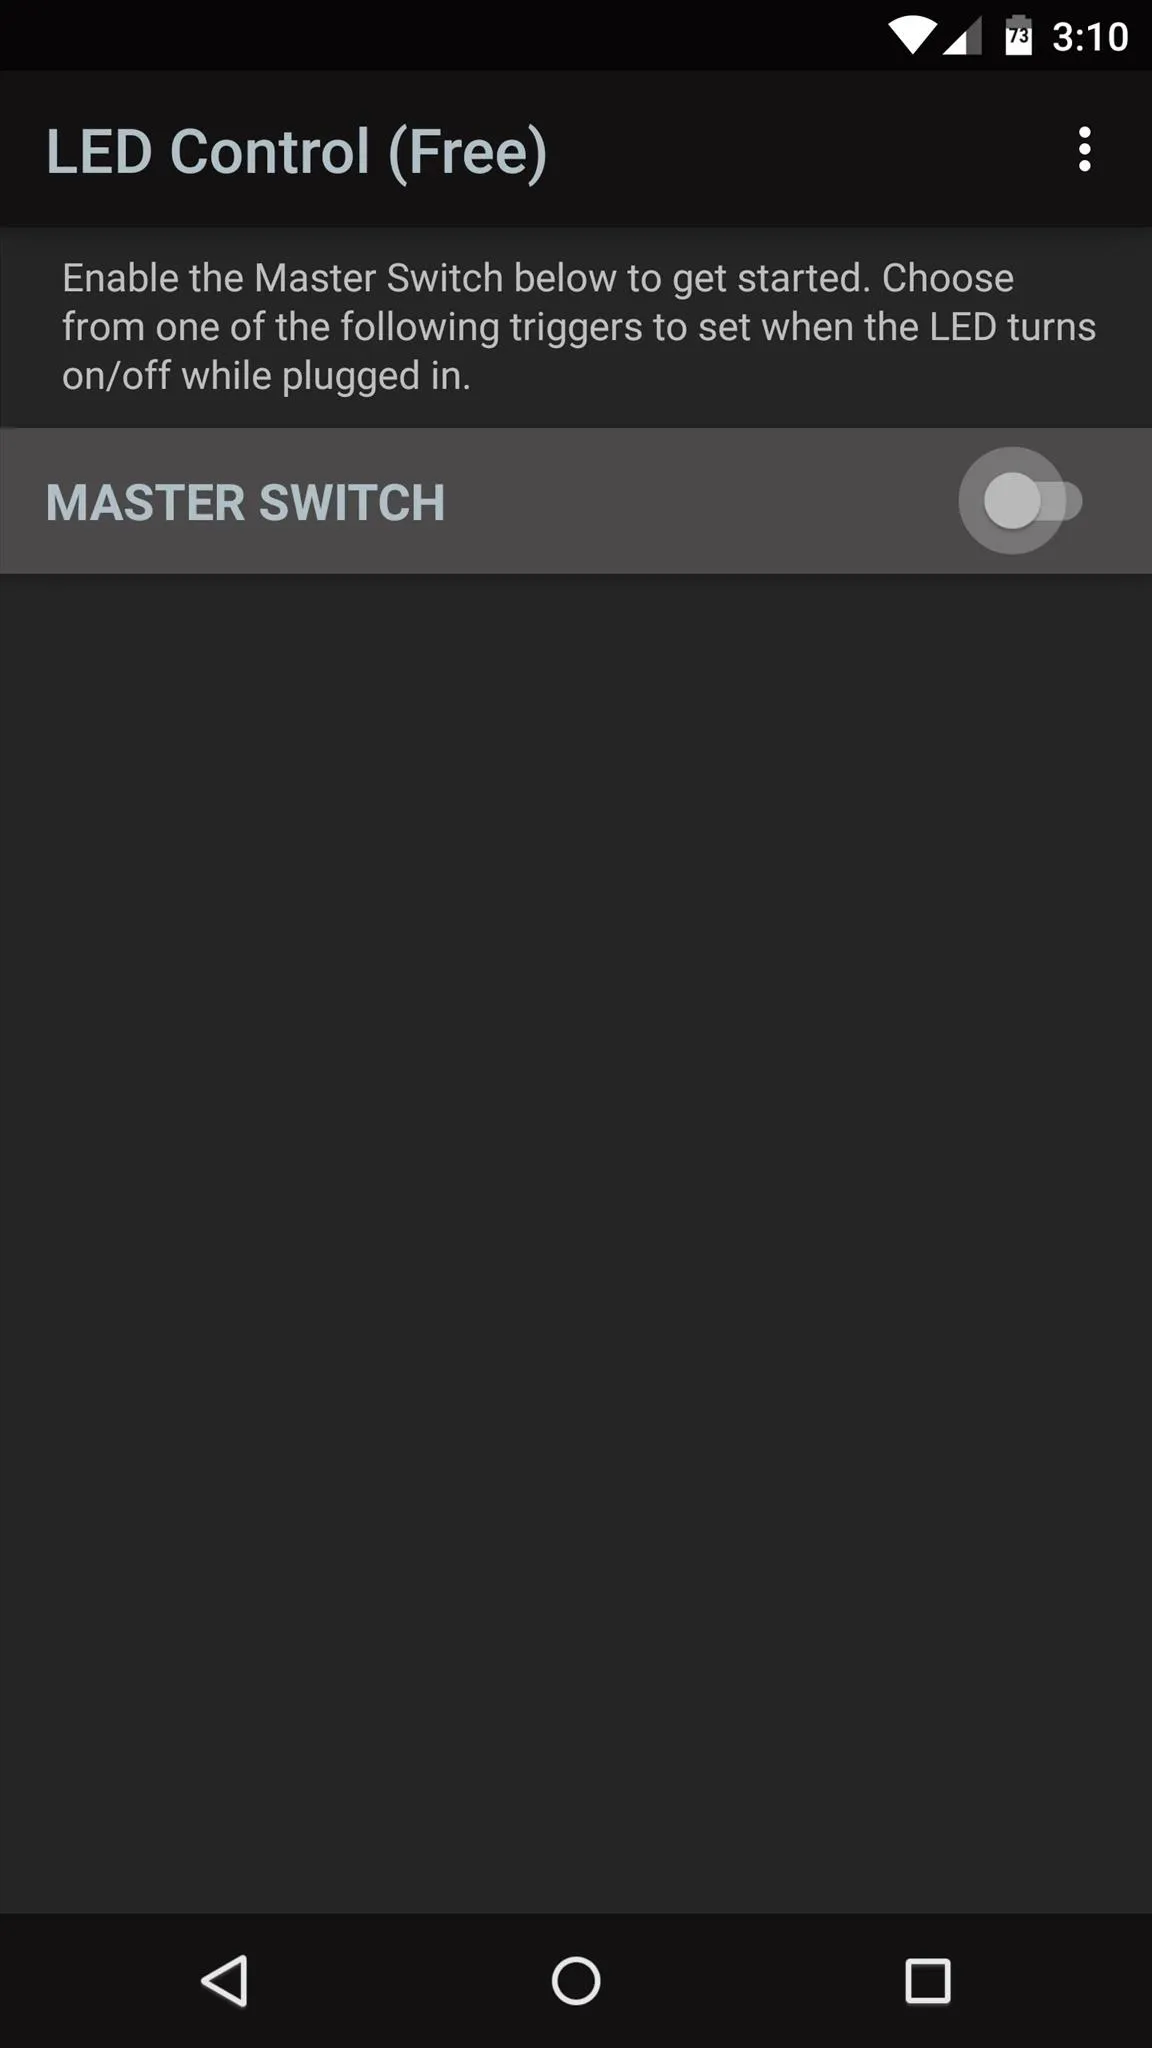
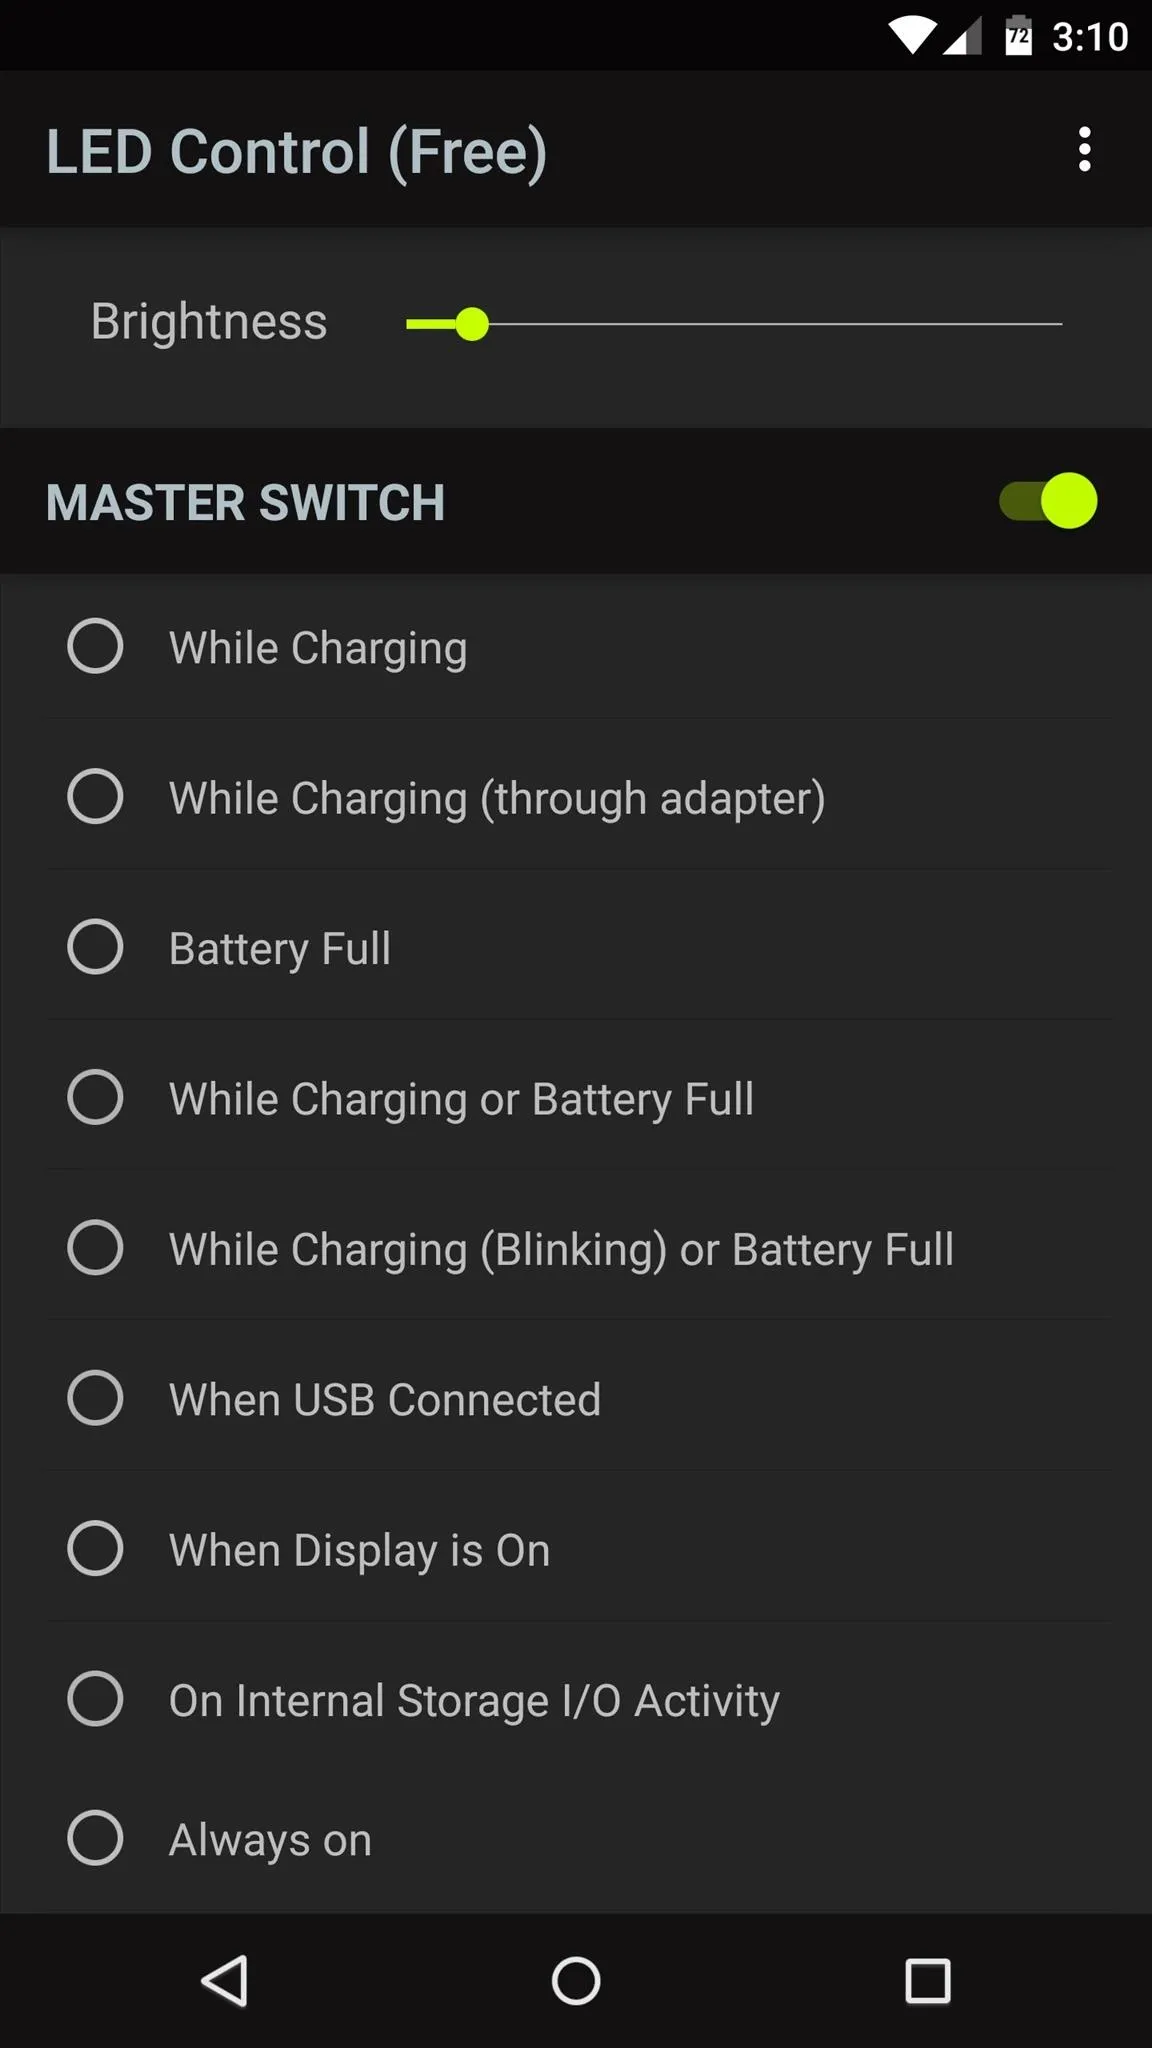
From here, turn on the "Master Switch" at the top of the screen to enable the LED Control service.


Step 3: Select a Trigger for the LED Light
At this point, you'll see a list of all available triggers. These are conditions, that if met, will cause the hidden notification LED to light up. For the purposes of this tutorial, I'll demonstrate with the "While Charging" option, as this will enable the LED when the phone is connected to a power source.
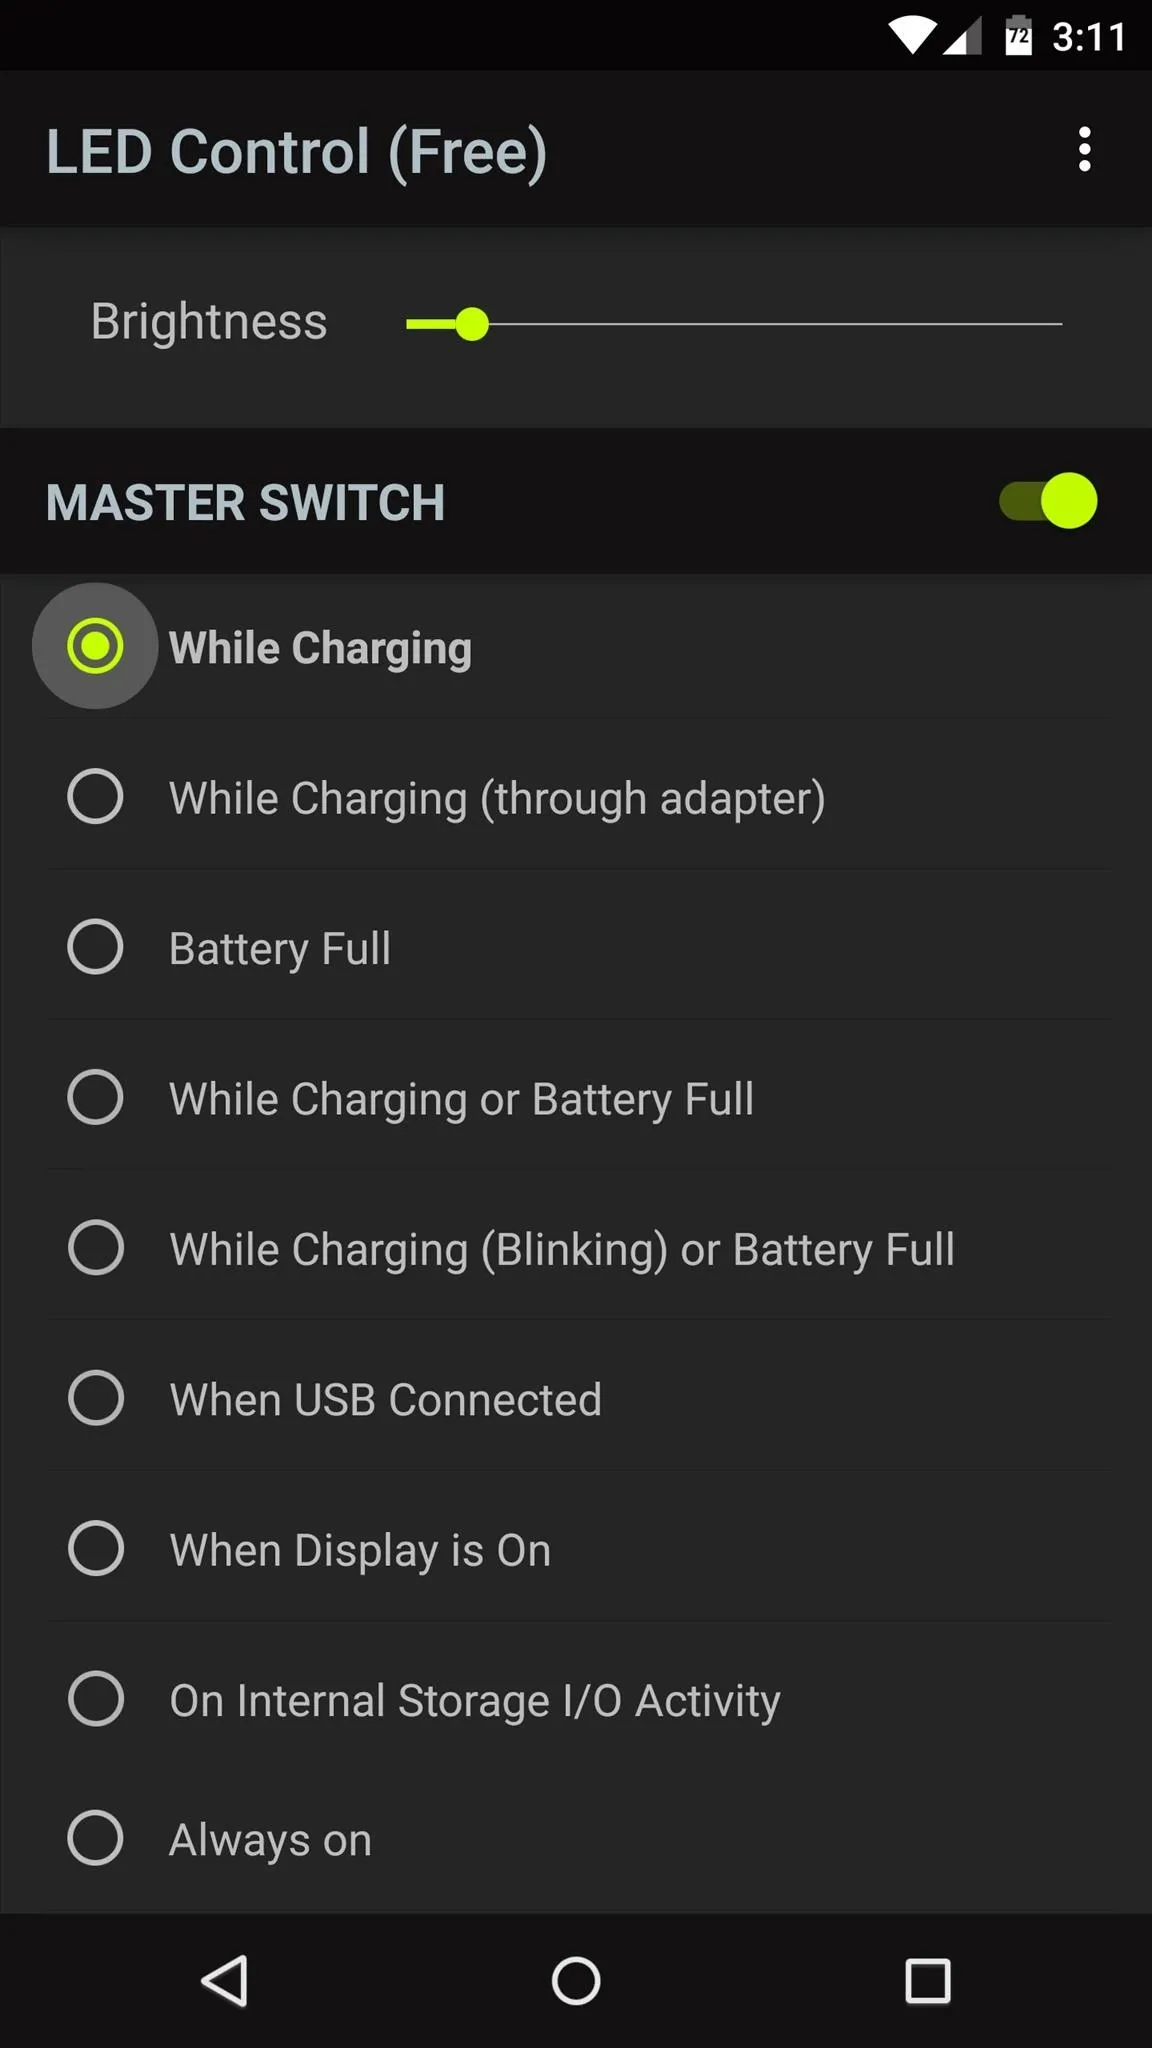


From here, use the "Brightness" slider at the top of the screen to adjust the intensity of your LED. When you make any changes, you'll see a toast message informing you that you'll need to connect your phone to a charger before your new settings will become active.
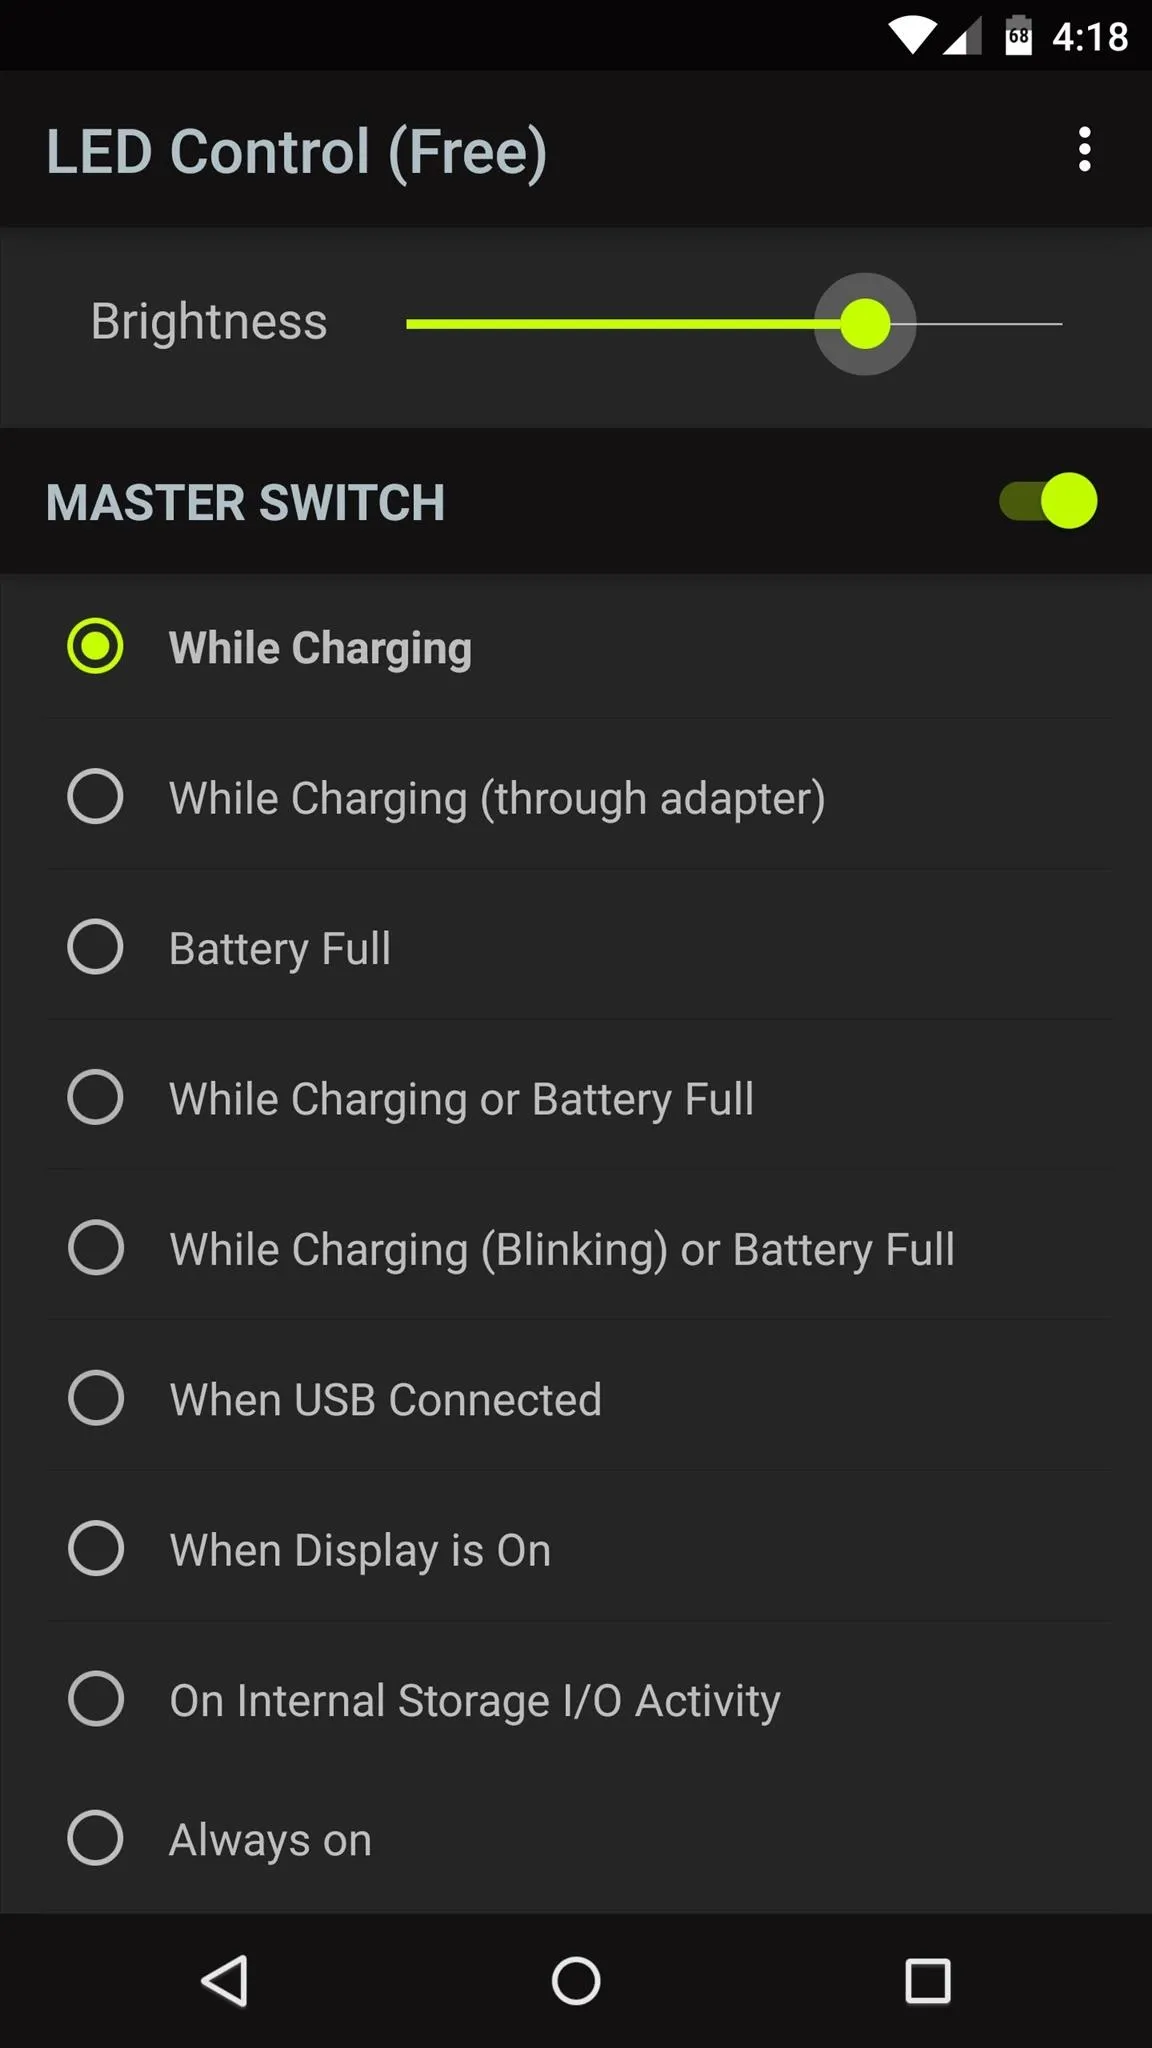
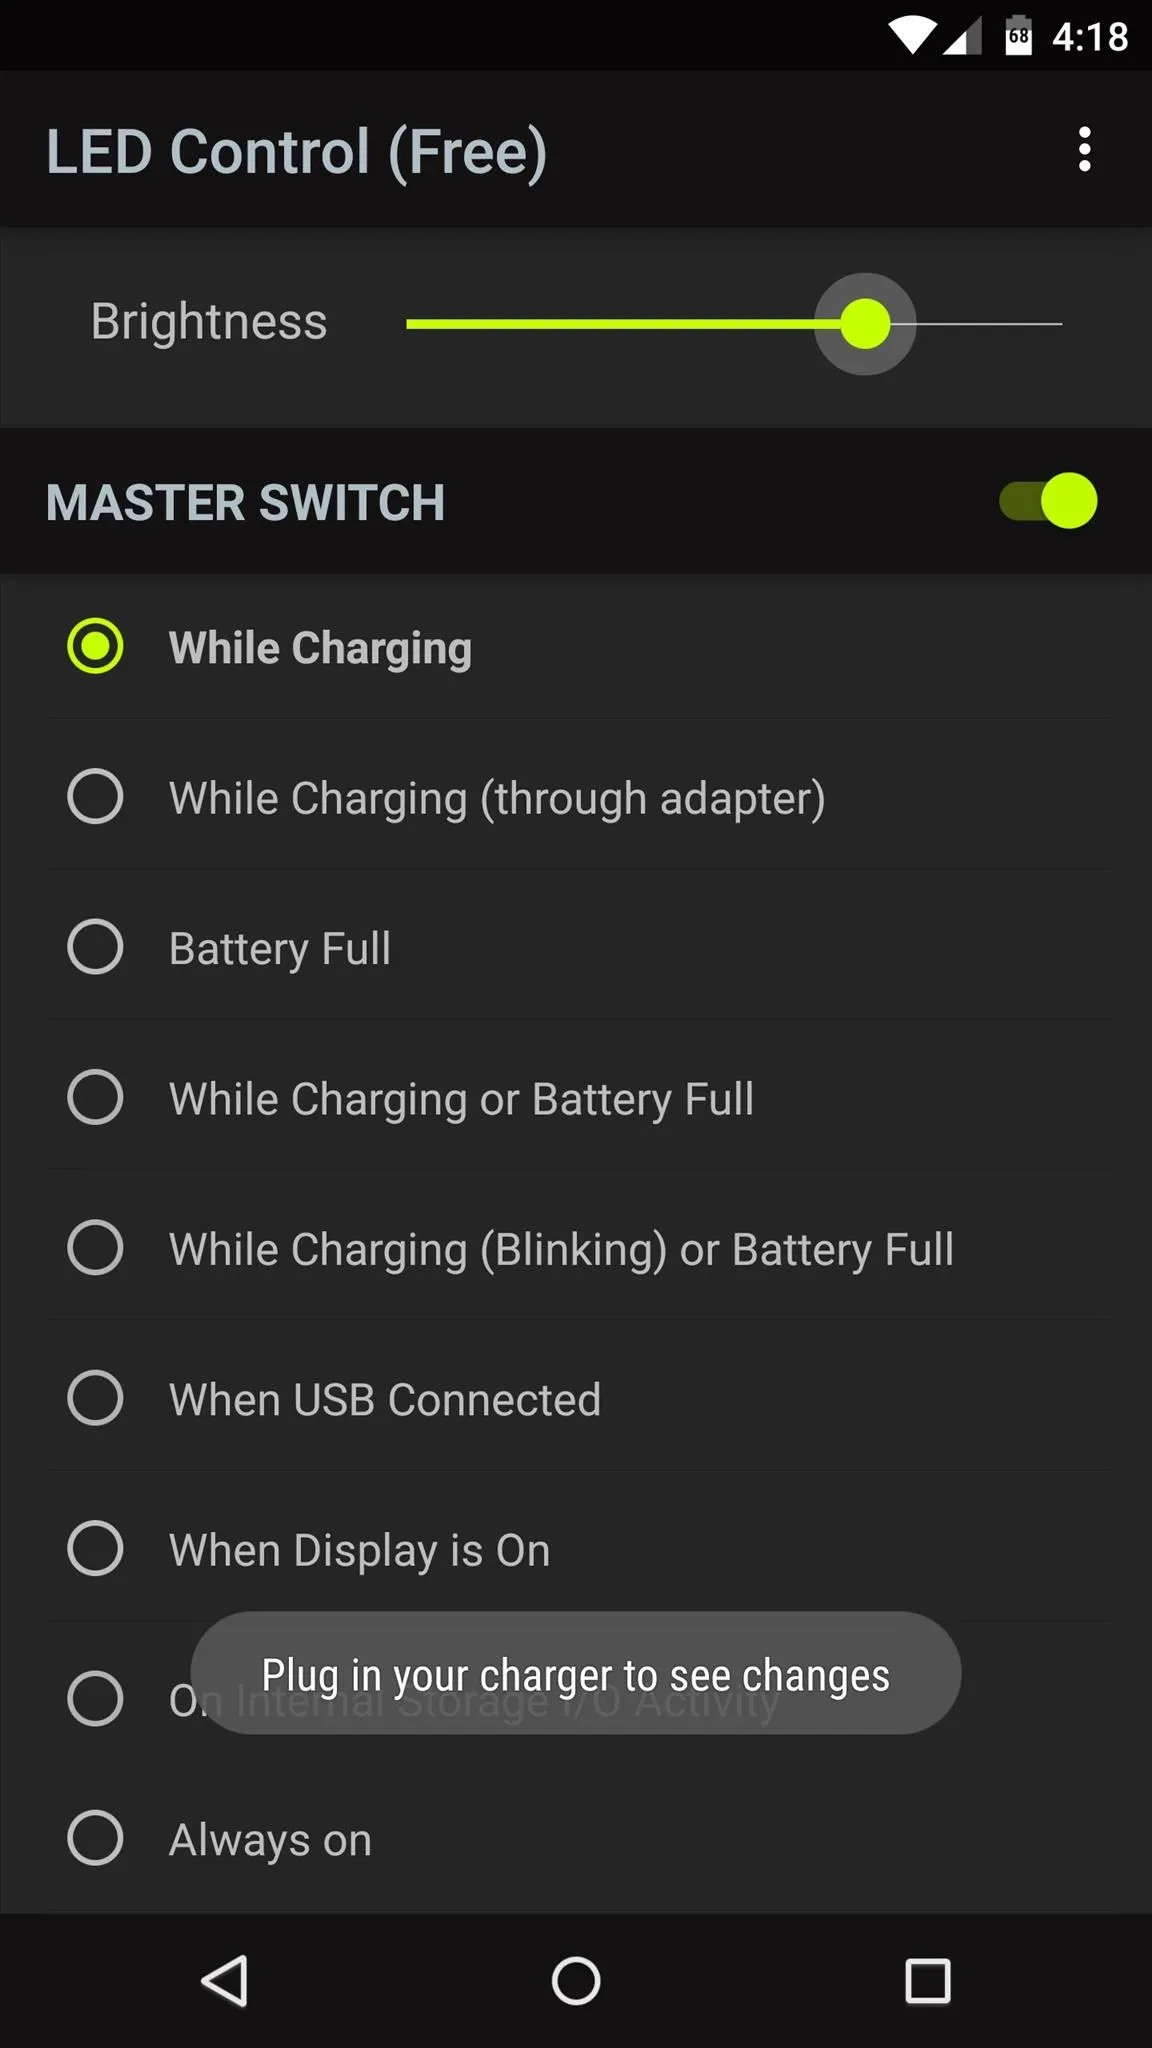


At this point, just plug your phone into any charger, and your LED will light up when triggered from now on.

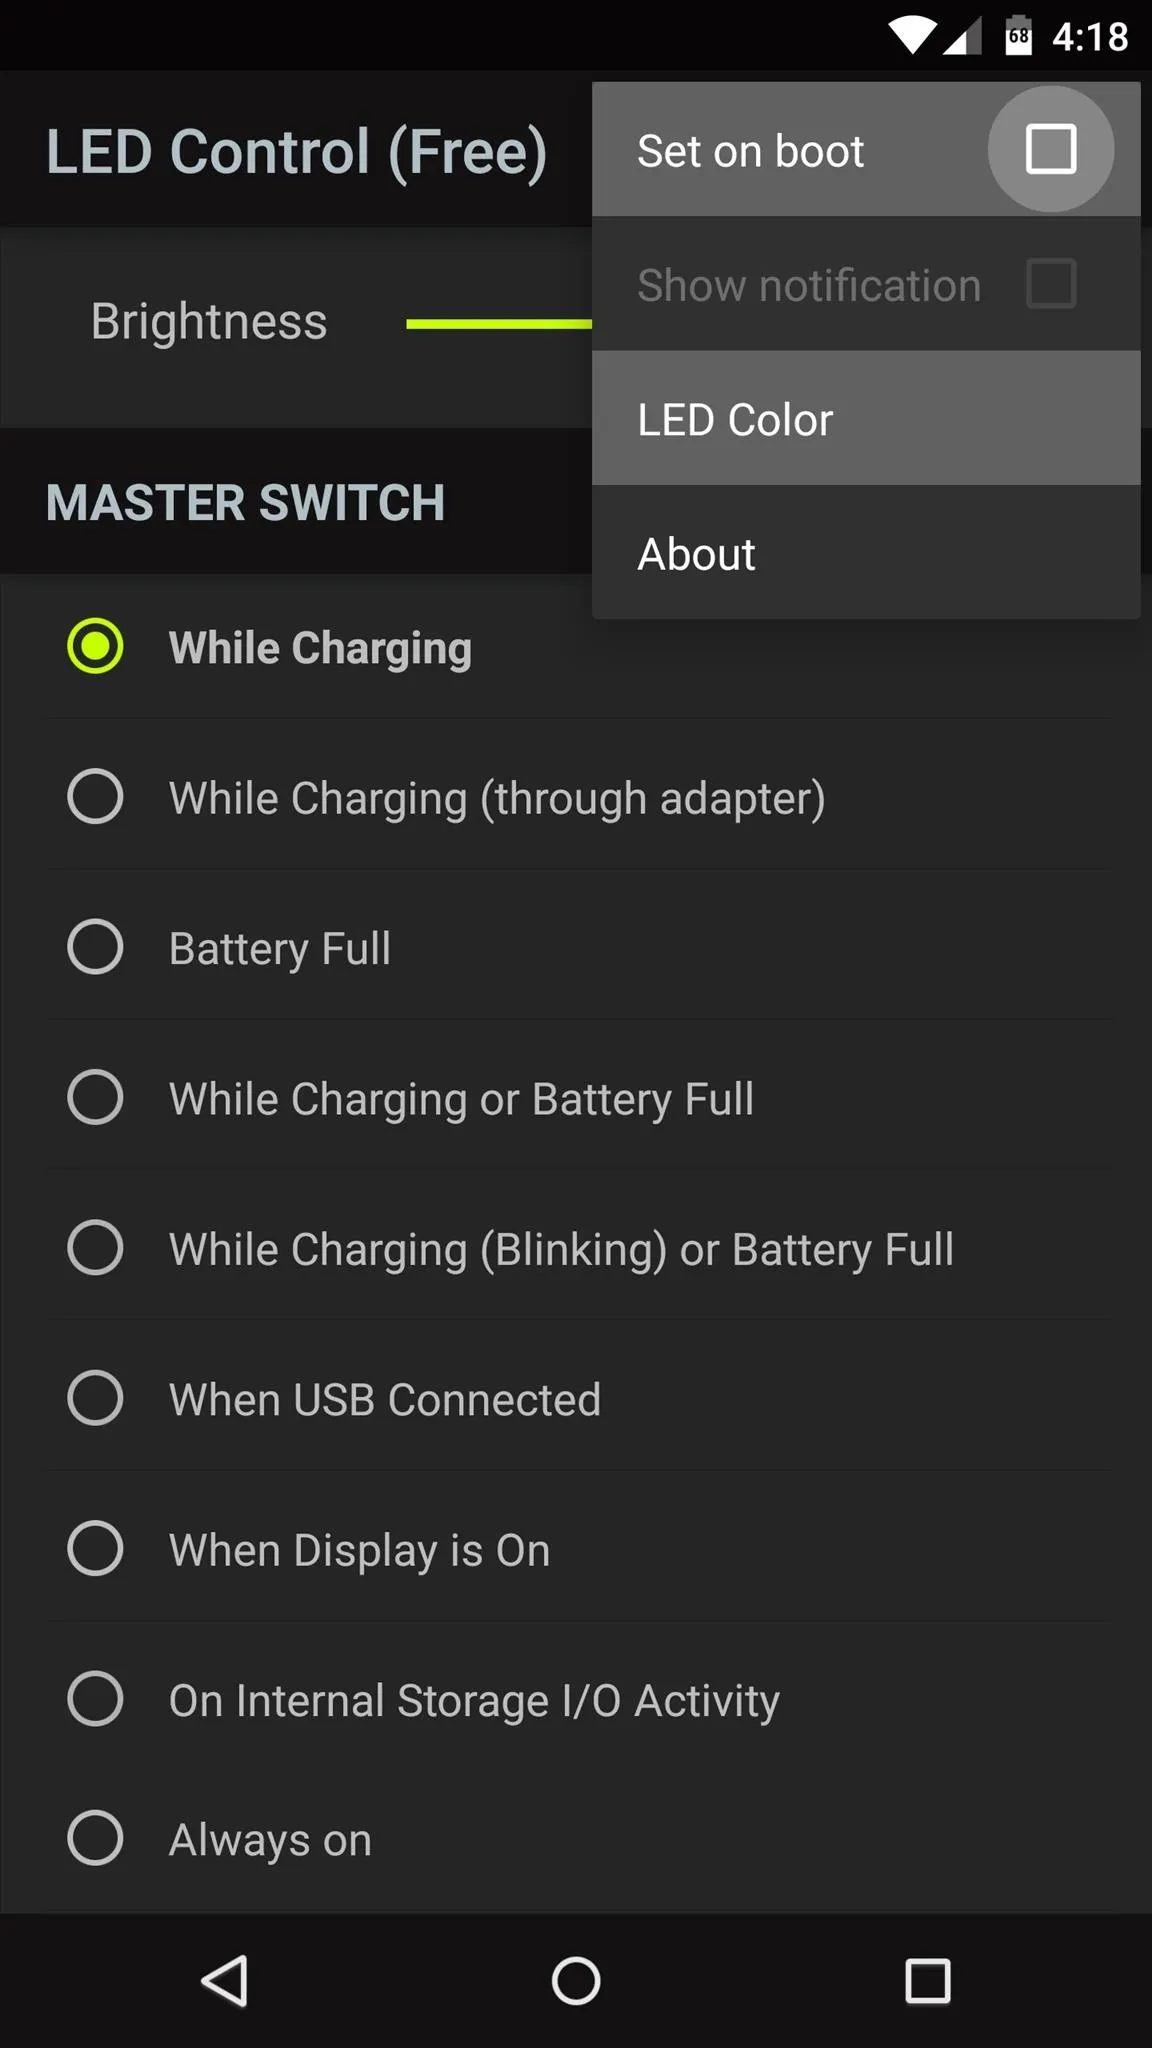
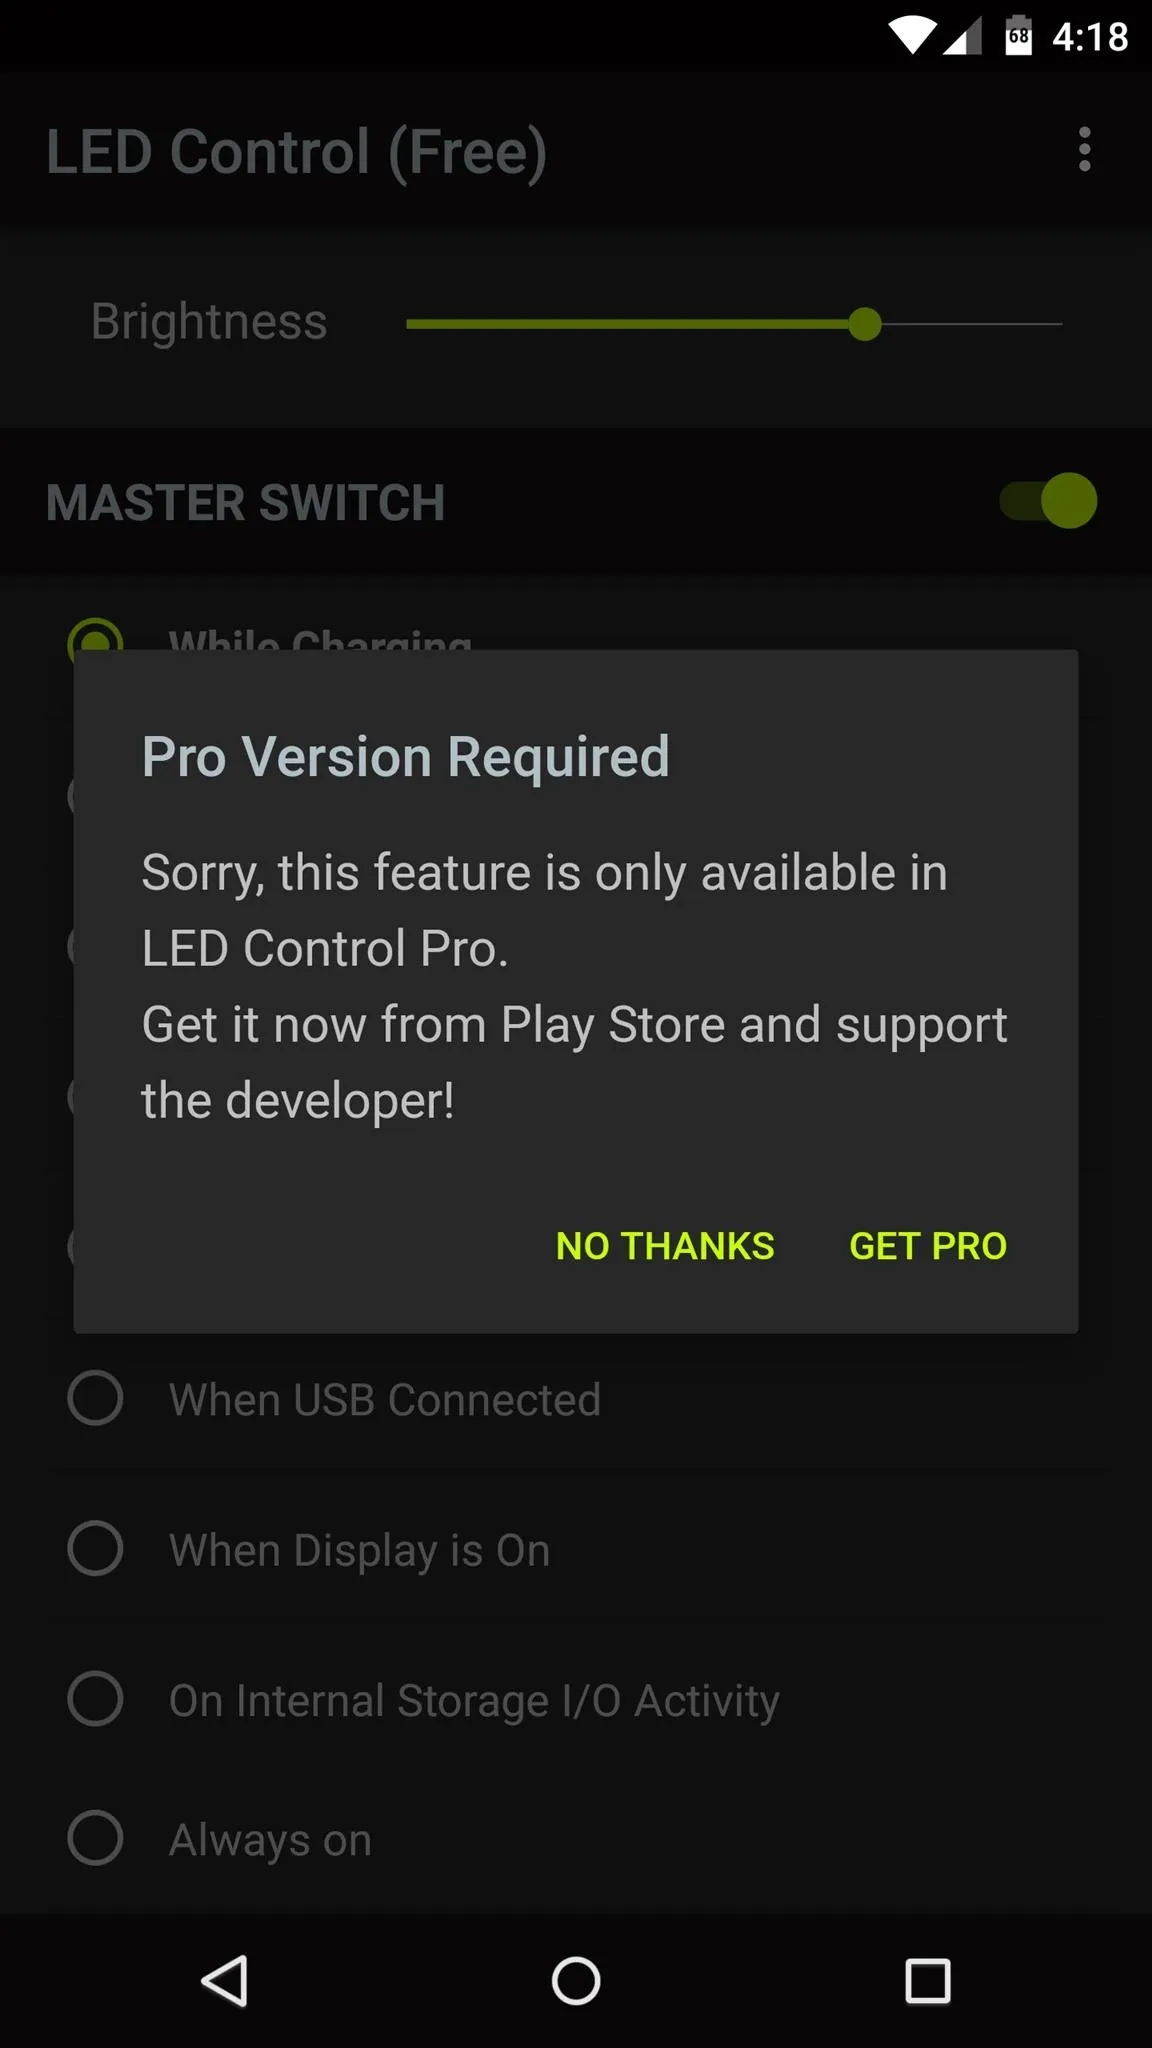
With the free version of LED Control, you'll have to re-enable the Master Switch any time you reboot your phone. If you purchase the Pro version for $0.99, you can set the service to start automatically on boot, and even tweak the LED's color.


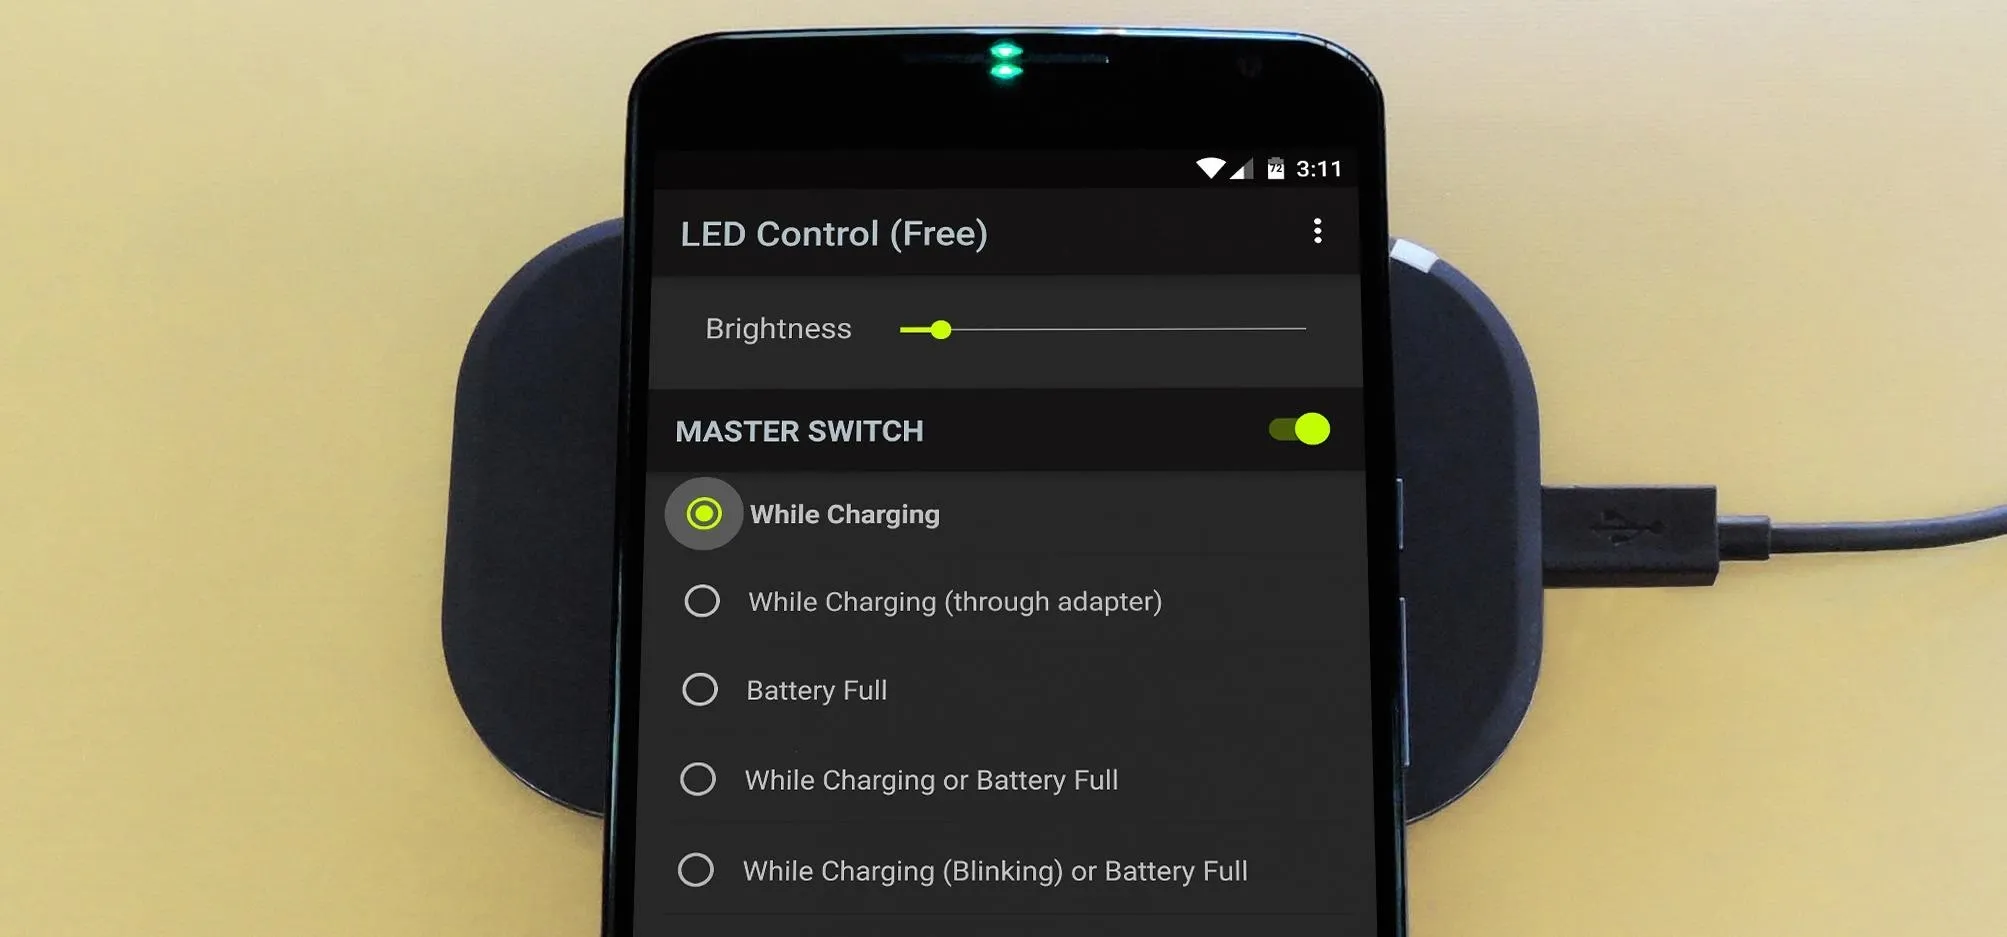
I'm using LED Control with the Nexus 6's wireless charging feature to verify that I've placed the phone on the charging pad properly. What your main usage for this app? Let us know in the comment section below, or drop us a line at Android Hacks over on Facebook or Twitter, or at Gadget Hacks on Facebook, Google+, or Twitter.



Comments
No Comments Exist
Be the first, drop a comment!