Buried deep in the code of many Google apps is a set of debugging options. These options, which are designed for developers to help test the way their apps interact with Google's own, are normally hidden from view.
Every now and then, new and upcoming features are hidden in here before they're made available to the general public, much like the recent "Okay, Google" on any screen feature.
Developer Greg Willard found a way to activate these hidden menus, and he created an app that lets rooted users activate them on their own devices at the press of a button. Just make sure your Google apps are up to date, and you can be digging around in these secret menus in five minutes.
Step 1: Install #DebugAllTheThings
Willard is a developer, not a marketer. So he named his app #DebugAllTheThings with his tongue planted firmly in cheek. Yes, that is indeed a hashtag mixed with a Reddit catchphrase.
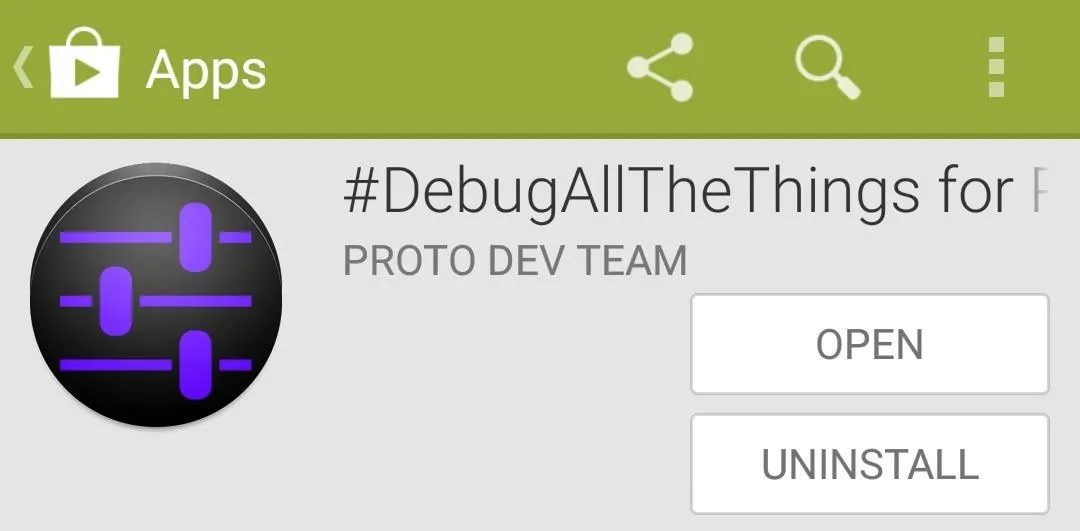
To get the app installed, search #DebugAllTheThings on your Play Store app. Or, if you'd rather not attempt to cram all of those characters together, you can head to this link to jump directly to the install page.
Step 2: Install the SQLite Binaries
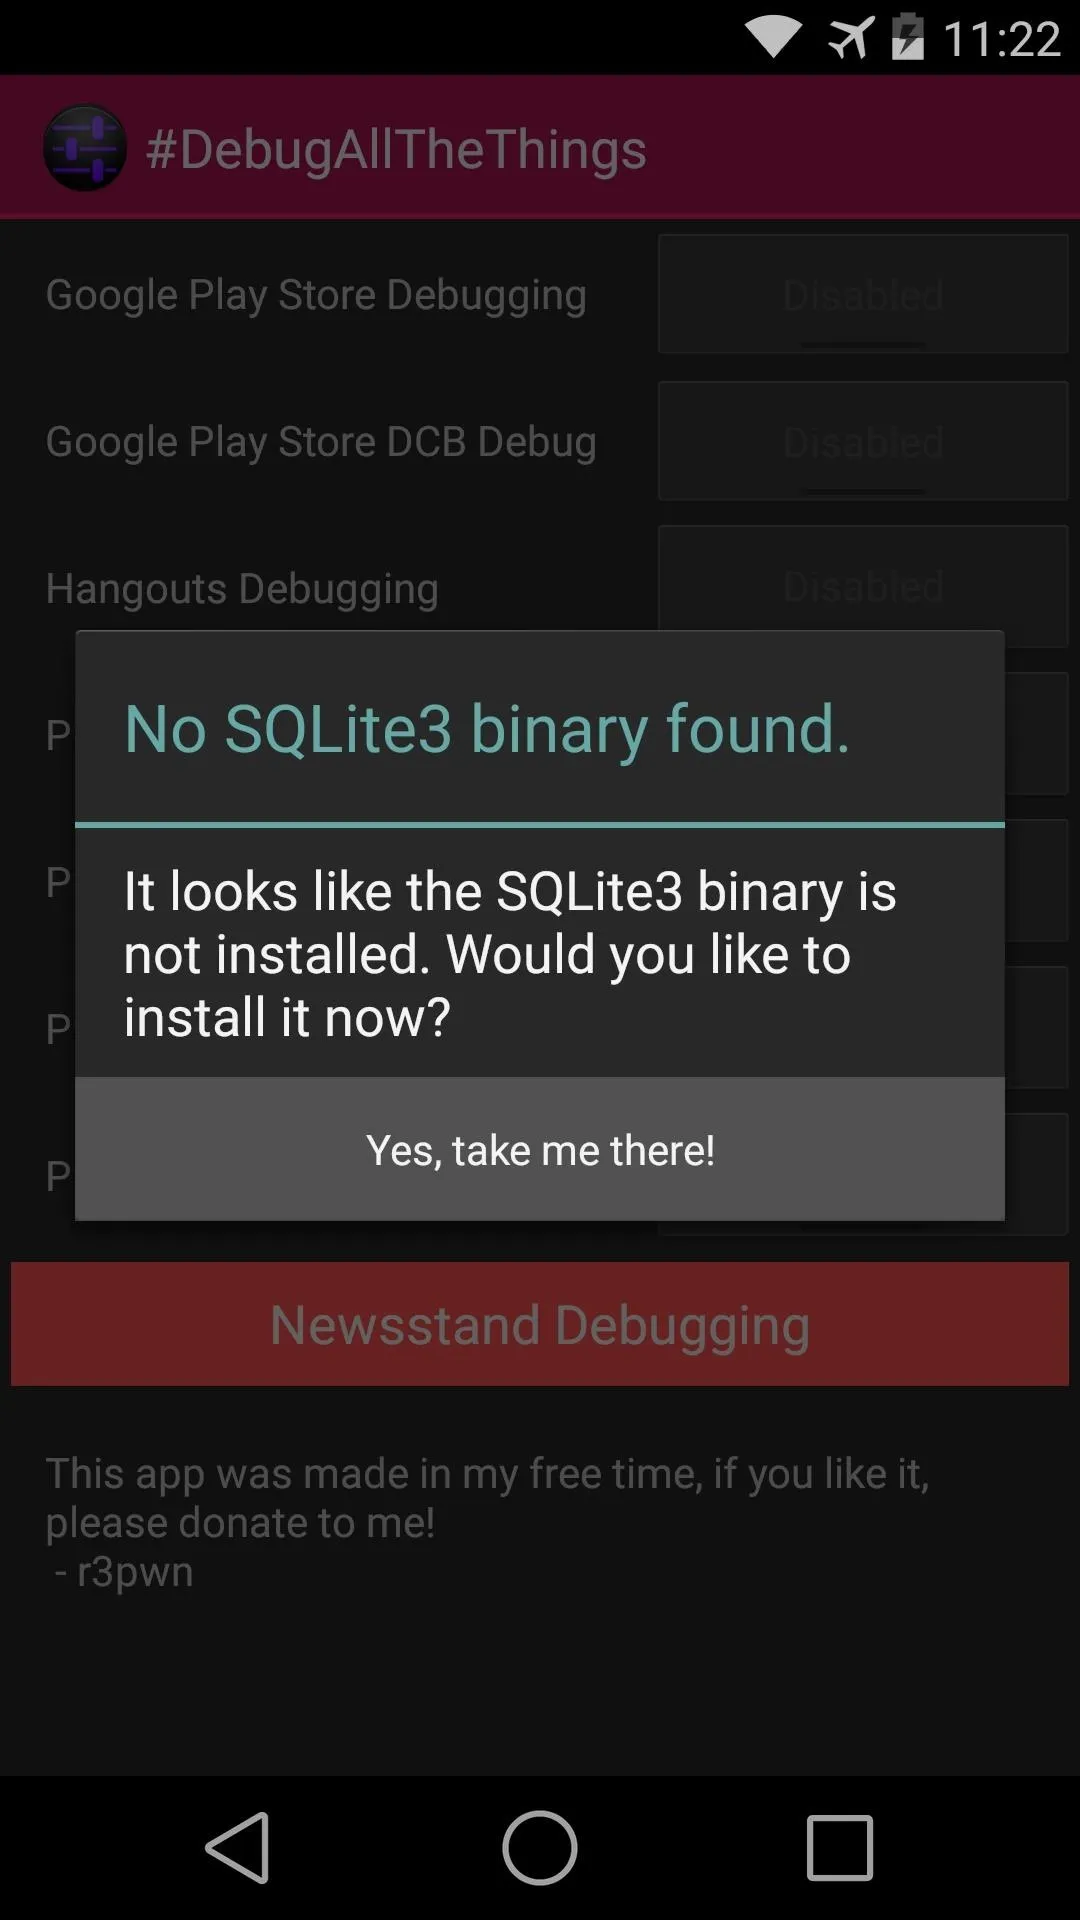
When you first launch #DATT, you'll be asked to install the SQLite binaries. Tap the Yes, take me there button, and you'll be taken to the Play Store page for an app that can install the binaries for you.
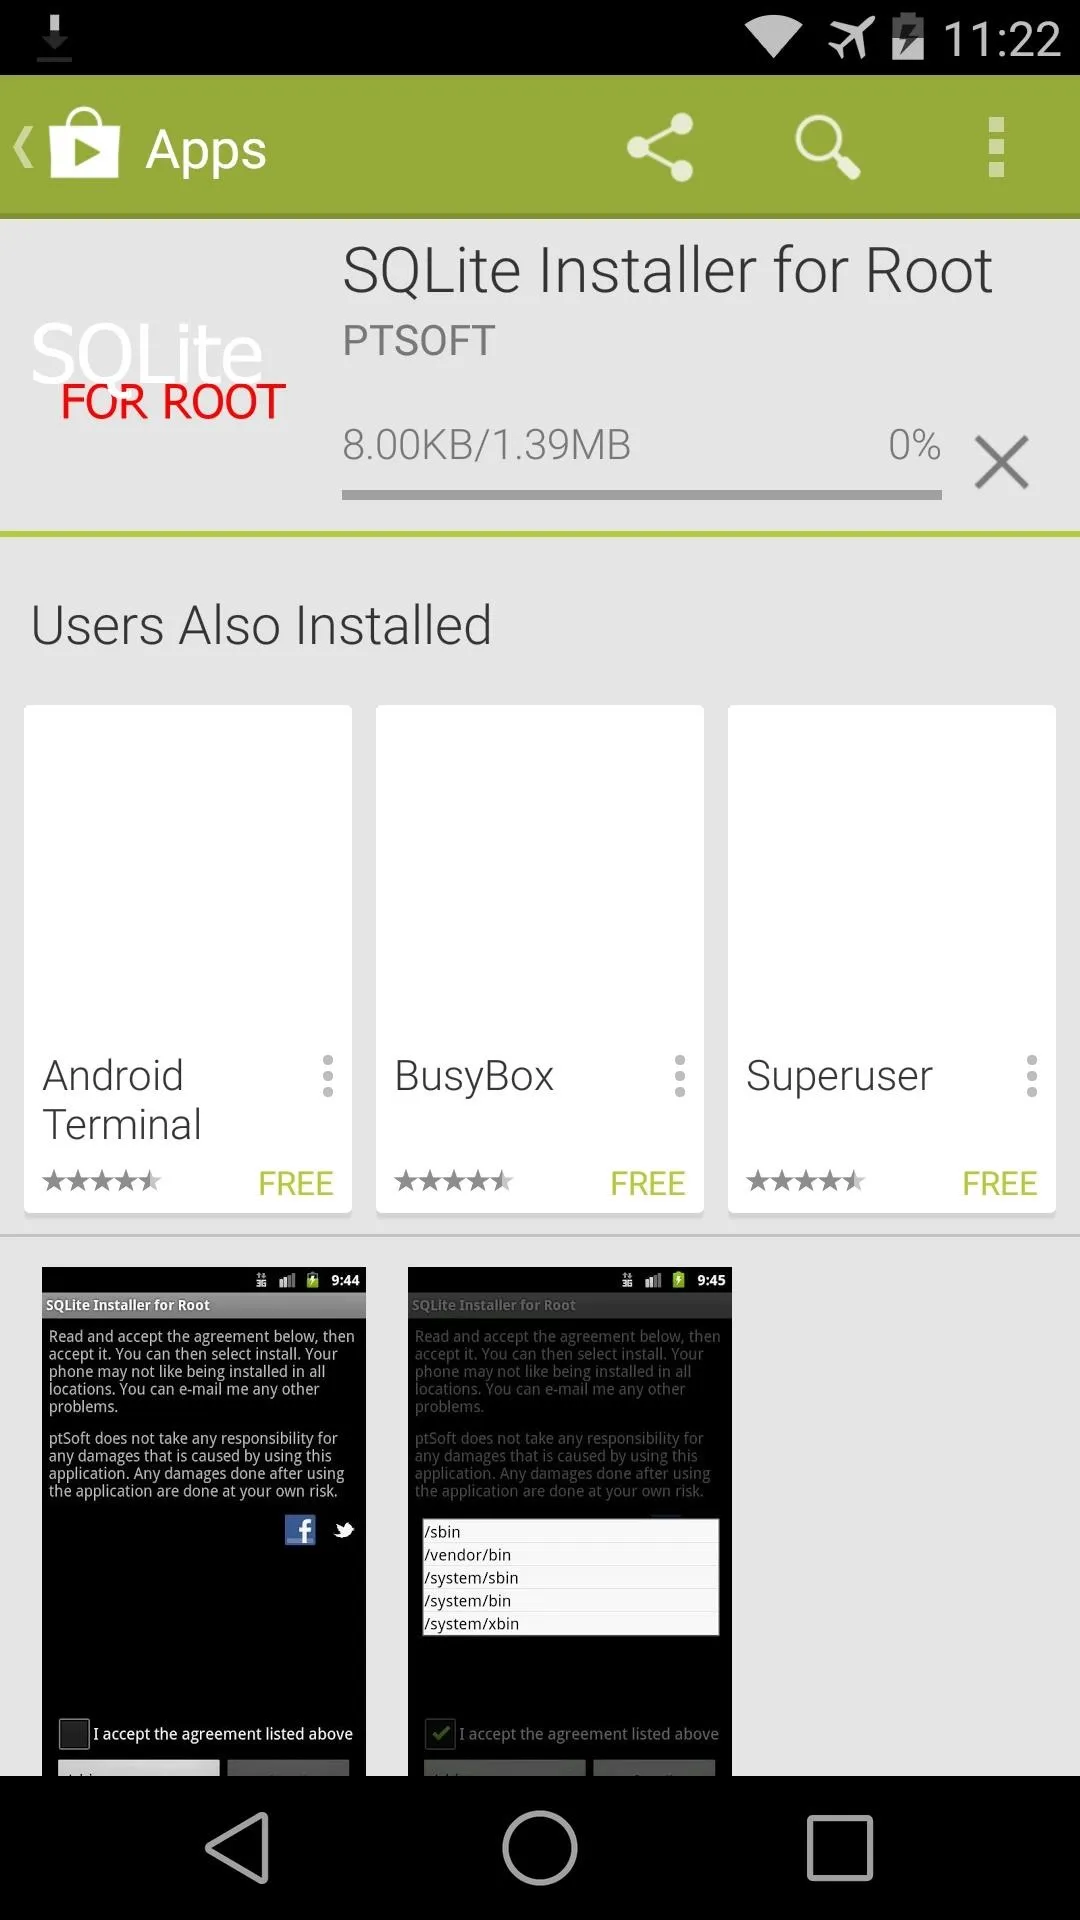


Go ahead and install SQLite Installer for Root and open it up. From there, tap the Install button at the top of the list, then hit the Go button on the next screen.

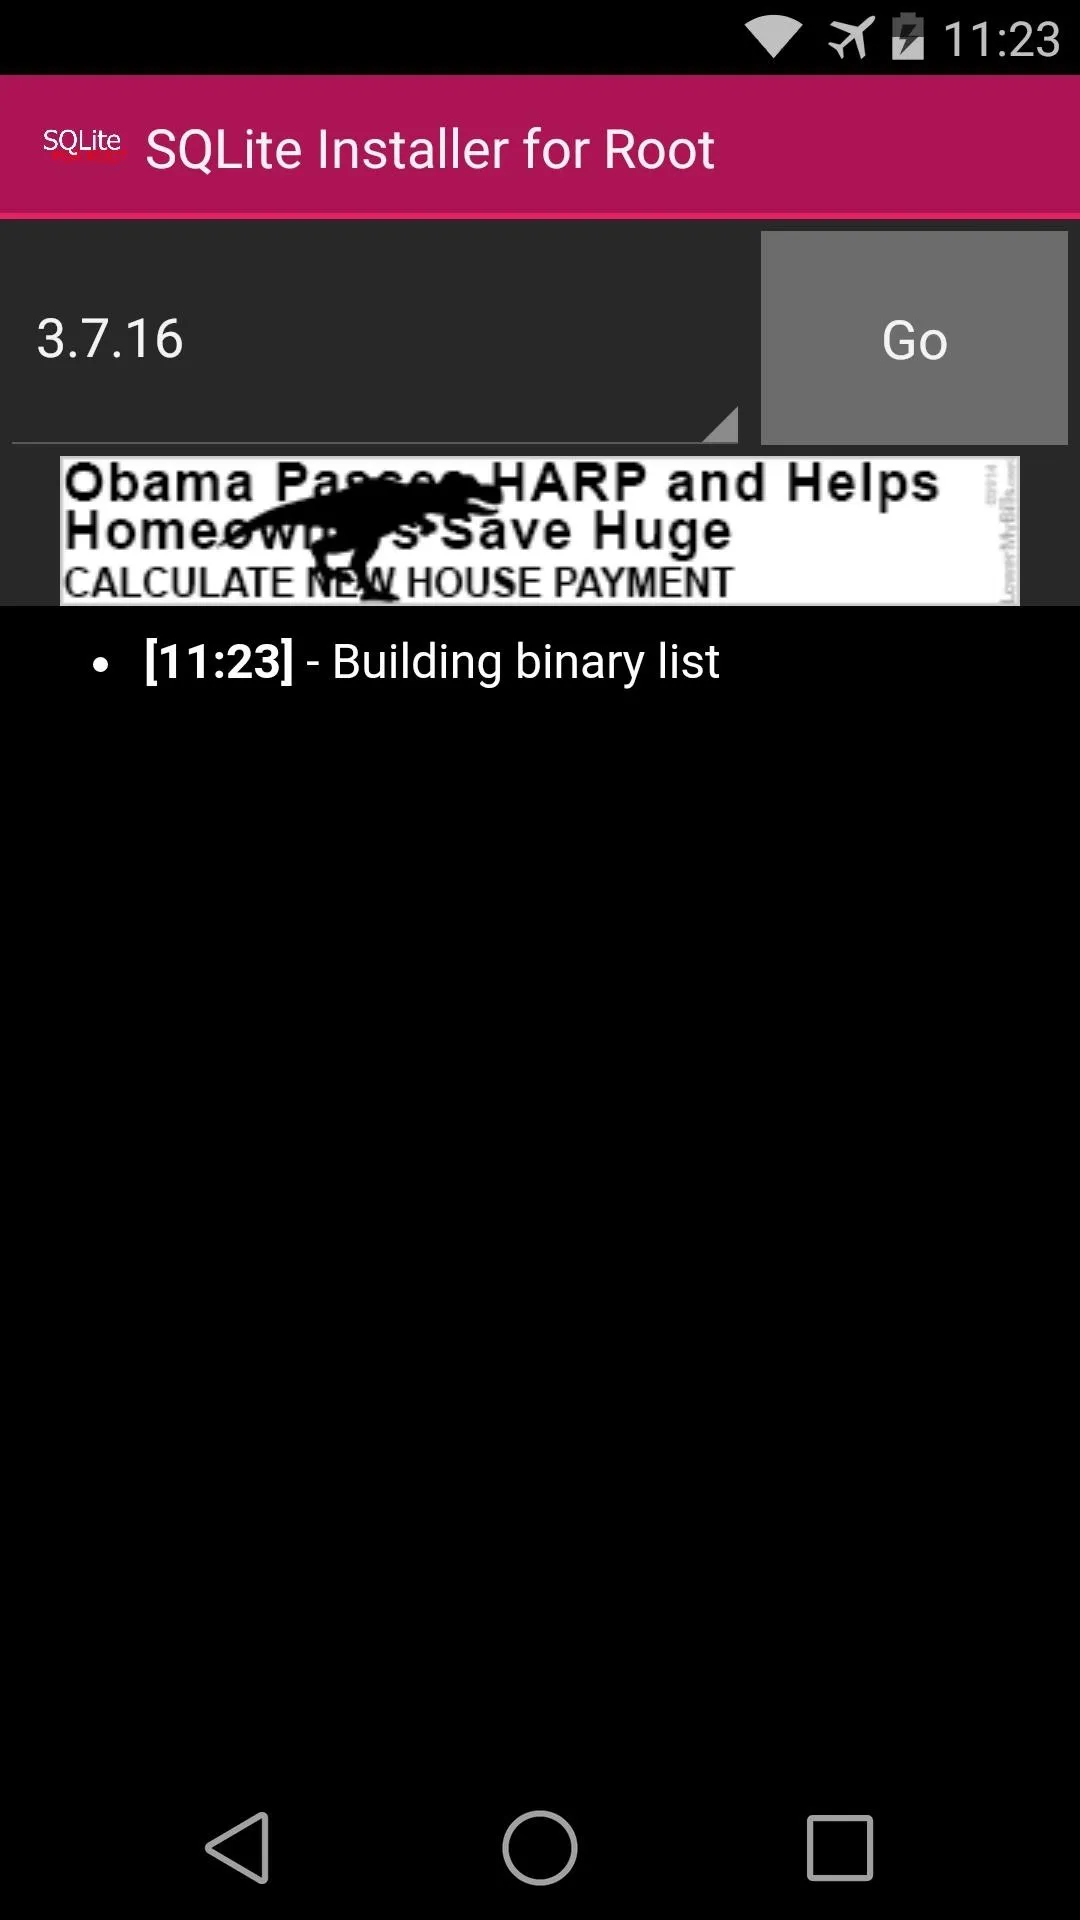


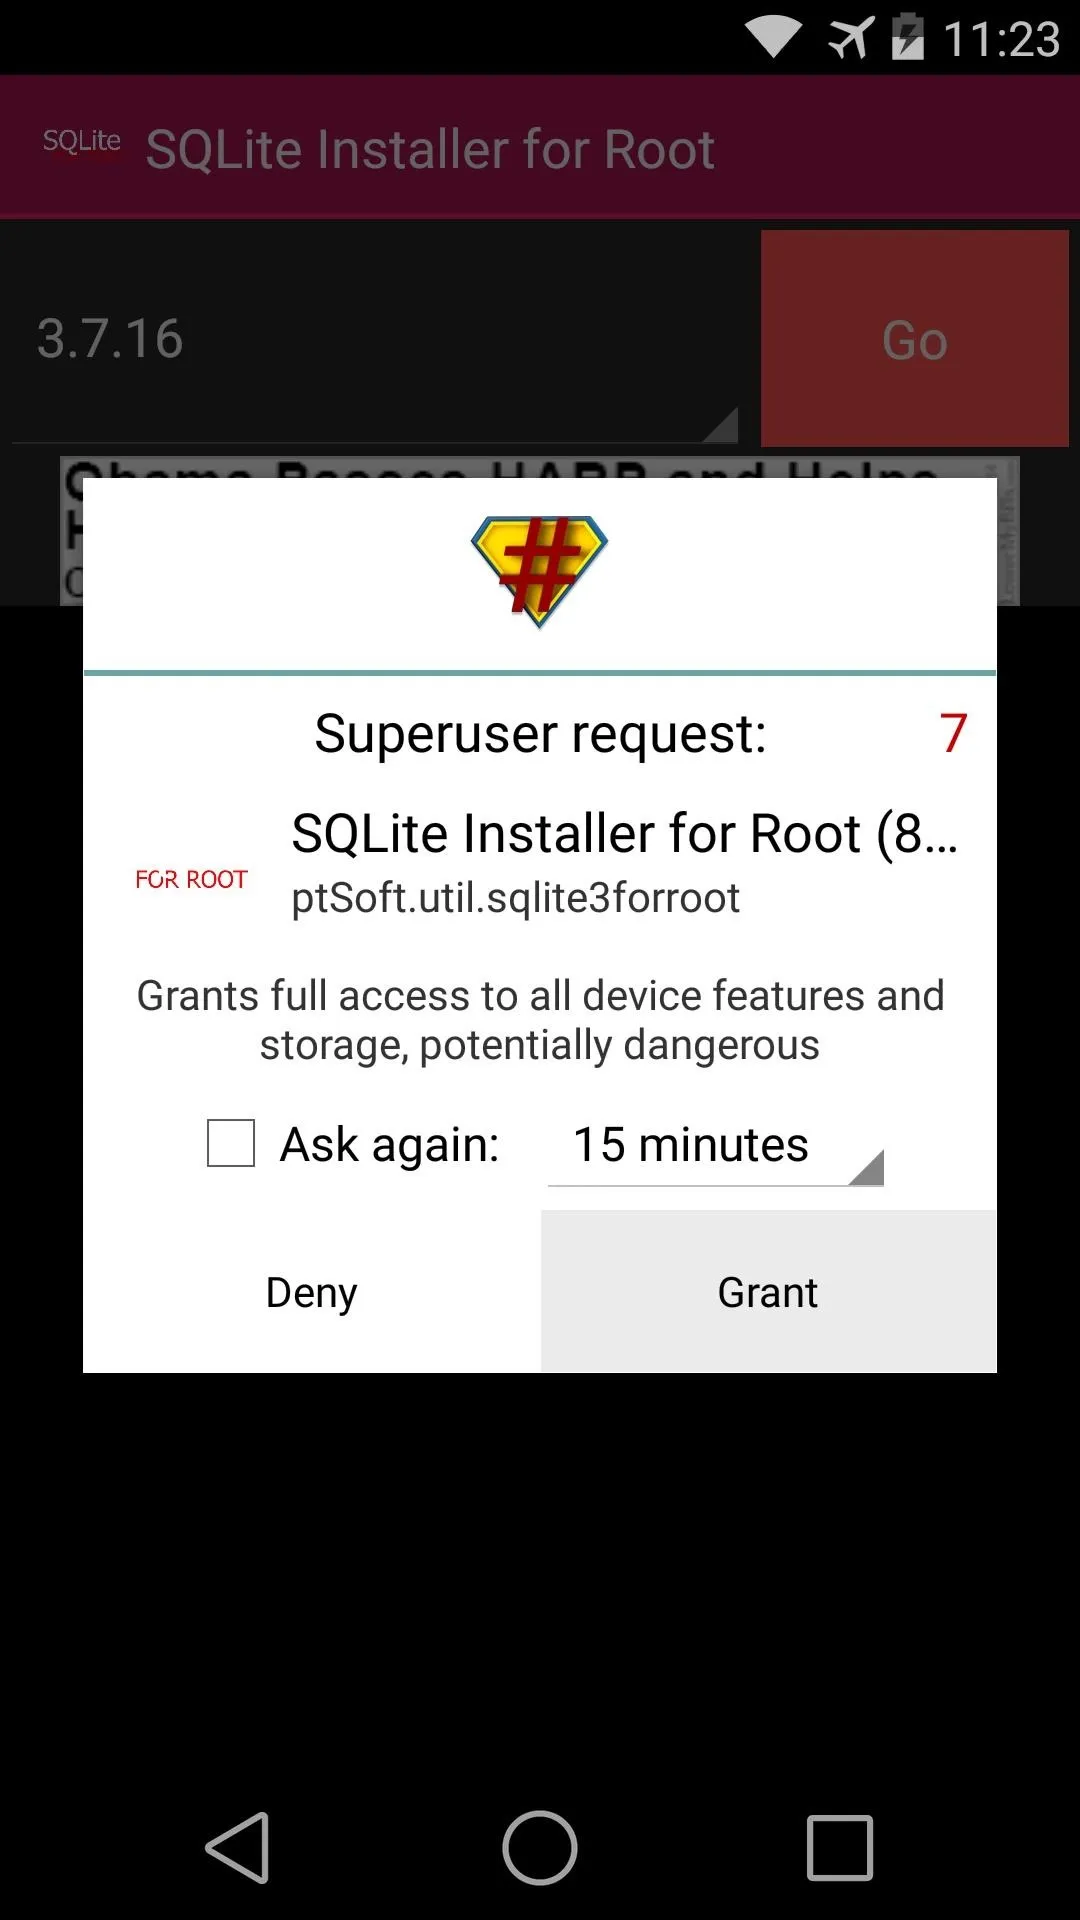
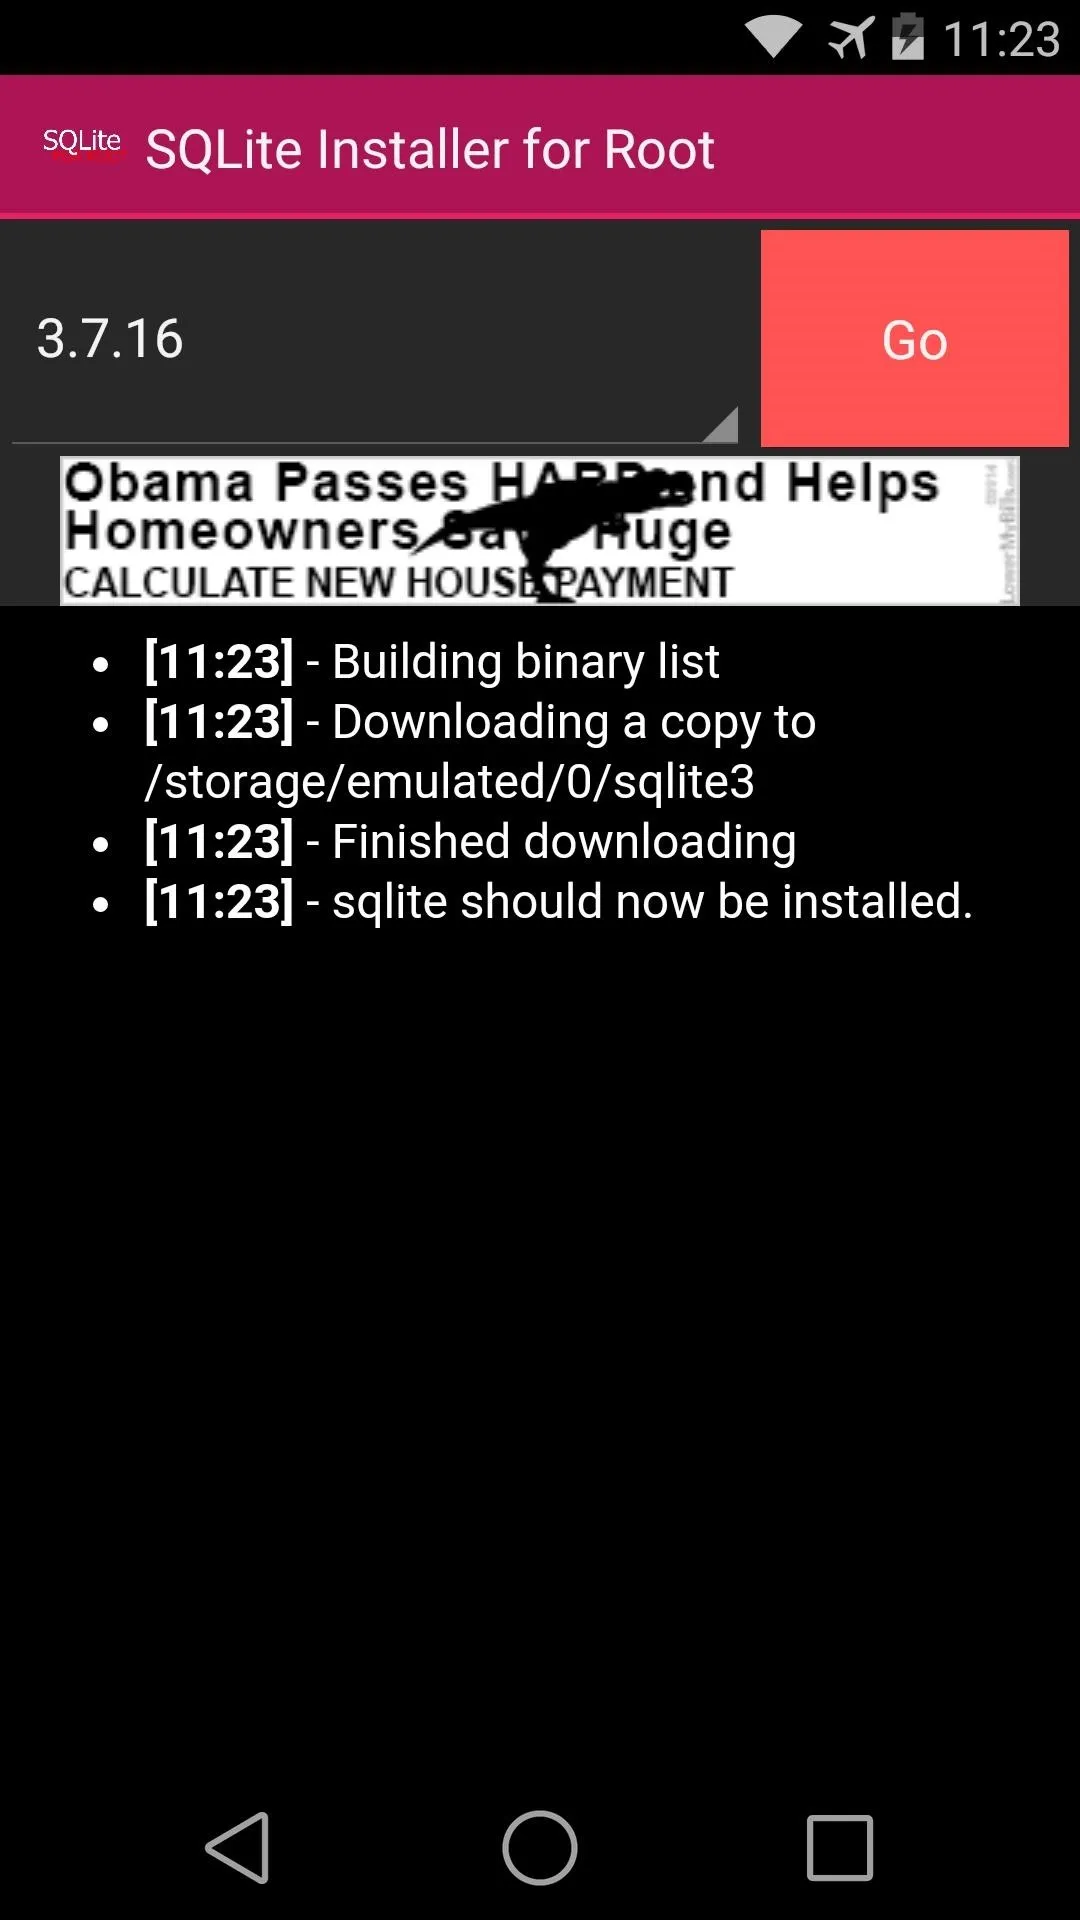
At this point, the the SQLite installer app will ask for Superuser privileges, so Grant it those. When the process is finished, the log on the screen will read "sqlite should now be installed."


Step 3: Enable the Debug Menus
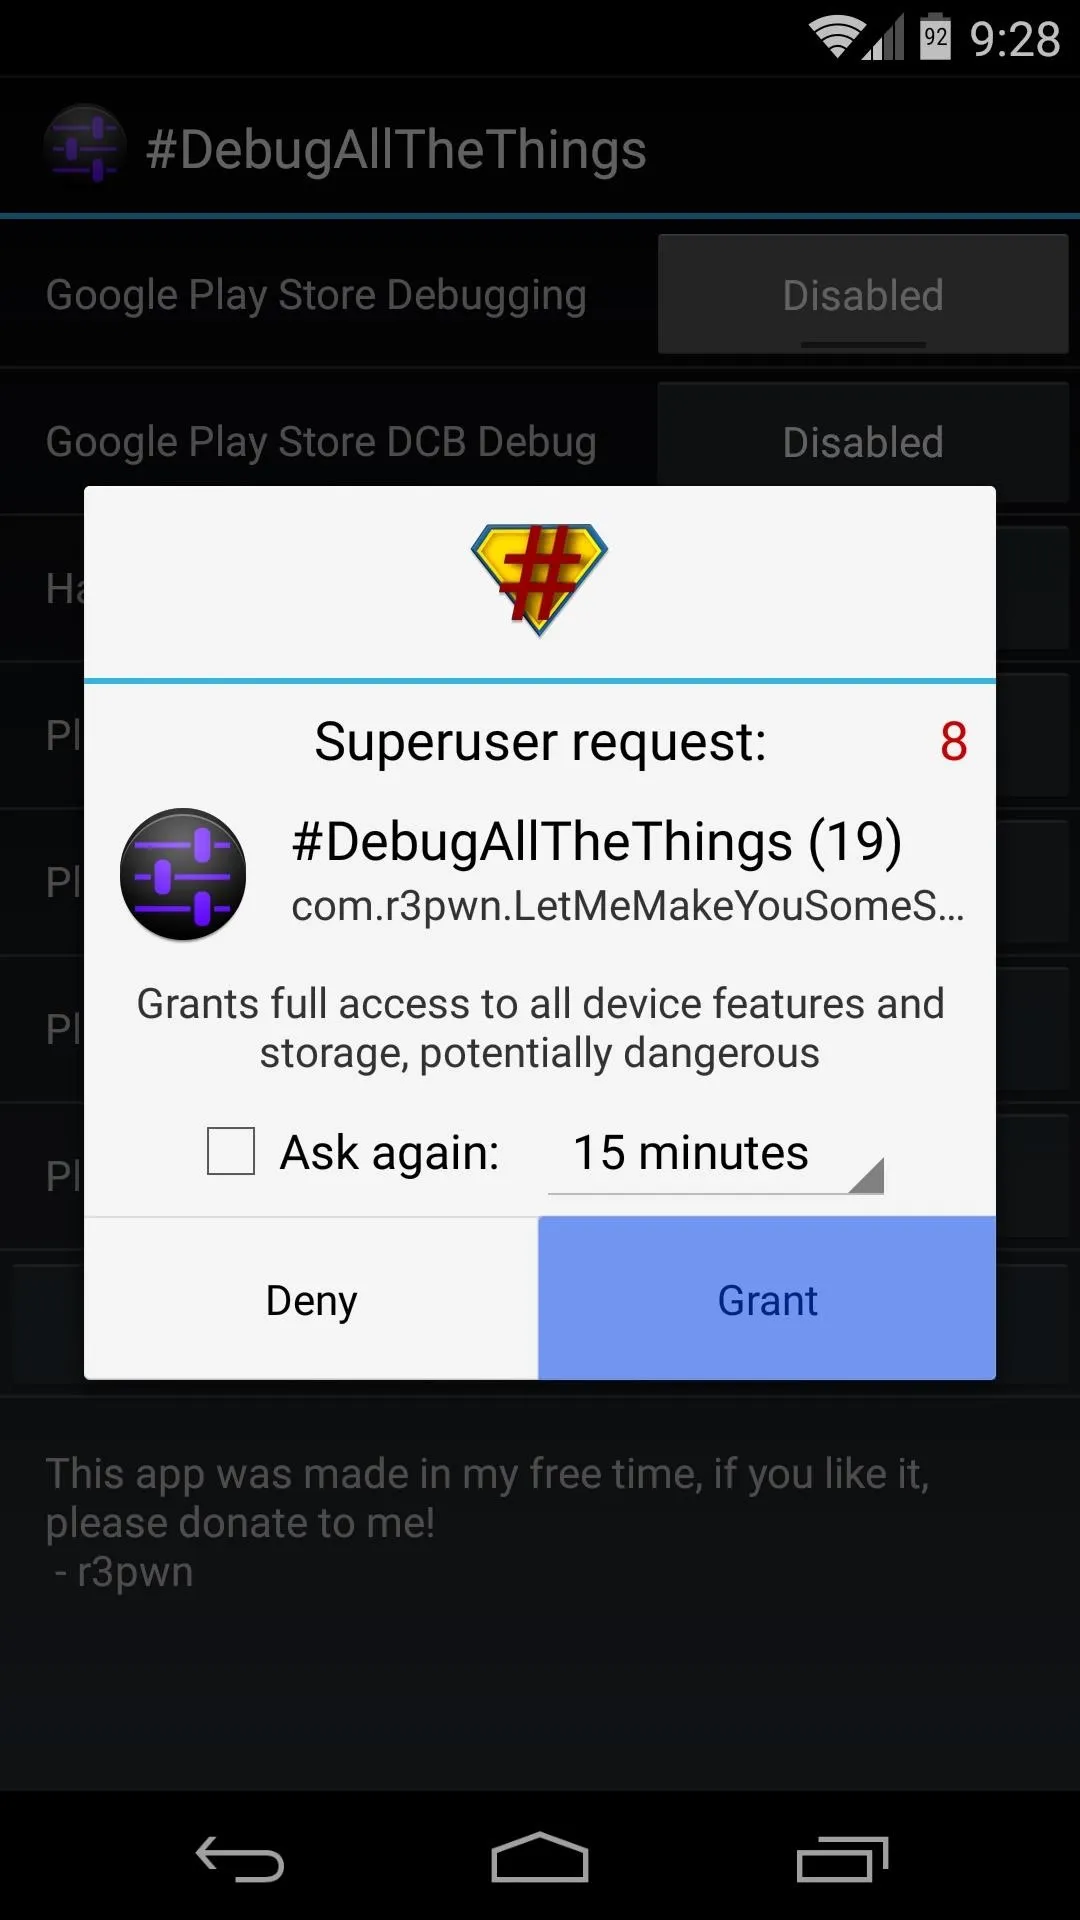
With the SQLite binaries installed, #DATT can now work its magic. Head into the app and tap the Enable button next to any of the apps that you'd like to have debug options for. At this point, #DATT will ask for root permission, so hit Grant on the pop-up.
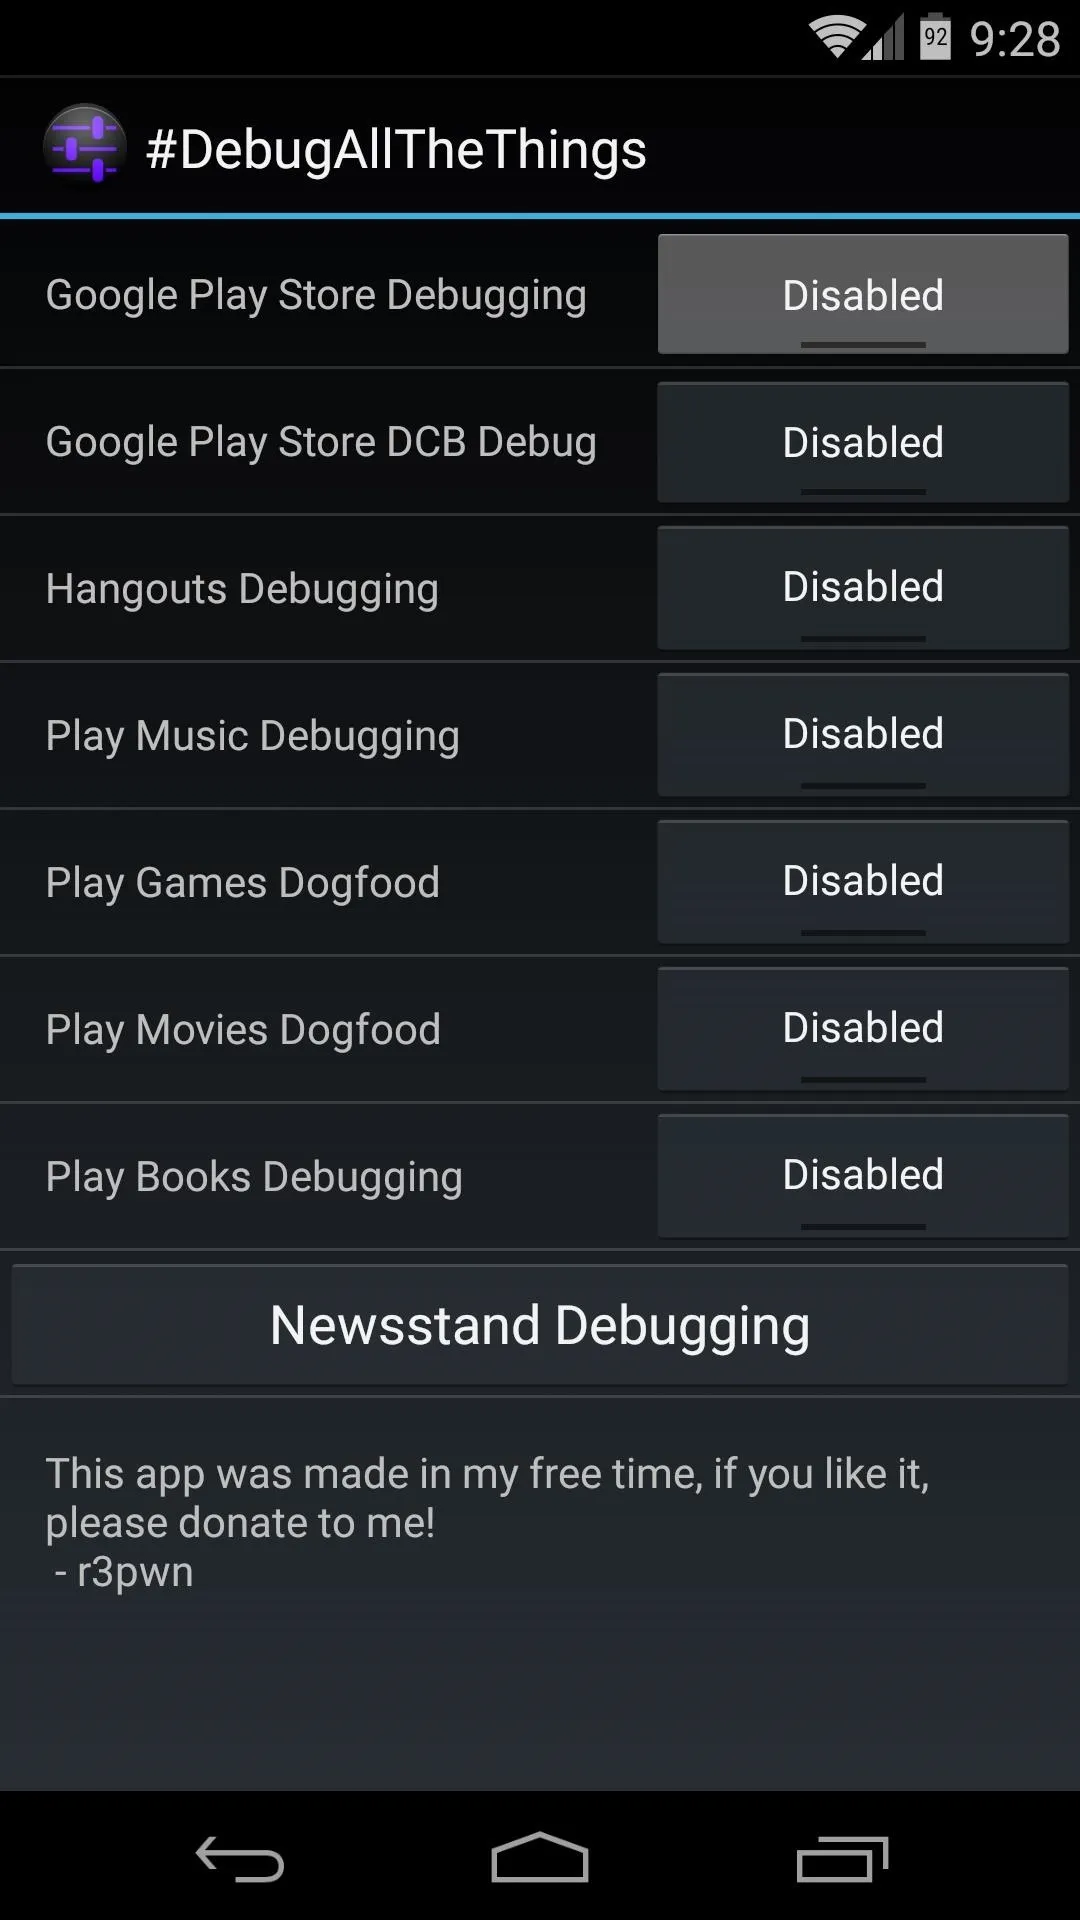
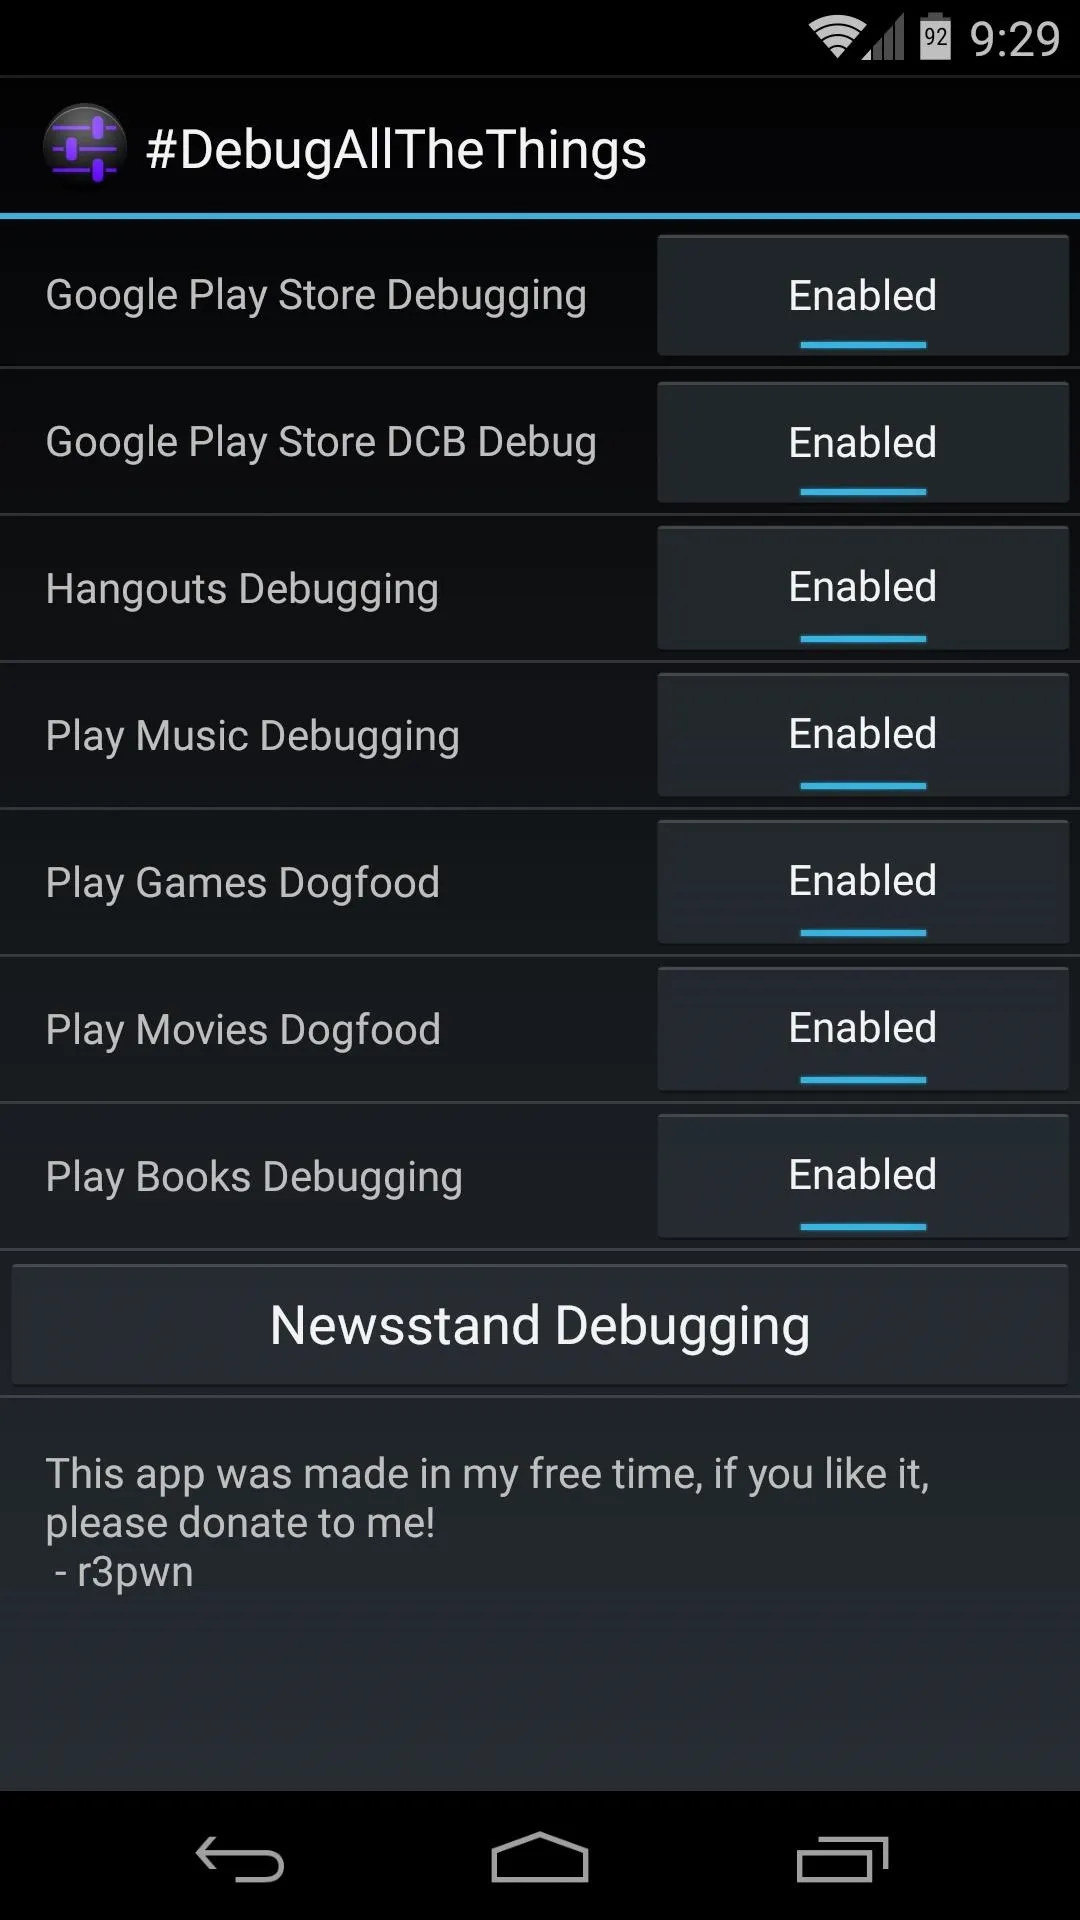


No reboot is required, but you may have to restart the apps that you've enabled debug options for. Do that by swiping them away from your recents menu. When you open them back up, you'll find the hidden menus enabled.
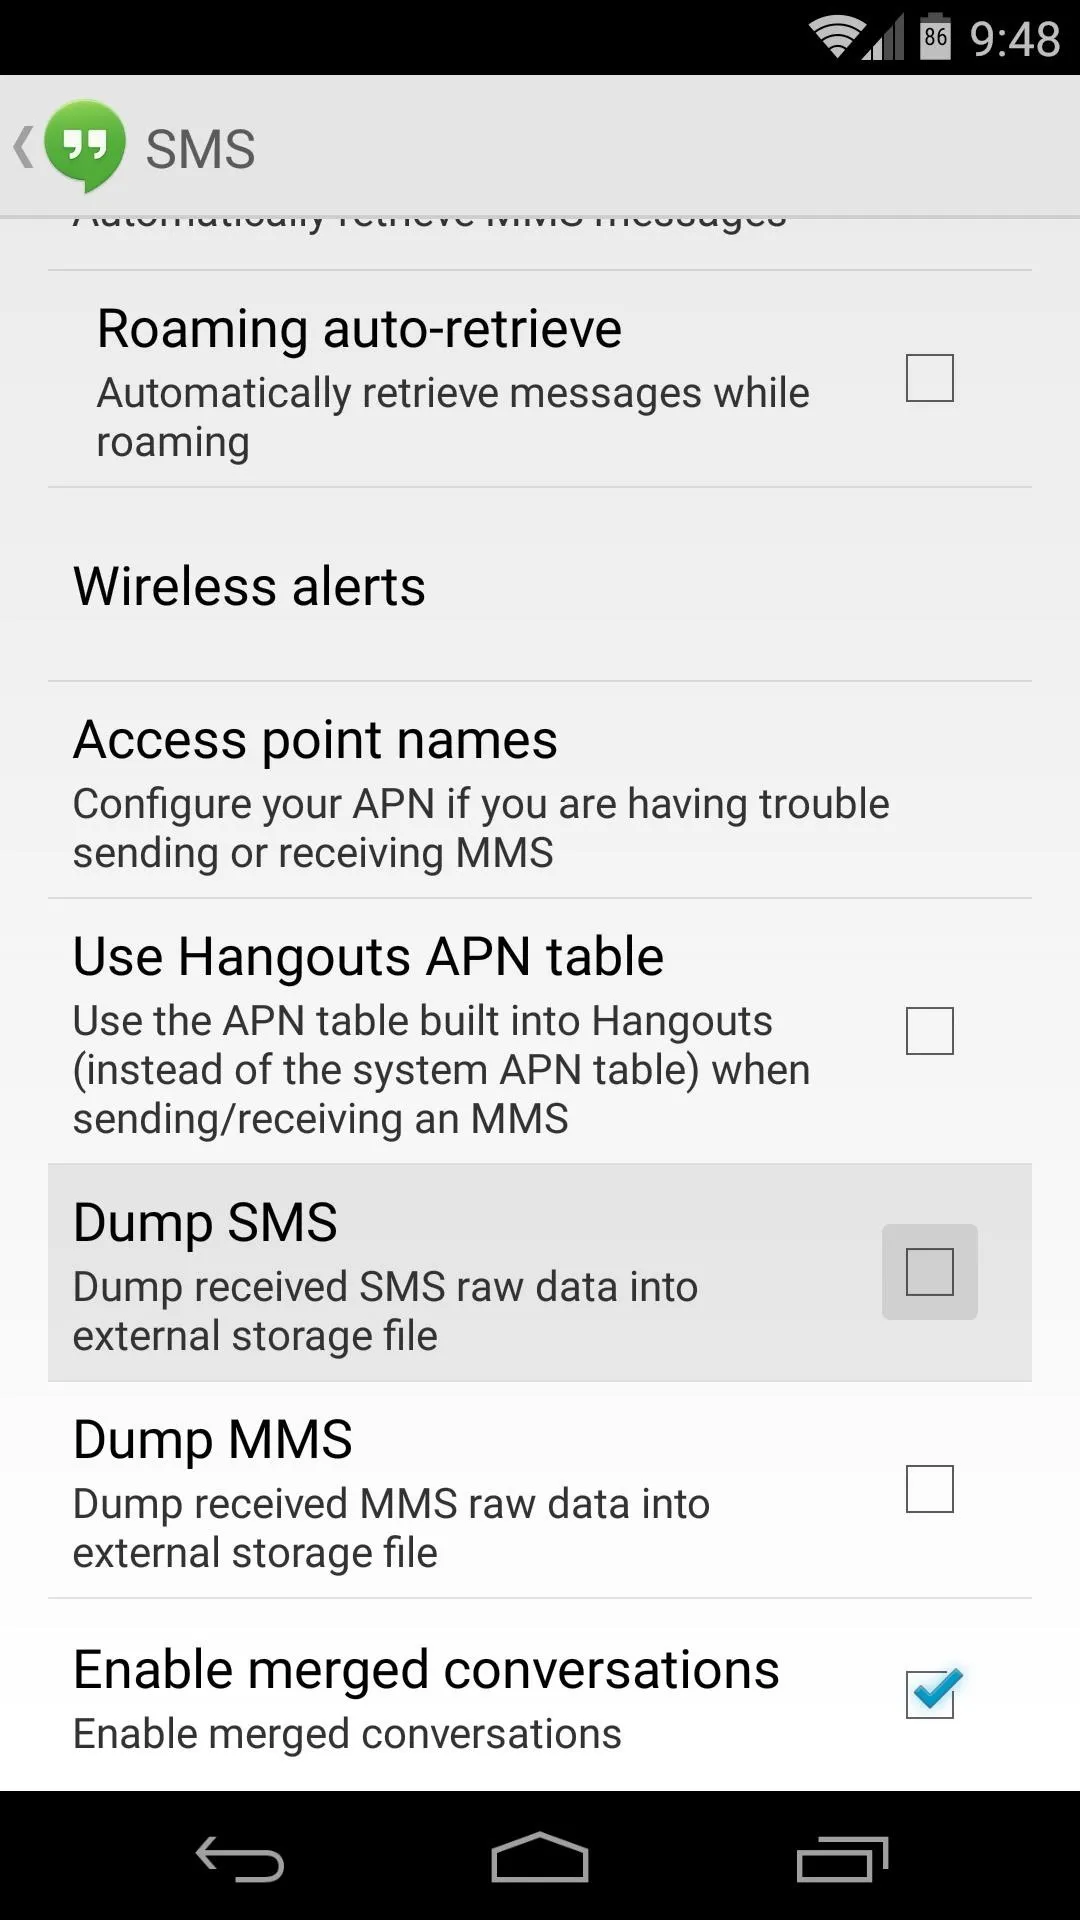
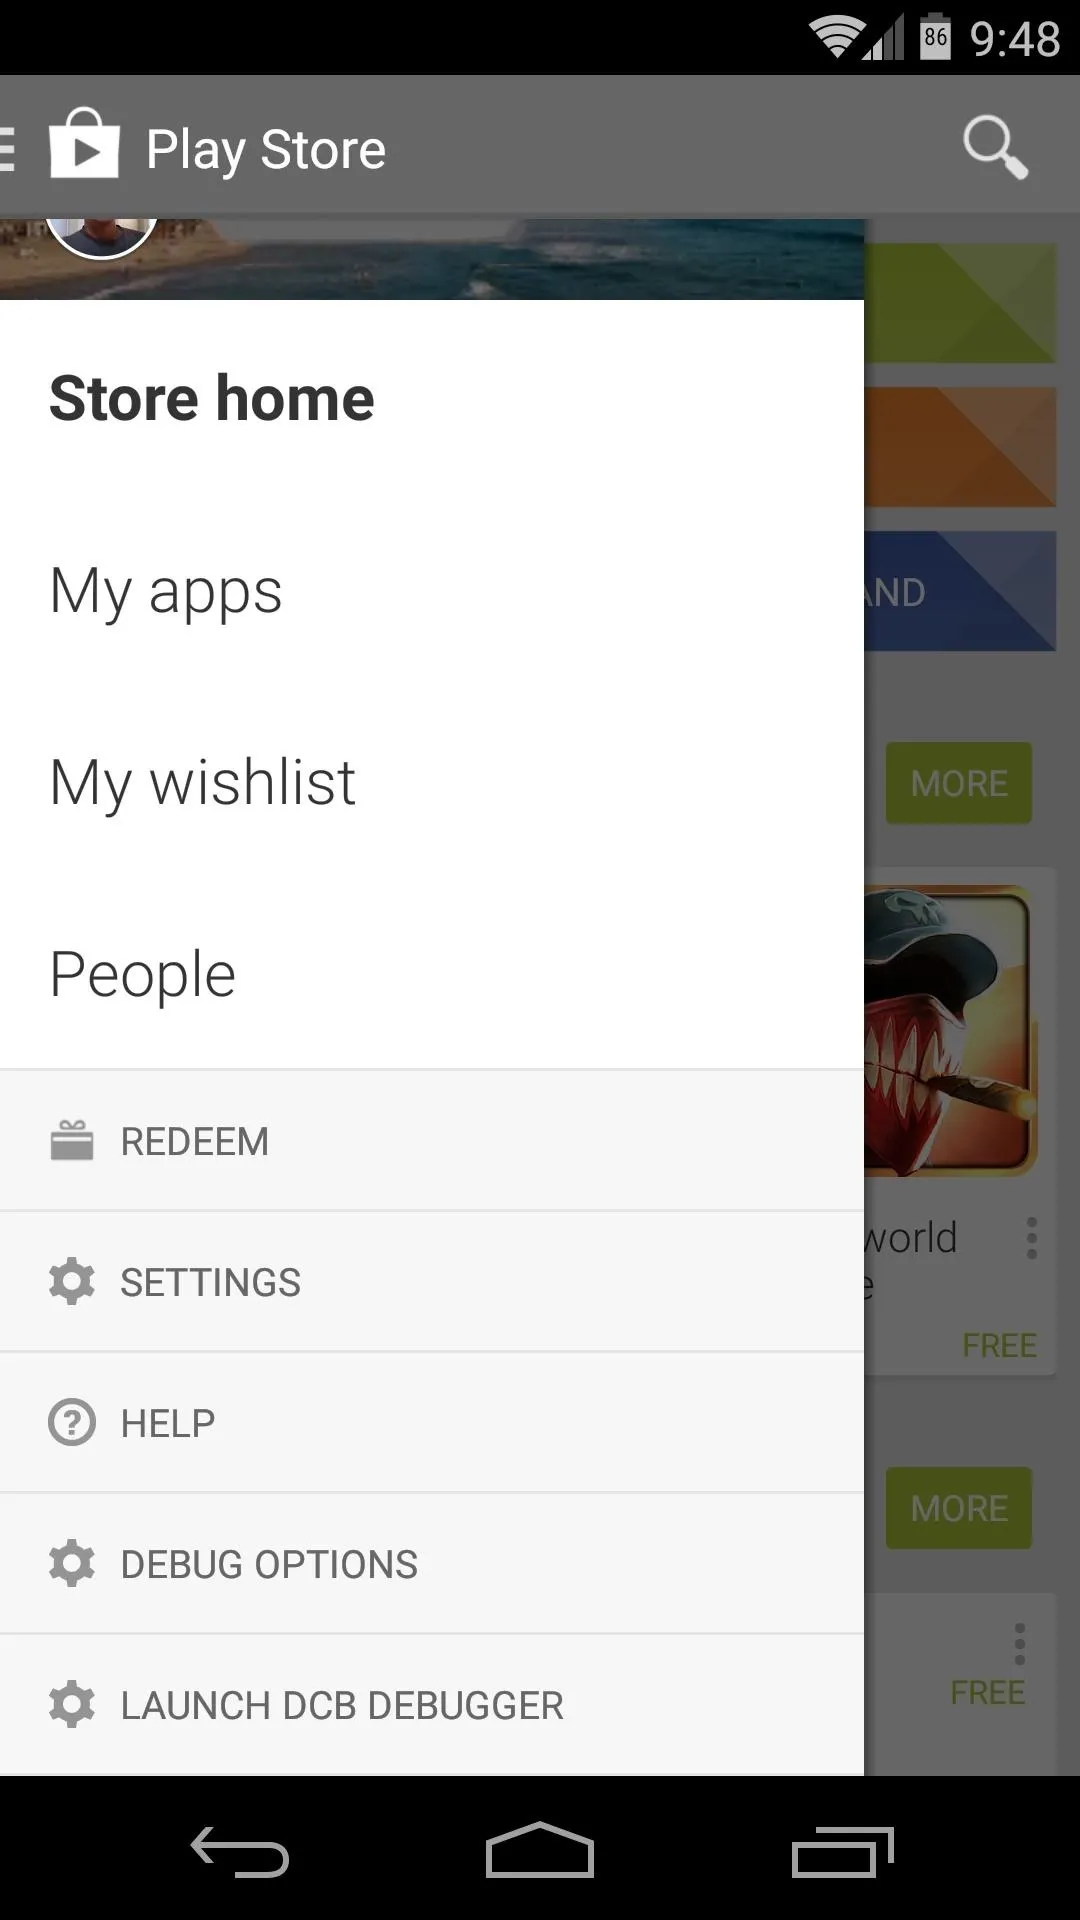
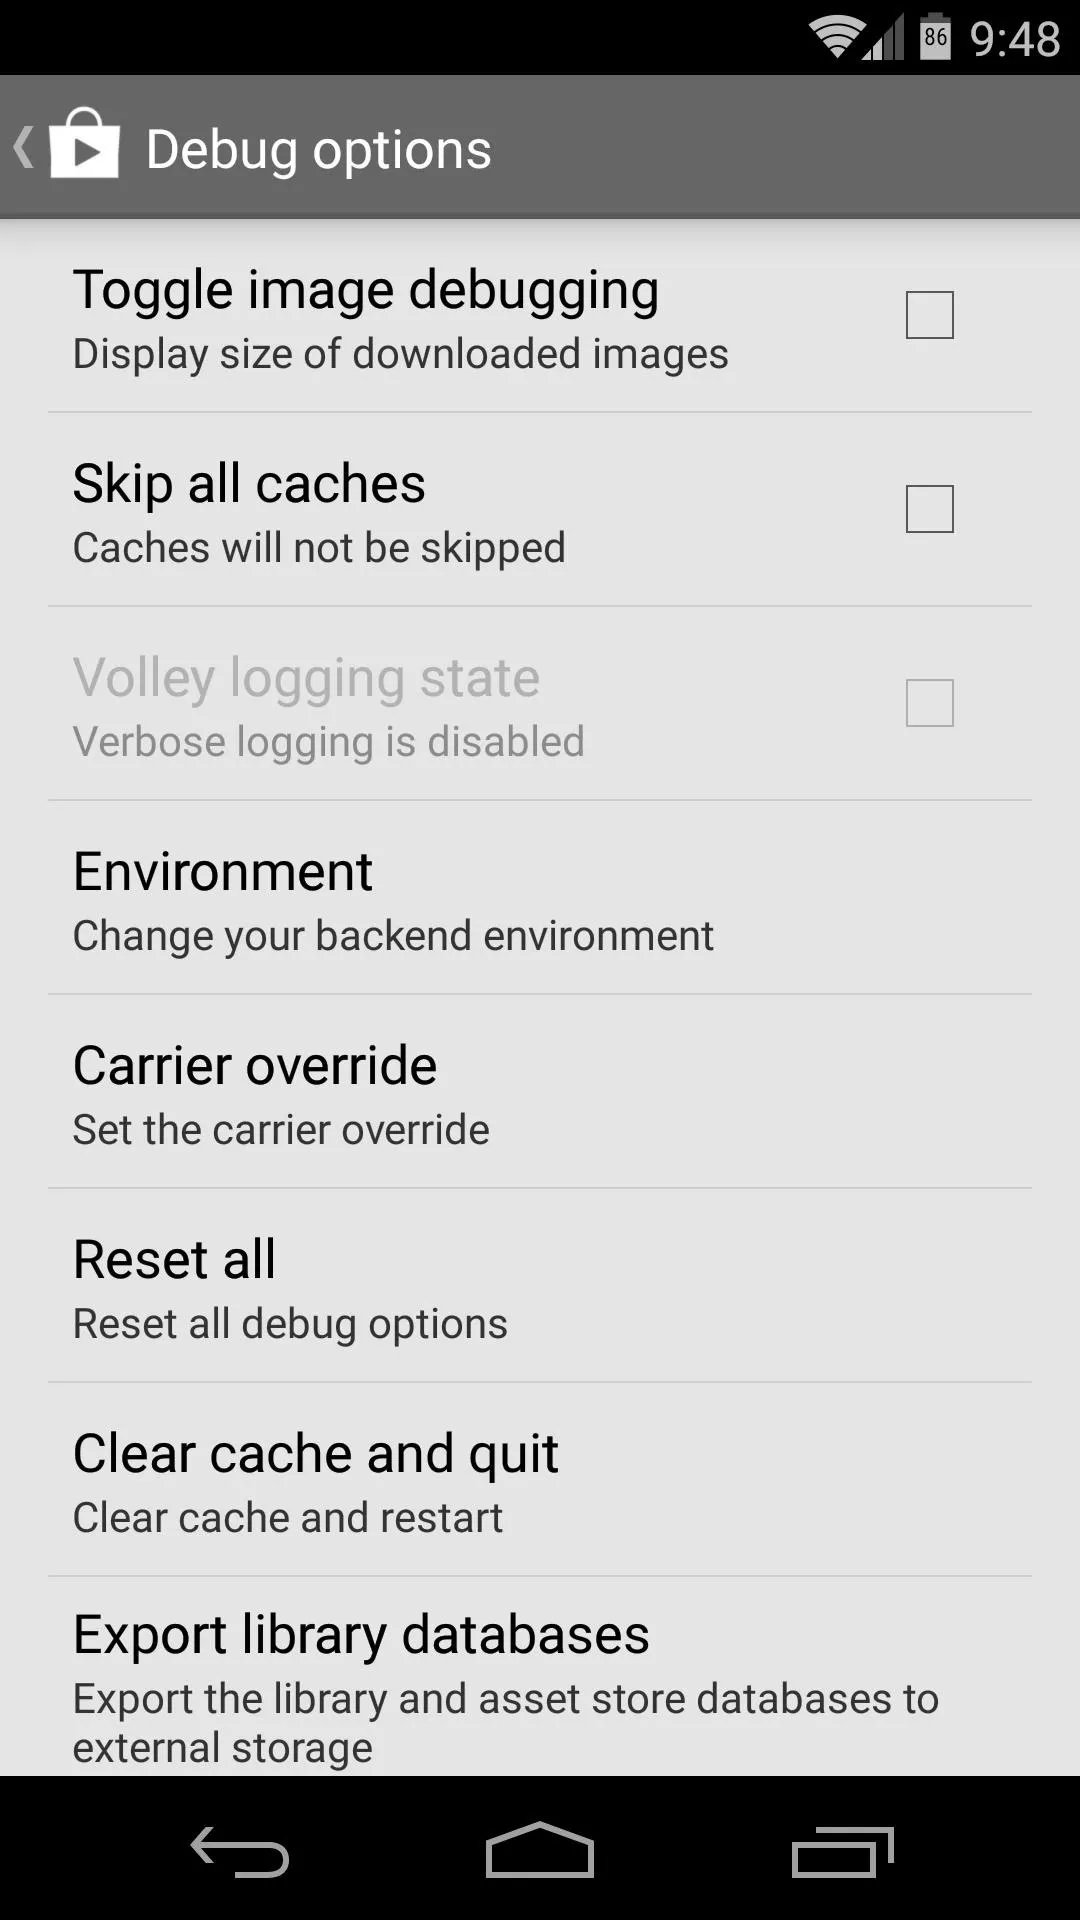


As I said, there's not much for the end user in these debugging menus, but have a look around nonetheless. And keep an eye out for upcoming features that Google has snuck into its apps.
Have you found any interesting options in the various debug menus? Let us know about them in the comments section below.


Comments
No Comments Exist
Be the first, drop a comment!