Out amongst the ether of the internet lies a completely different version of the Netflix library you've come to know and love. Because of licensing and rights fees, the streaming media giant maintains separate libraries for each country it services. Ultimately, this means that certain movies and TV shows are only available in certain countries.
While it's fairly easy to unblock region-restricted Netflix content on your computer, it's a little trickier for smartphones. However, with a rooted Nexus 5, the entire world of Netflix can be yours. Add a couple of Tasker profiles, and everything will be done automatically as soon as you open your Netflix app.
What You'll Need
- A rooted Nexus 5.
- Netflix for Android and a subscription to their service.
- The Hola Better Internet app.
- As an optional step, grab the automation app Tasker (a free trial is available using this link) and the TaskKill plugin.
Step 1: Install Hola Better Internet
The VPN service that will allow you to access different countries' Netflix libraries goes by the name of Hola Better Internet on Android, made by the same great folks that make it so easy on the computer. Use the link above to install it on your device.
Step 2: Select Netflix for the Unblocker Menu
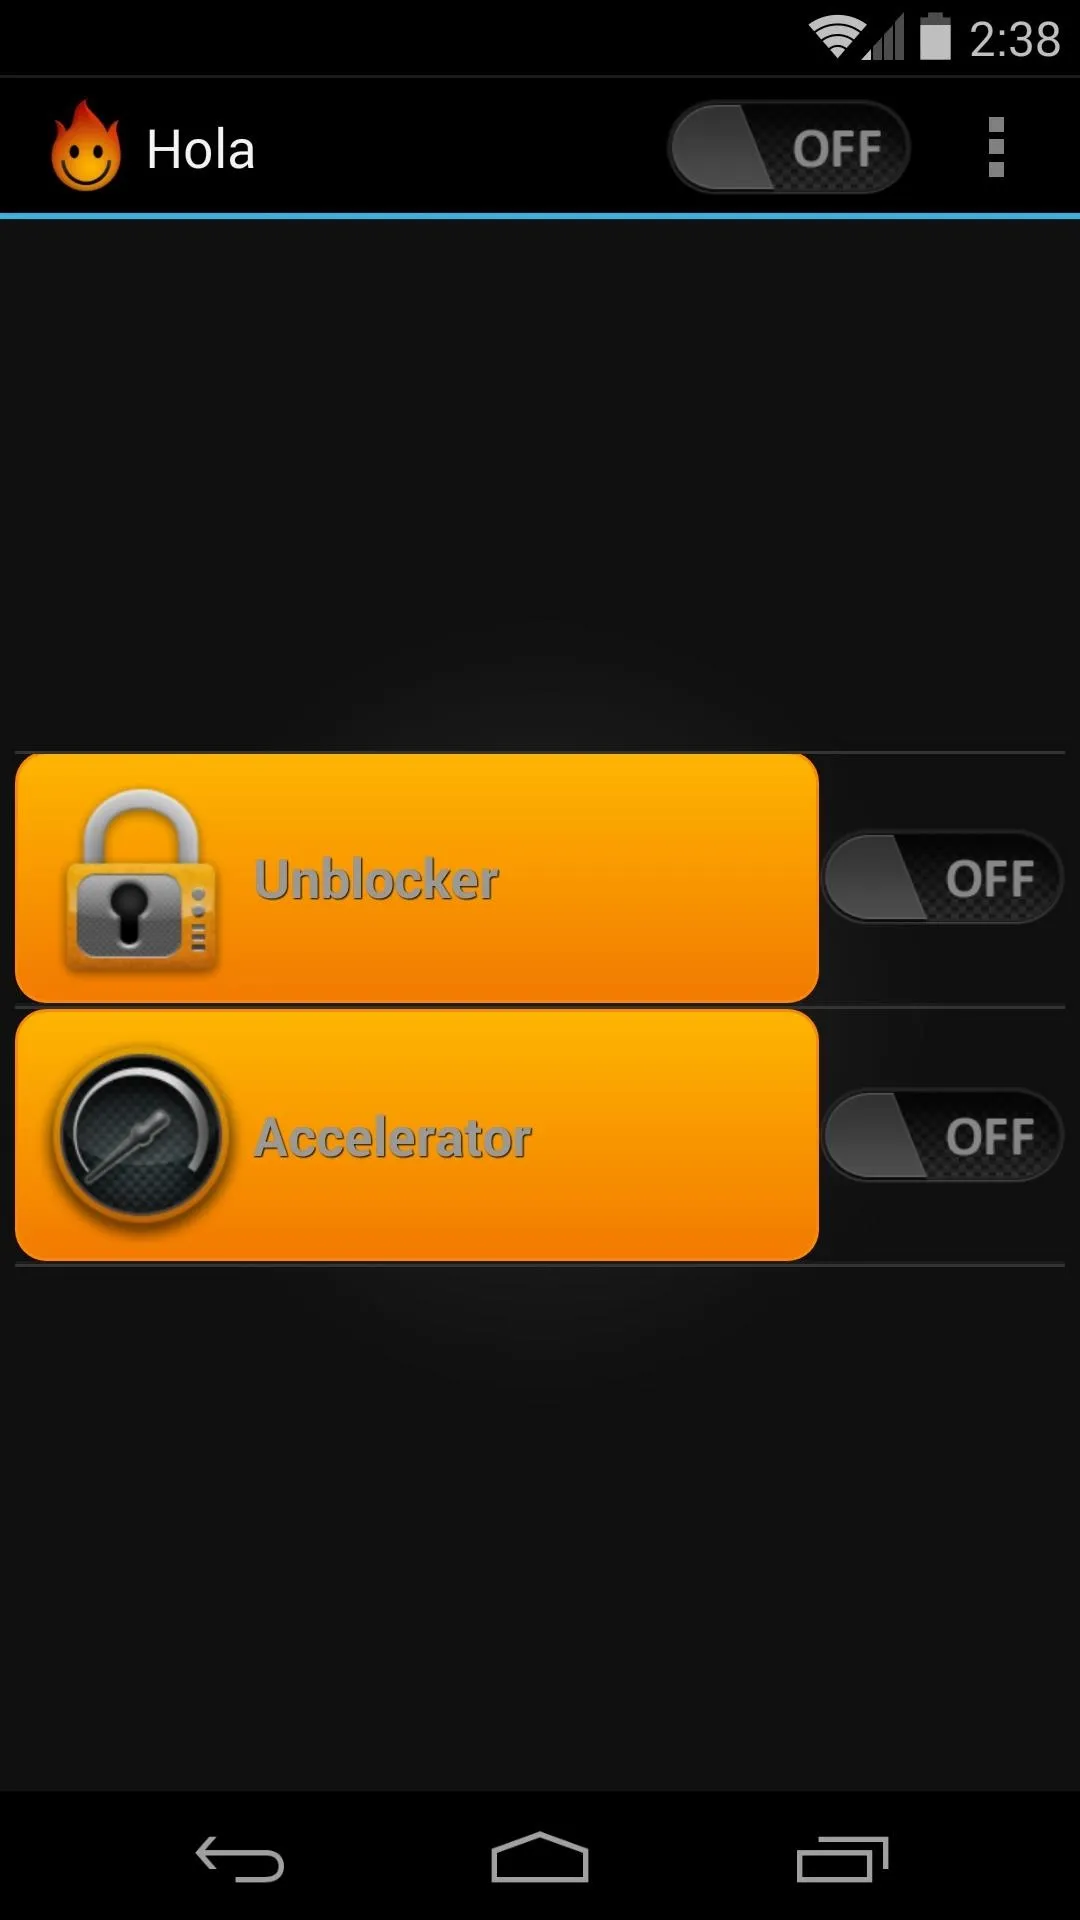
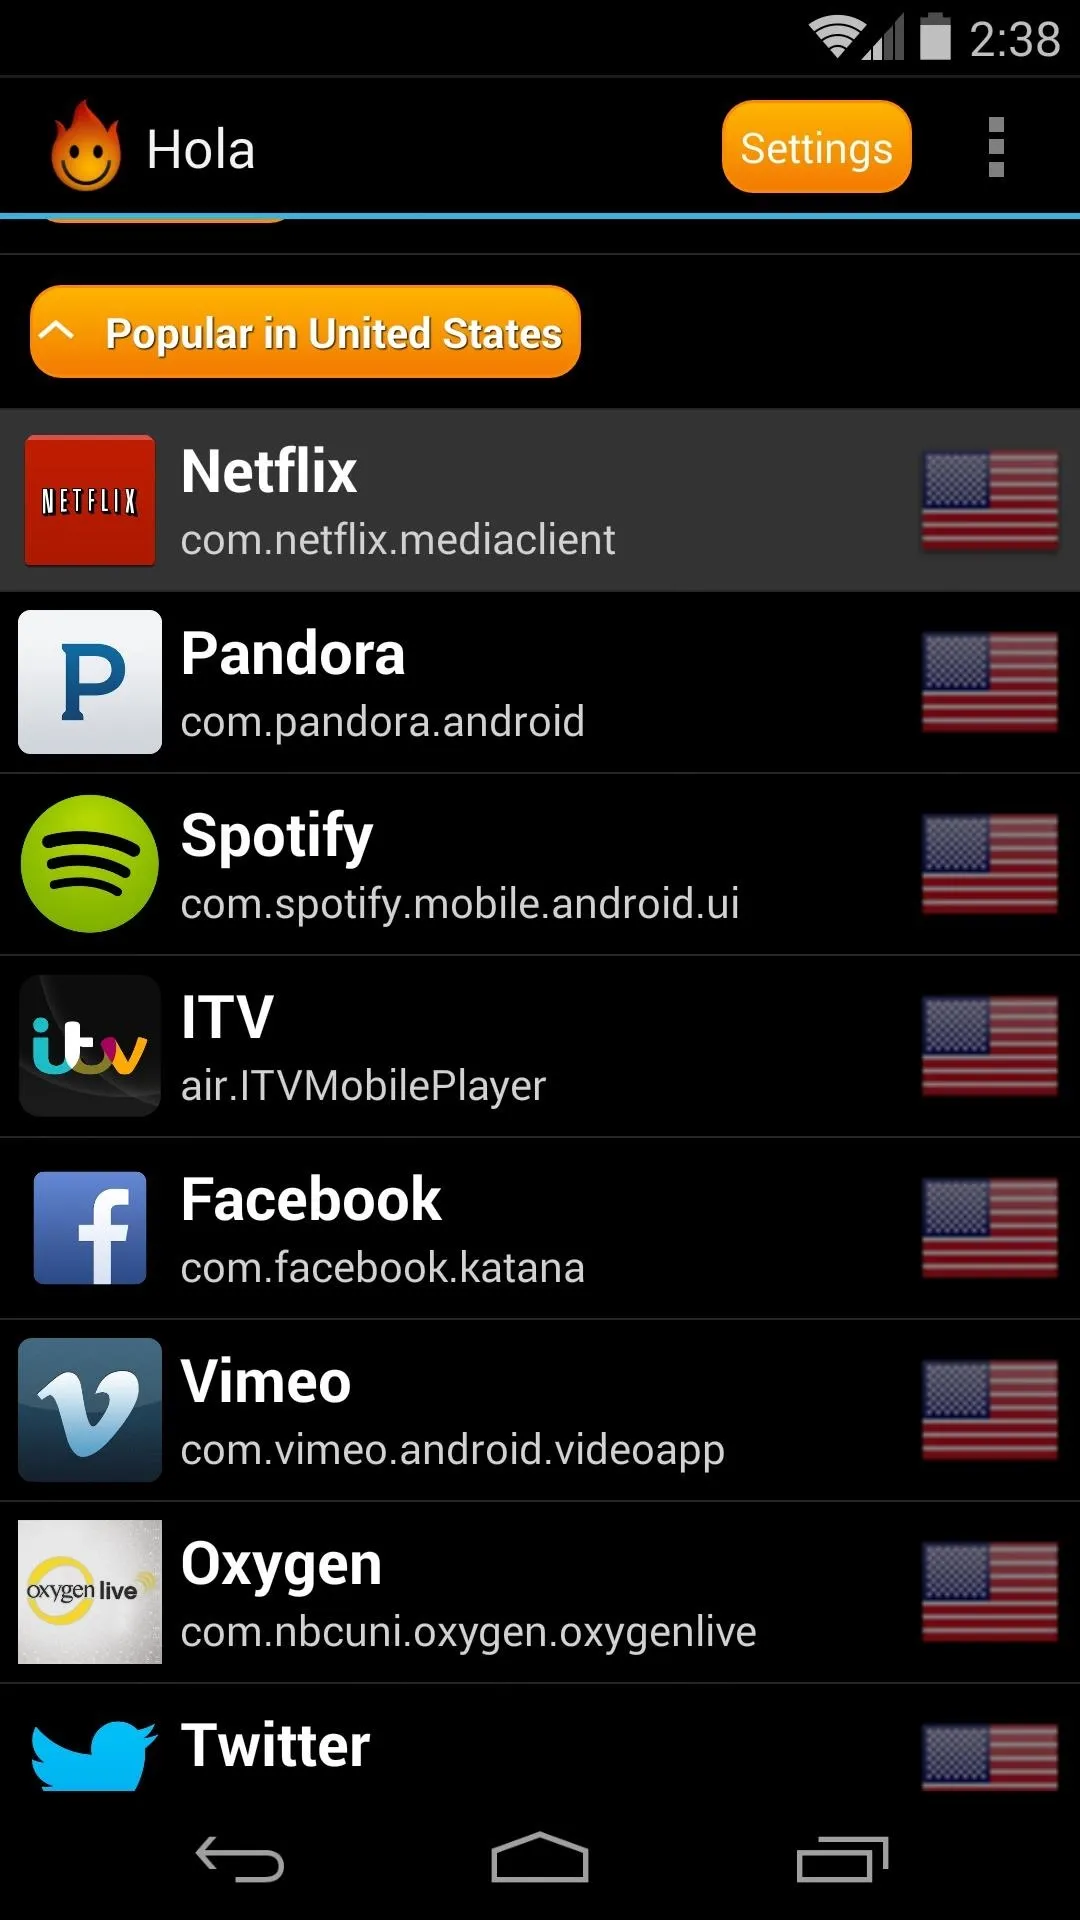
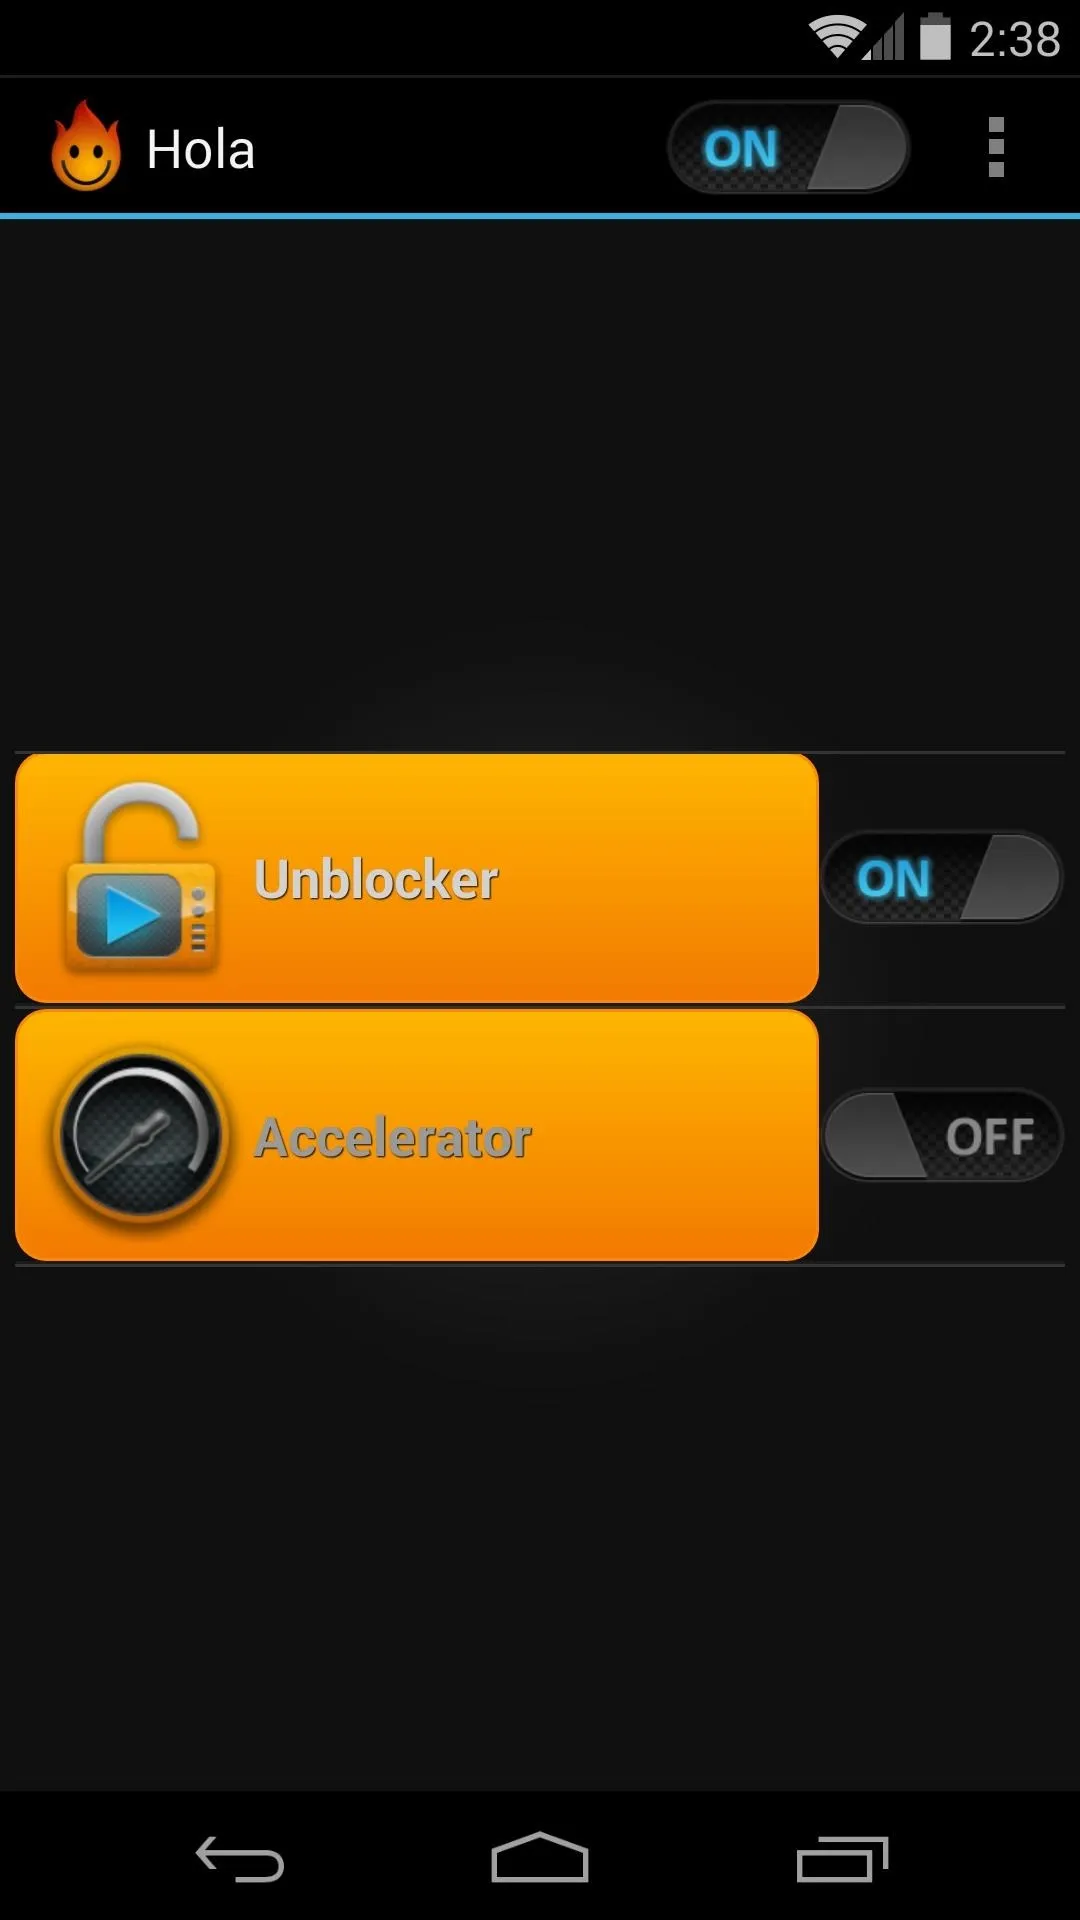
Upon opening the app, you'll be presented with two options—tap Unblocker to get started with the setup. From here, you'll see a list of services that Hola is capable of "unblocking". Today, we're only concerned with Netflix, so go ahead and hit that entry in the list.


Step 3: Choose the Countries to Unblock
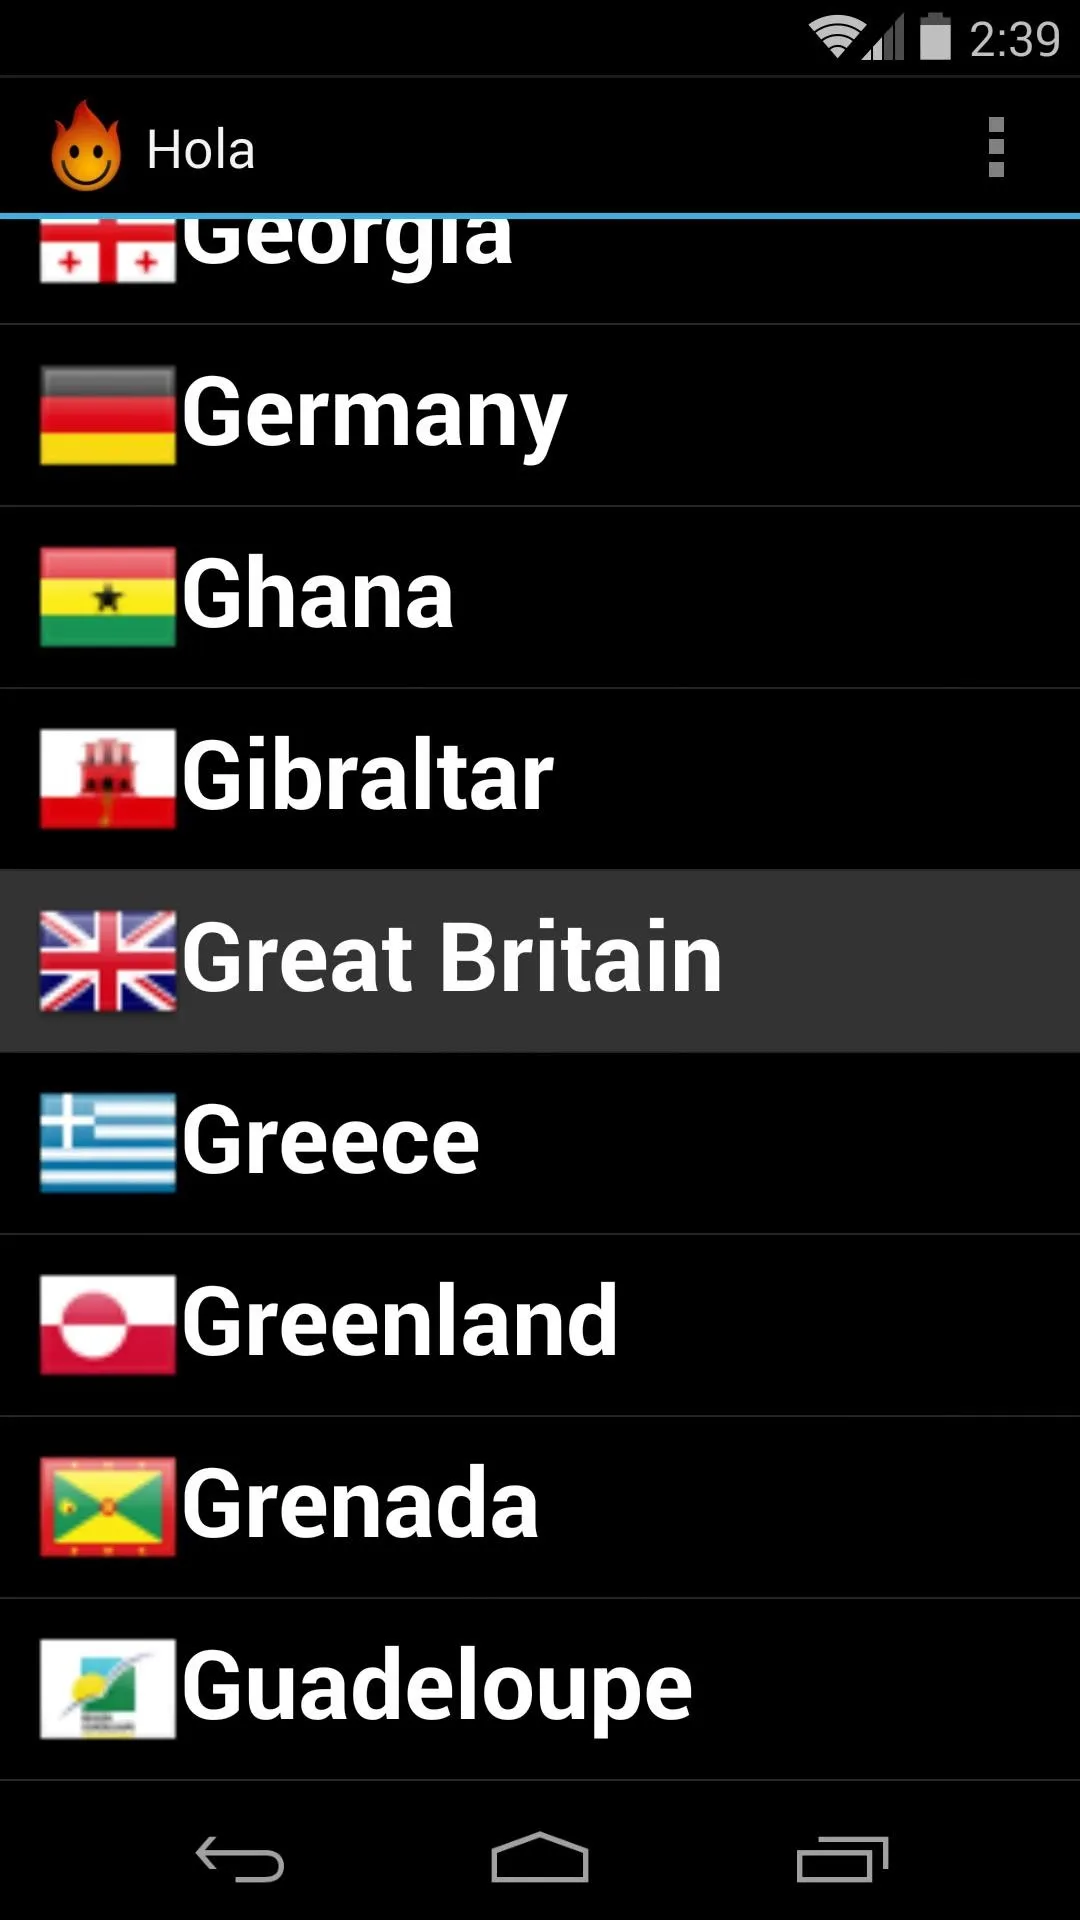
The next screen will ask you to choose the country whose library you wish to have access to in your Netflix app. For the purposes of this tutorial, we'll select Great Britain—which, for the rest of you Yanks out there, has the most expansive library outside of the U.S. (not to mention English-language audio and subtitles).
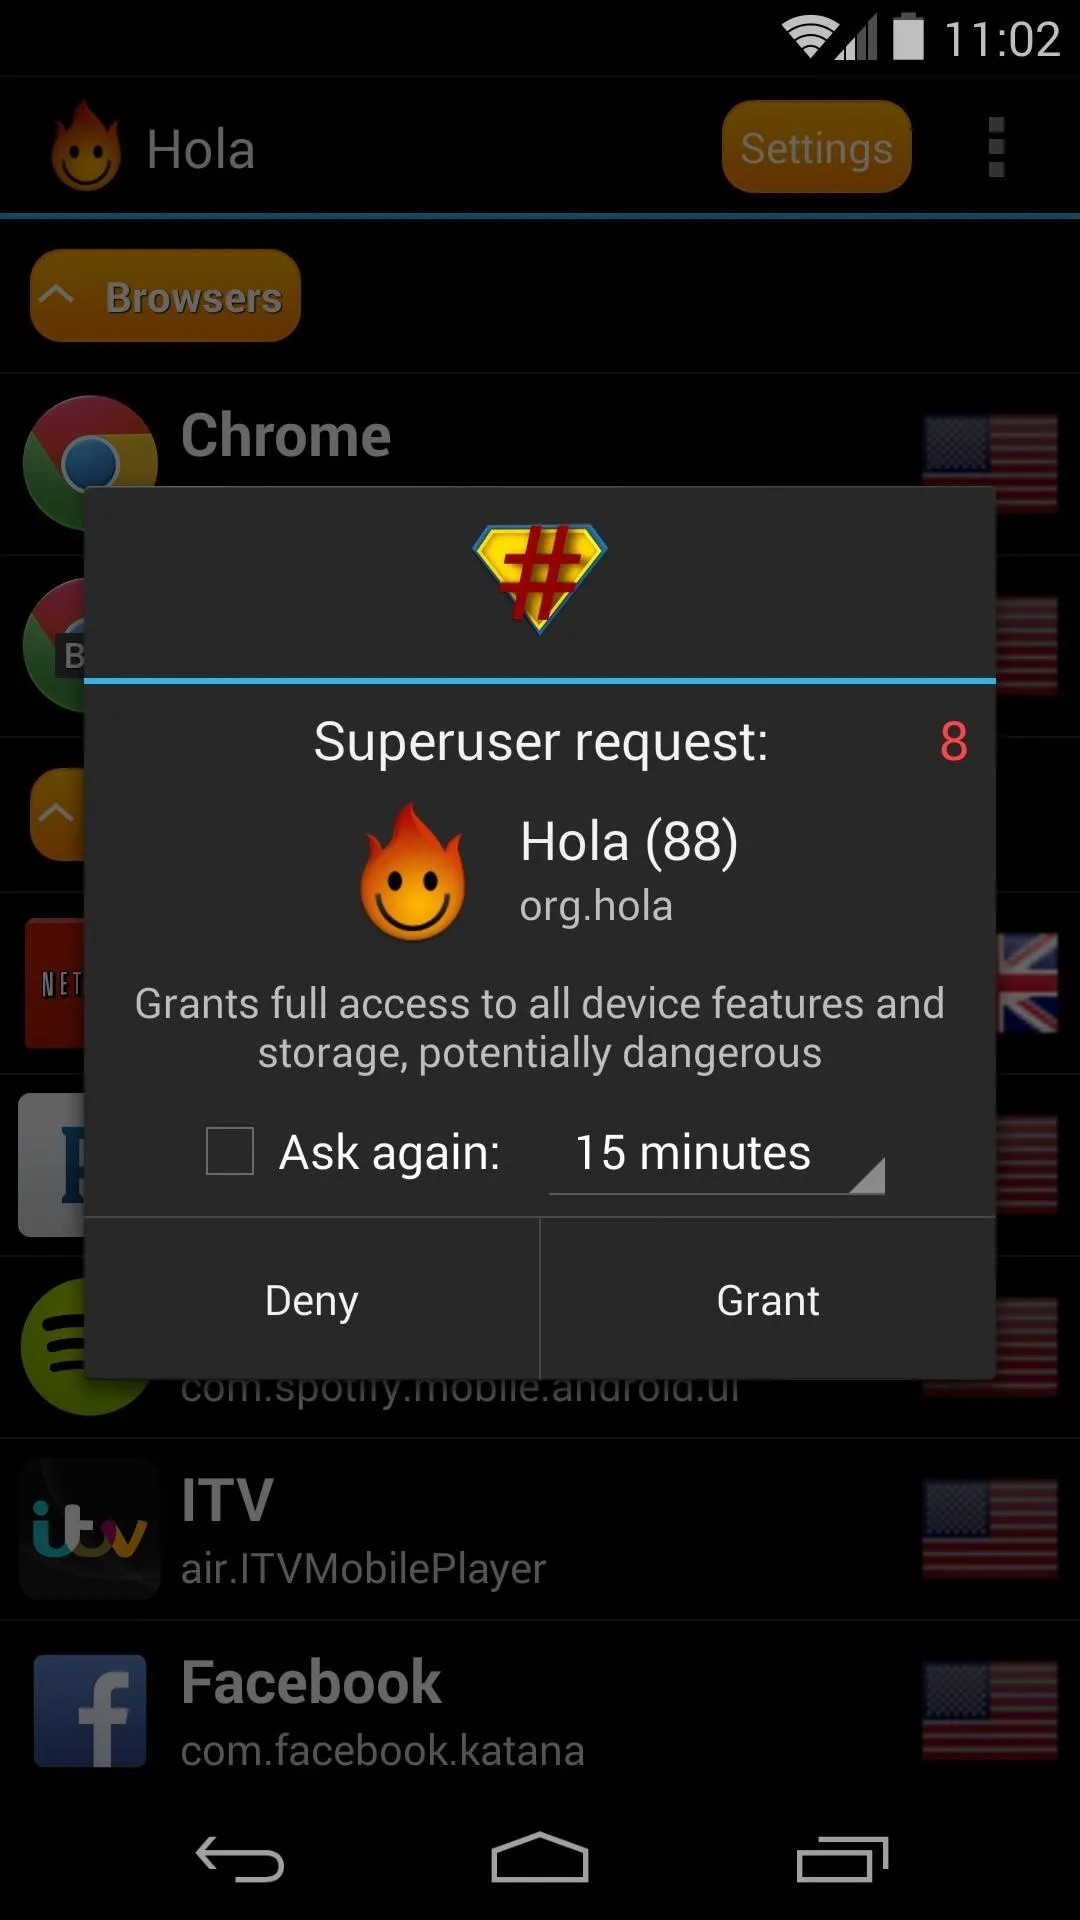
Once you've done that, Hola will prompt you to ask for root privileges. Grant those and the Hola Unblocker service will start running.


Step 4: Watch Region-Restricted Content
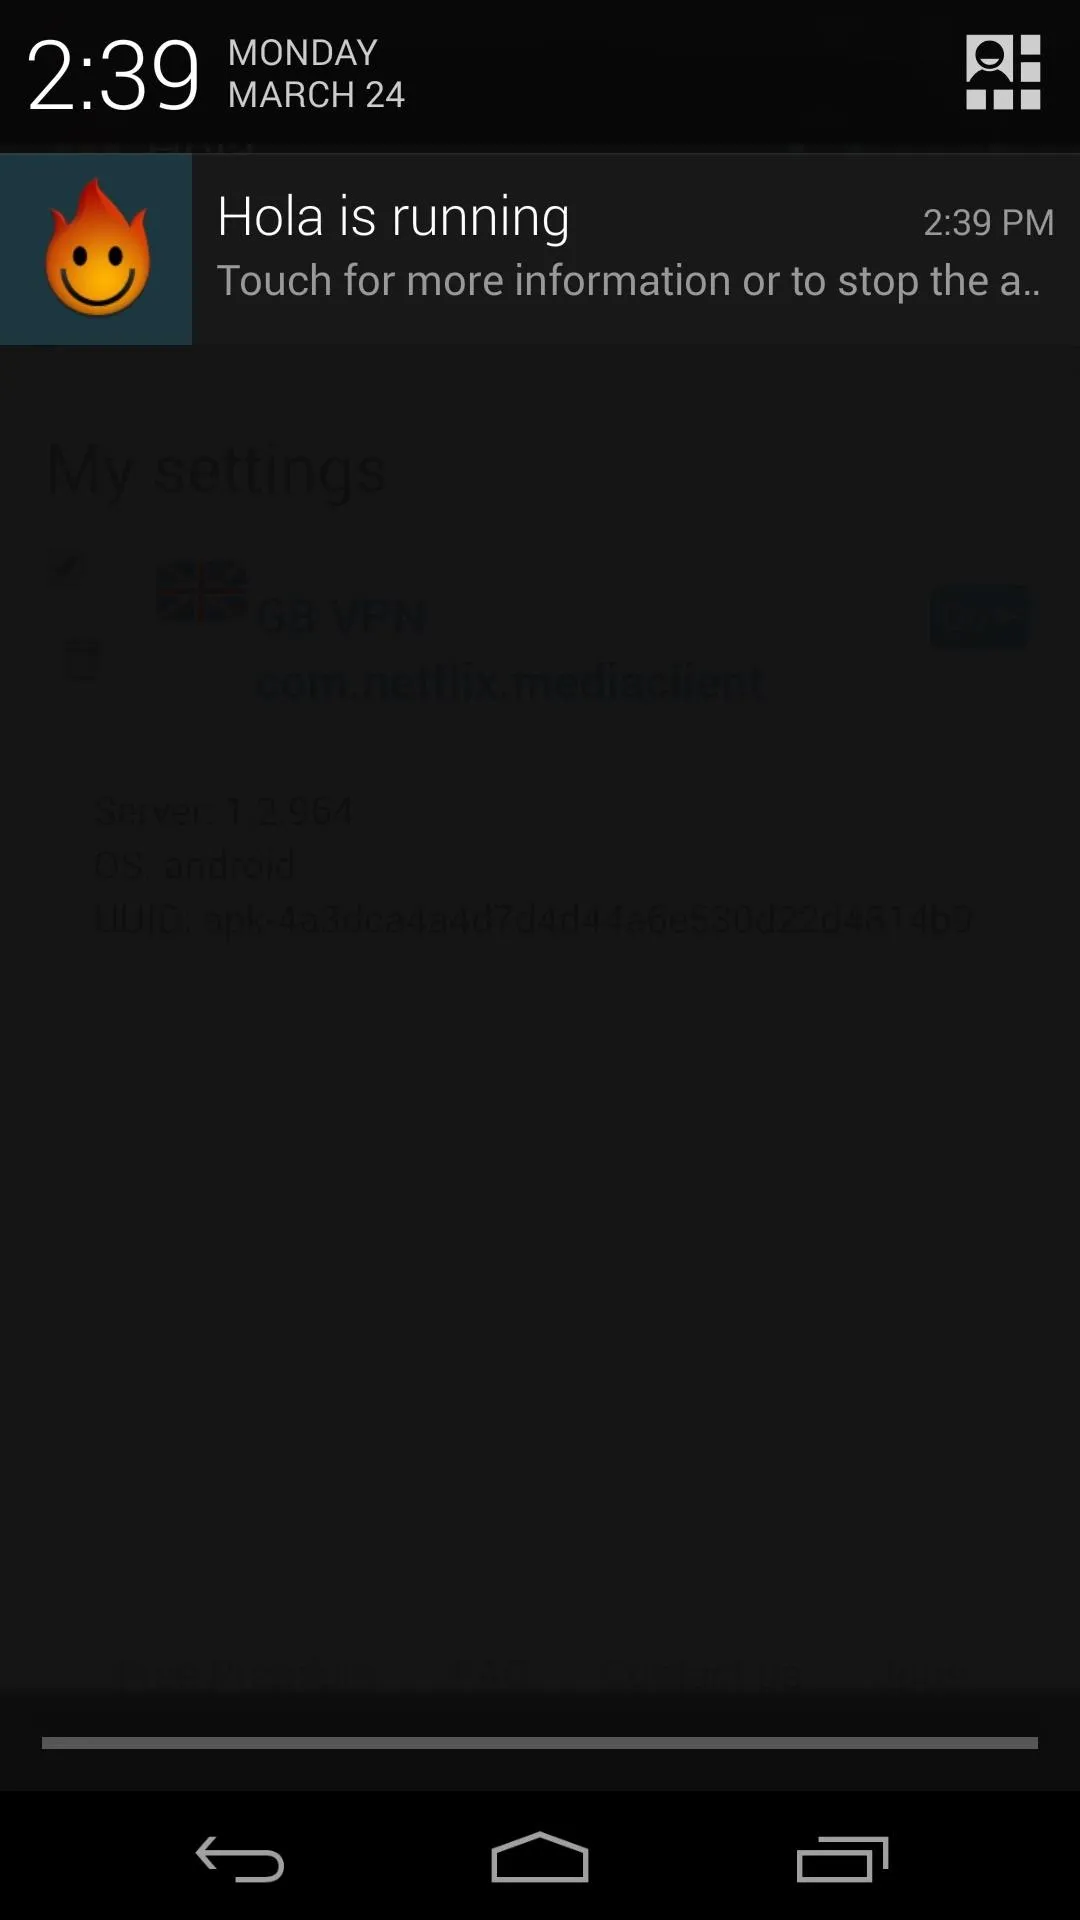
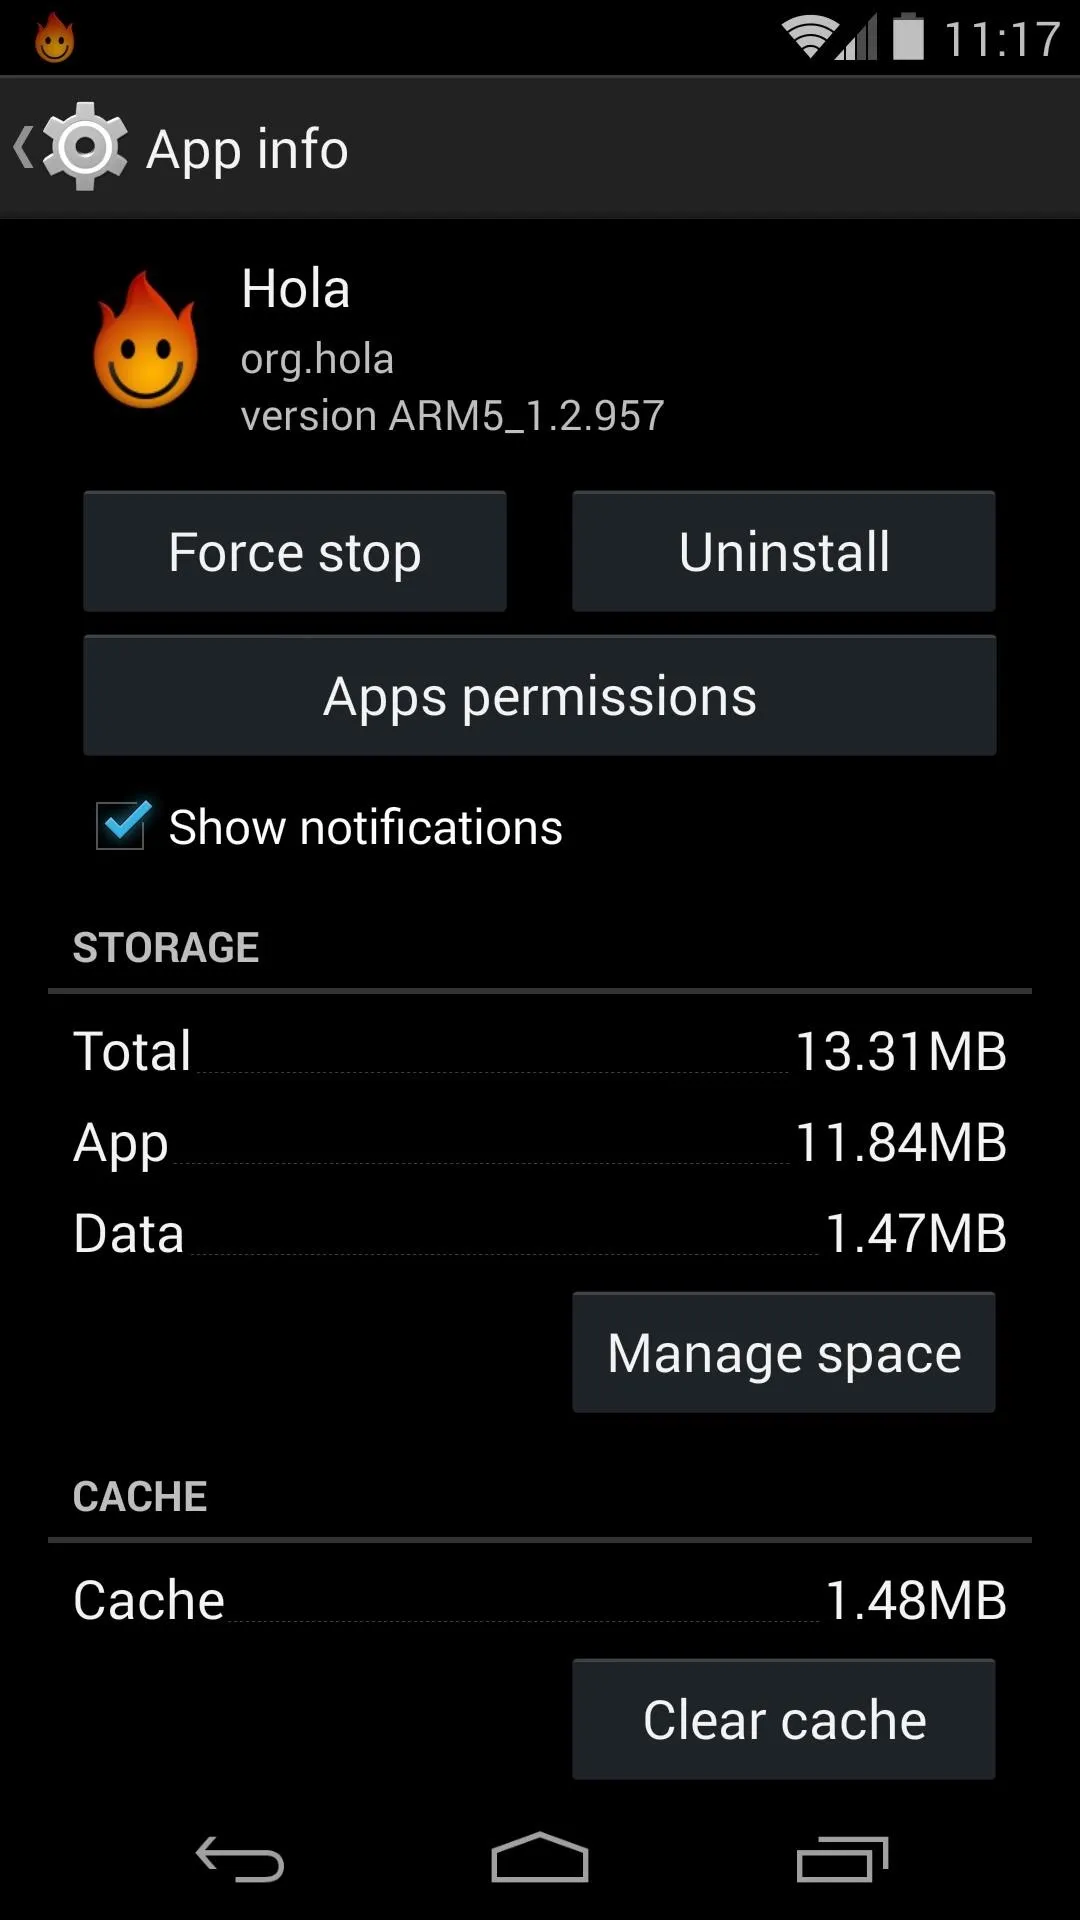
As wonderful as Hola Better Internet is, it's not without its downsides. The service has to be started before Netflix is opened, and it continues to run until you force-close it by clicking an ongoing notification.


Automate the Process with Tasker (Optional)
The following steps are optional, but they really make the process run smoothly. Instead of having to start and stop Hola every time you use it, we can automate everything using Tasker. While there may be a lot of steps involved, it's very simple to do, and I've laid everything out for you.
Step 1: Install the TaskKill Plugin for Tasker
Instead of dealing with the hassle of force closing Hola every time we're done with the app, we'll clean things up a bit and automate this process with Tasker. For Tasker to effectively kill the Hola service, we'll need to install a plugin called TaskKill.
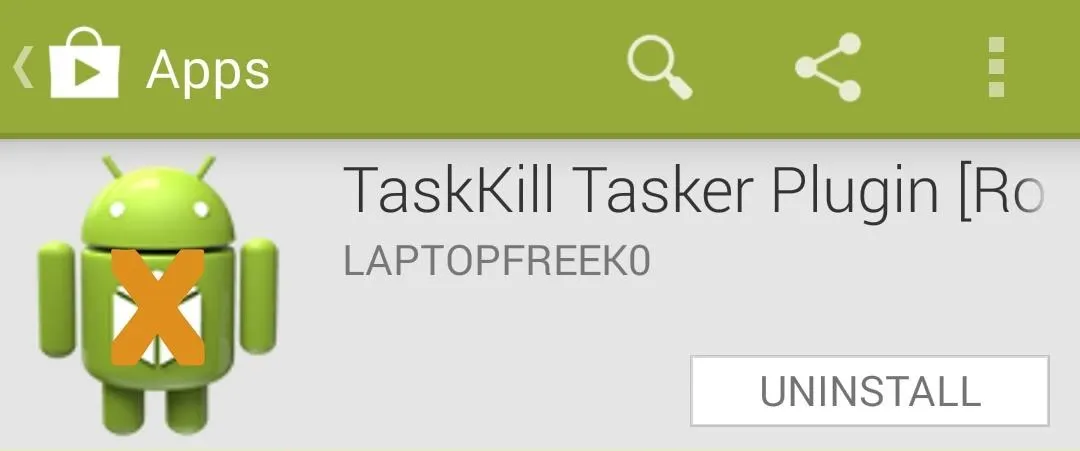
Install it from Google Play using the link at the top of this article.
Step 2: Create a New Profile in Tasker
The following processes will allow you to simply open Netflix and have Hola automatically run, and conversely, automatically shut down when you exit Netflix.
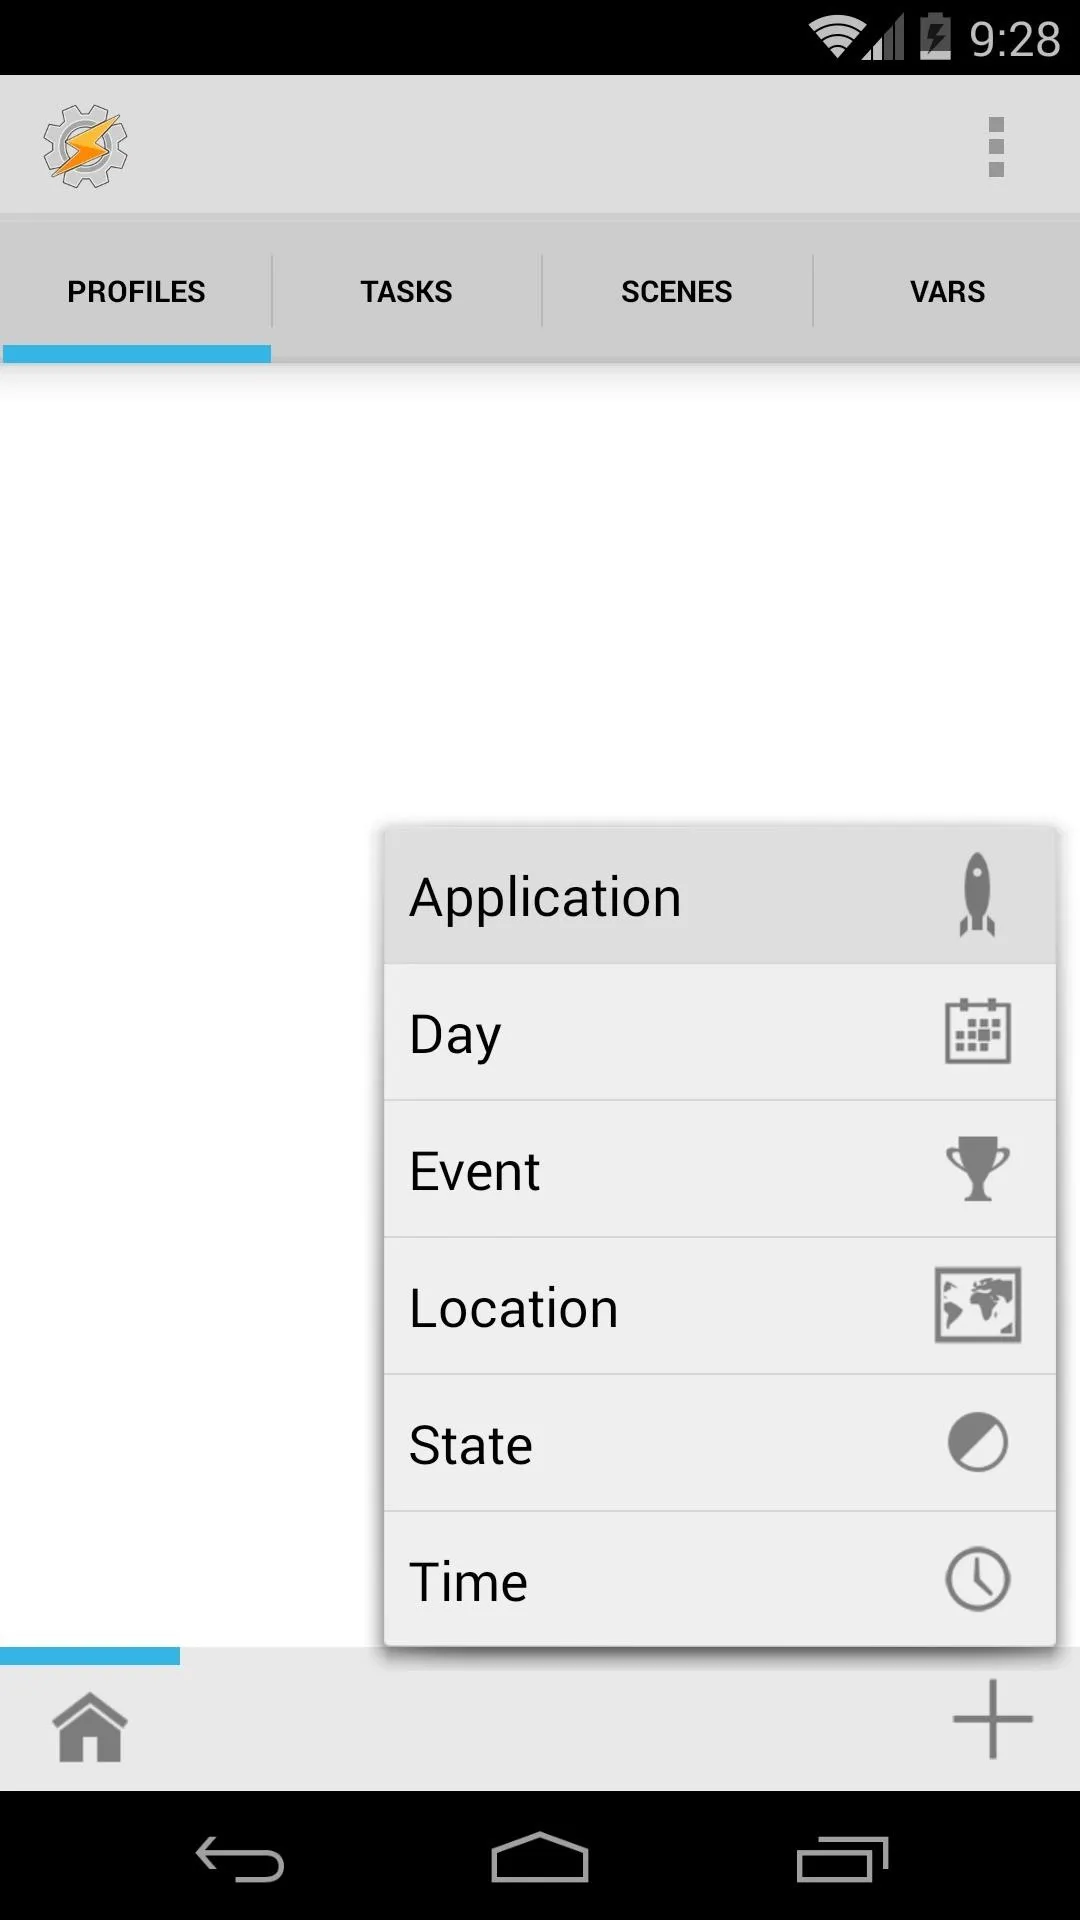
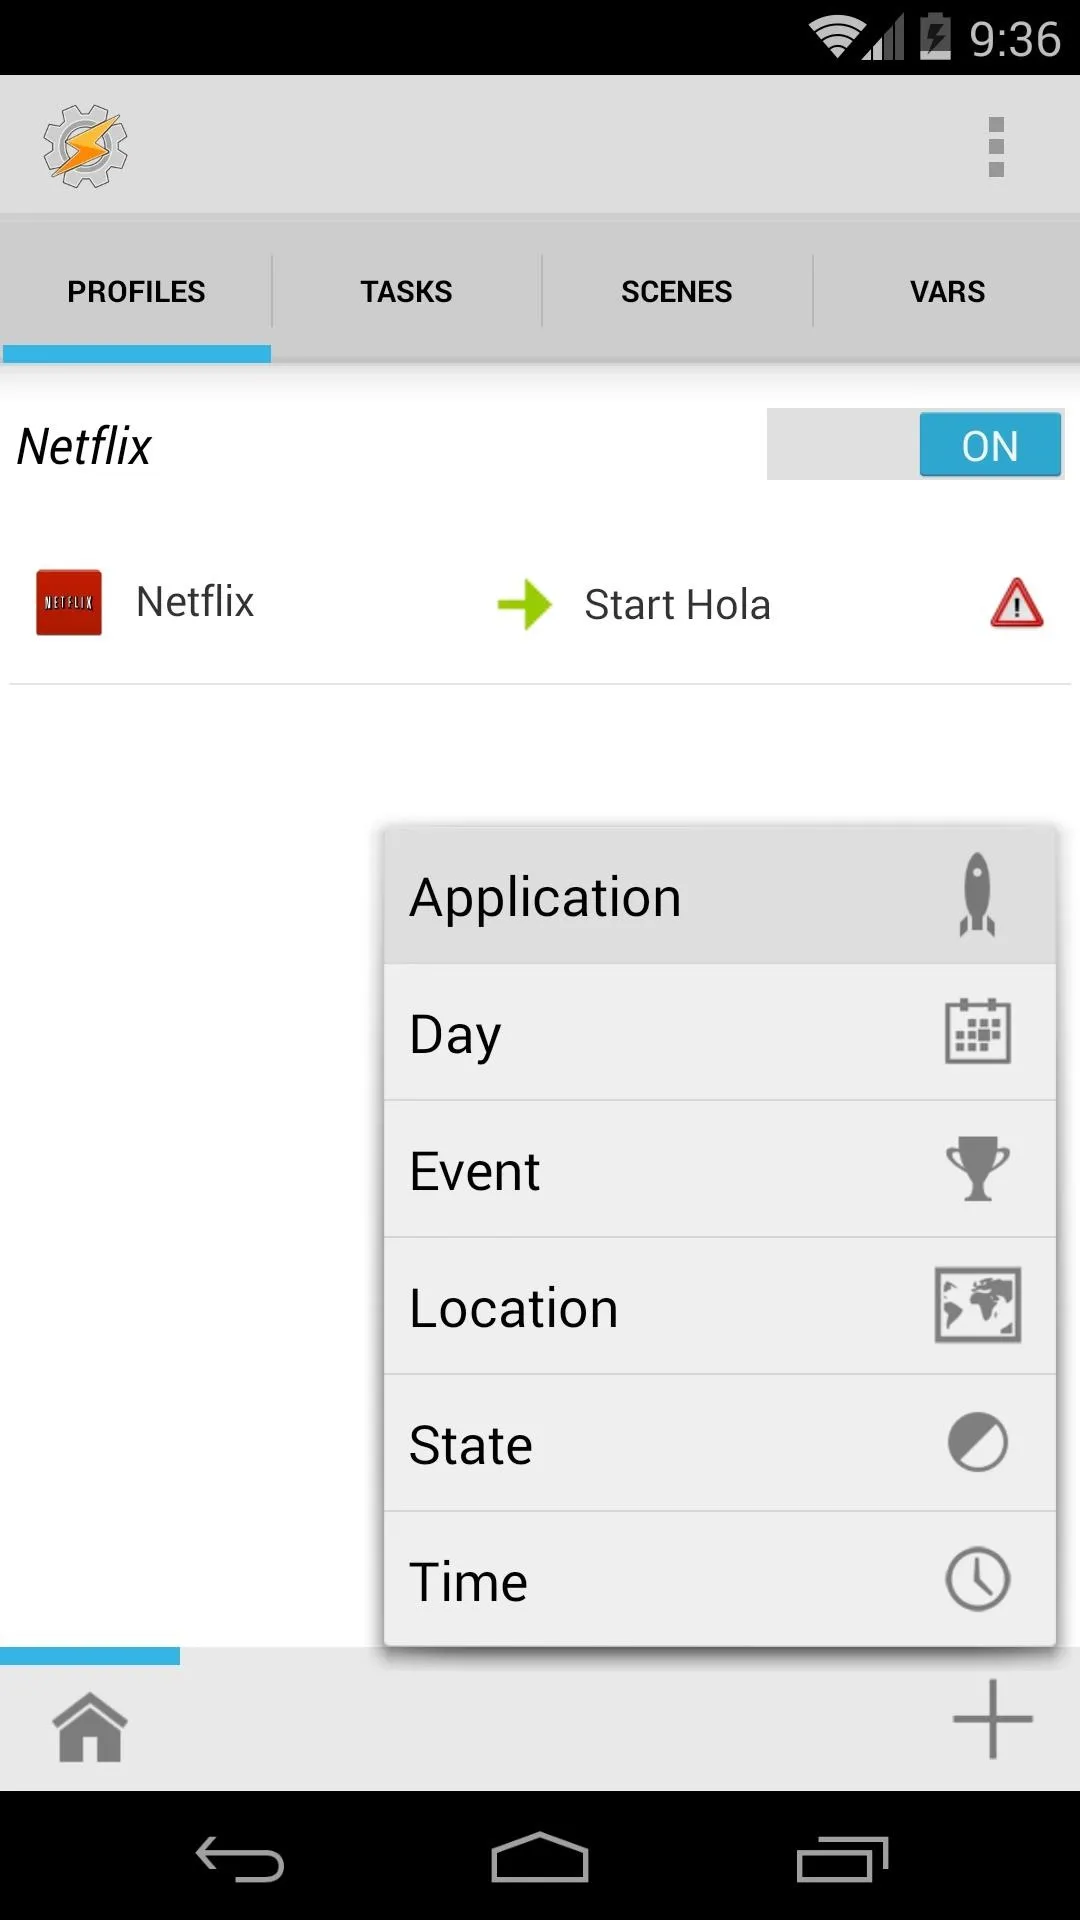
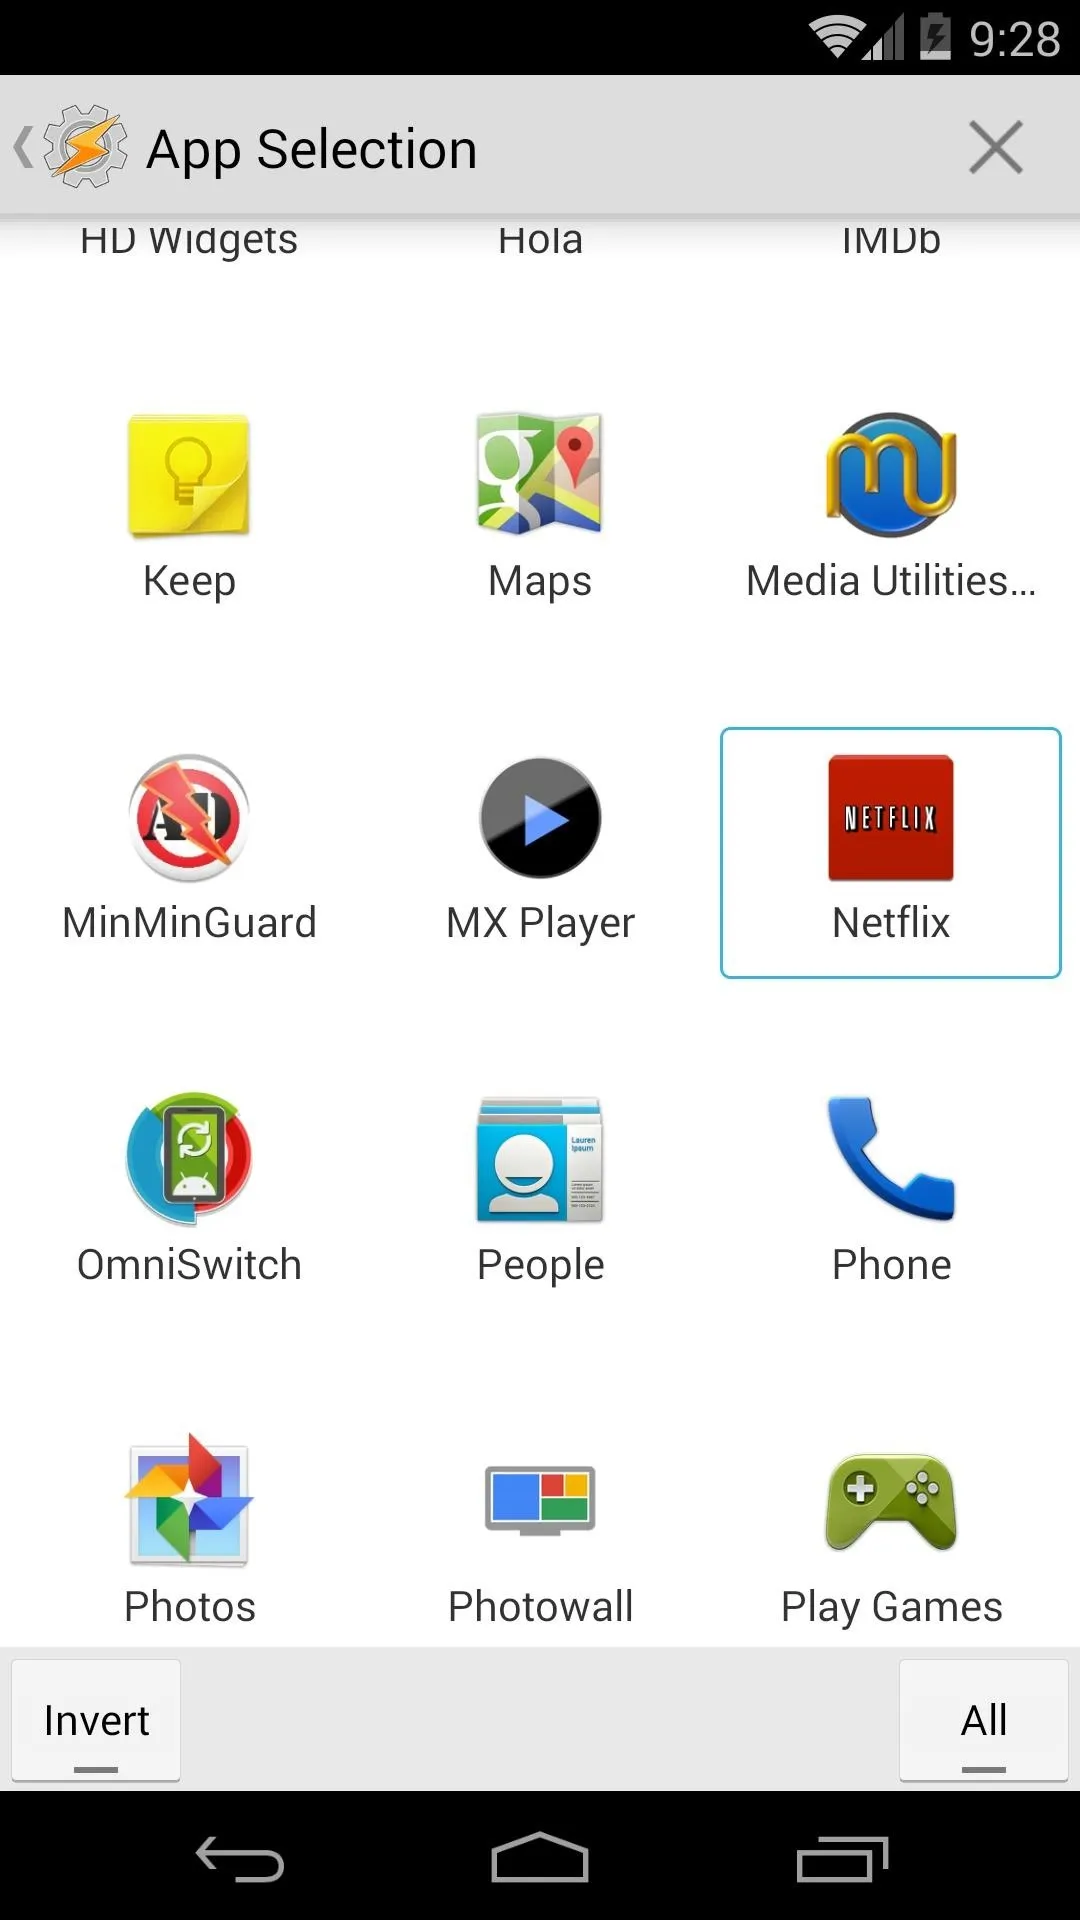
From the Profiles tab on Tasker's main page, hit the "plus" button near the bottom to create a new profile. From the popup that appears, select Application, then on the following list select Netflix.
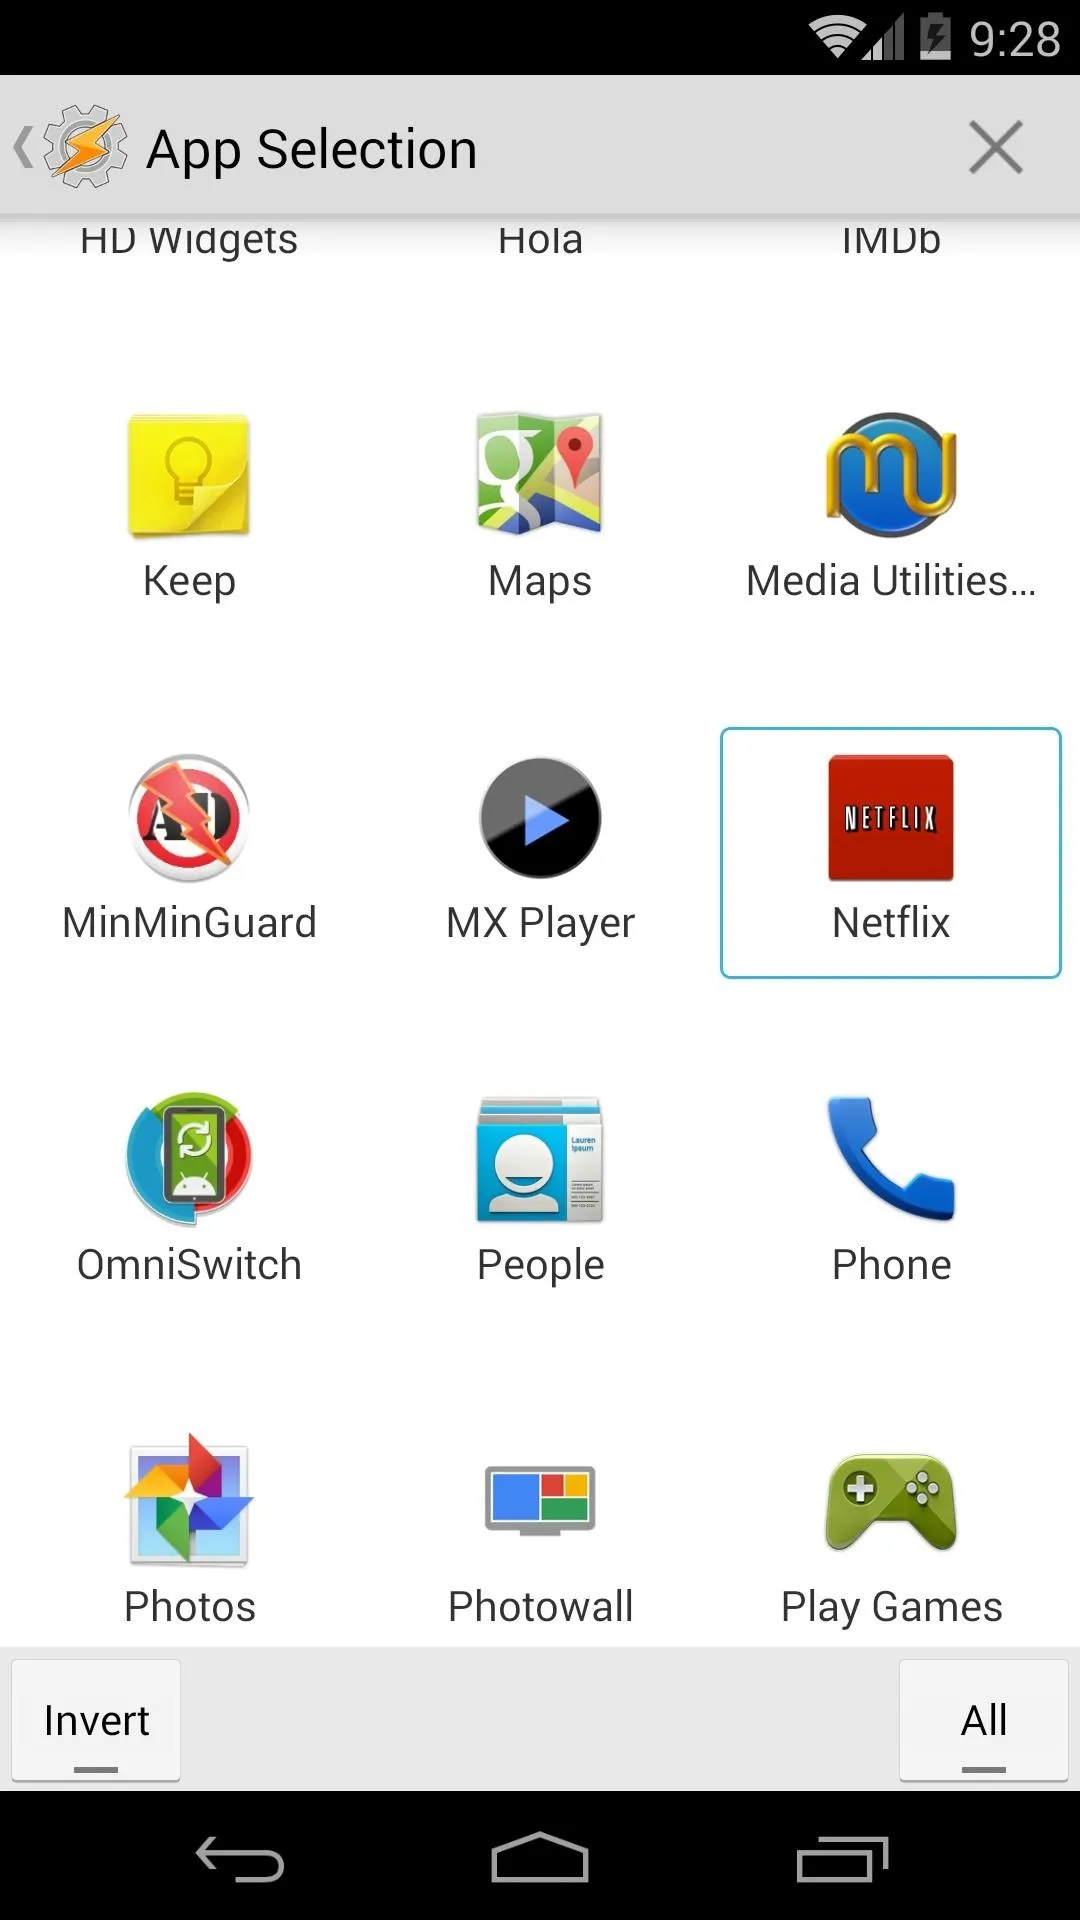


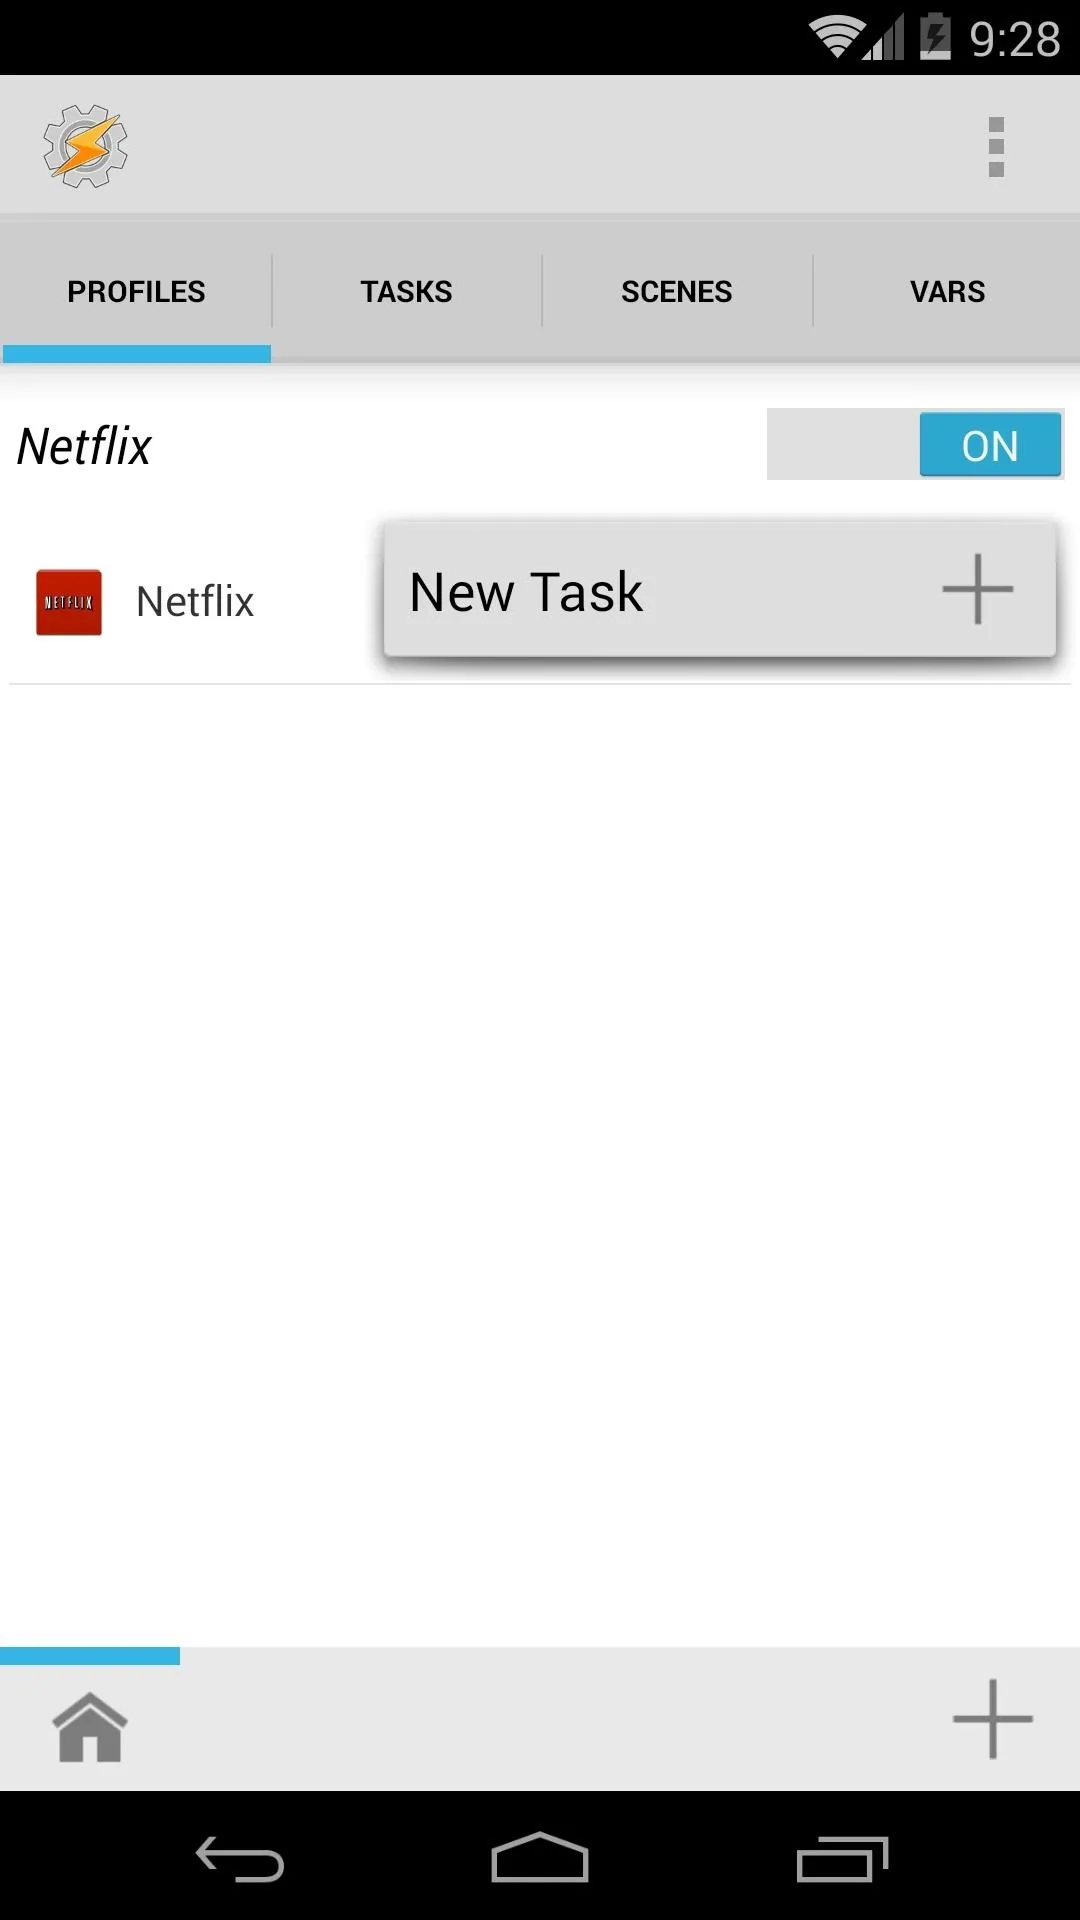
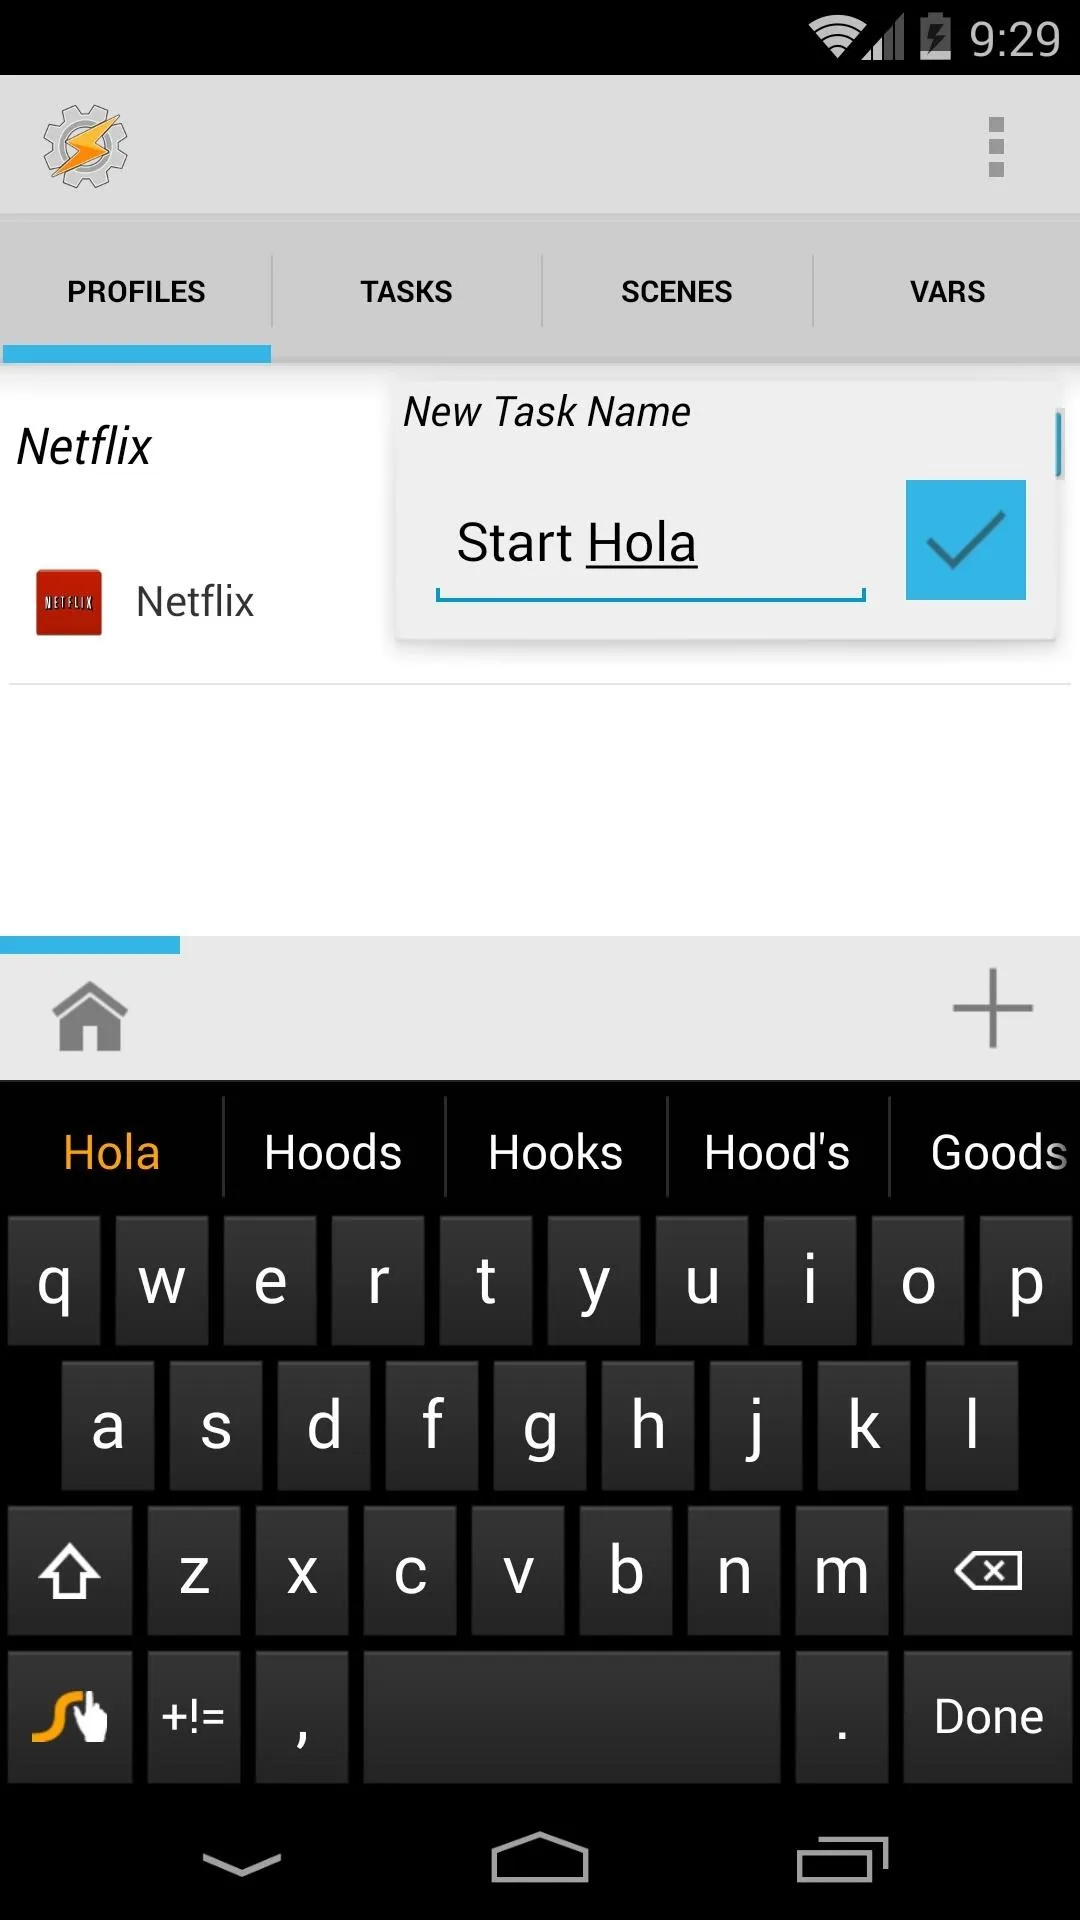
Hit the back button on your Nexus 5, and Tasker will ask you to attach a corresponding task to this profile. Select New Task and name it Start Hola.


Step 3: Create a Corresponding Task
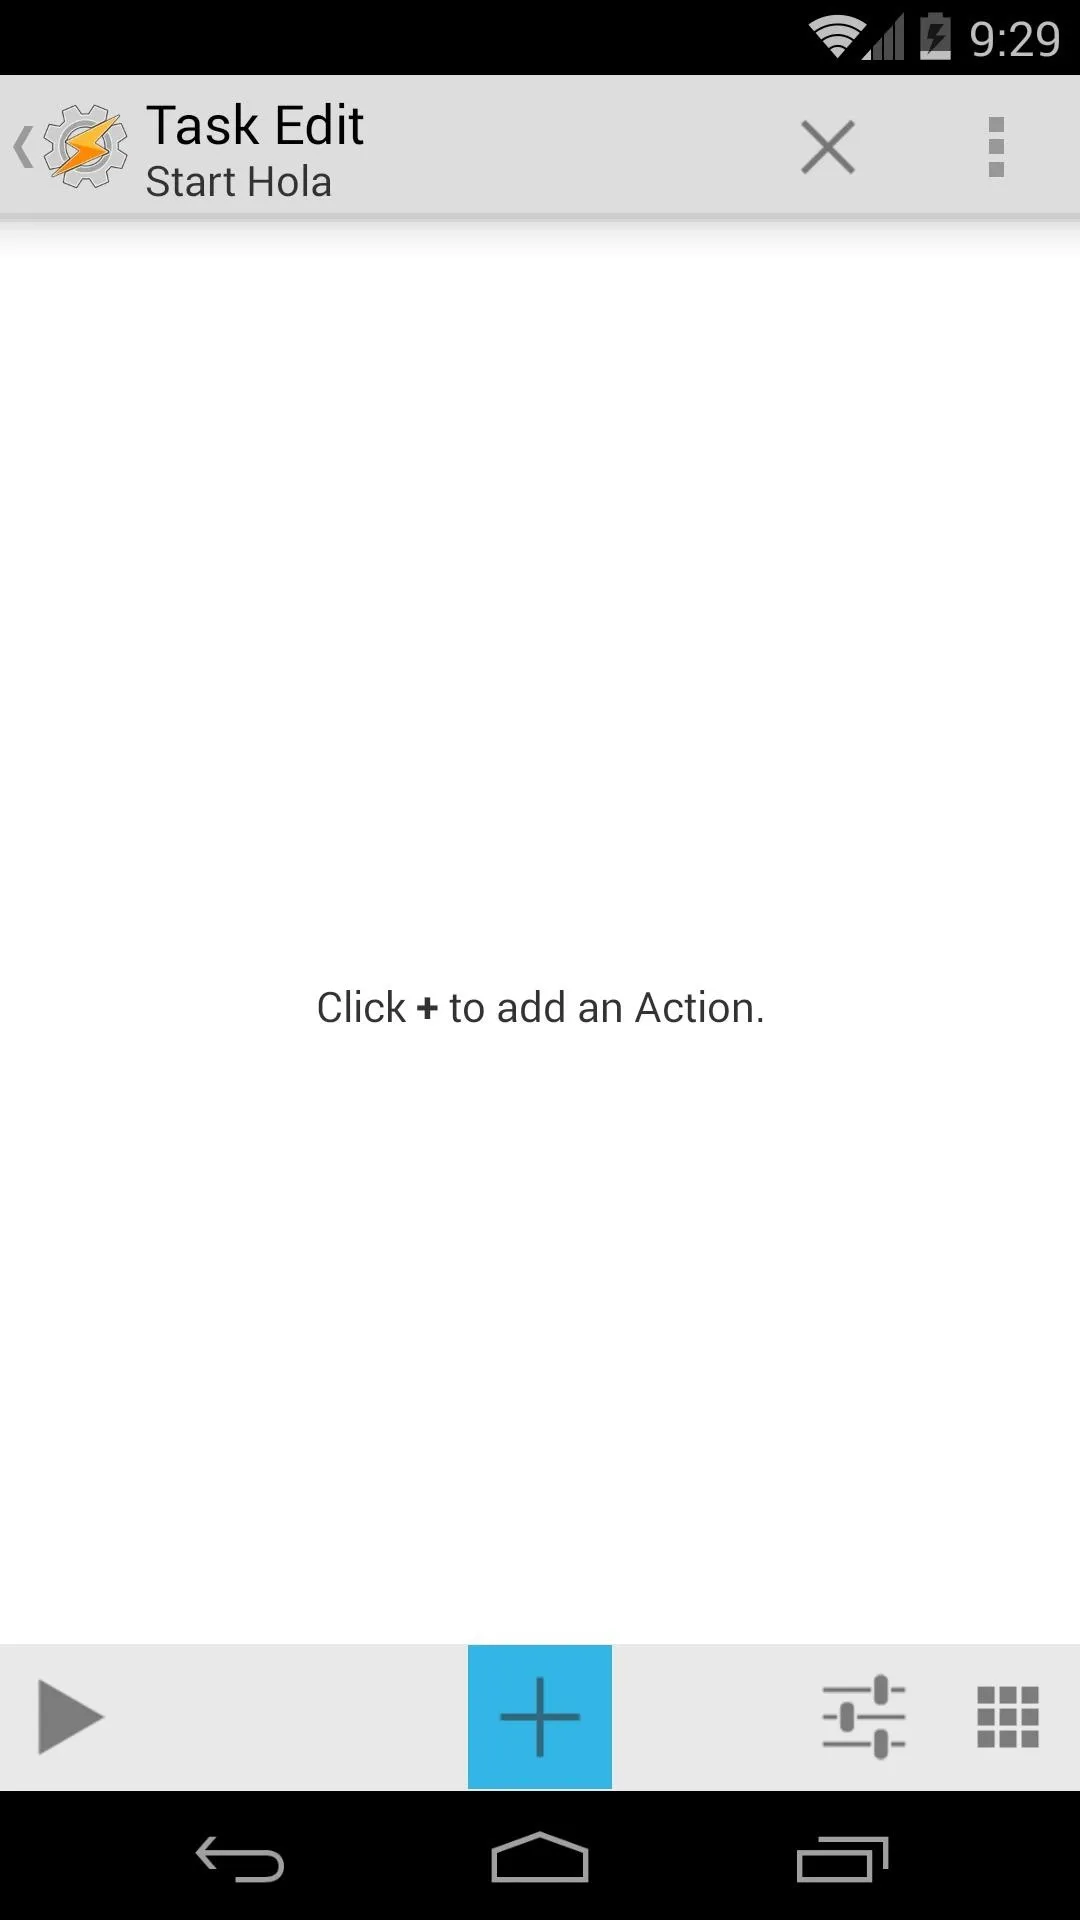
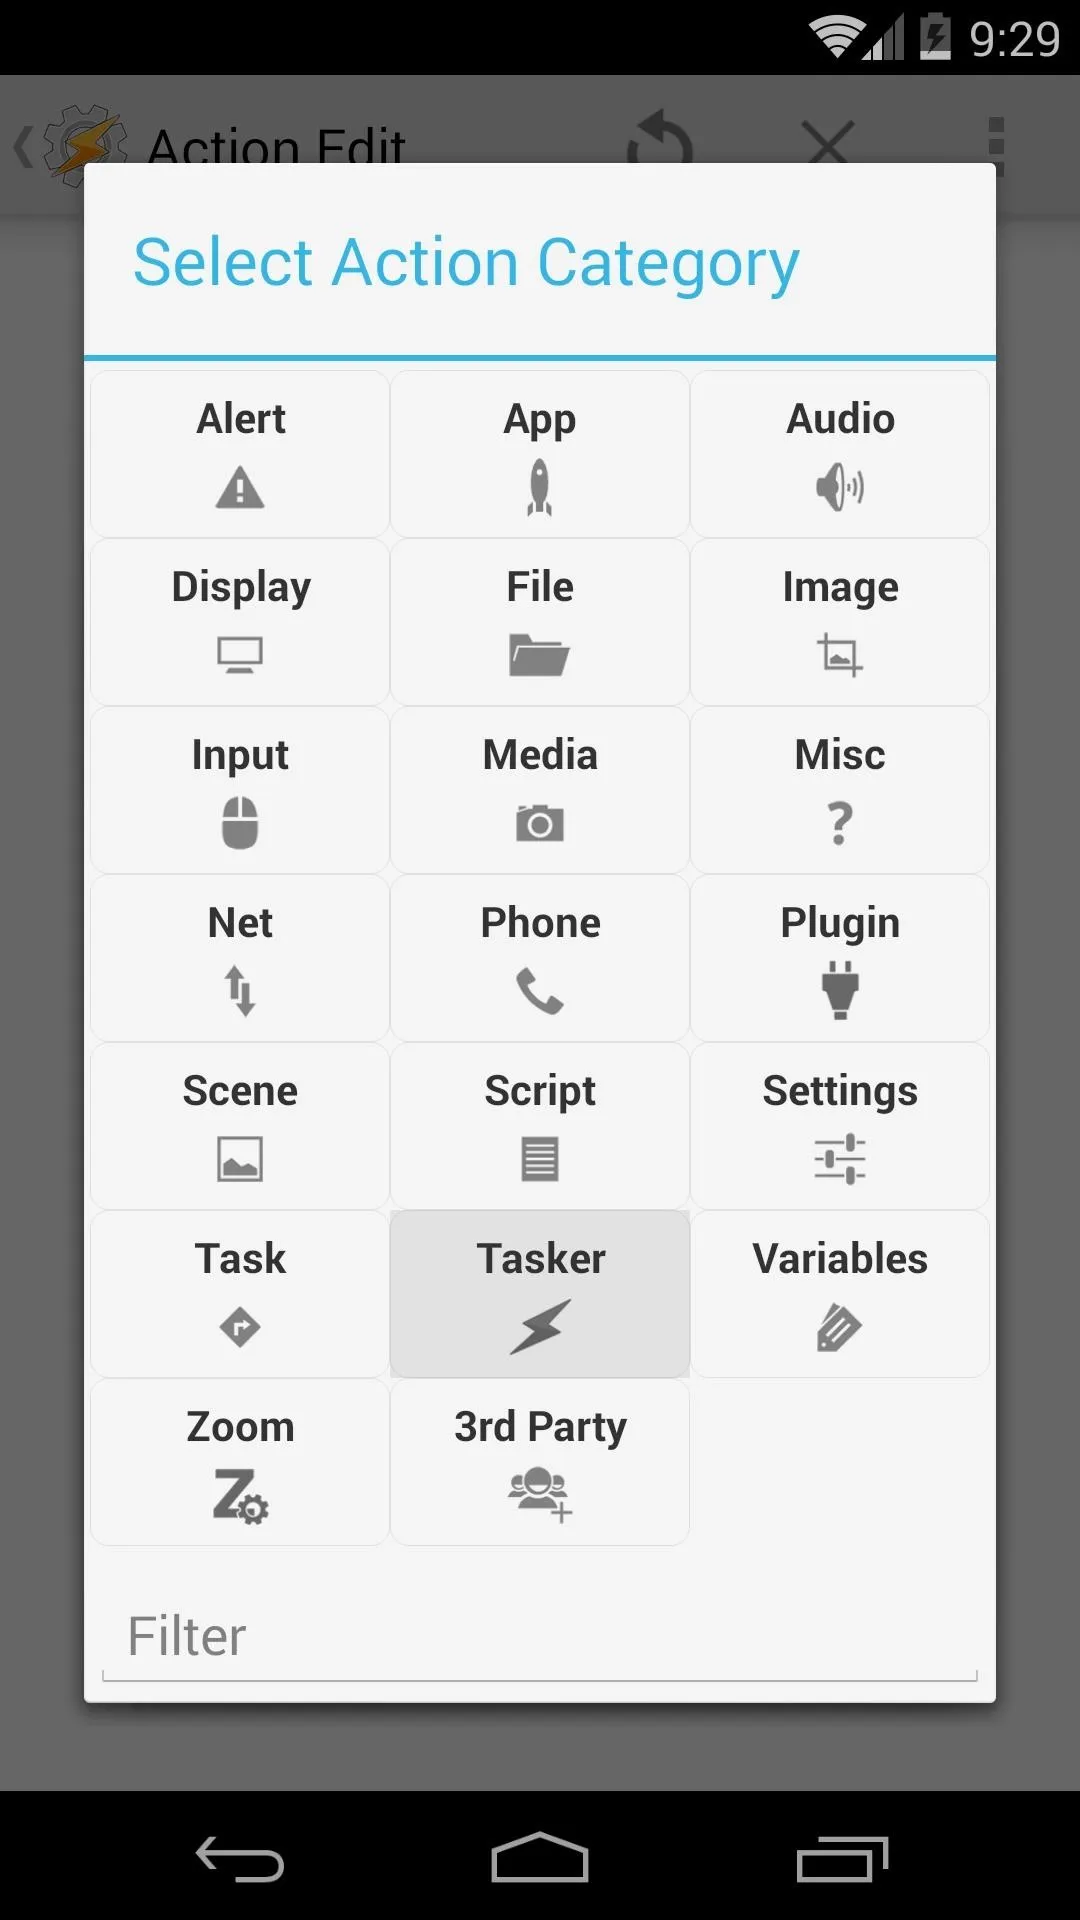
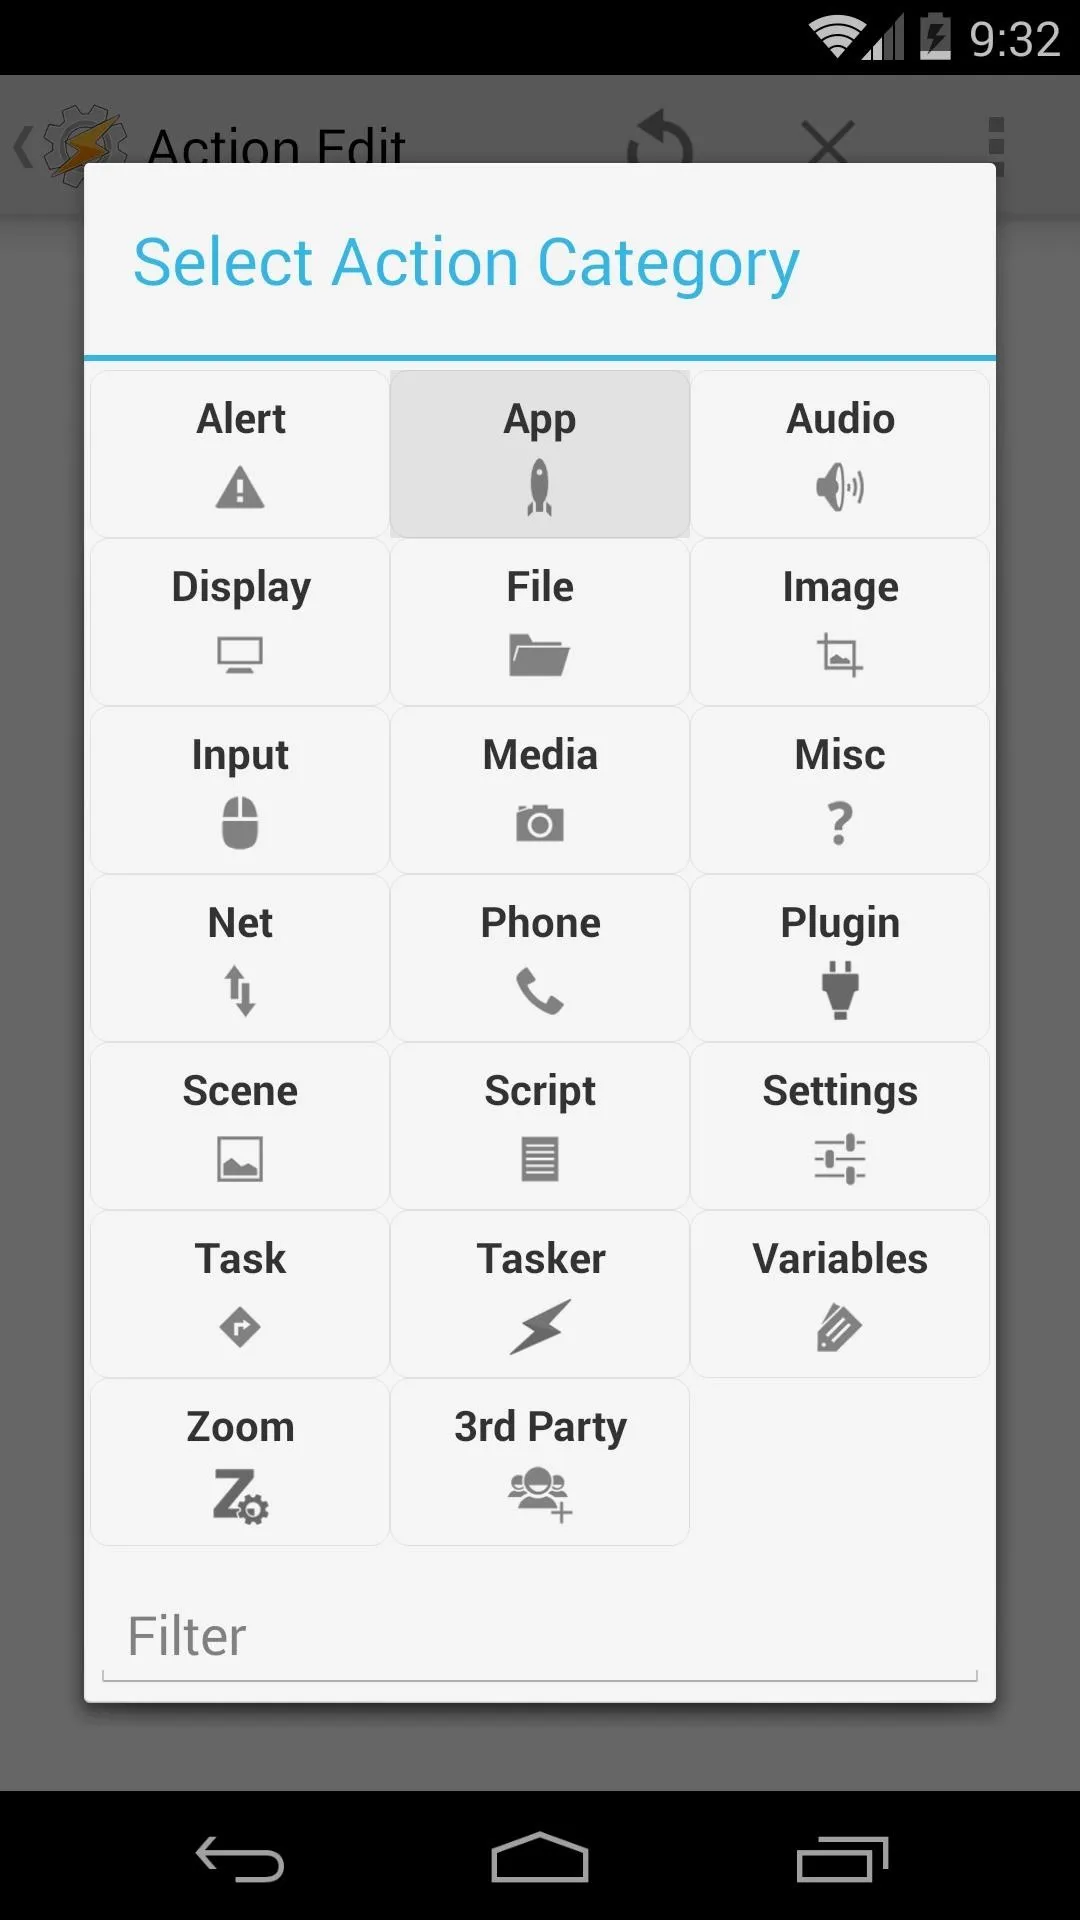
From the next screen, hit the "plus" button near the bottom. Select Tasker from the ensuing list, then tap Profile Status at the next menu.
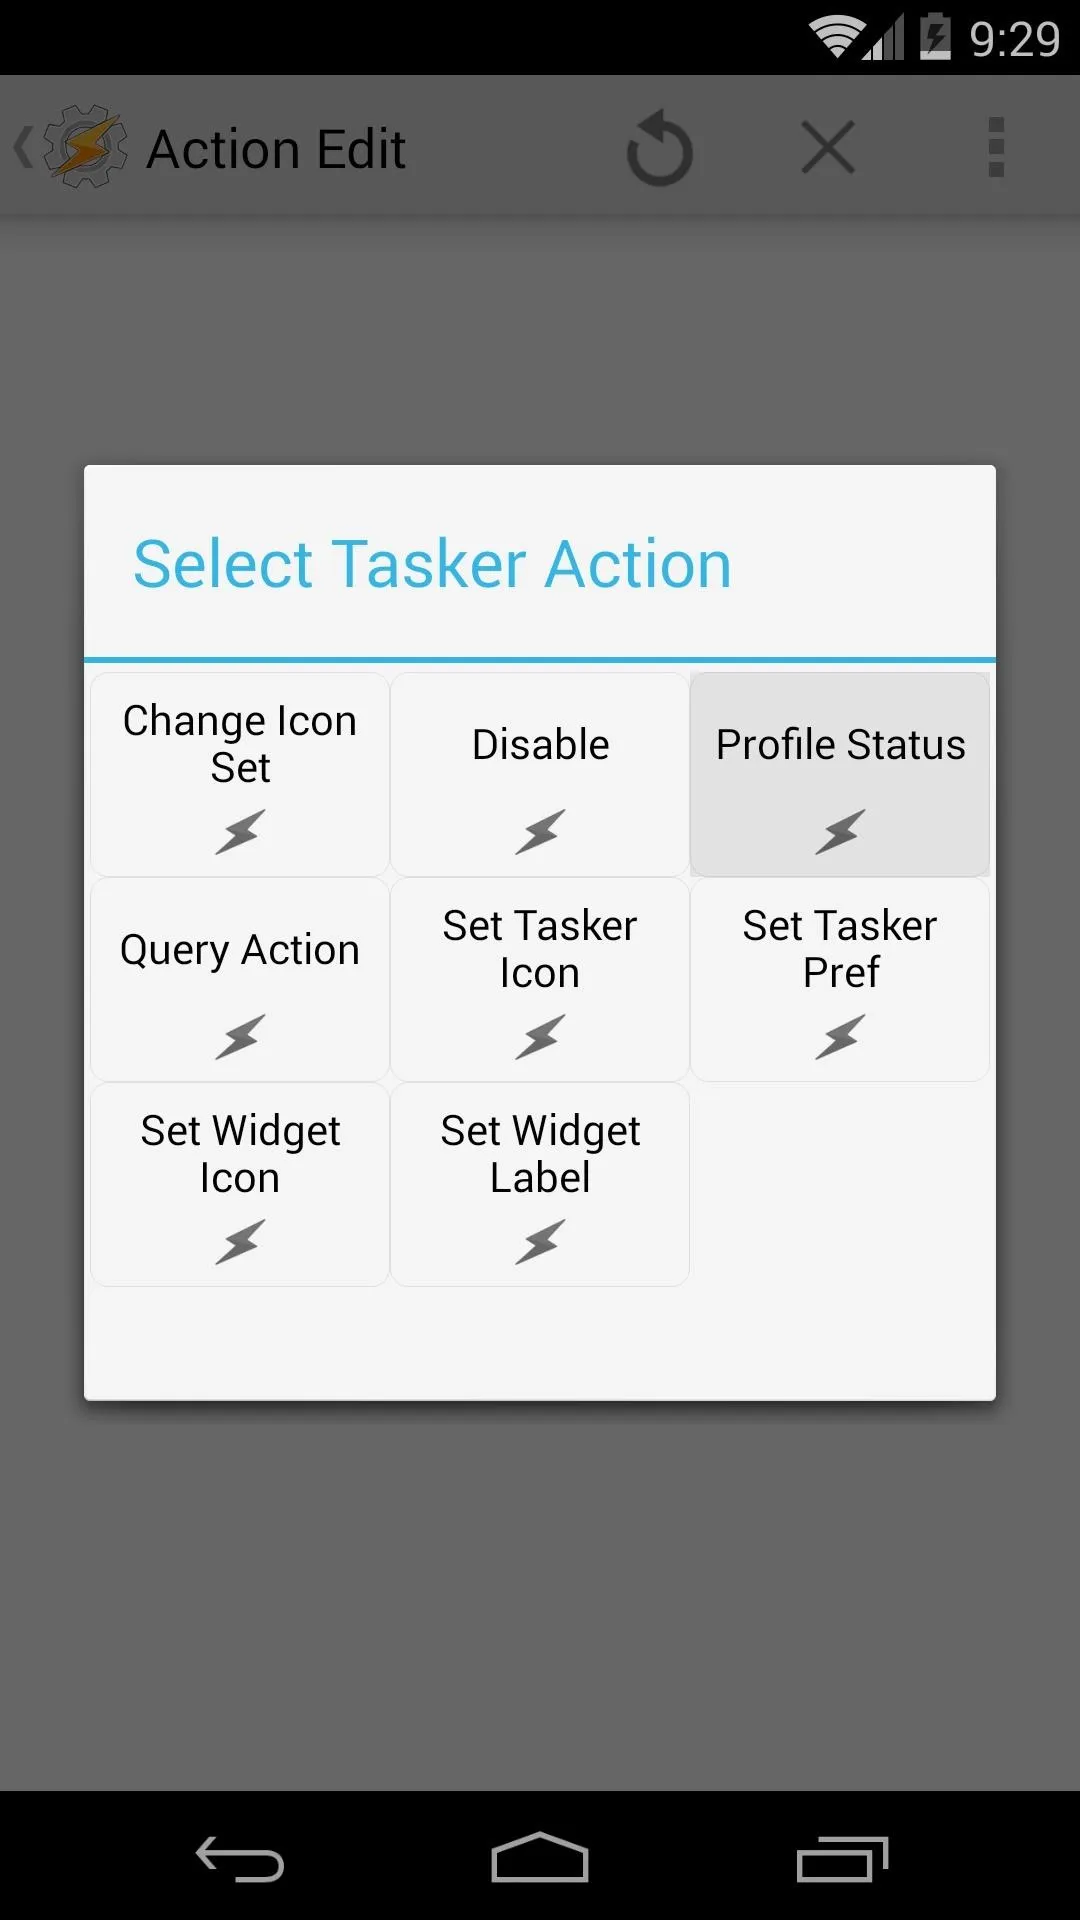


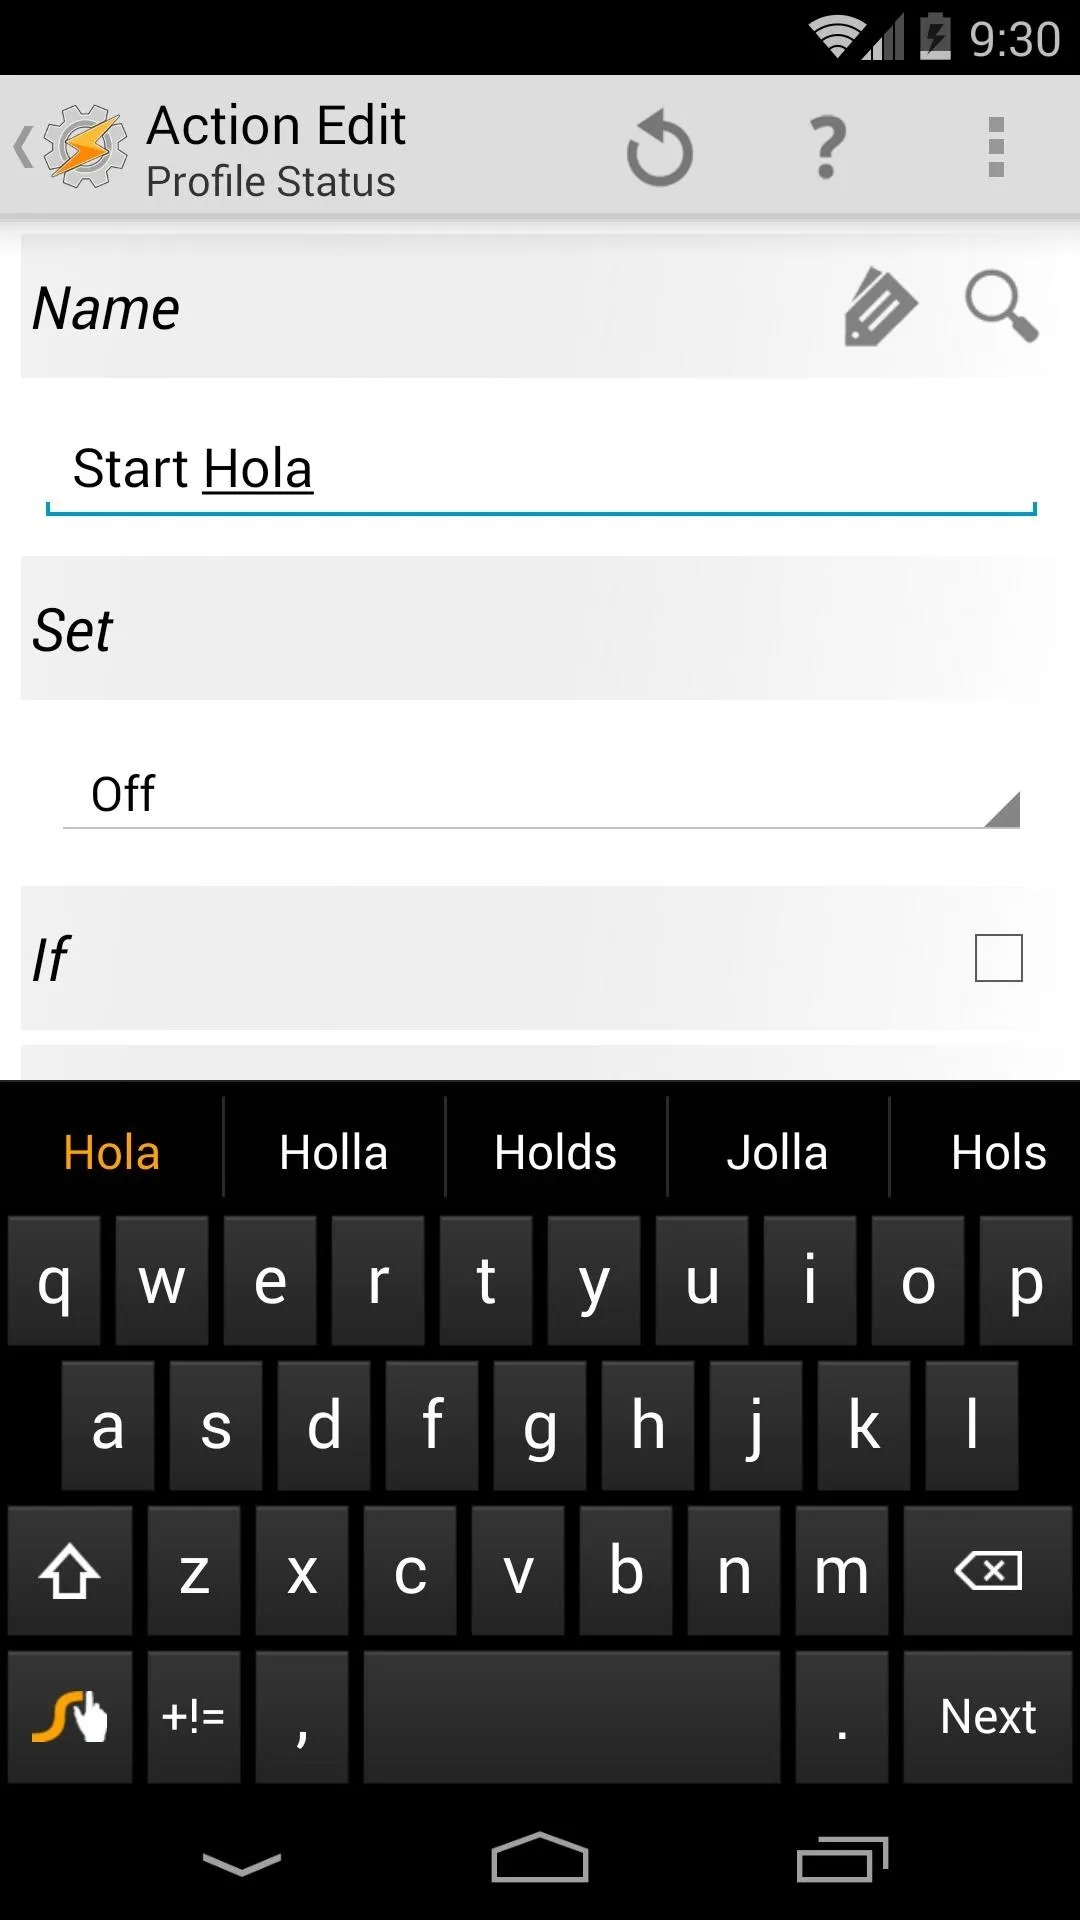
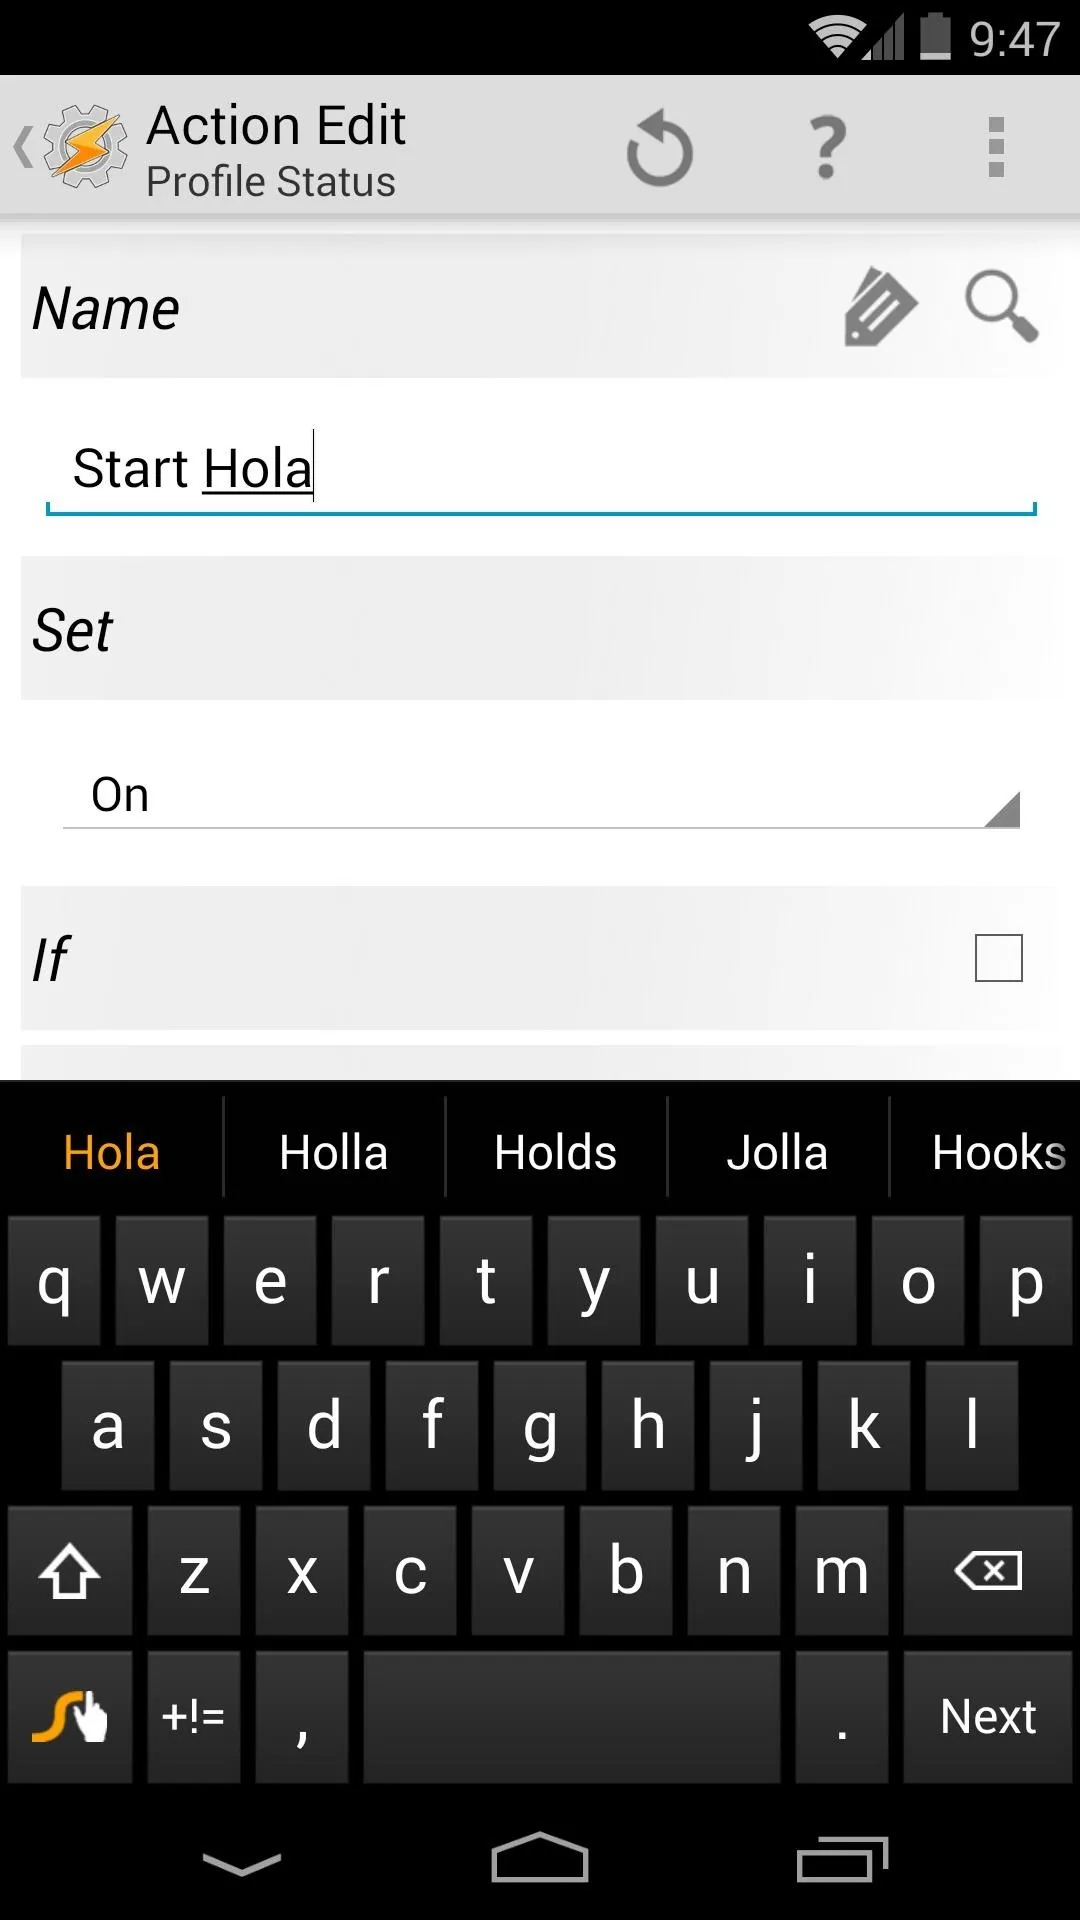
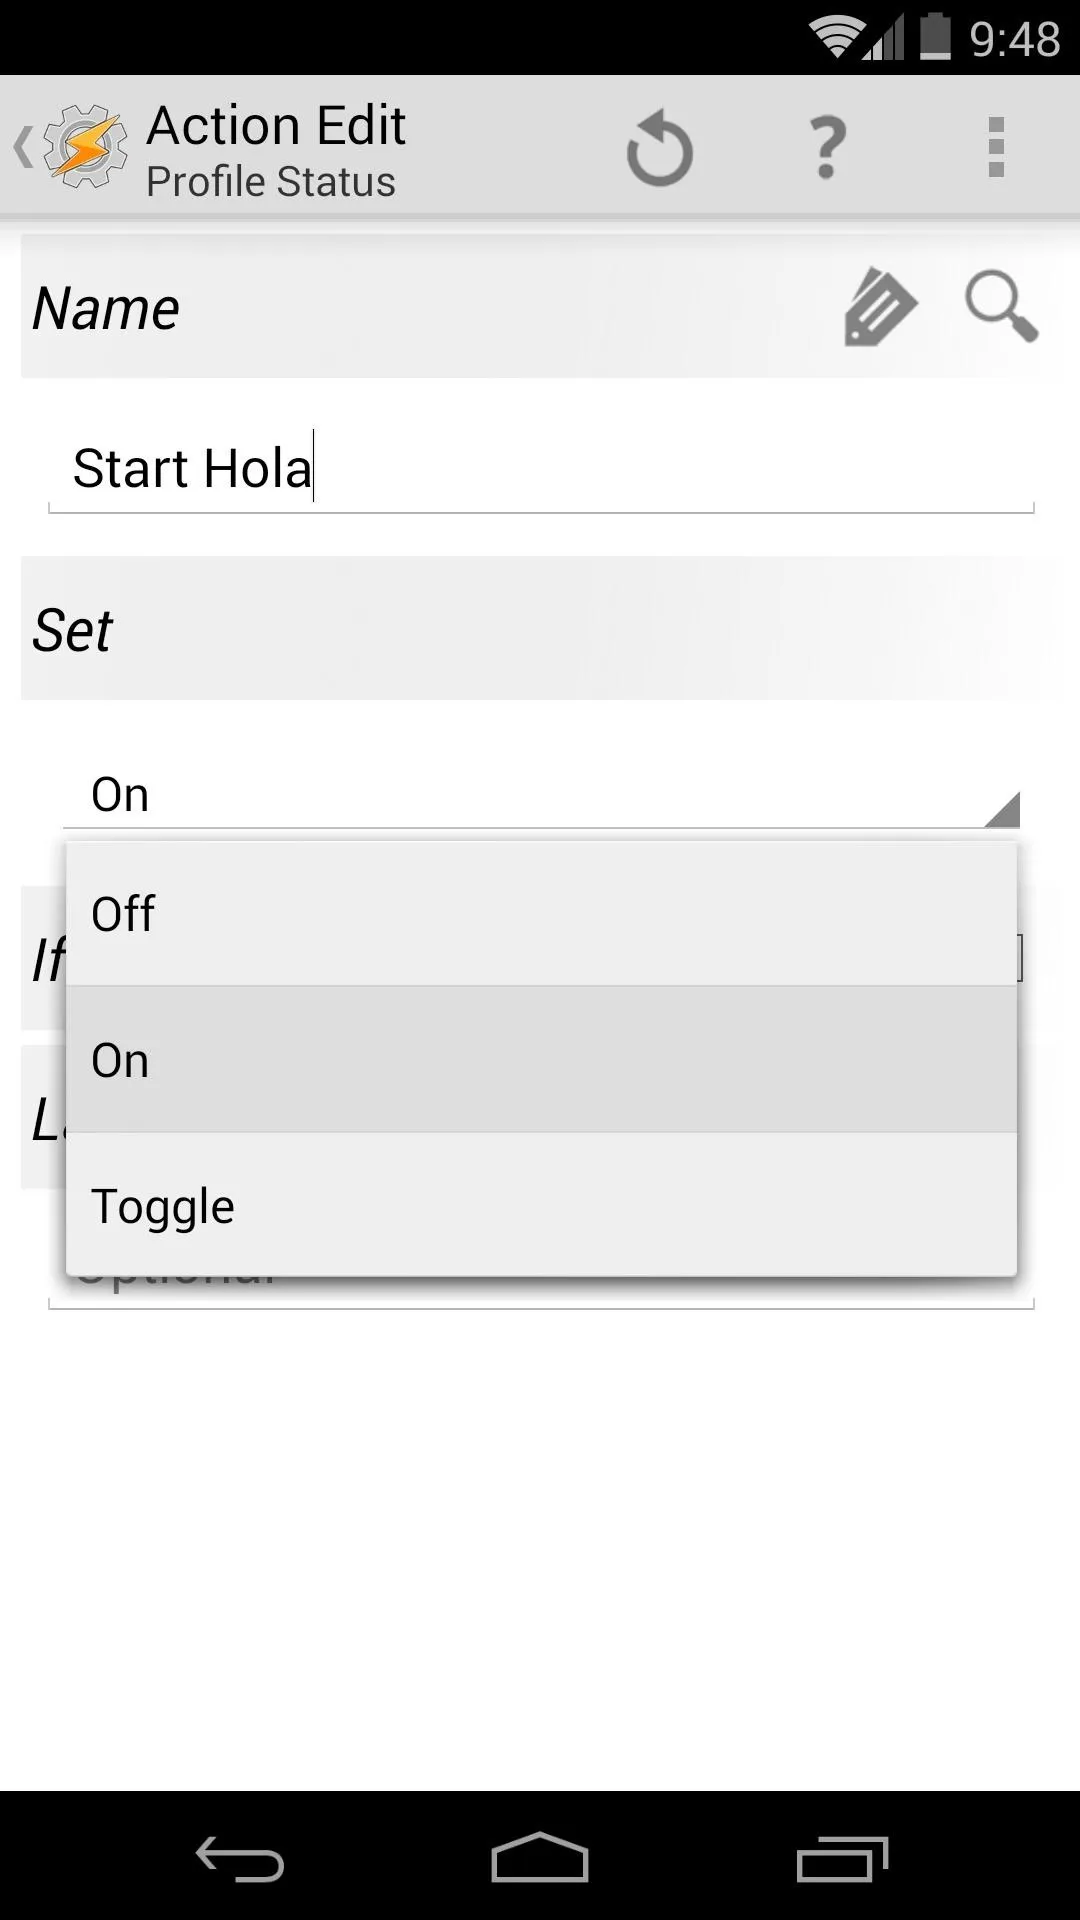
Under the Name category on the next screen, enter Start Hola(note: this name is case-sensitive). Set the value to Off, then hit the back button to save your entries.
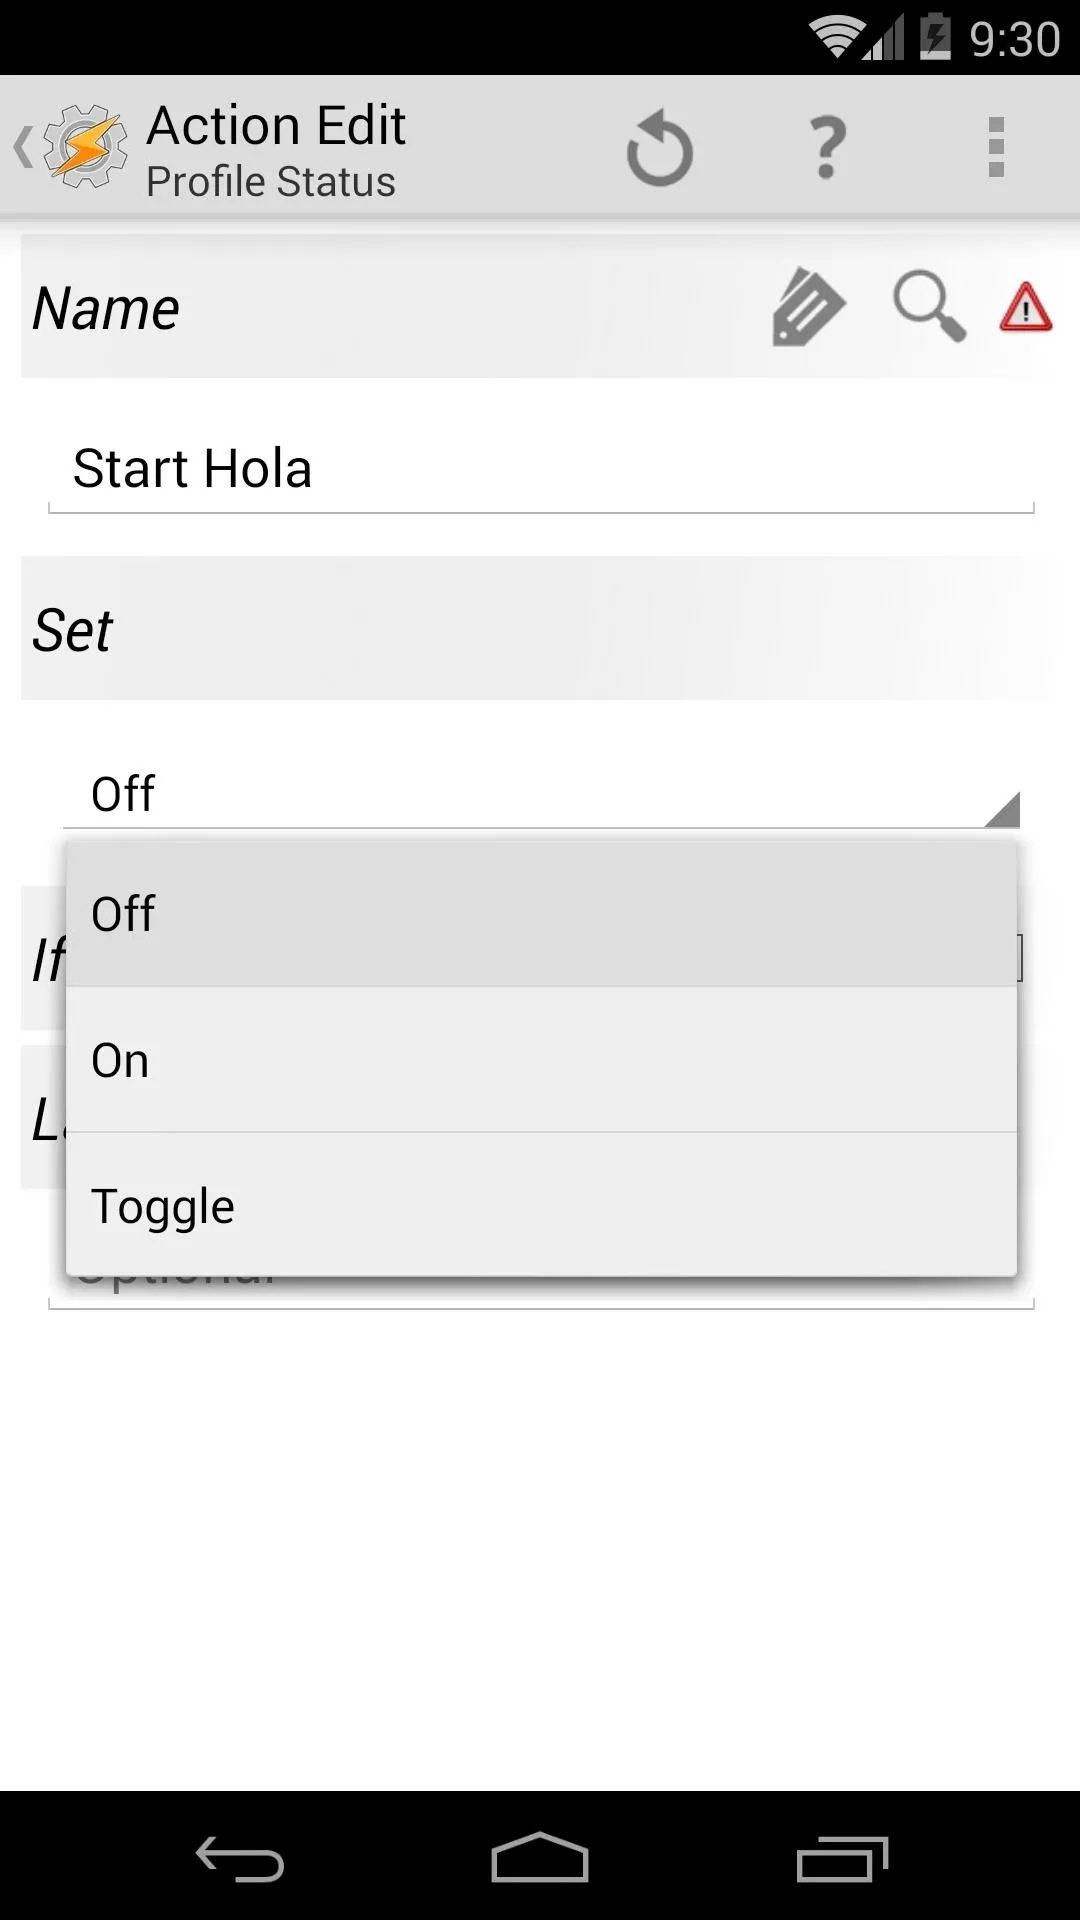


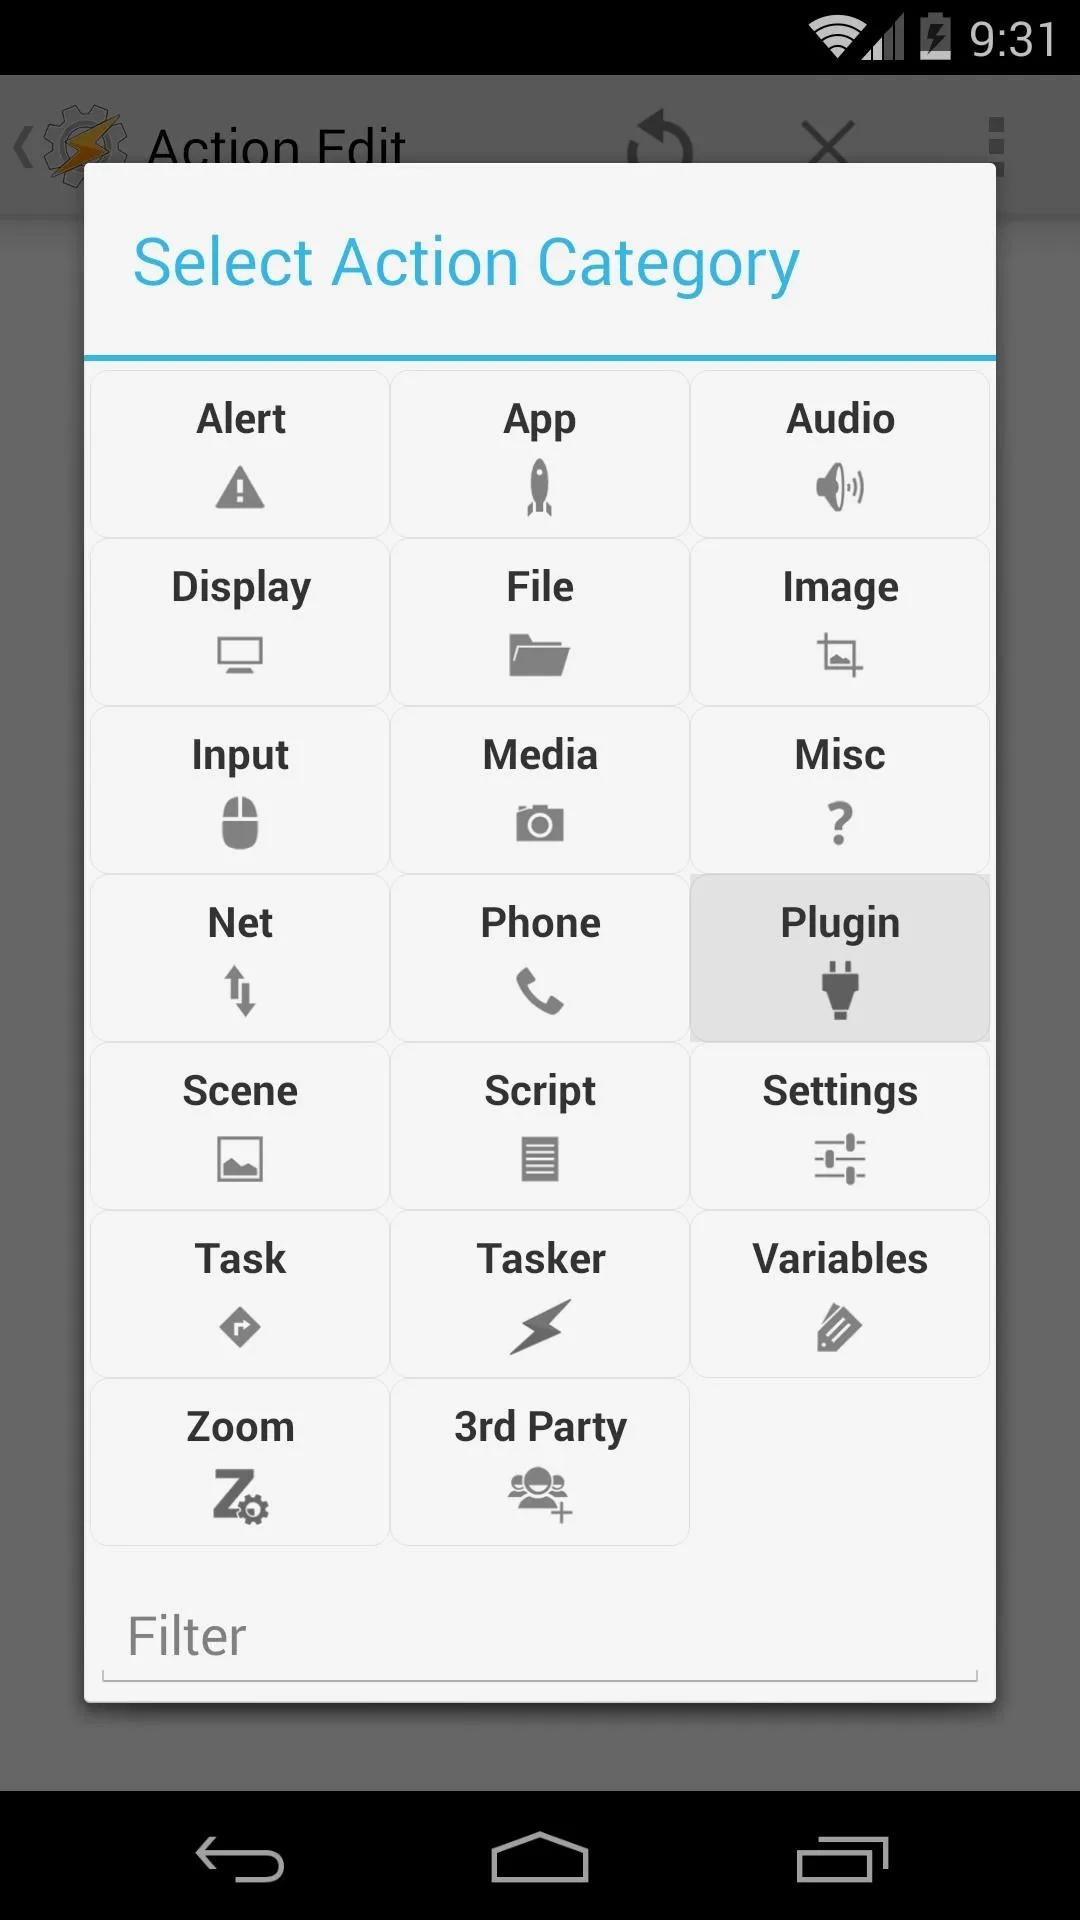
Hit the "plus" button near the bottom again, this time selecting Plugin, then TaskKill.
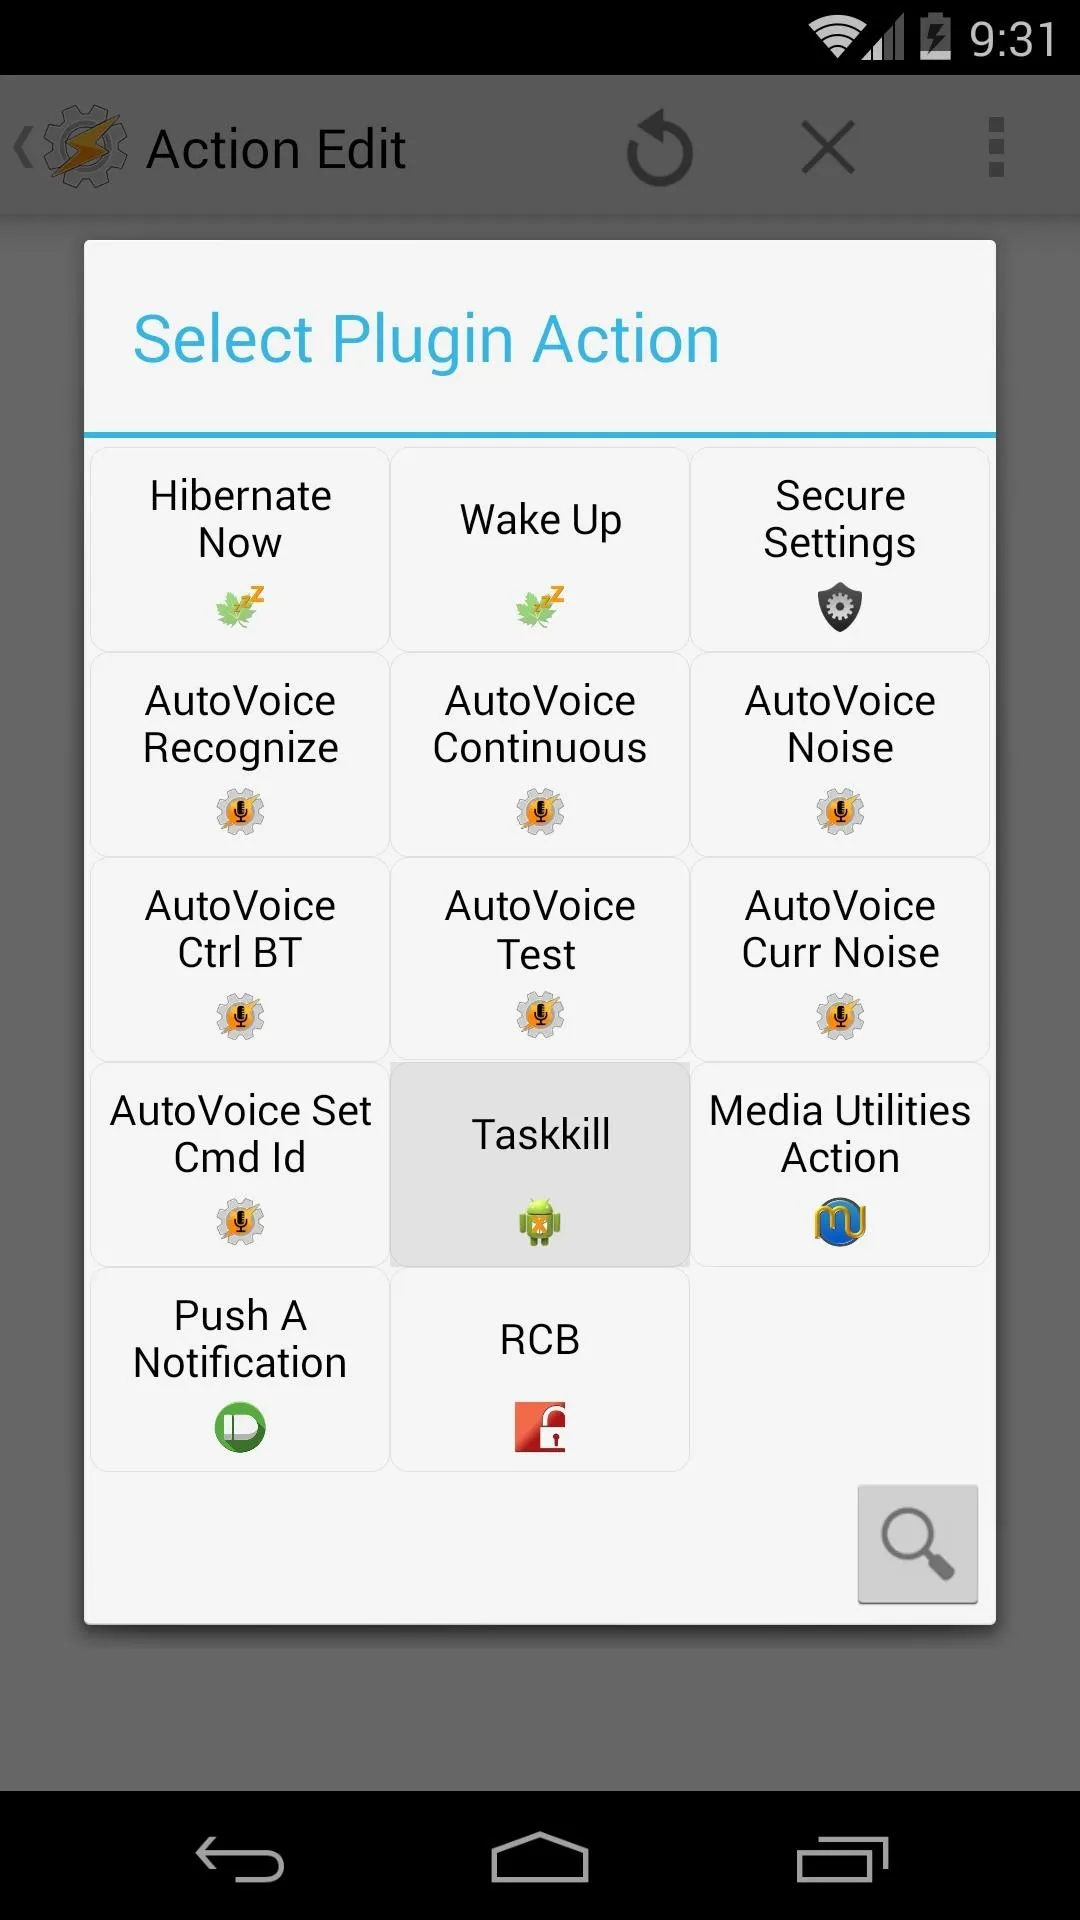


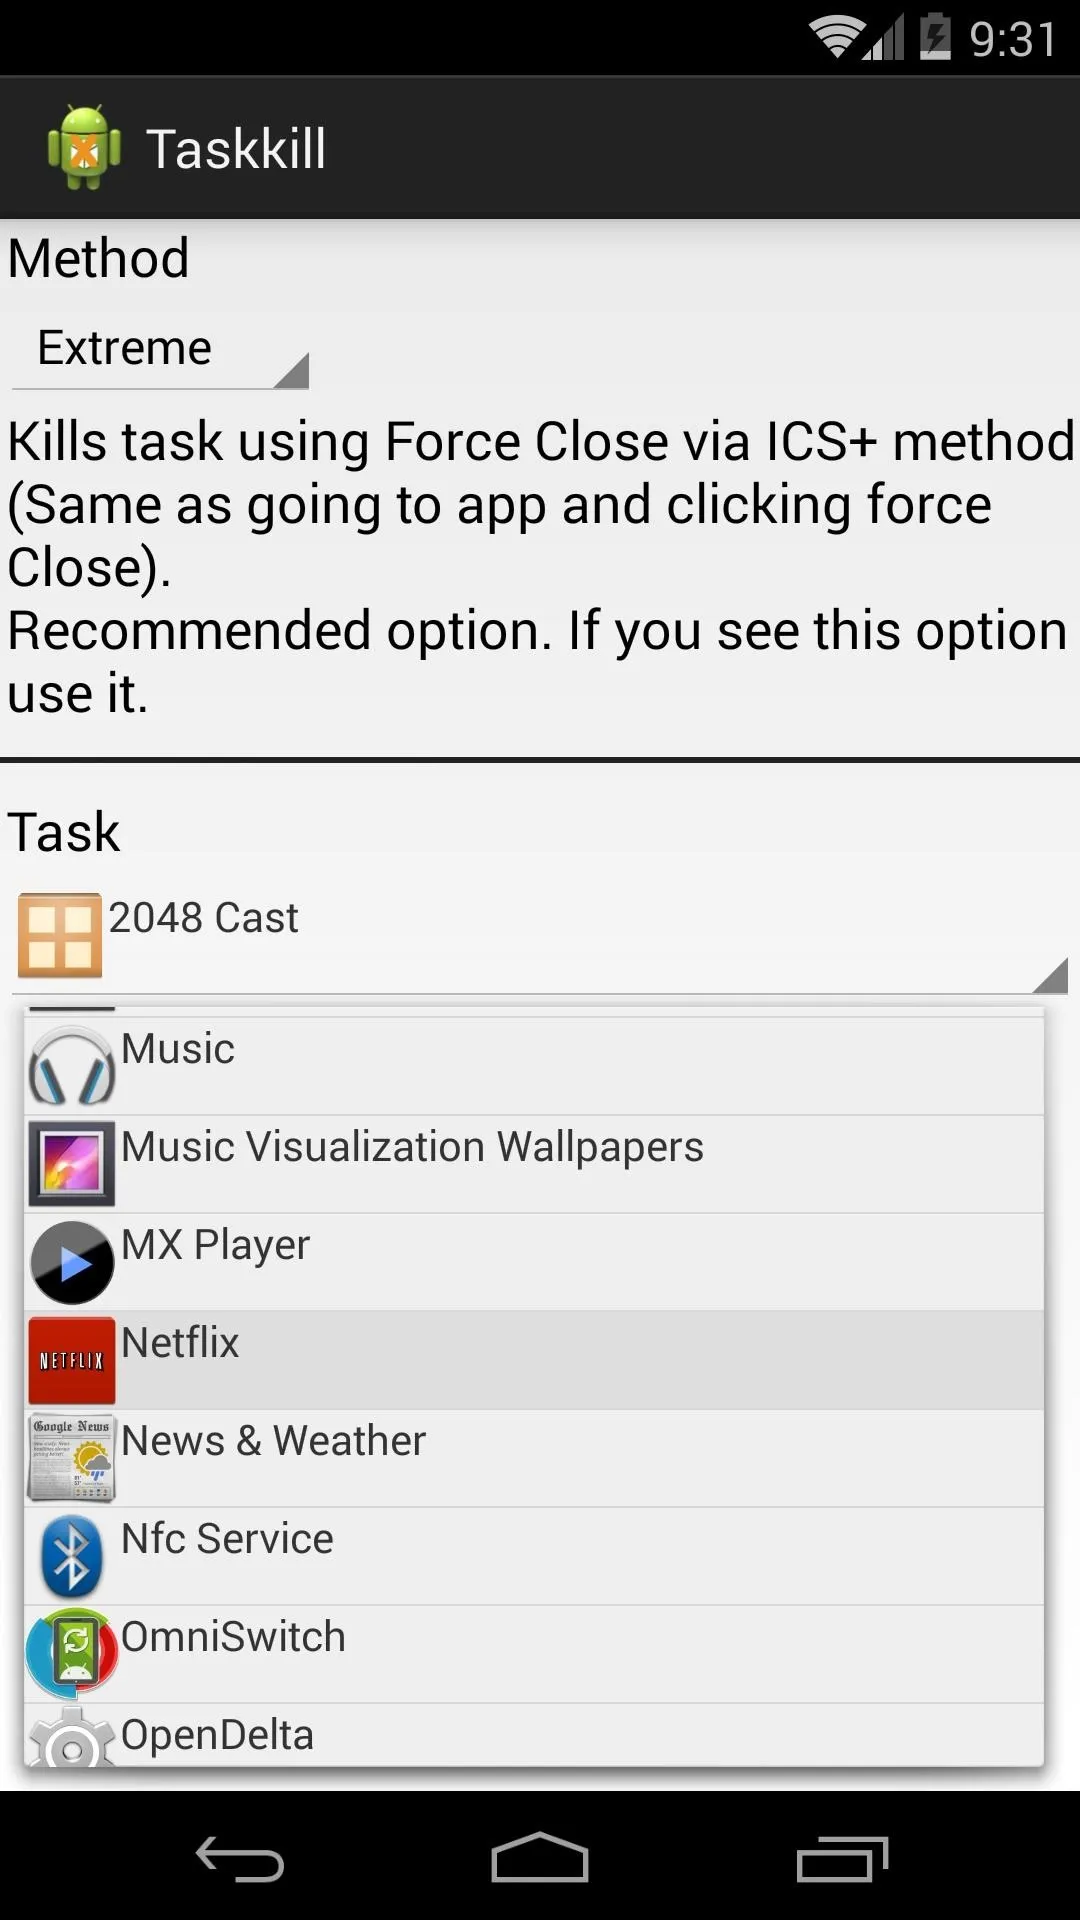
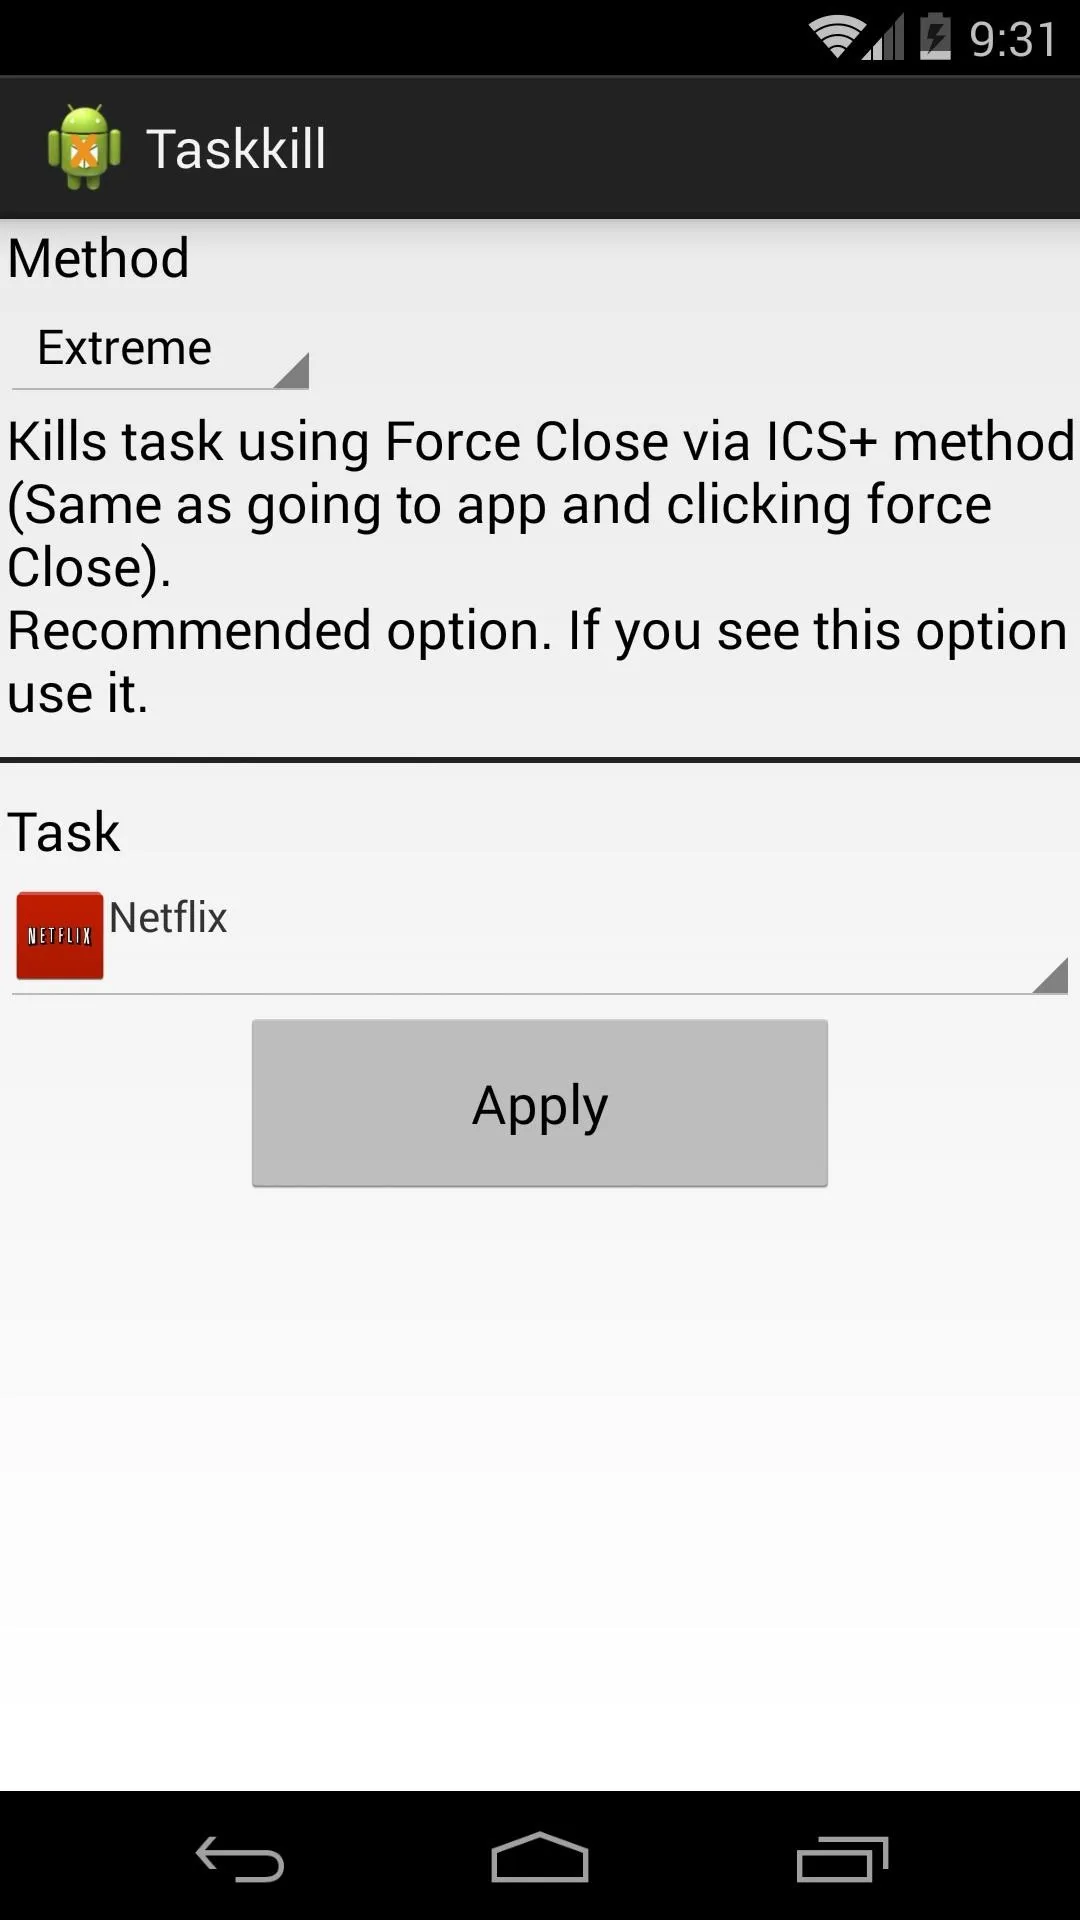
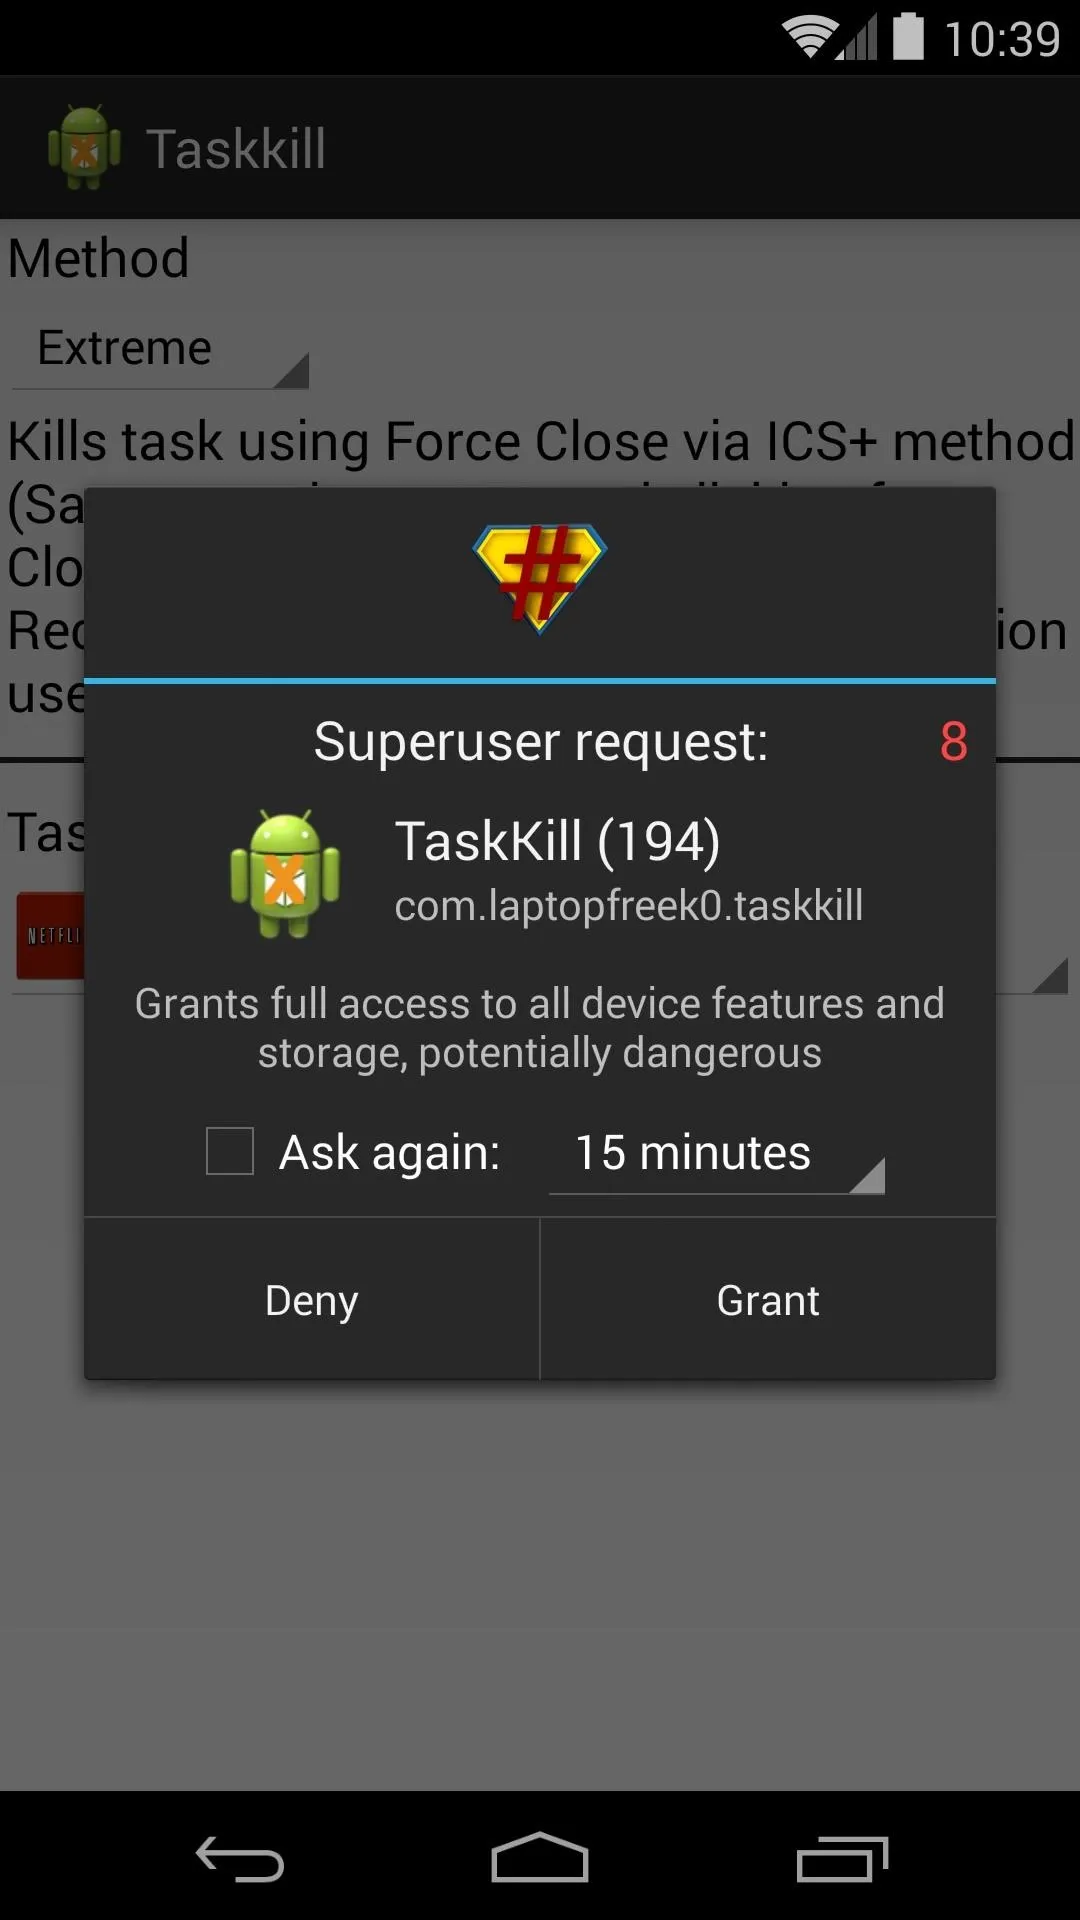
Hit the pencil-shaped edit button near the top-right of this screen. From there, select Netflix from the Task drop-down menu and tap Apply. Grant TaskKill root privileges on the following prompt.


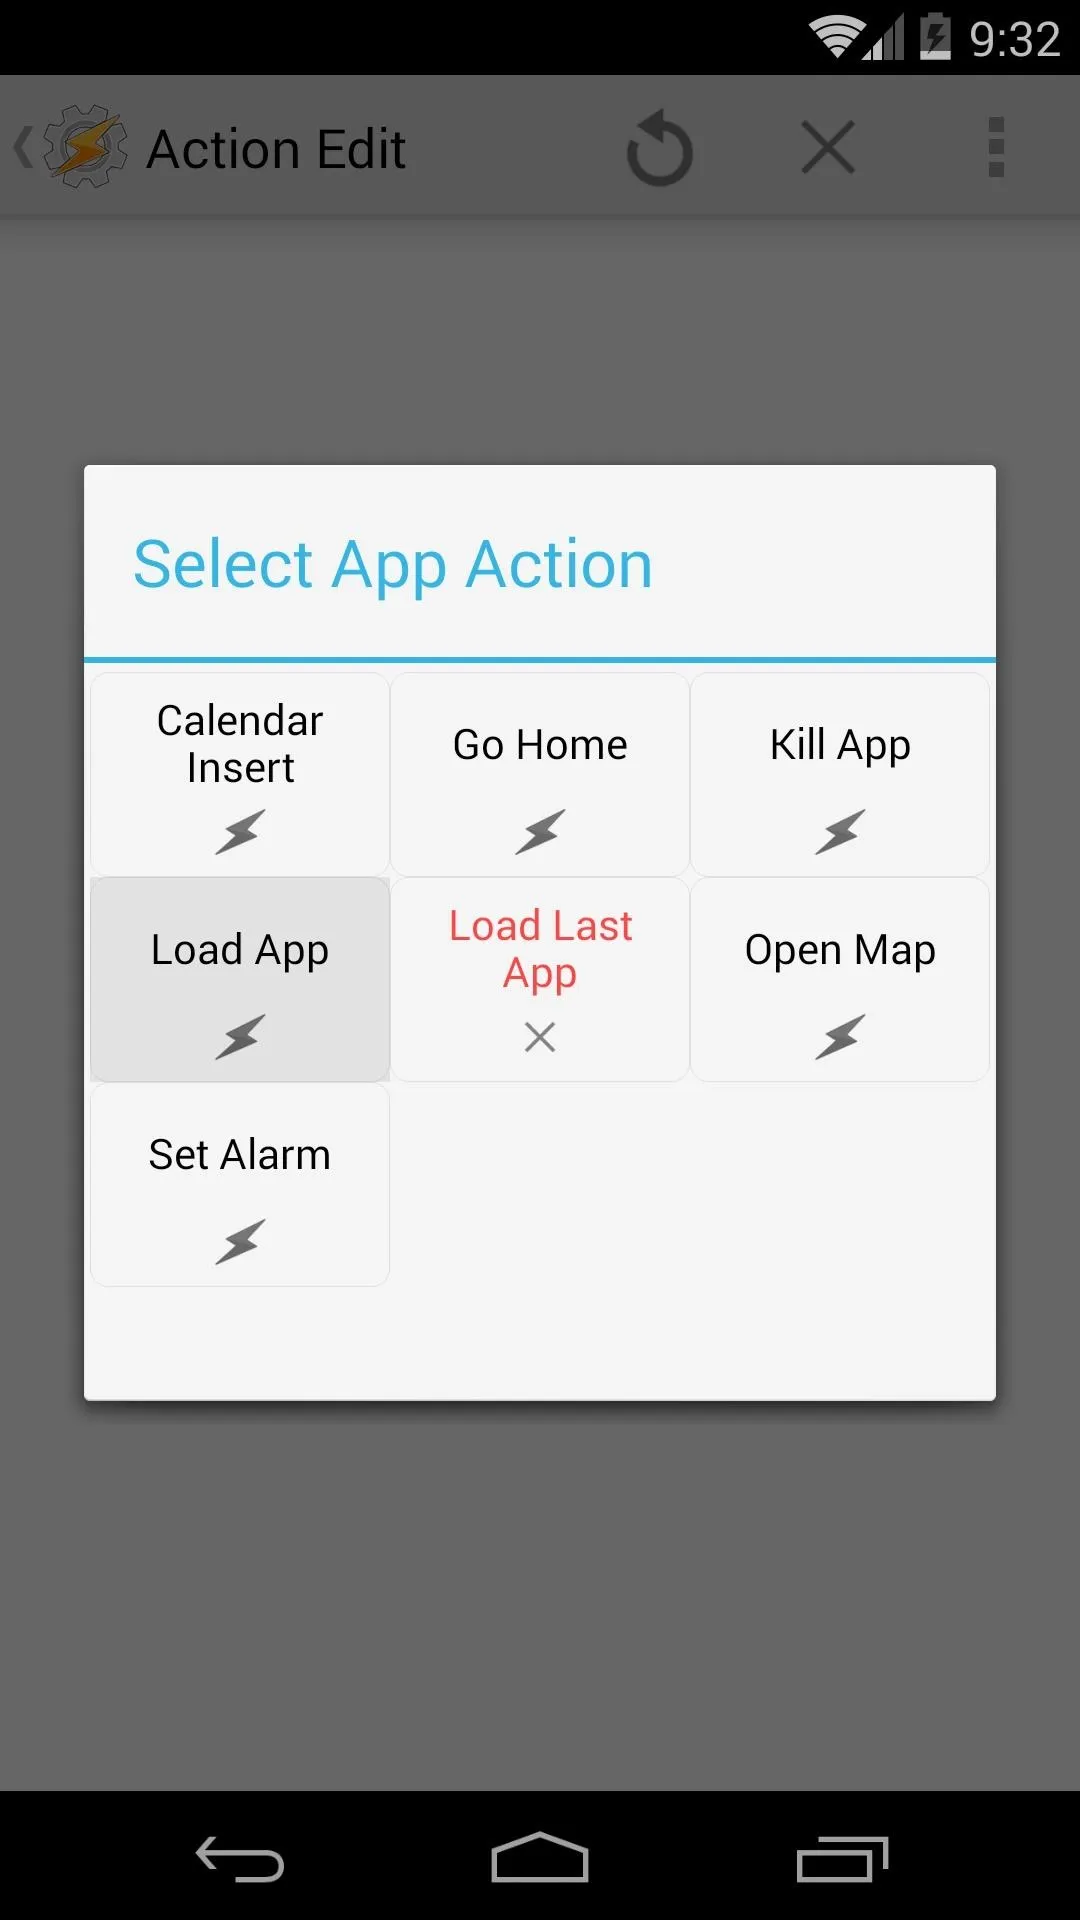
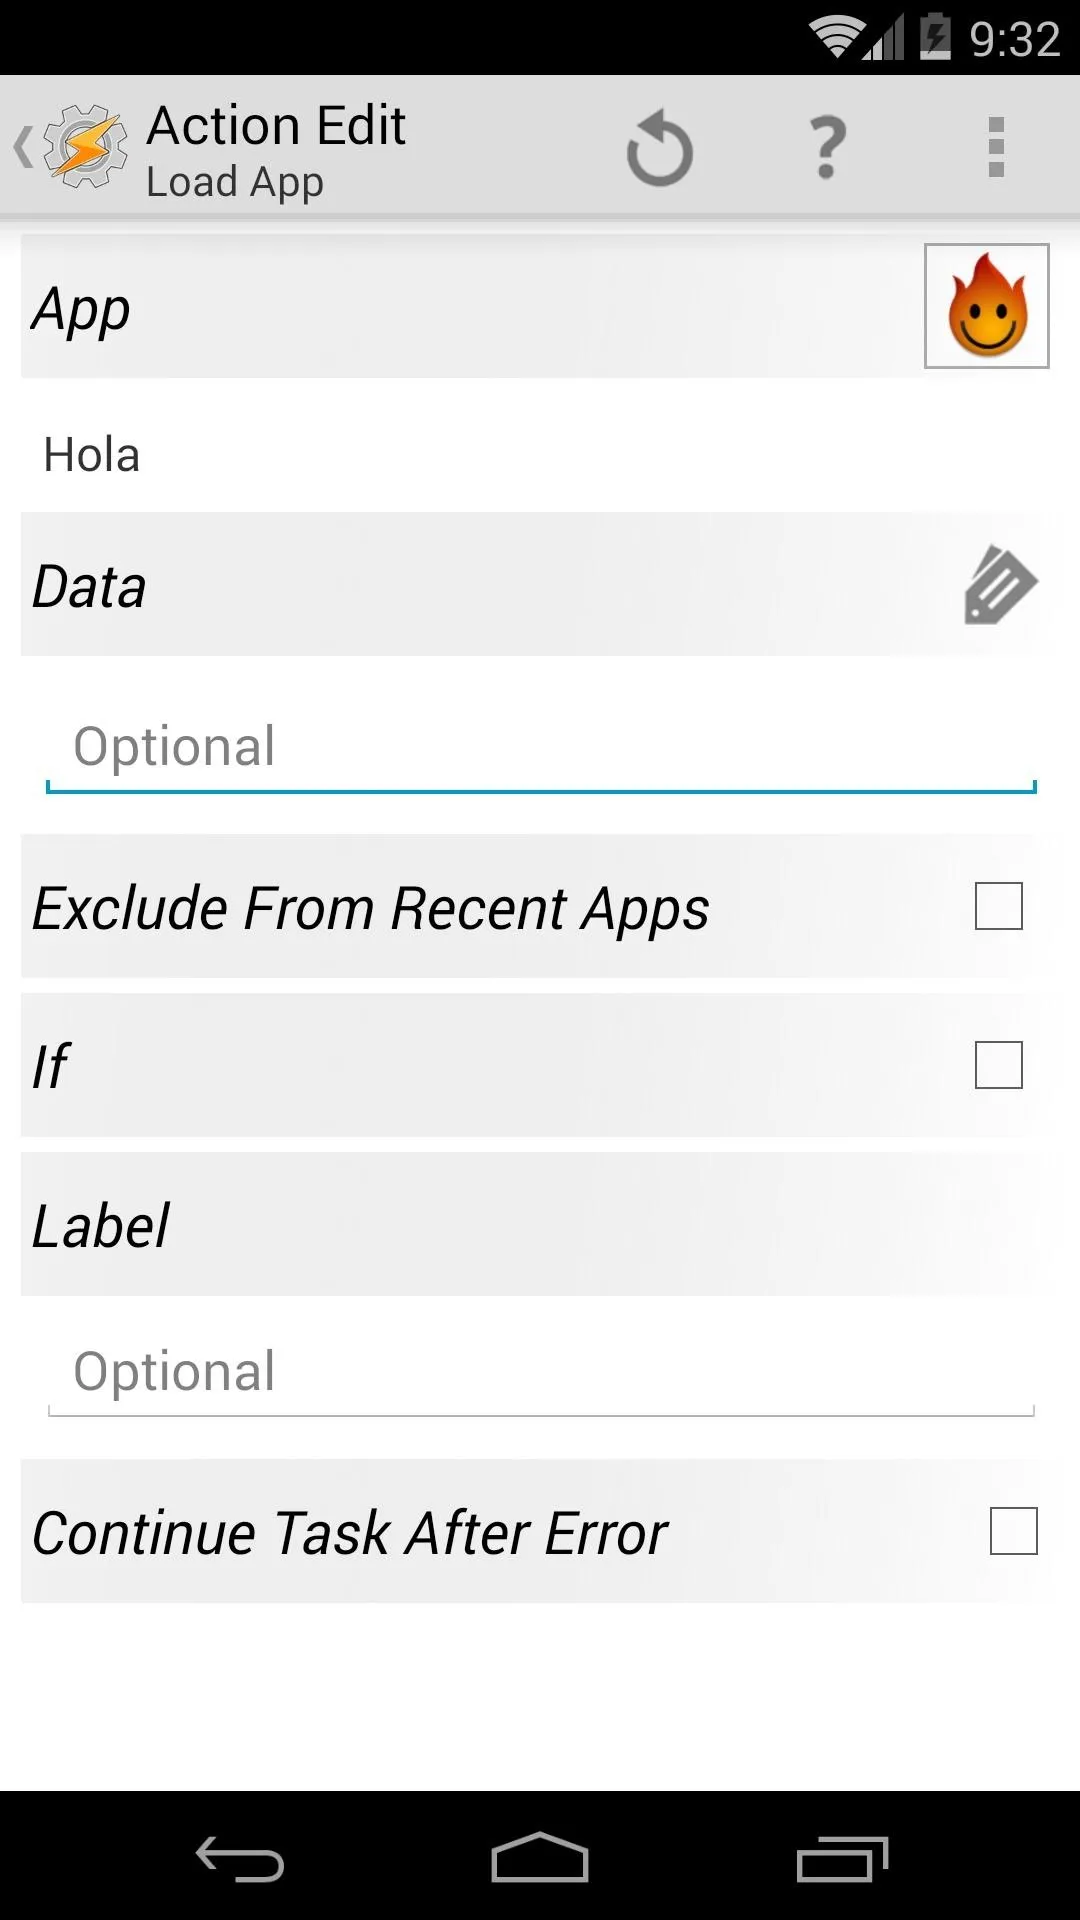
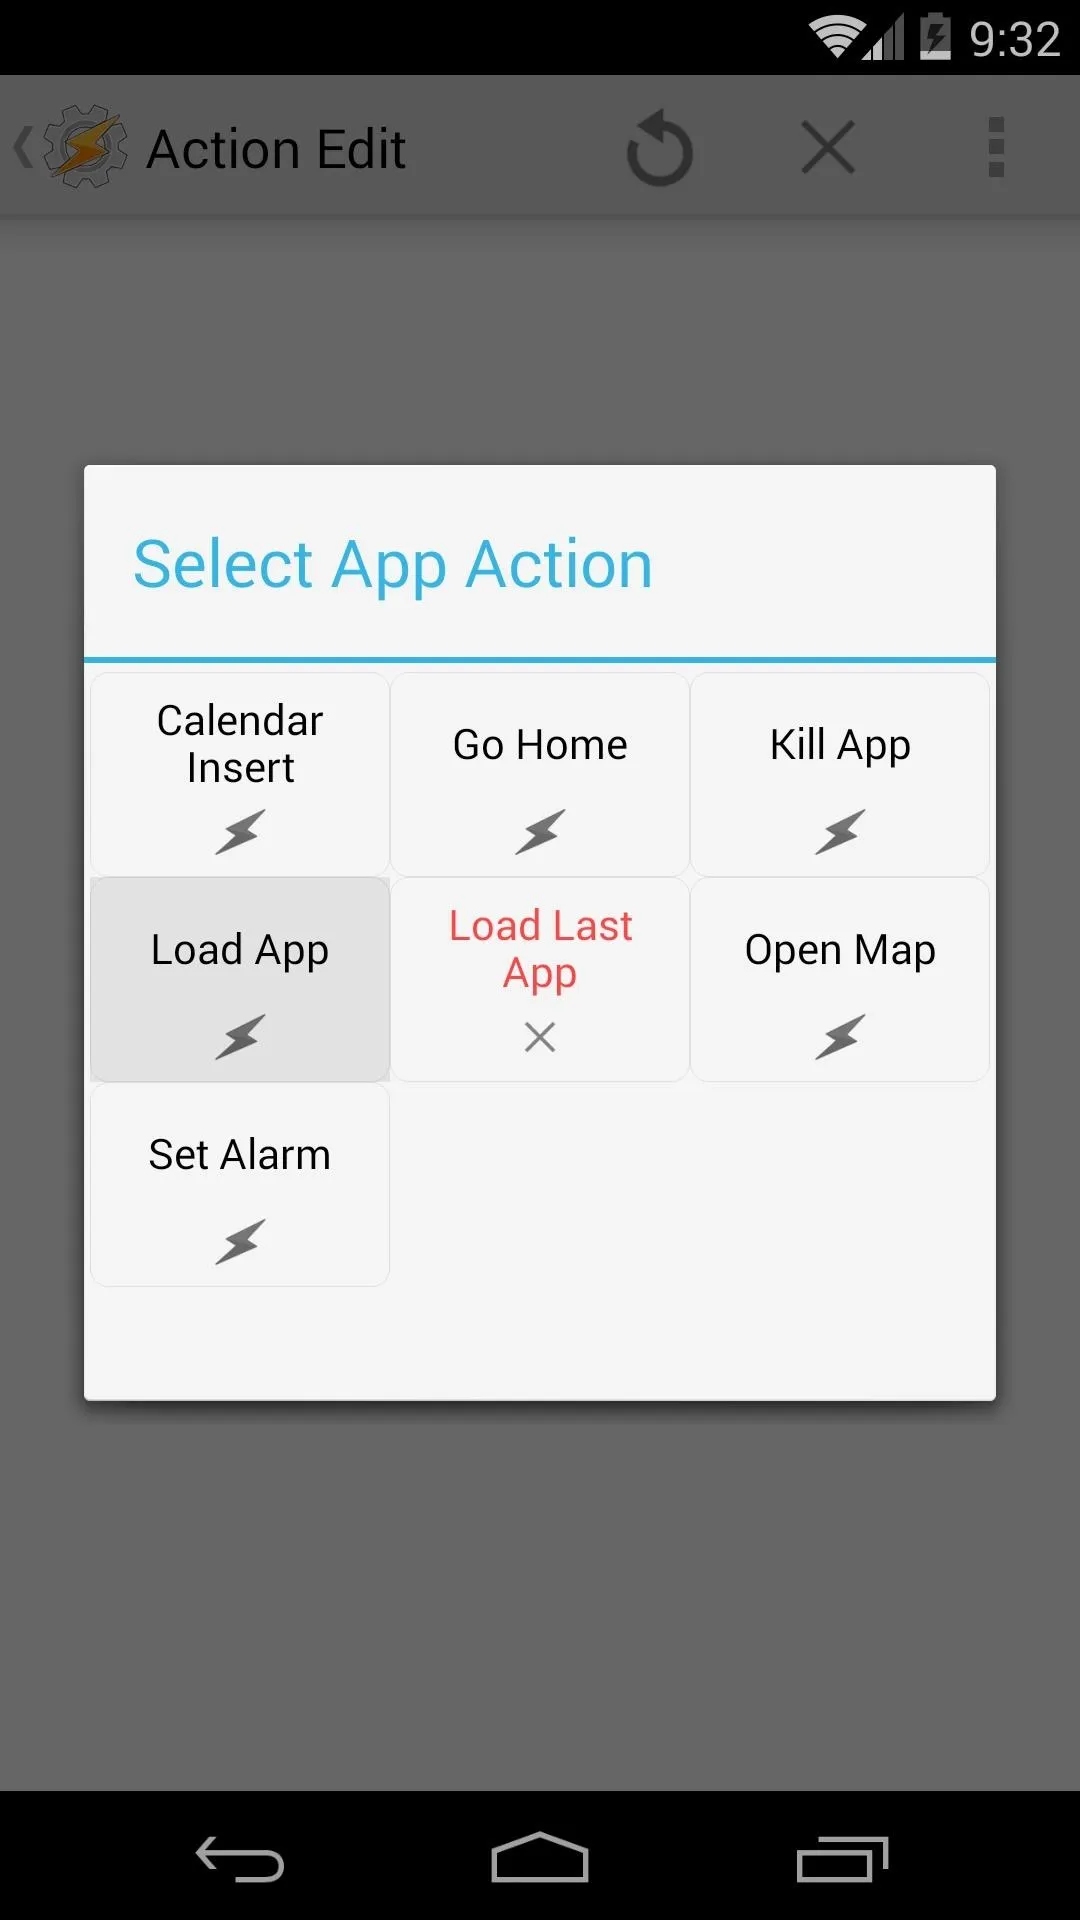
Add a third step to your task by hitting the "plus" button again. For this one, choose App, then Load App and select Hola from the list that appears. Hit the back button to save your work.
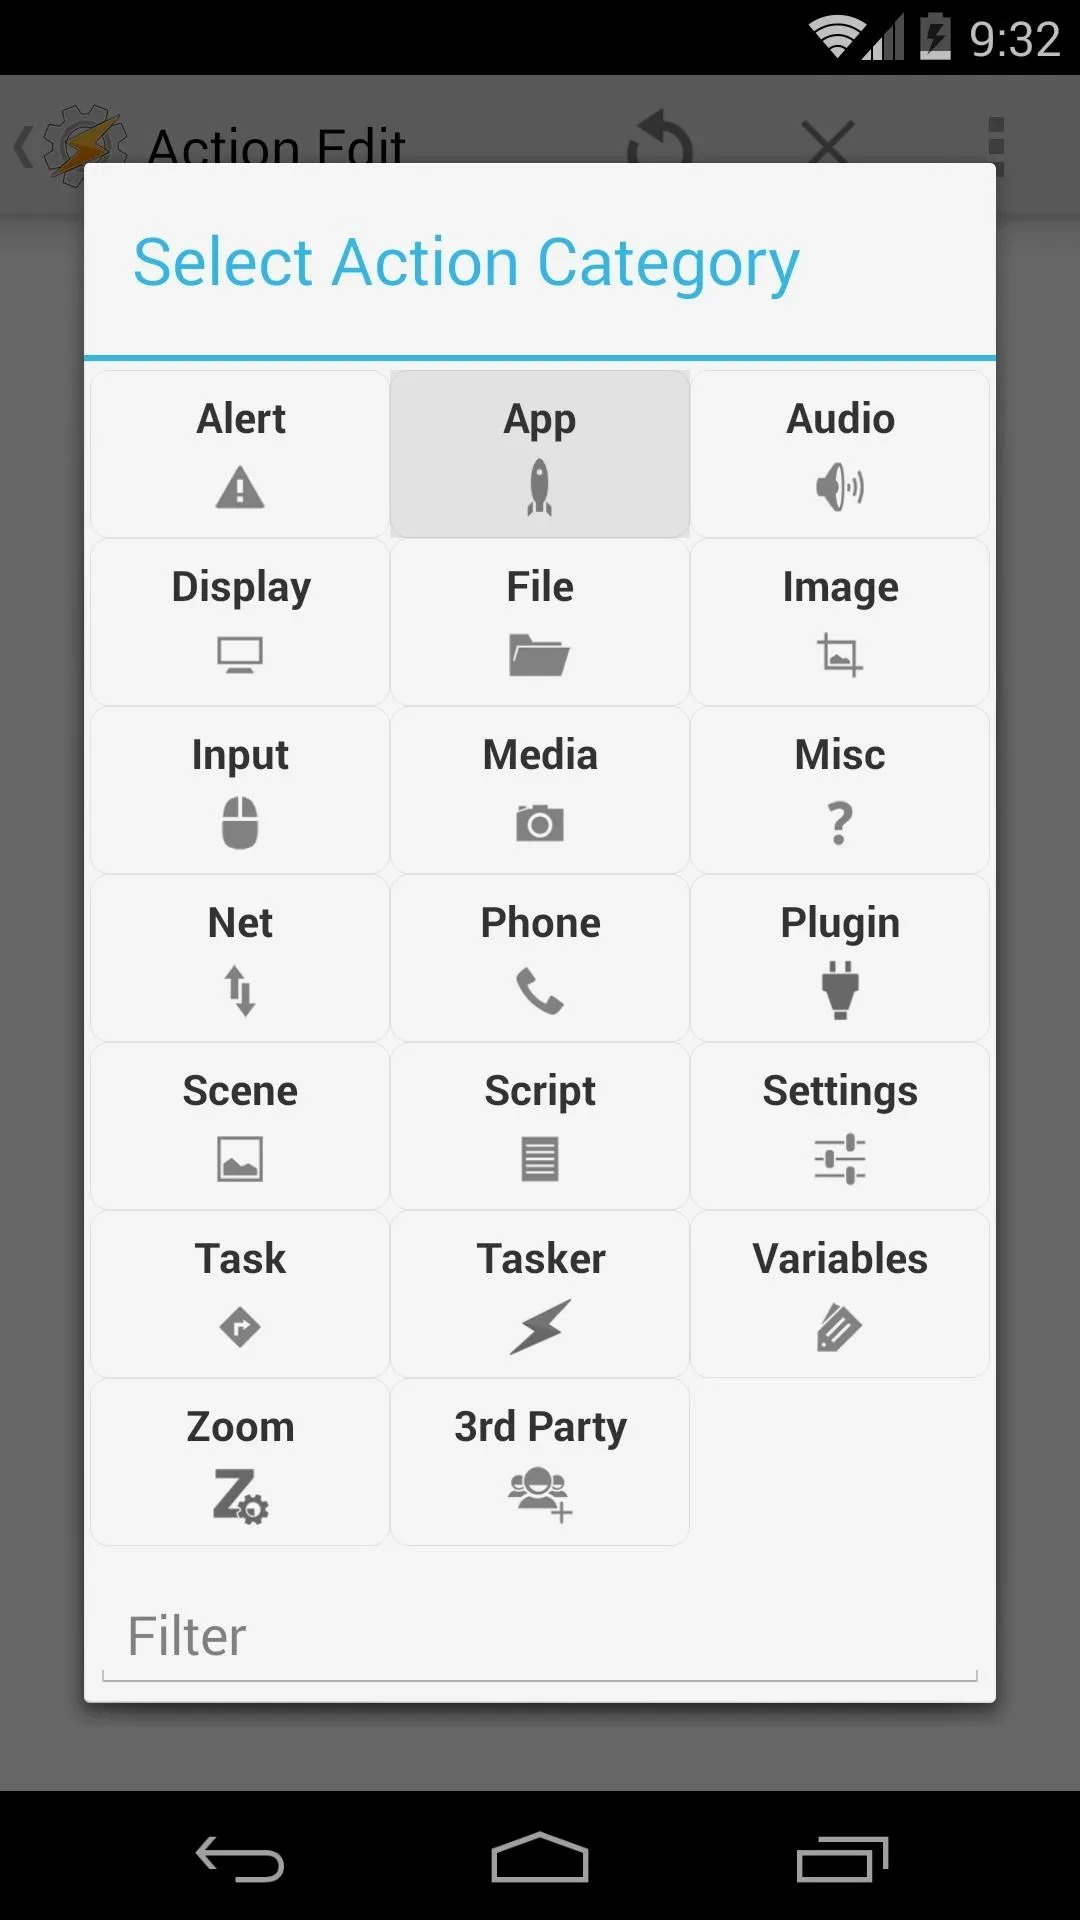


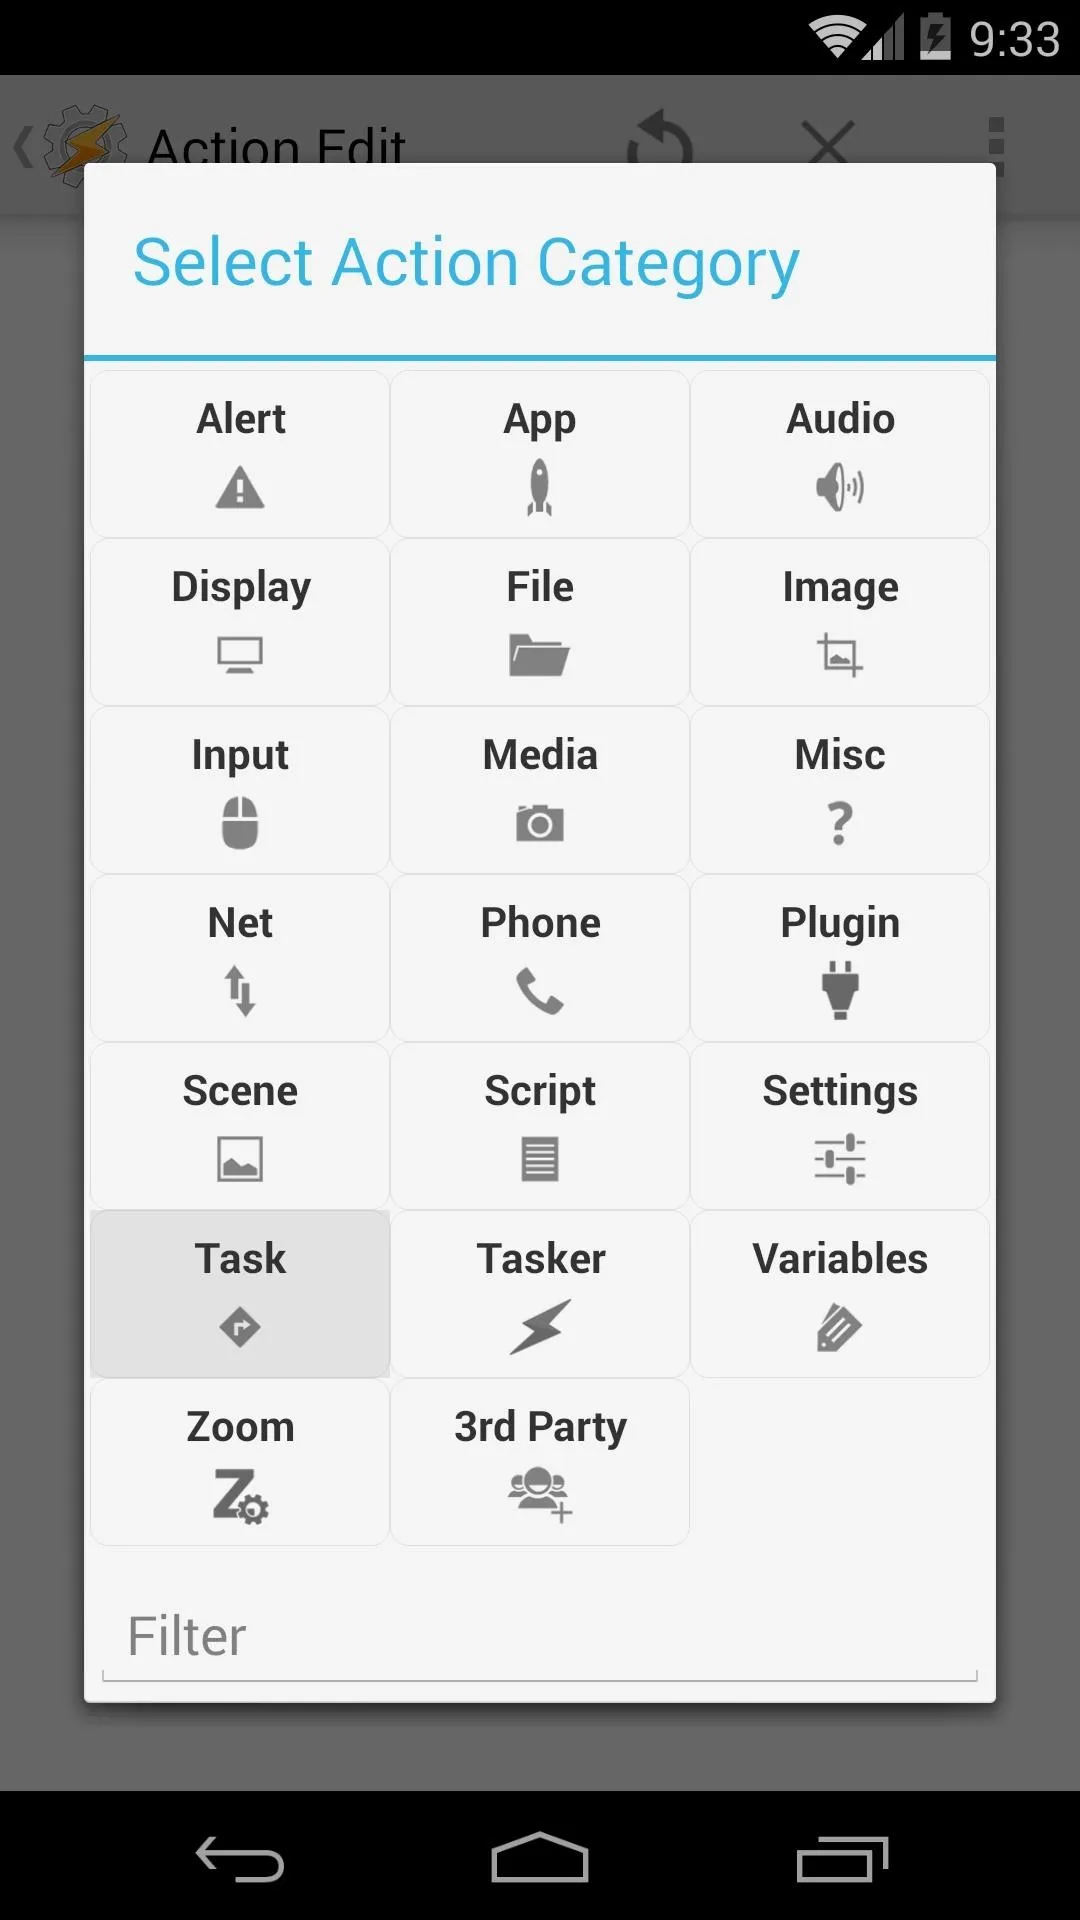
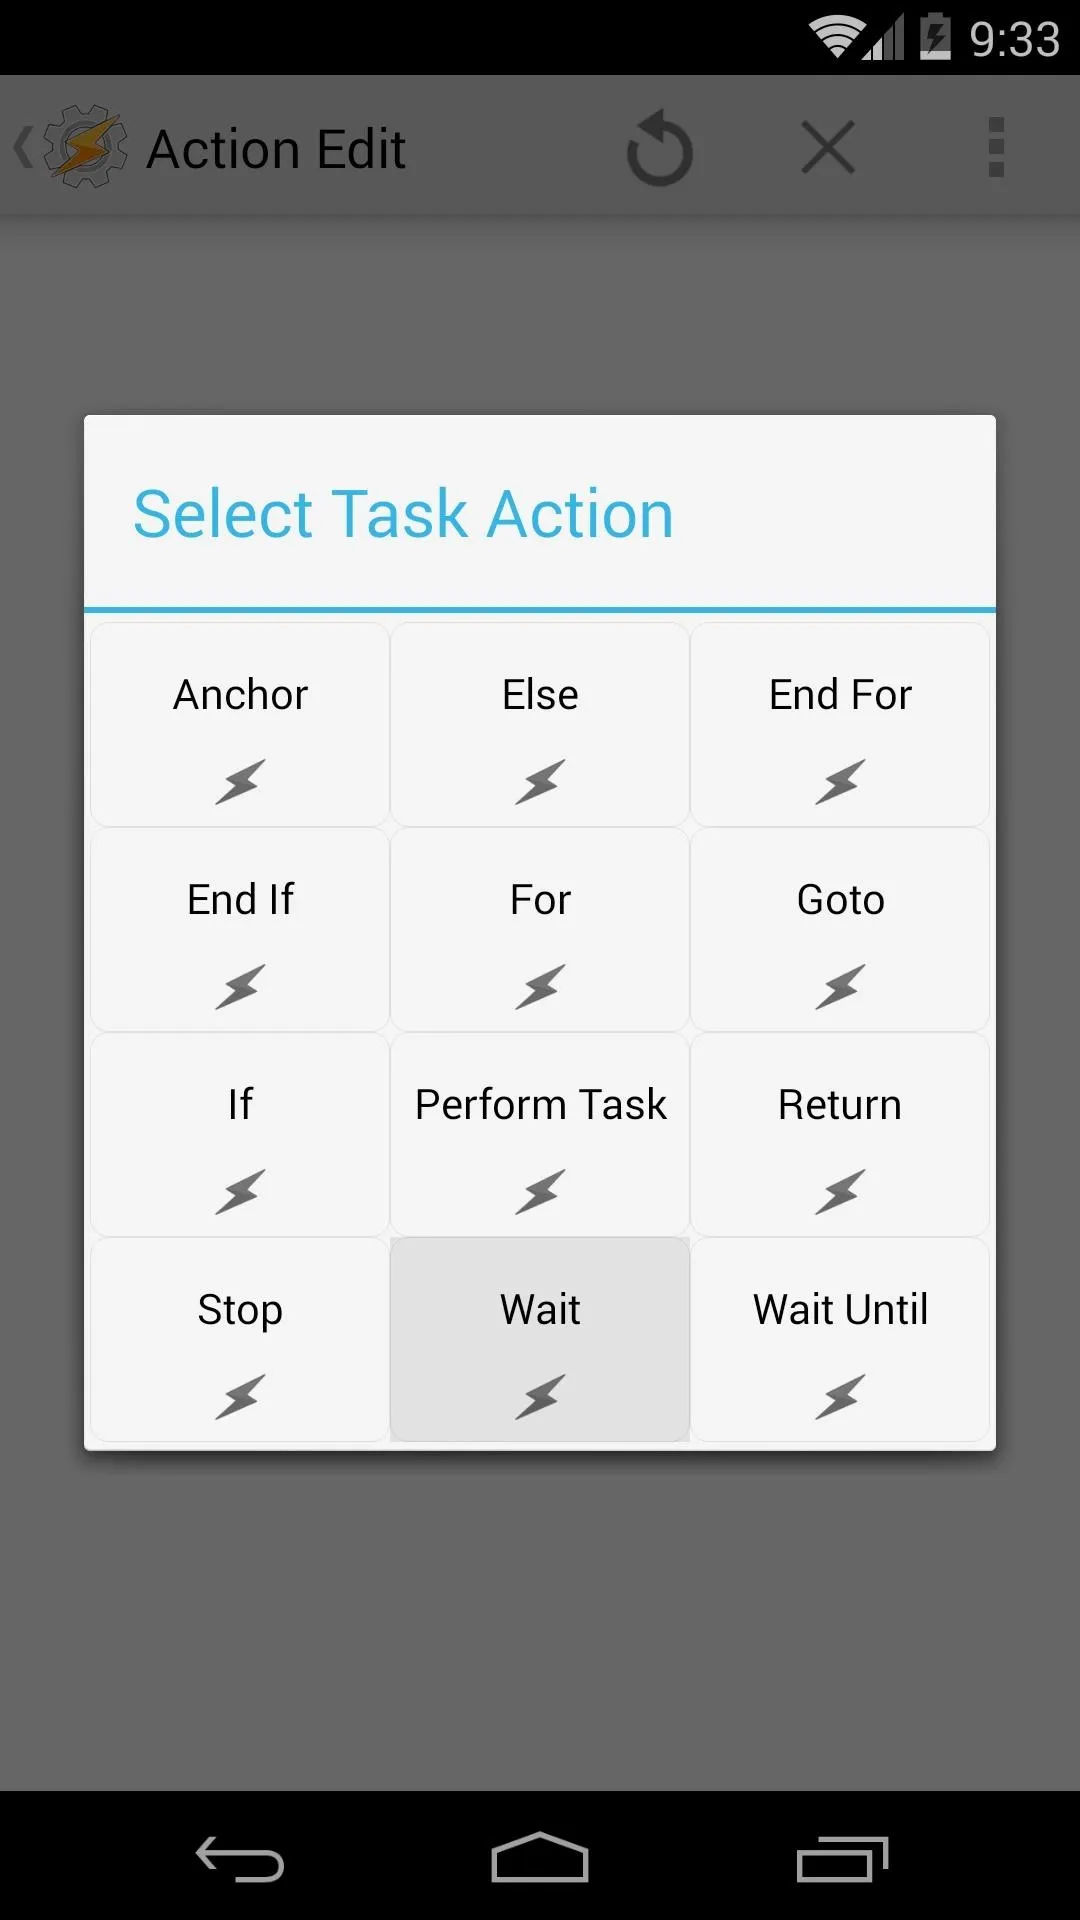
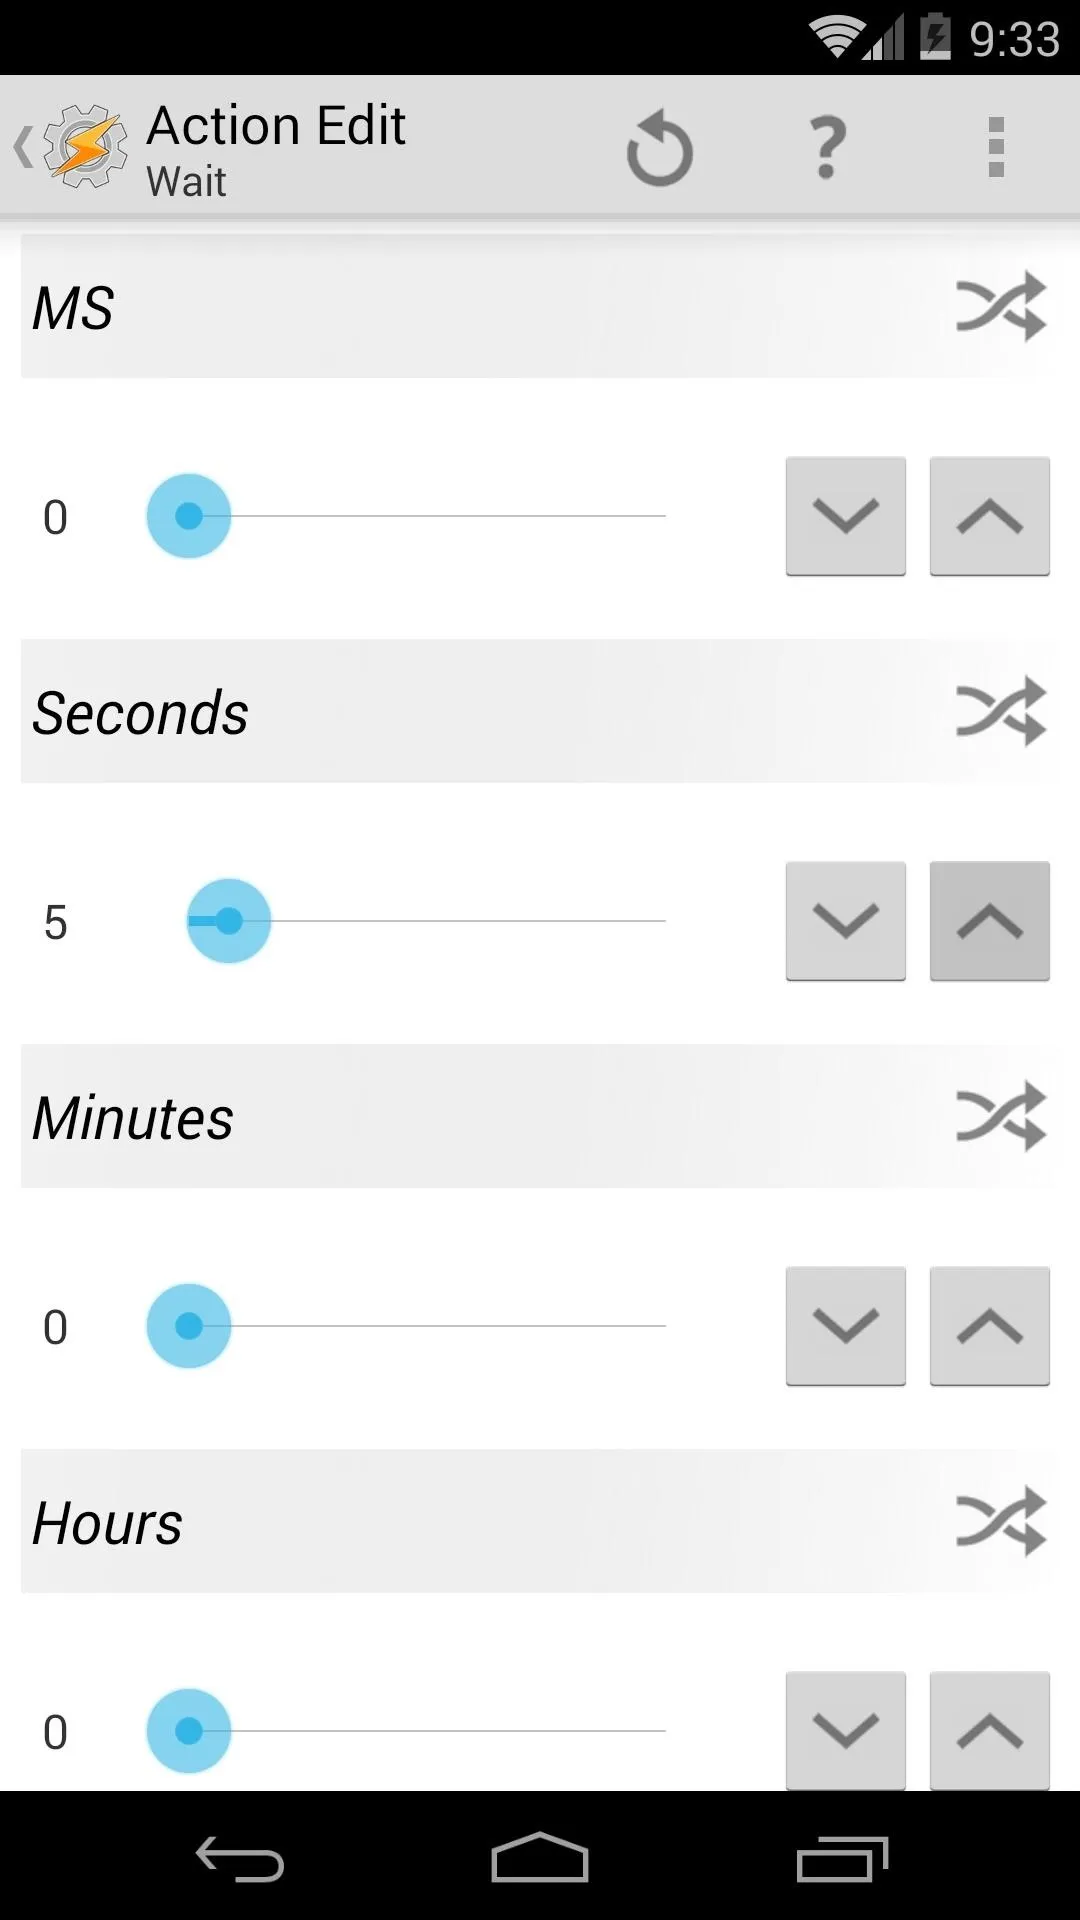
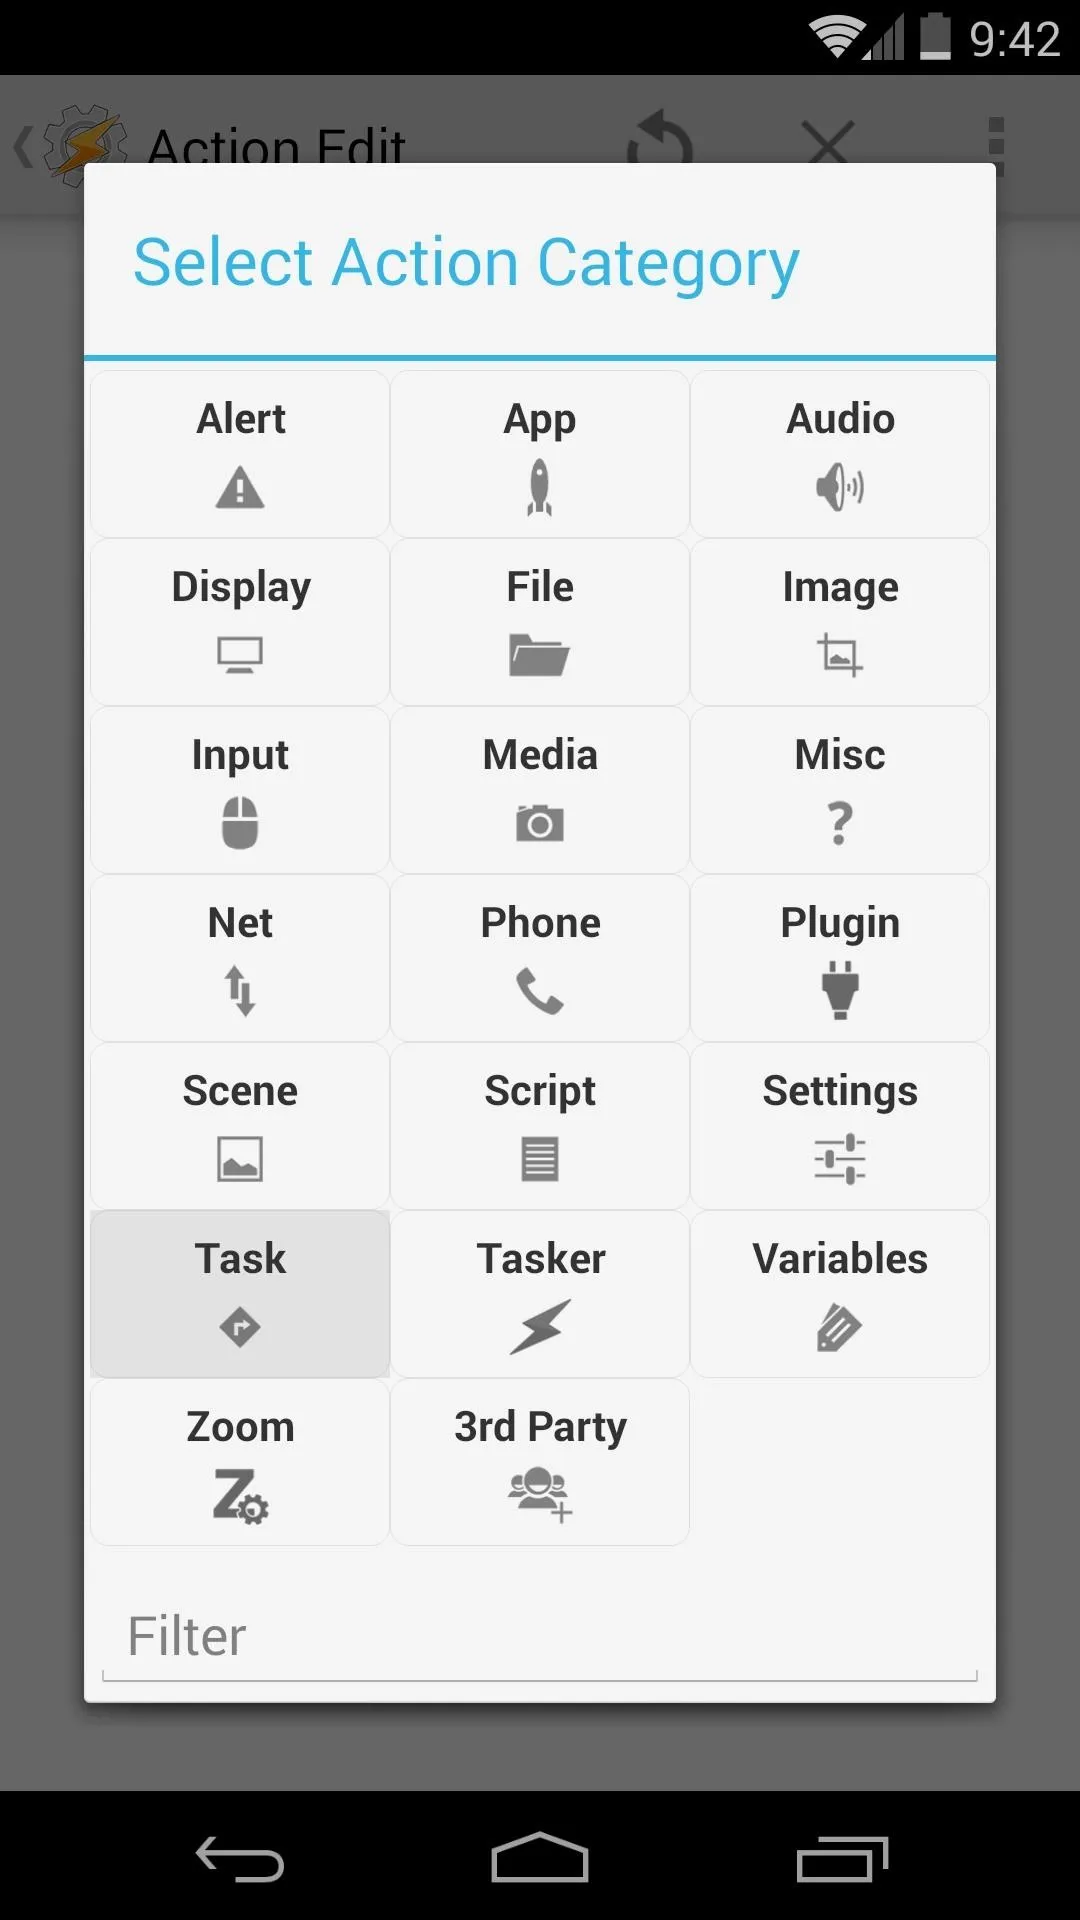
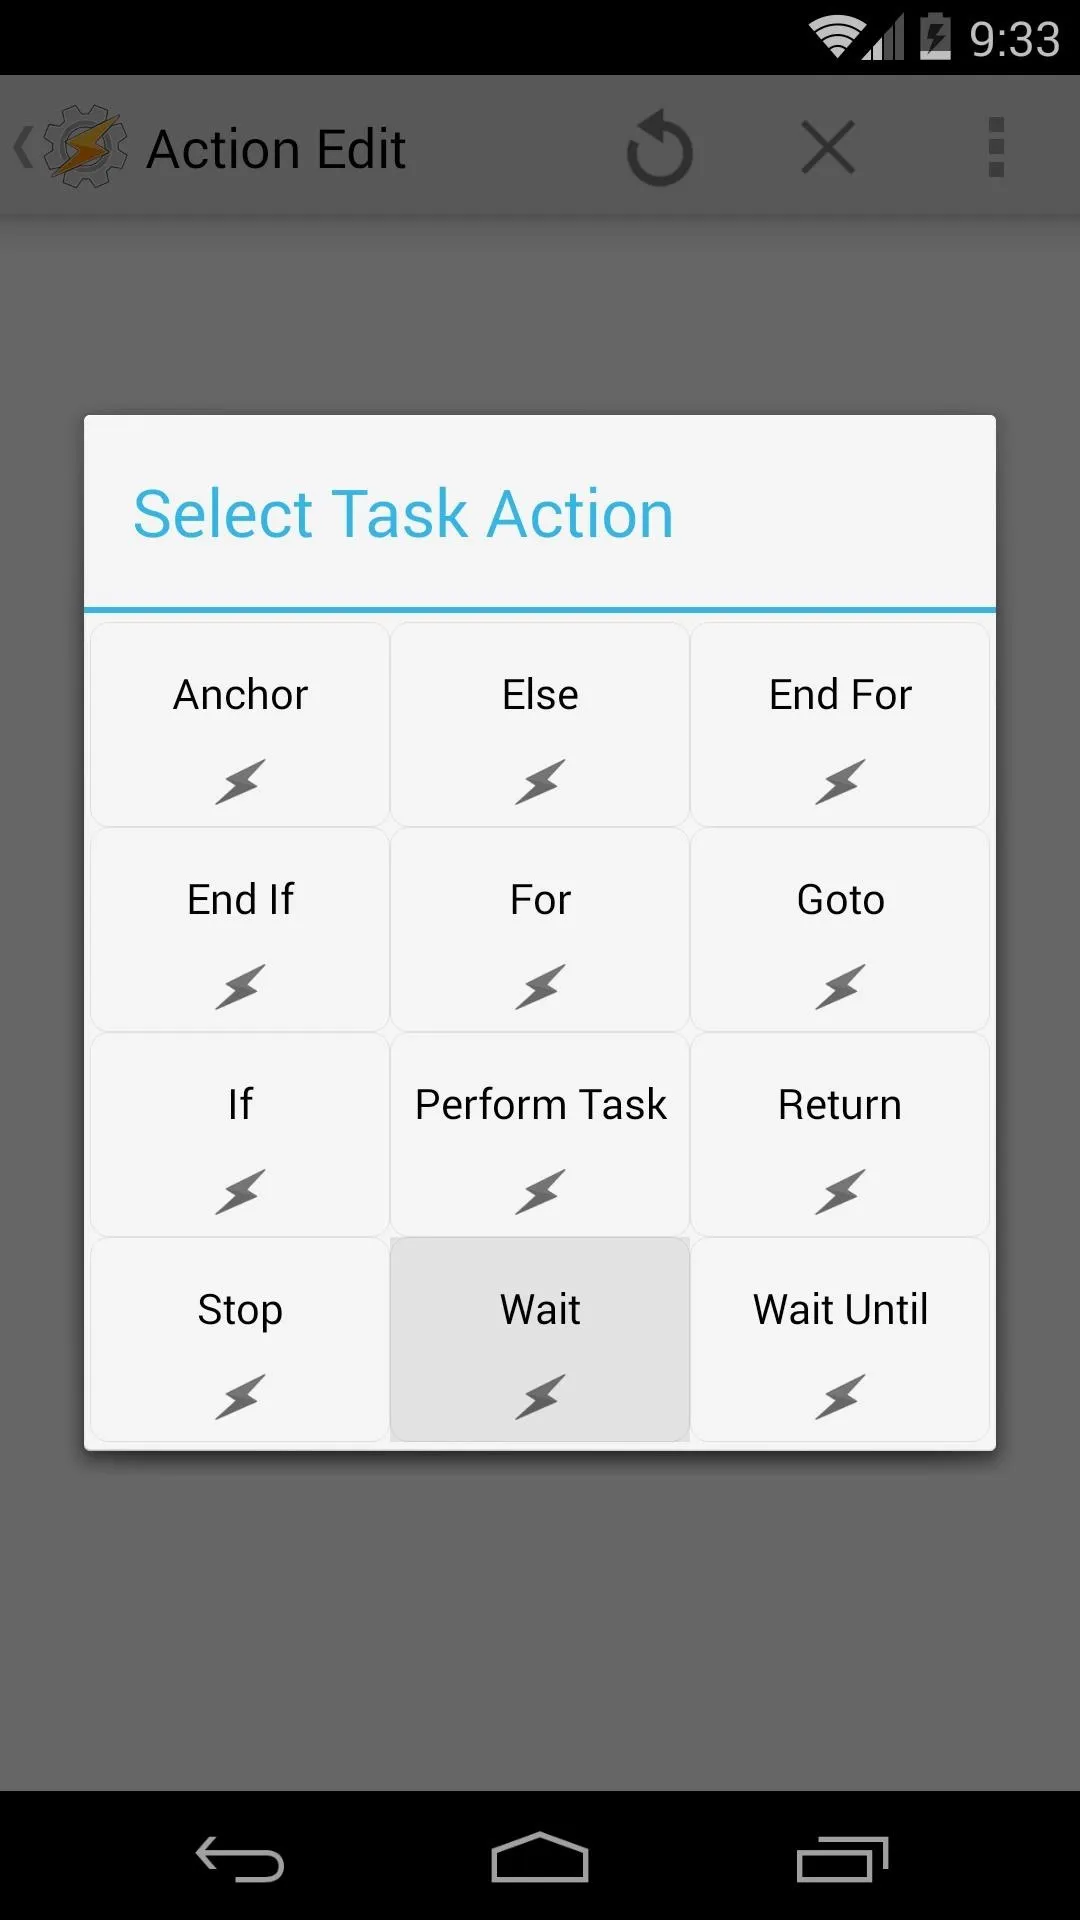
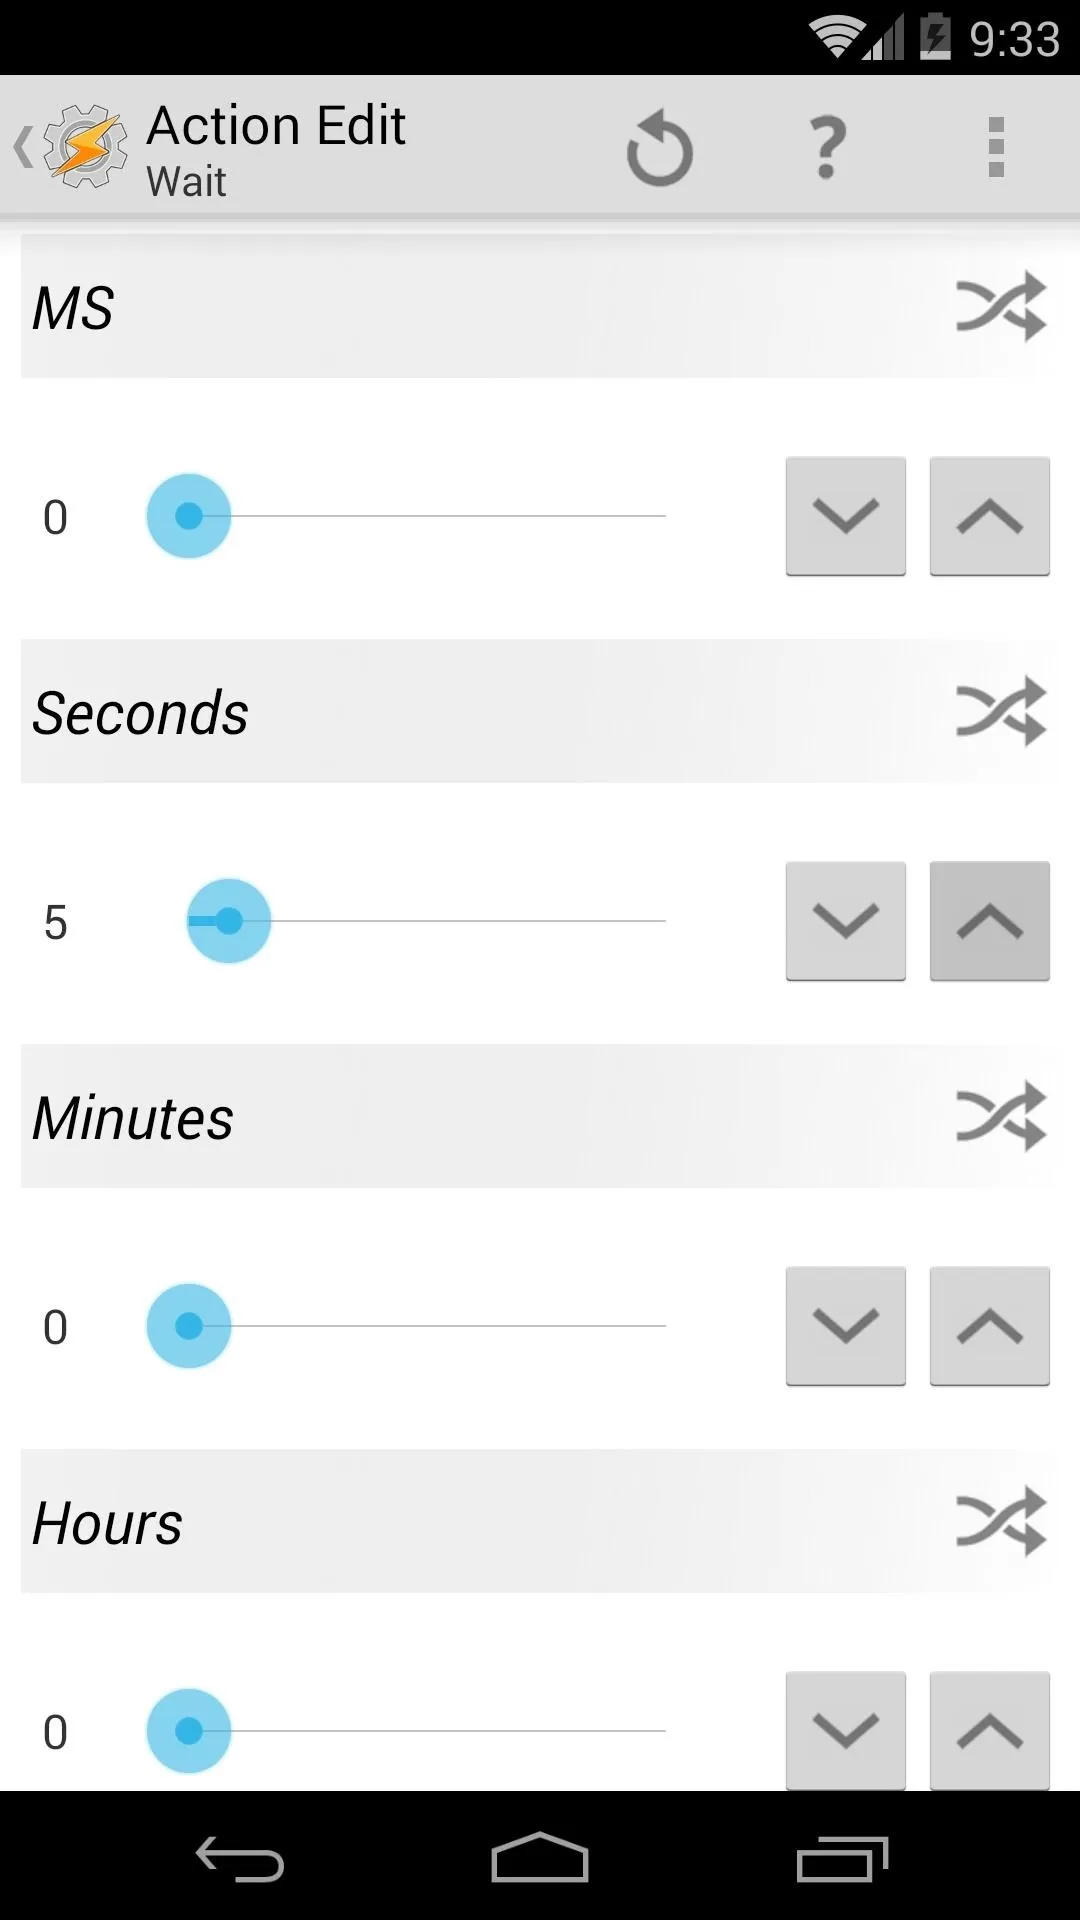
For a fourth element to this task, we'll add a 5-second pause. This will allow the Hola service to get up and running before the task does anything else. Accomplish this by hitting the "plus" button and selecting Task, then Wait. Use the slider to change the value under Seconds to 5.


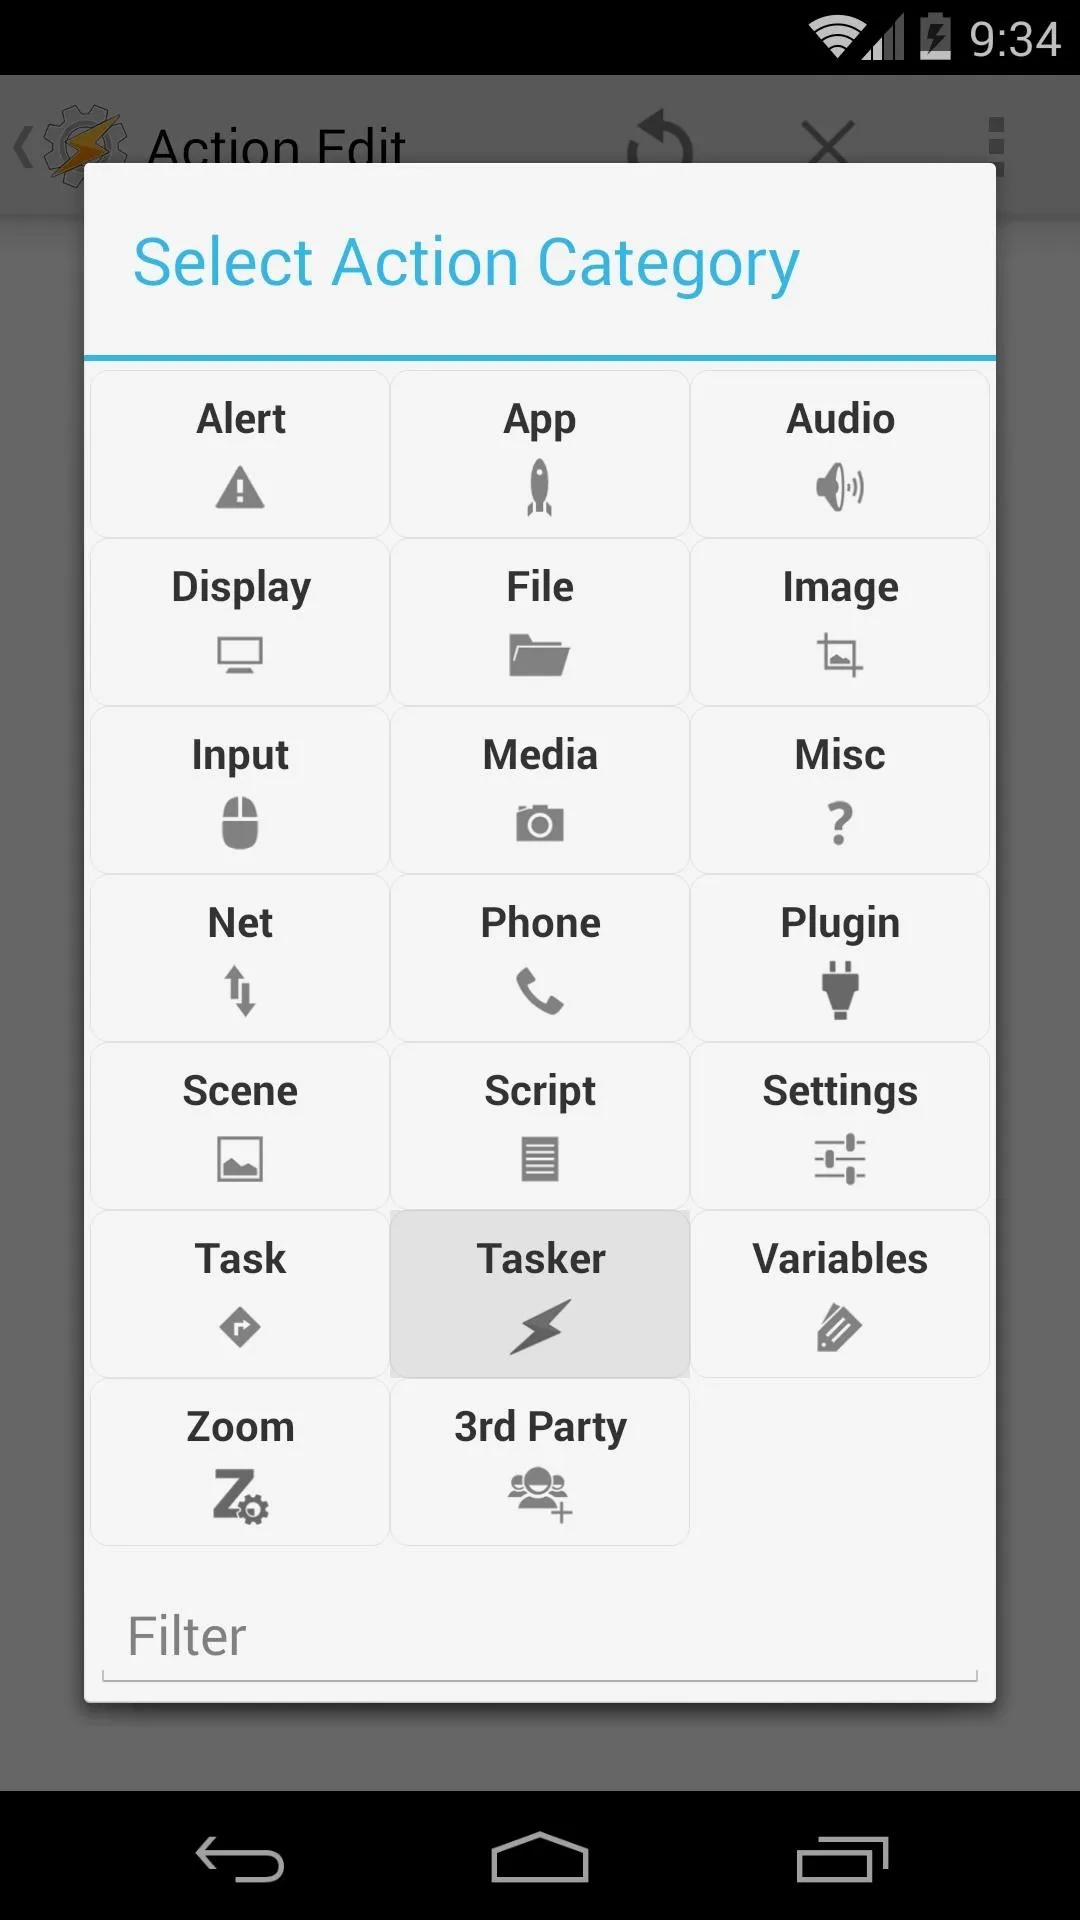
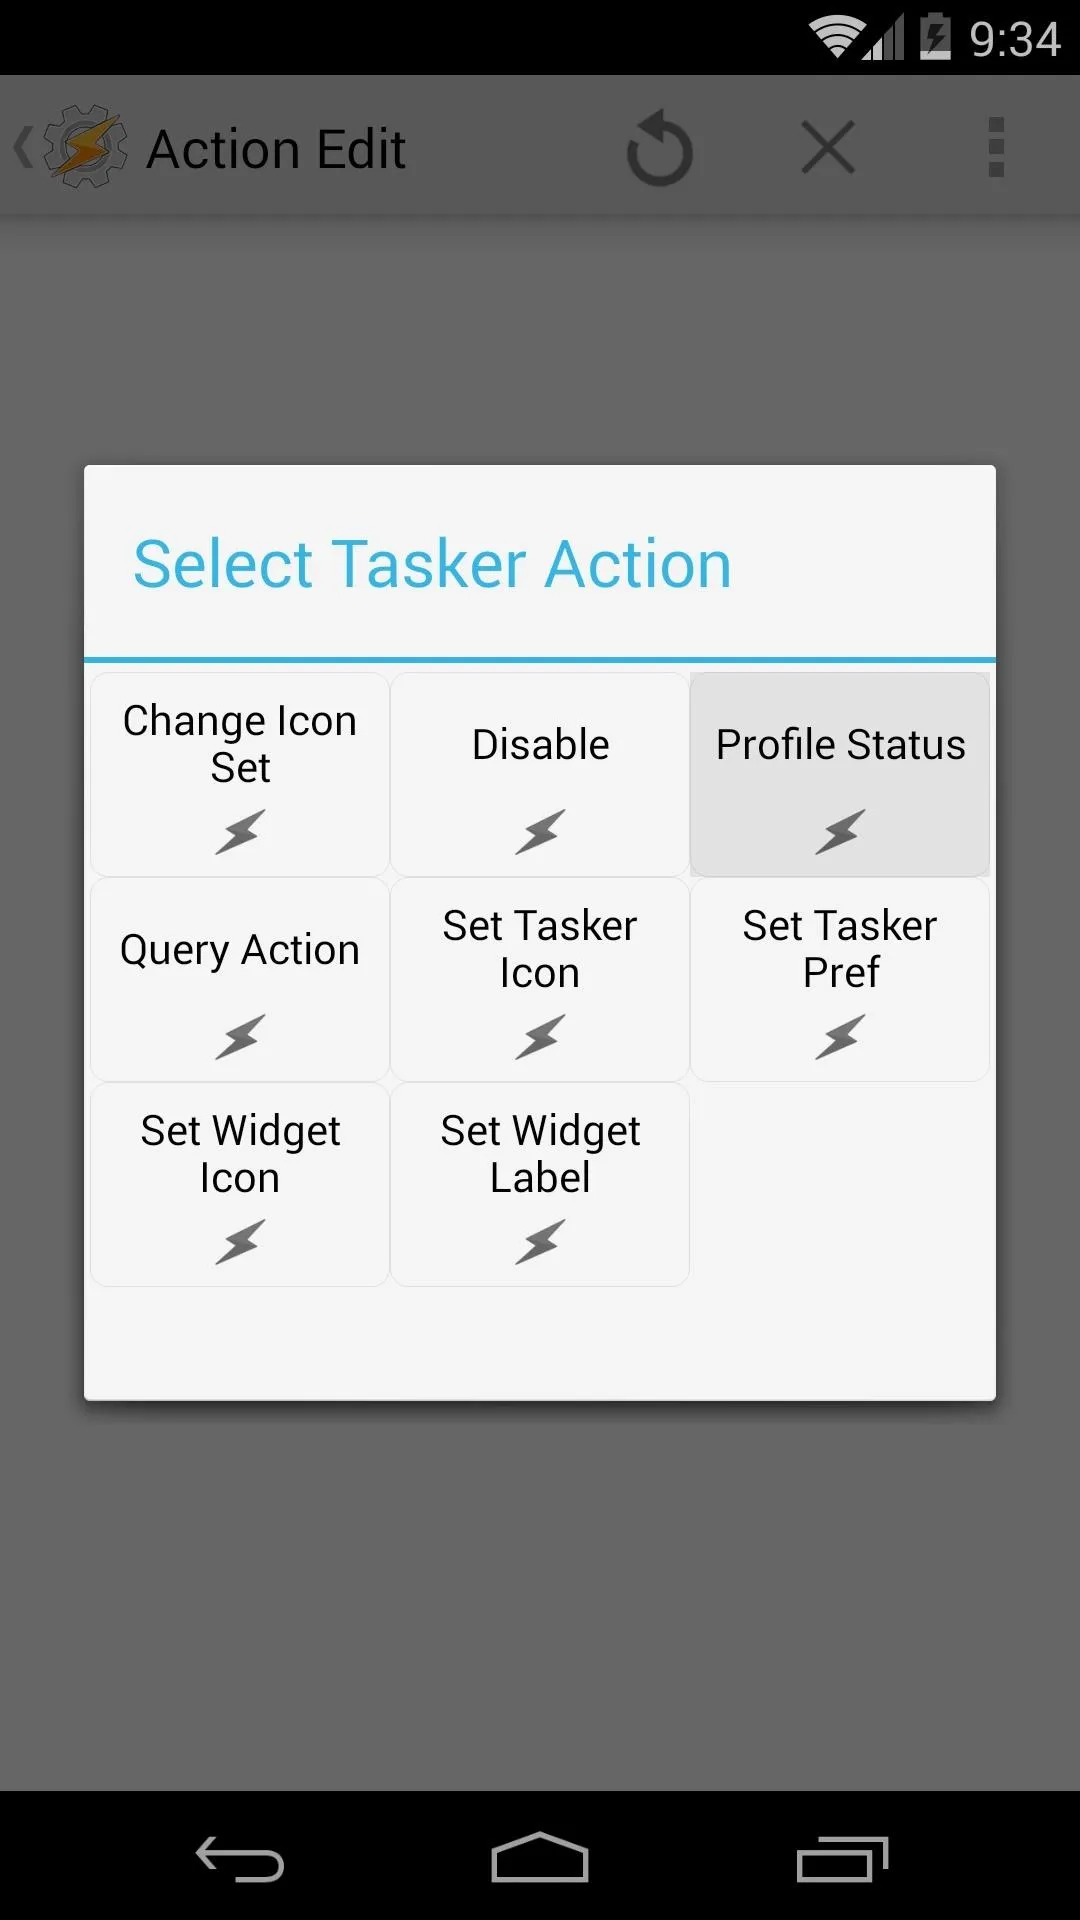
Now add another step by hitting the "plus" button and choosing Tasker, then Profile Status.


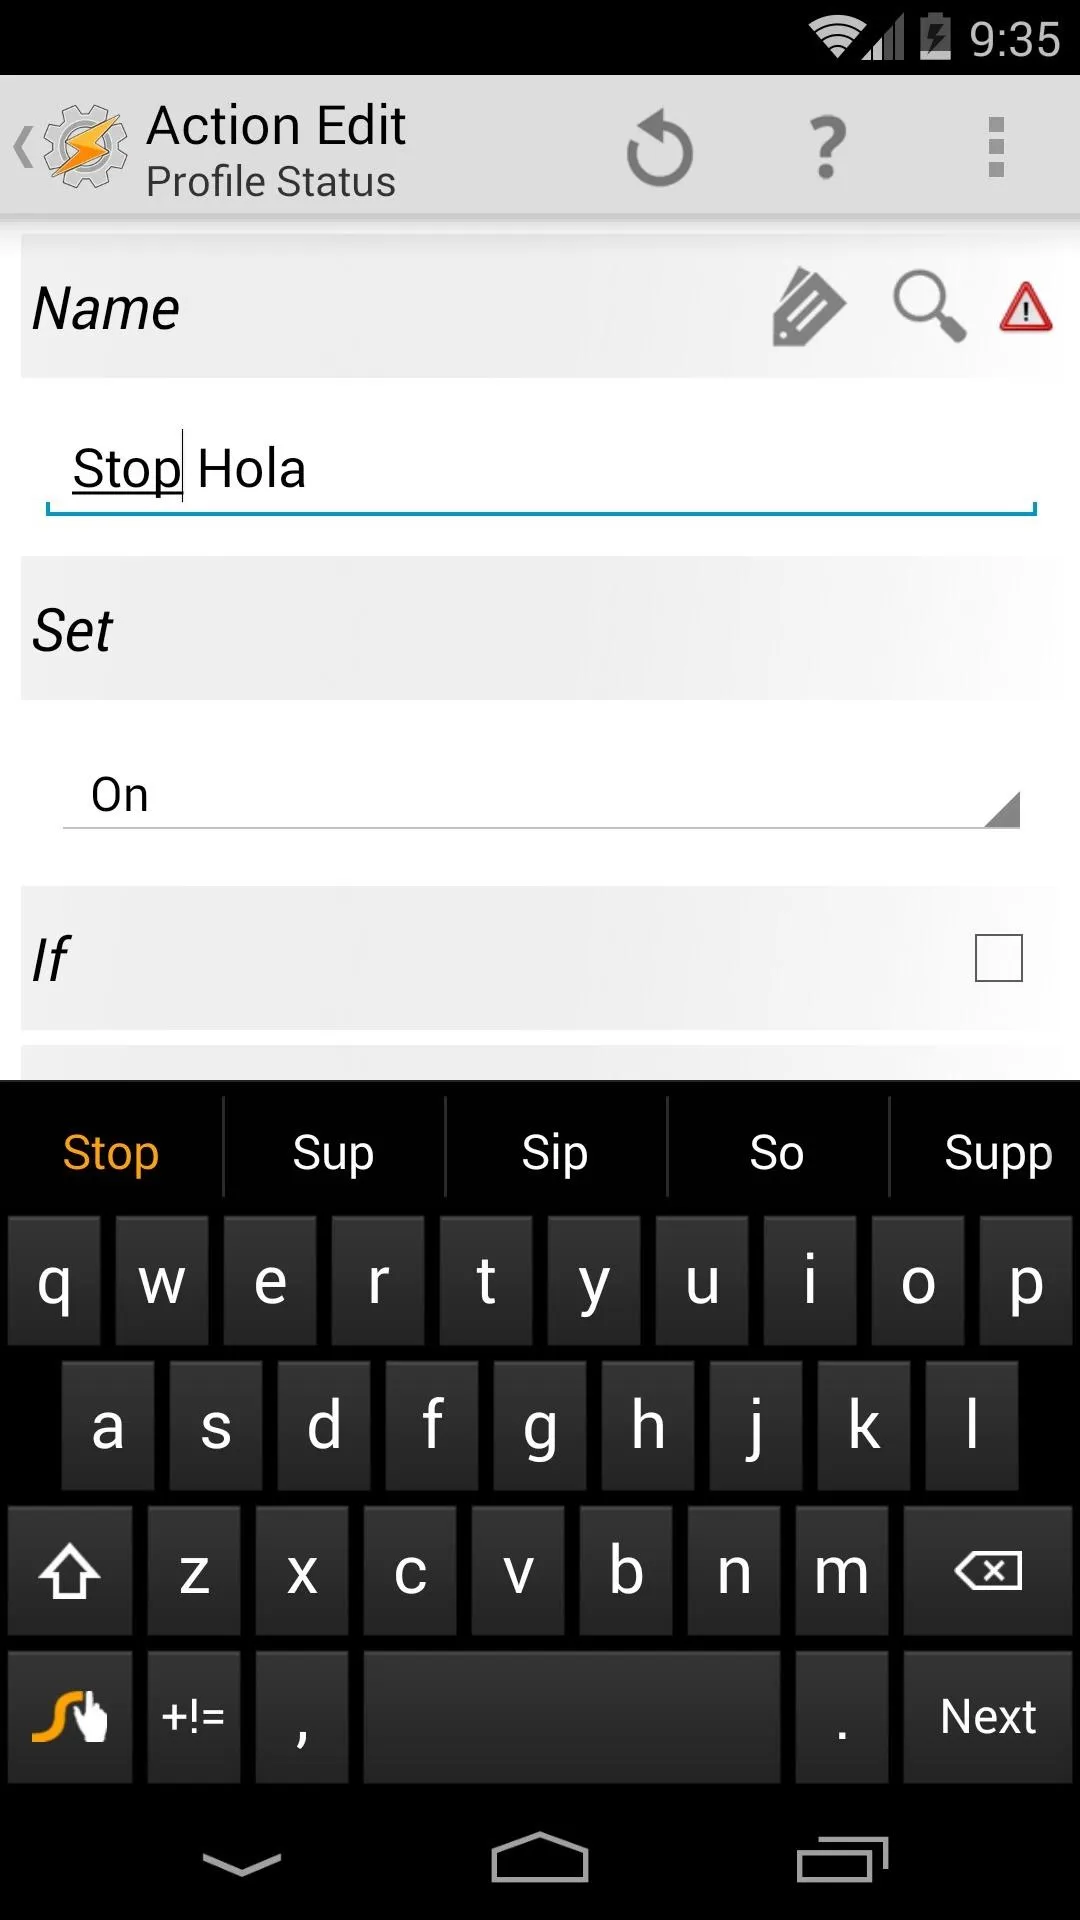
In the text field on the next screen, enter Stop Hola(again, this is case-sensitive). Set the value to On, then hit the back button to save your work.
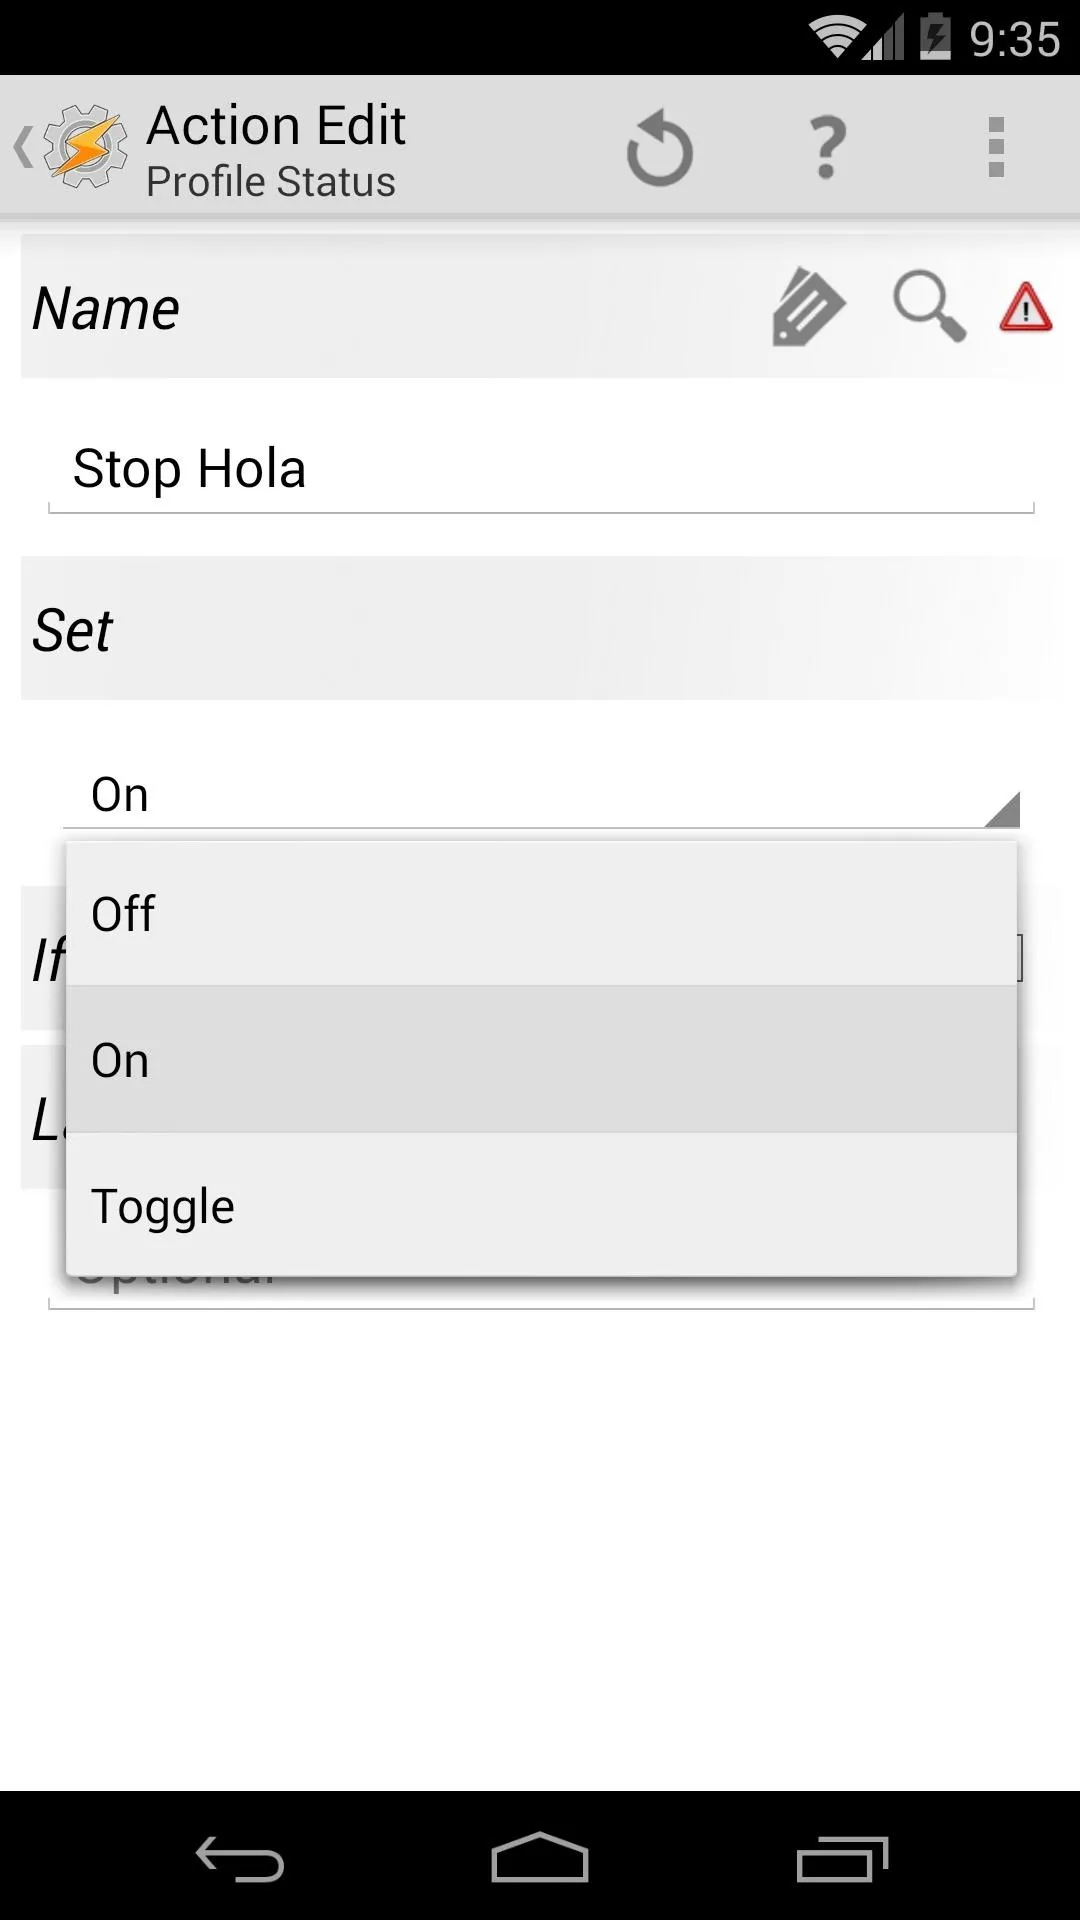


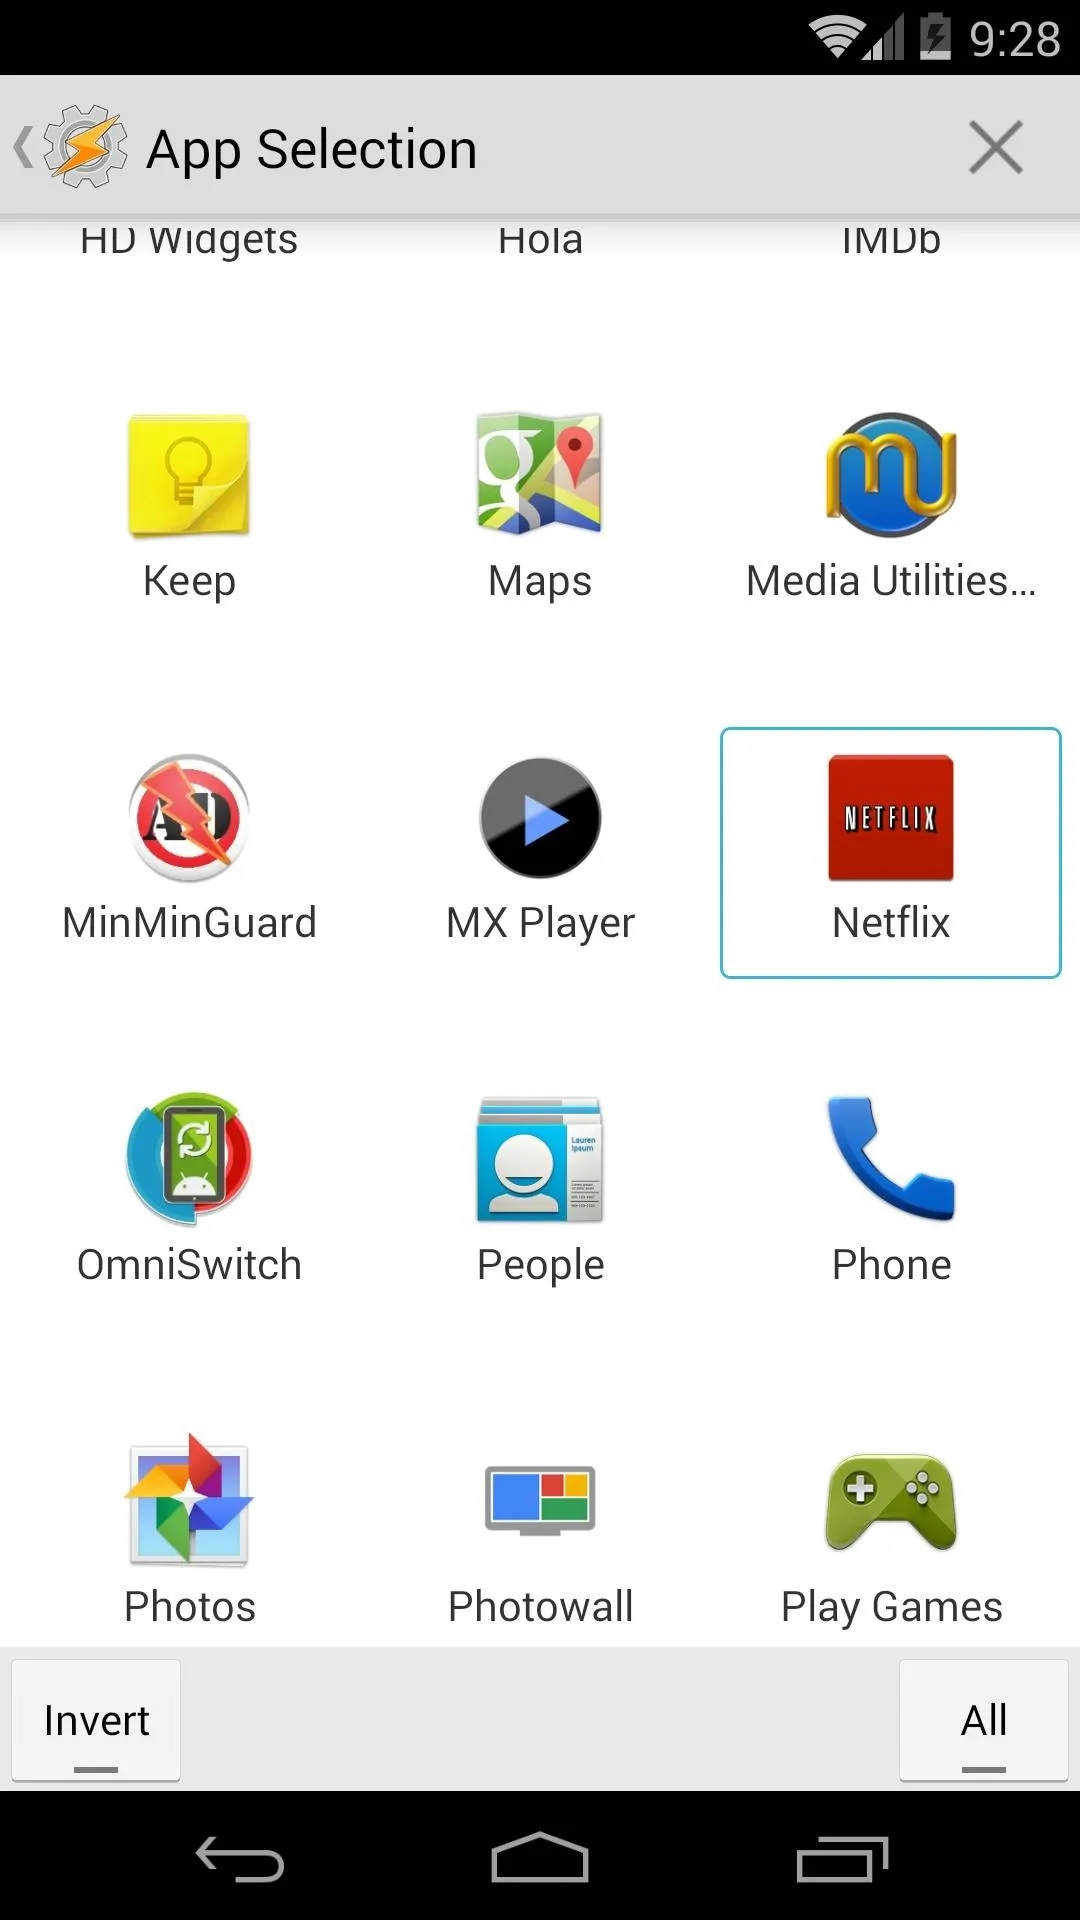
Add one last step by hitting the "plus" button and choosing App, then Load App. Select Netflix from the list that appears and hit the back button twice this time.


Step 4: Create a Second Profile & Task
From the Profiles tab on the Tasker home screen again, hit the "plus" button and select Application. Choose Netflix from the list again, then press the back button.


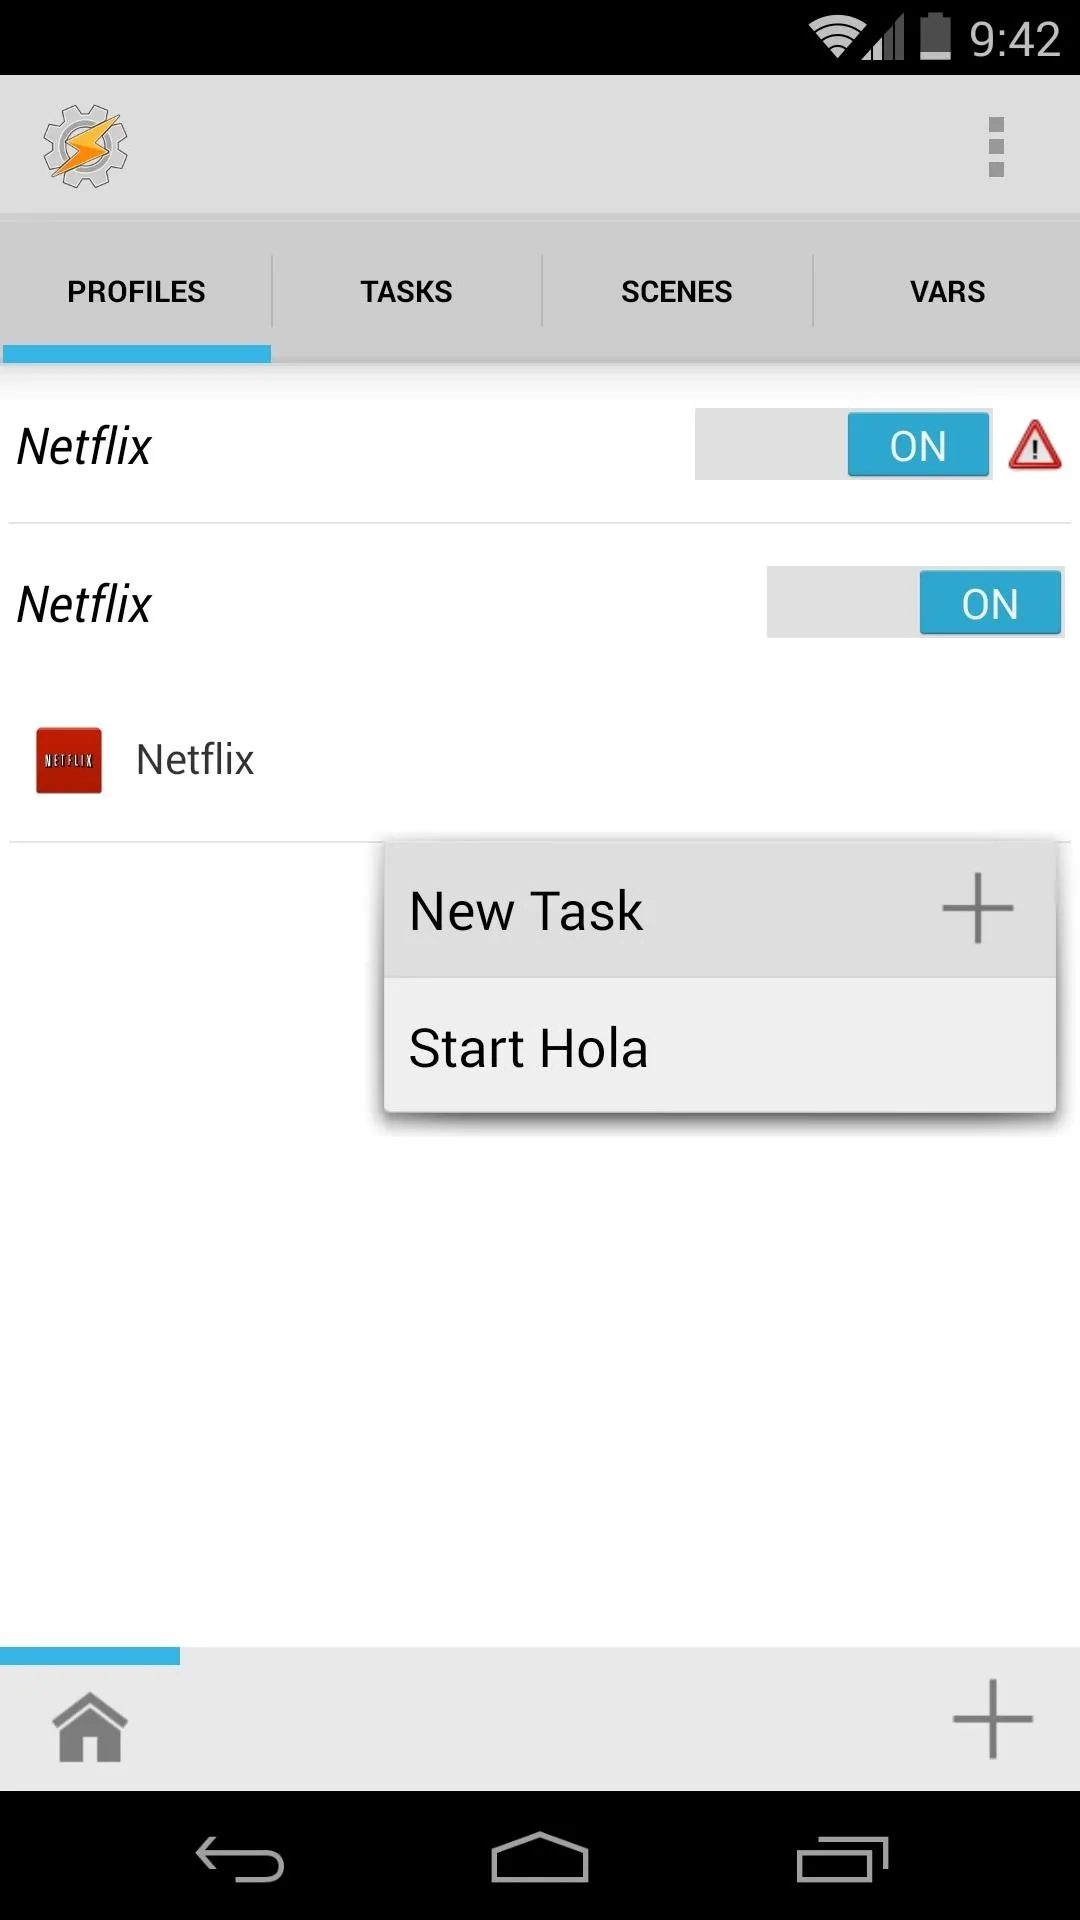
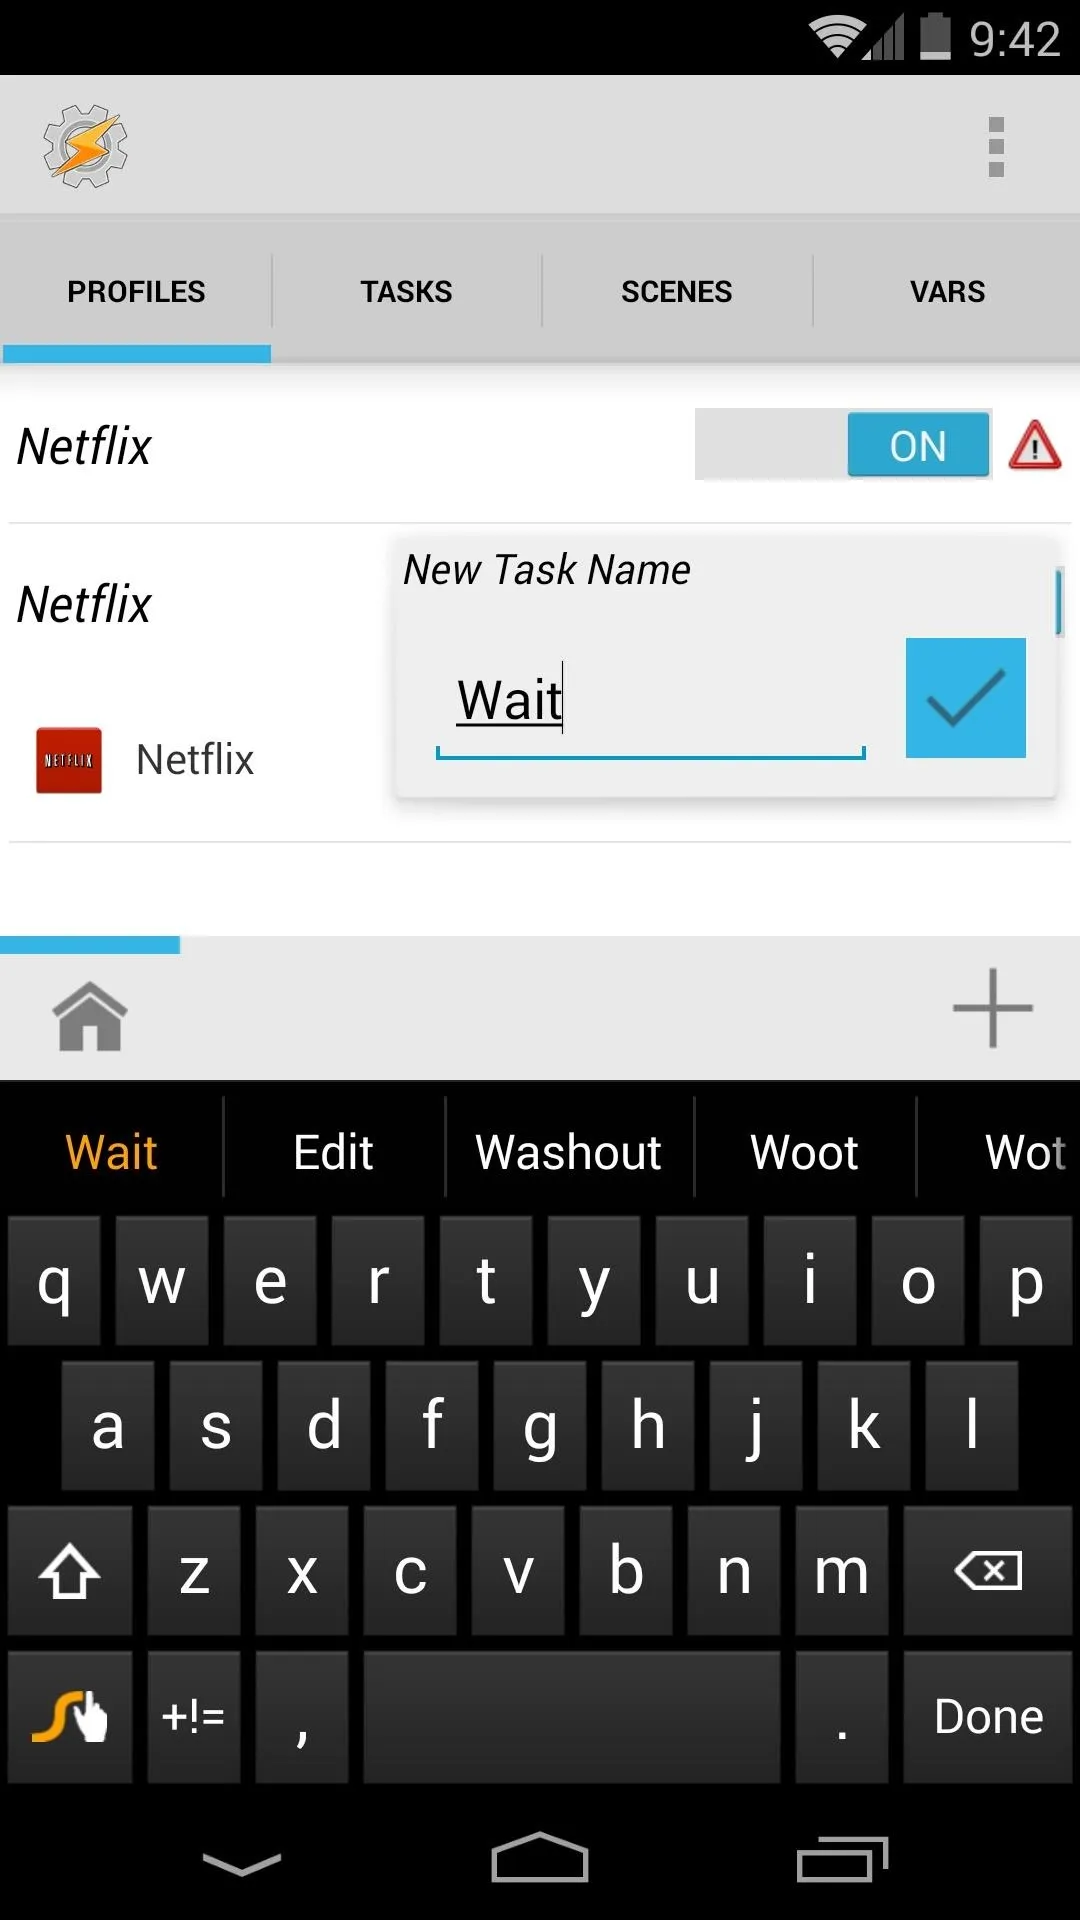
Tasker will now prompt you to add a task to this profile. Again, tap New Task, this time naming it Wait.


On the next screen, tap the "plus" button and select Task, then Wait. Use the slider directly under the word Seconds to set the value to 5, then tap the back button twice.


Step 5: Create an Exit Task
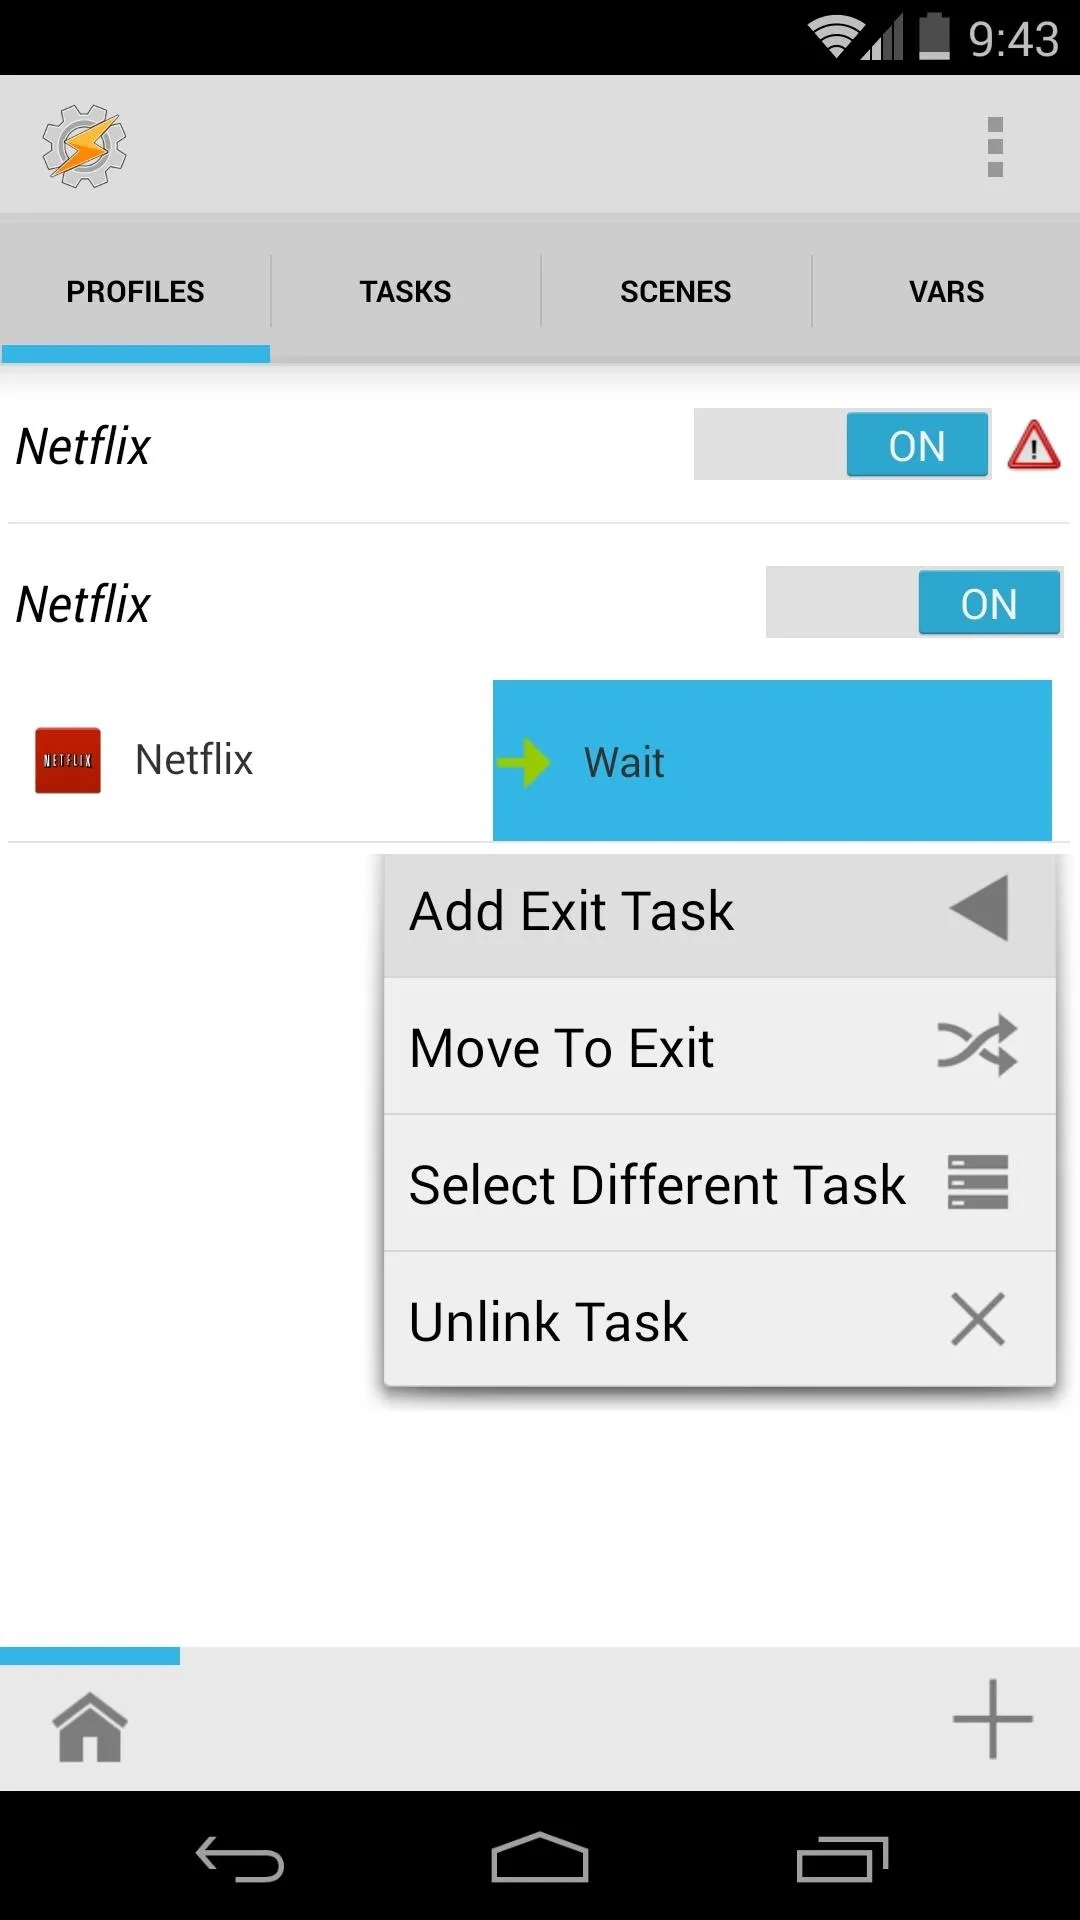
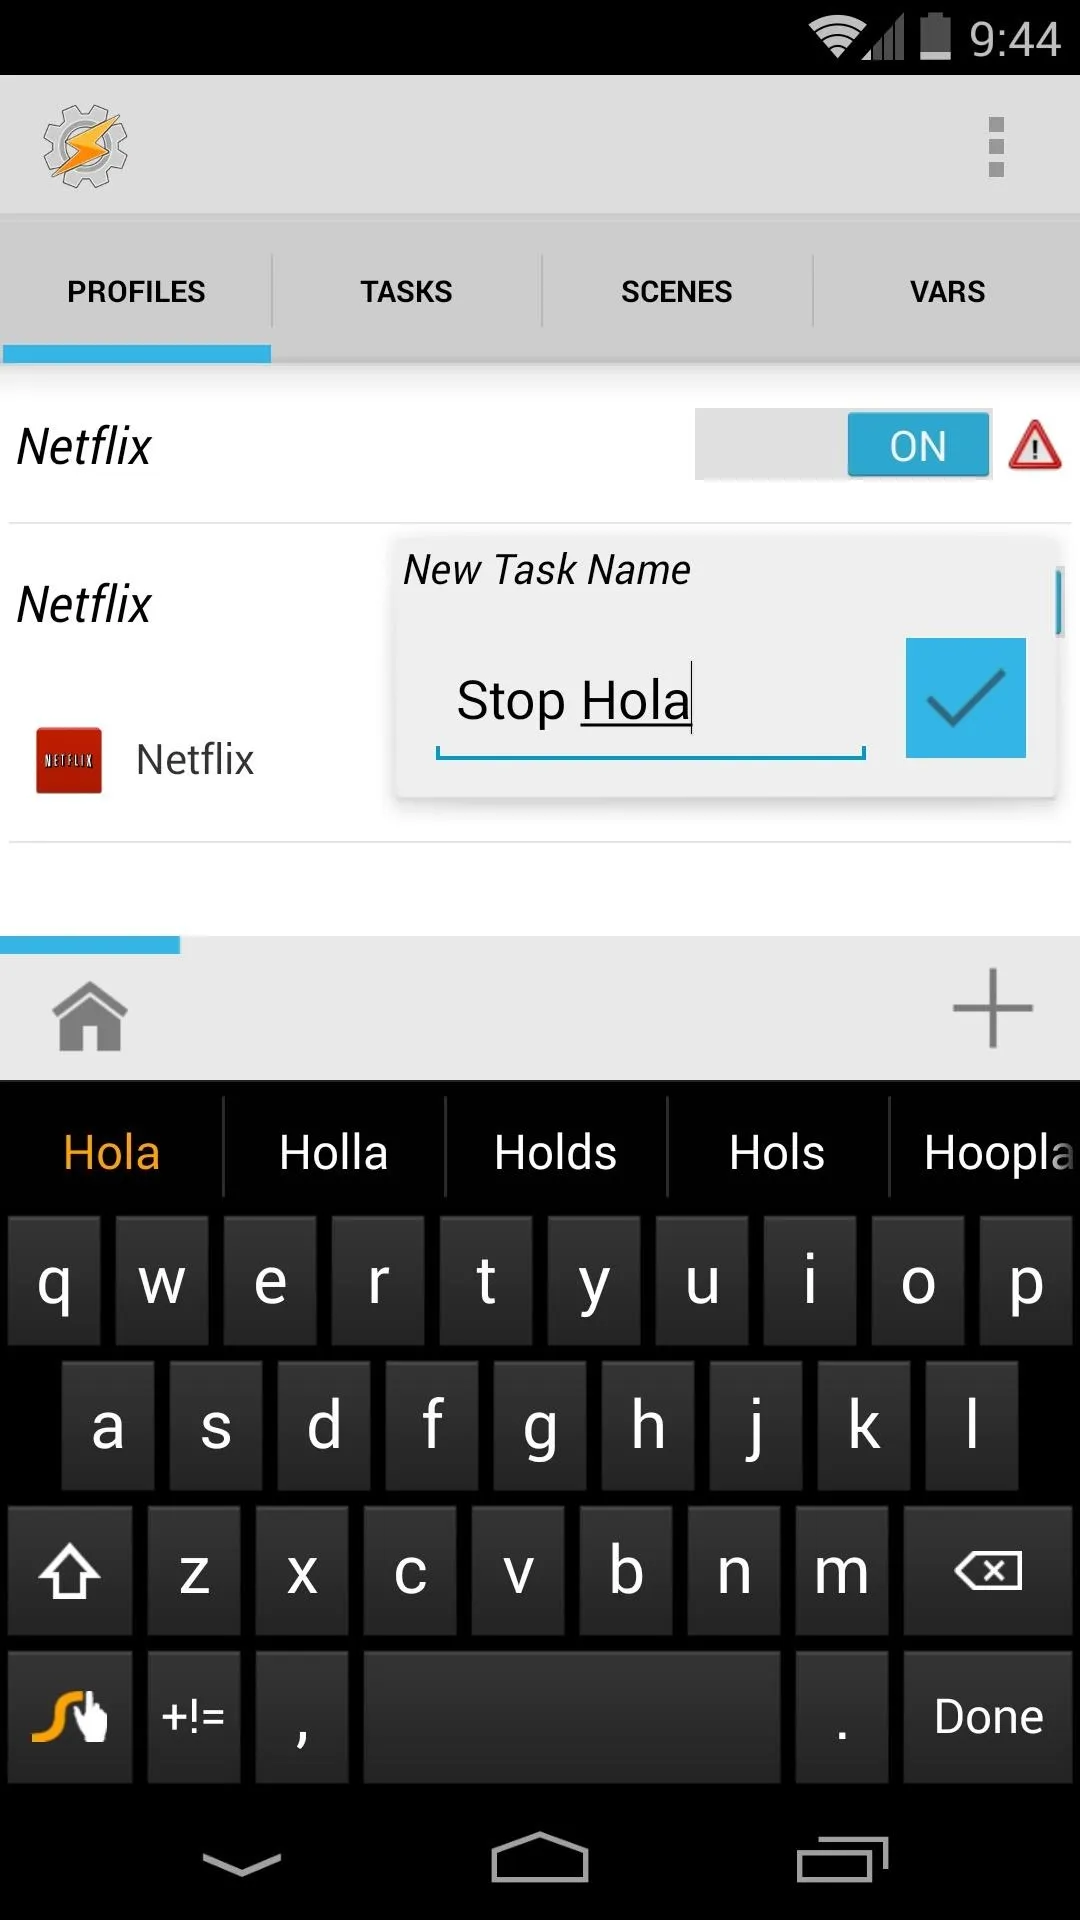
From the Profiles tab of Tasker's home screen, long-press the task named Wait. Choose Add Exit Task, then New Task, and name it Stop Hola.
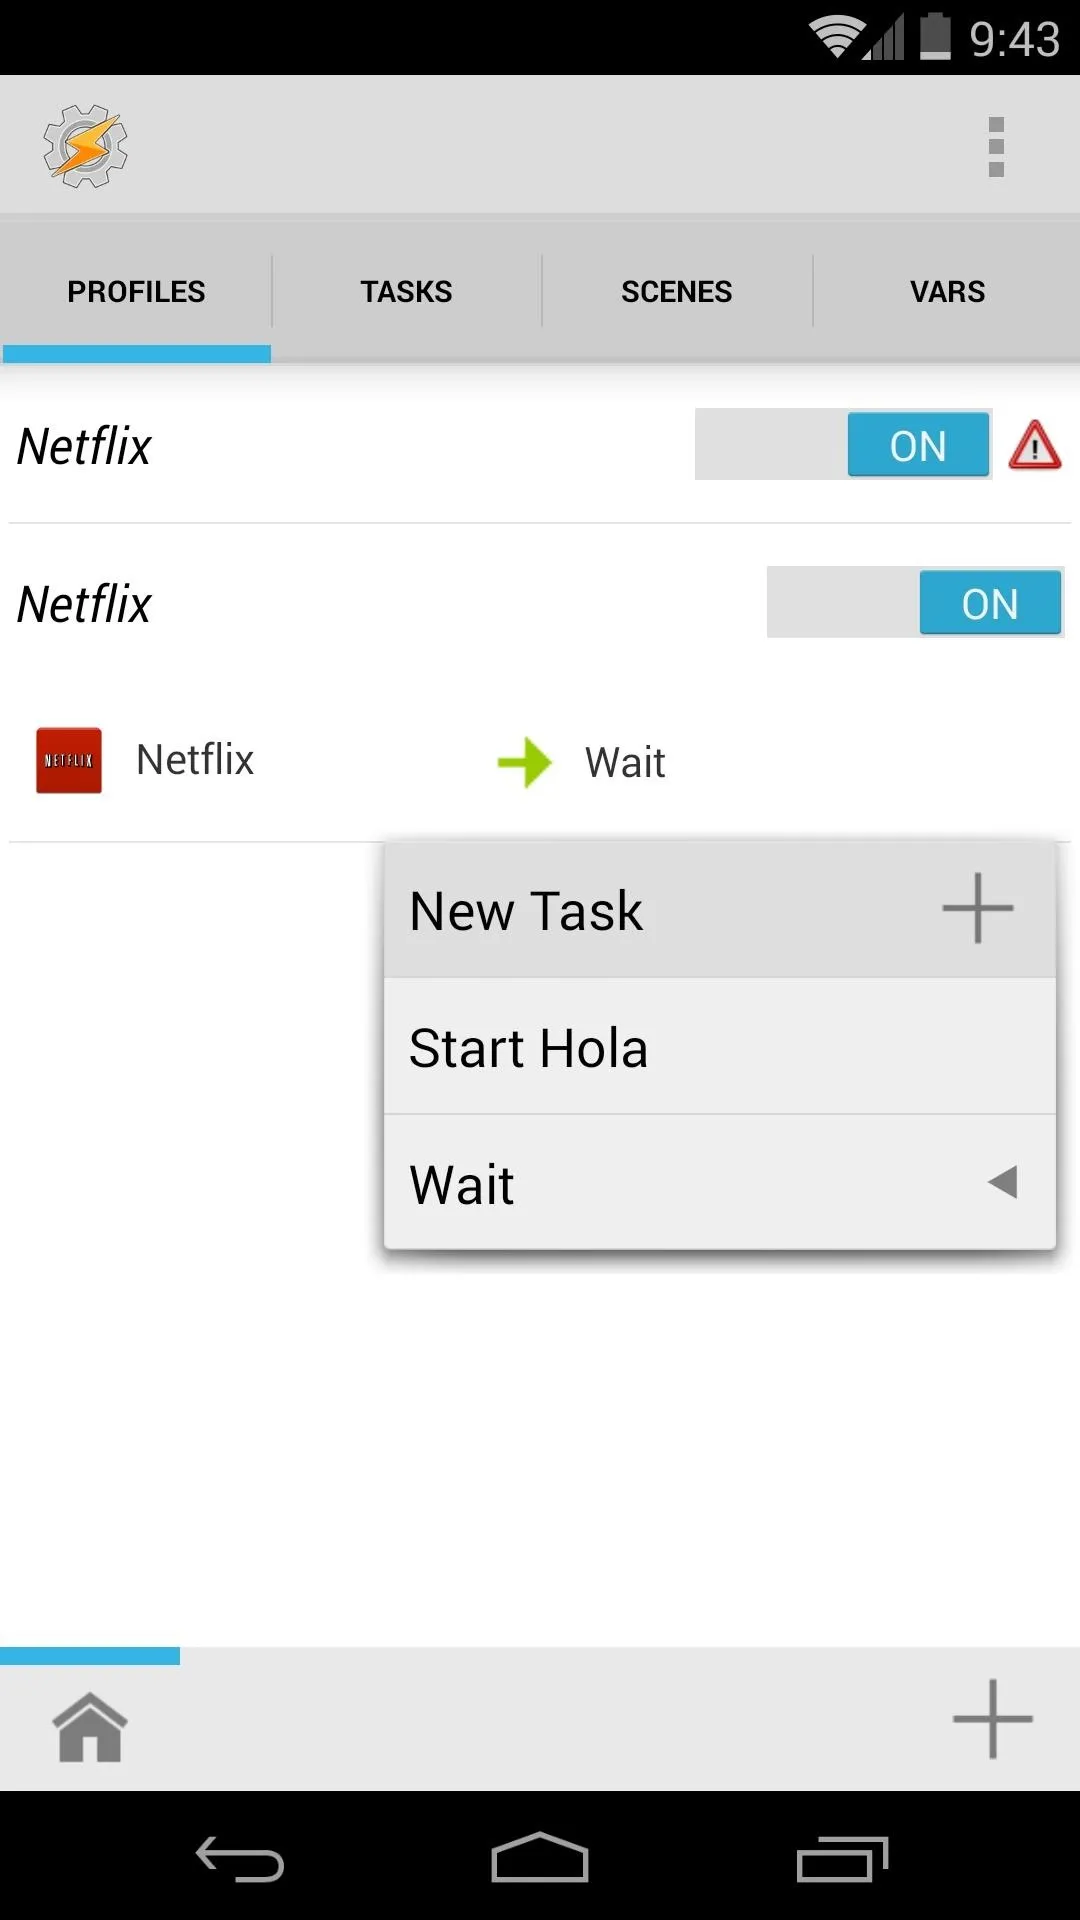


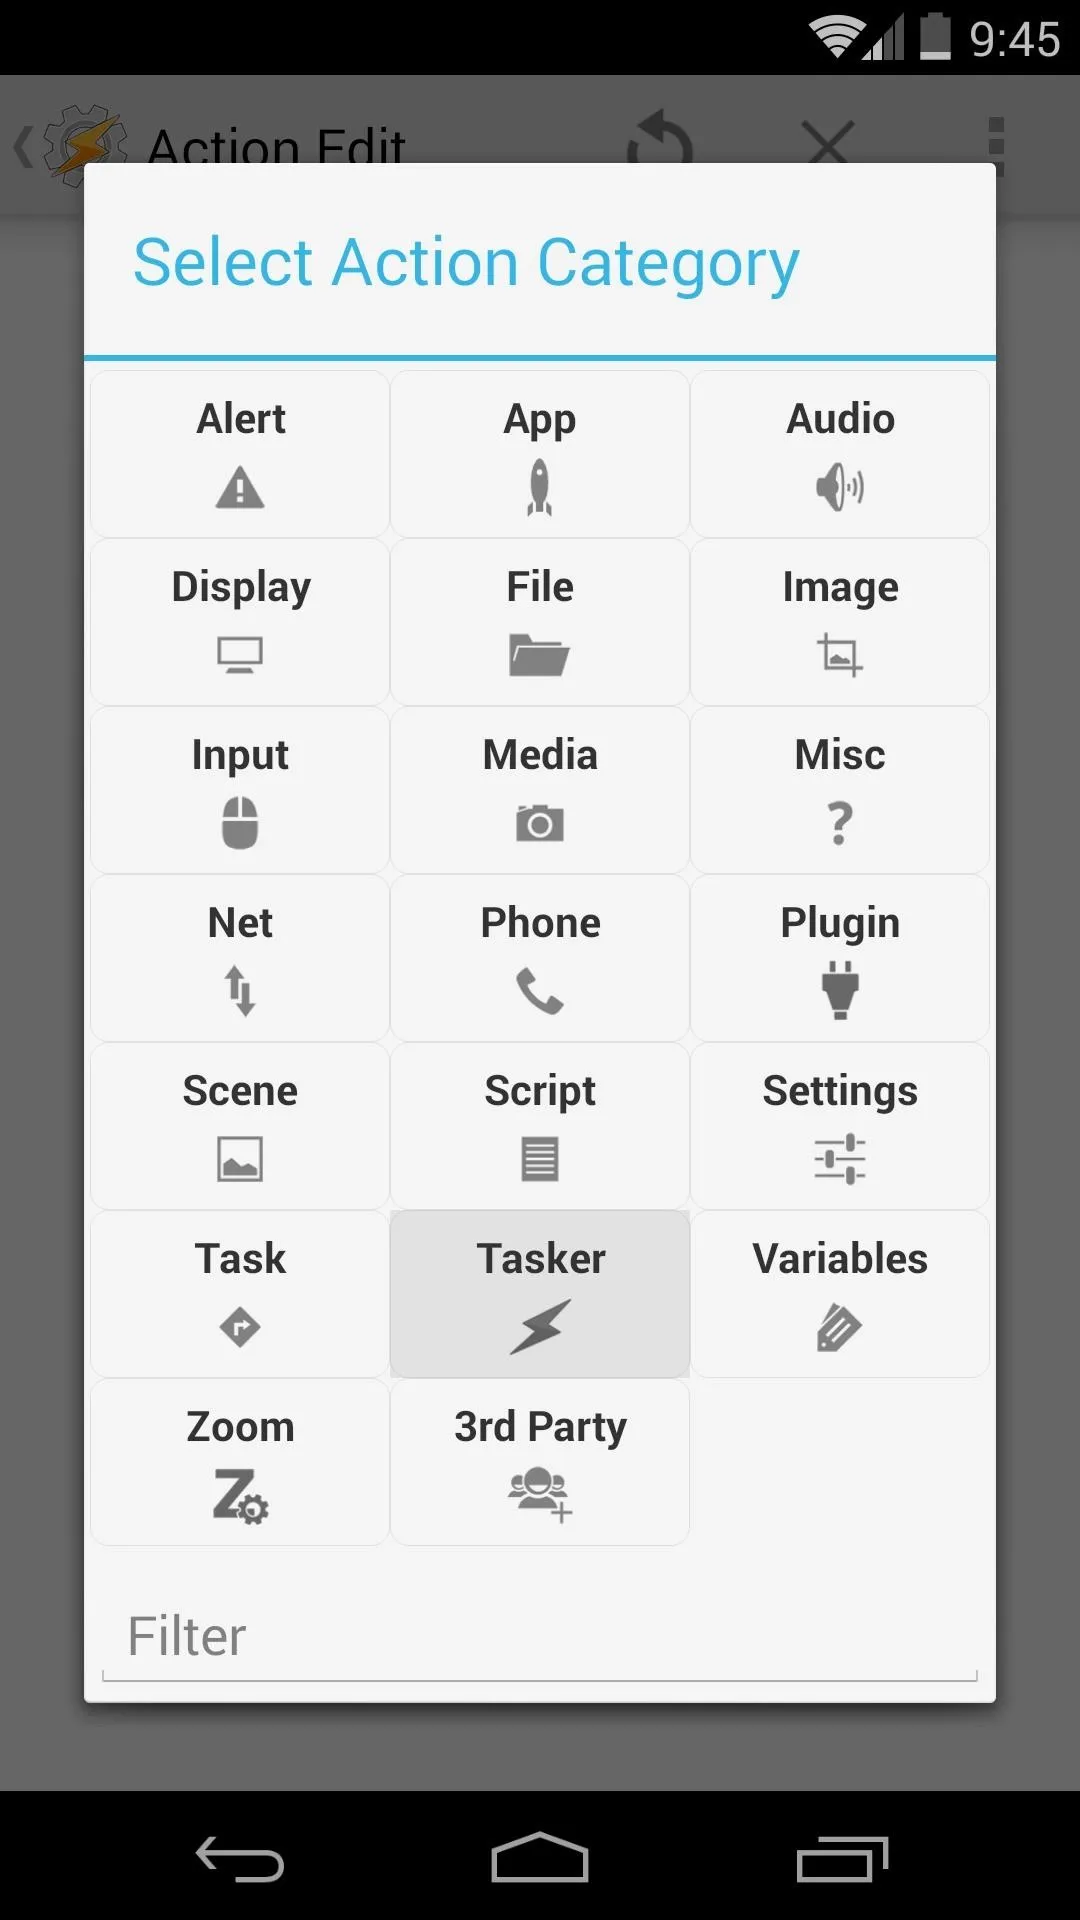
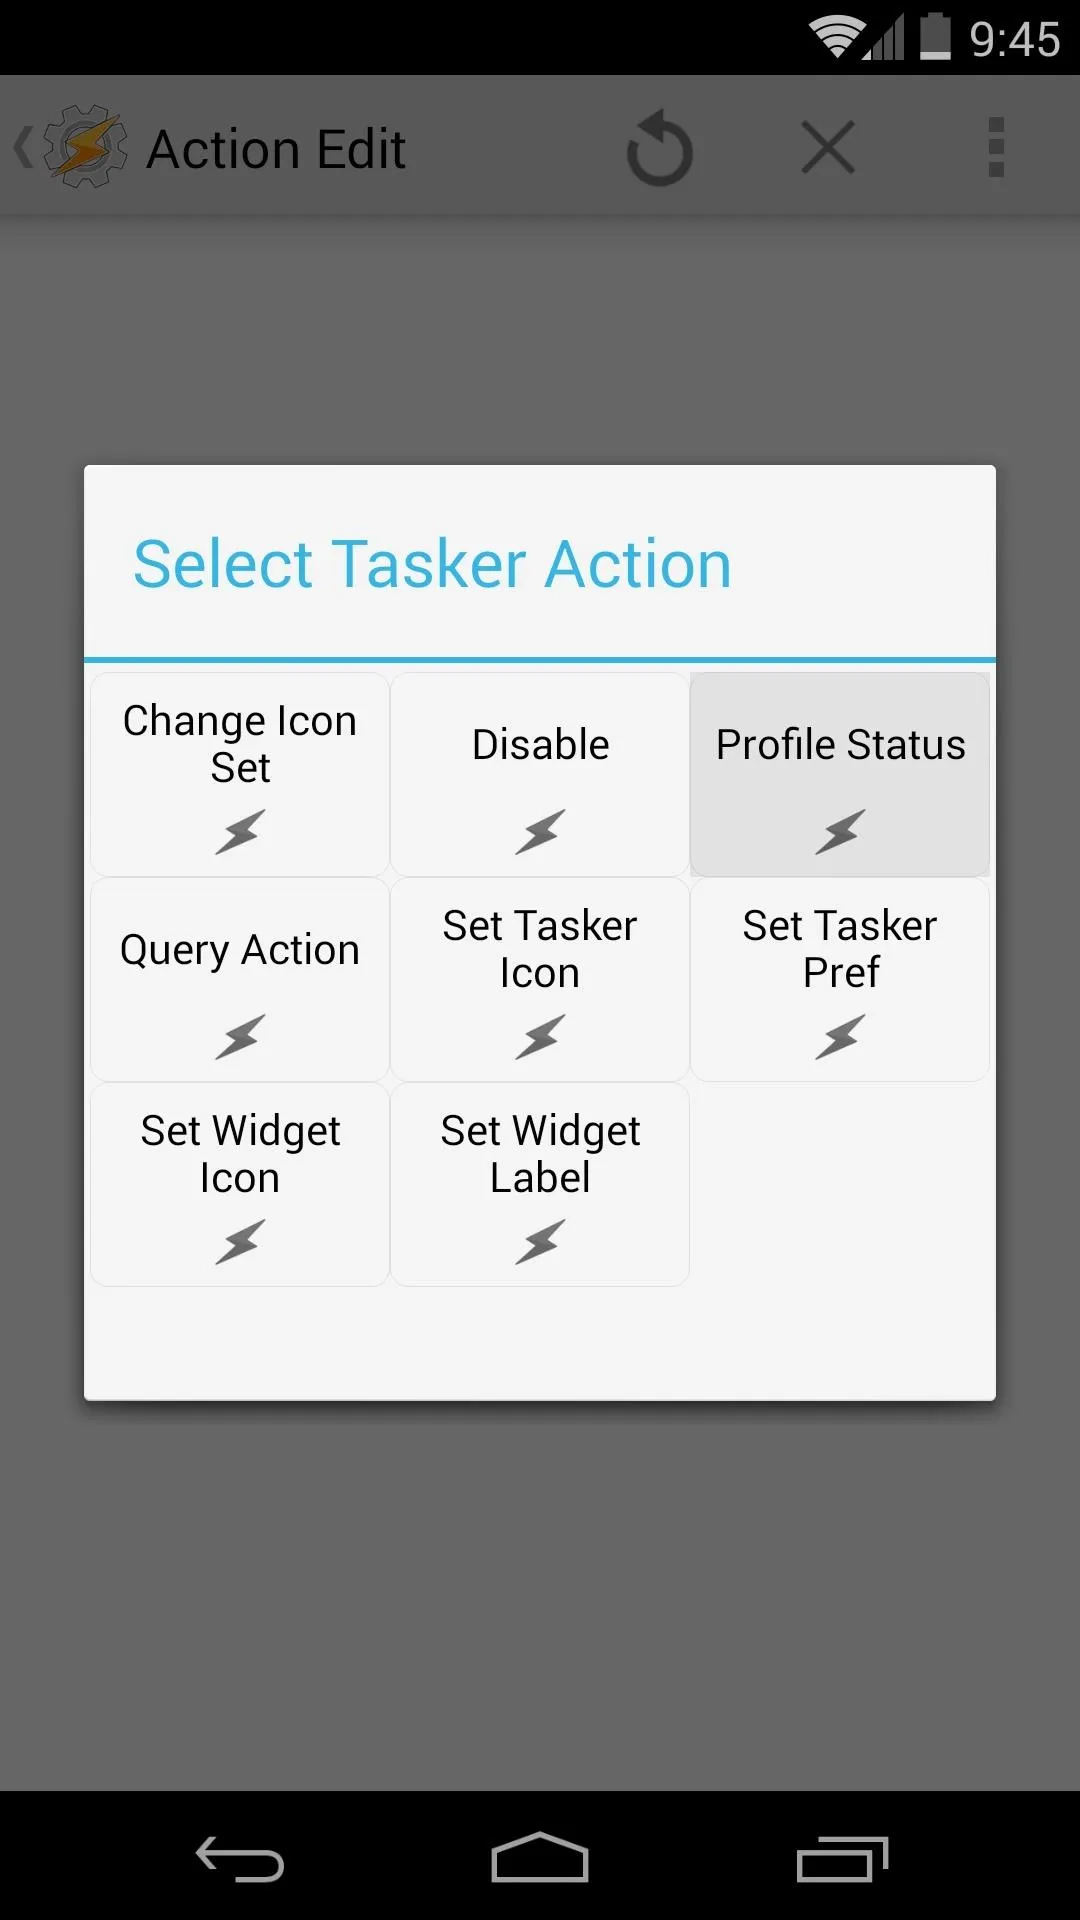
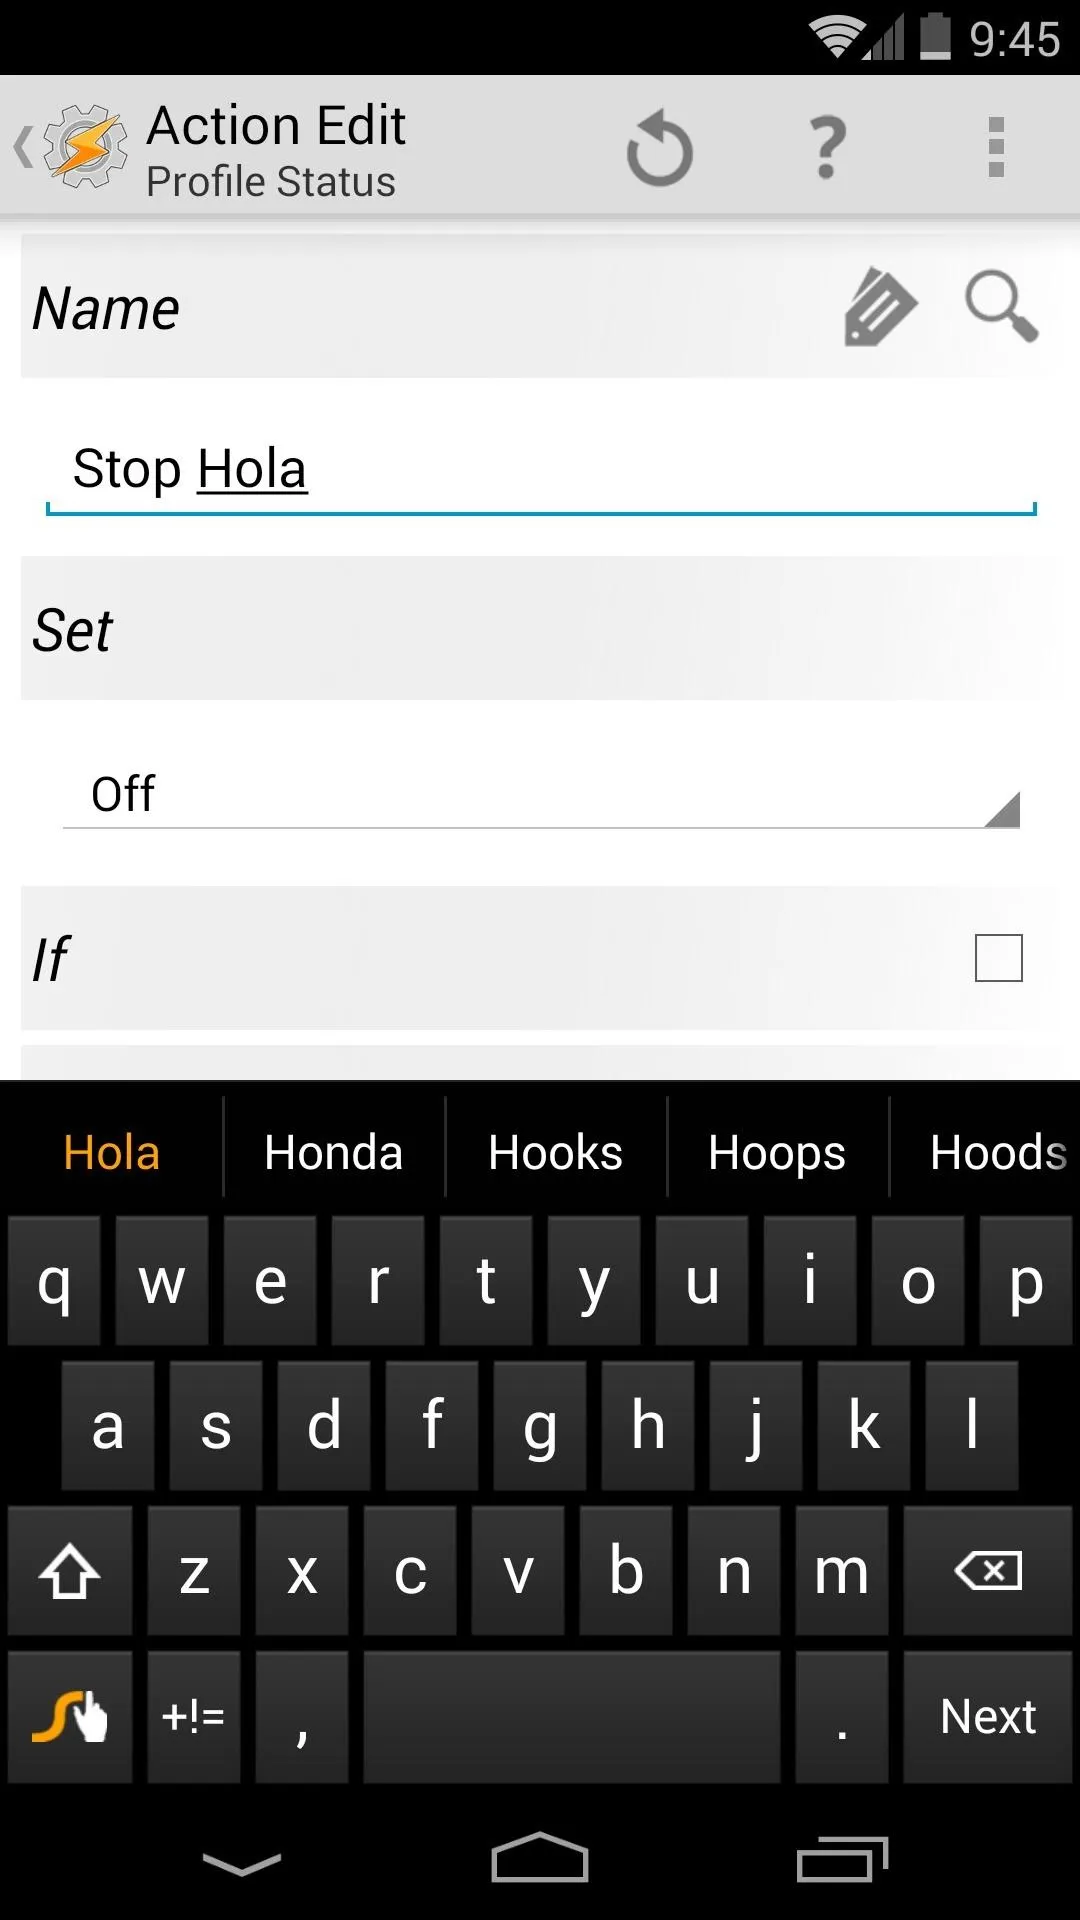
Tap the "plus" button at the bottom of the next page, then select Tasker. From the next list, select Profile Status.


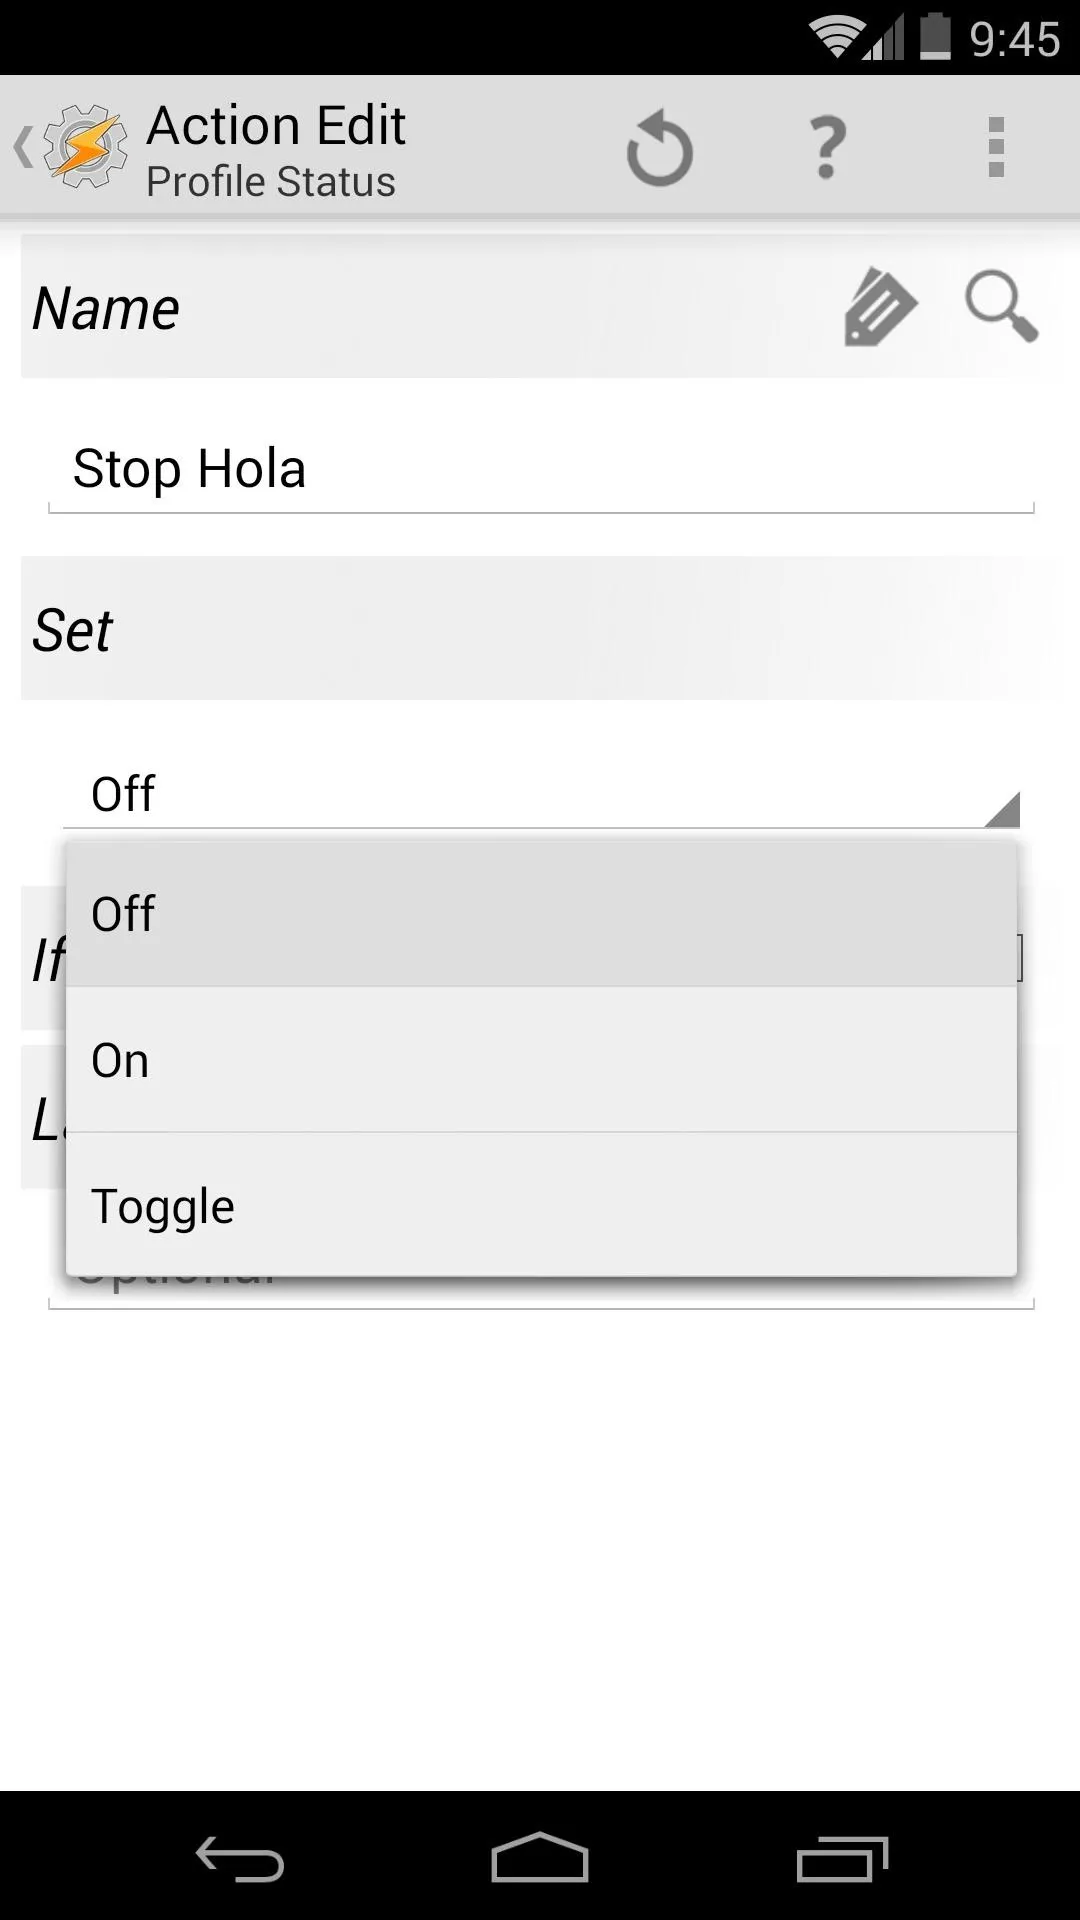
Enter Stop Hola as the name (case-sensitive), then set the value to Off and hit the back button on your device.


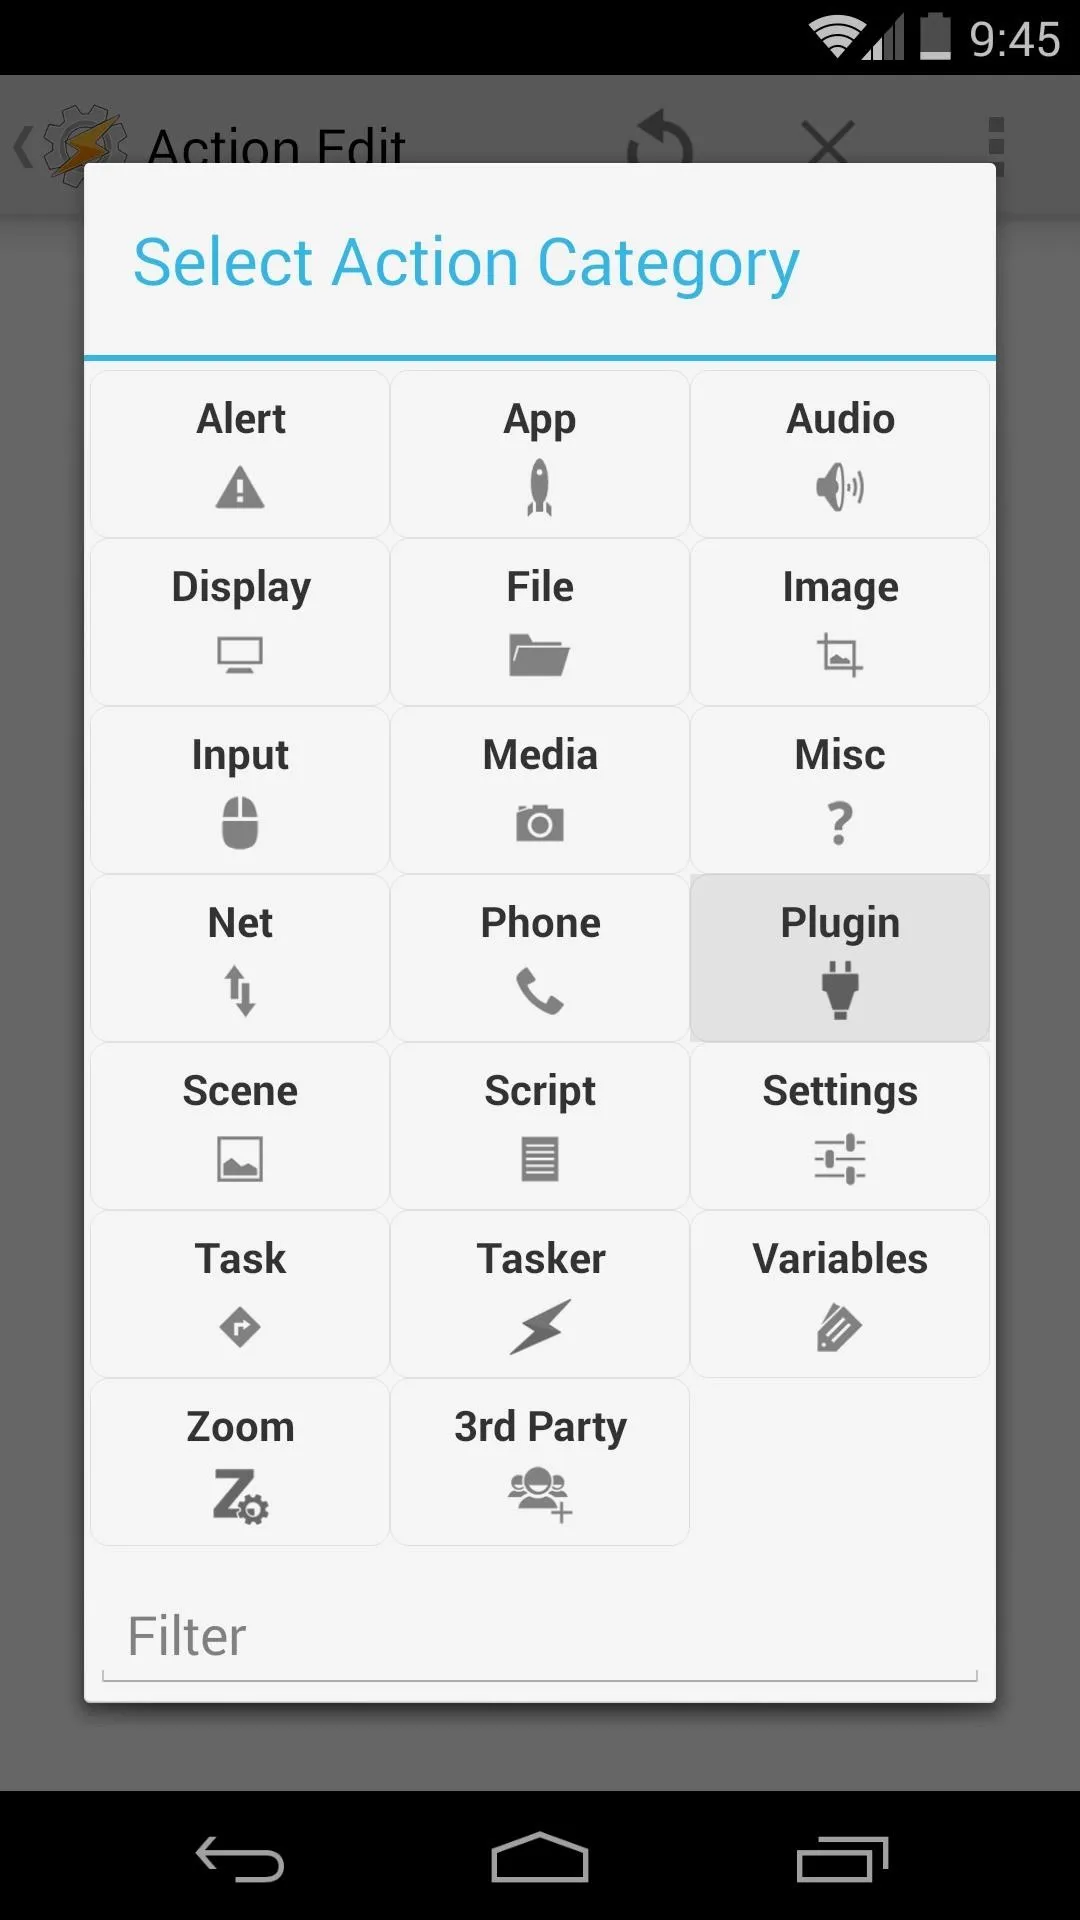
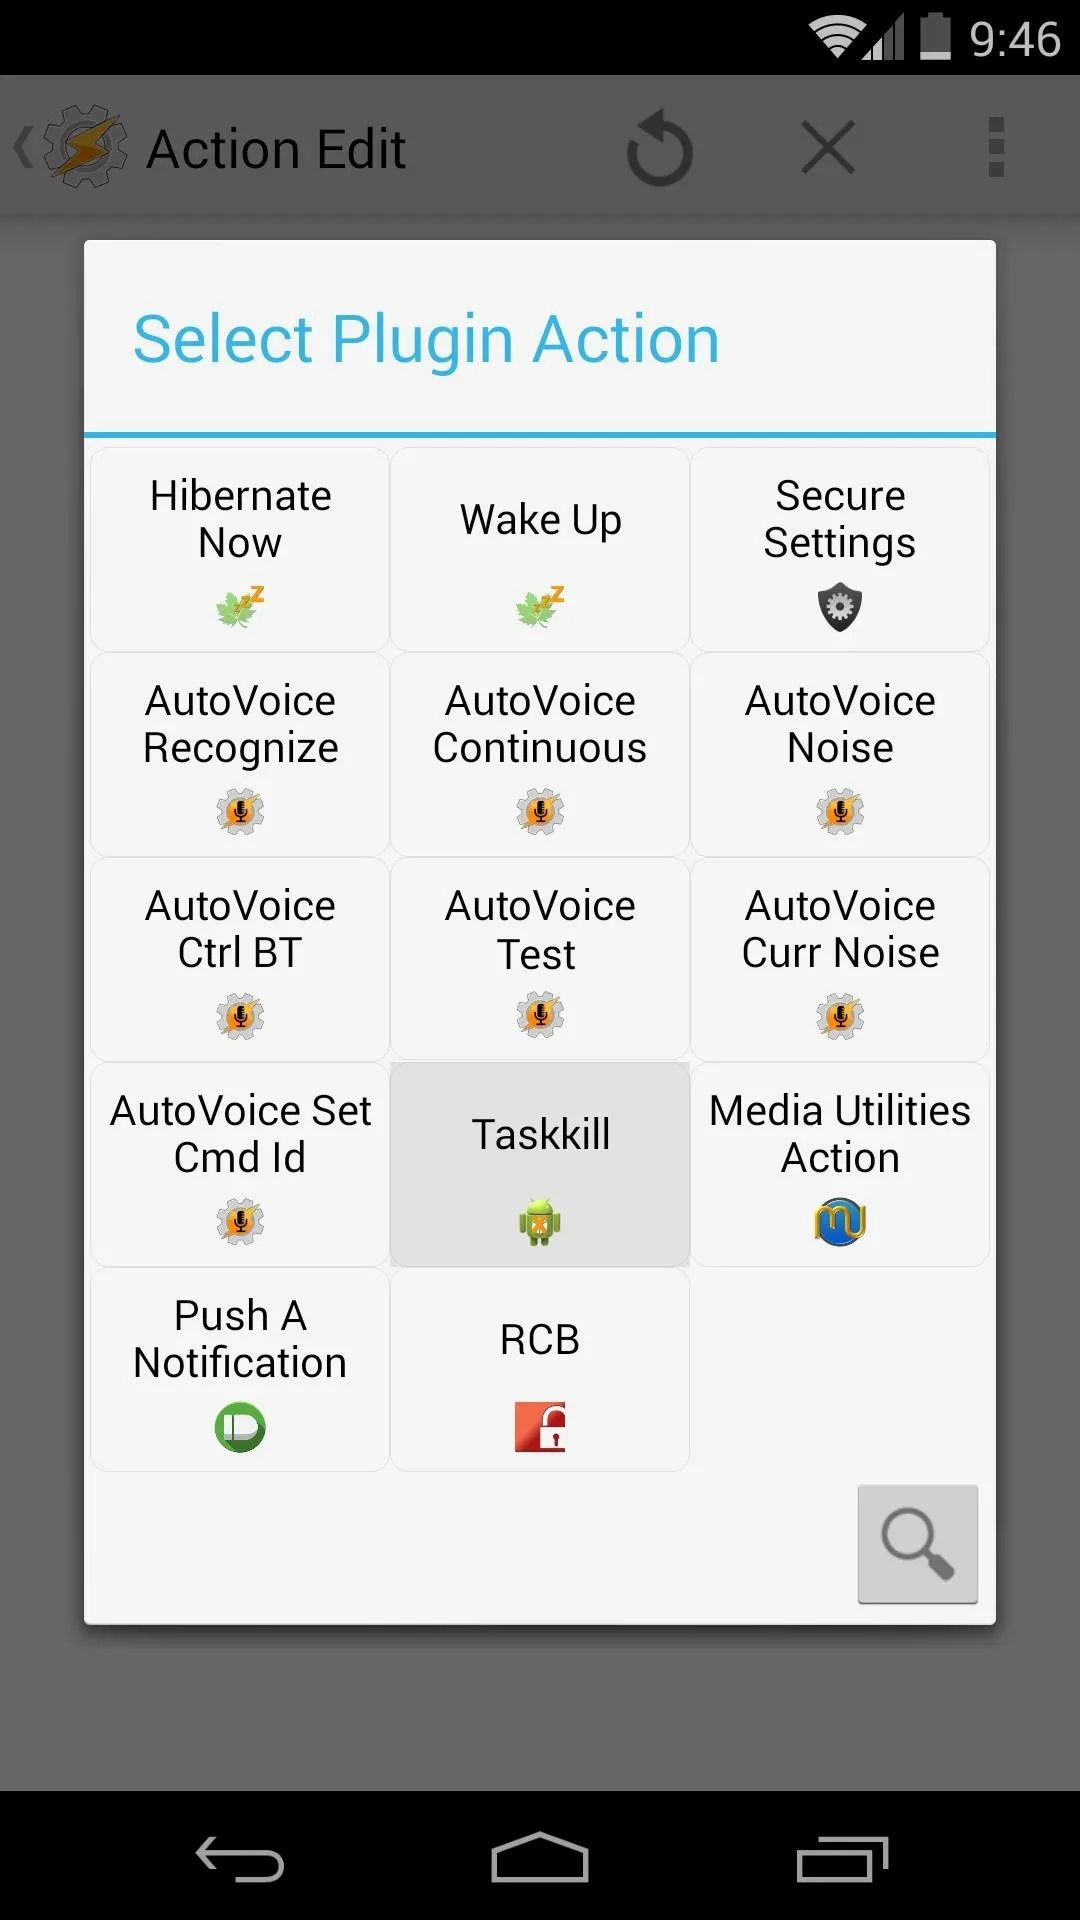
Next up, add another step by tapping the "plus" button. Choose Plugin from the first list, then TaskKill from the second.


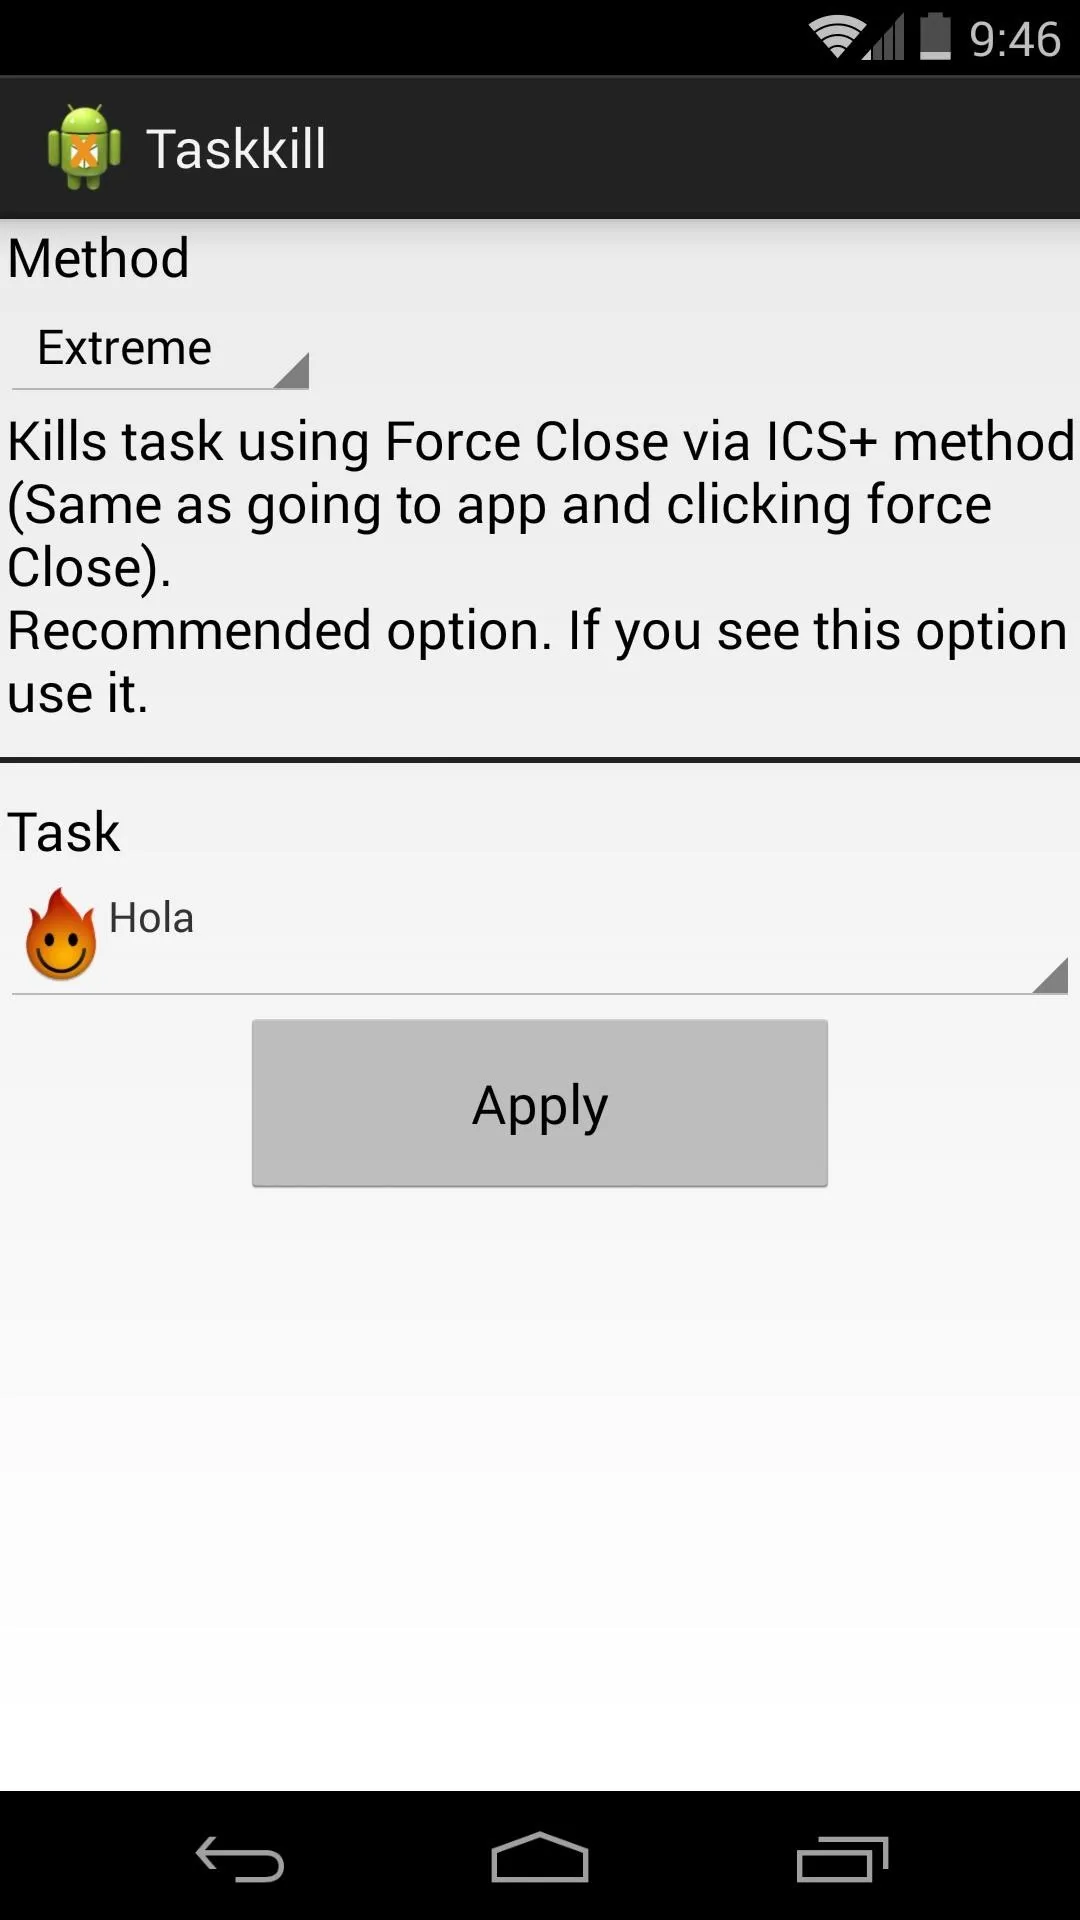
Tap the pencil-shaped edit button at the top-right, then choose Hola from the drop-menu labeled Task. Hit Apply, then tap the back button on your phone.
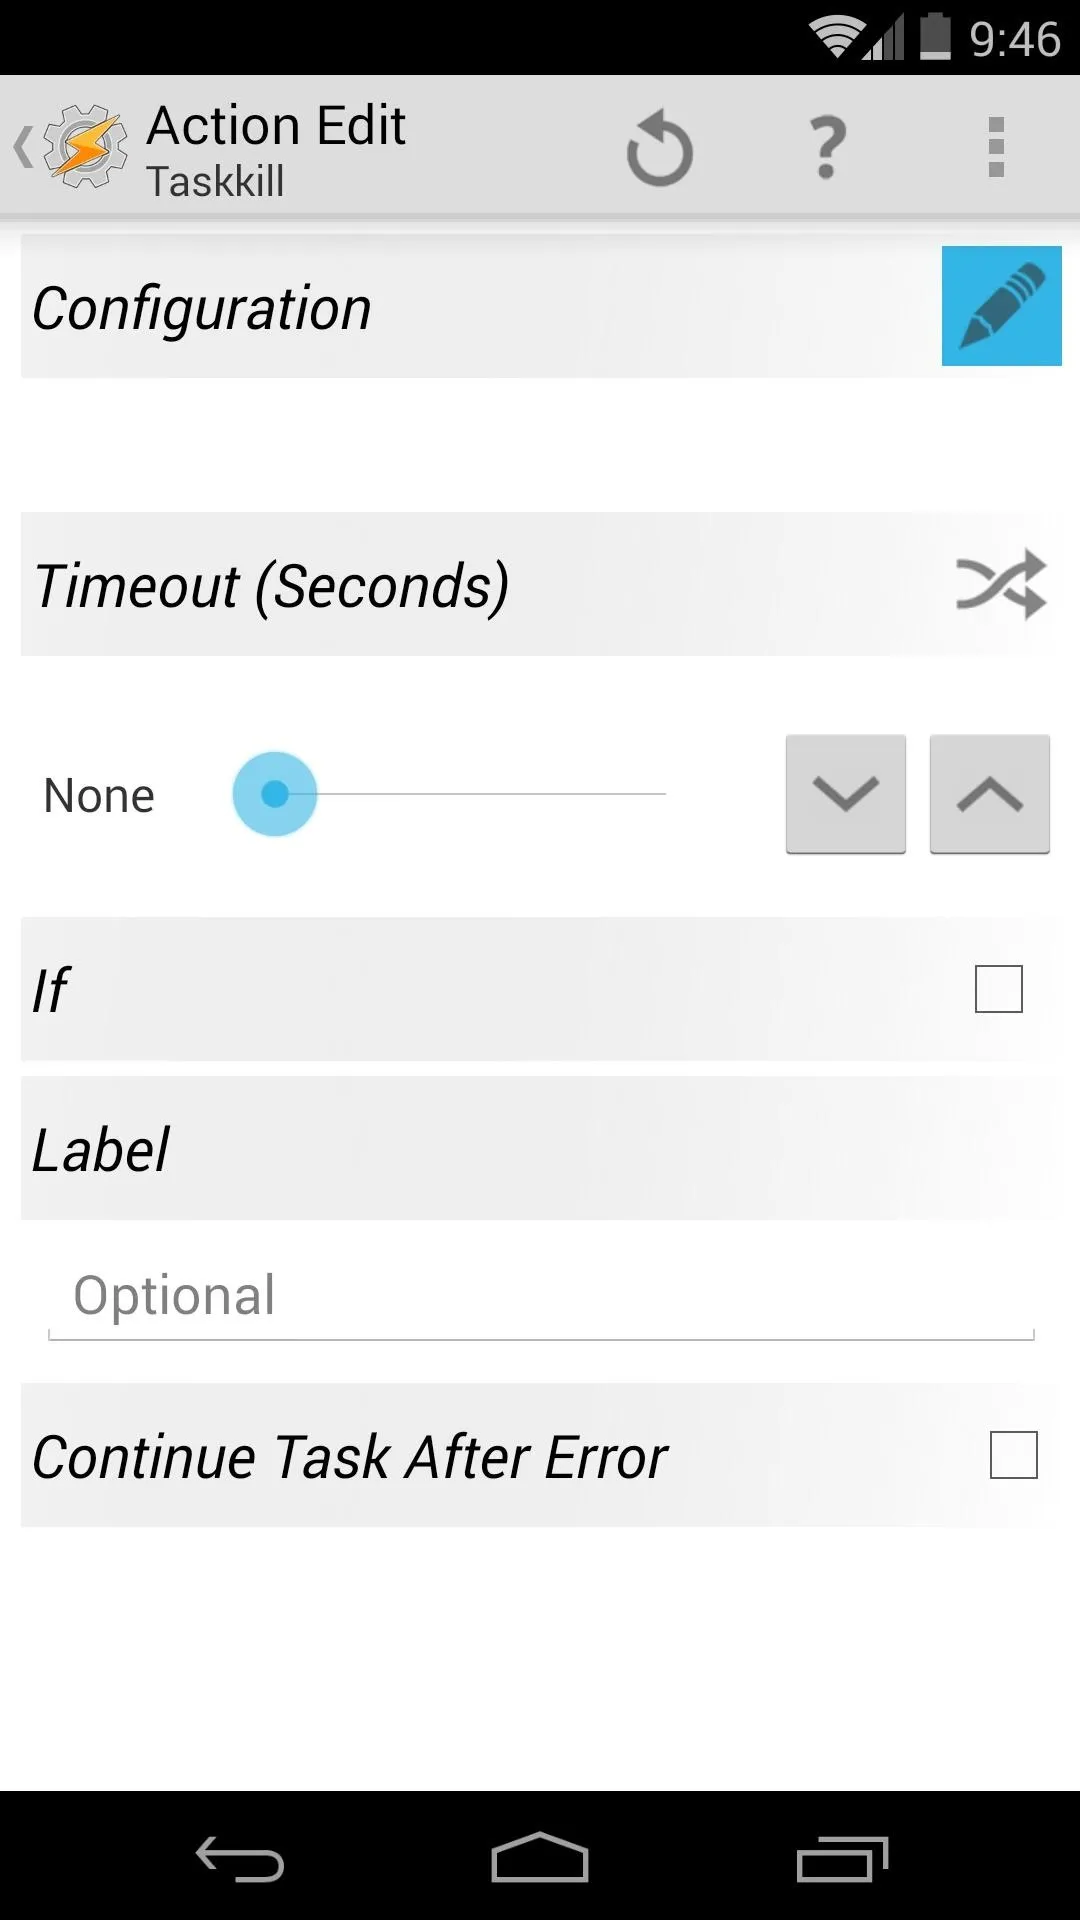
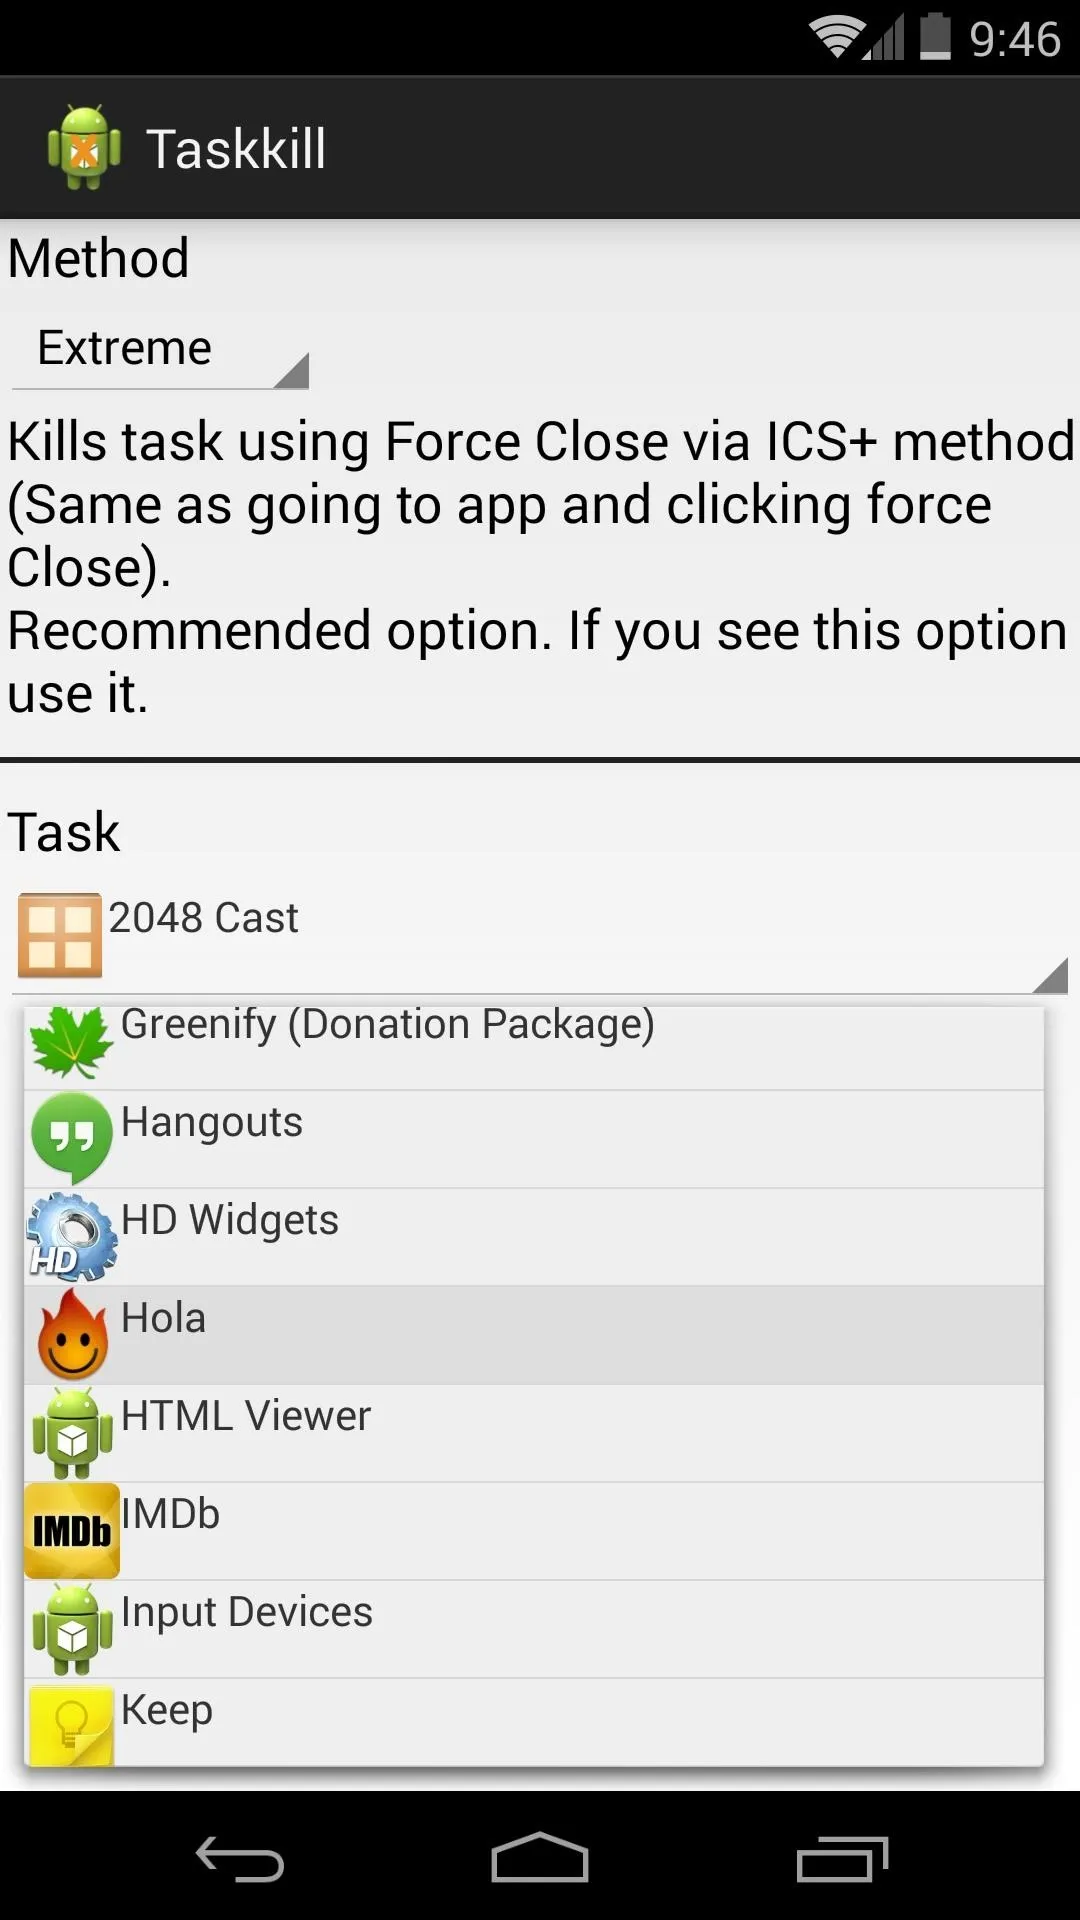


Now we'll add a 10-second wait by hitting the "plus" button and selecting Task, then Wait. Use the slider under Seconds to set the value to 10, then tap the phone's back button once.
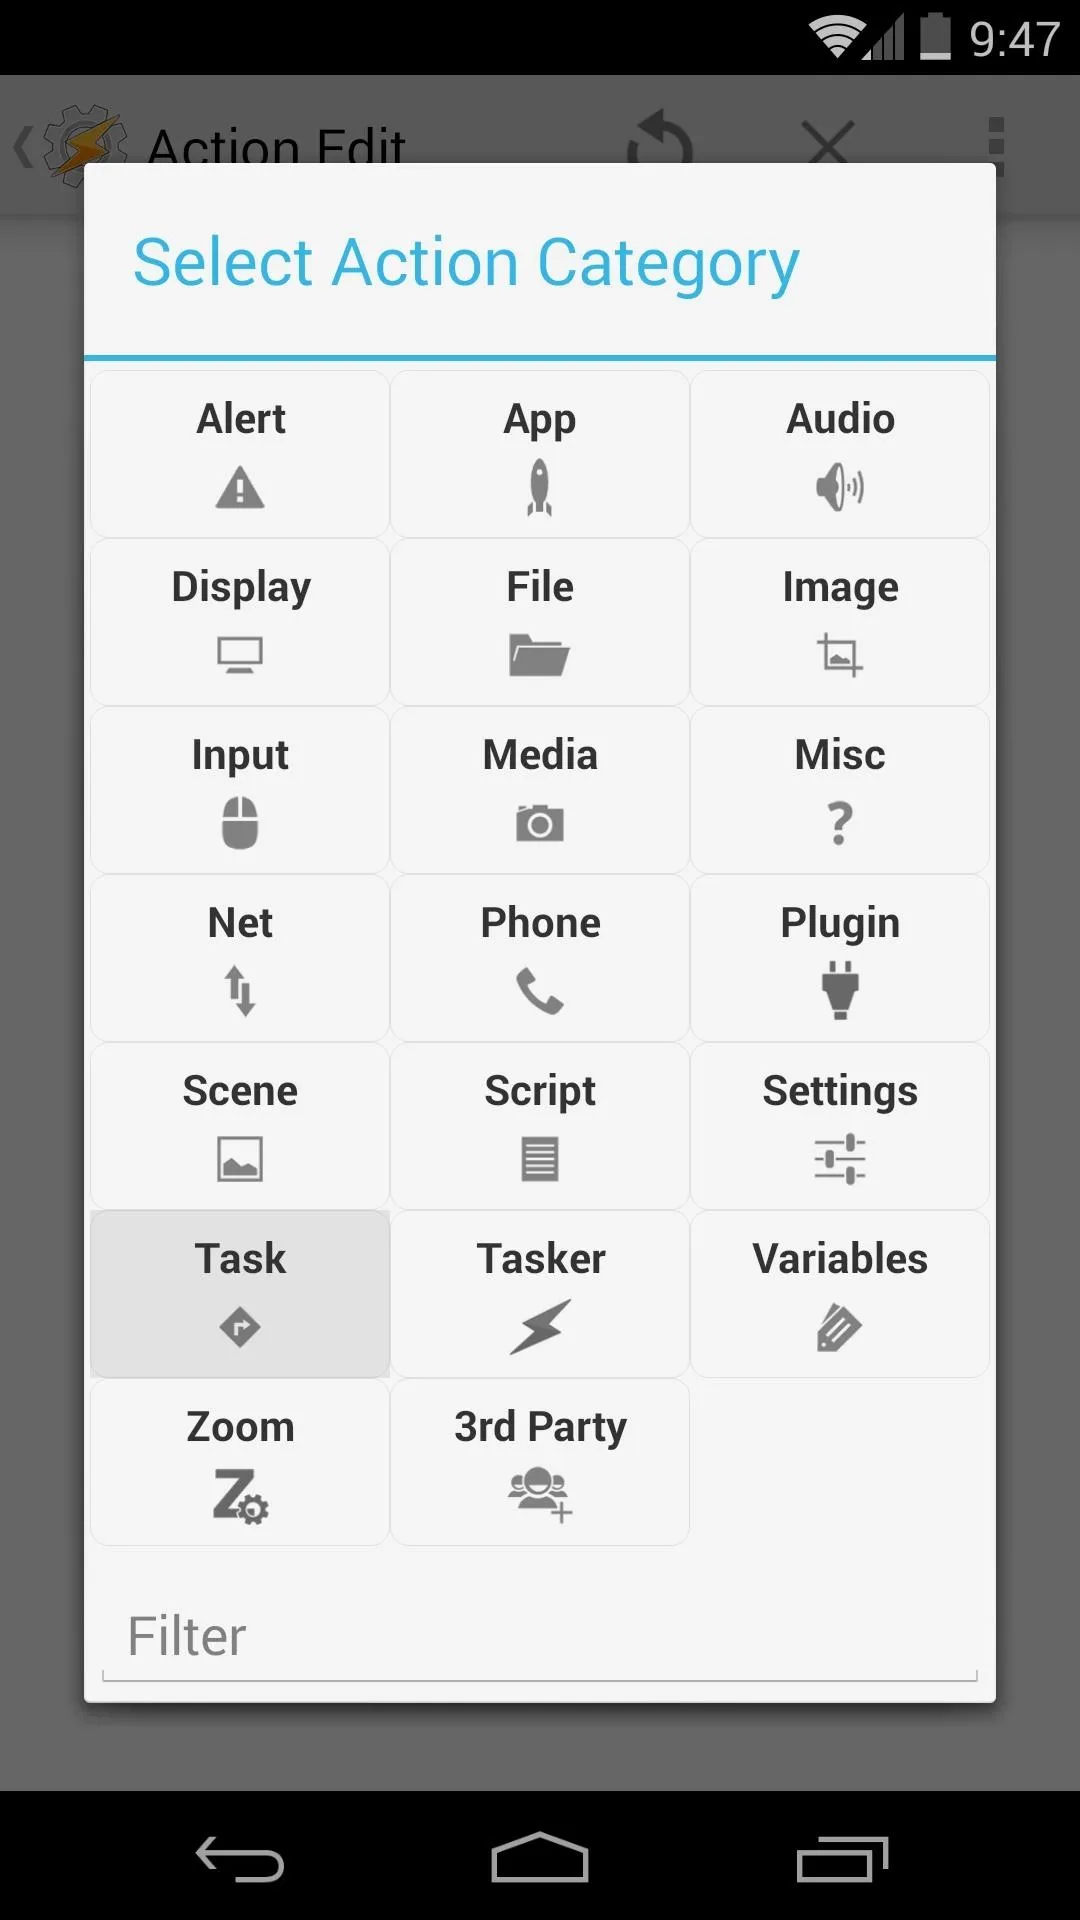
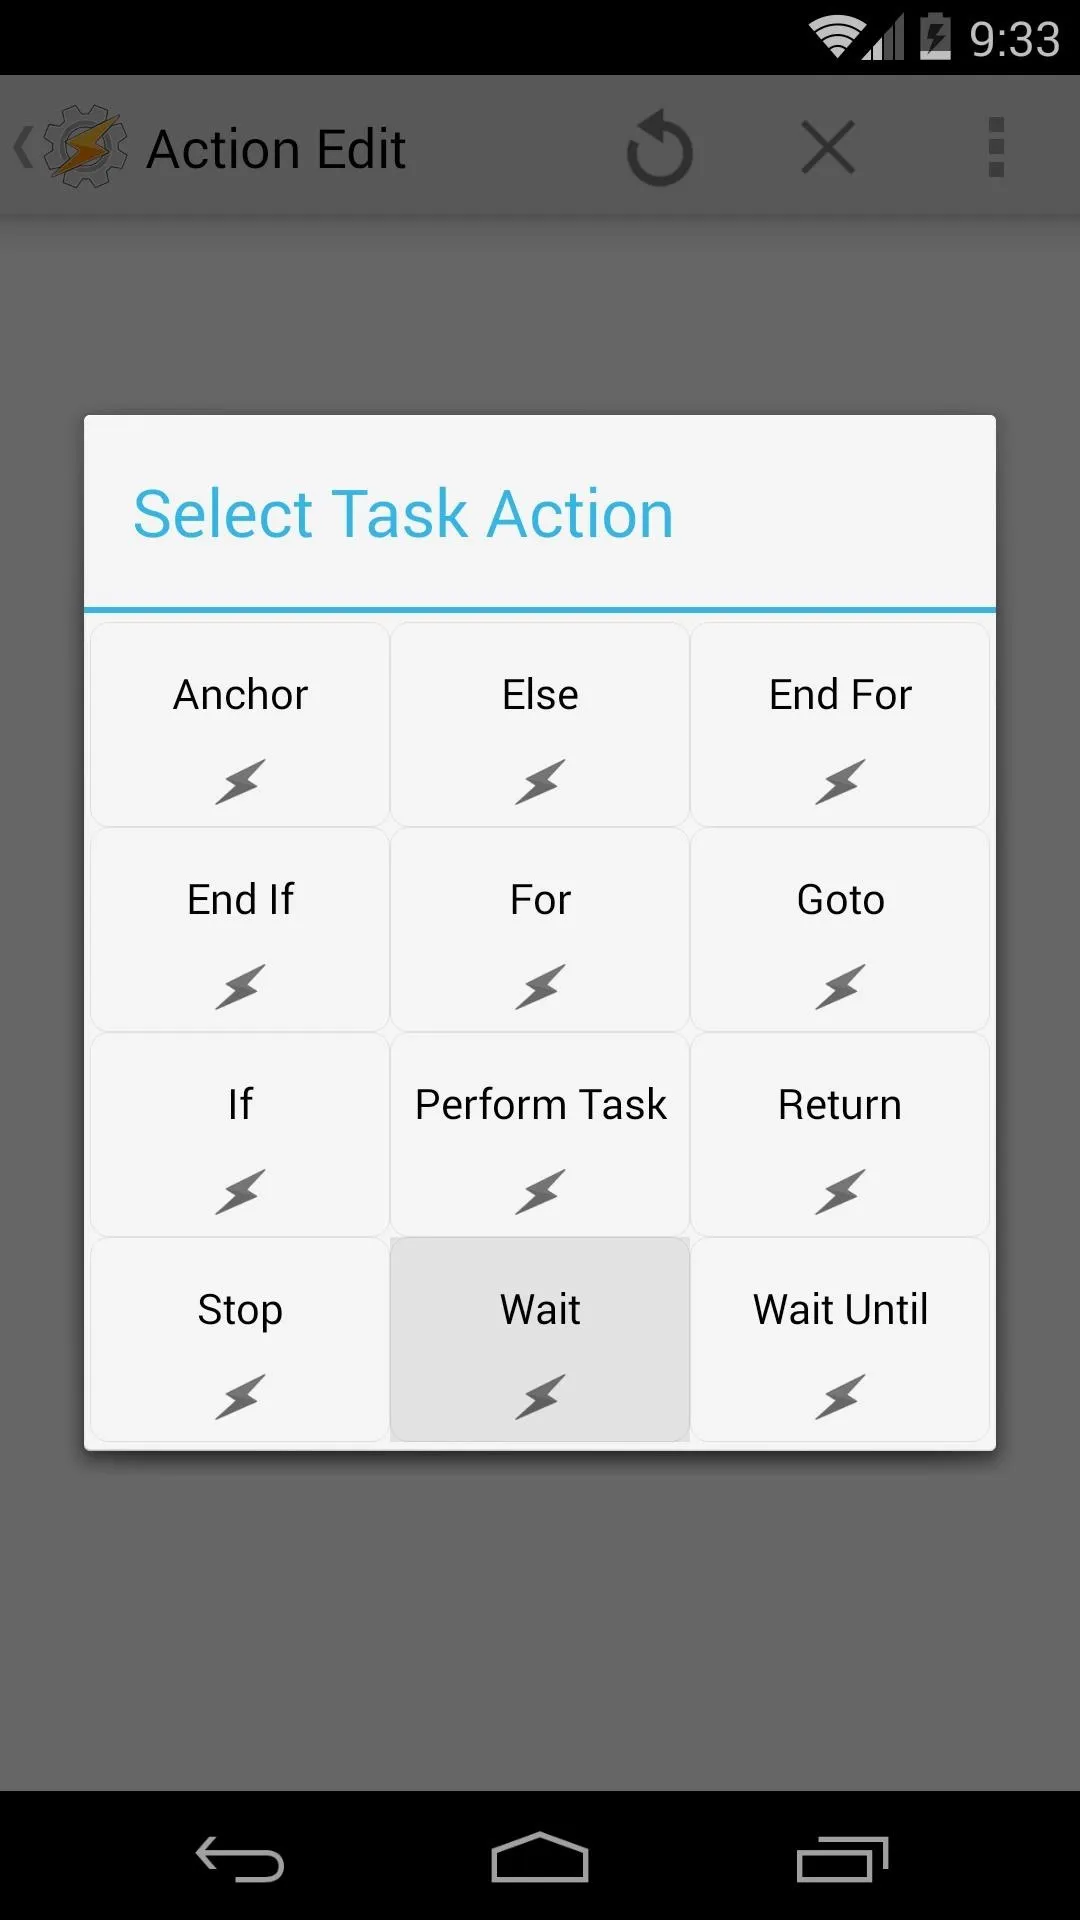
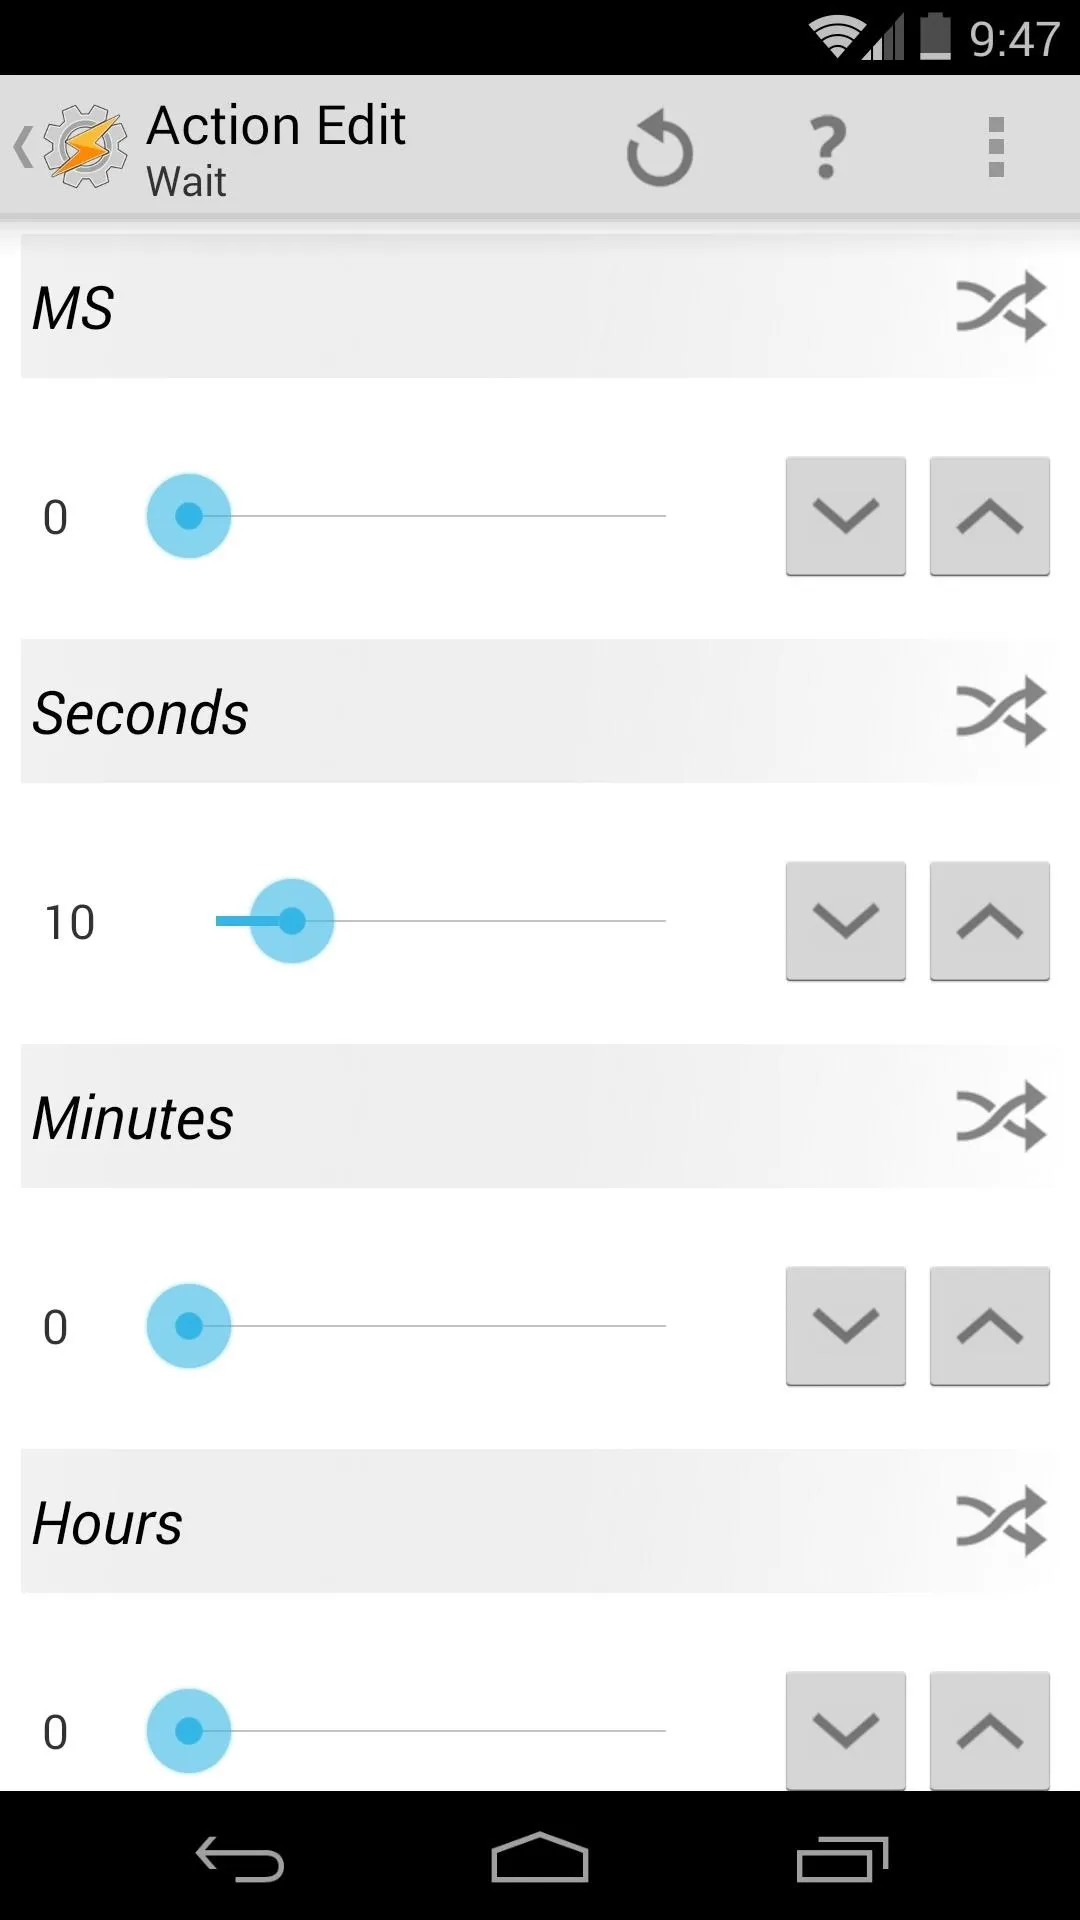


Hit the "plus" button again and select Tasker, then choose Profile Status from the following list.
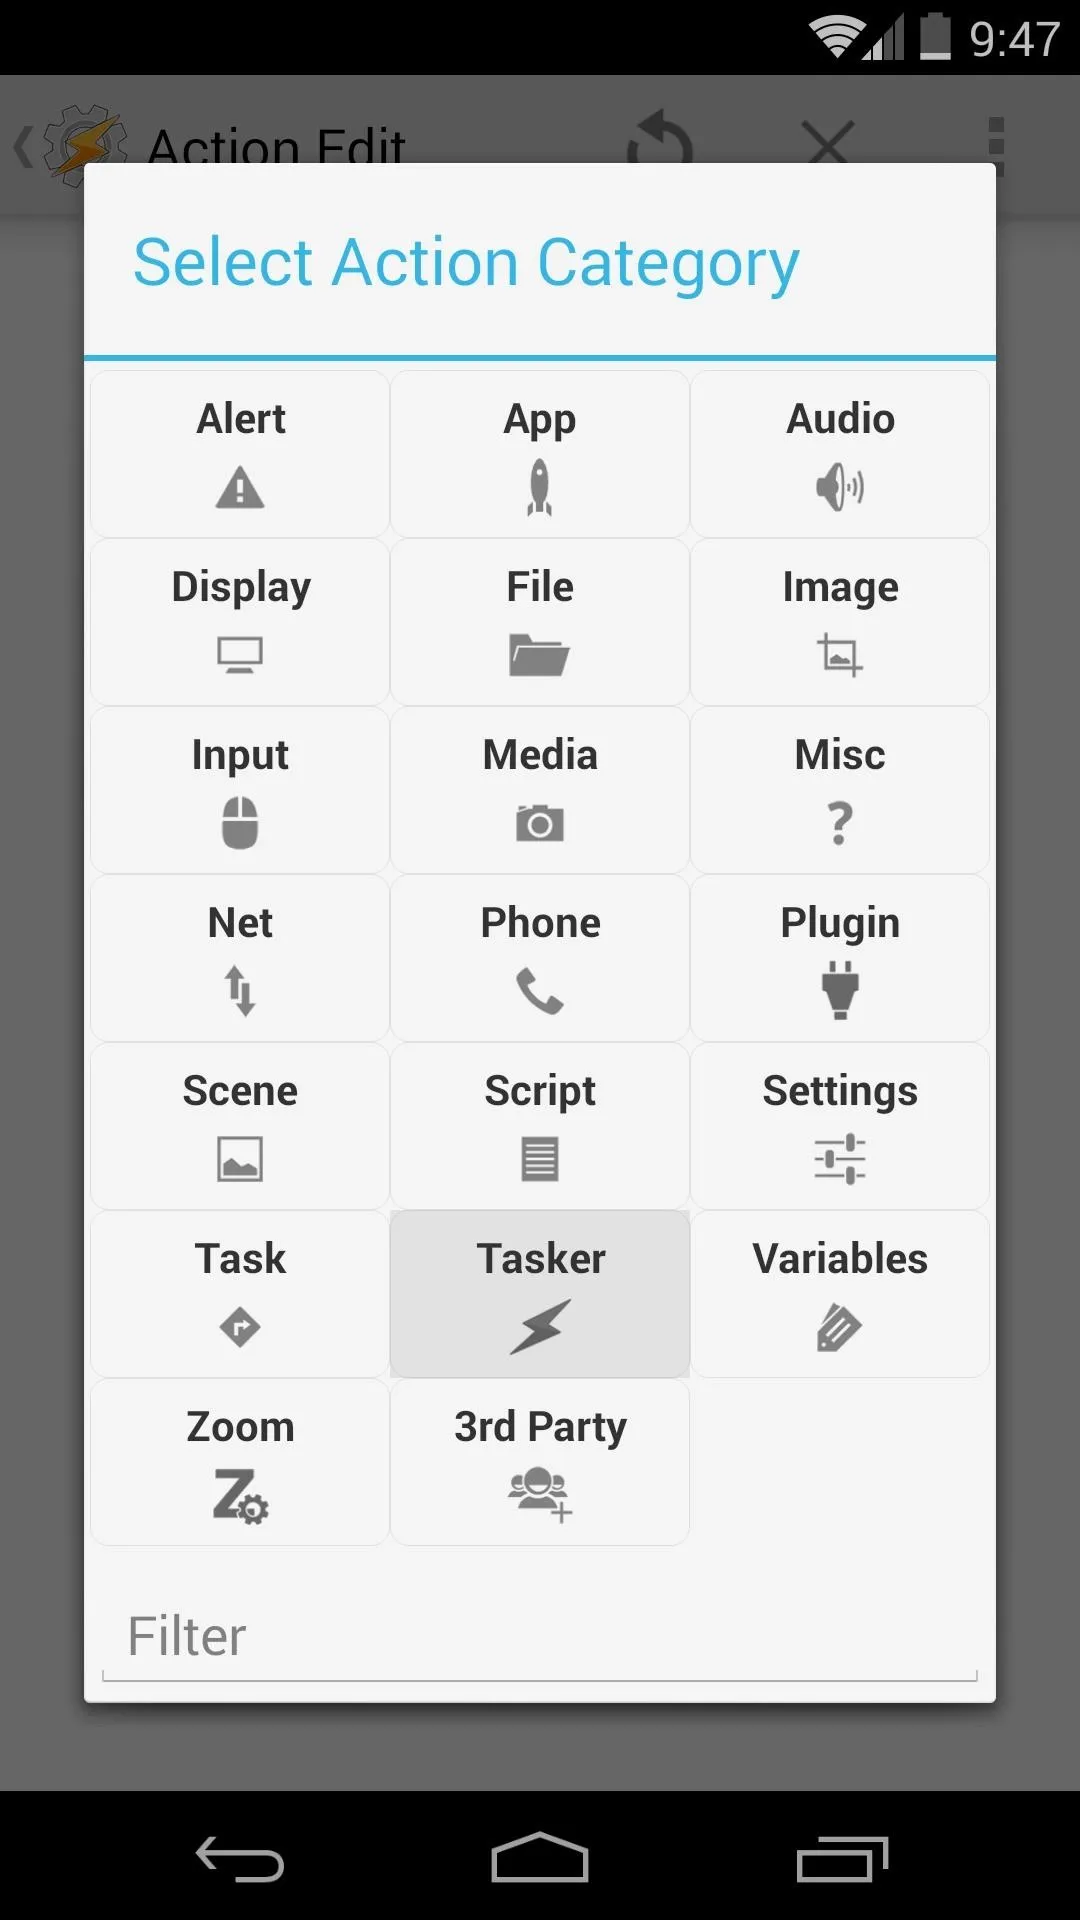
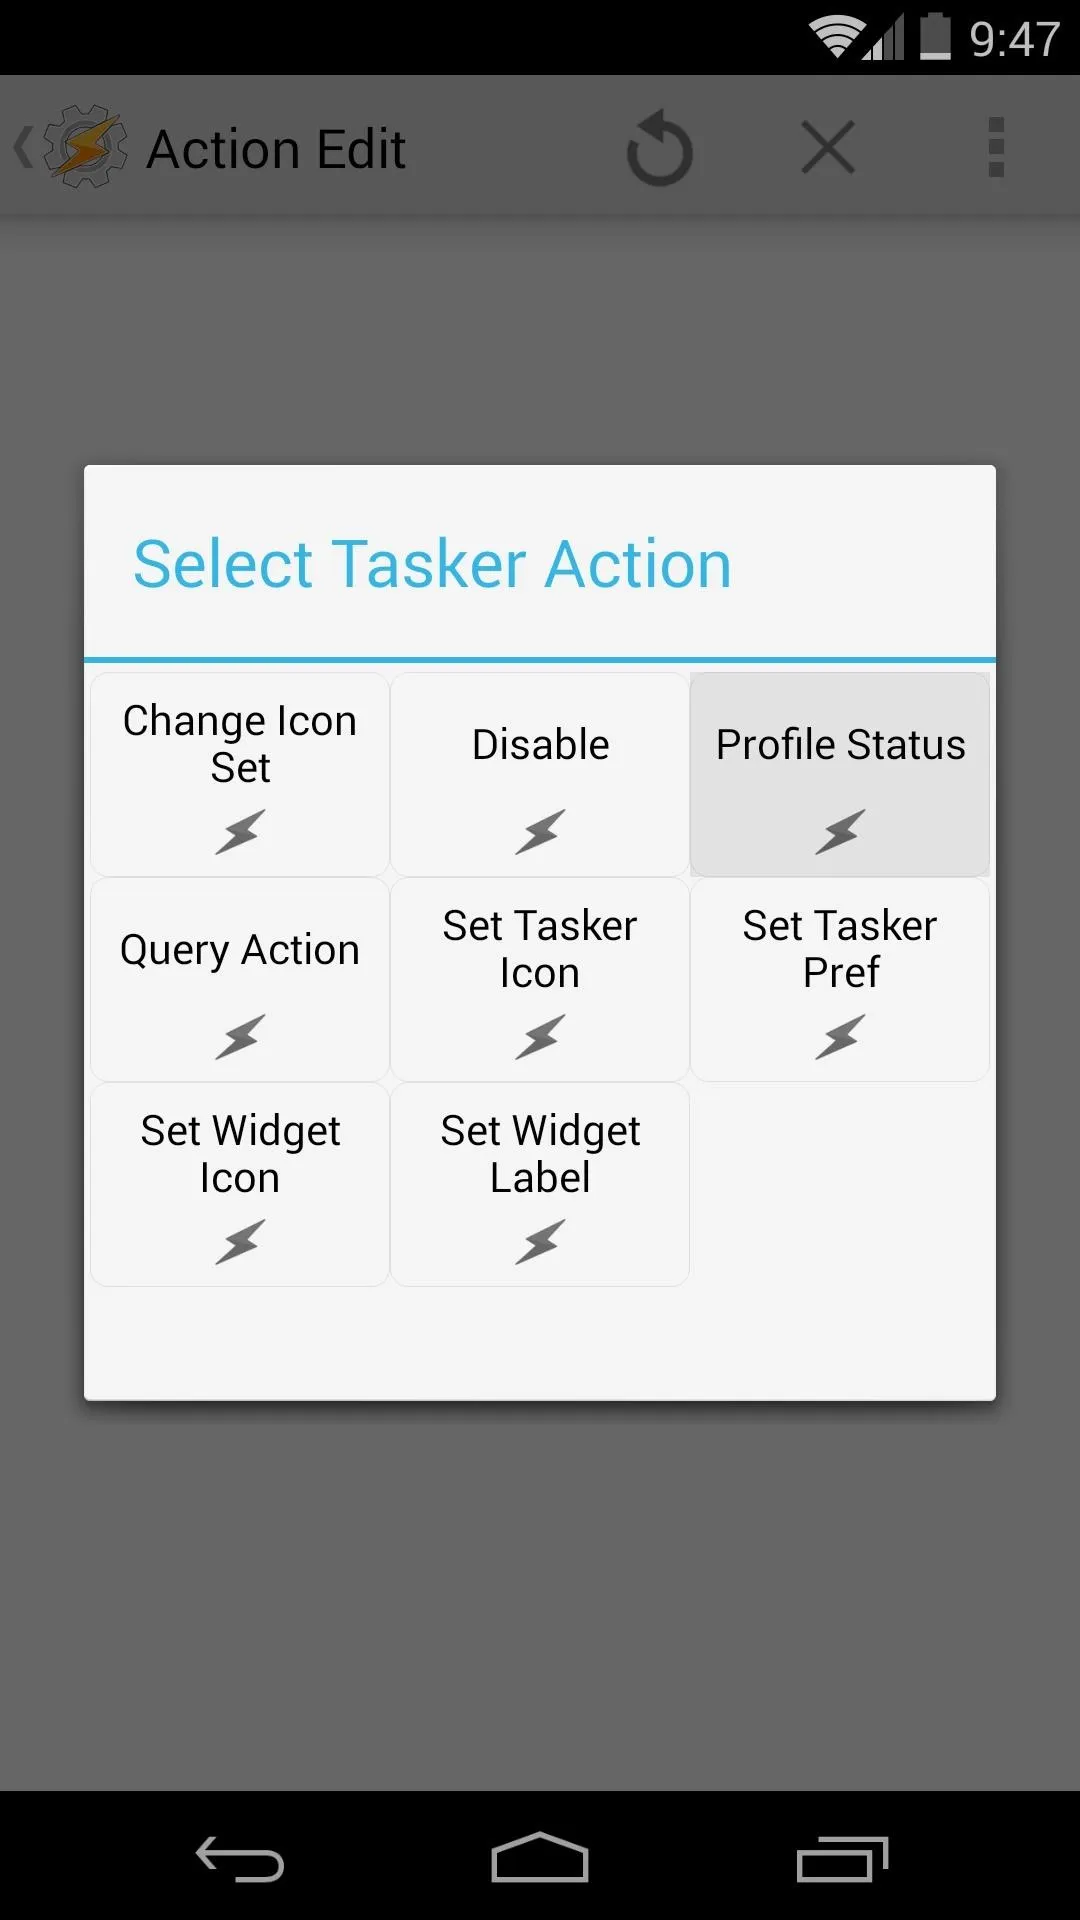


Enter Start Hola(case-sensitive) as the name, and set the value to On. Press the back button twice to head back to Tasker's main screen.


Step 6: Name the Profiles
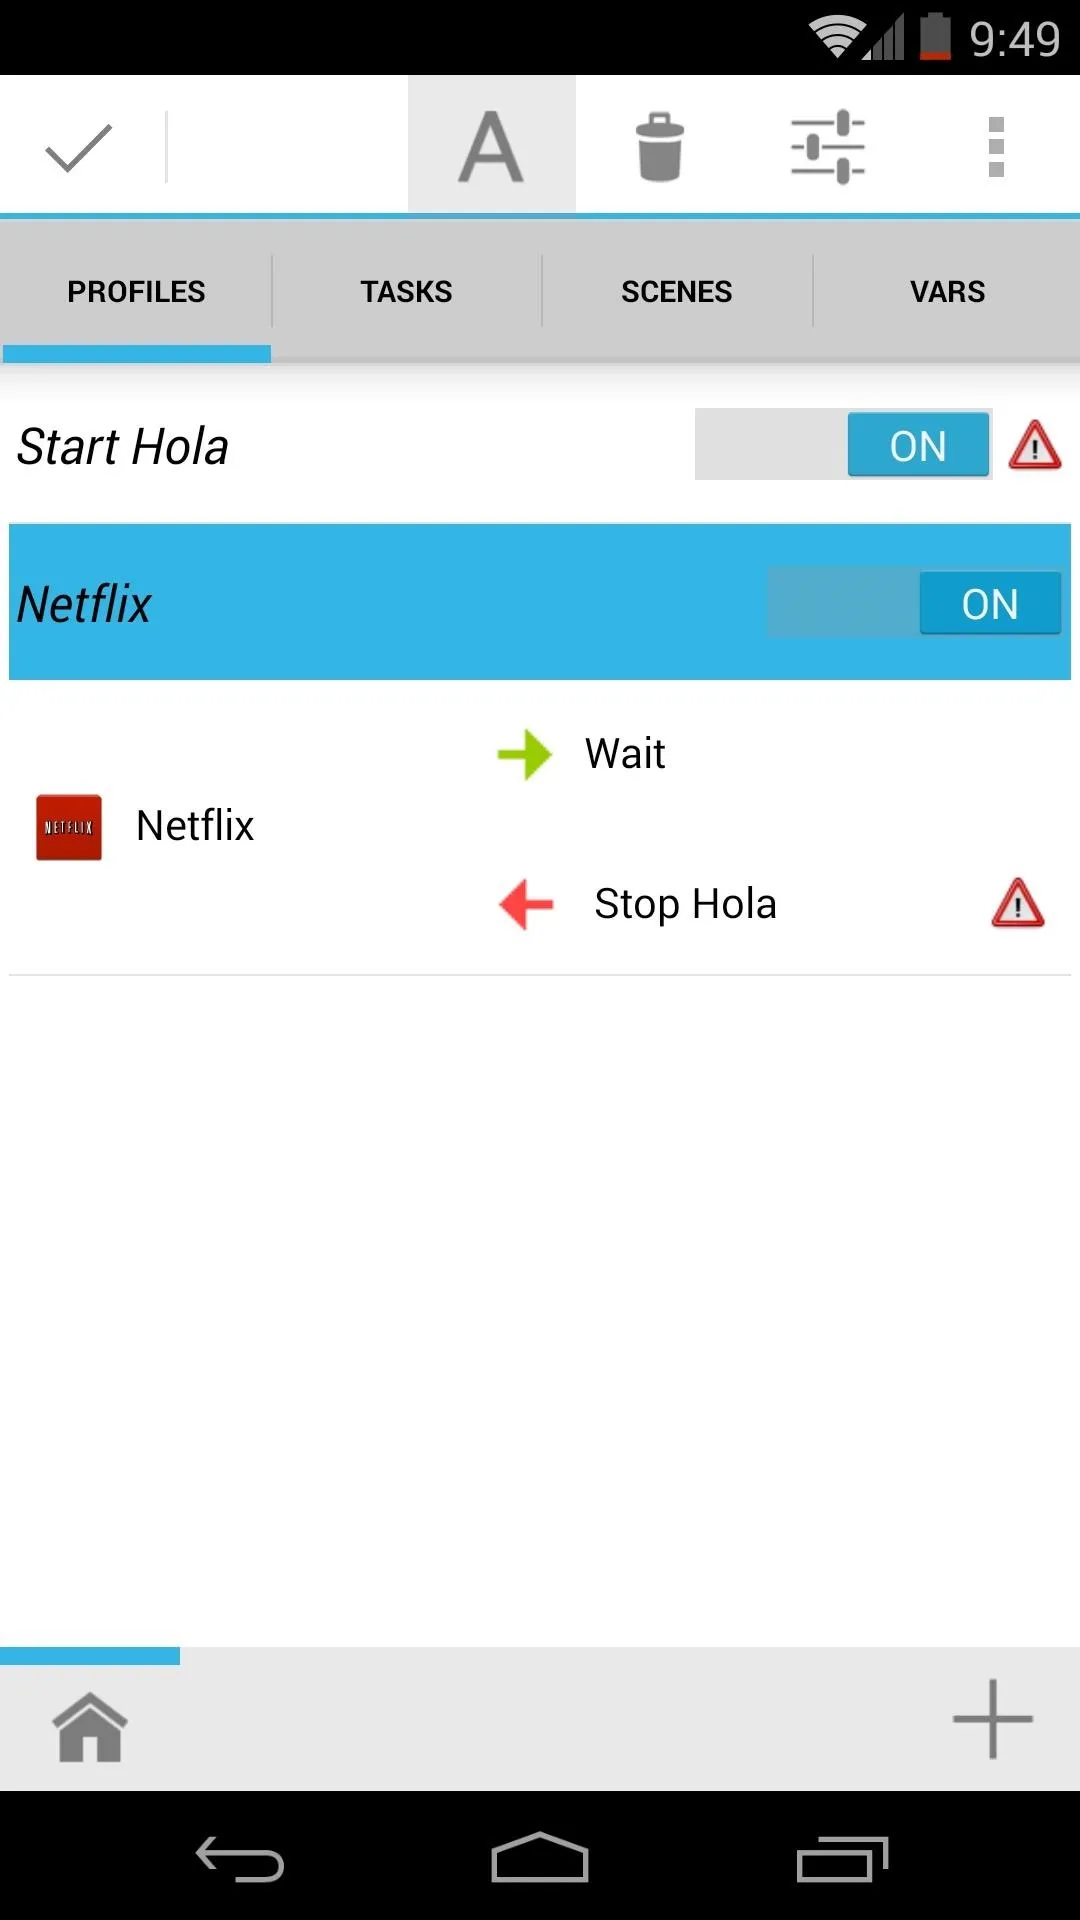
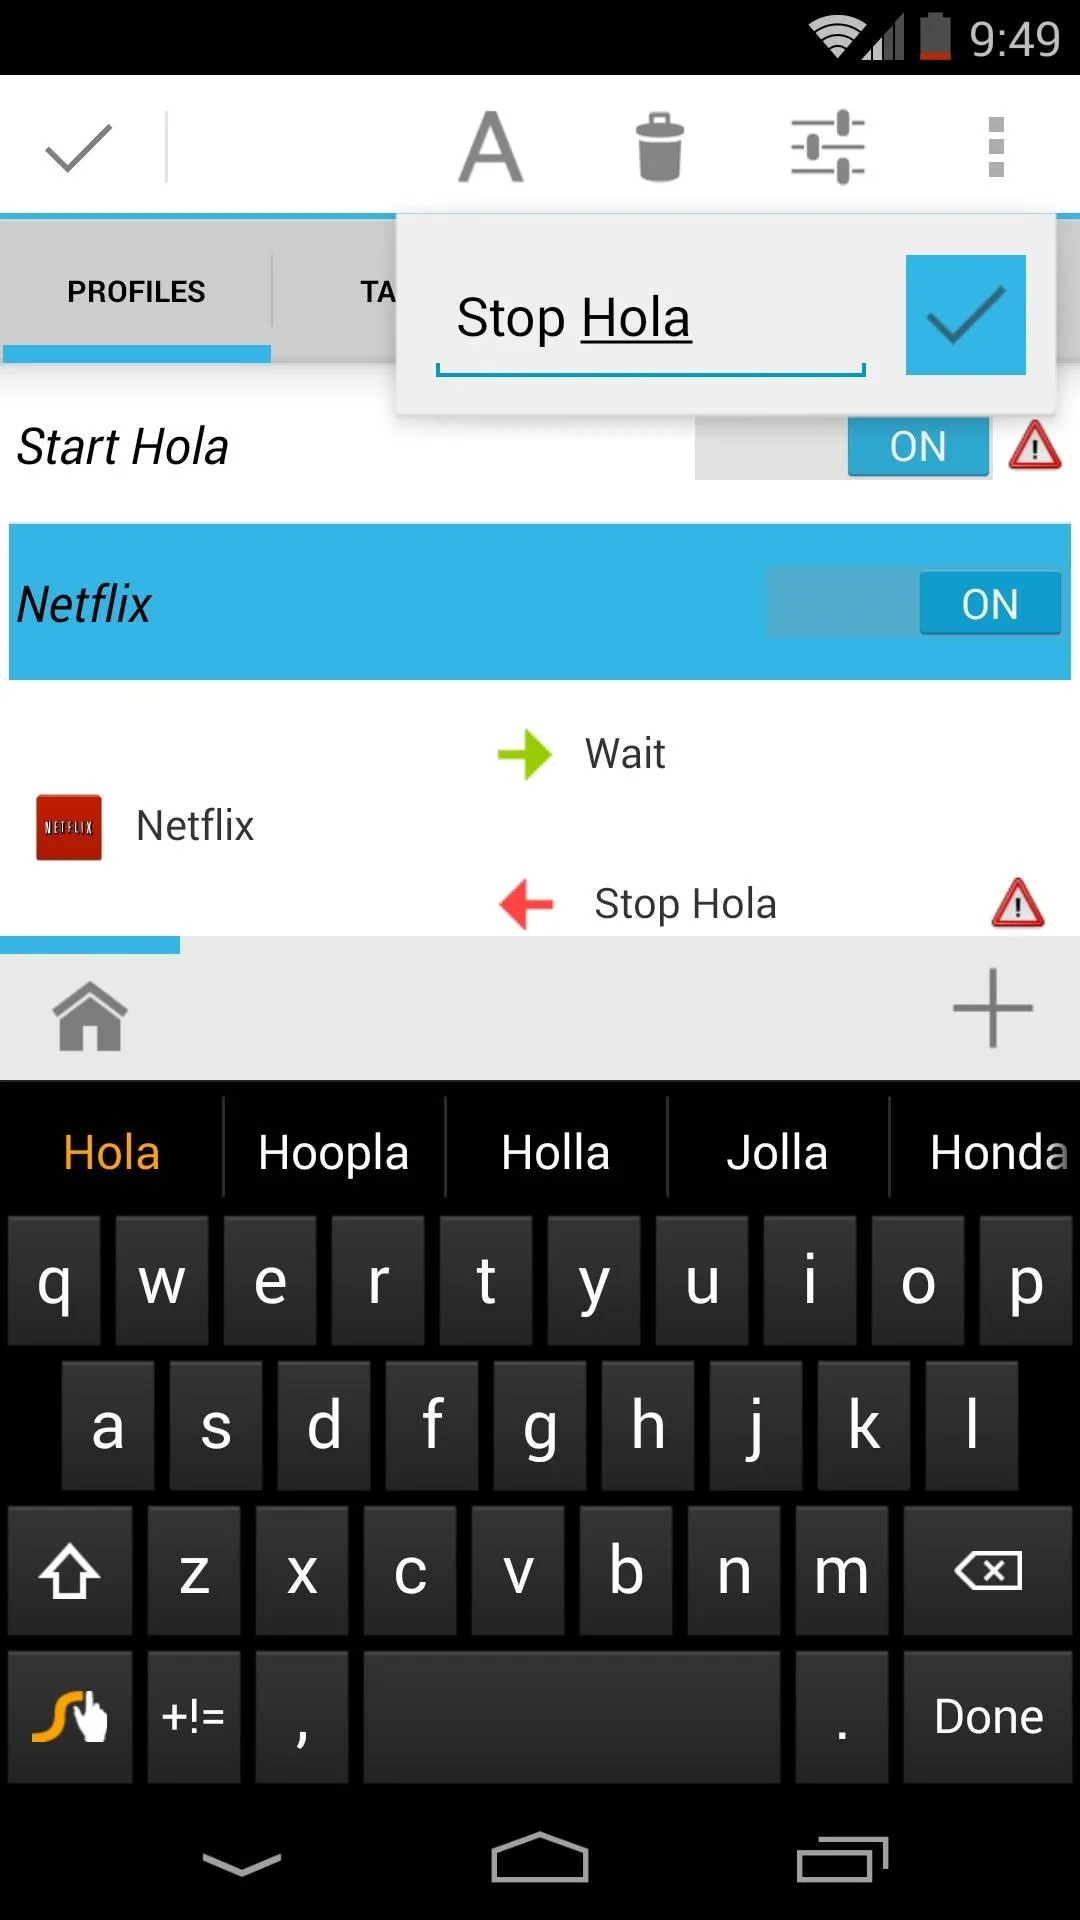
From the Profiles tab in Tasker, long-press the first of our two newly-created profiles. A set of icons will appear across the top—tap the "A" button. Enter Start Hola here (this name is case-sensitive) and press the "check mark" button to confirm your entry.
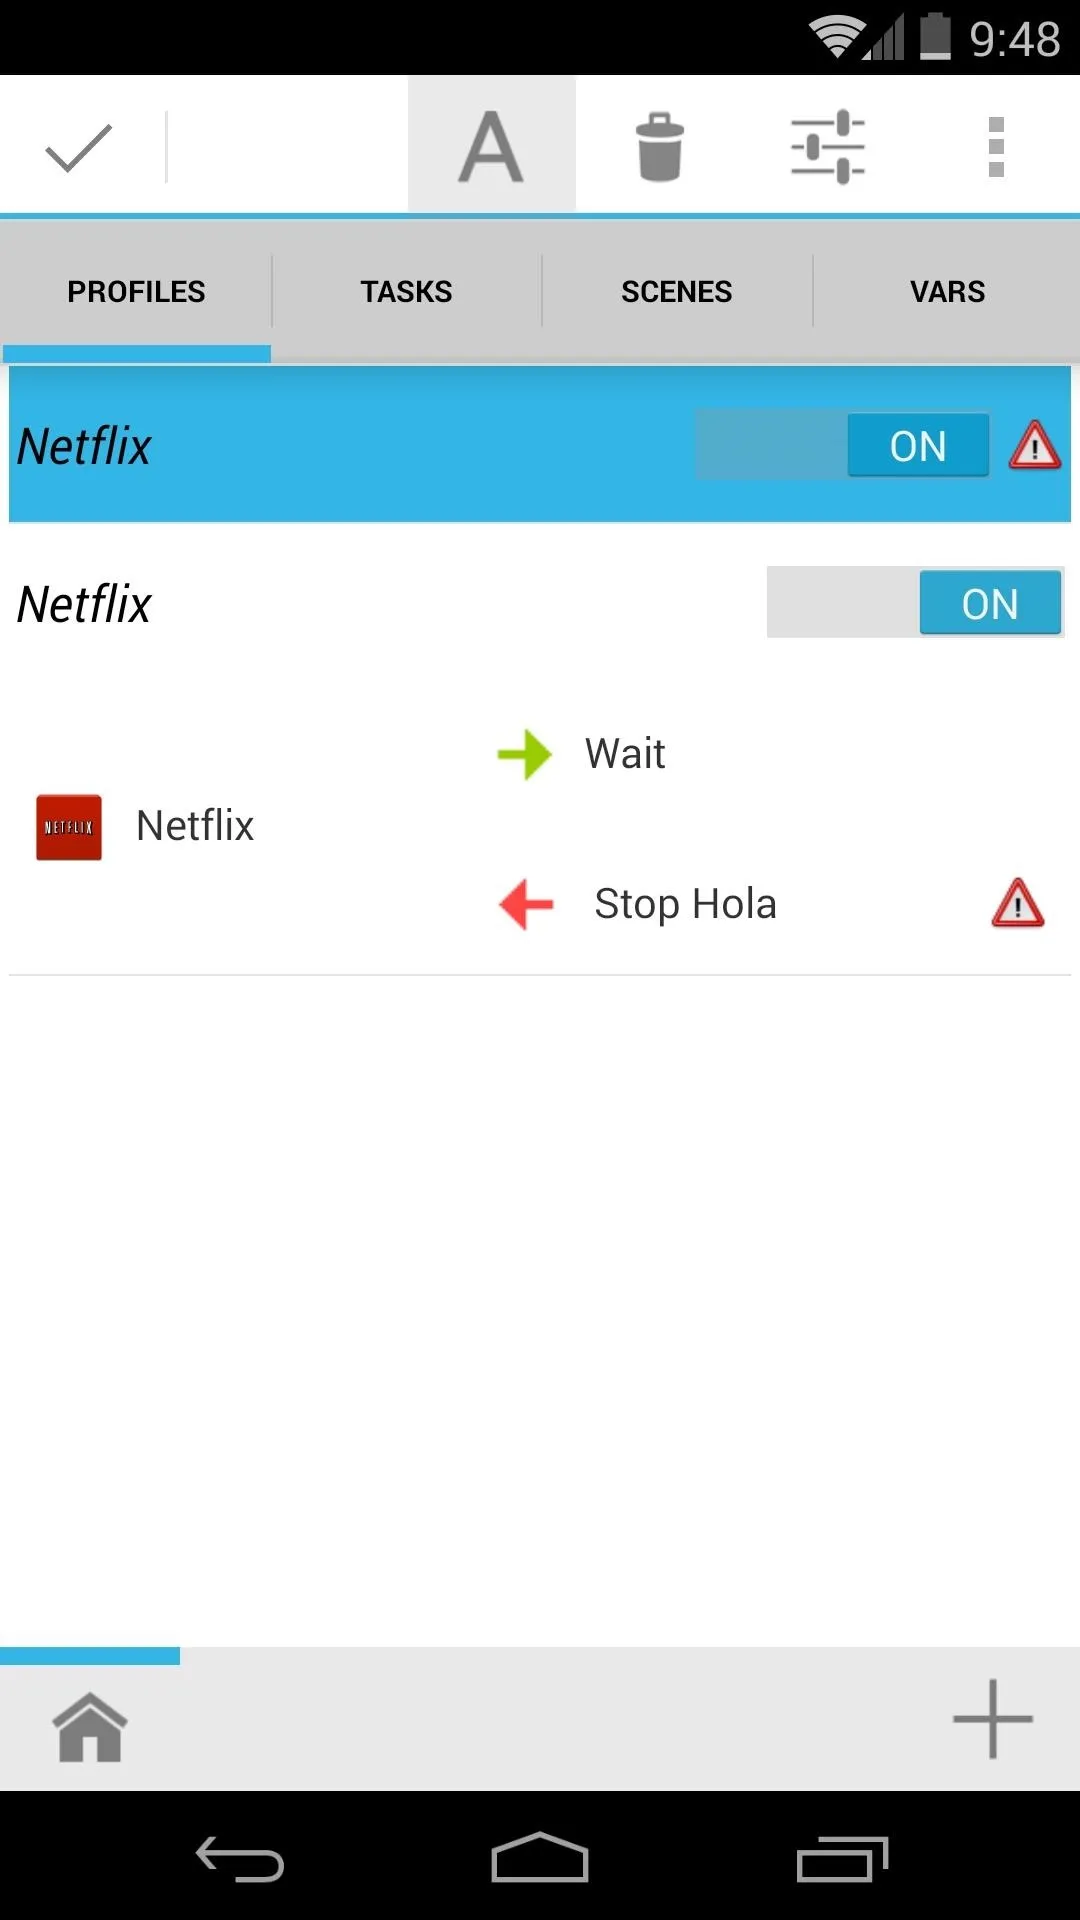
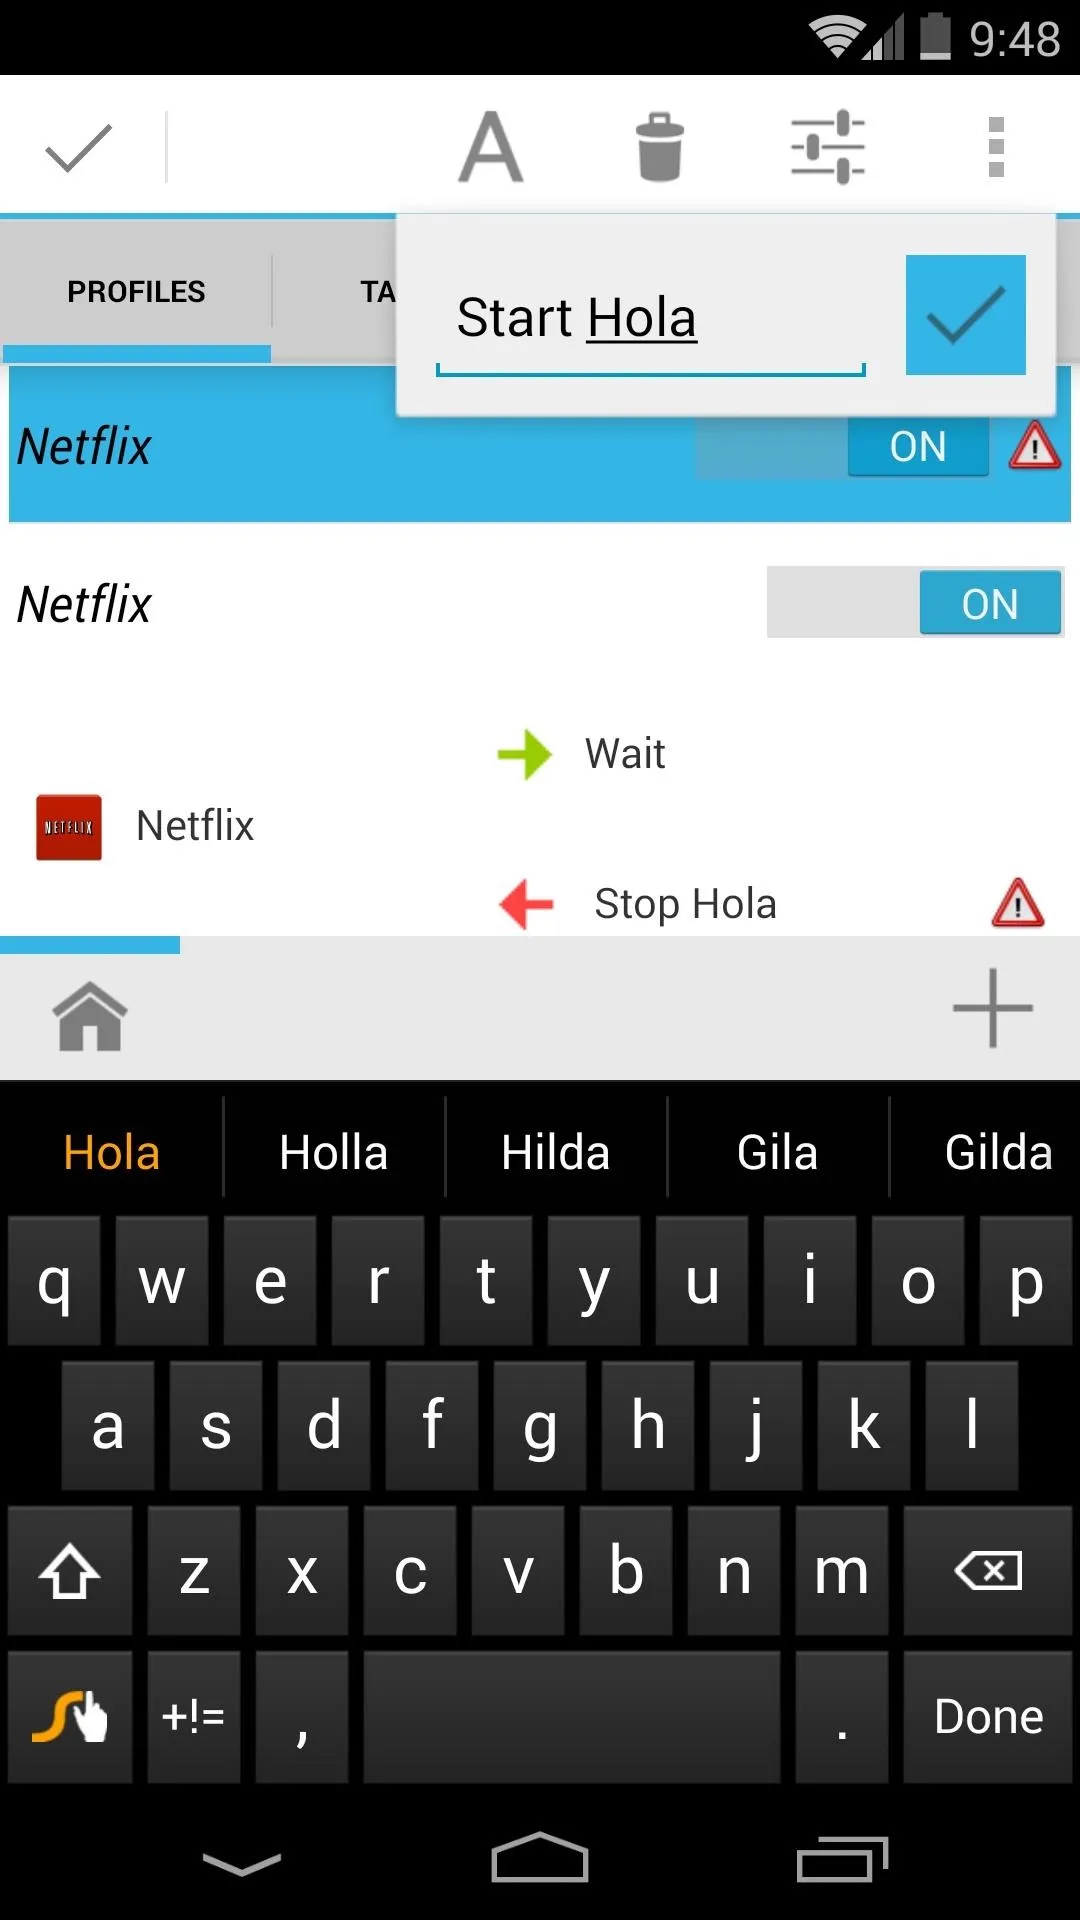


Repeat this process with the second of our two profiles, this time naming it Stop Hola(case-sensitive).


Step 7: Set the "Stop Hola" Profile to "Off"
From the Profiles tab of Tasker, tap the toggle switch to the right of our "Stop Hola" profile. The end result should look something like this:
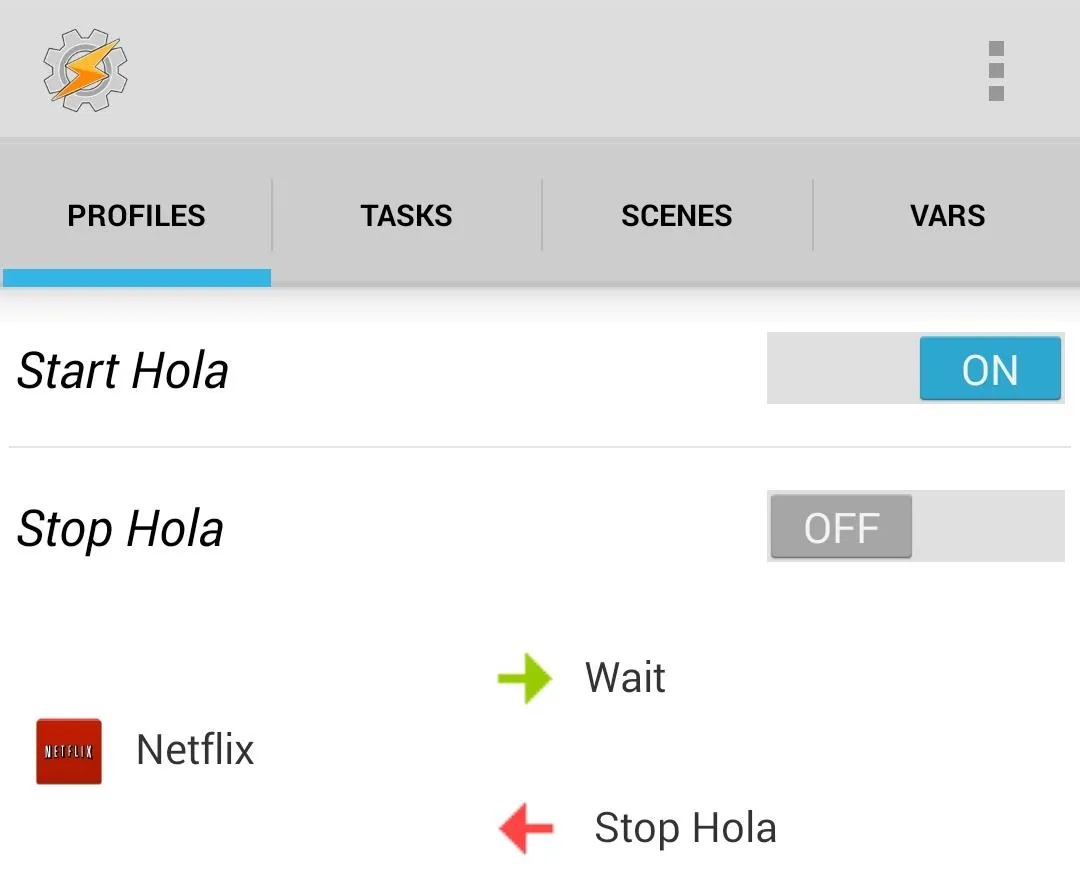
The reason we do this is because the profiles turn each other on and off when needed. Basically, the profiles get stuck in a loop of opening Hola/closing Netflix, then opening Netflix/closing Hola, and repeating.
Using Your International Netflix
The Tasker profiles you just created will ensure that Hola is running any time you launch Netflix. They will also see to it that the Hola service stops when you exit Netflix. To change to a different country's Netflix library, just open the Hola app and select the country you want from the list.
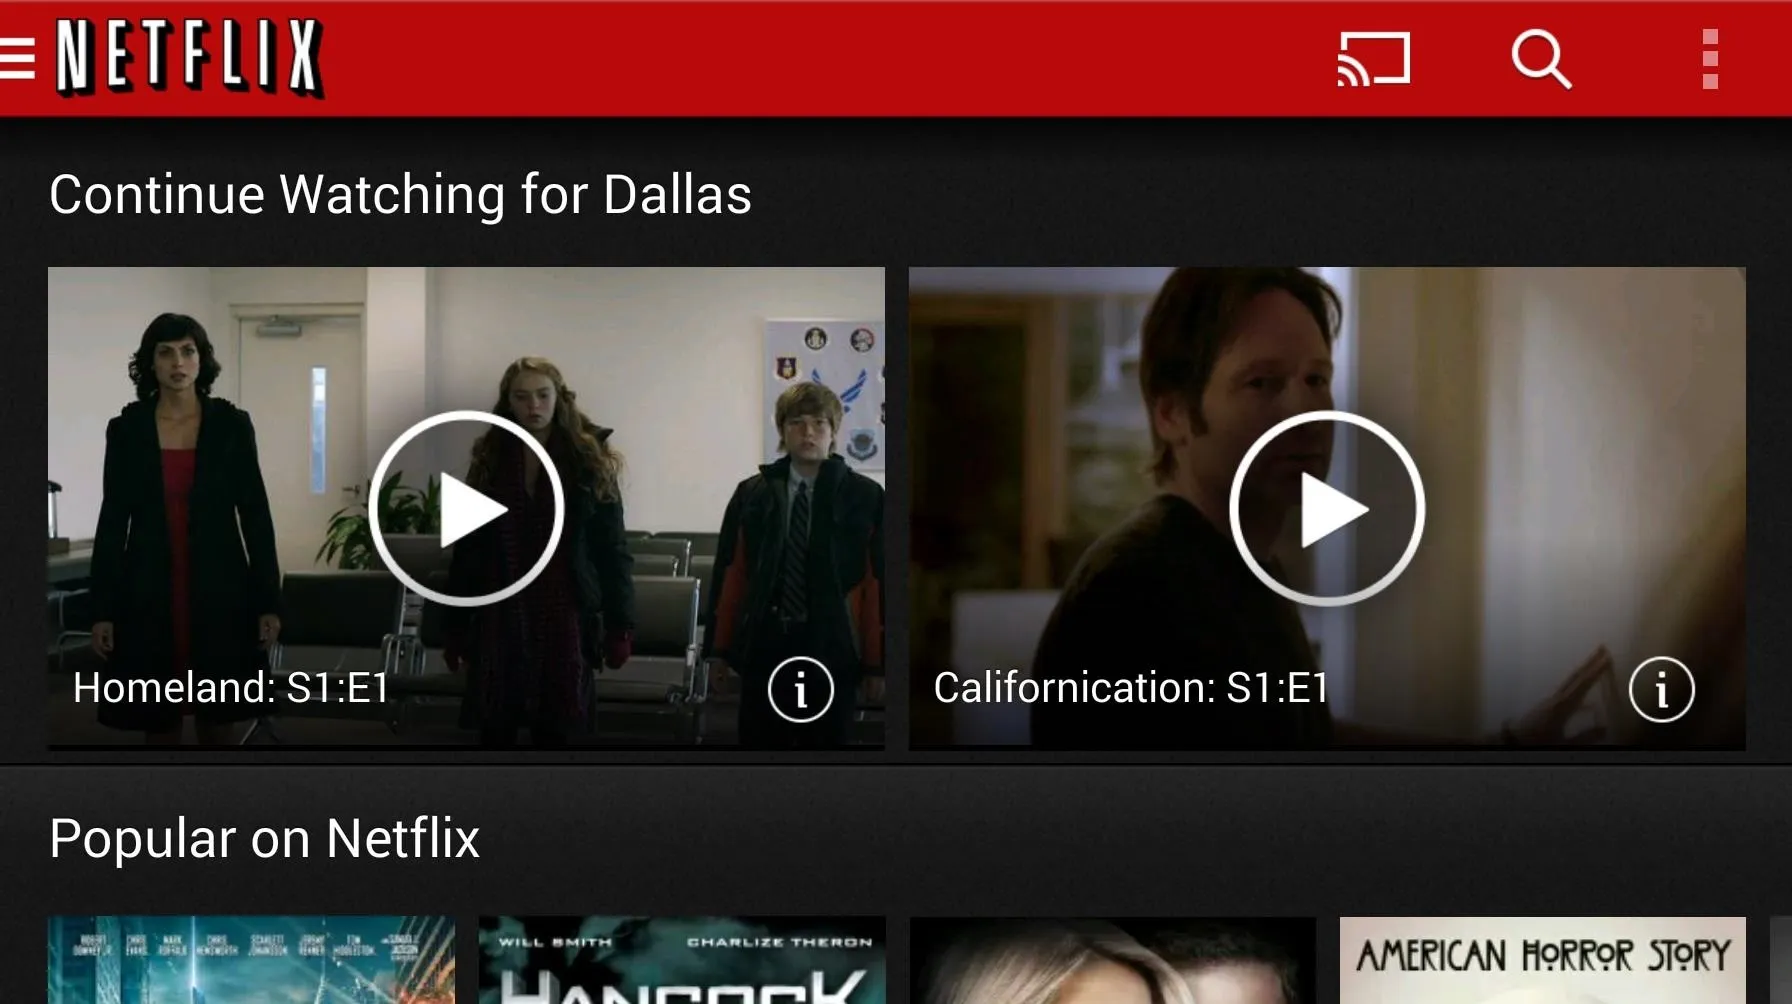
Go ahead and try it out—simply open your Netflix app, wait a few seconds for Tasker to do it's thing, and enjoy the new content!


Comments
No Comments Exist
Be the first, drop a comment!