Android 5.0 has a killer new feature that should make securing your device easier than ever. It's called Smart Lock, and it essentially lets you bypass your secure lock screen when you're in a "trusted environment." This means that if you're connected to a known Bluetooth device or near a pre-programmed NFC card, you don't have to bother entering your pattern, PIN, or password.
Developers Aravind Sagar and Priyan Vaithilingam have ported this functionality to devices running KitKat, so you don't have to wait to try out Lollipop's Smart Lock features. In addition, their app replicates the look and functionality of 5.0's all-new lock screen, so it's definitely worth a look.
Step 1: Install Smart Lock Screen
Sagar's app has not made its way onto the Google Play Store just yet, so you'll need to download it separately. Before you begin, though, make sure your device is set to allow for installation of apps from "Unknown sources."
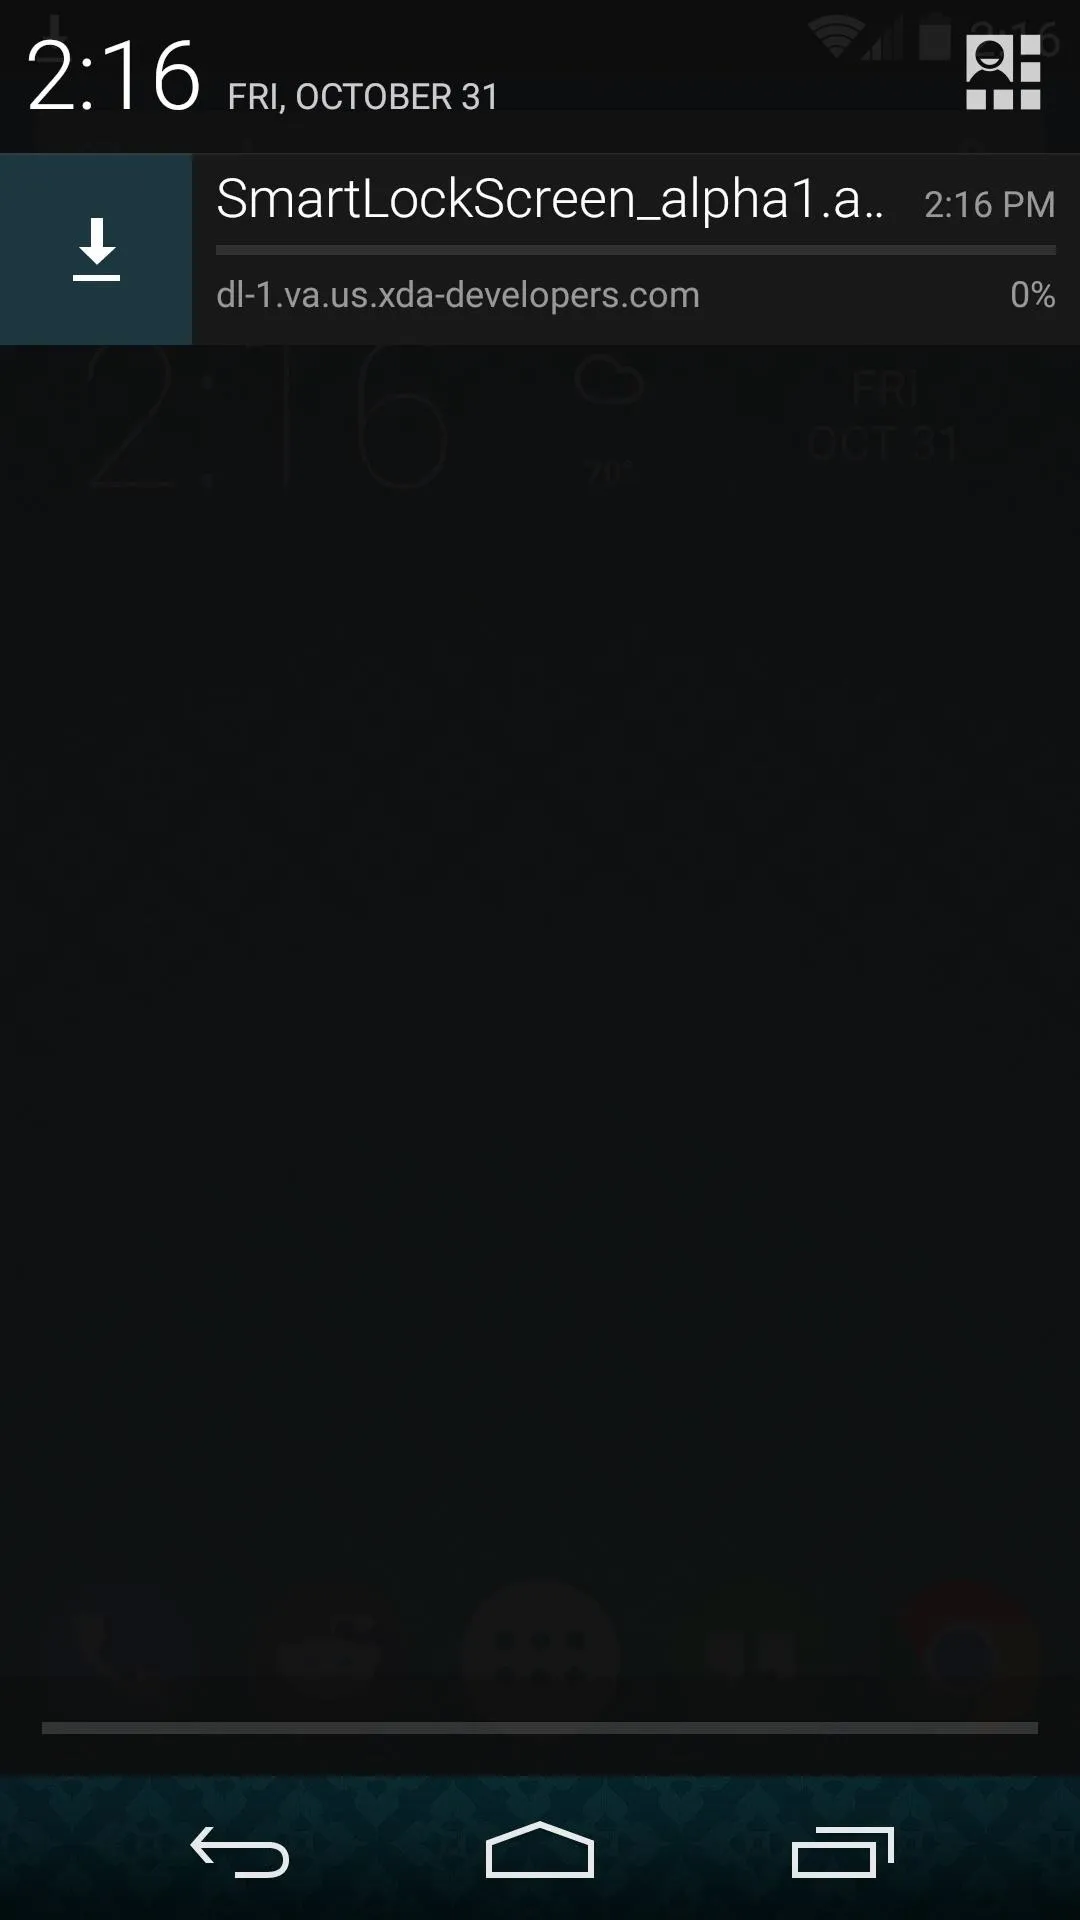
When you're ready, point your device to this link to download the installer file, then tap the "Download complete" notification. Updated versions can be found at Sagar's XDA post.


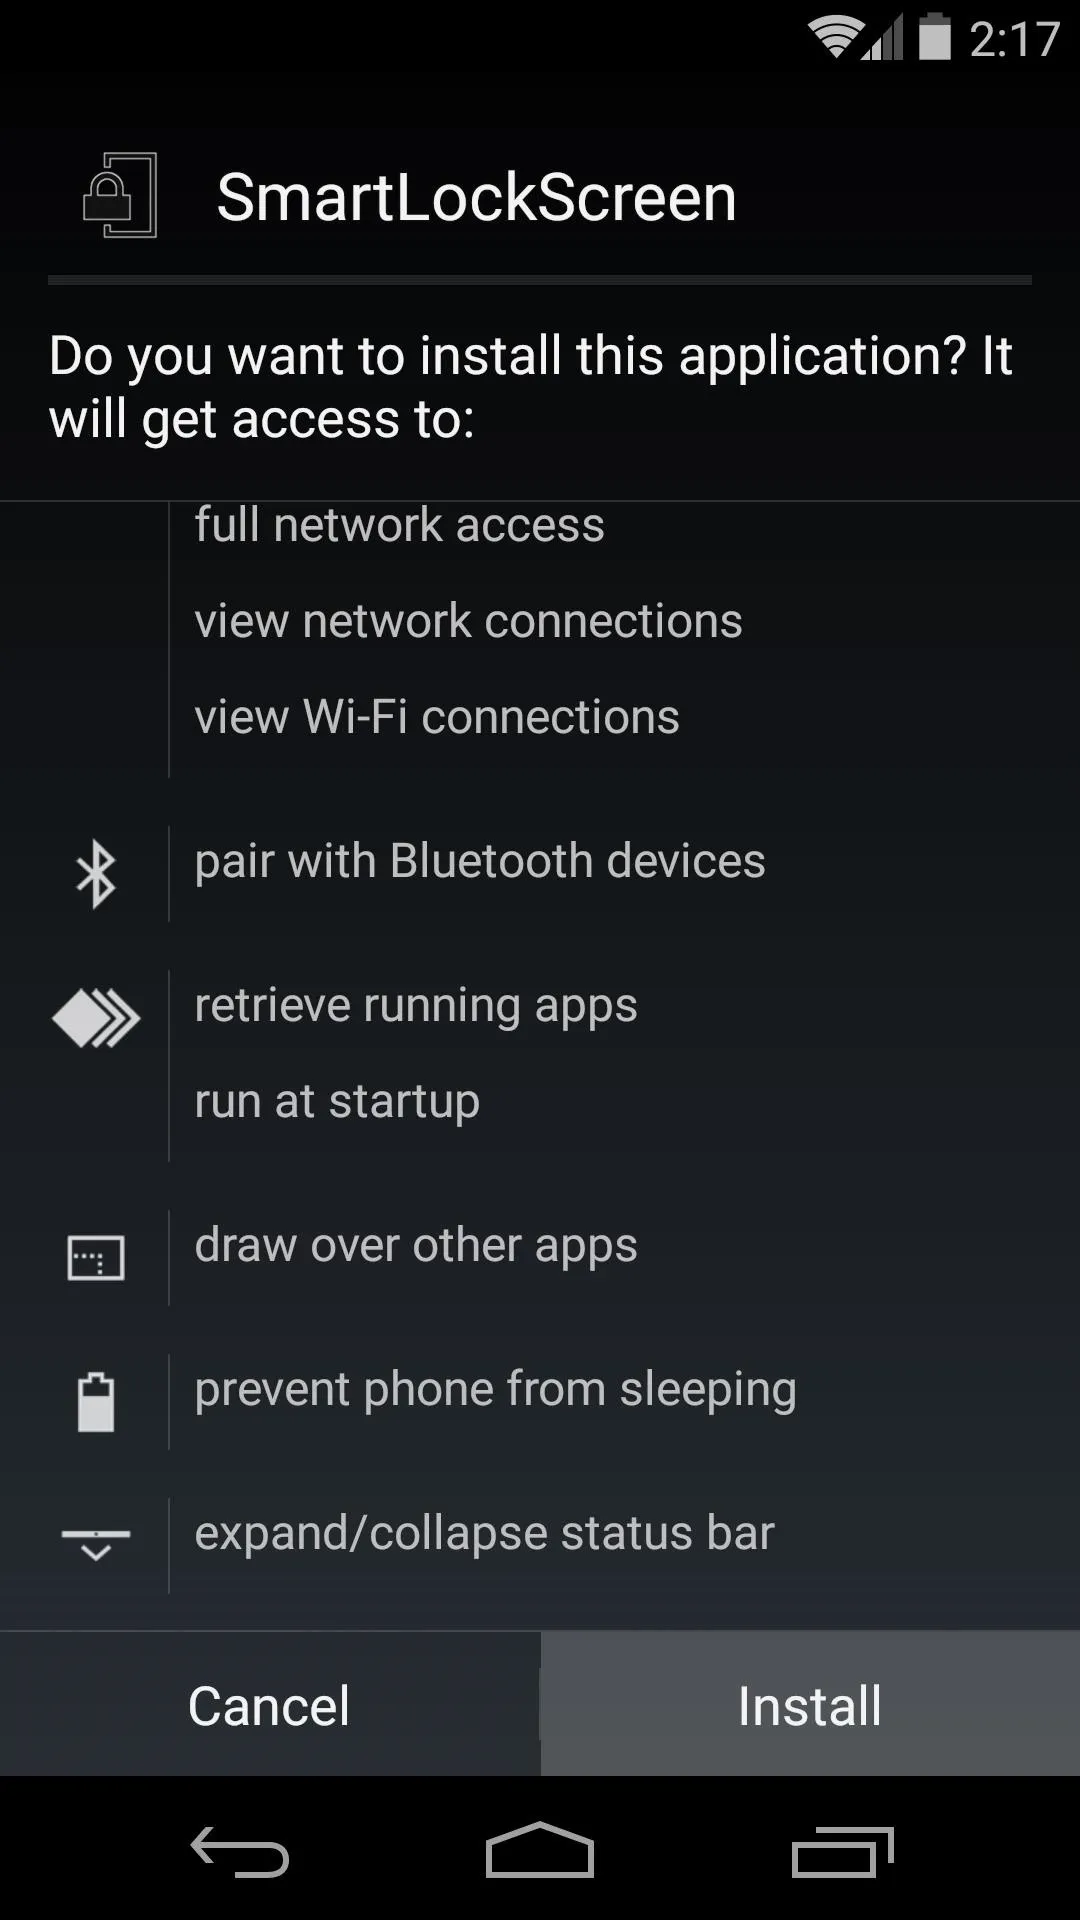
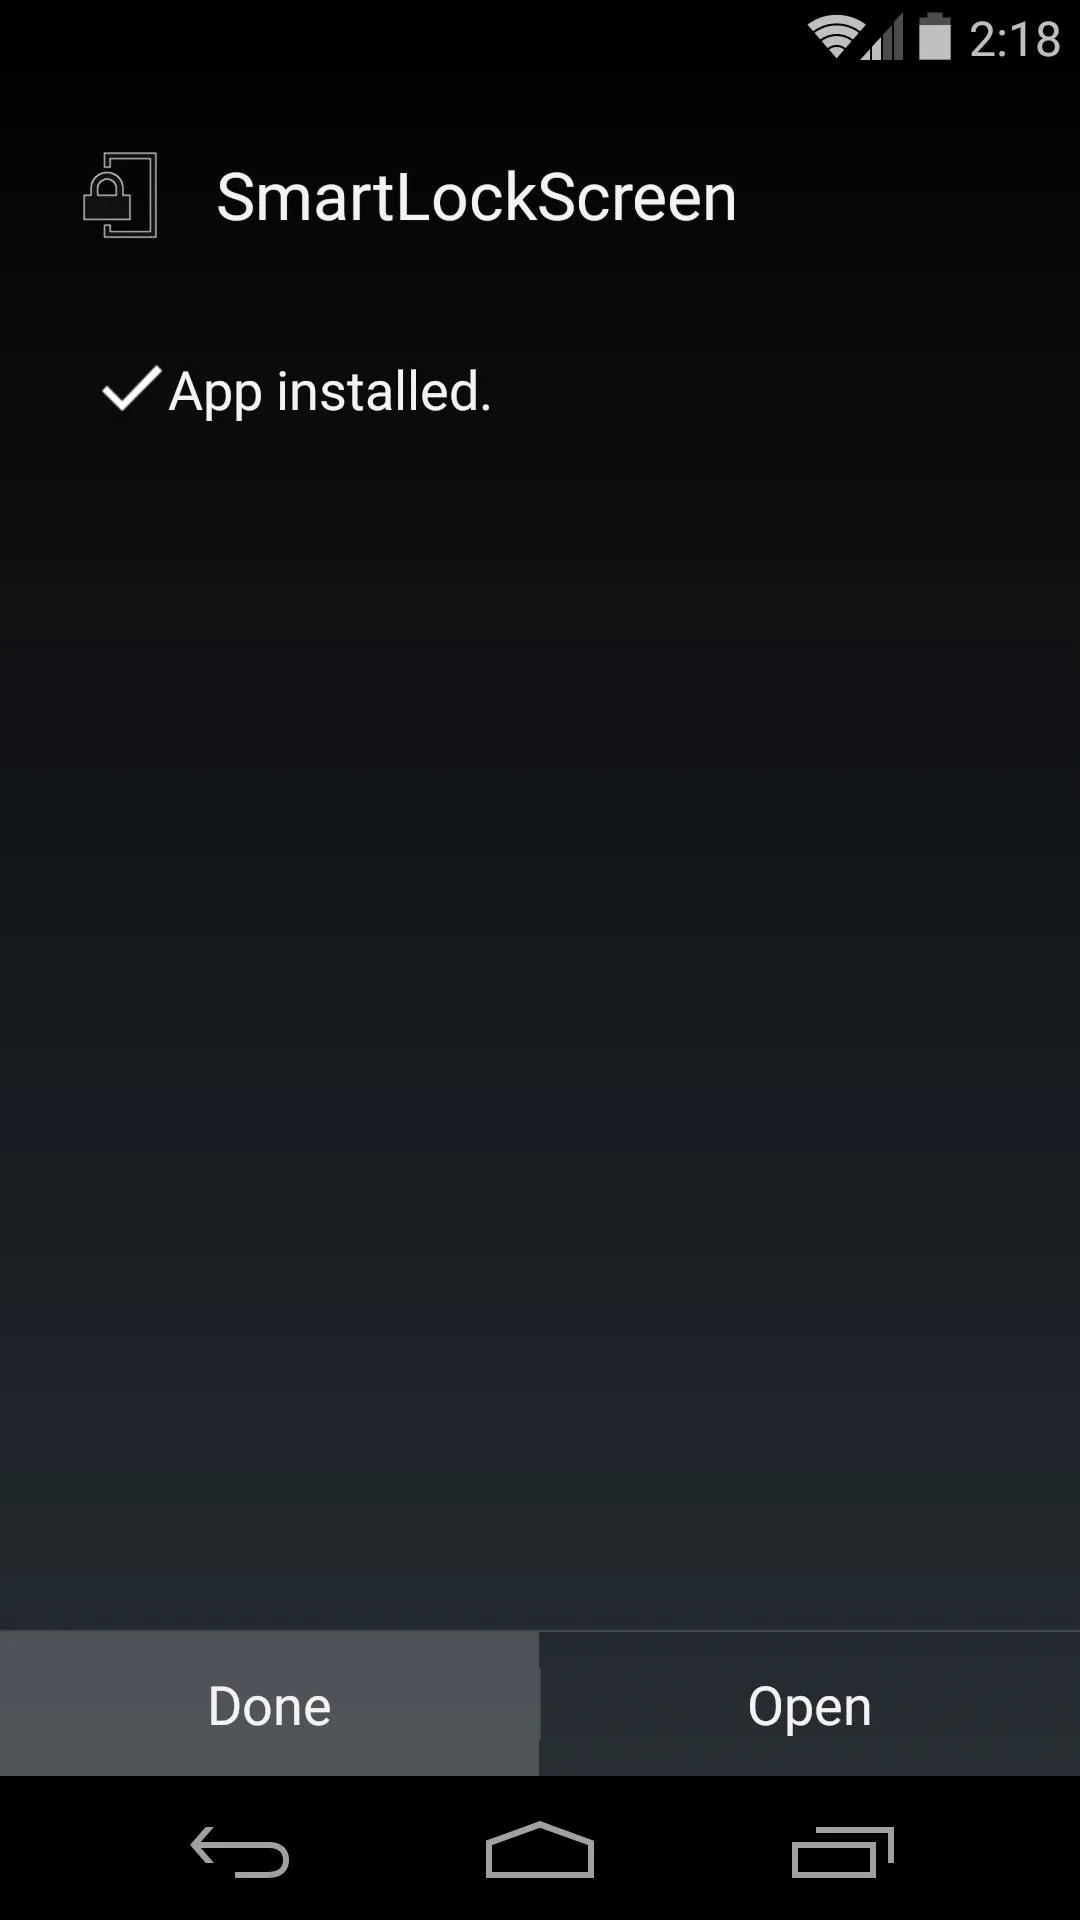
Next, review the app's permissions, then press Install. When that's finished, tap Done rather than Open.


Step 2: Adjust Device Settings
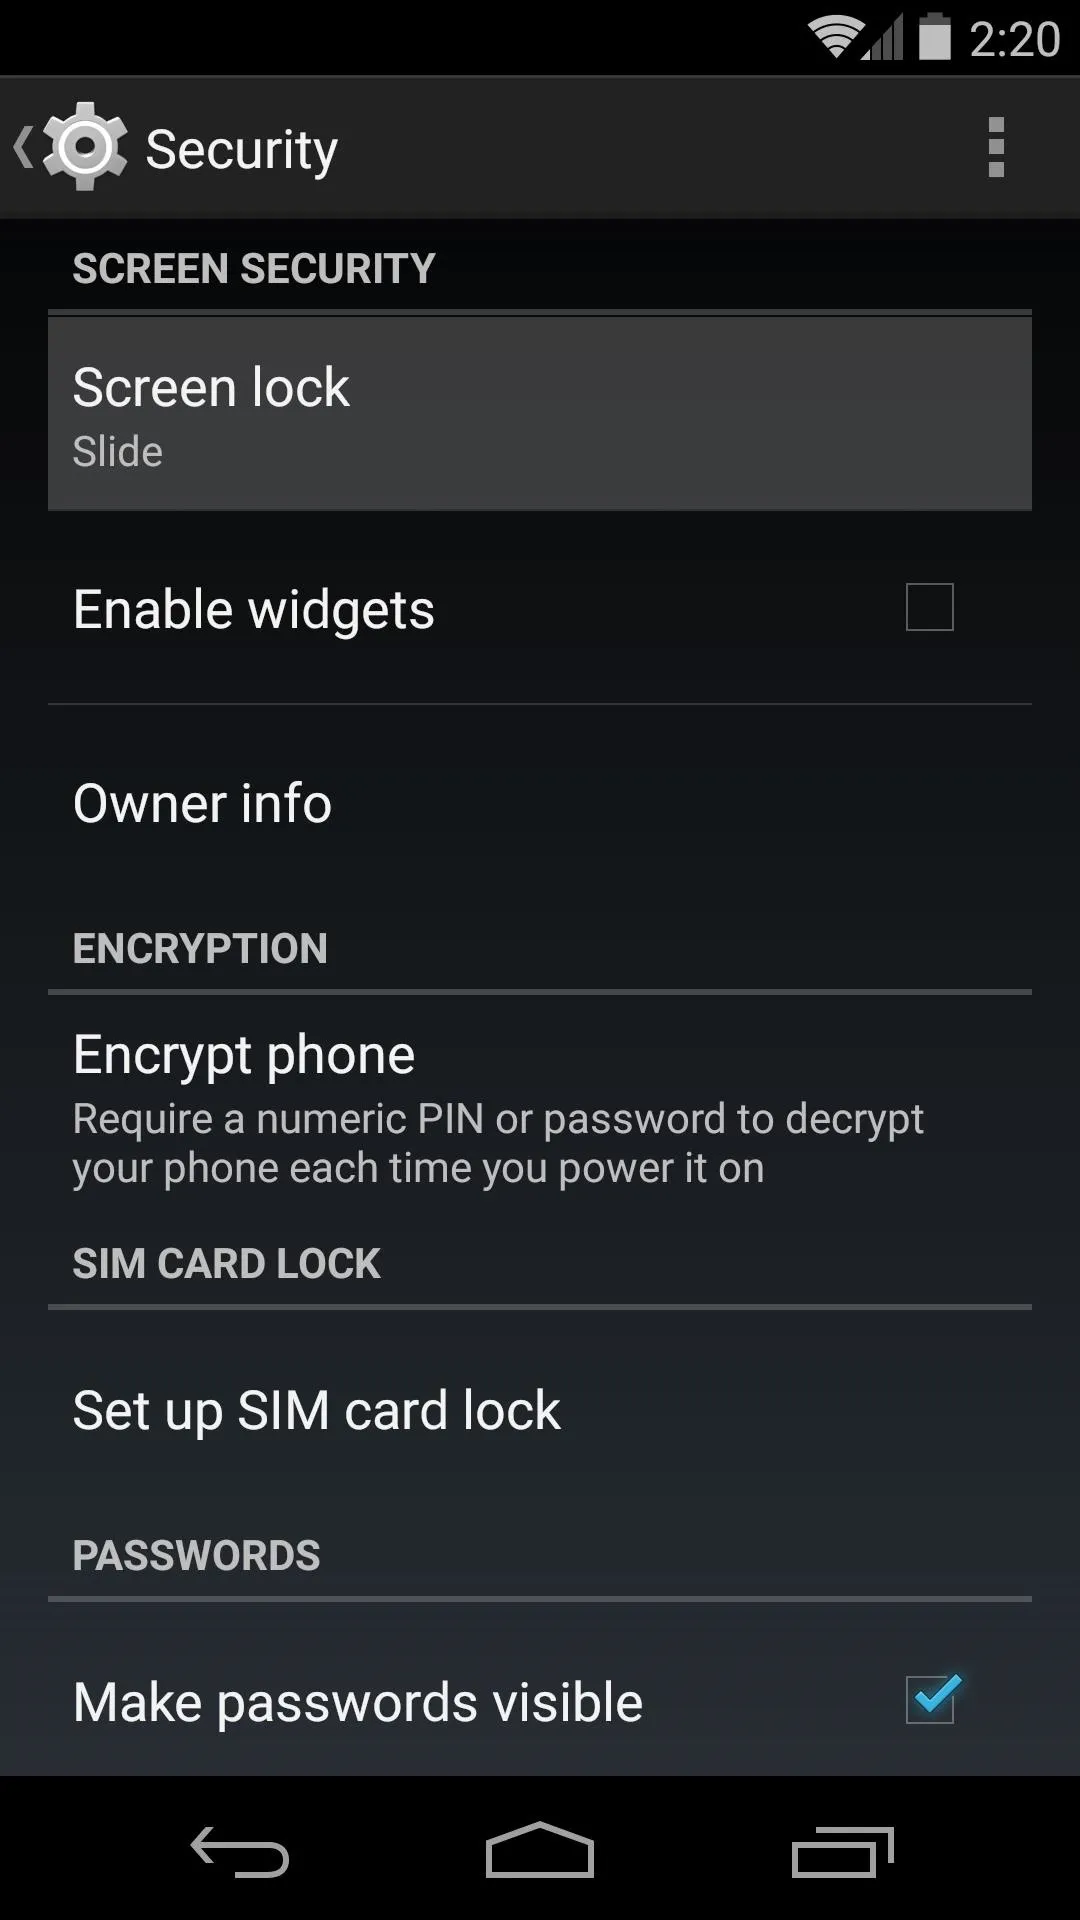
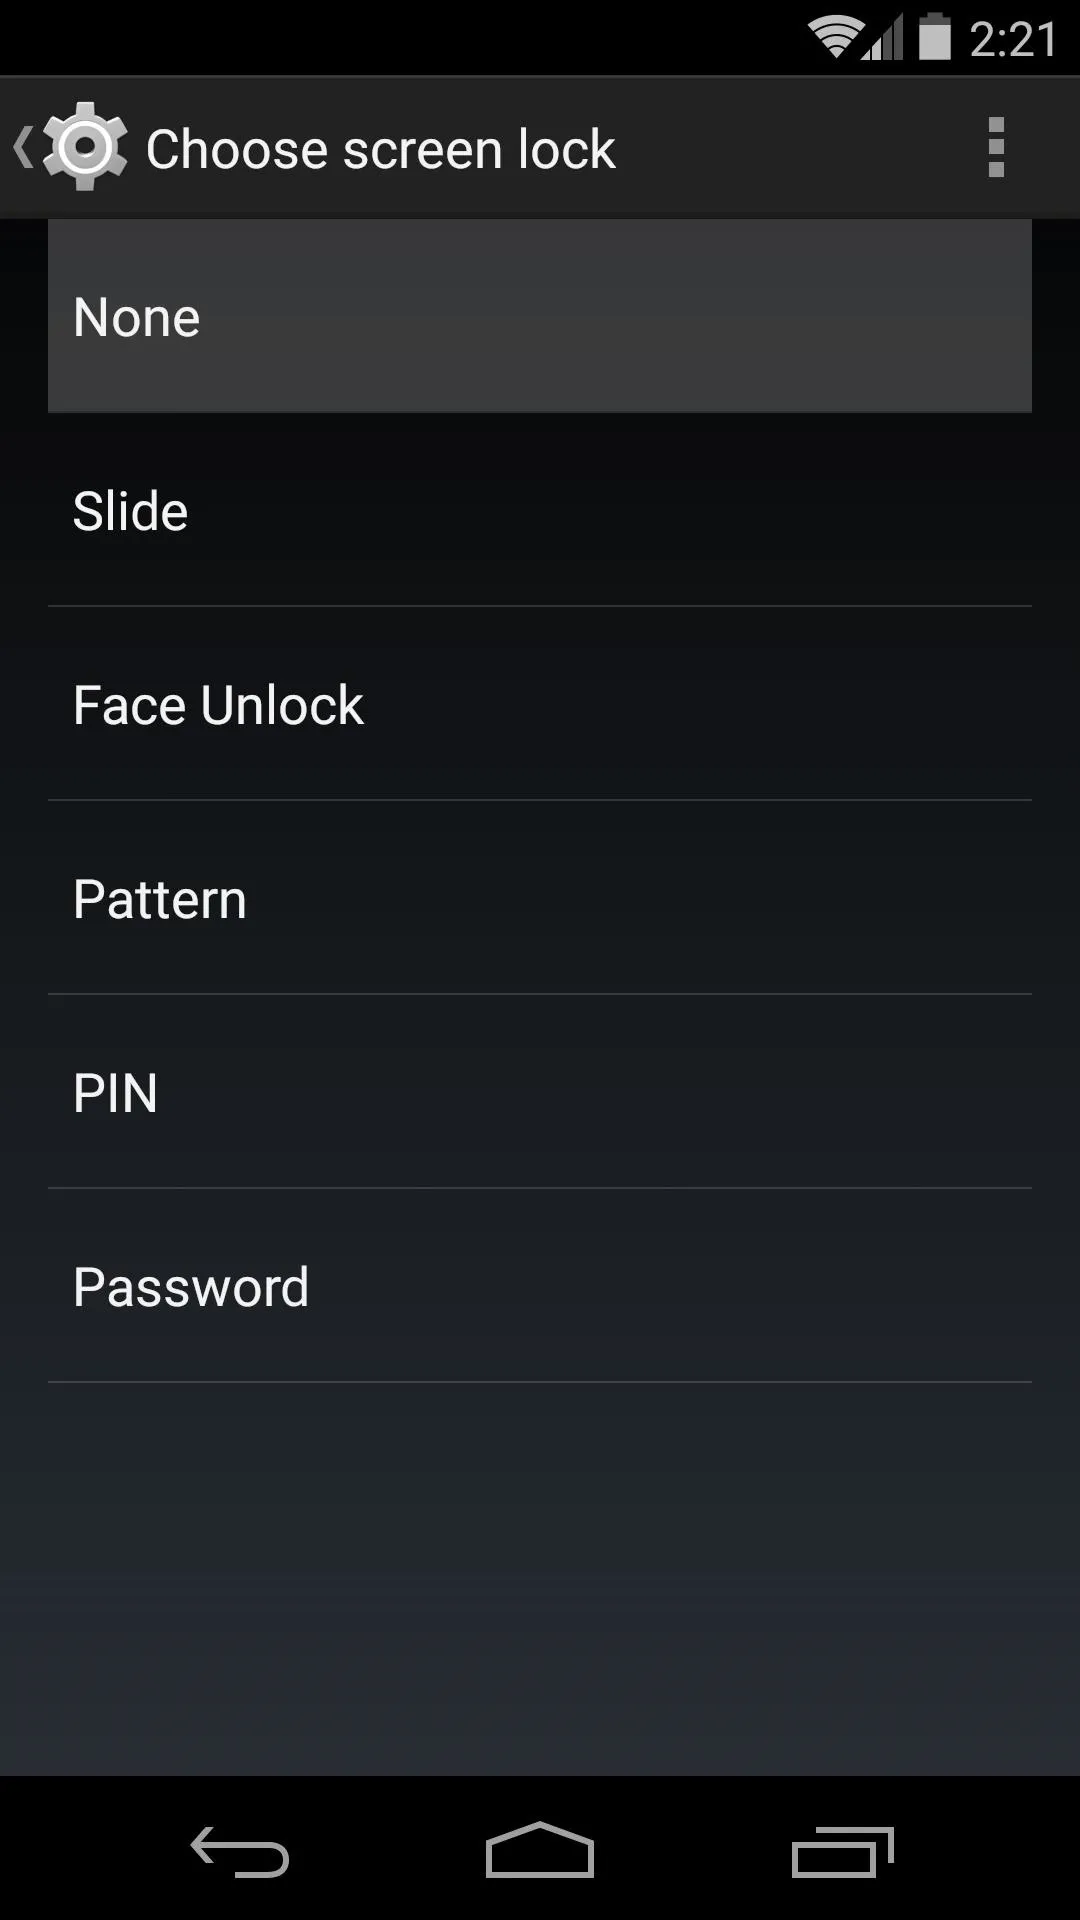
Before we get into setting up Smart Lock Screen, there's some preliminary work that needs to be done in your device's main Settings. Head to the Security submenu, then tap the Screen Lock entry and select None.
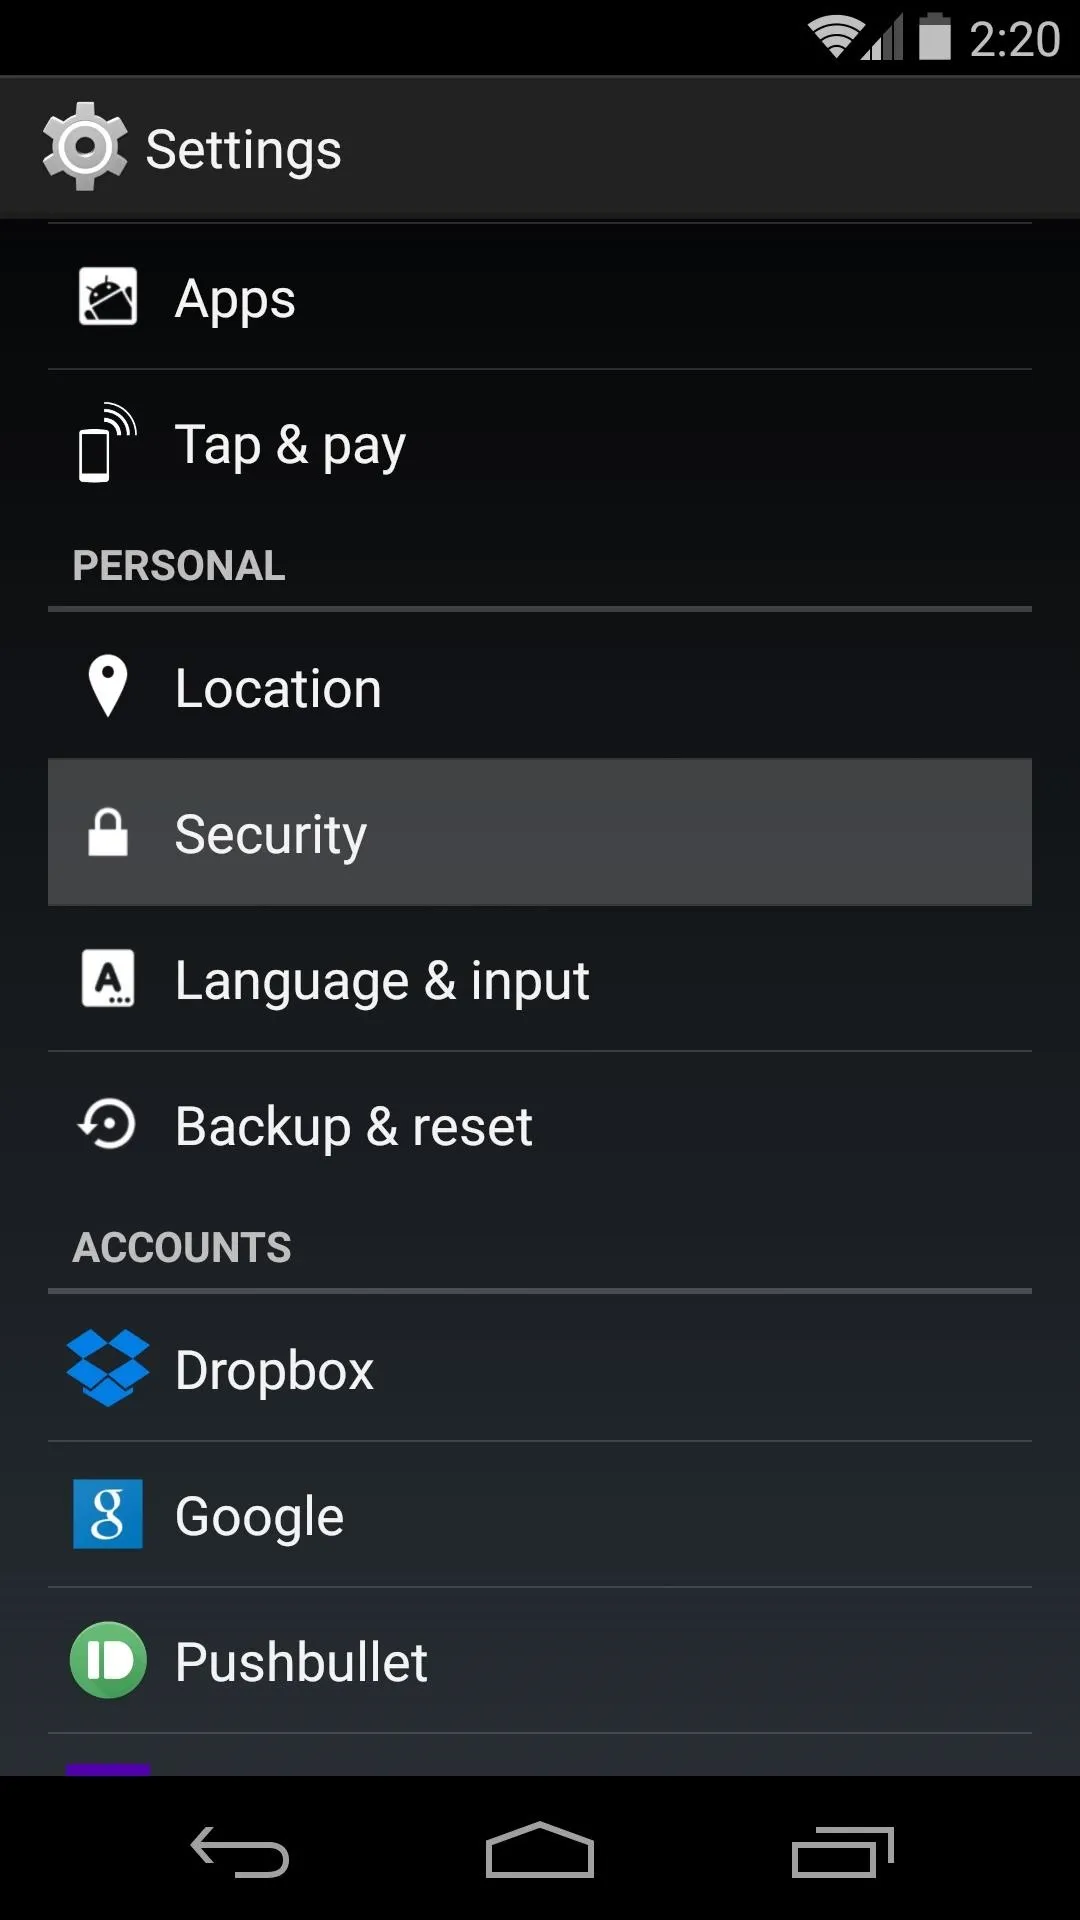


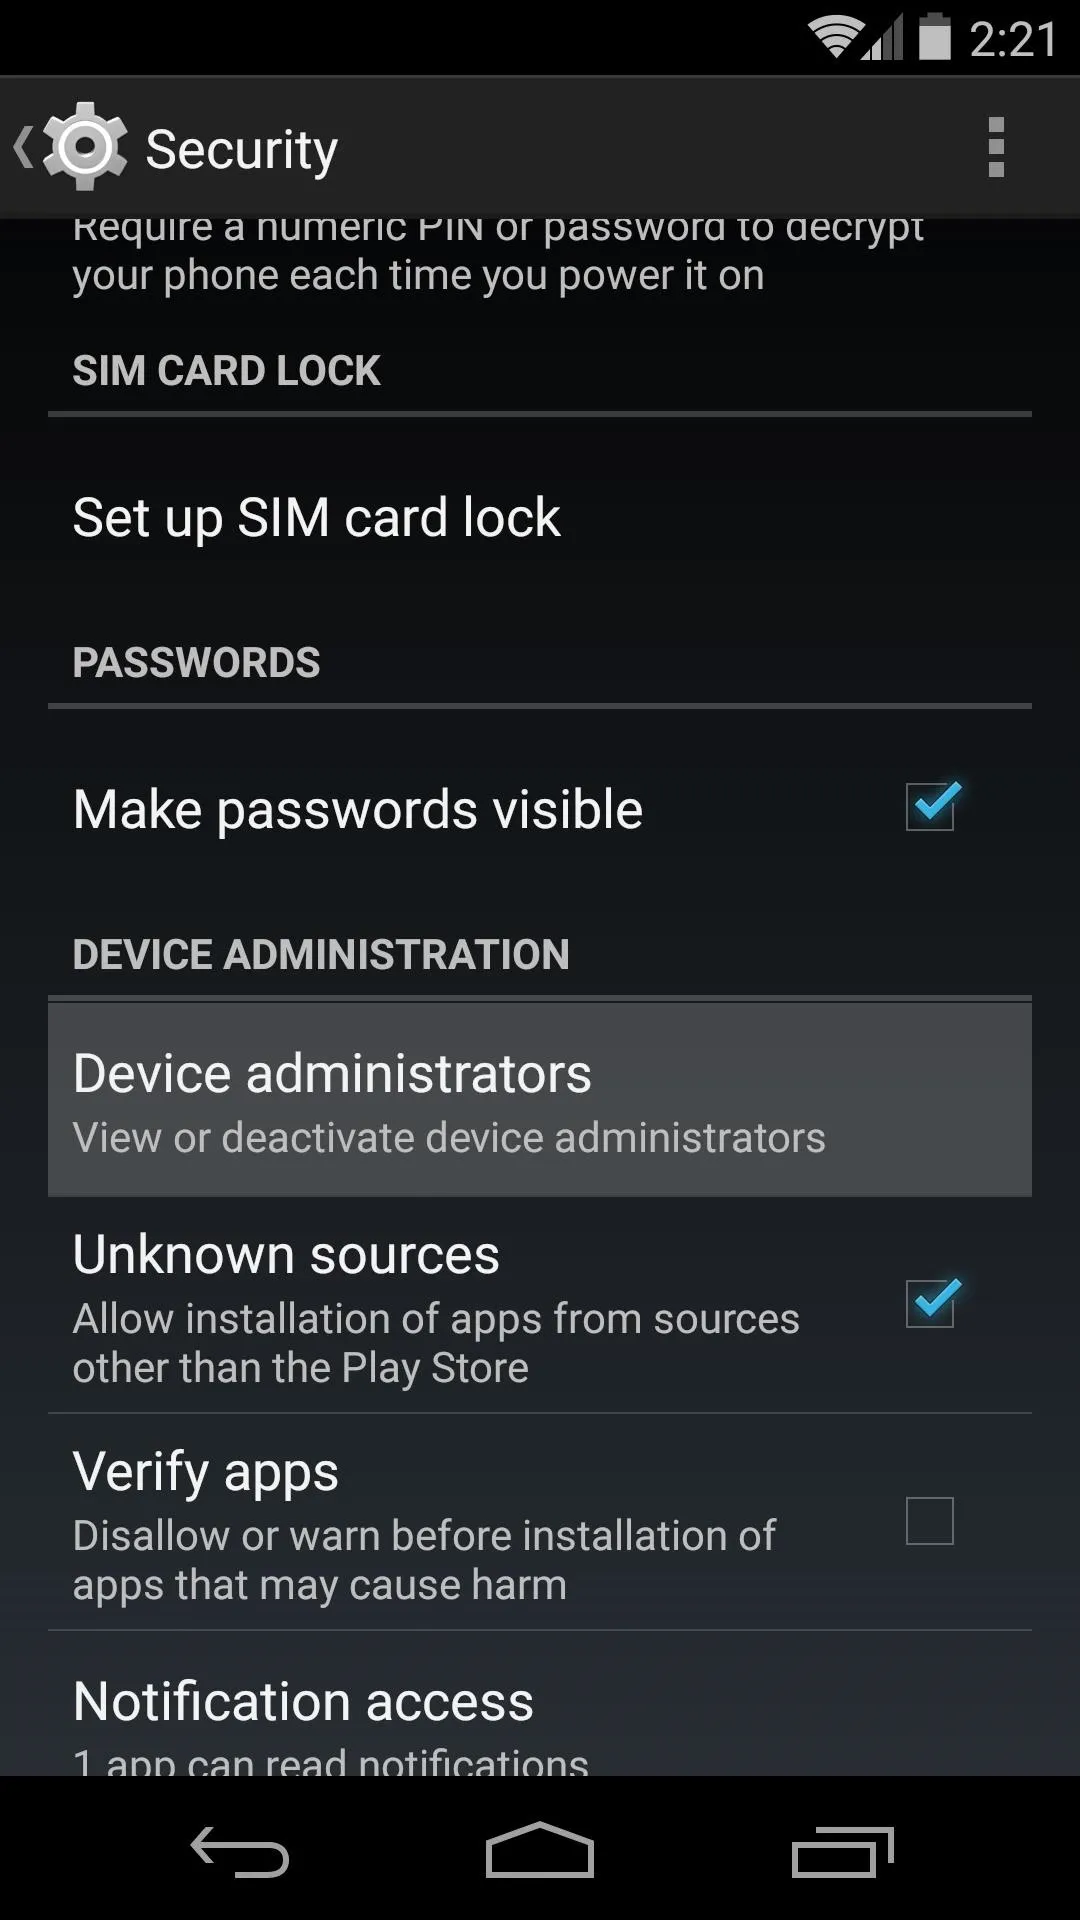
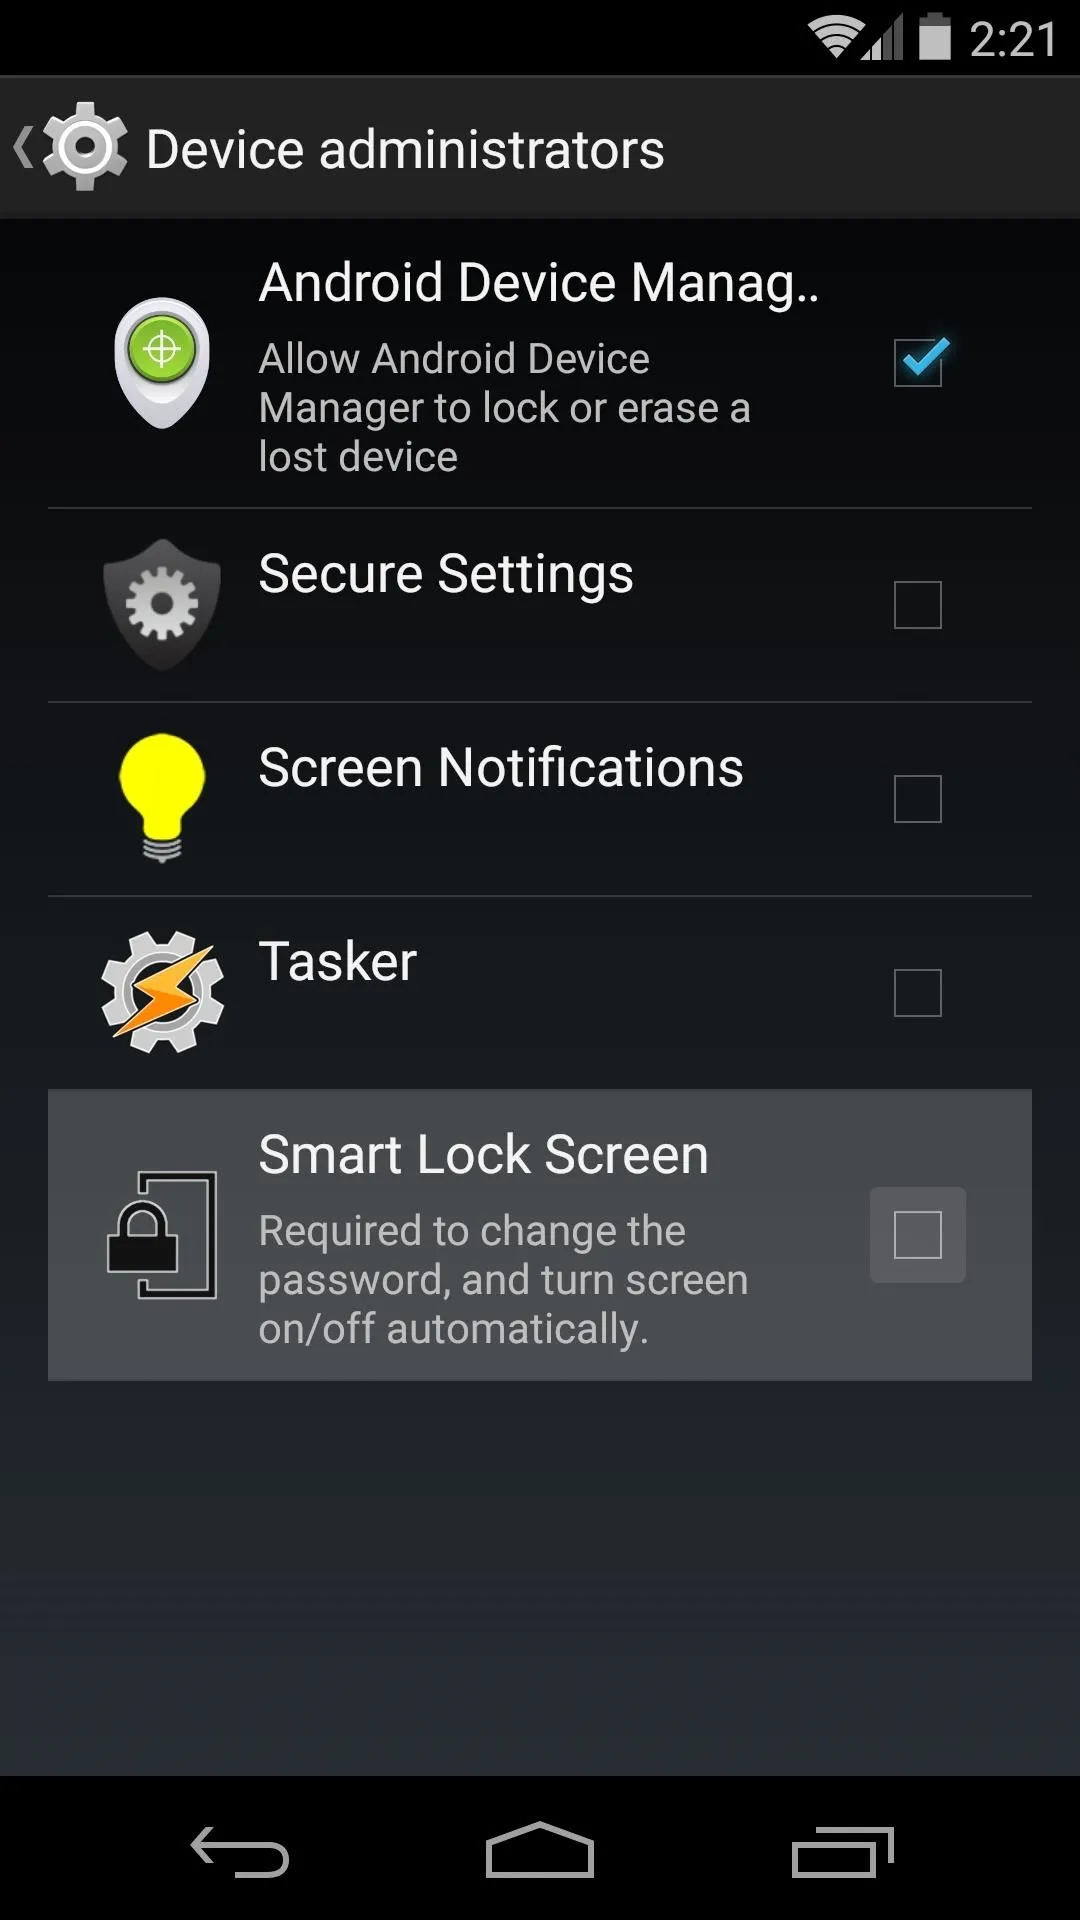
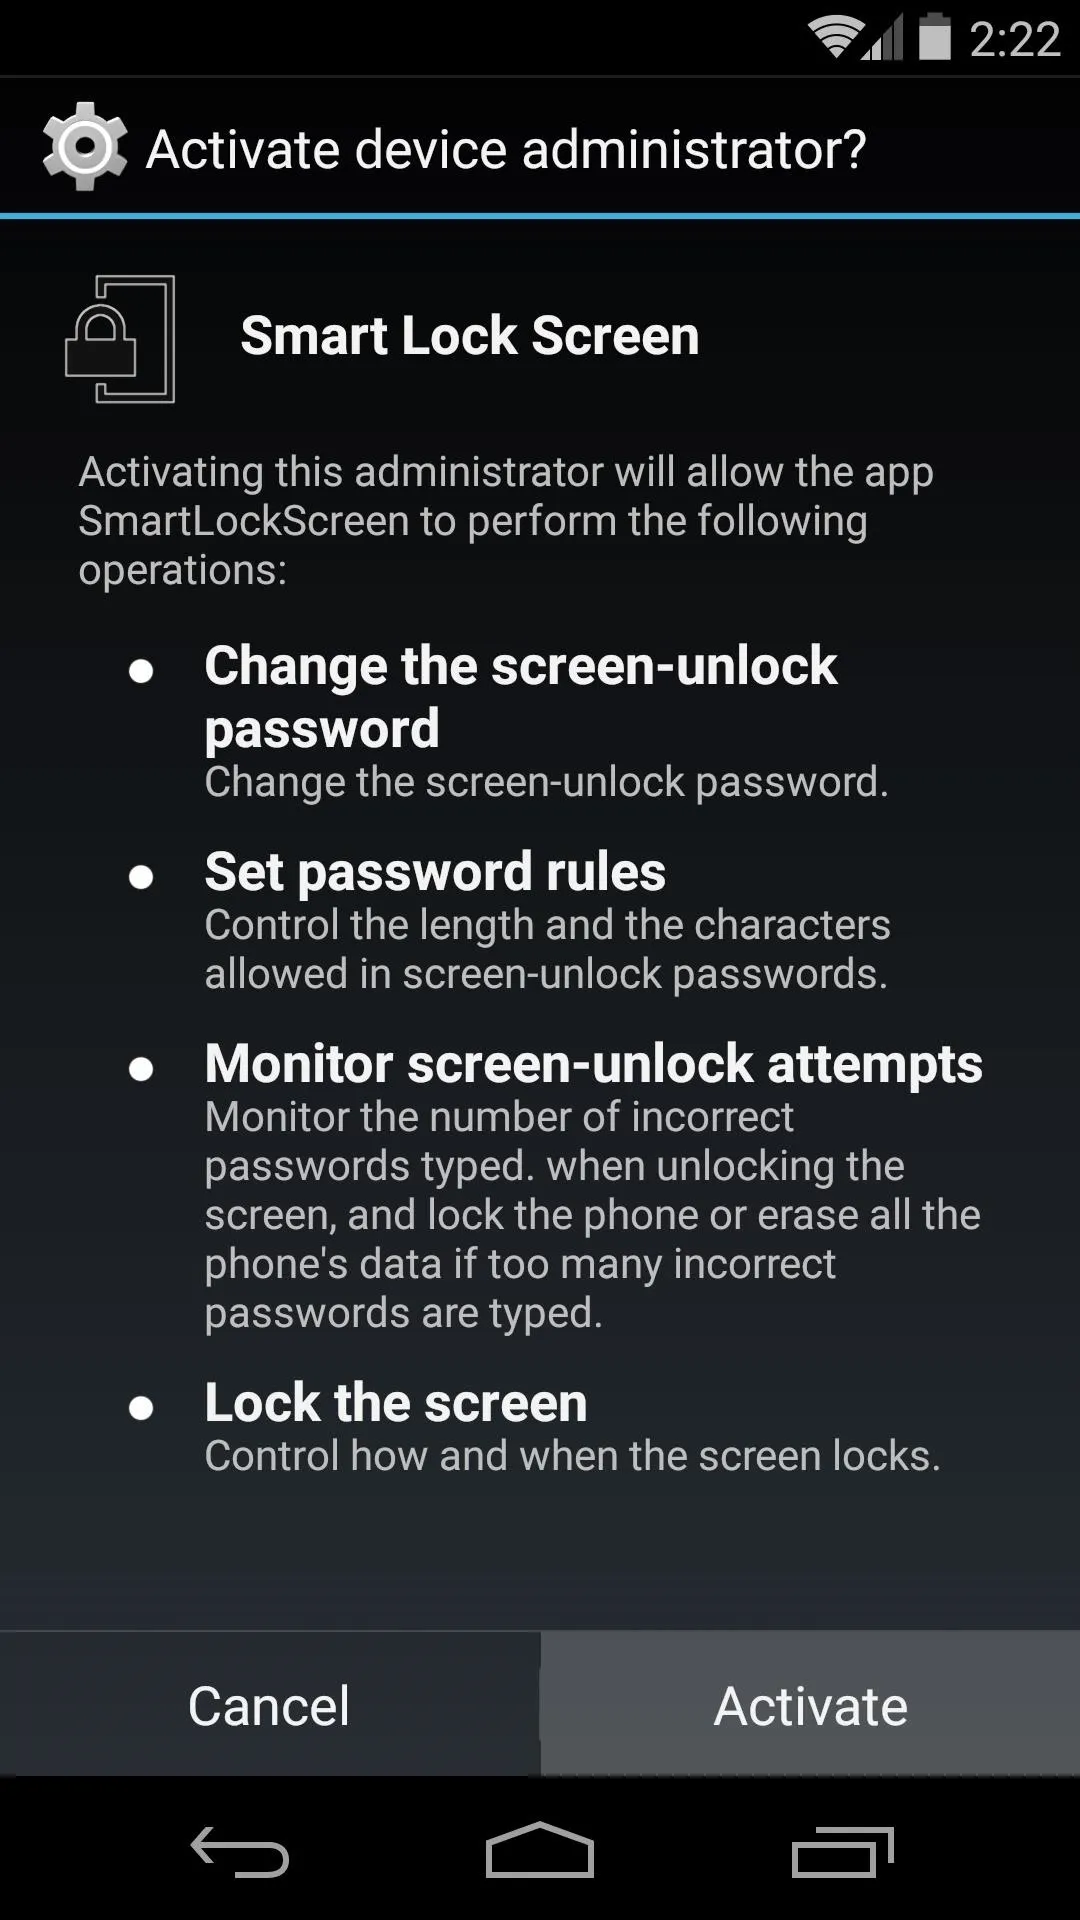
While you're still in the Security submenu, scroll down a bit and select Device Administrators. From here, tap the Smart Screen Lock entry, then press Activate.


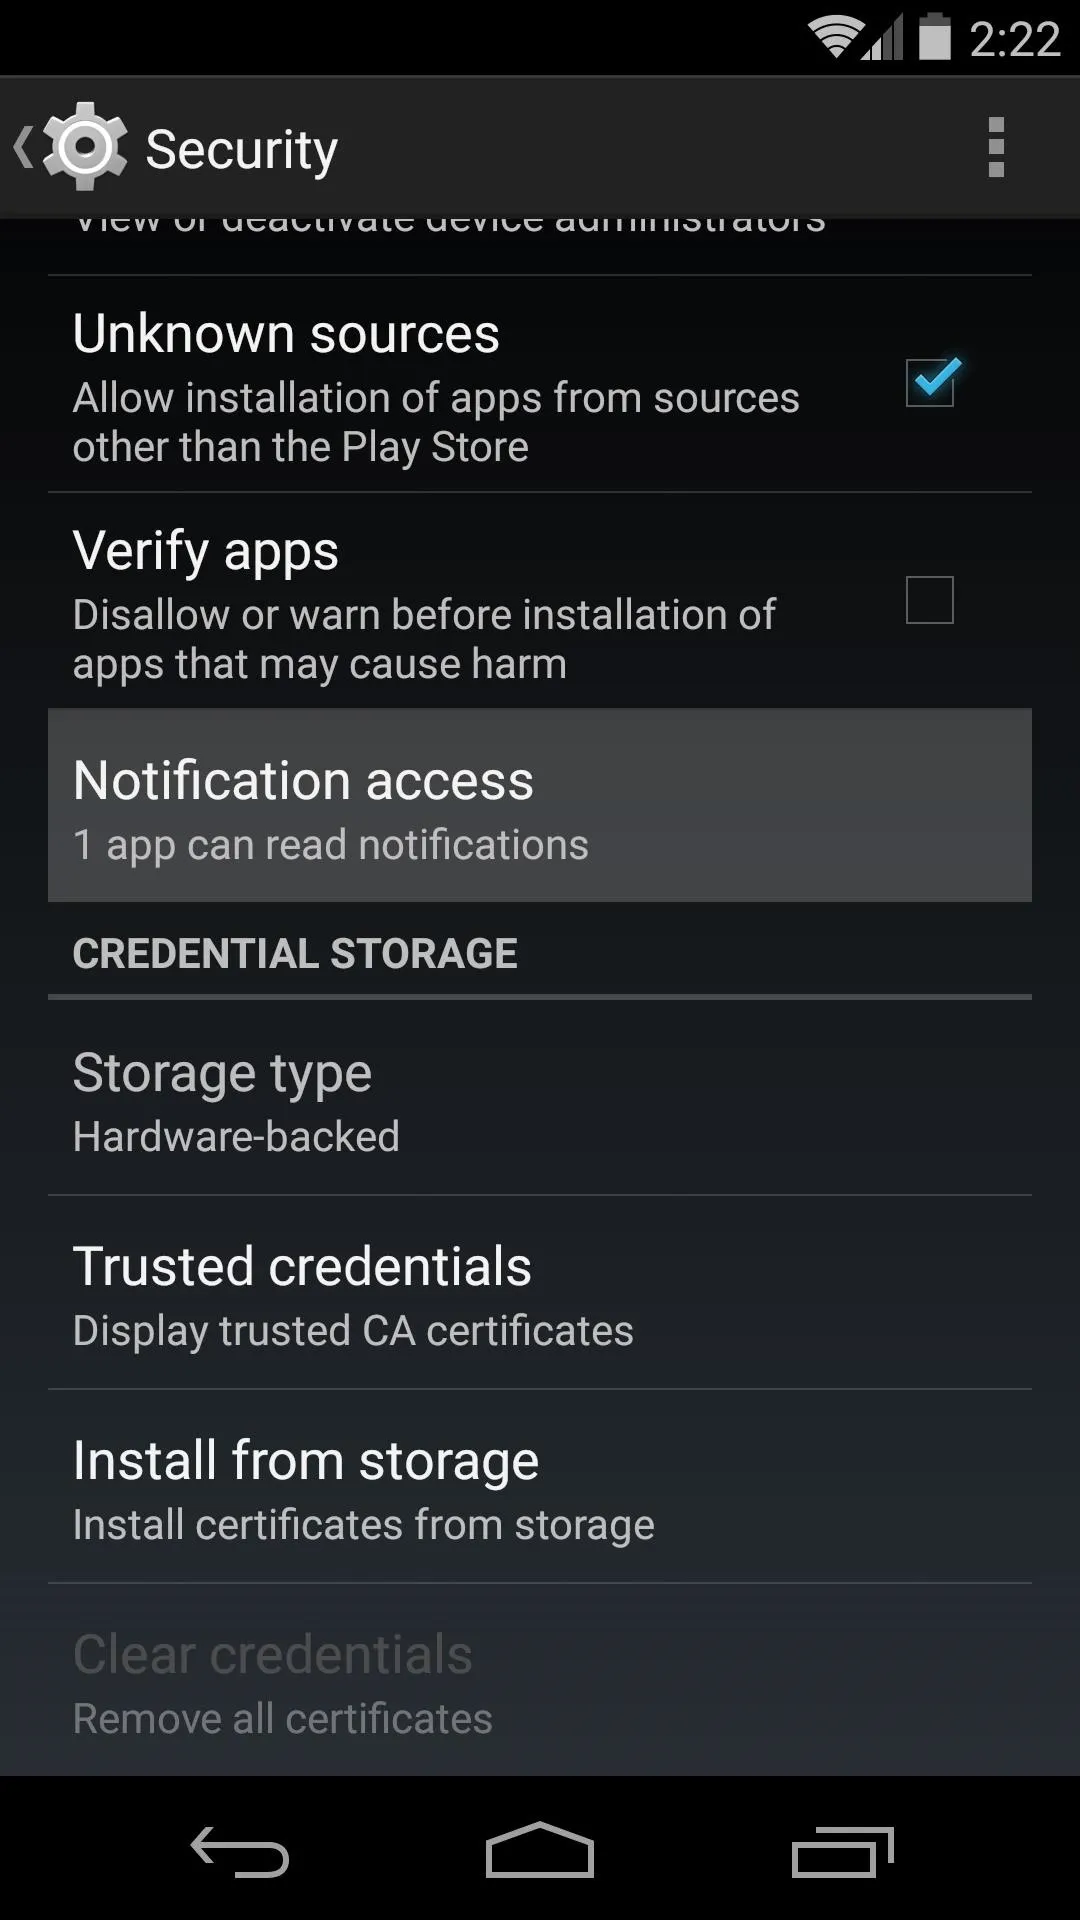
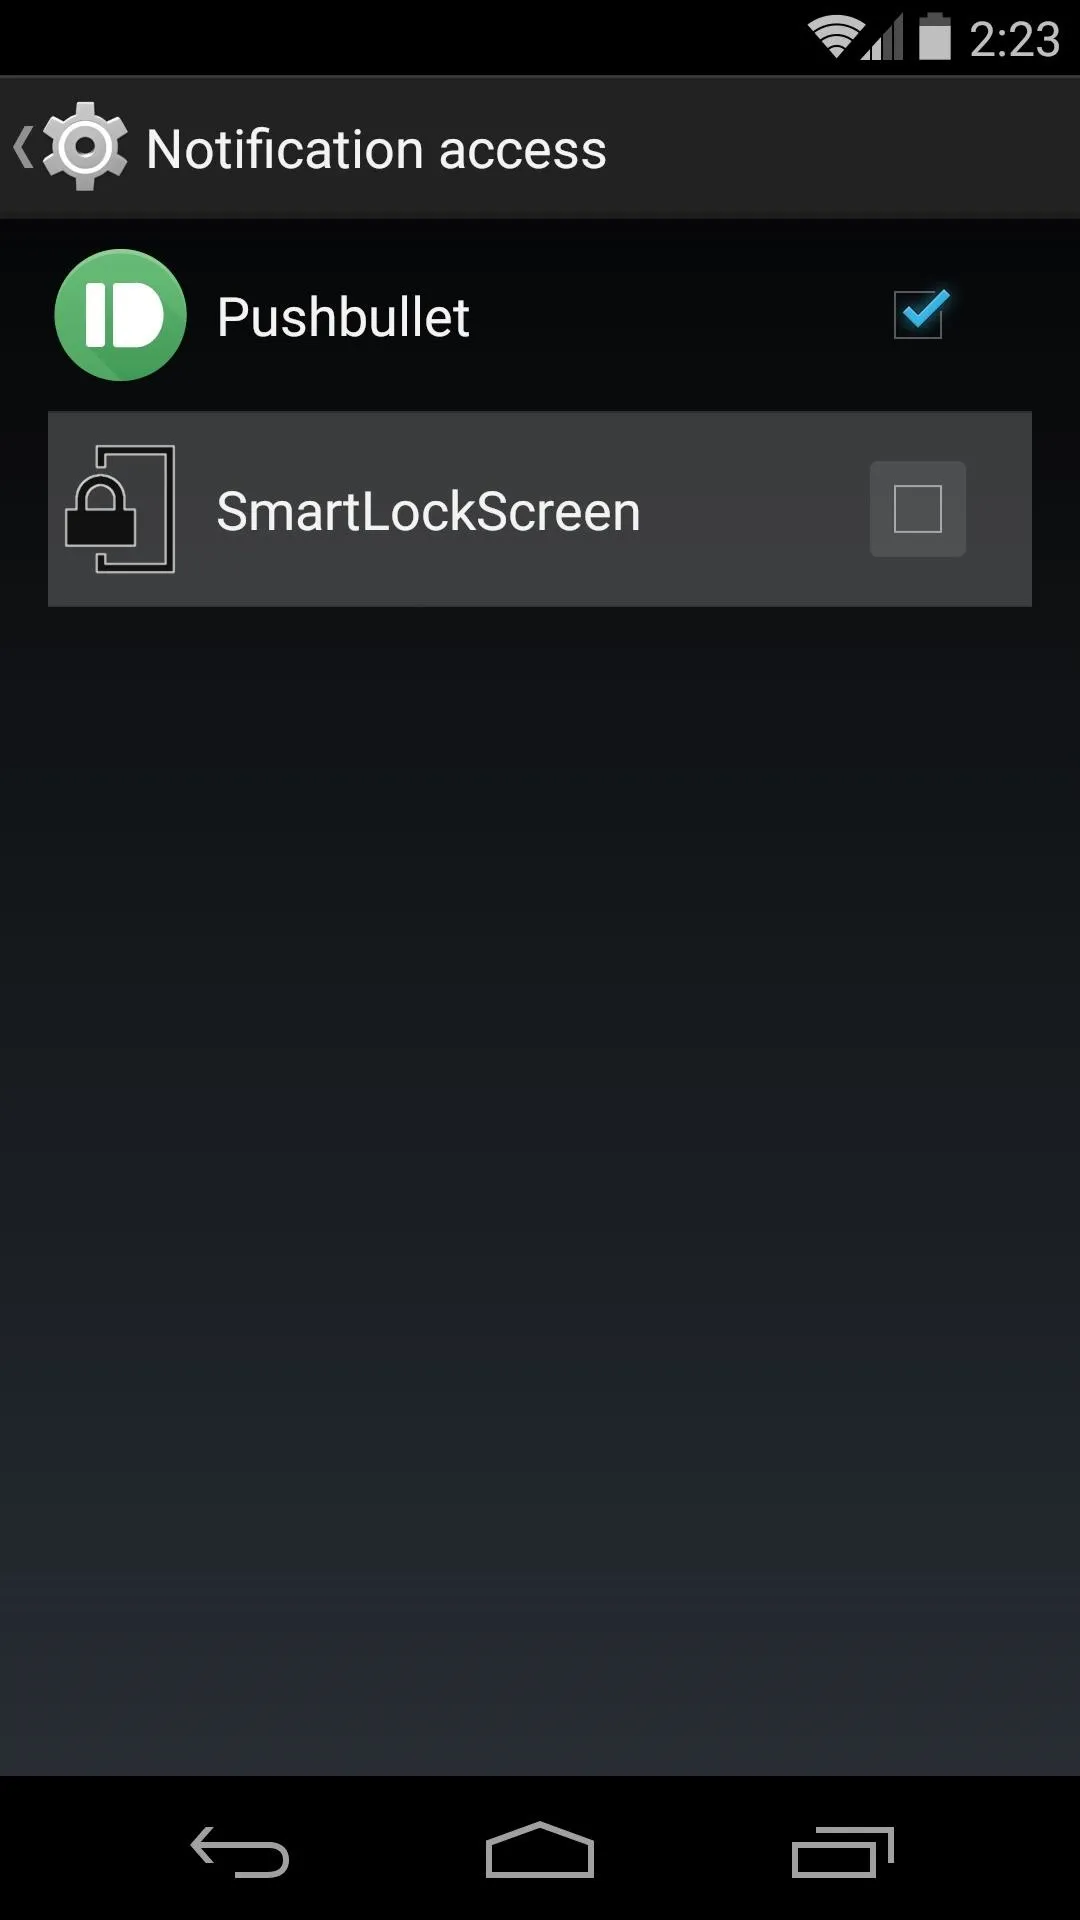
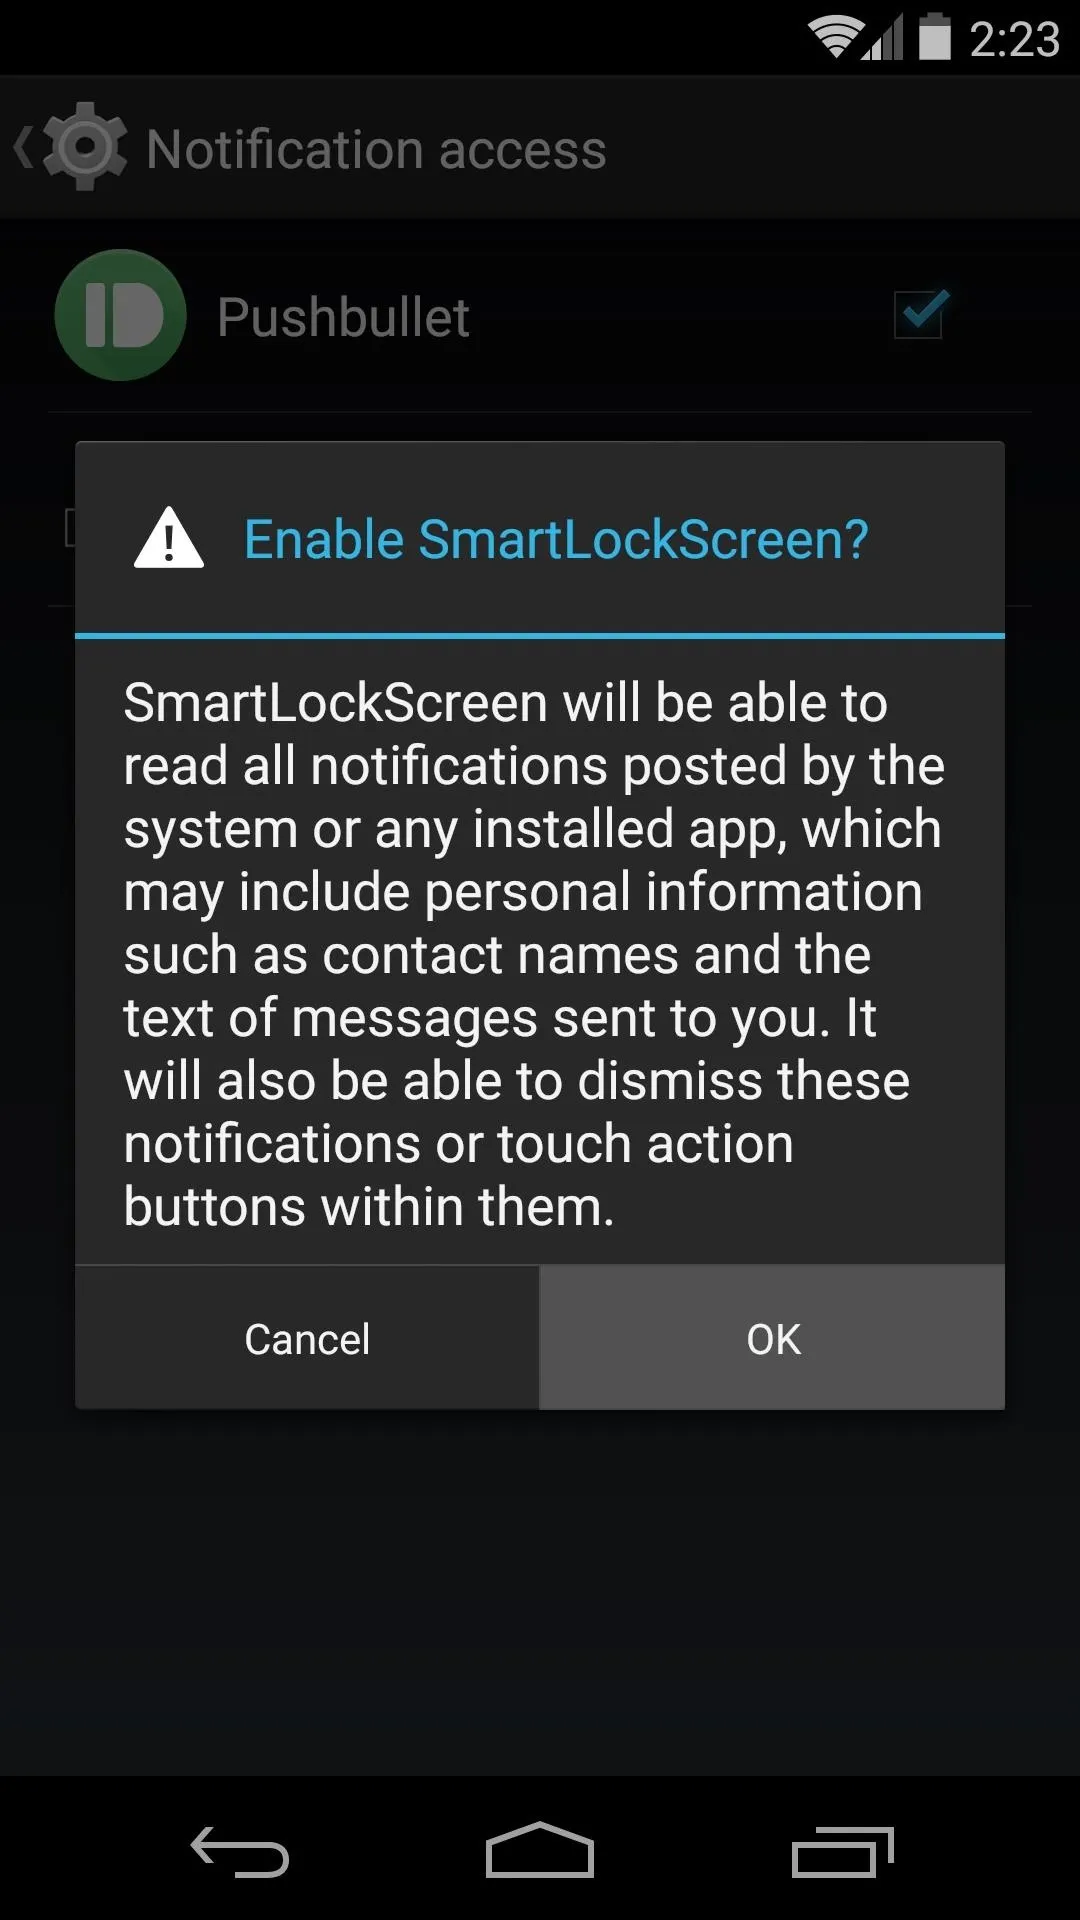
Again from the Security submenu, find the Notification Access entry. Tick the box next to Smart Lock Screen, then press OK on the popup.


Step 3: Set Up a Trusted Environment
With your device settings properly configured, go ahead and open Smart Lock Screen from your app drawer. The app will ask you to set a Master Password—this is how you will access your device when you are not in a trusted environment. Use the drop menu to select either Password or PIN as your security method.
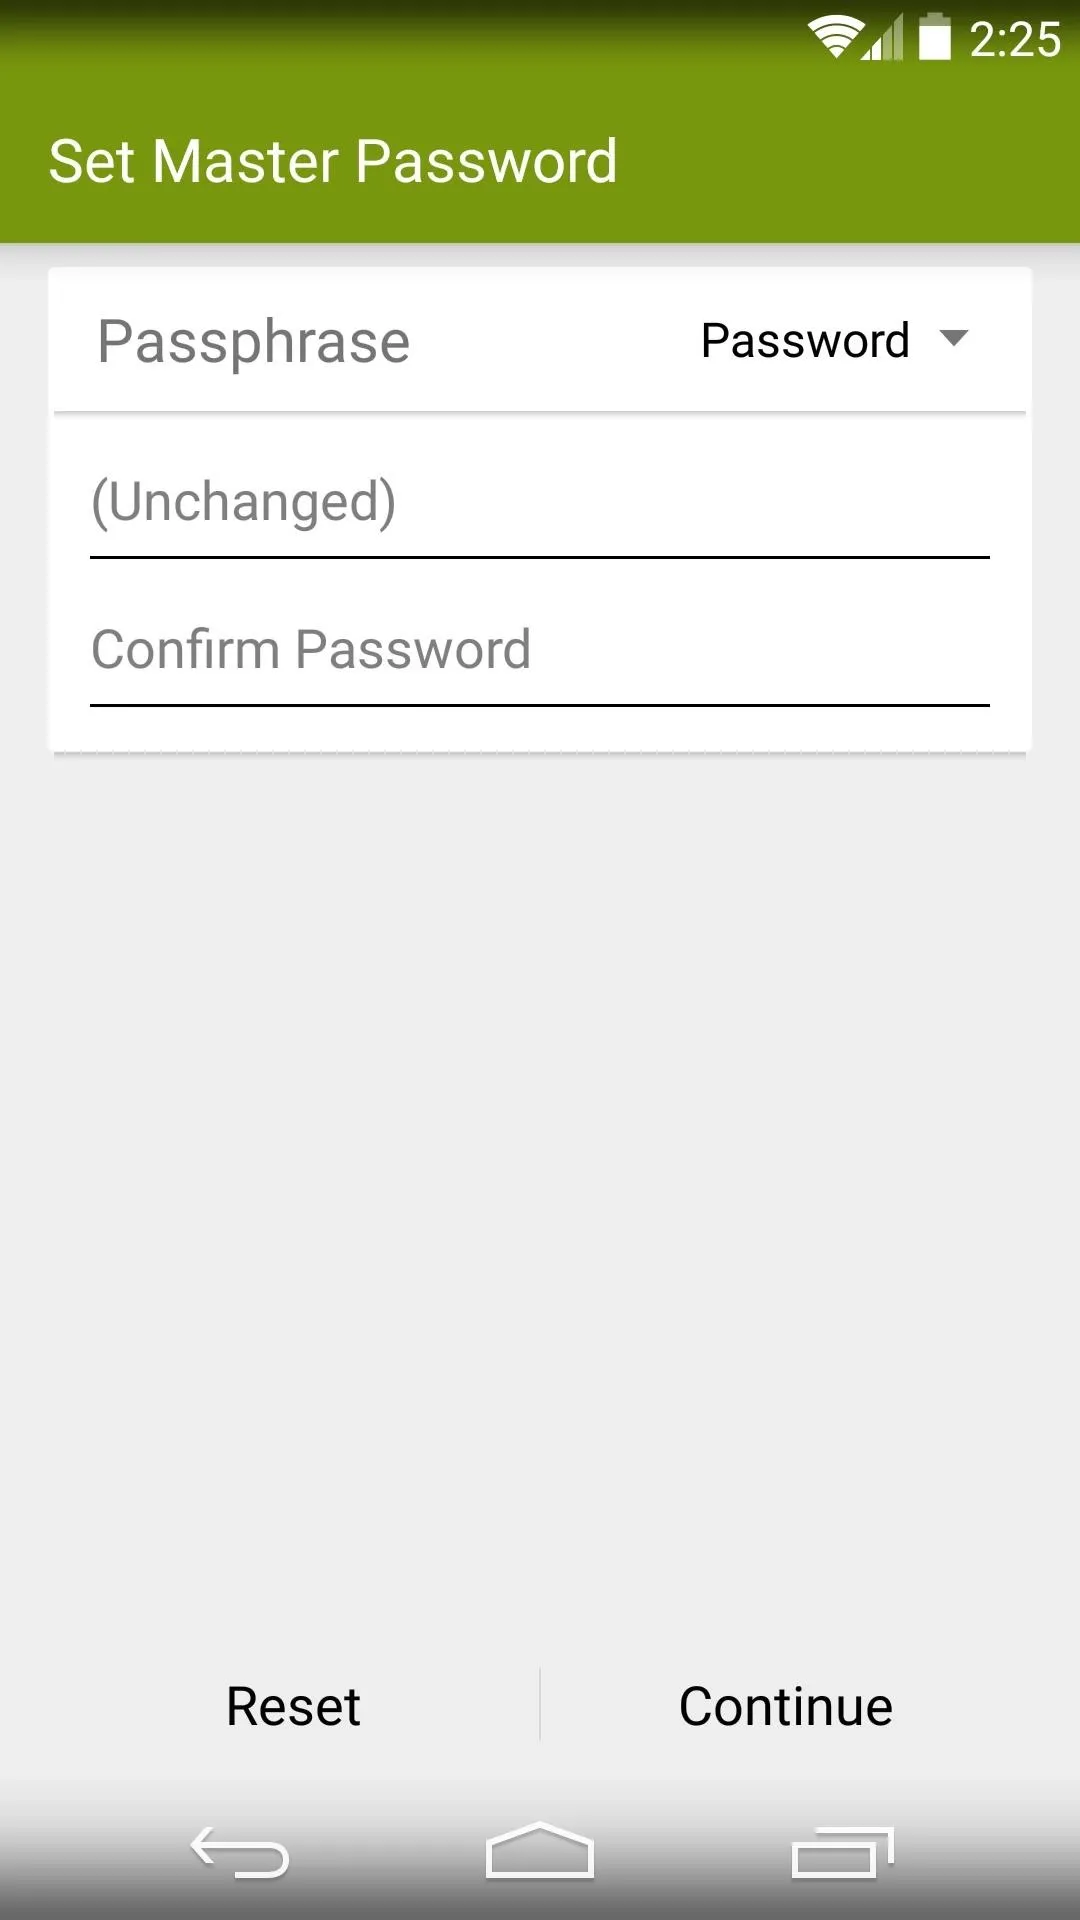
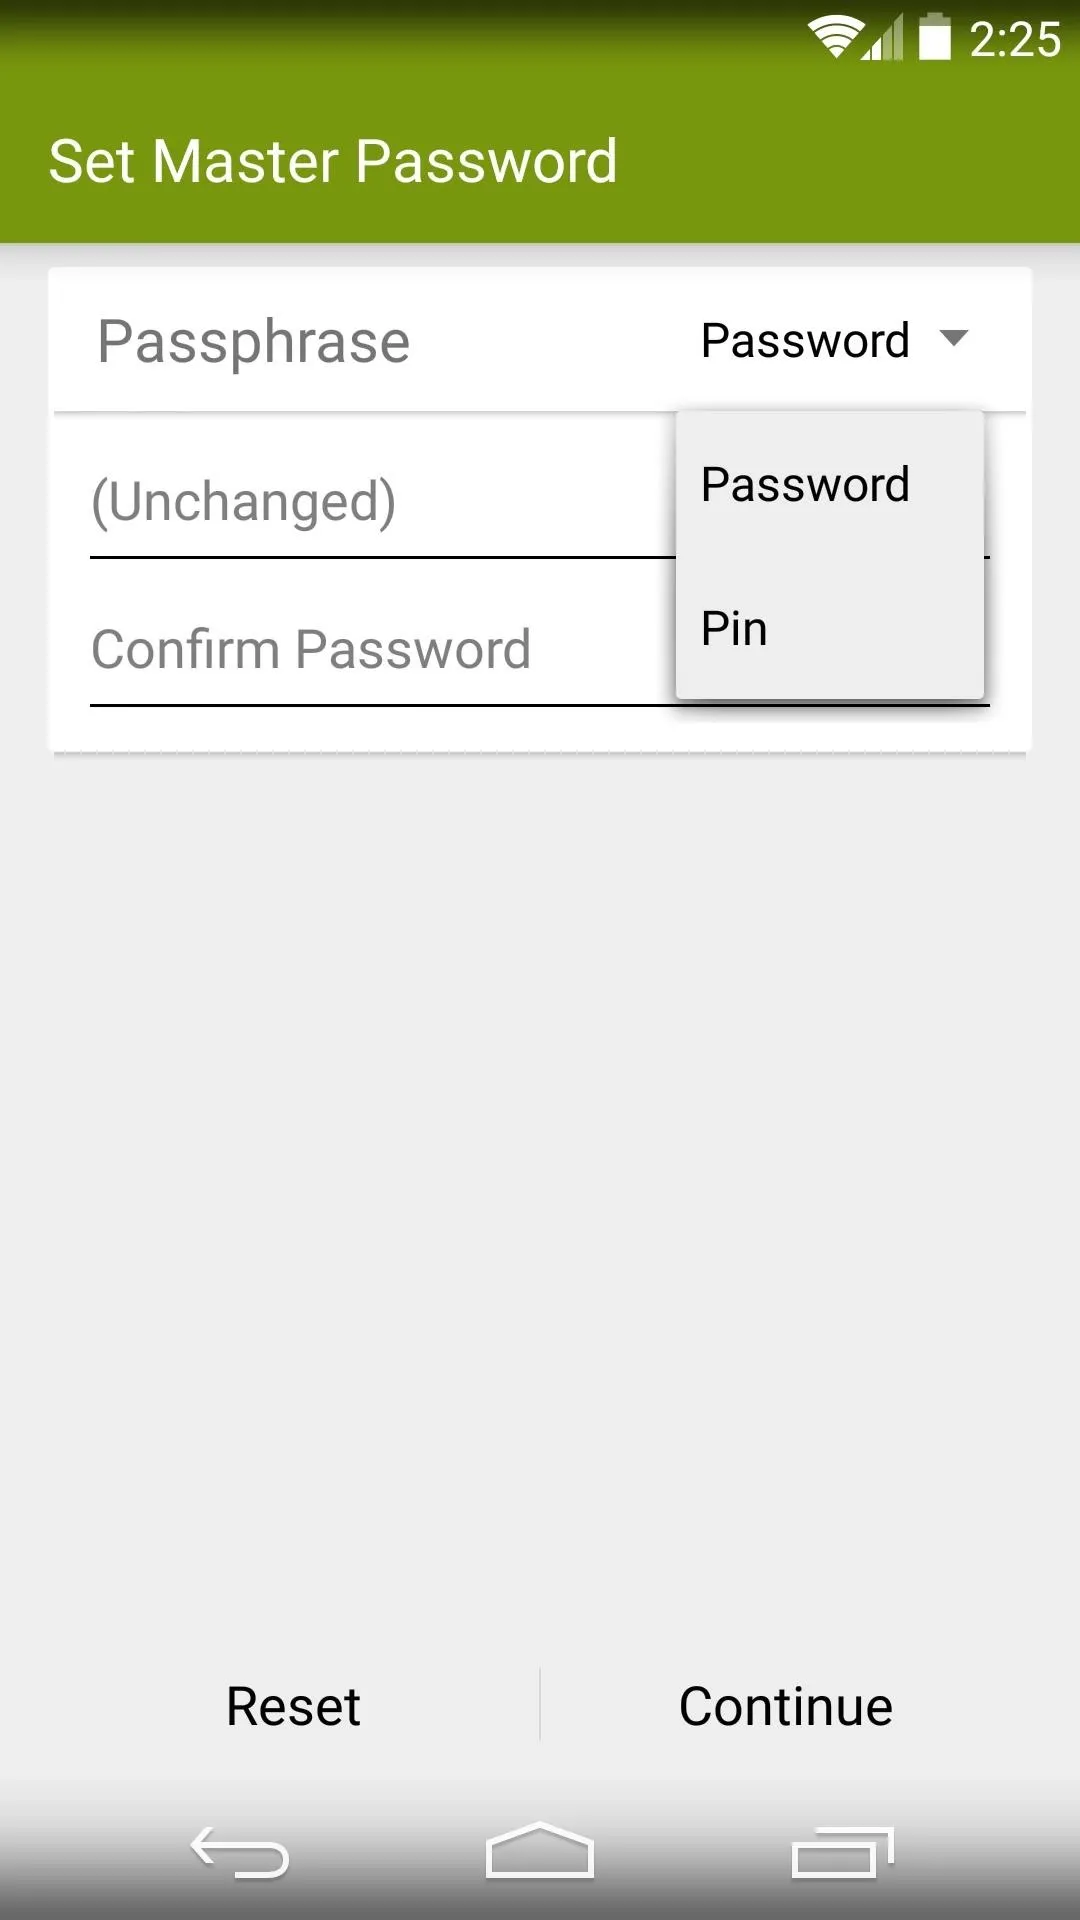


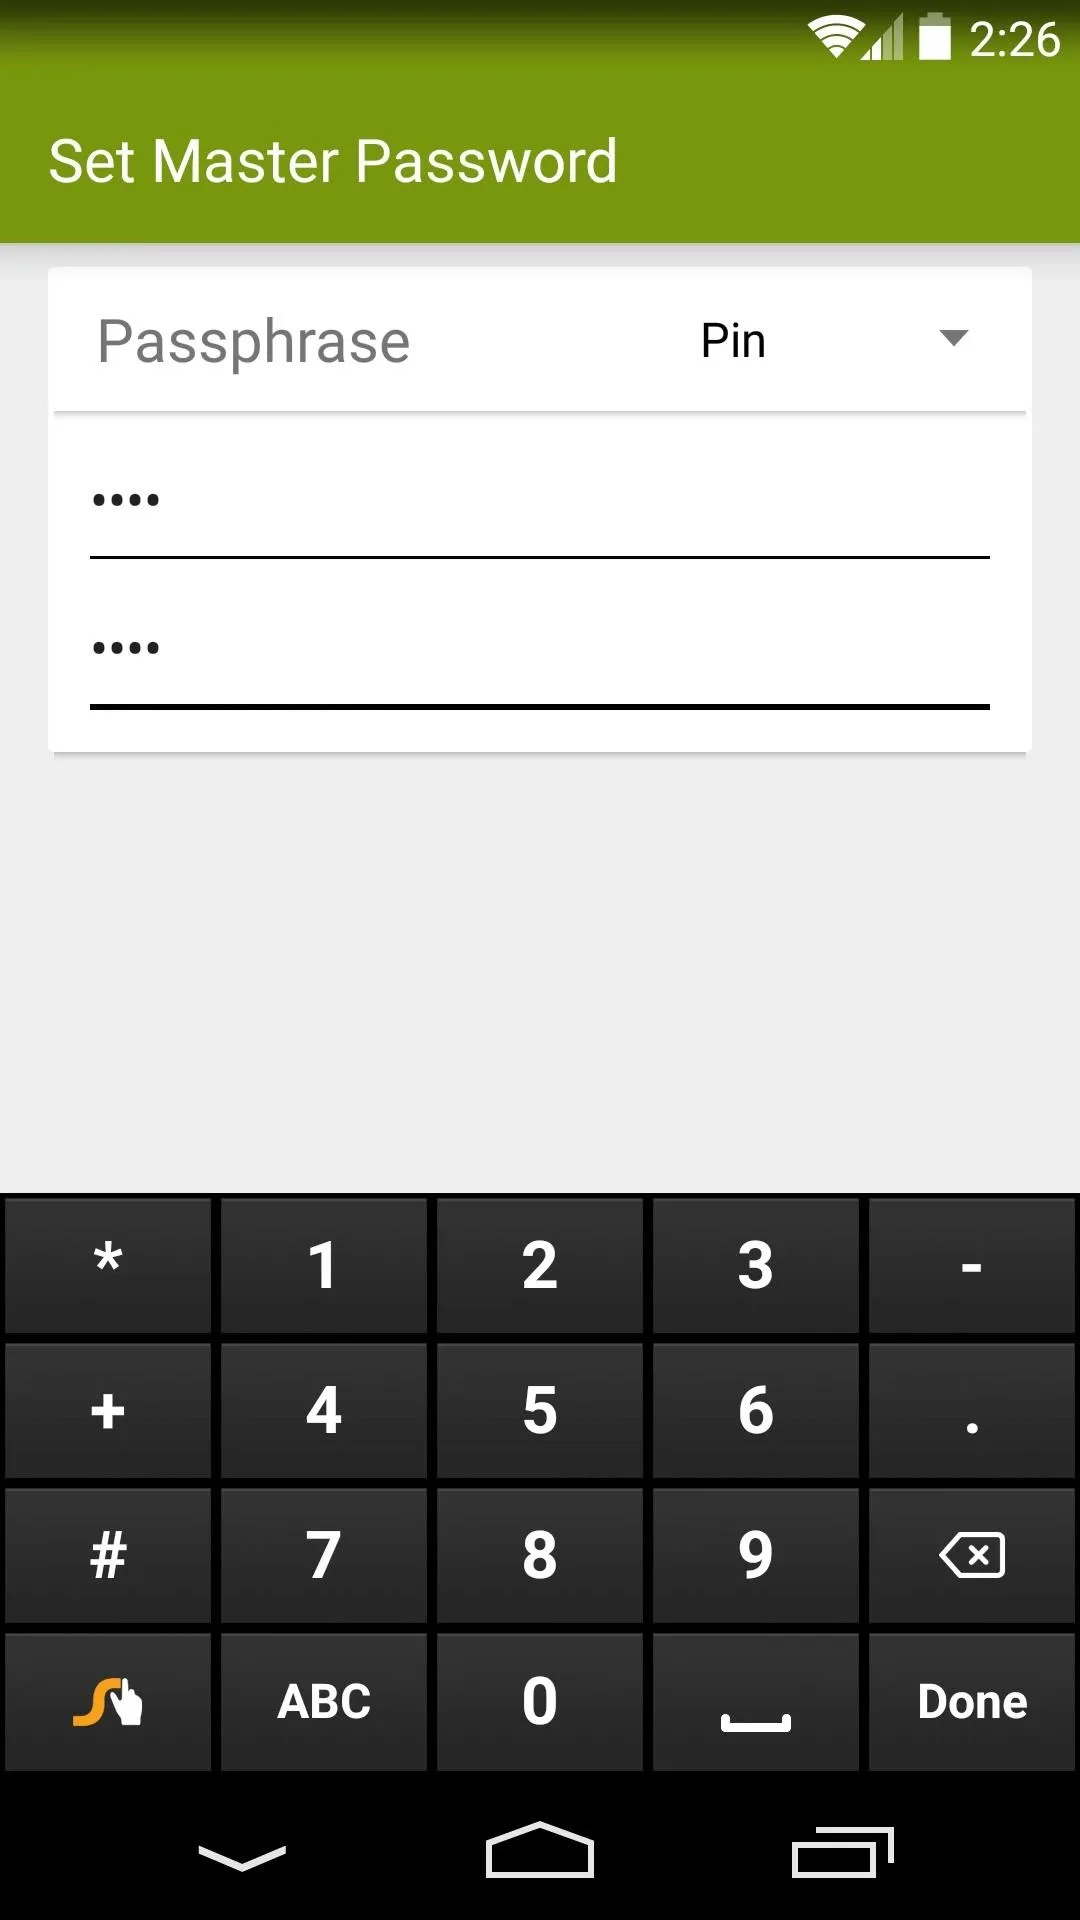
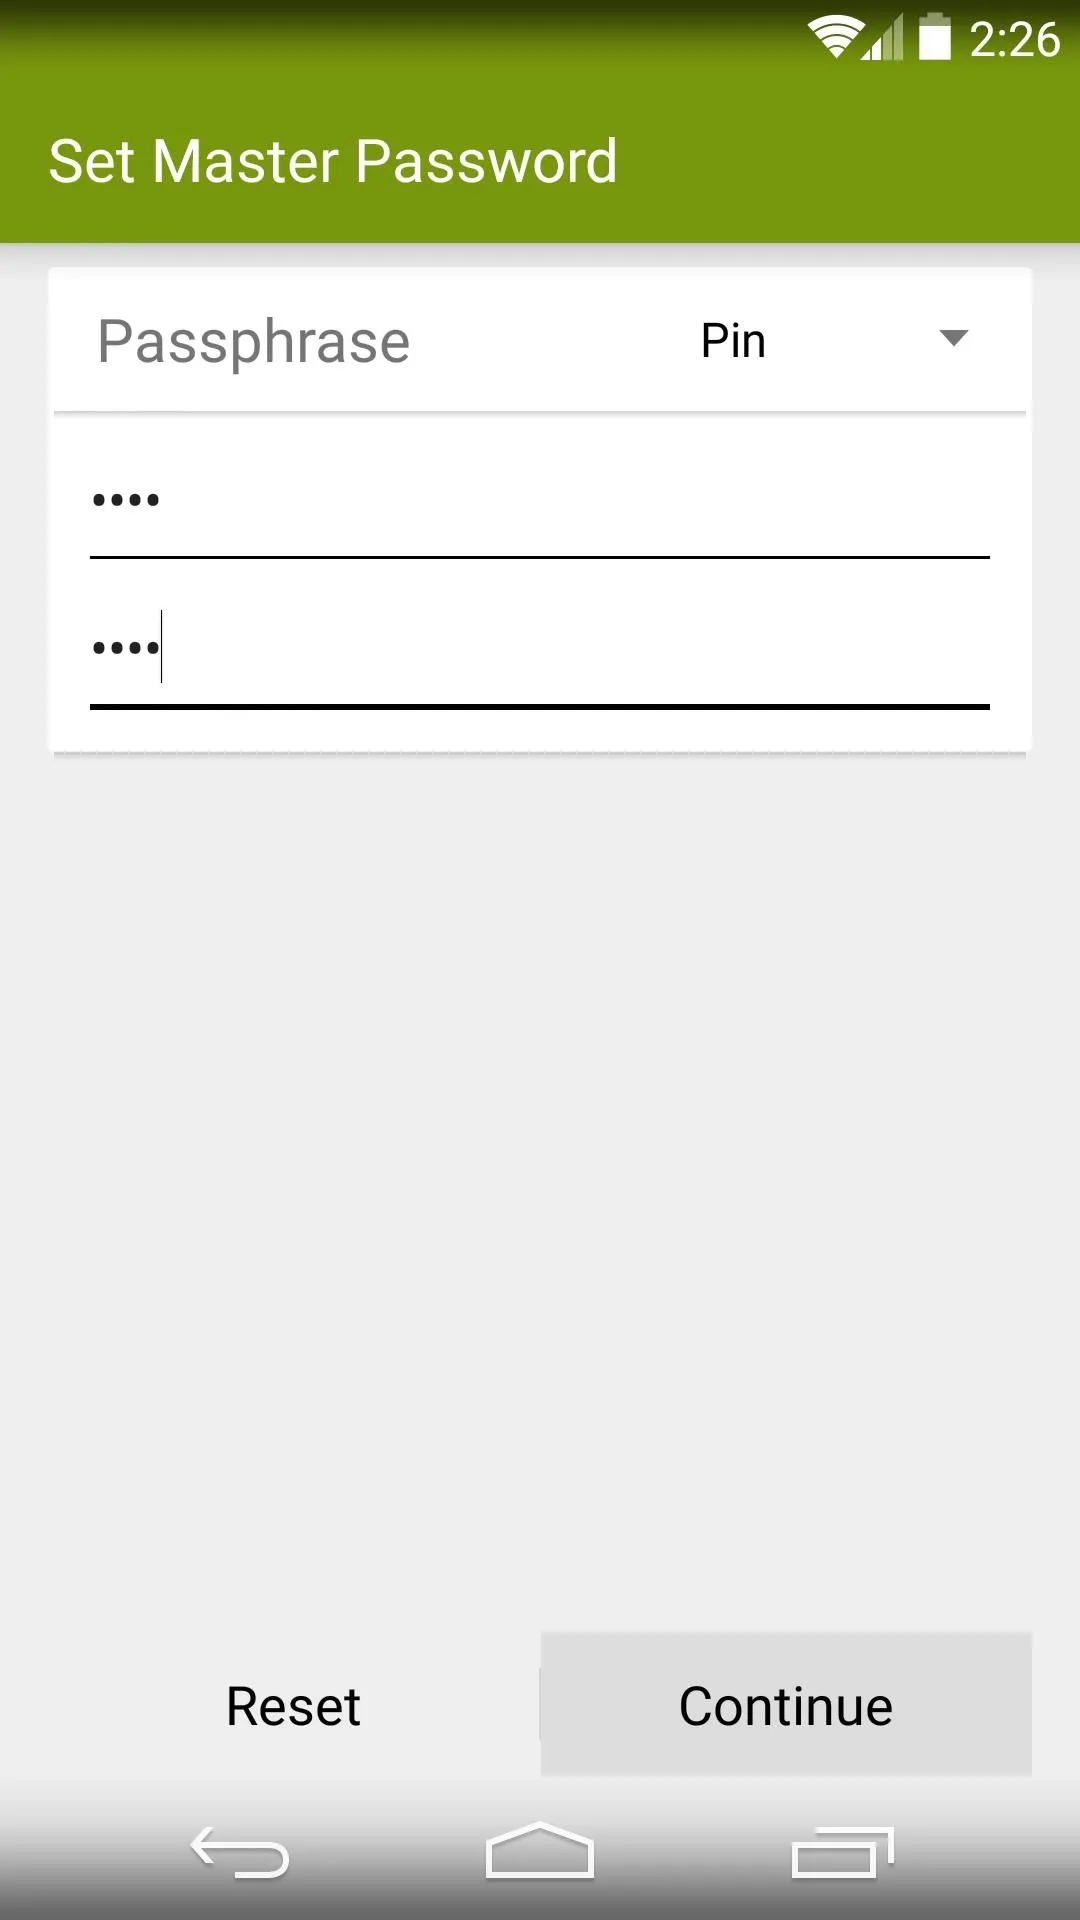
Type a password or PIN into the top field, then enter it again in the second field to confirm. When you're done with that, press Continue.


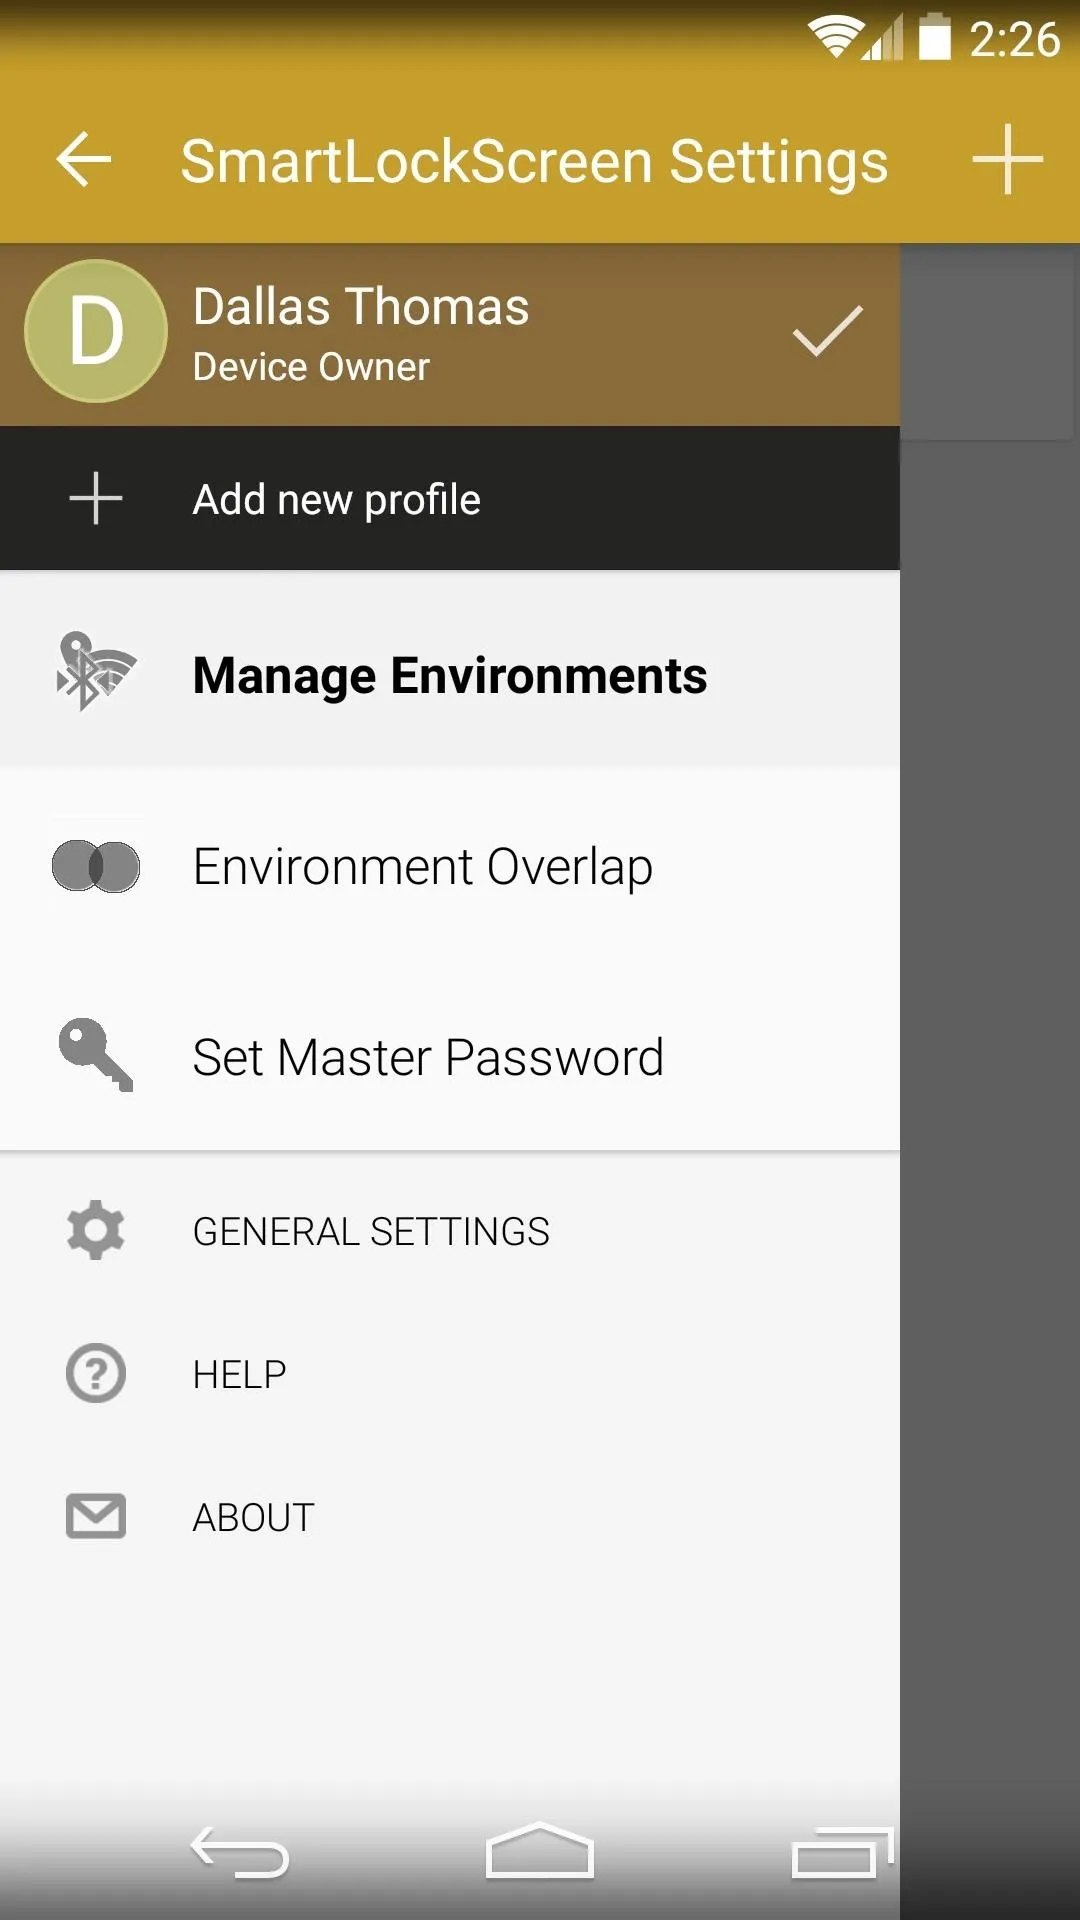
At this point, you'll be taken to the app's main menu. From here, select Manage Environments, then tap the + button at the top of the screen to set up a new trusted environment.


Use the first field to give your new trusted environment a name—"Home" or "Work," for instance. After that, enter a Hint for this environment in the second field.
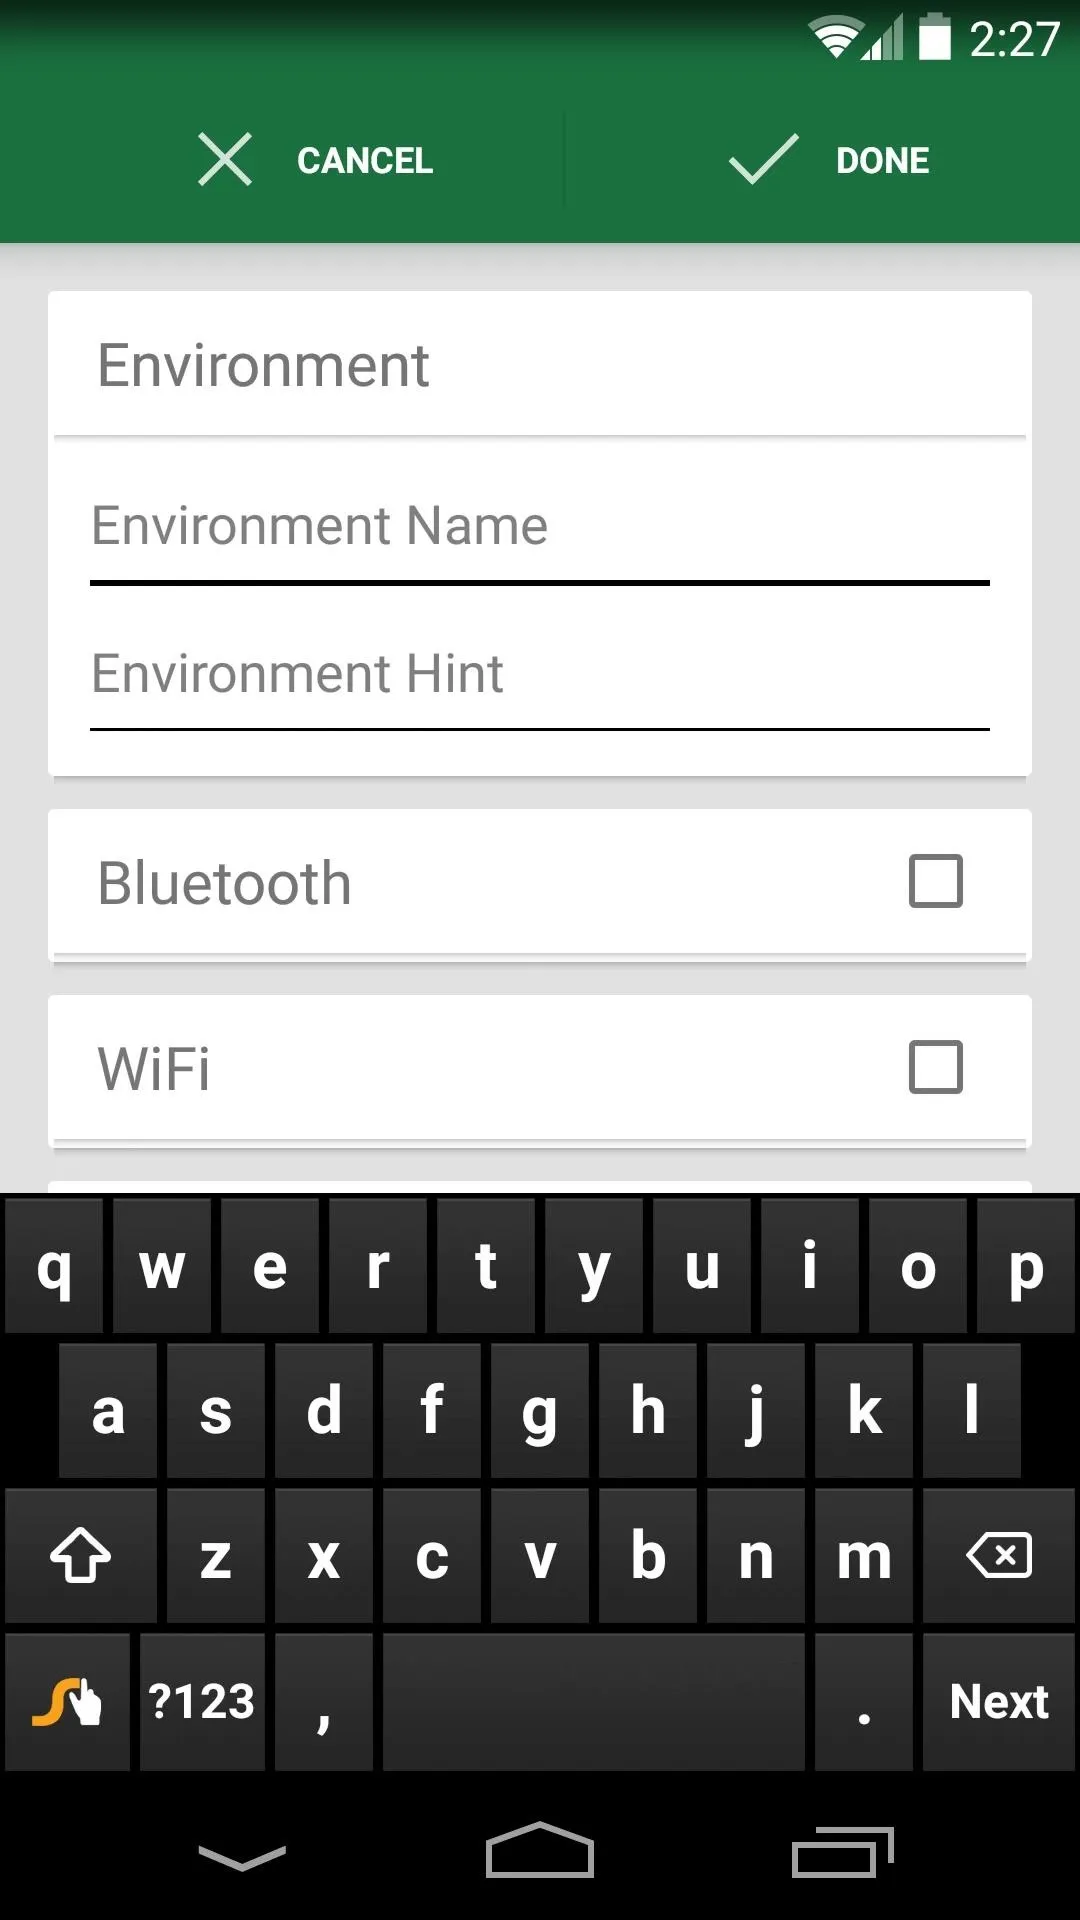
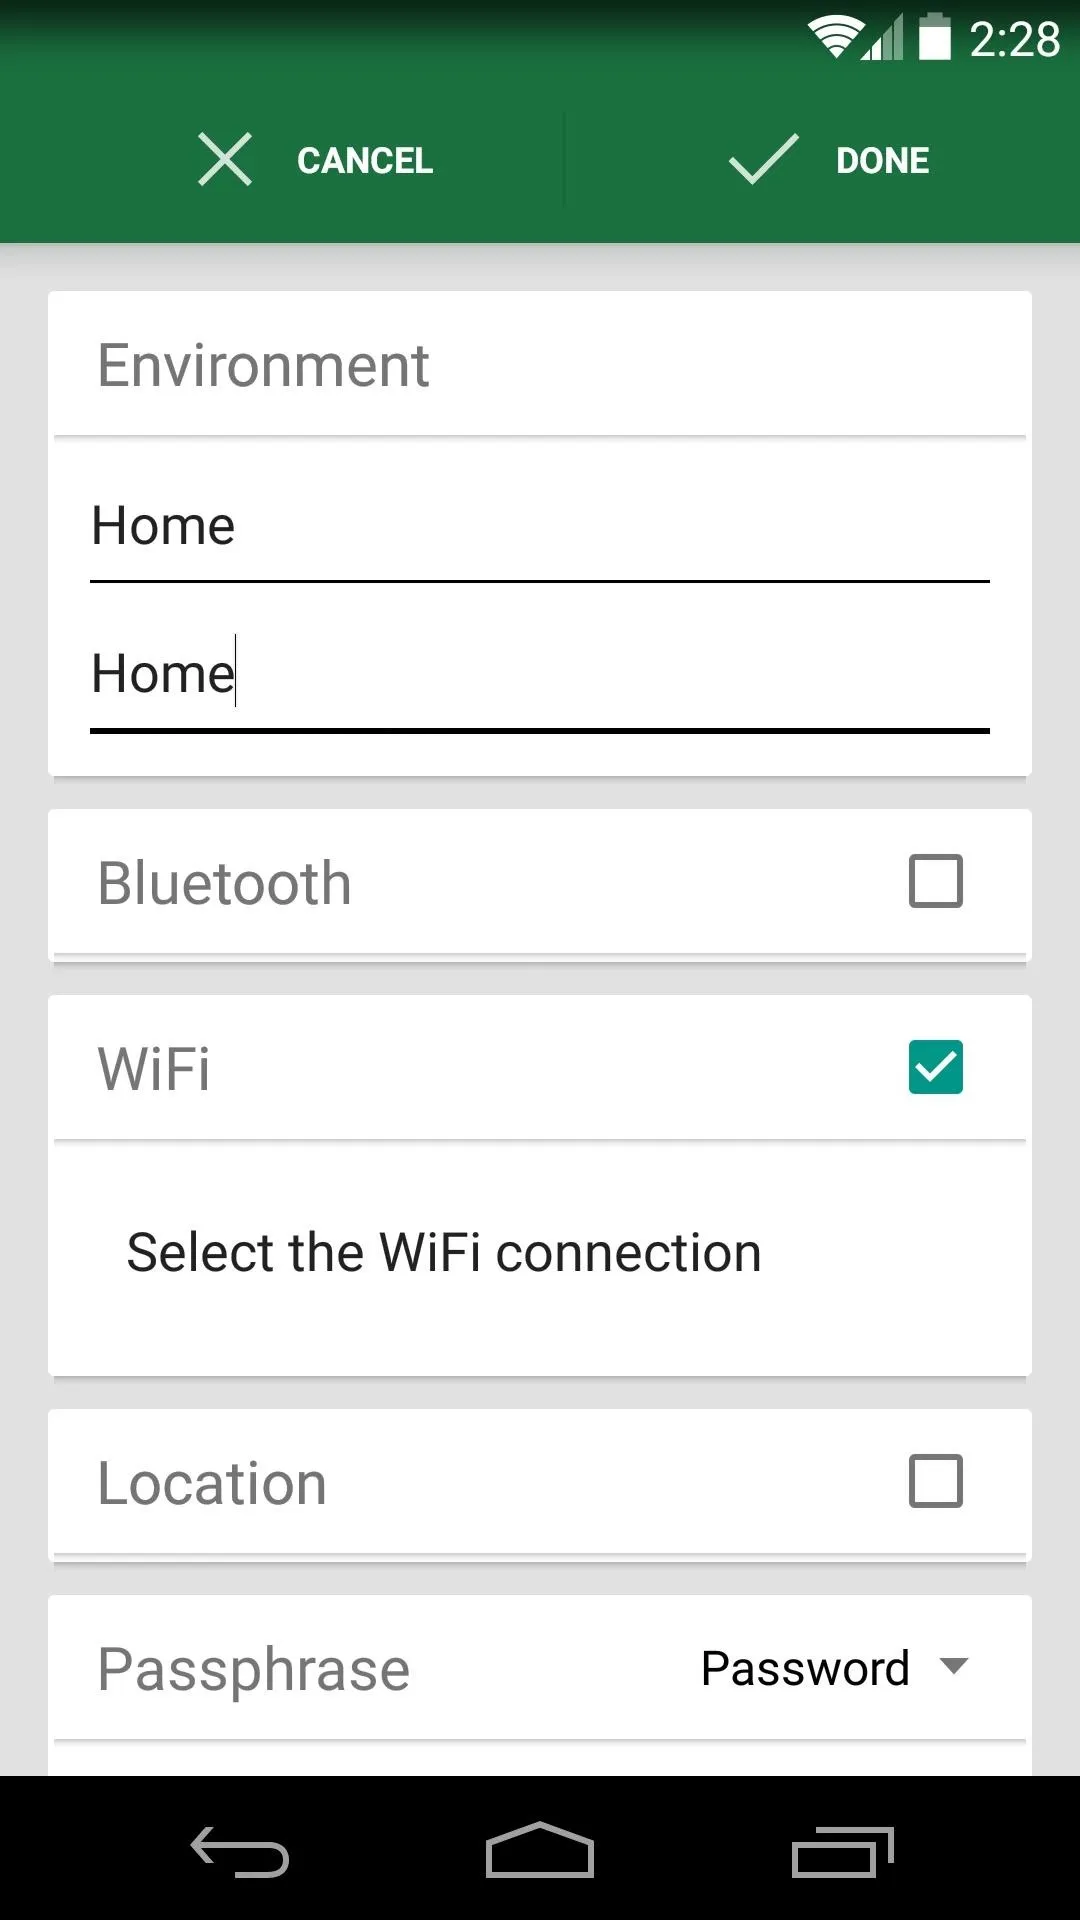


Now you can choose which method you'd like to use as a trusted environment—the options here are Bluetooth, Wi-Fi, and Location.
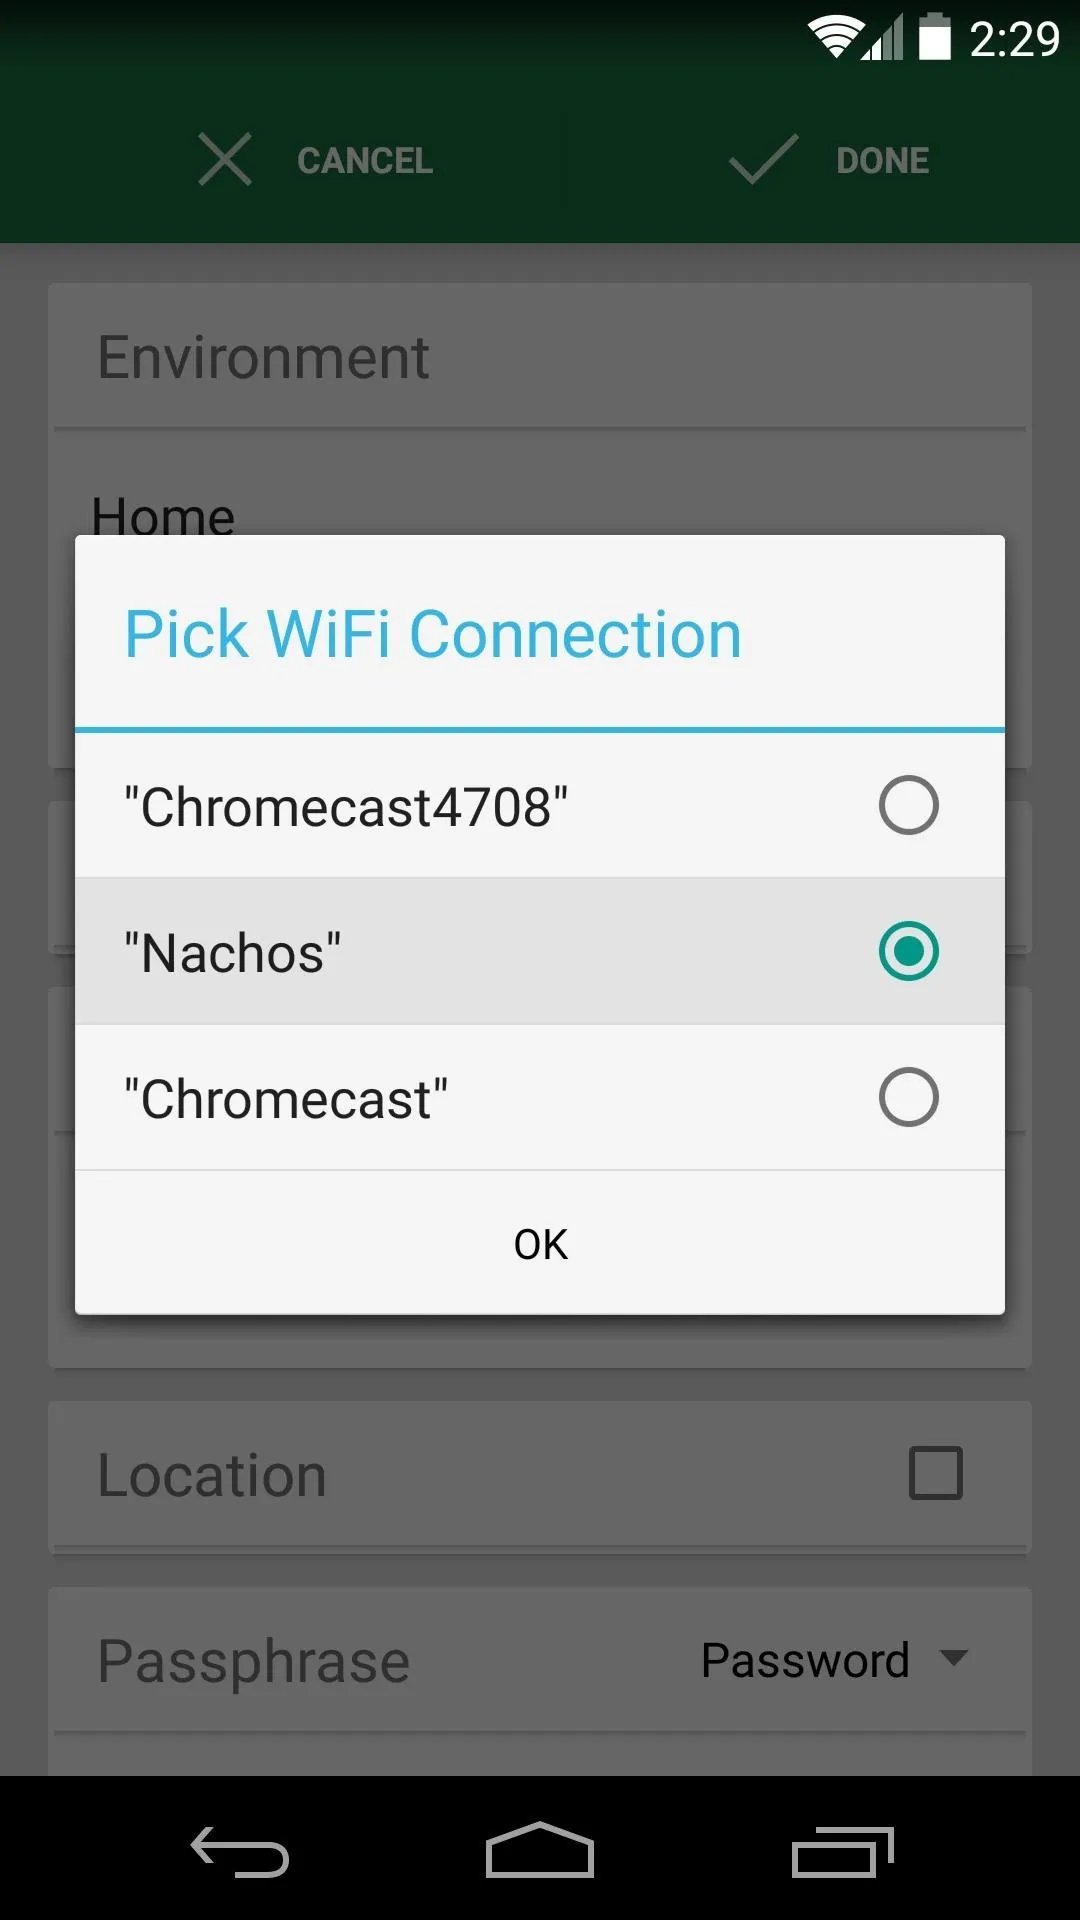
You can use any combination of the three, but when you've selected one, tap the entry that shows up directly below it. Use the next menu to define the parameters of your trusted environment. In this example, since I'm setting this up to where I don't need a password when I'm connected to my home Wi-Fi, I'll select my Wi-Fi network from the list.
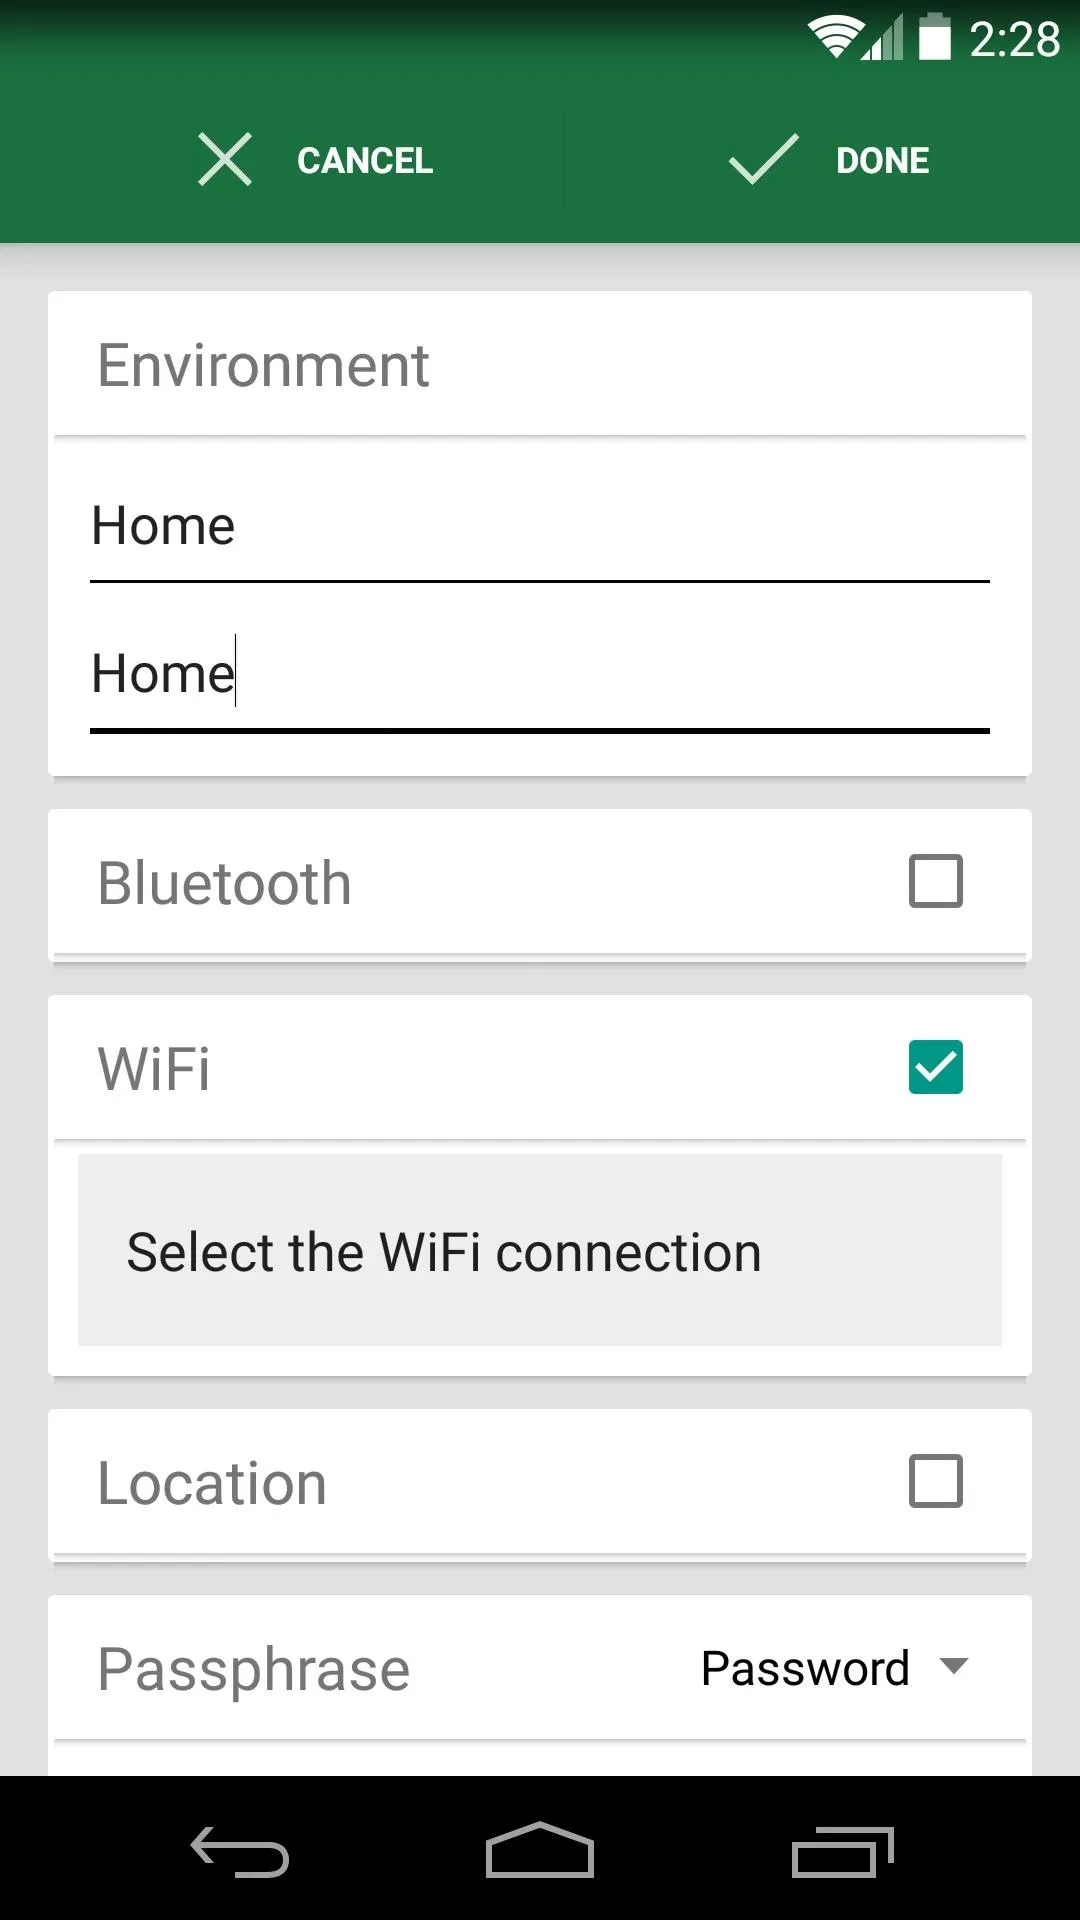


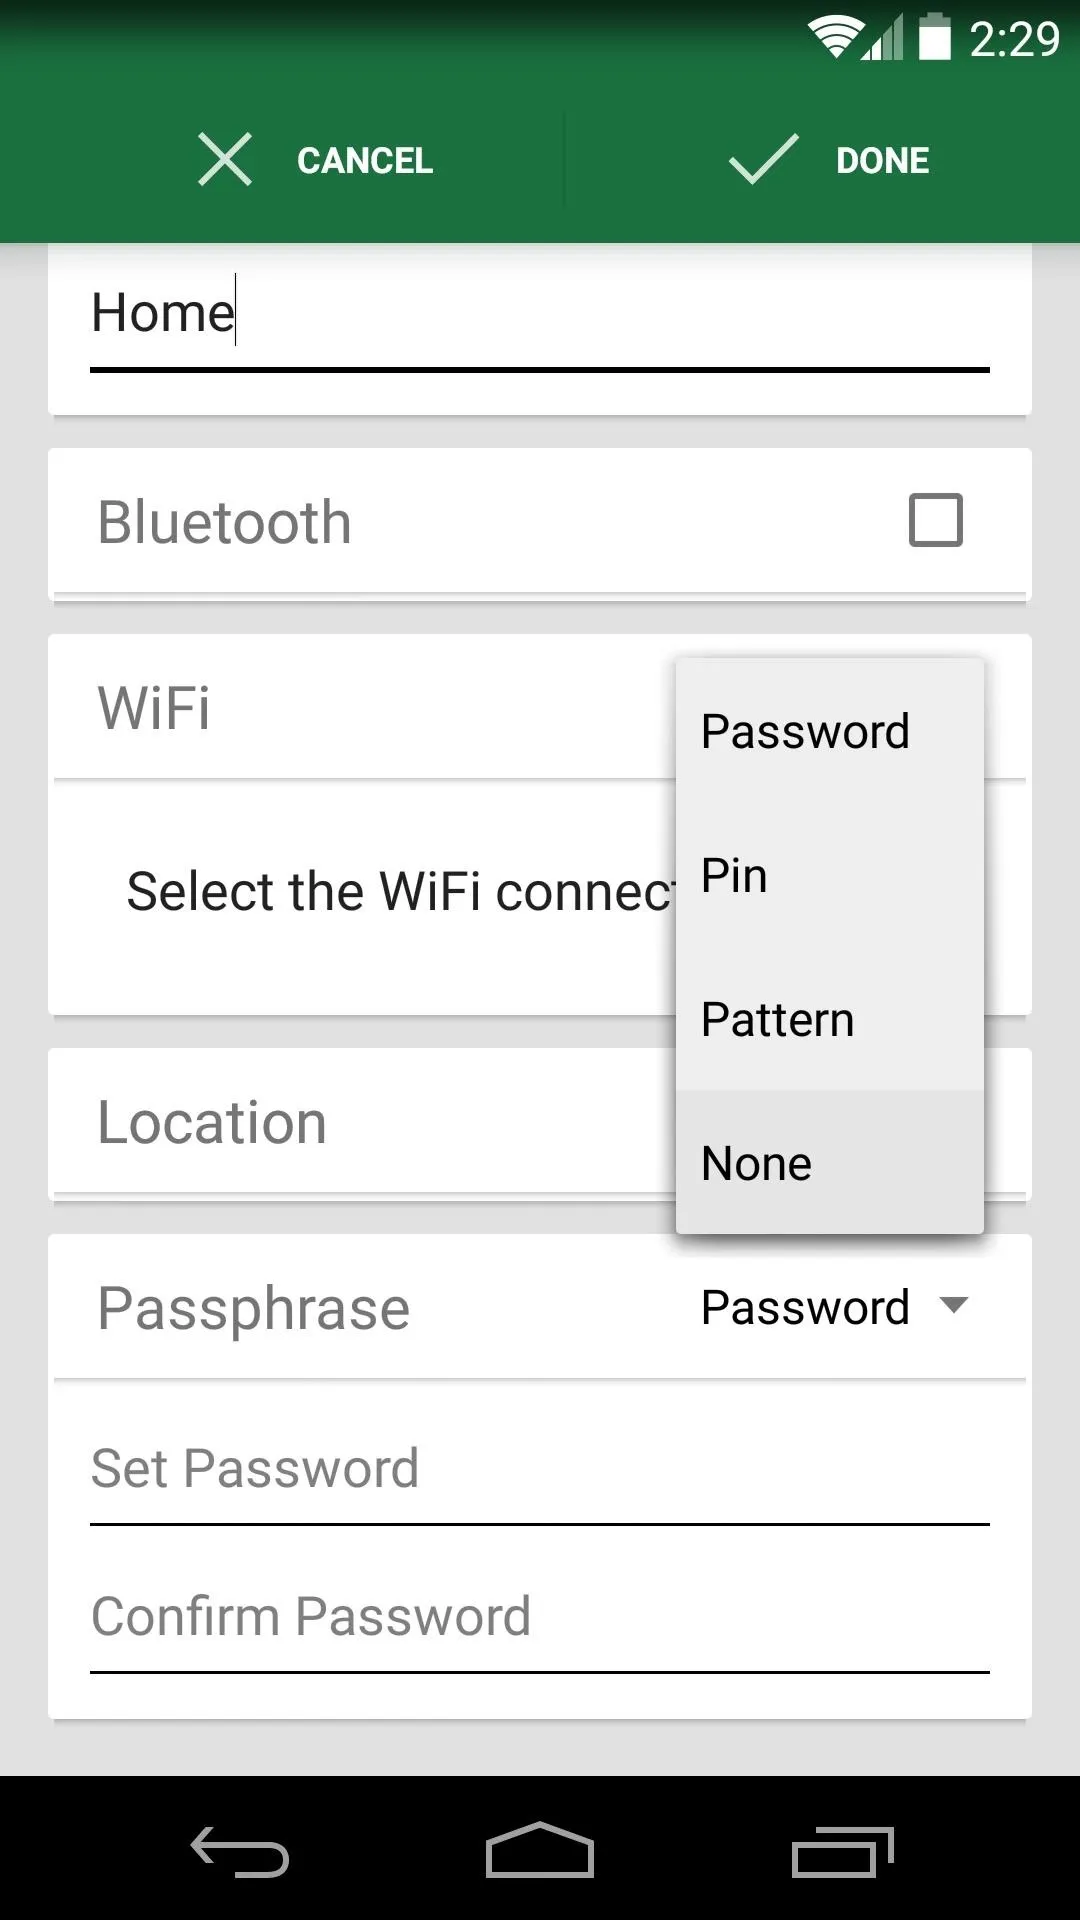
Under the Passphrase category, use the drop-menu to select None. This means that no password or PIN will be required to unlock your device when you're in this trusted environment.
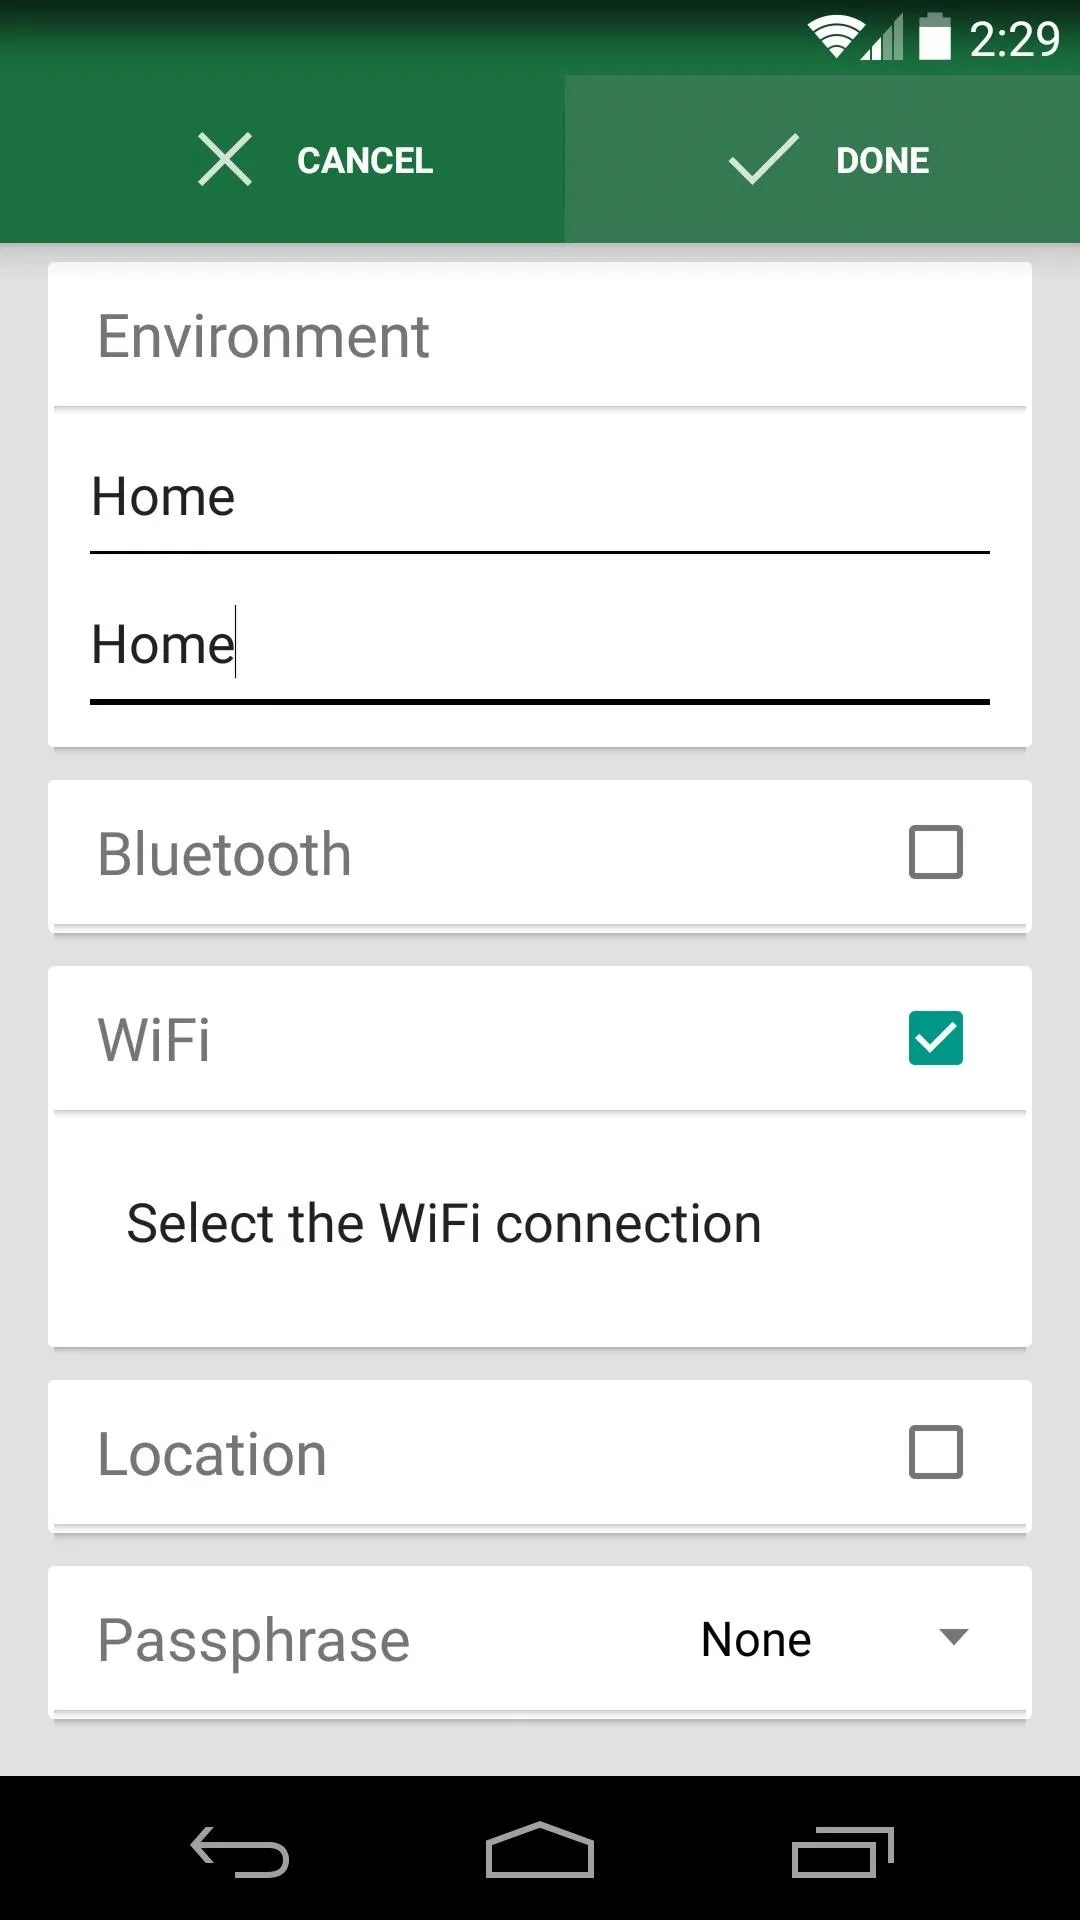


With that out of the way, tap Done, then back all the way out of the Smart Lock Screen app.
Step 4: Using Your New Lock Screen
Like I mentioned earlier, Smart Lock Screen themes your device's lock screen in the Lollipop style. This comes complete with actionable notifications that appear directly on the lock screen.
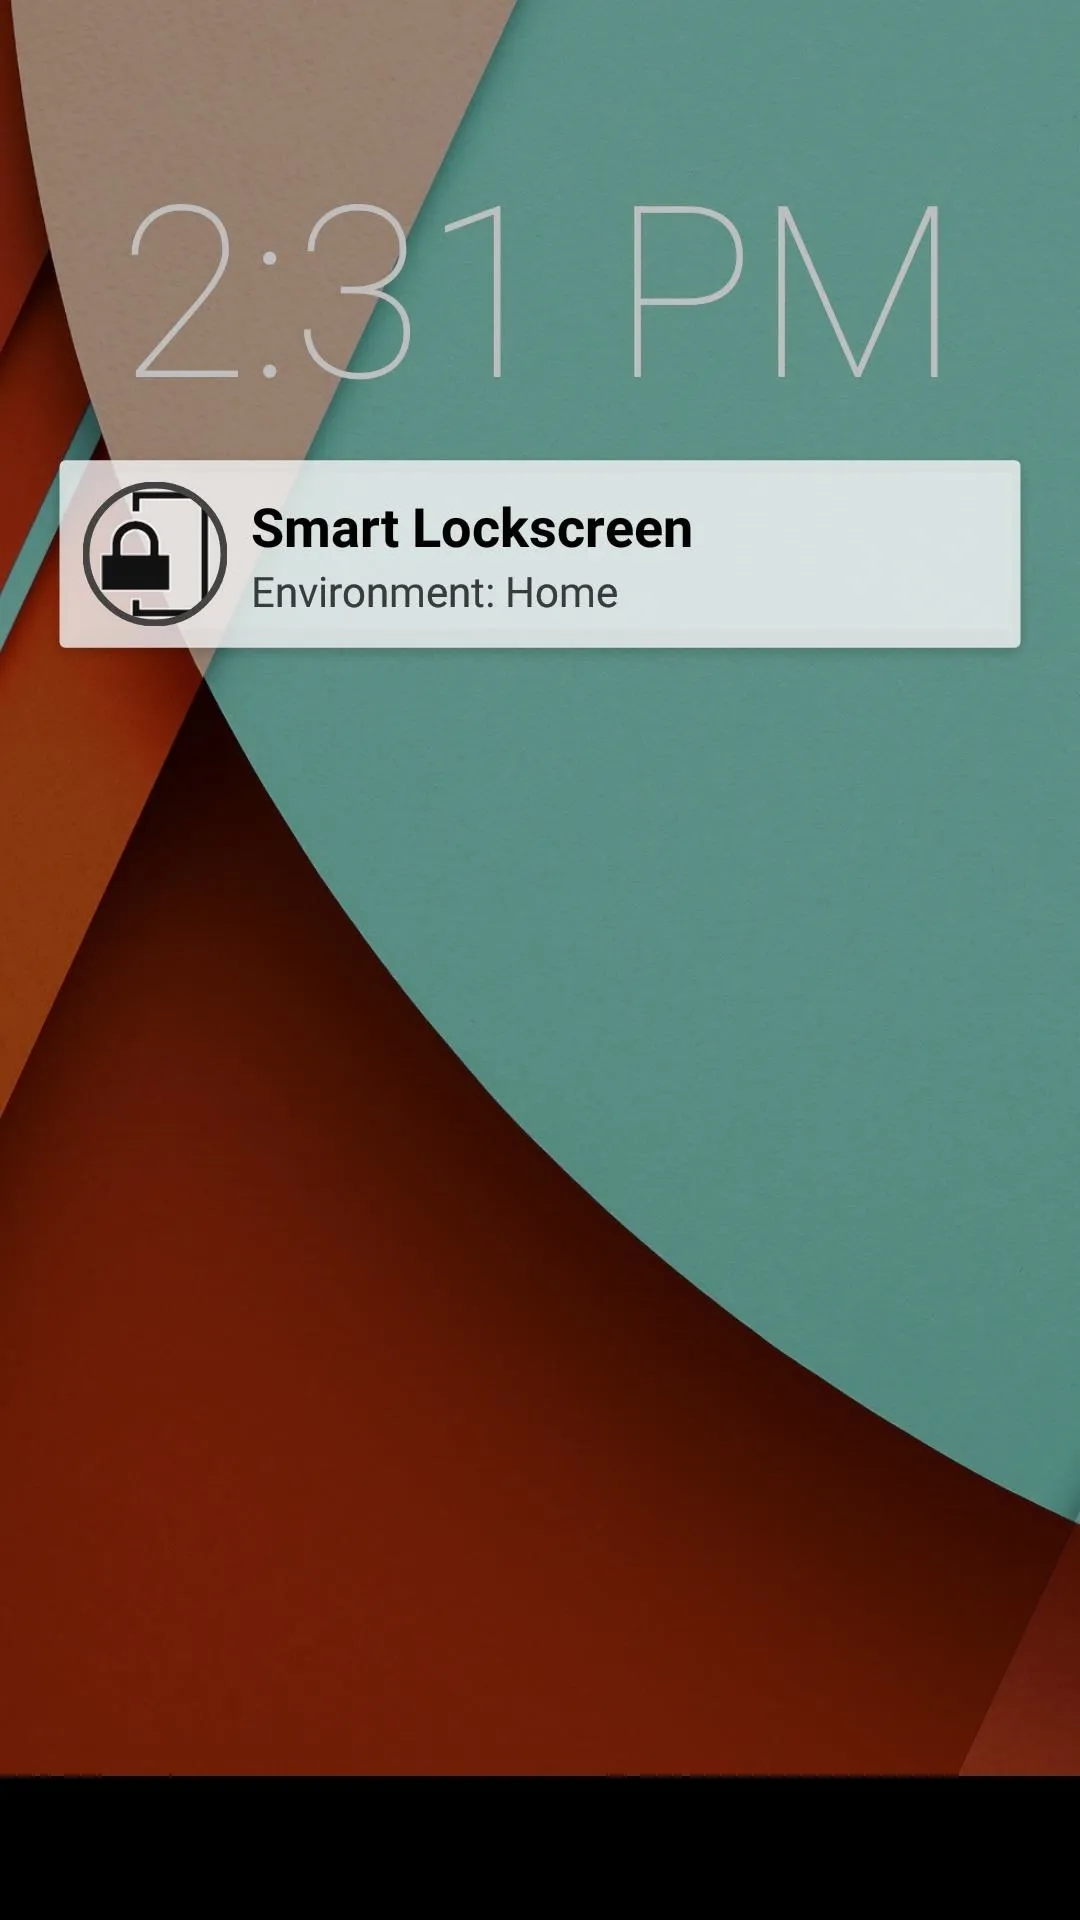
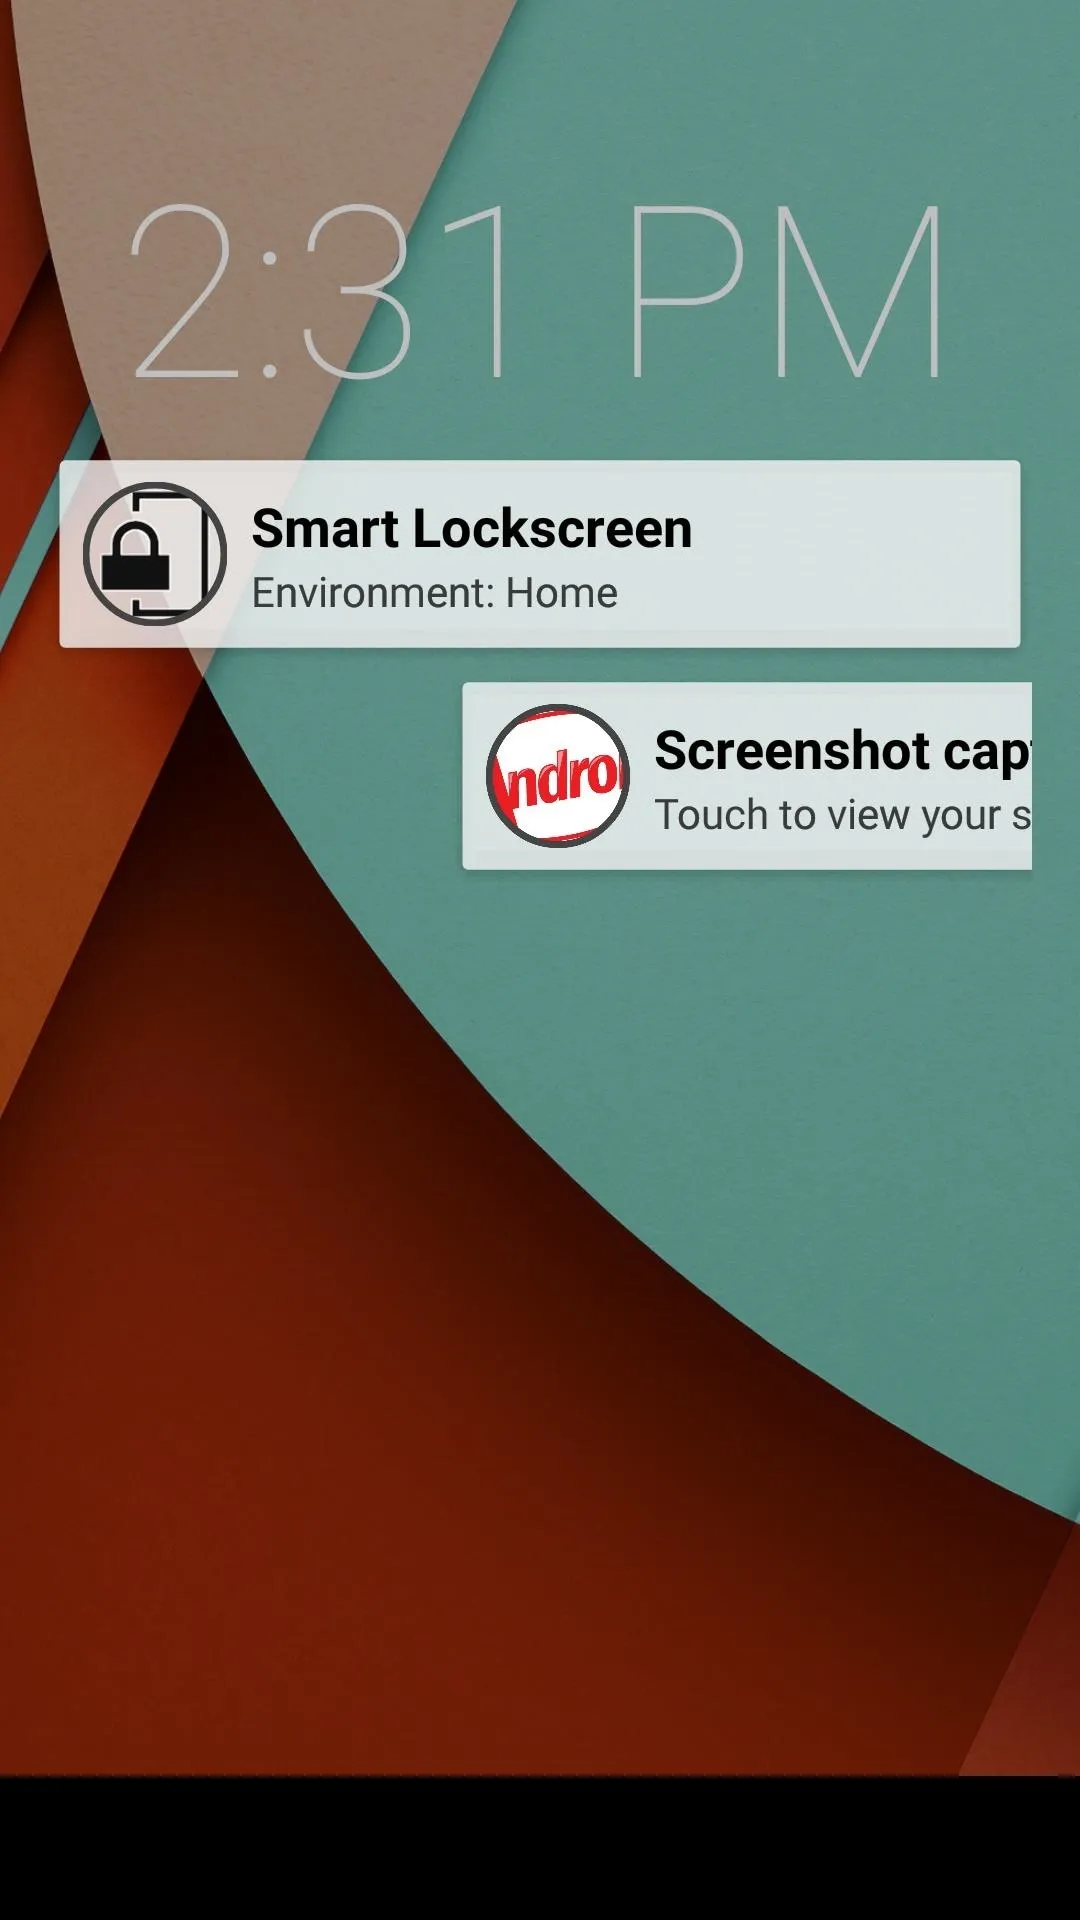


When you're in a trusted environment, all you have to do is swipe upward on the lock screen, and you'll be taken directly to your home screen. Otherwise, if you're out and about, you will see Android's secure lock screen after swiping up.
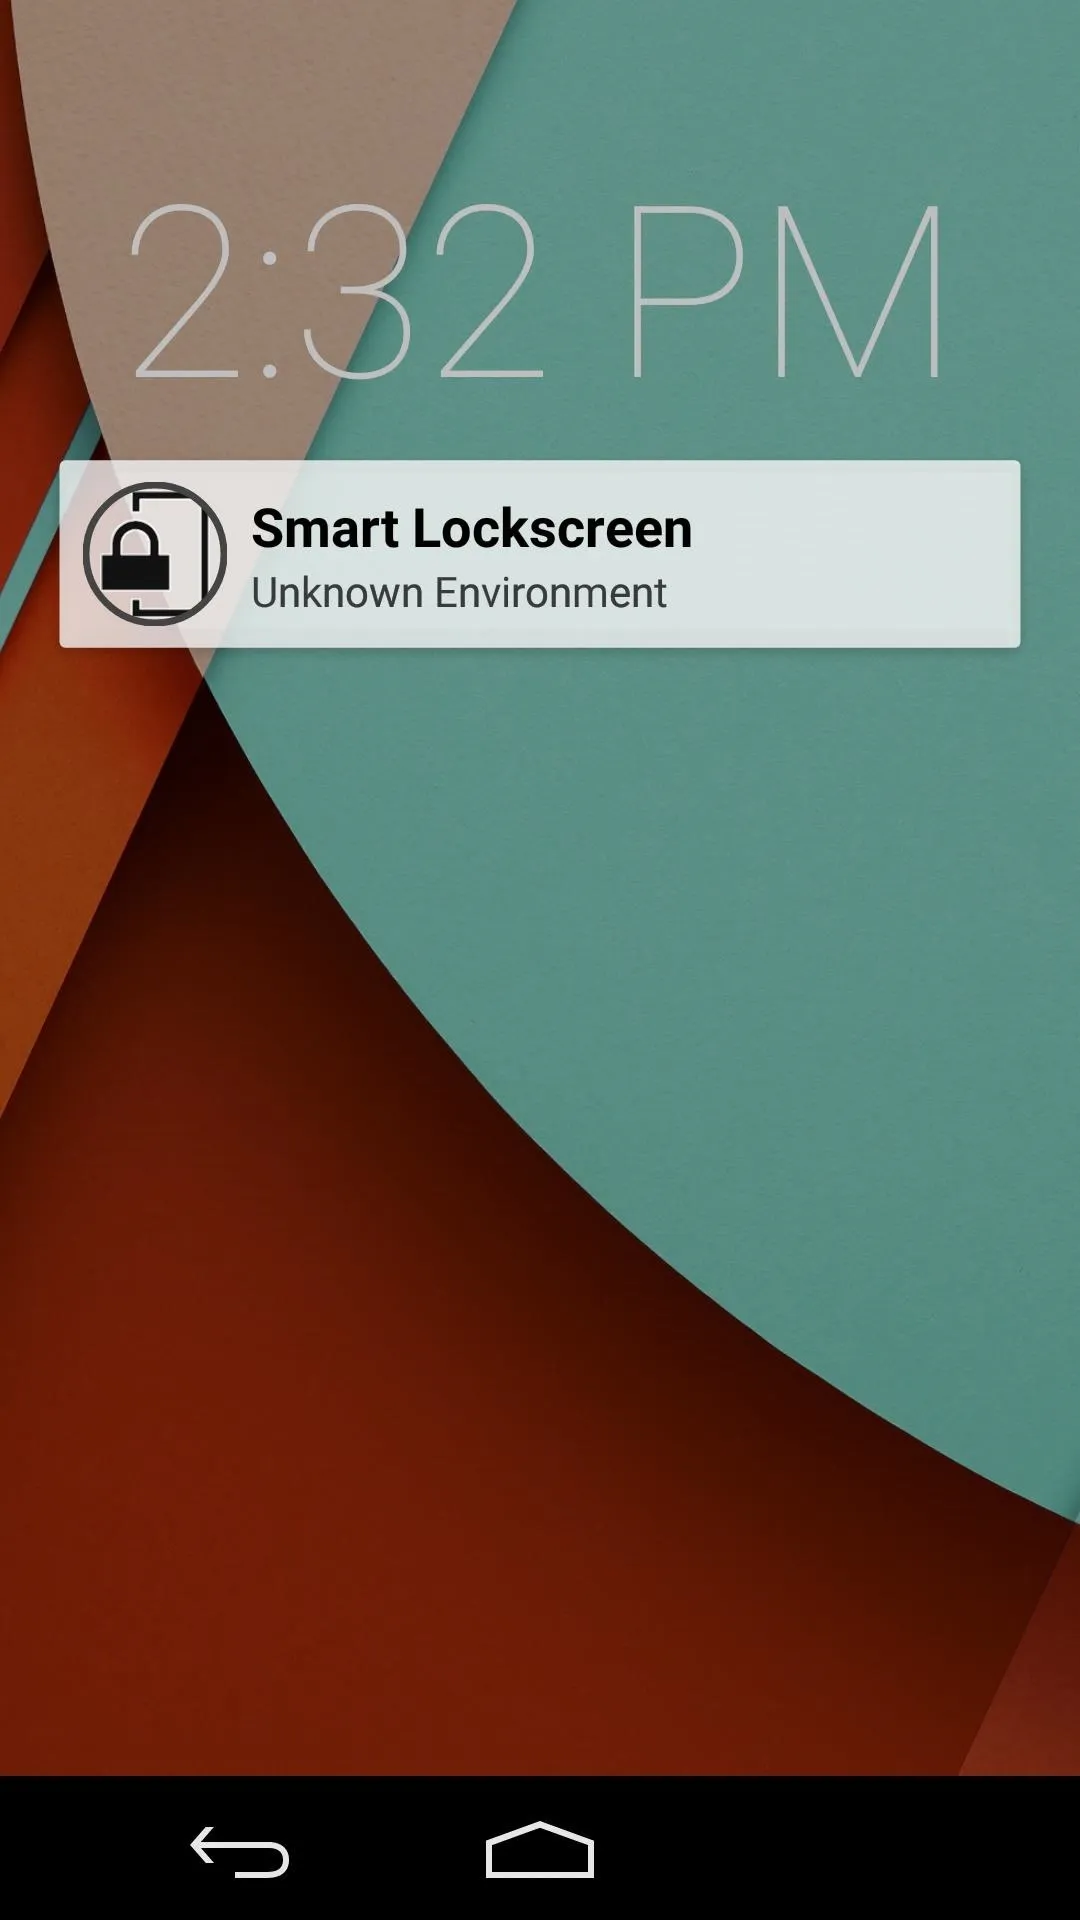
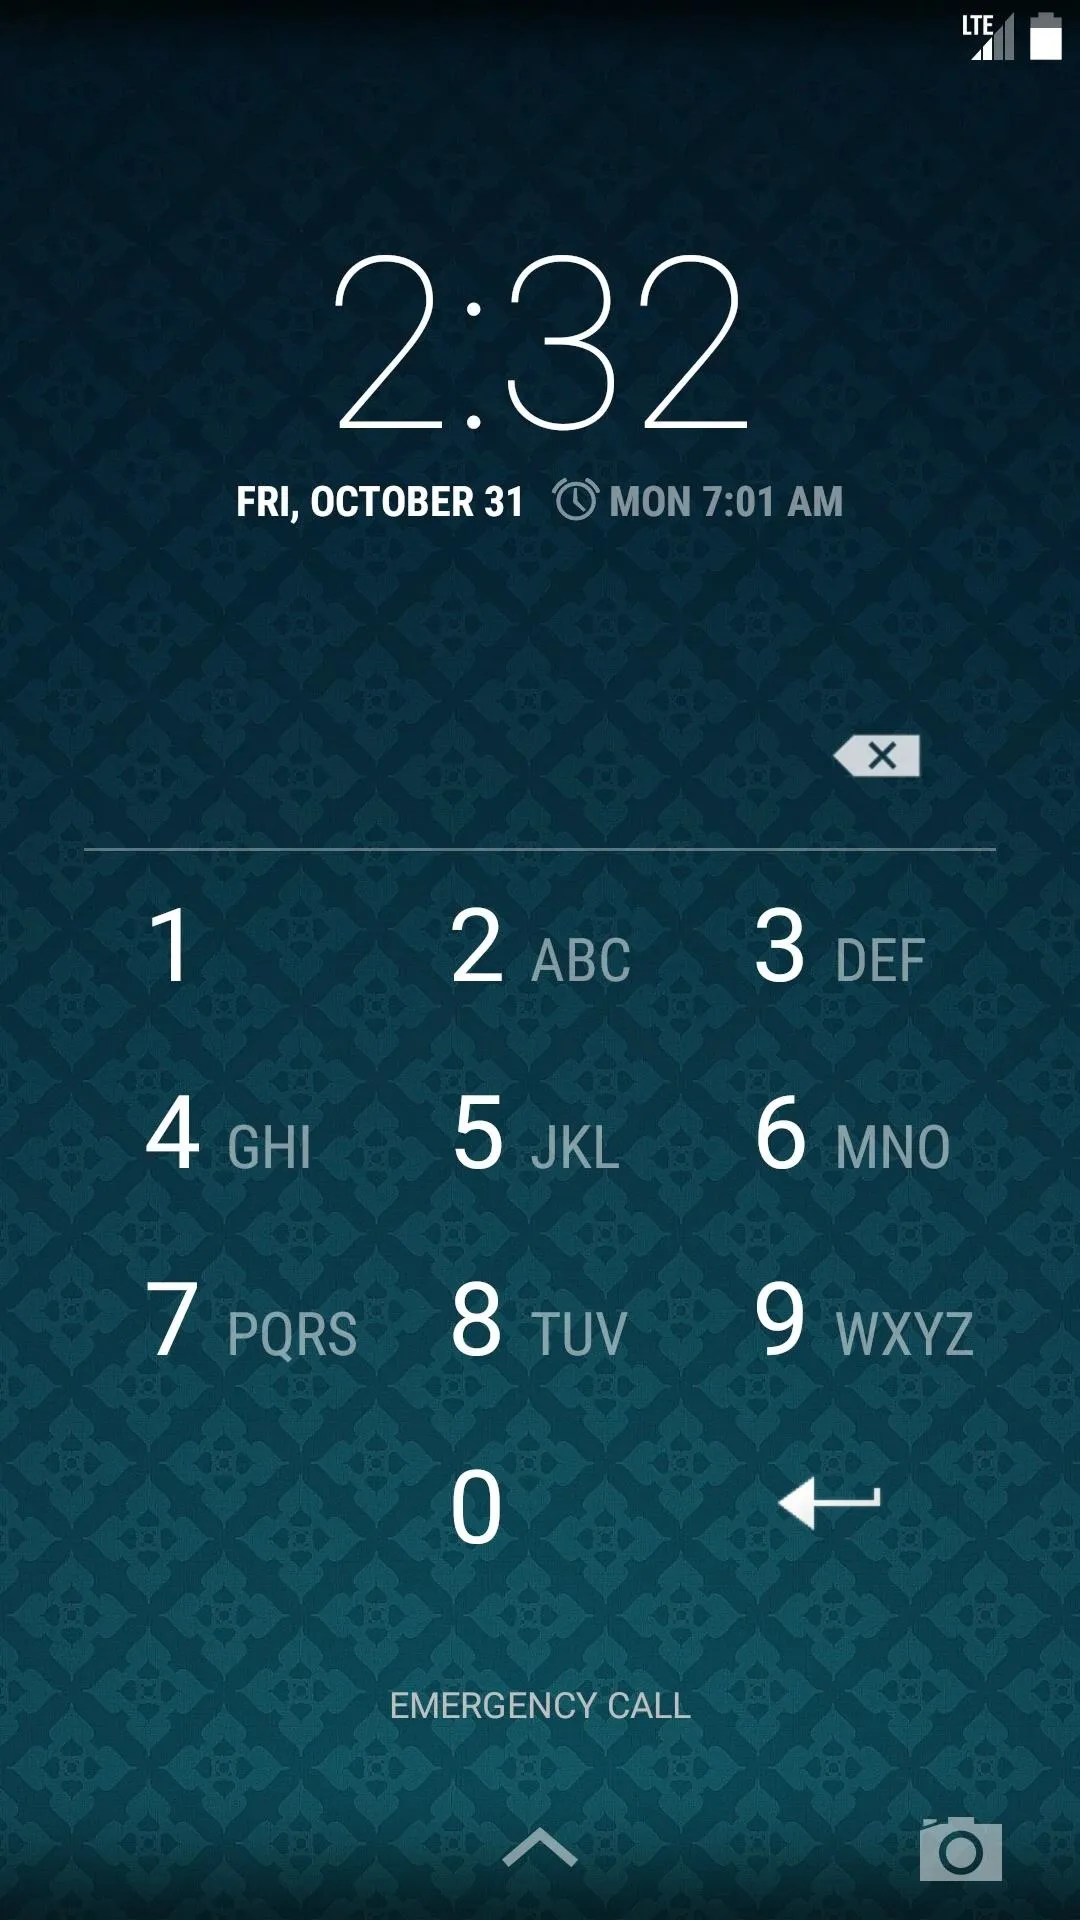


This means that your device will automatically be secured if it ever falls into the wrong hands. But when you're in a trusted environment, you don't have to bother entering a pattern or PIN every time you want to use your phone.
Have these "Smart Lock" features finally convinced you to start using a secure lock screen? Or have they just made it easier to unlock with your existing security? Let us know in the comments section below, as well as on Facebook and Twitter.


Comments
No Comments Exist
Be the first, drop a comment!