If you've ever used IFTTT, you know how well it can automate your online world. The premise is simple—If This, Then That—but the results are powerful. From automatically printing images based on hashtags to getting around Twitter bans, the service is quite useful with a wealth of possibilities.
Pushbullet, on the other hand, offers a great way to synchronize notifications and files between your devices. With browser extensions for Chrome or Firefox and an Android app, your computer and mobile devices can all share information amongst themselves freely.
Combine the two services, though, and your mobile experience will sync with your online world like never before.
Step 1: Install Pushbullet
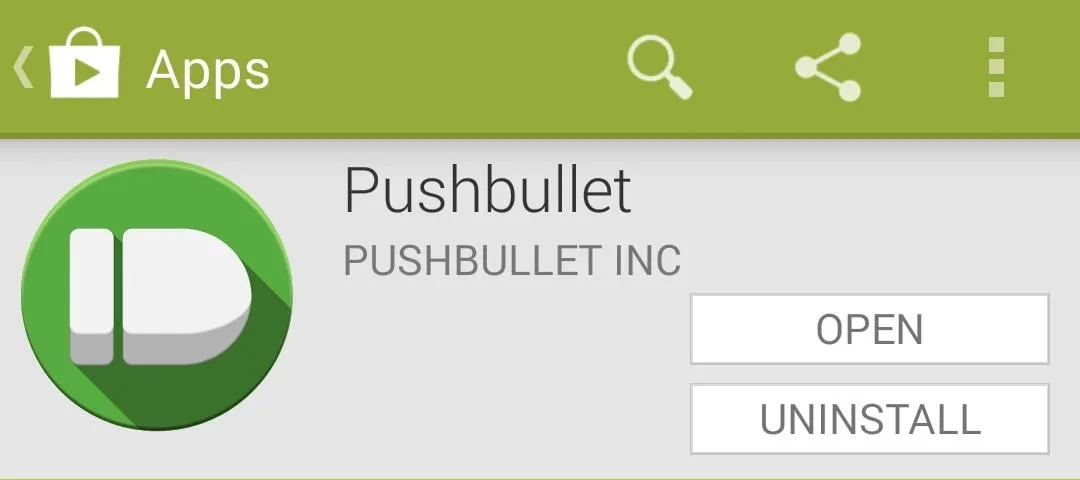
First up, grab Pushbullet from Google Play, then install it like you would any other app.
Step 2: Configure Pushbullet
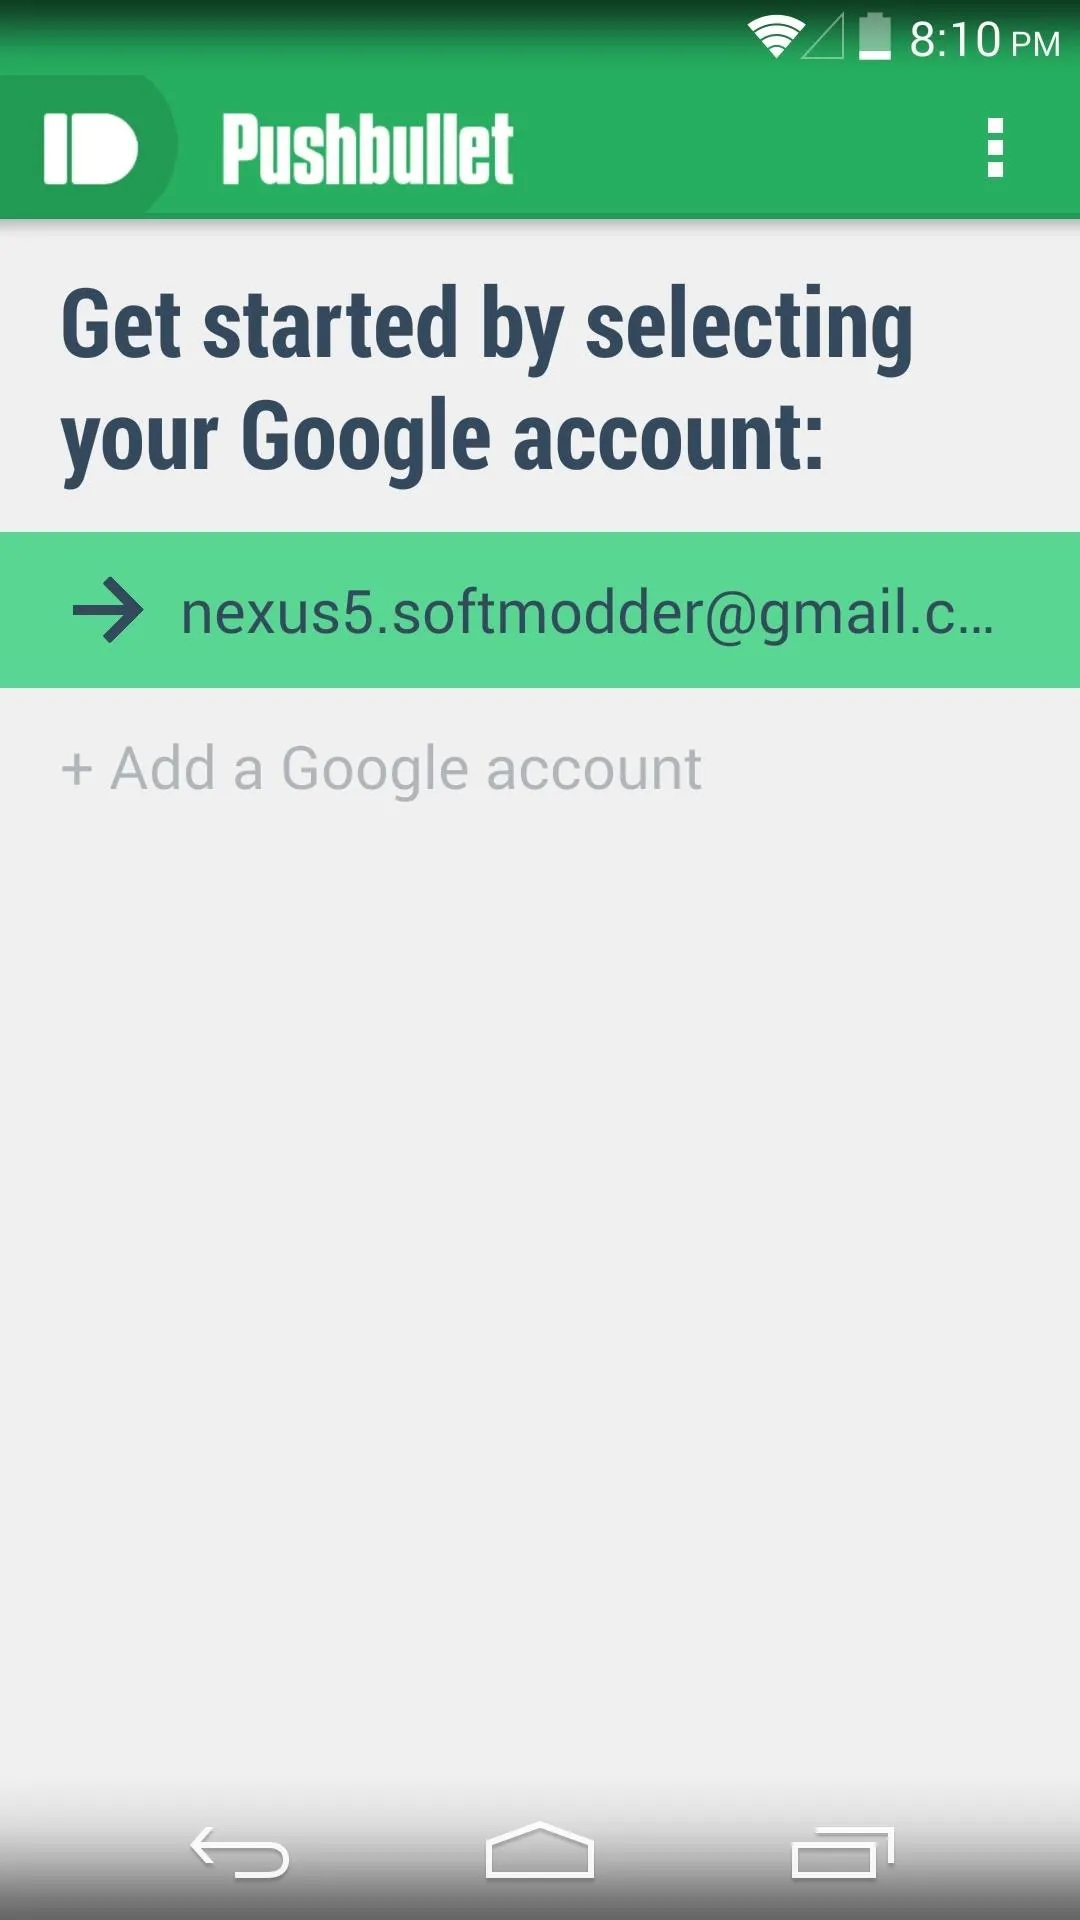
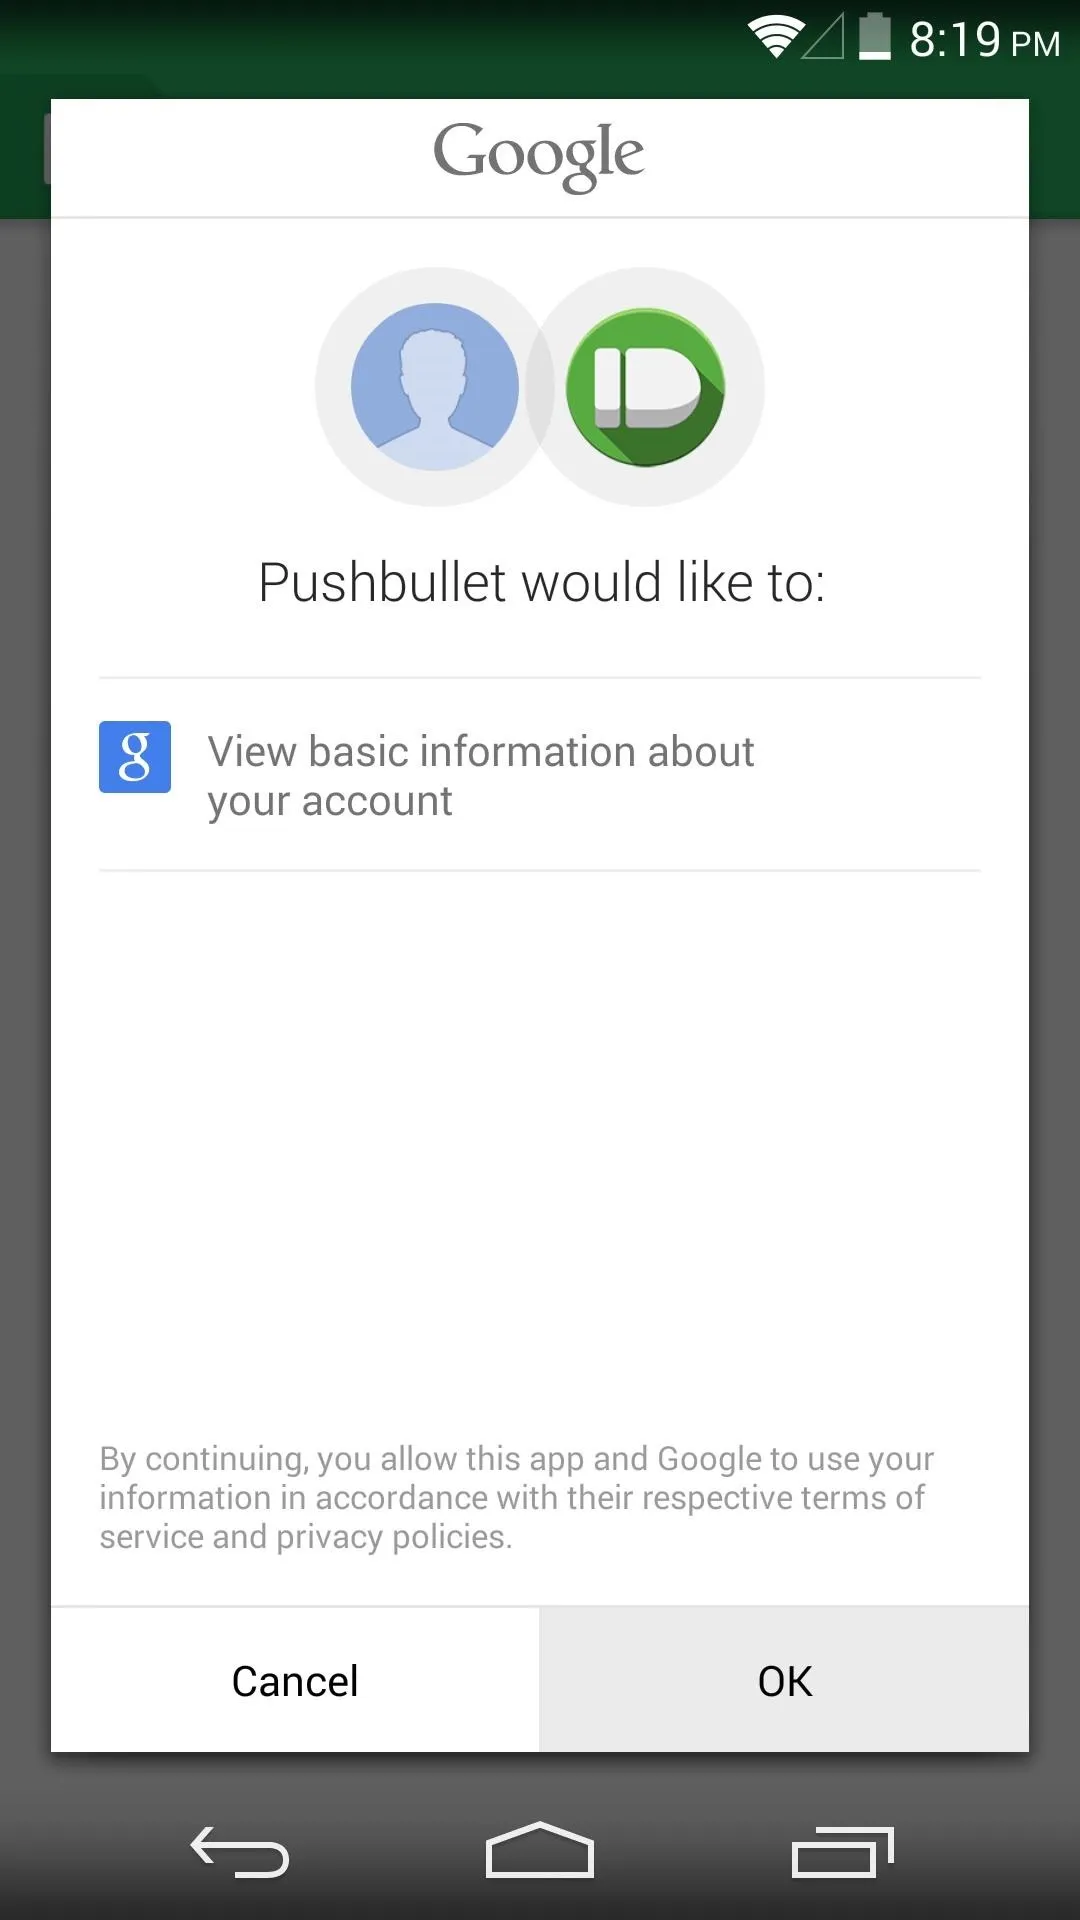
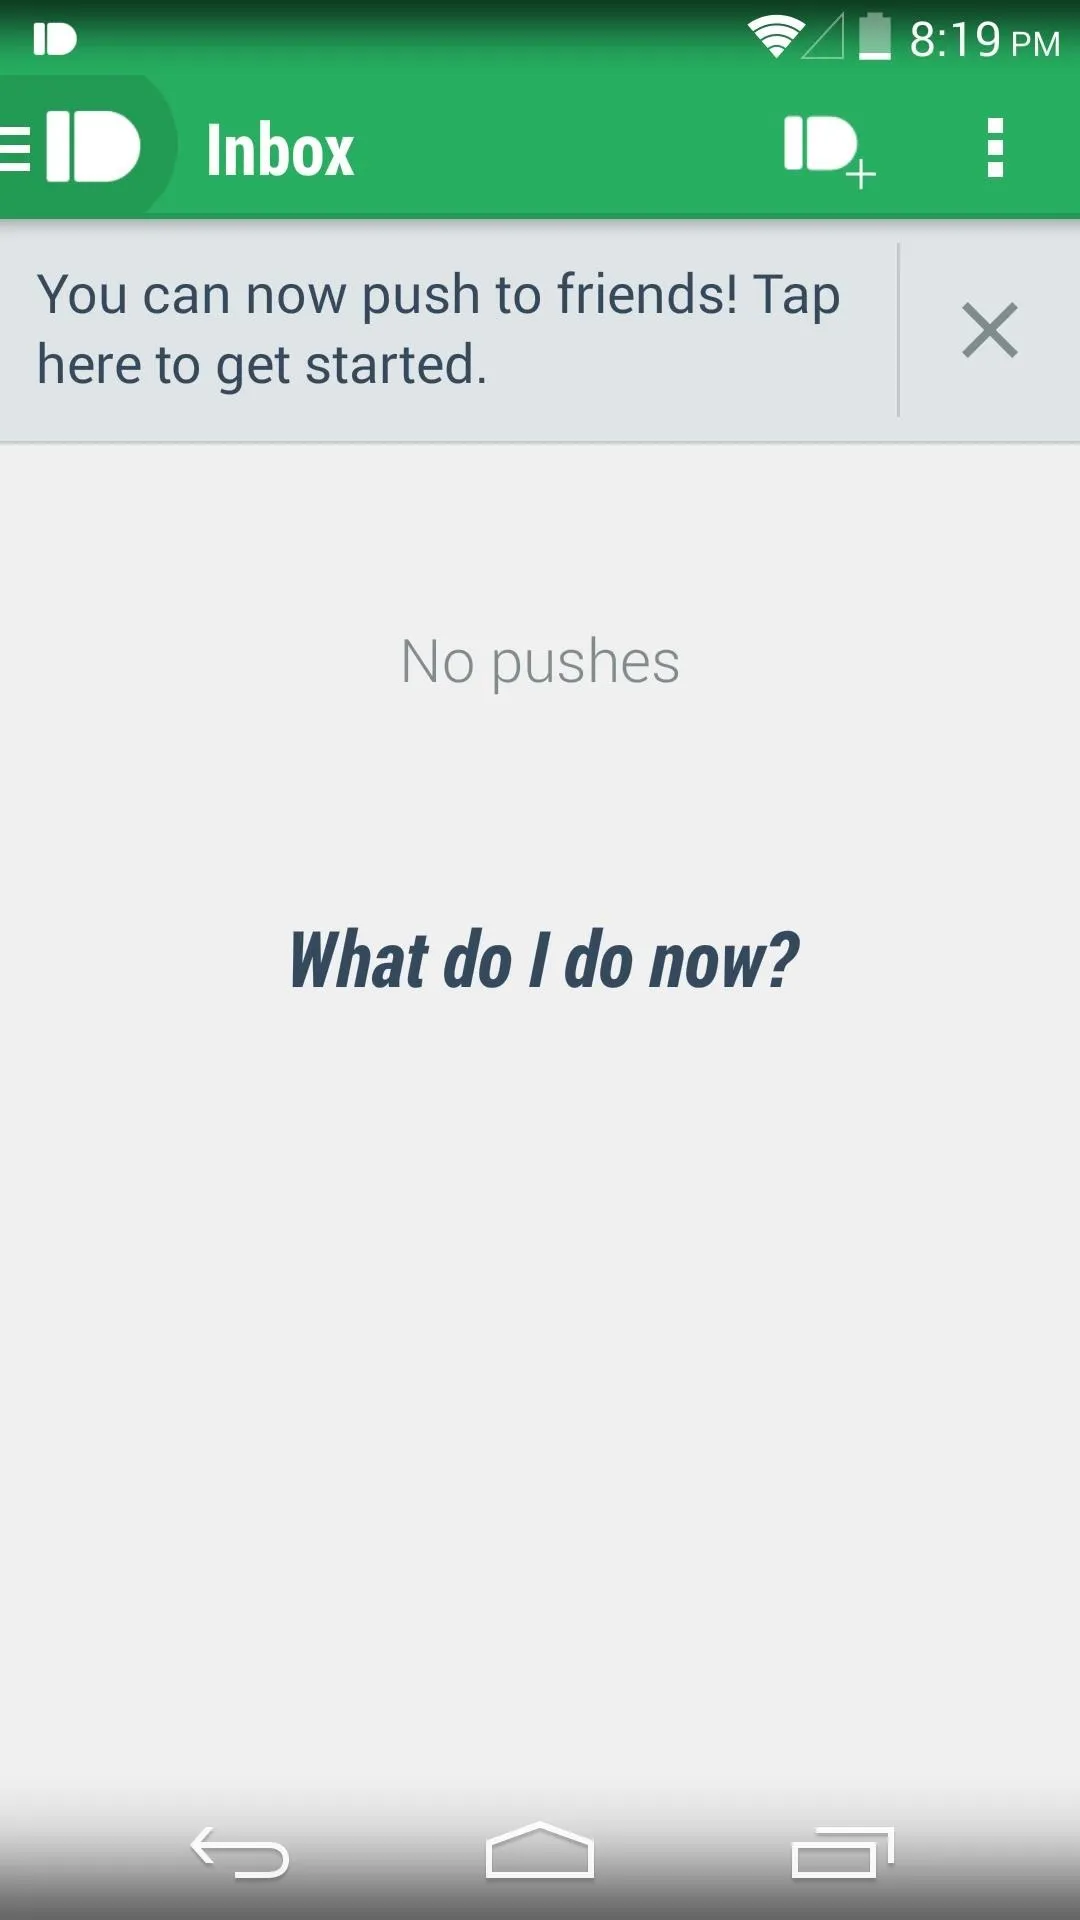
Upon opening the Pushbullet app for the first time, you will be prompted by the initial setup process to attach an account. Tap your primary Google account from the first screen, then select OK from the next menu.


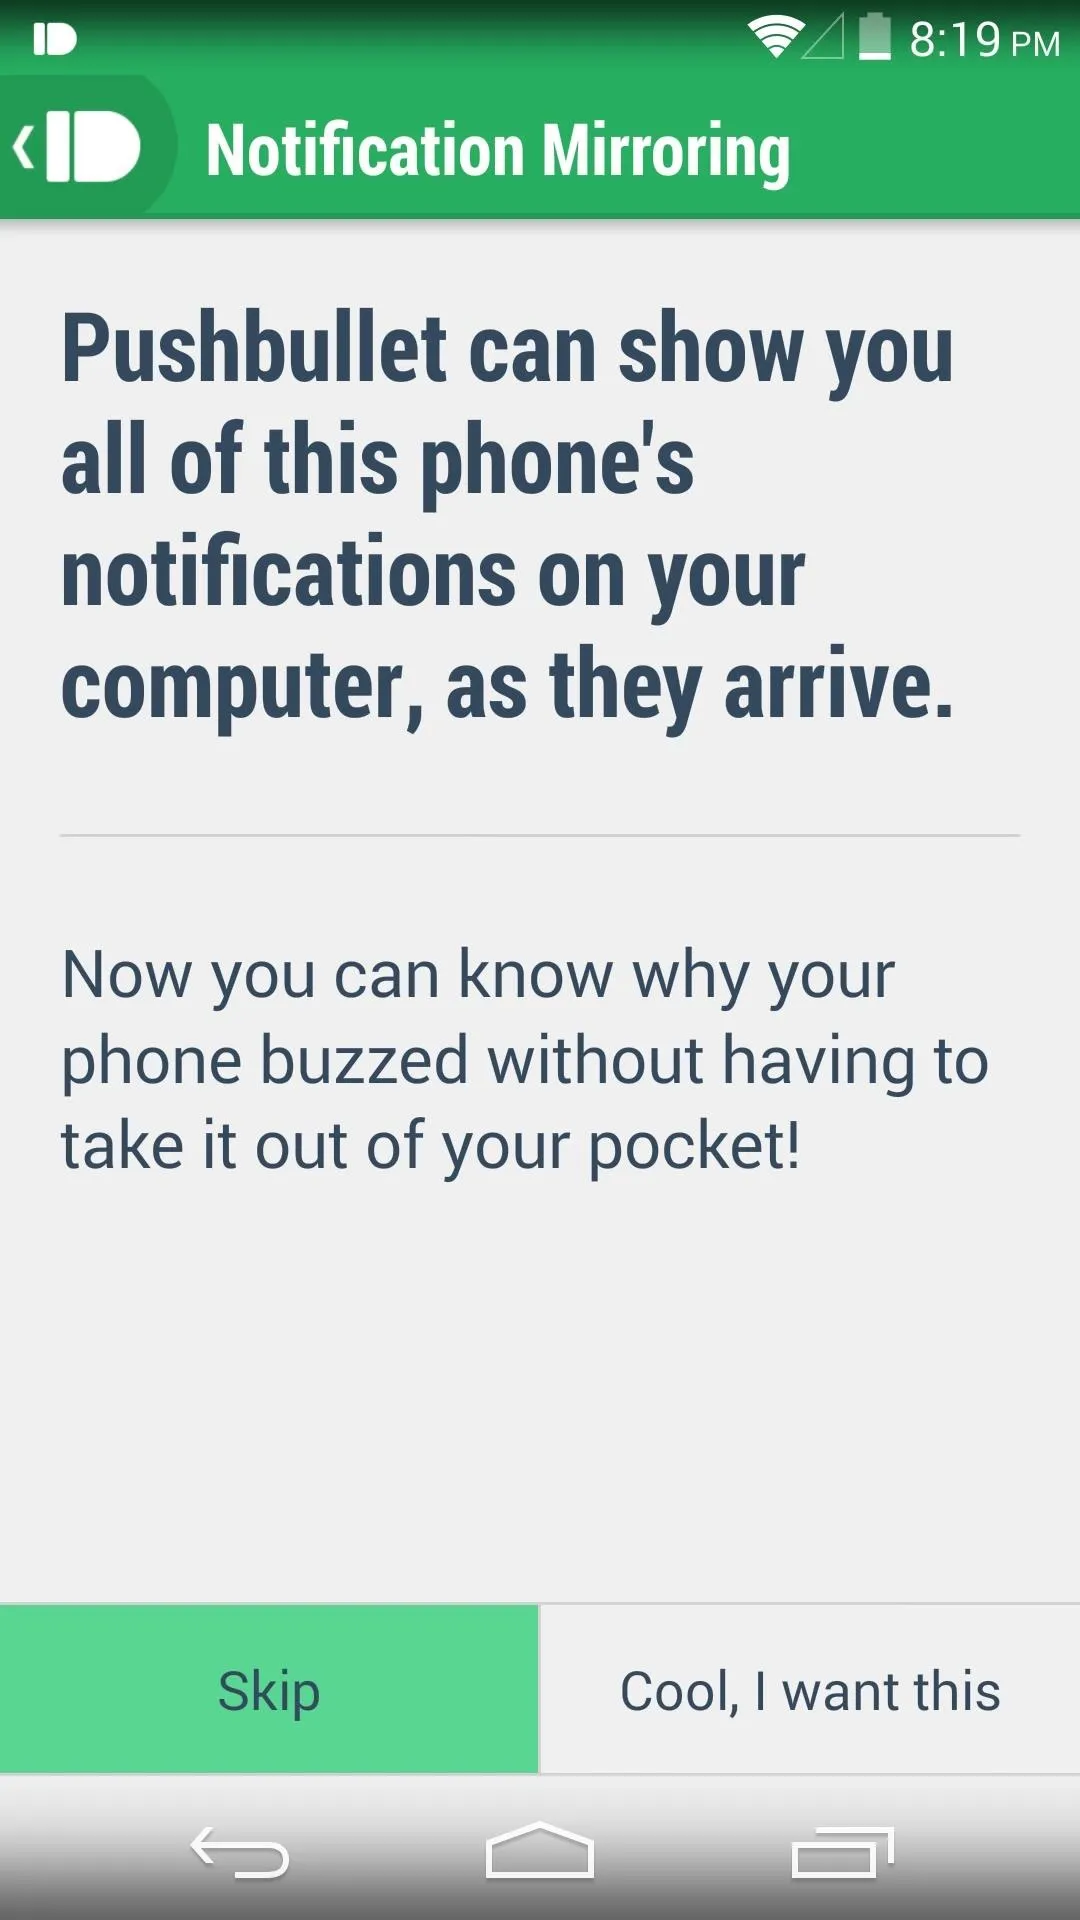
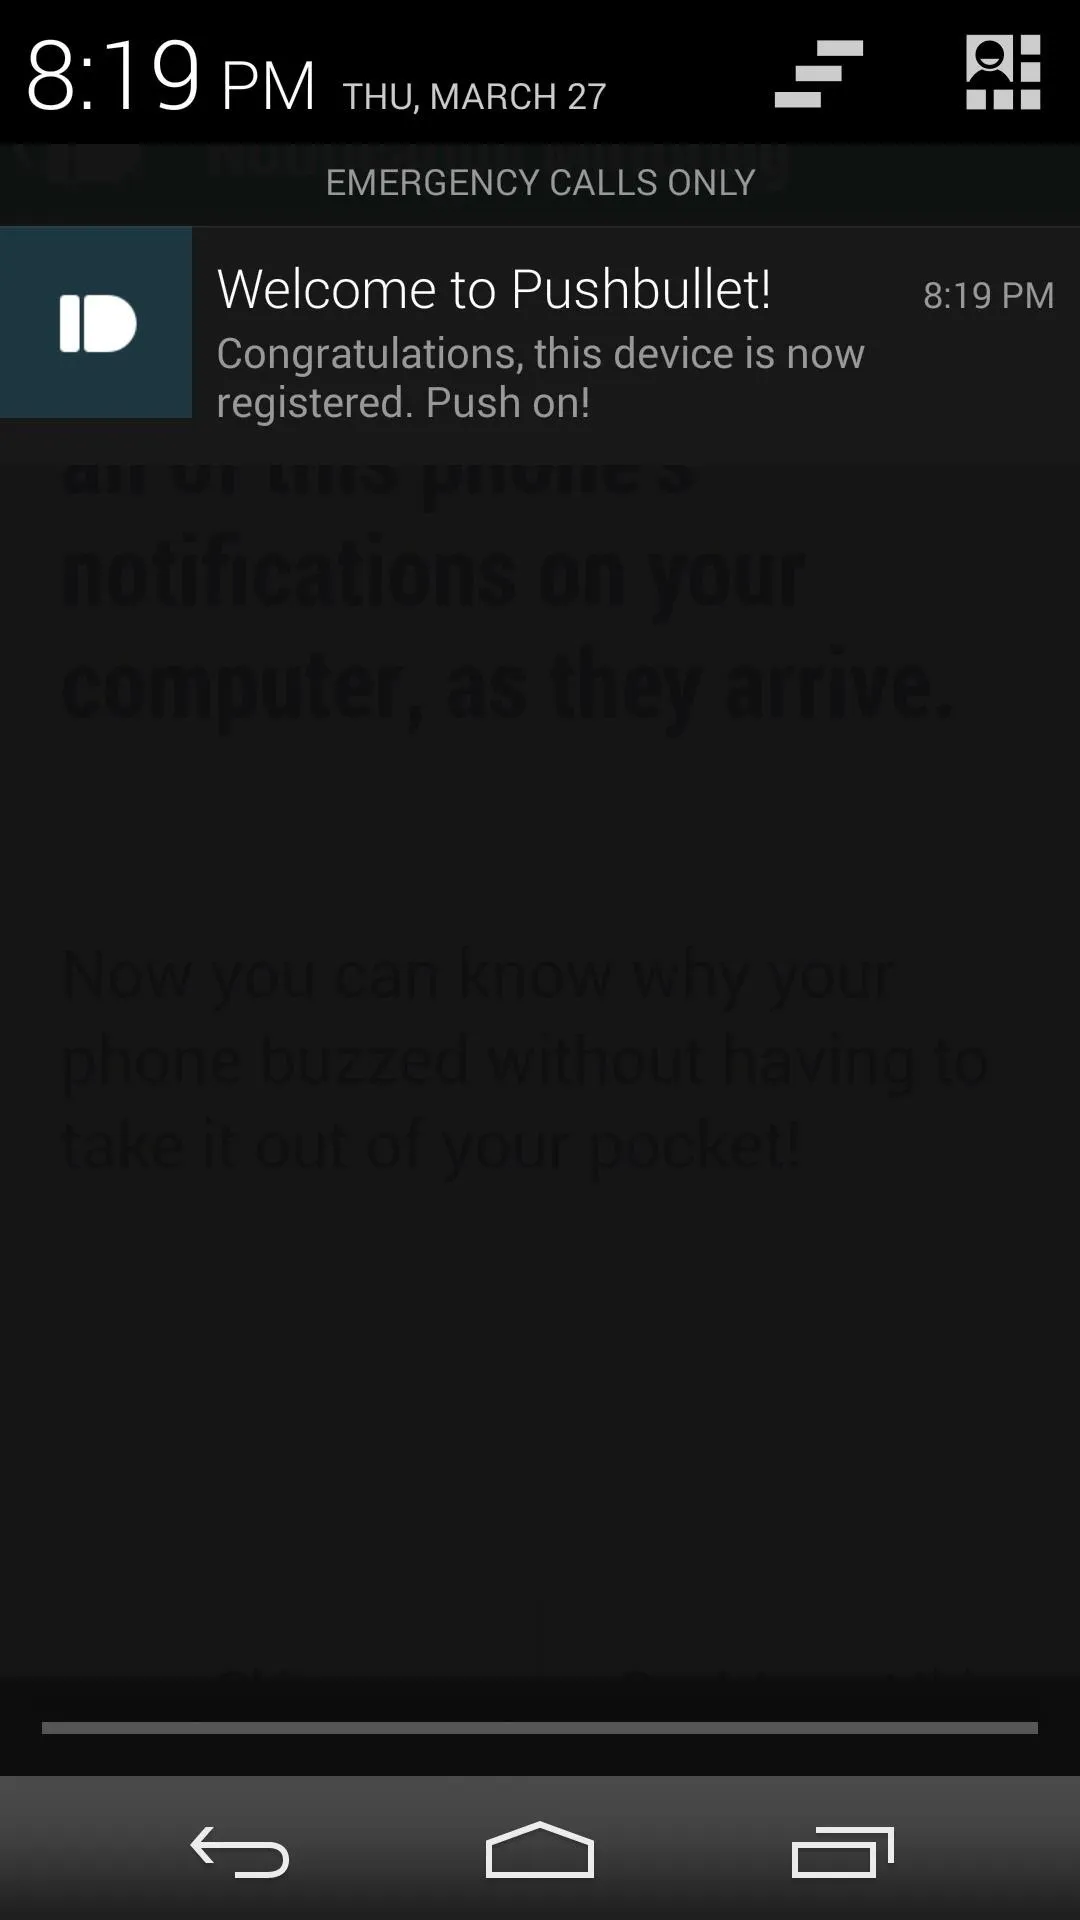
On the next screen, Pushbullet will offer you a notification mirroring service. We won't be needing this feature today, so hit Skip for now, and you can enable it later if you'd like. At this point, you should get a notification welcoming you to Pushbullet—this means you're all set.


Step 3: Sign Up for an IFTTT Account
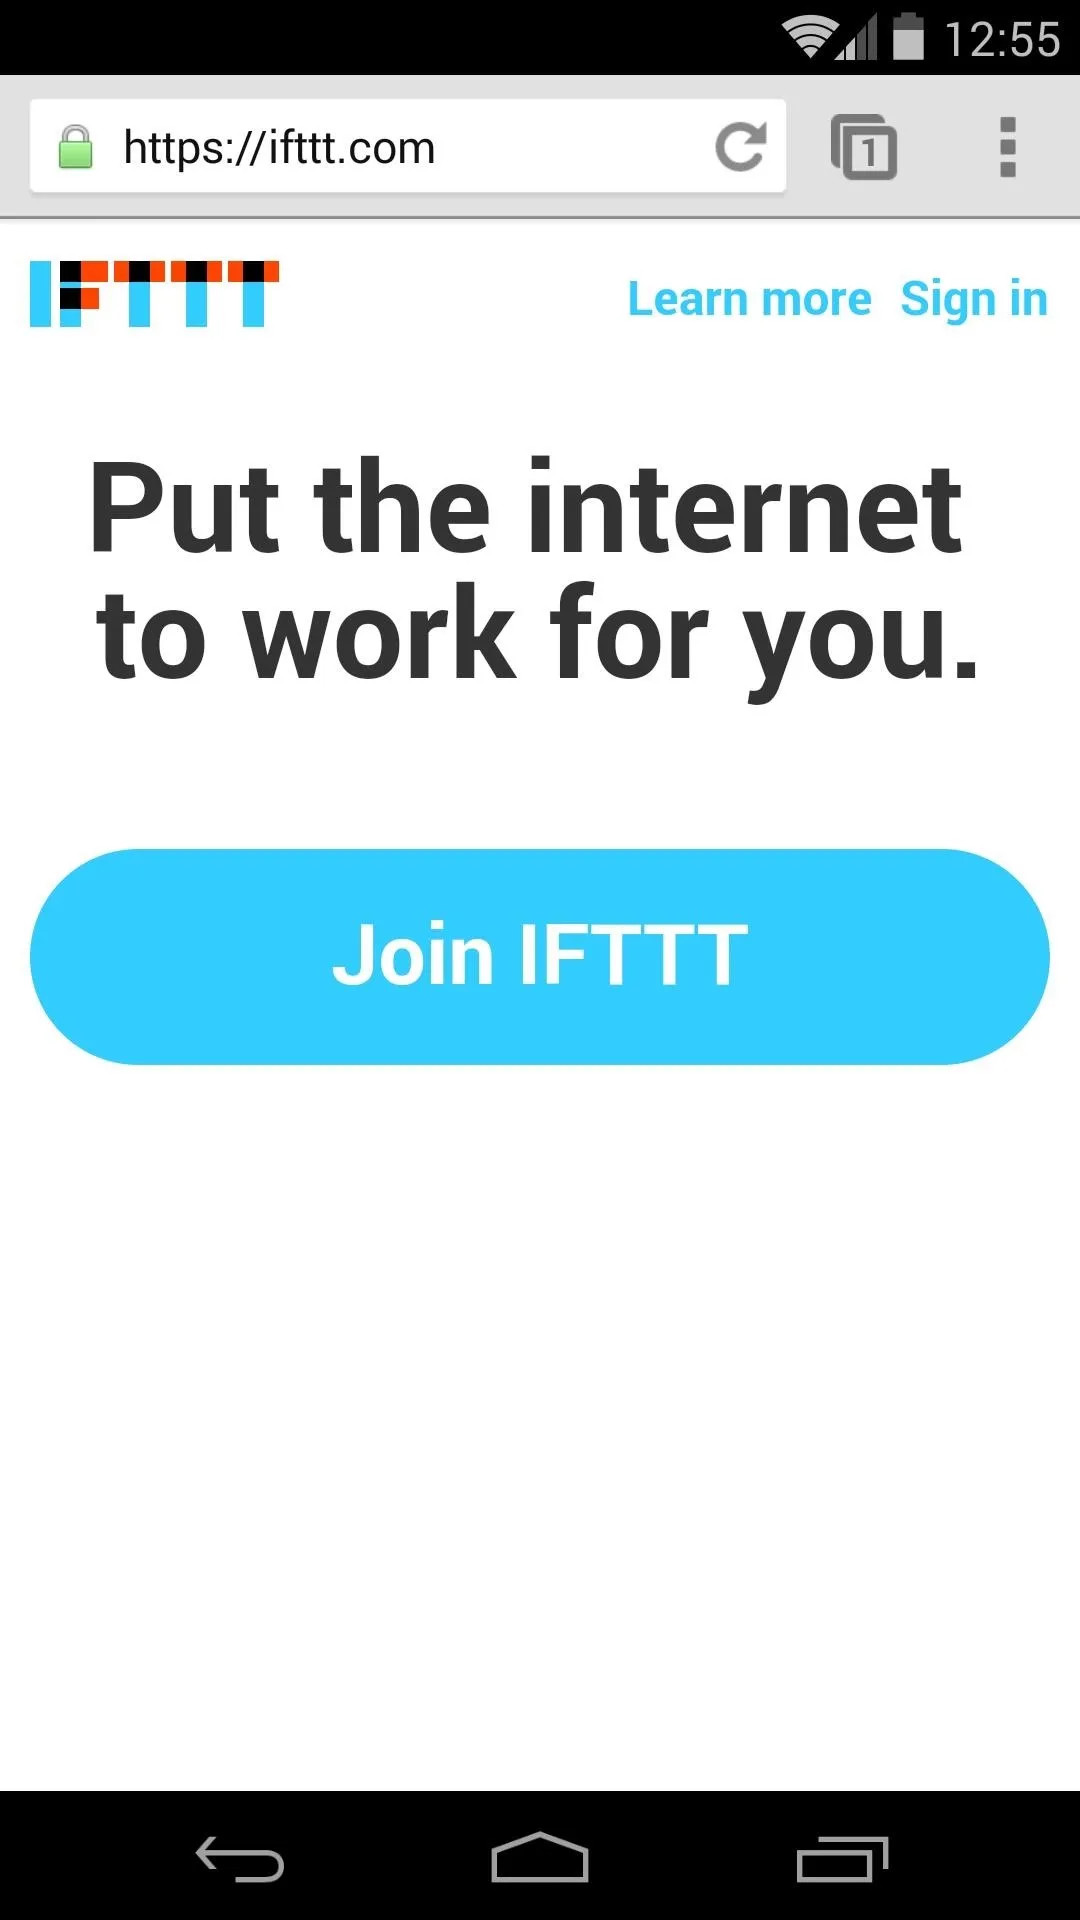
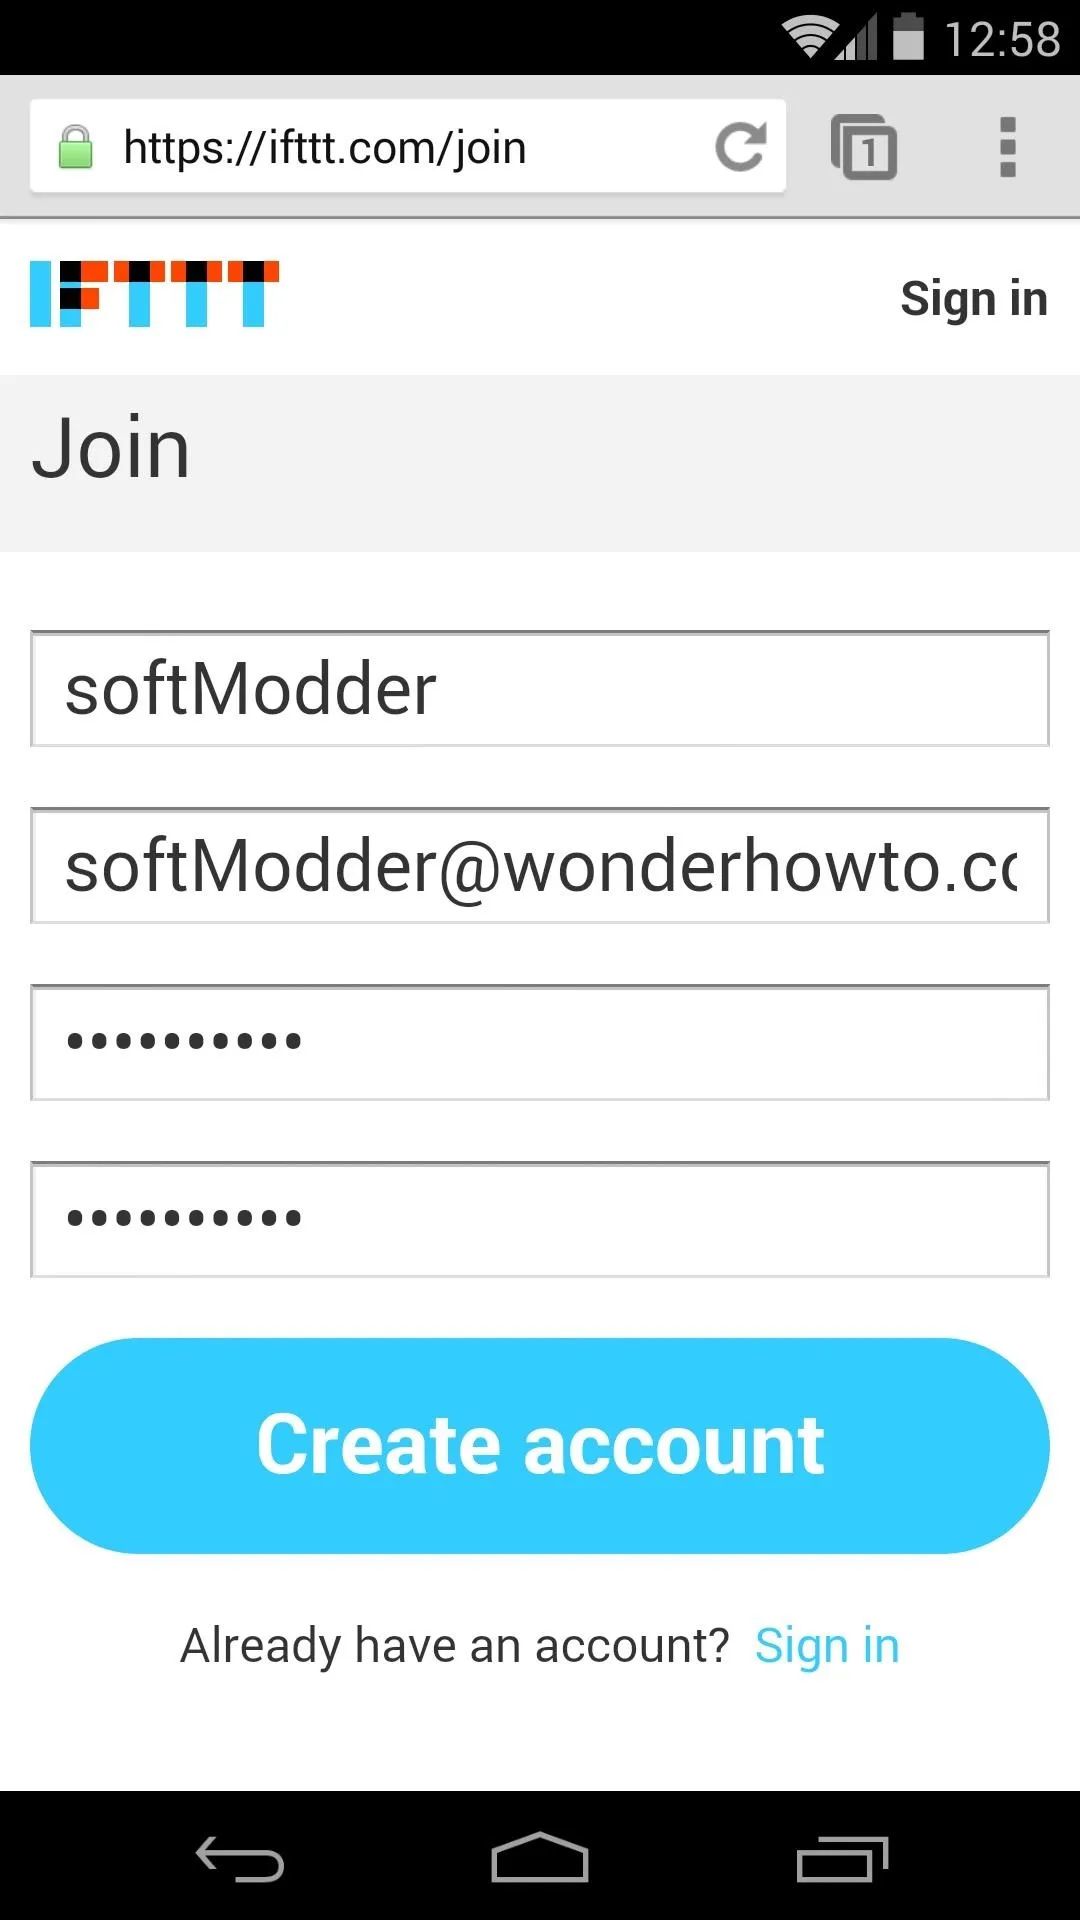
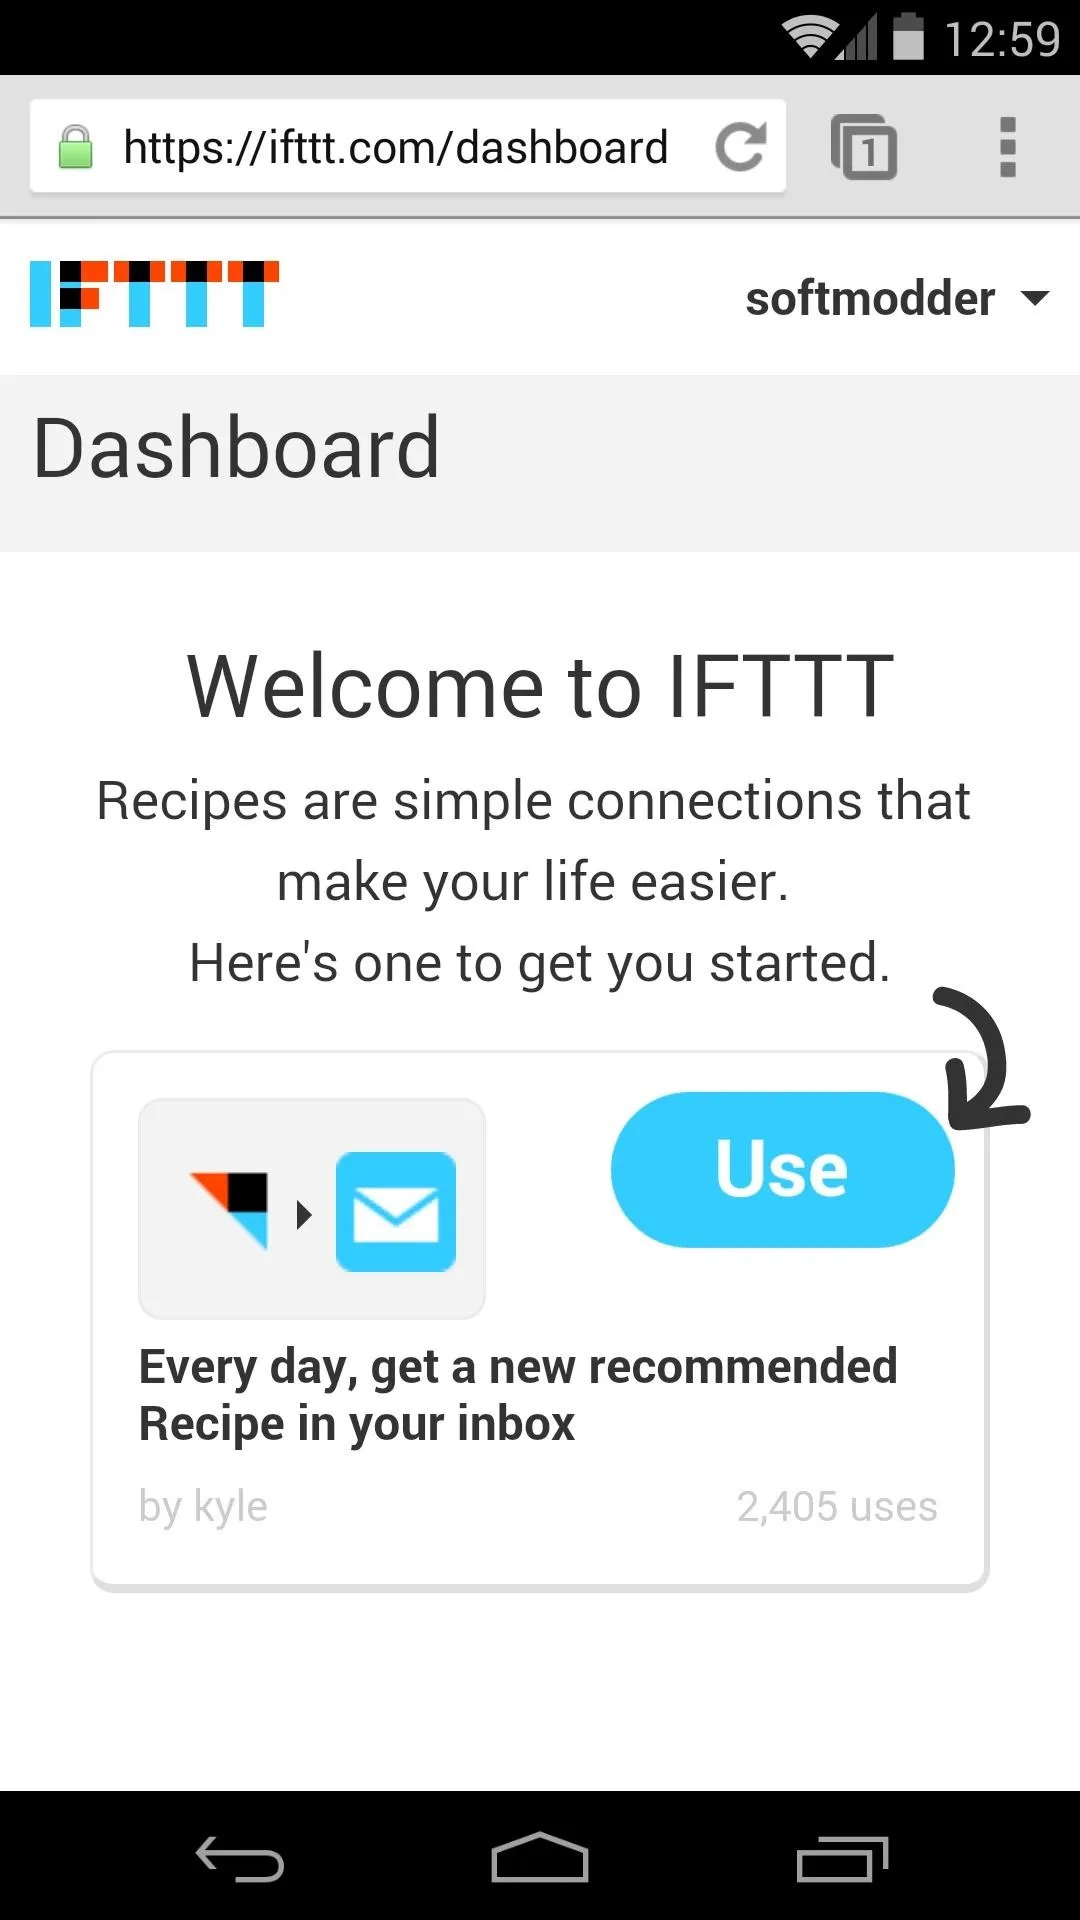
From your browser of choice, head on over to the IFTTT main page. Hit Join IFTTT, fill in your information, then tap Create Account.


Step 4: Activate Pushbullet on IFTTT
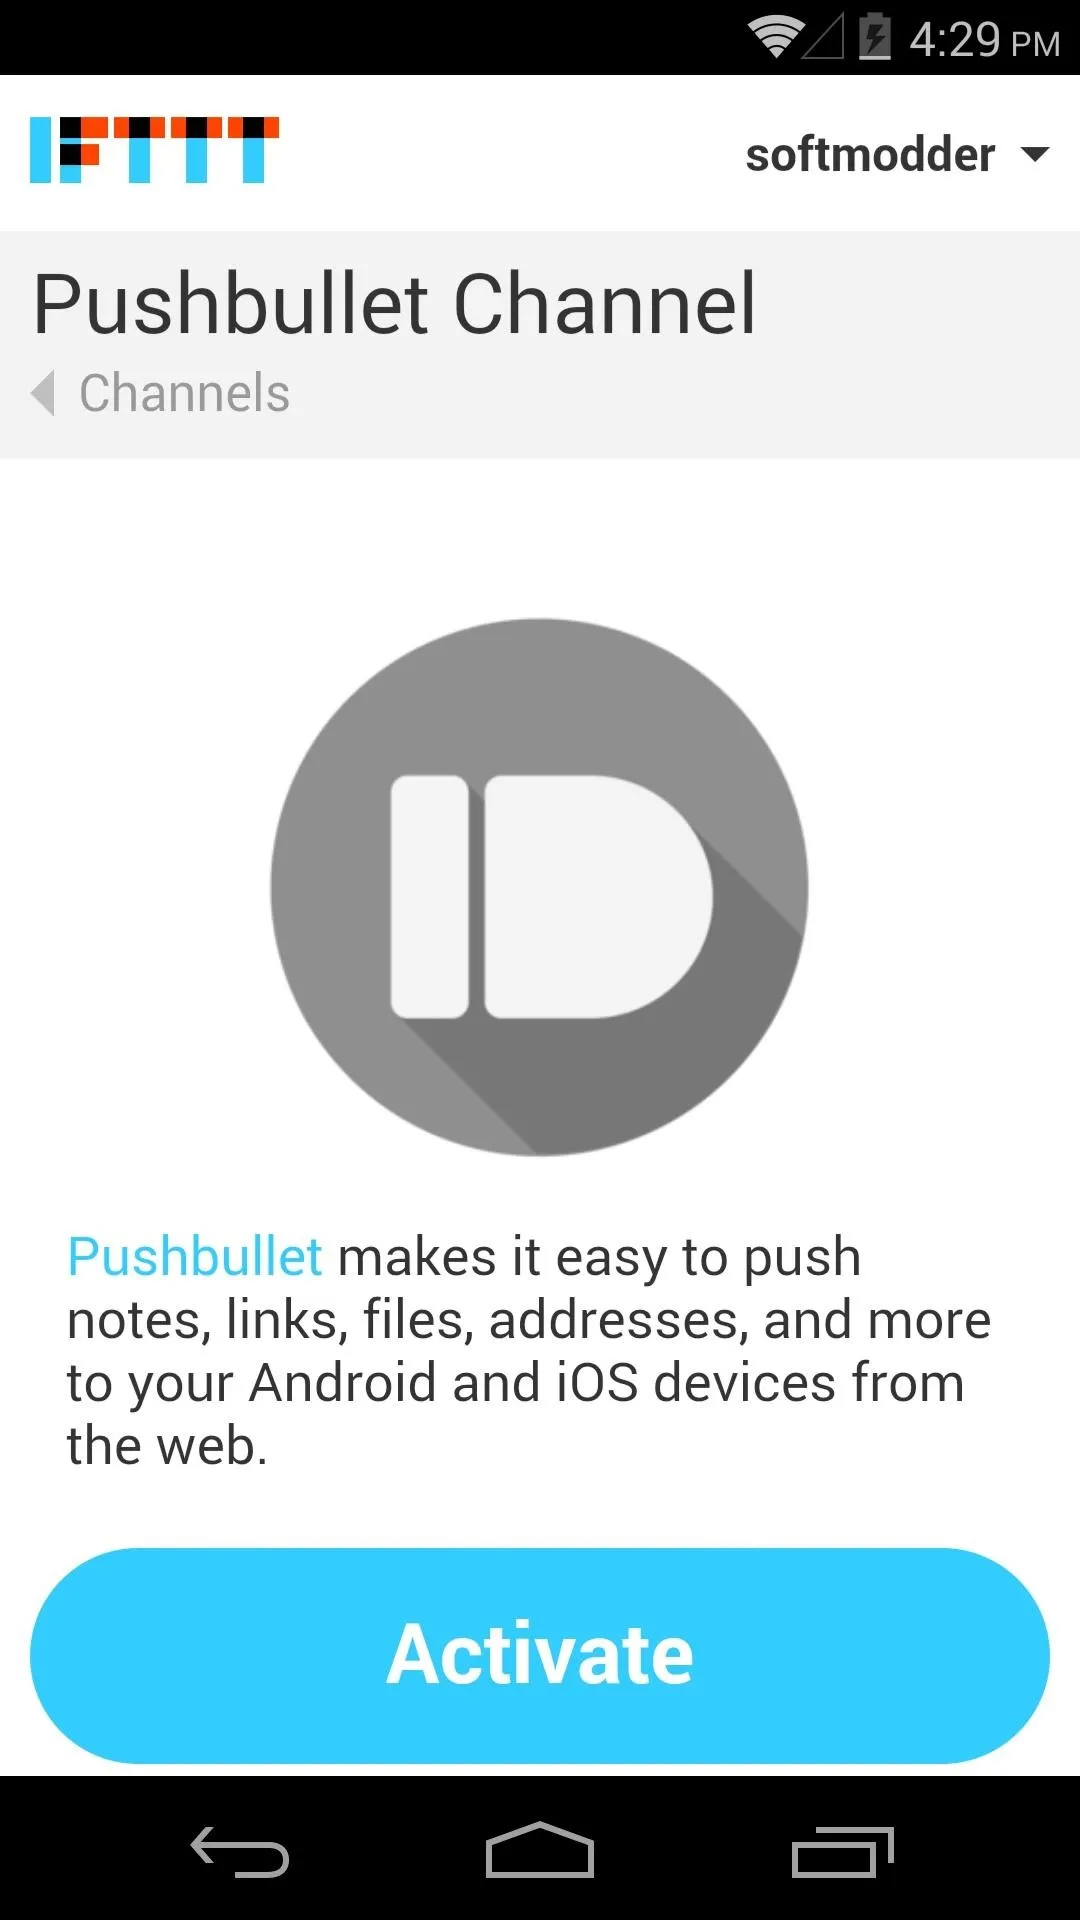
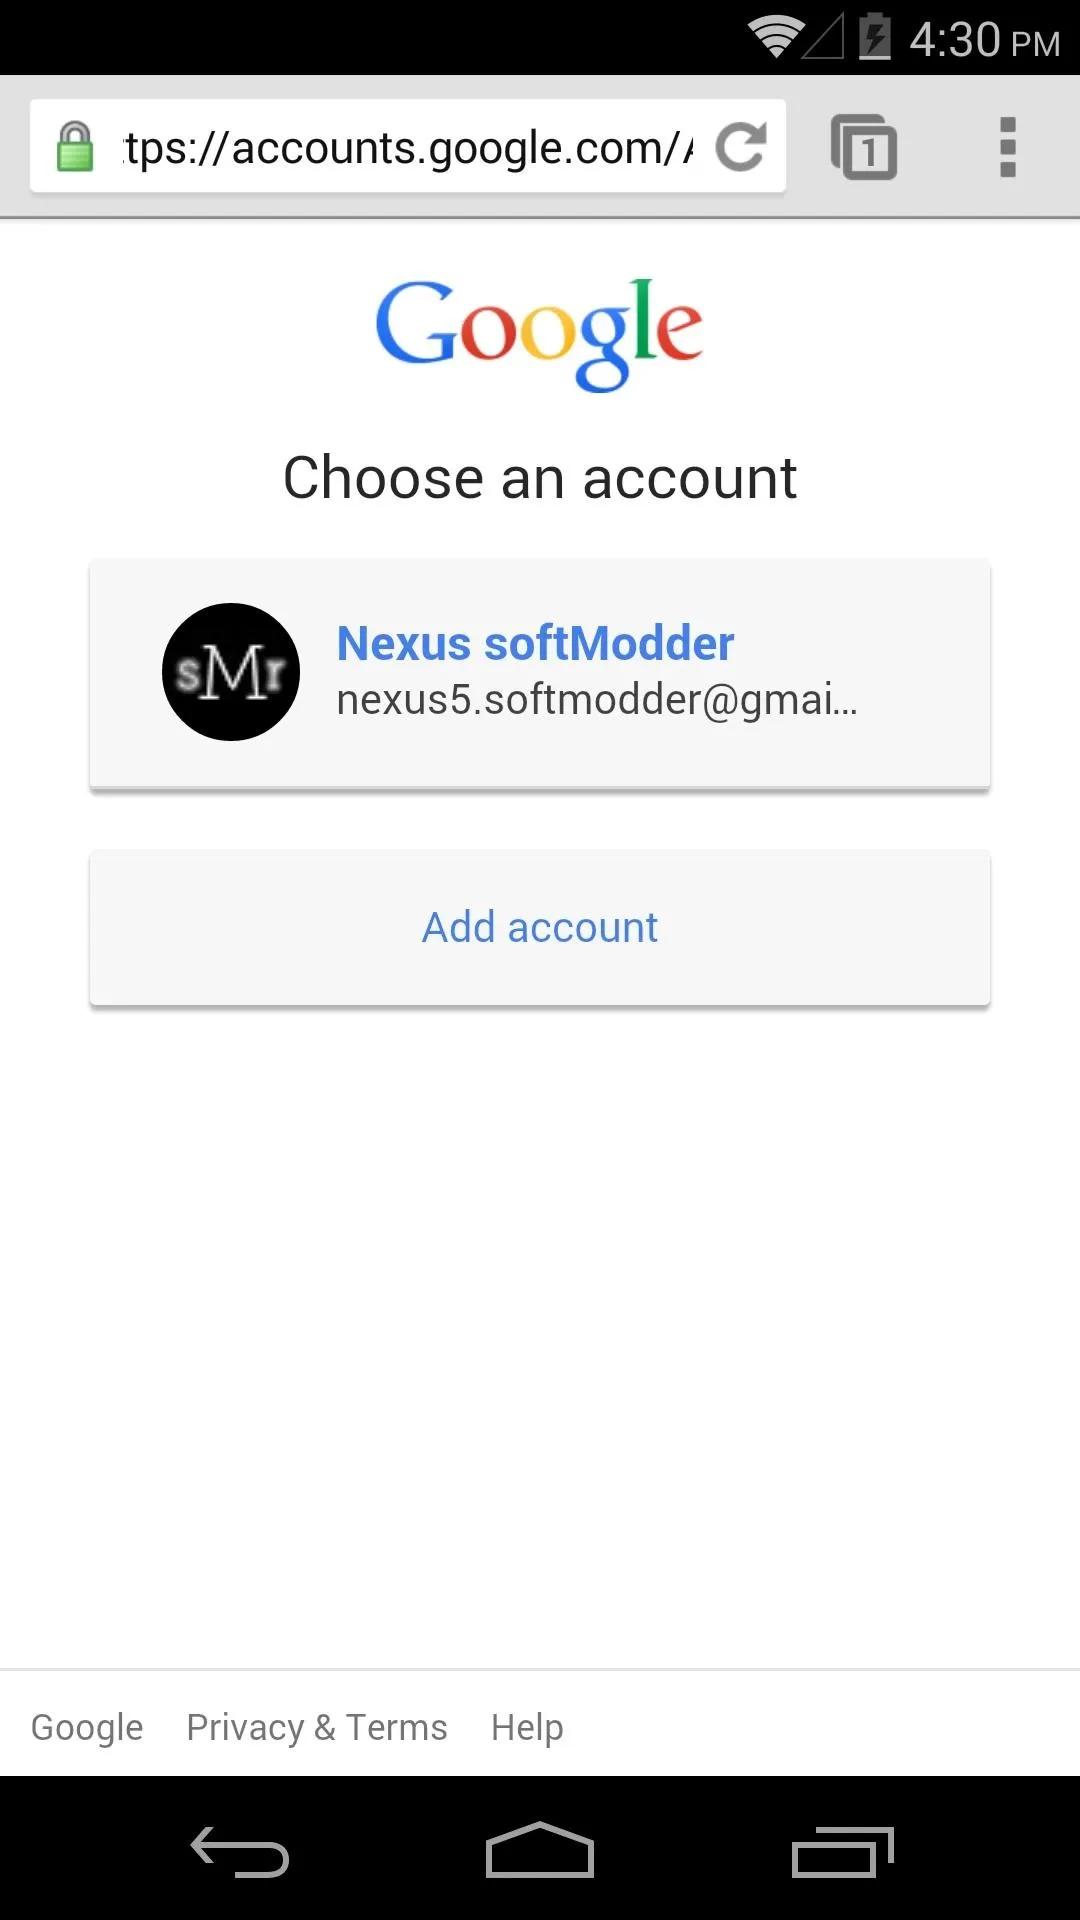
Again from your browser, head to the Pushbullet Channel on IFTTT. From here, hit Activate, then choose the same Google account you signed up for Pushbullet with.


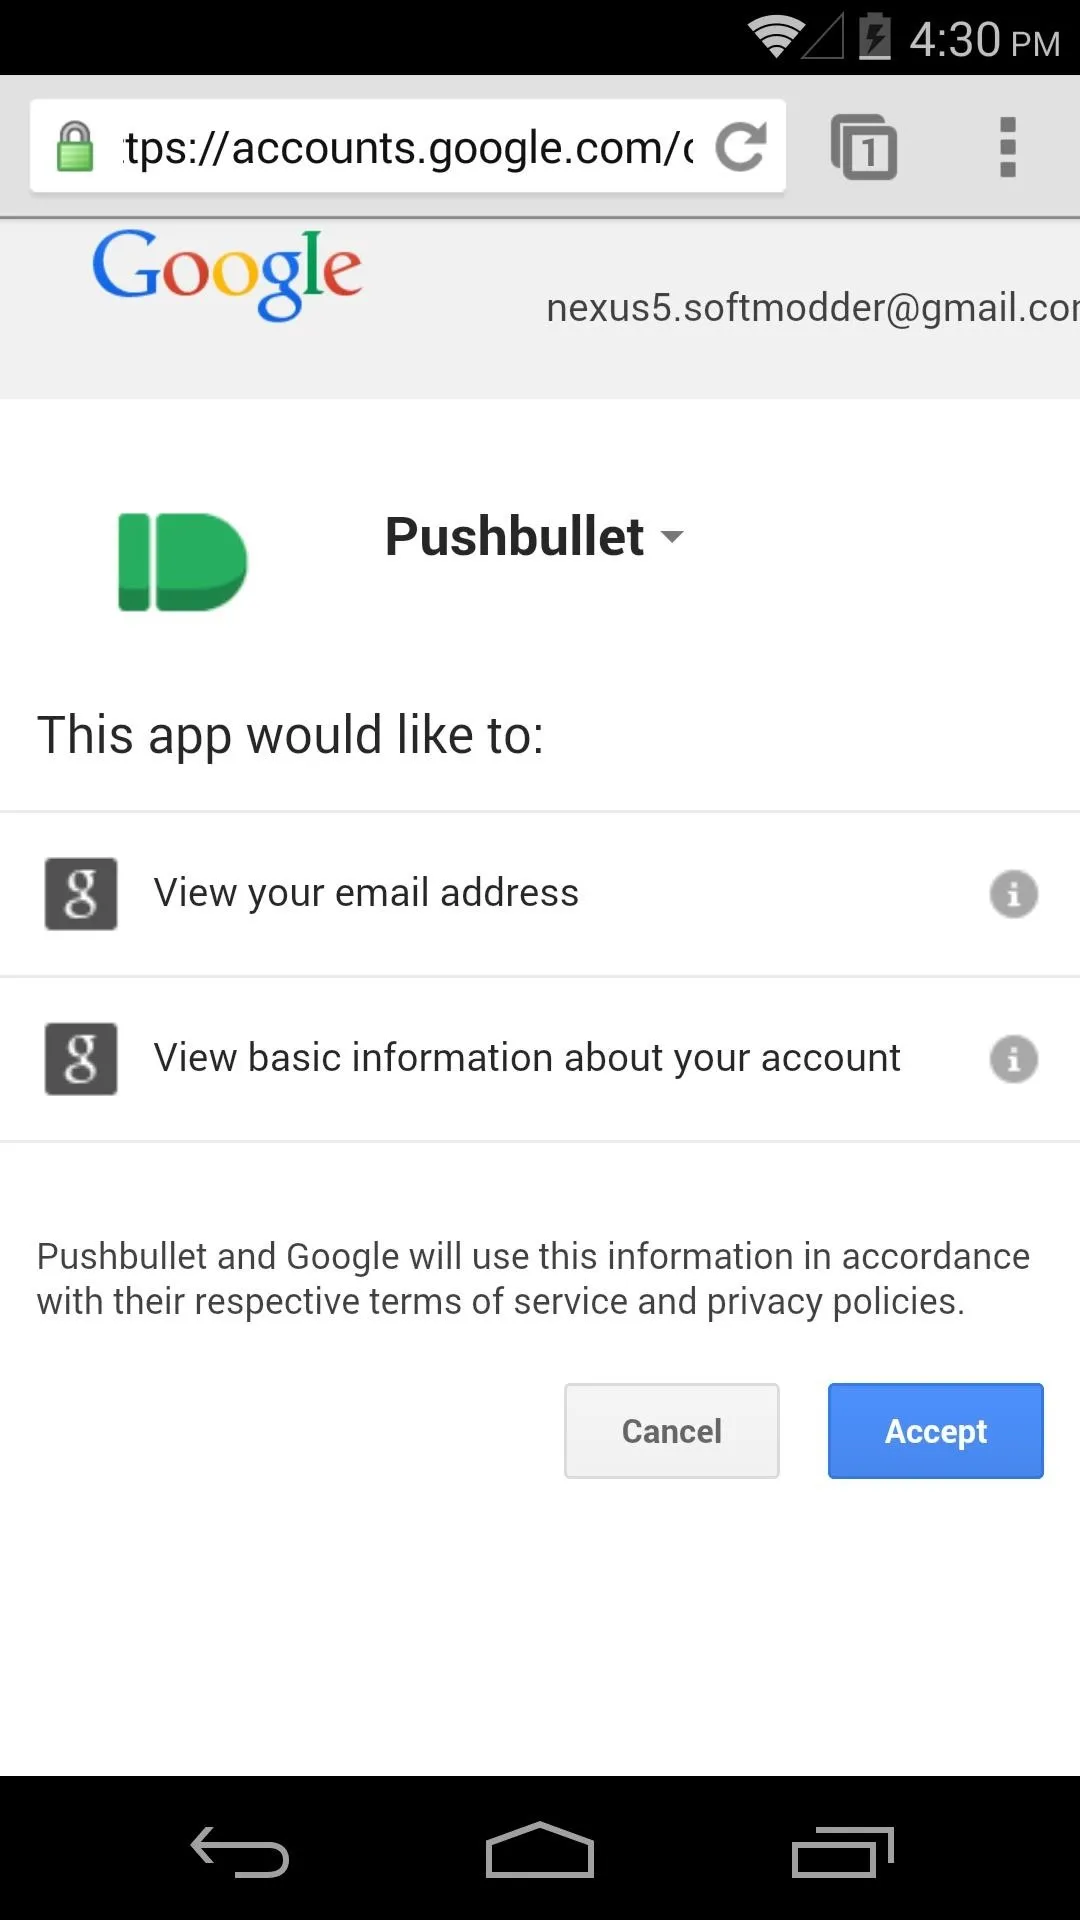
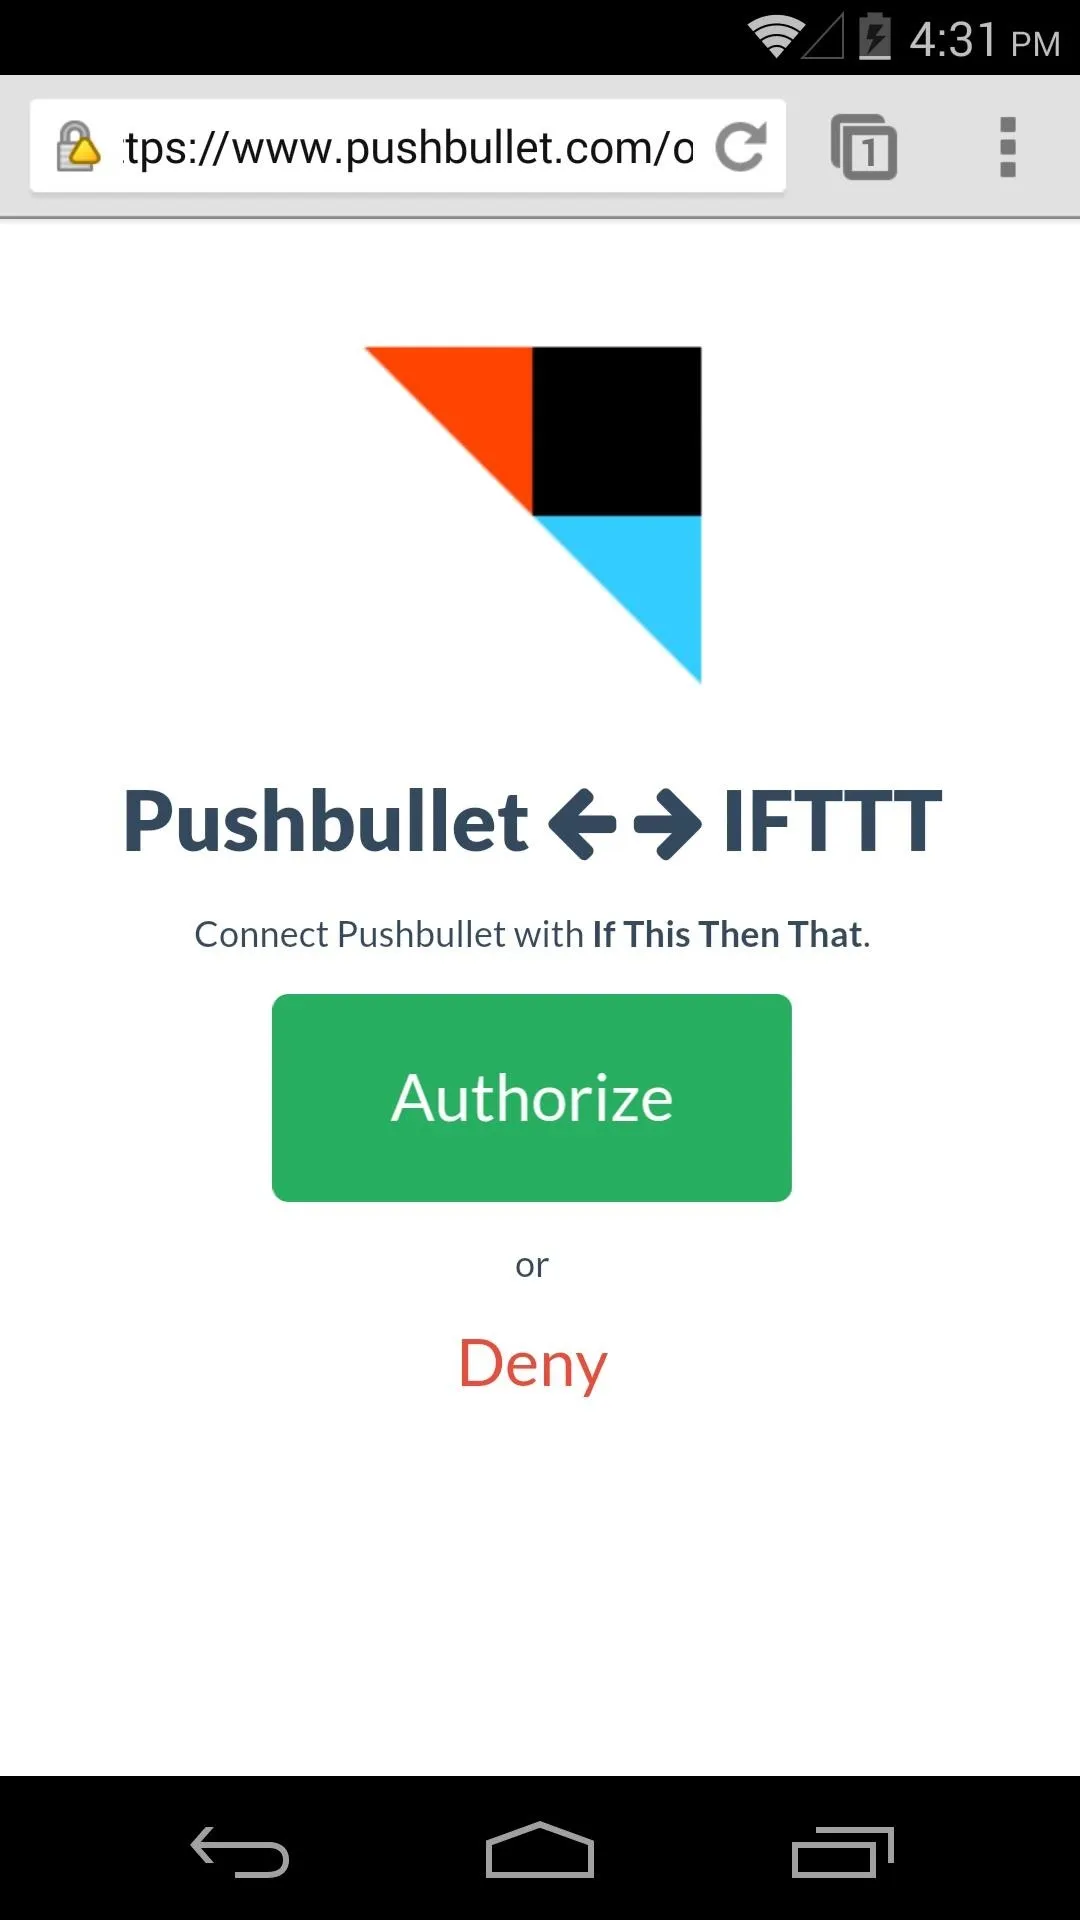
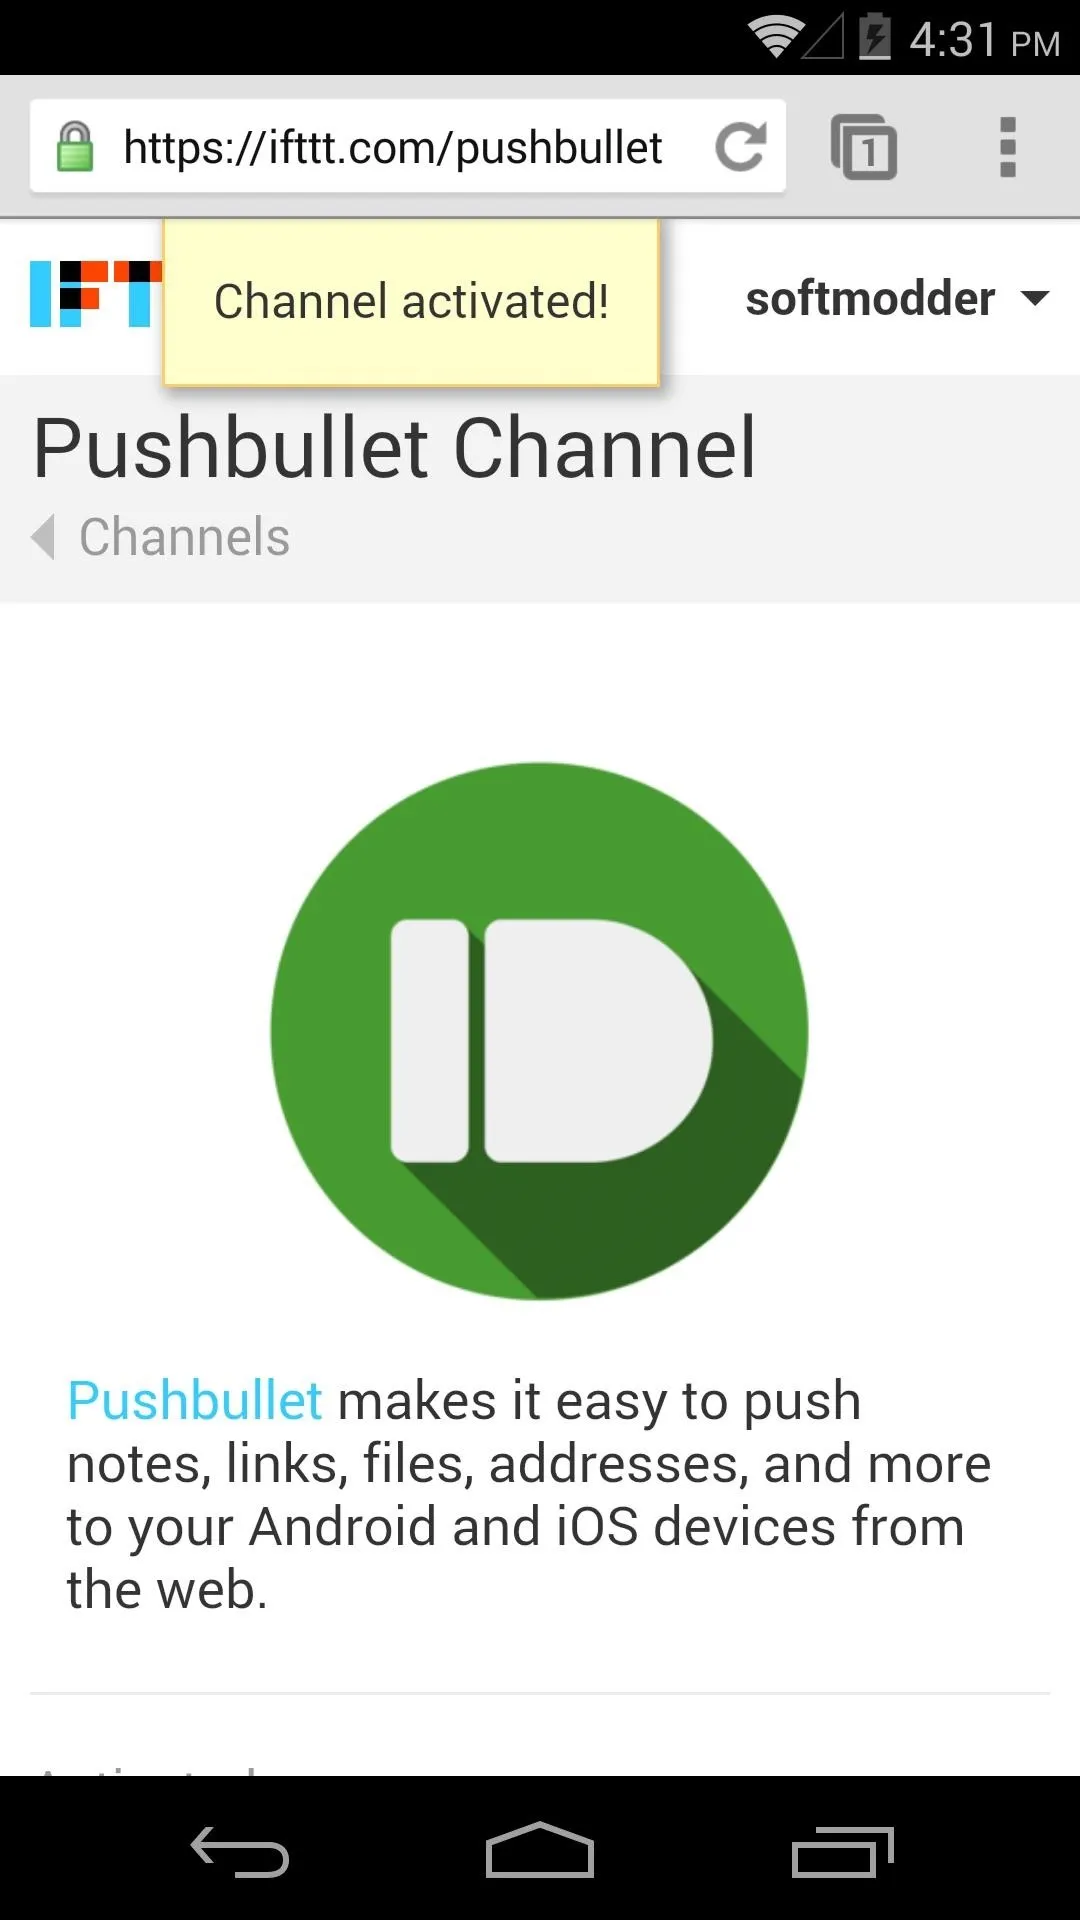
From the next page, hit Accept, then tap Authorize. A message should appear letting you know that the Pushbullet channel has been activated.


Step 5: Add a "Recipe"
Pushbullet recipes, for the most part, serve as the "That" portion of "If This Then That". Meaning, for example, "If My Amazon Package Ships, then Send a Pushbullet Notification".
The first half of the equation ("This") will also require login access in some cases. Much like the way we activated Pushbullet in Step 4, other services that you want to link with Pushbullet will have to be activated as well.
Set Up Gmail Attachment Recipe (Example)
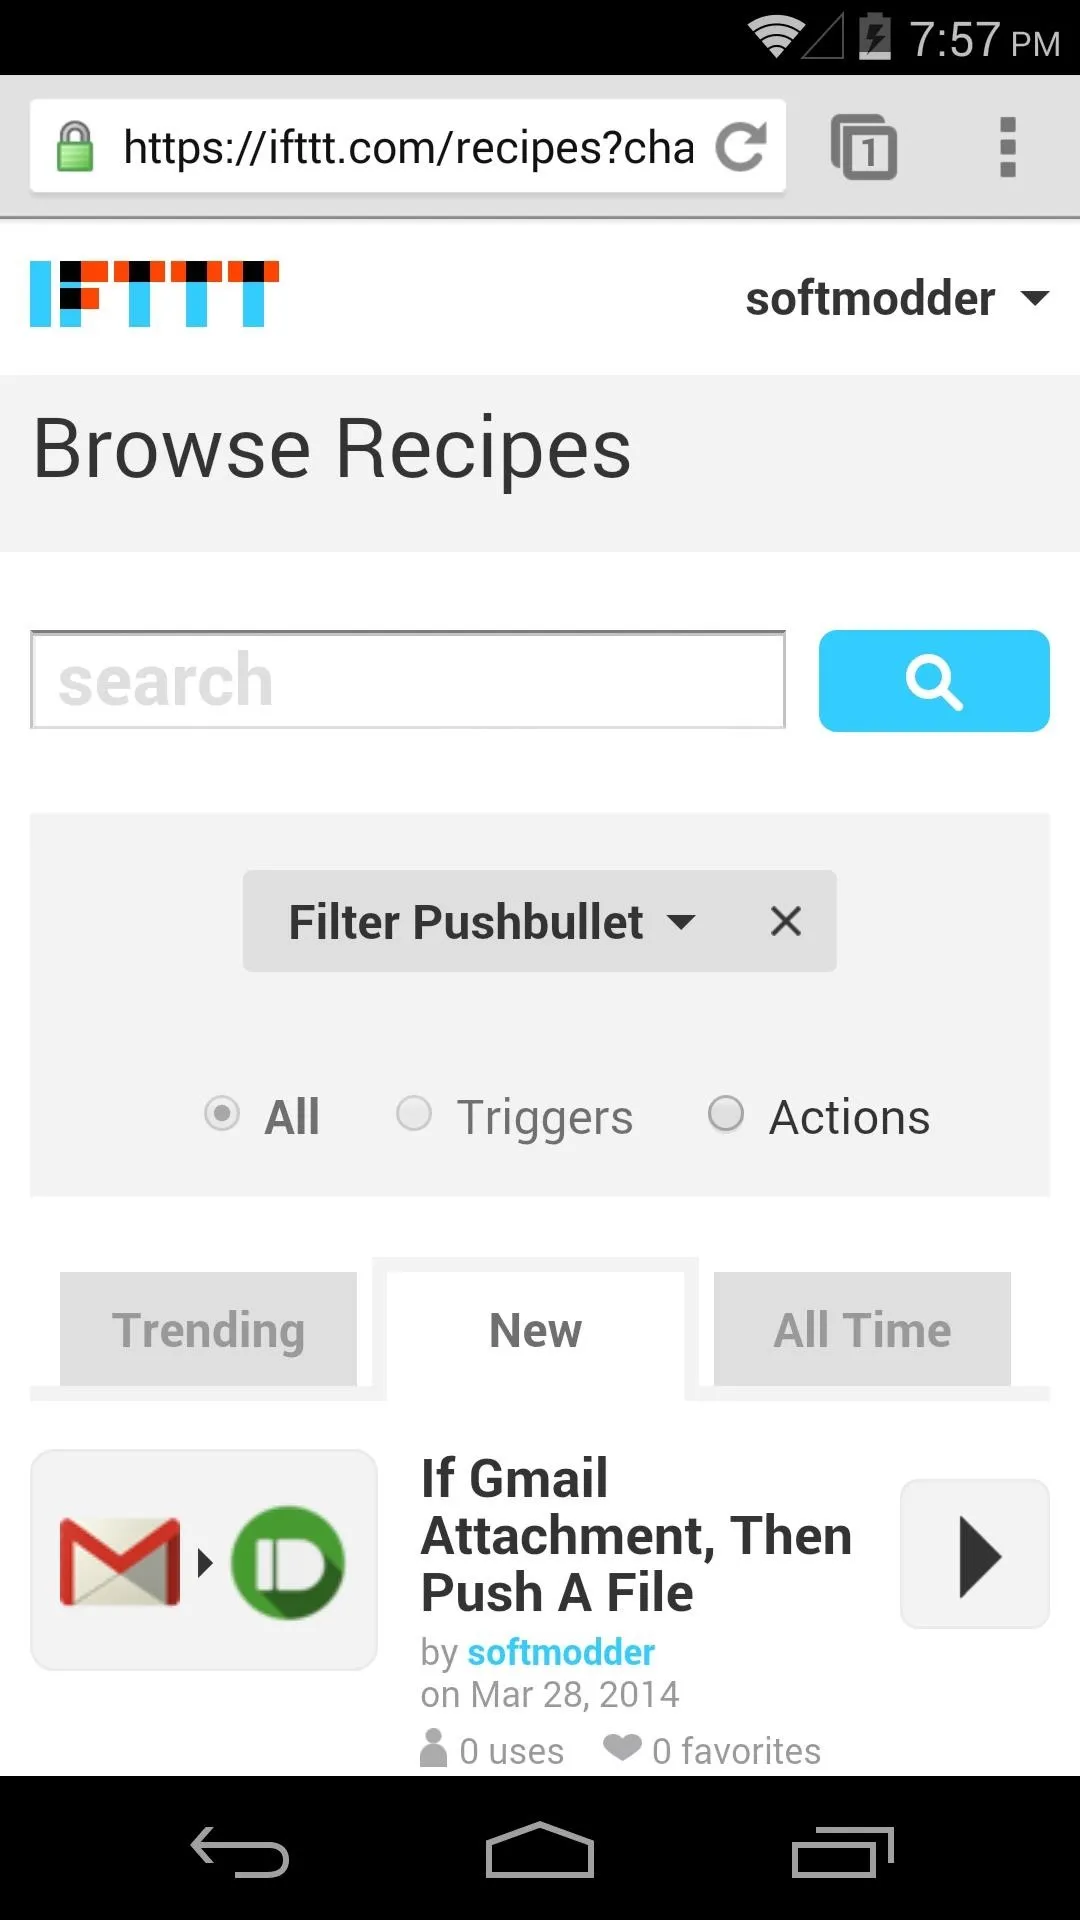
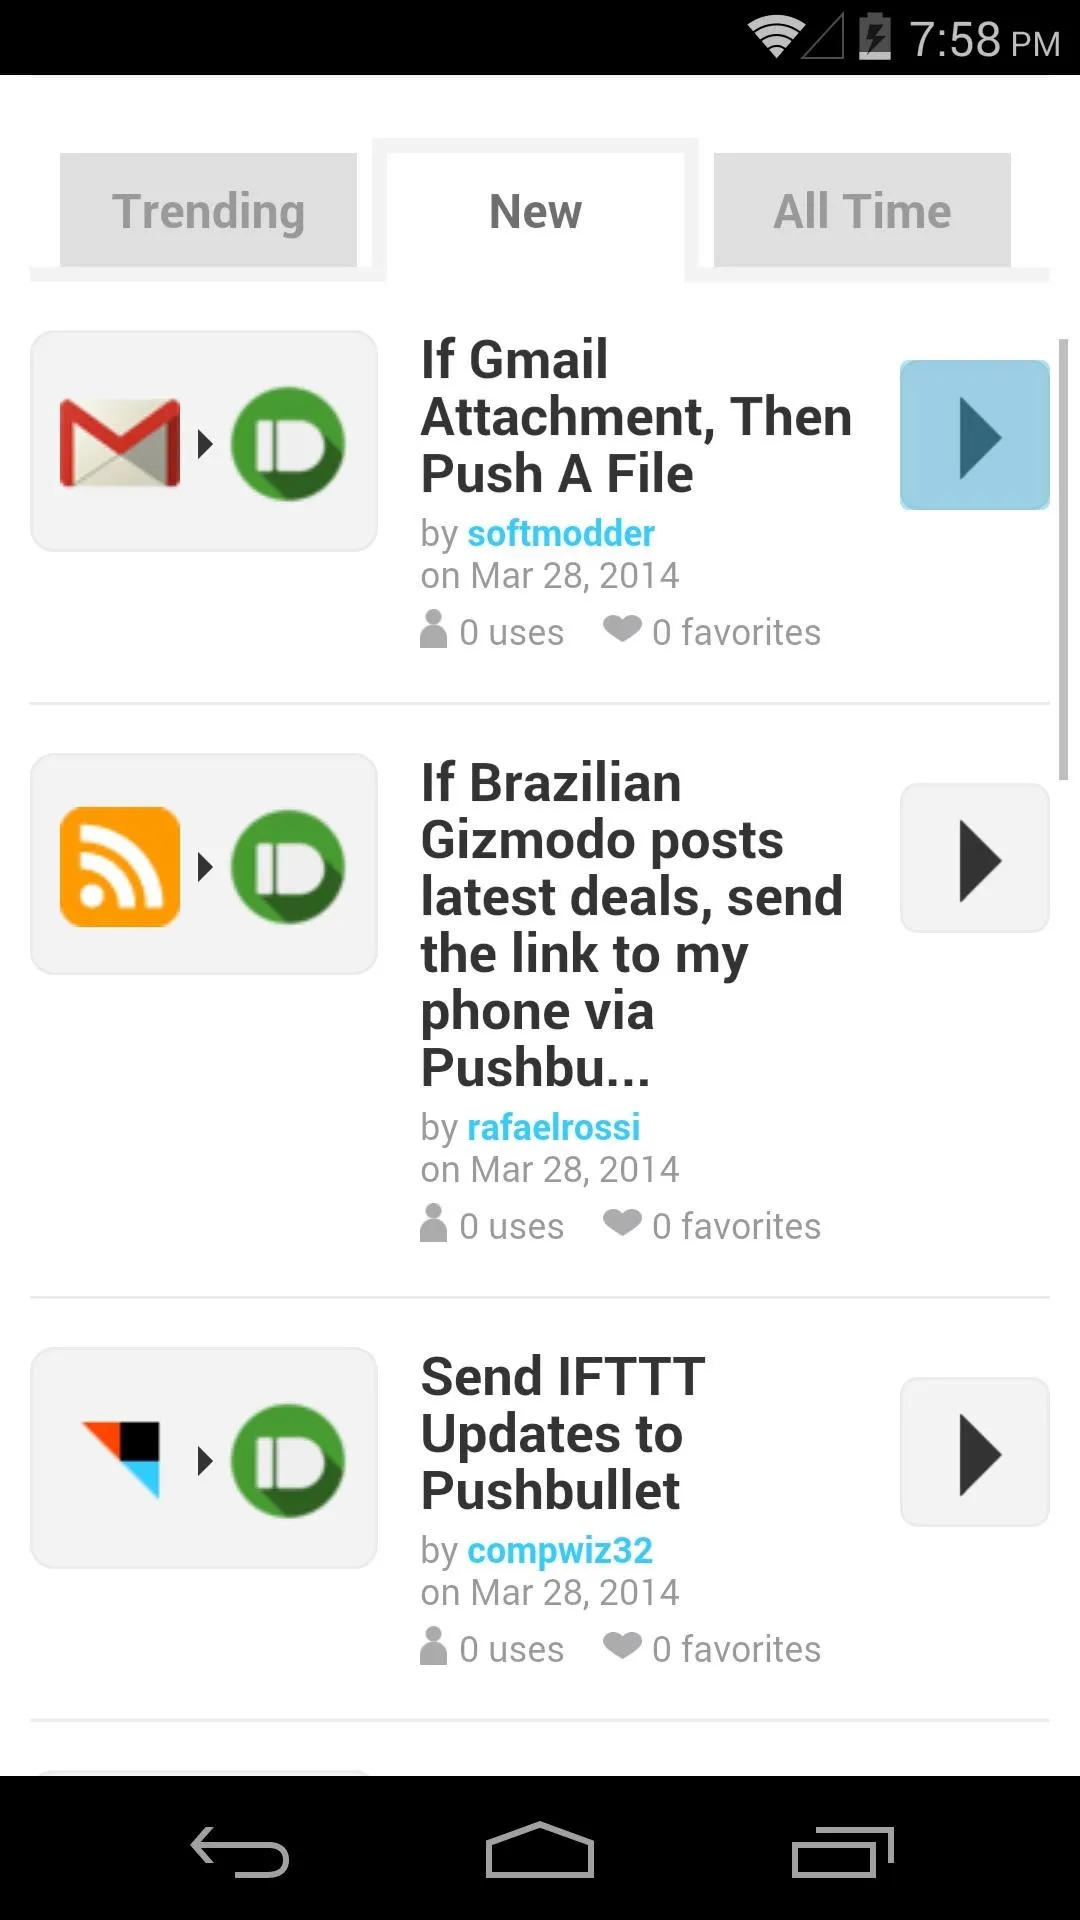
From the Pushbullet Channel, find a recipe you'd like to implement by tapping Browse More Recipes. For demonstration purposes, we'll use "If Gmail attachment, then push a file", which can be found by scrolling through the list or searching. Tap the forward-arrow icon to the right of the recipe to get started.
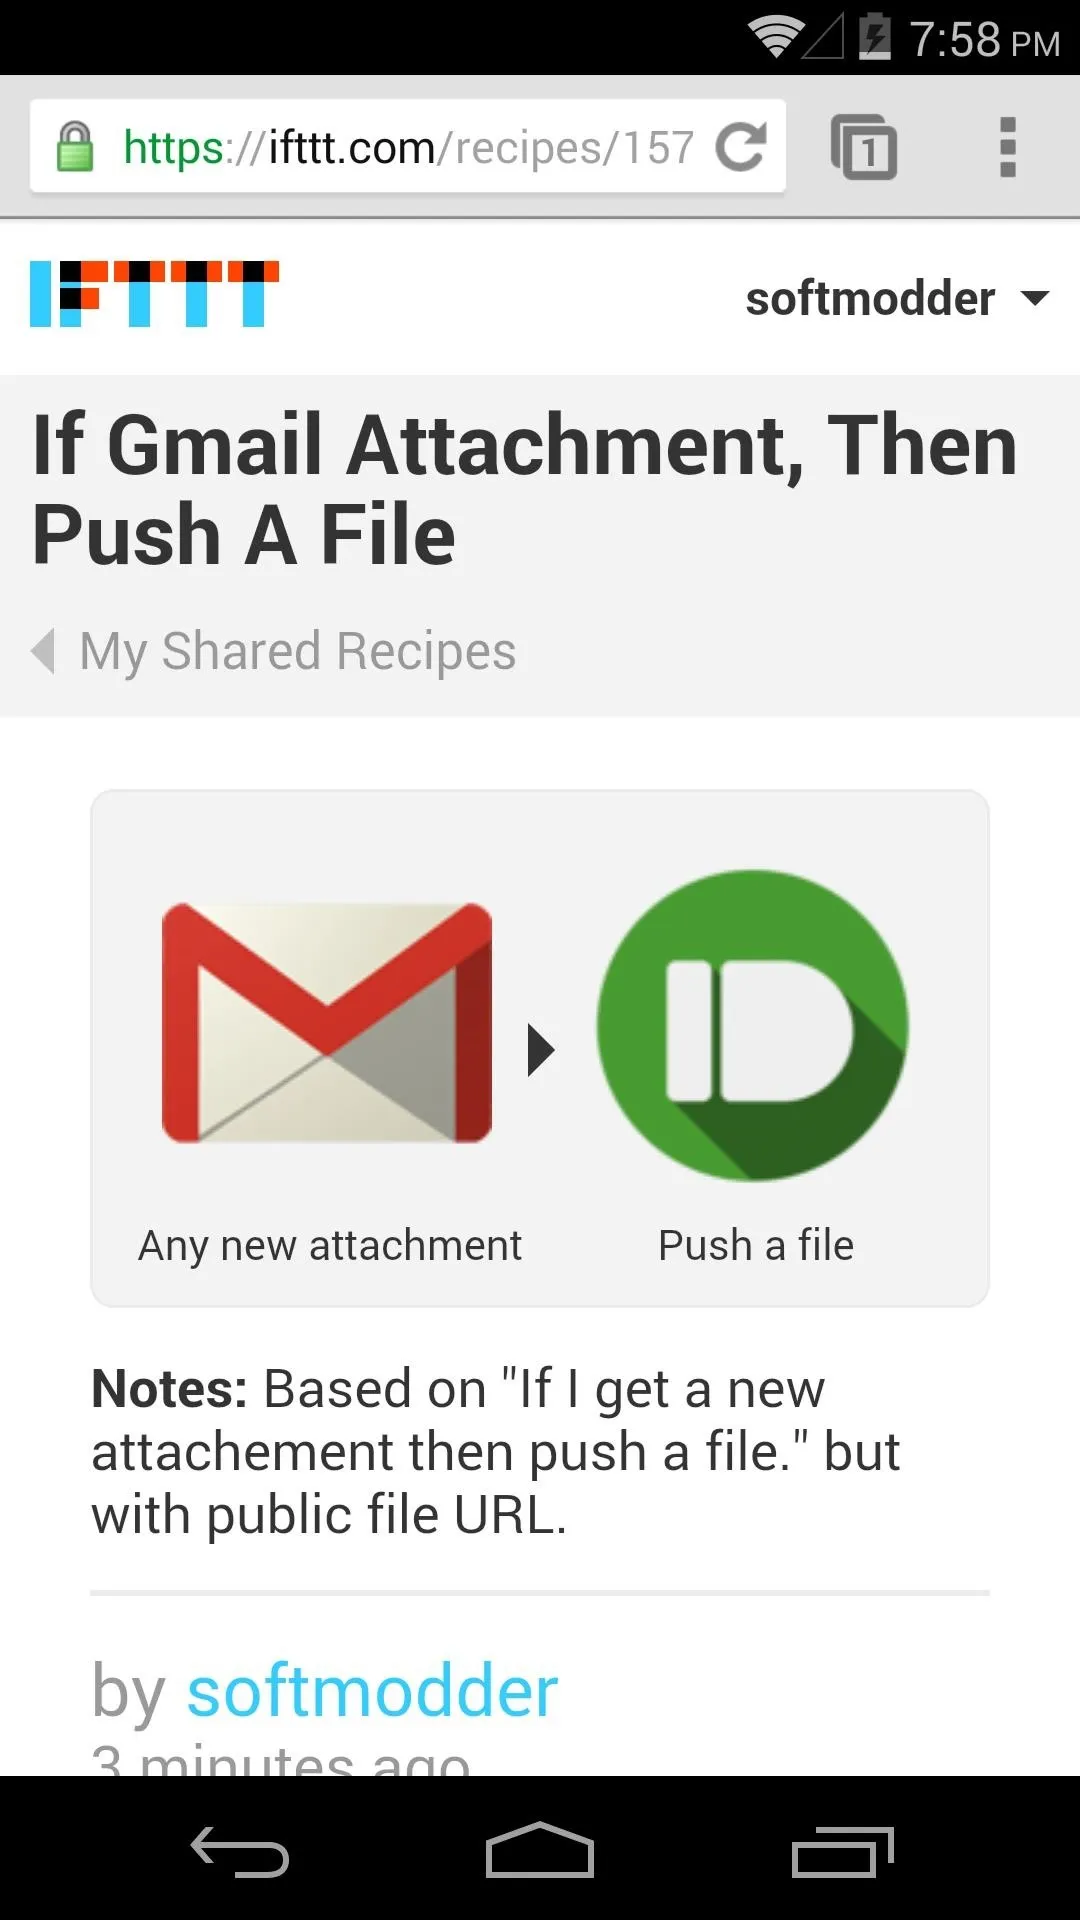


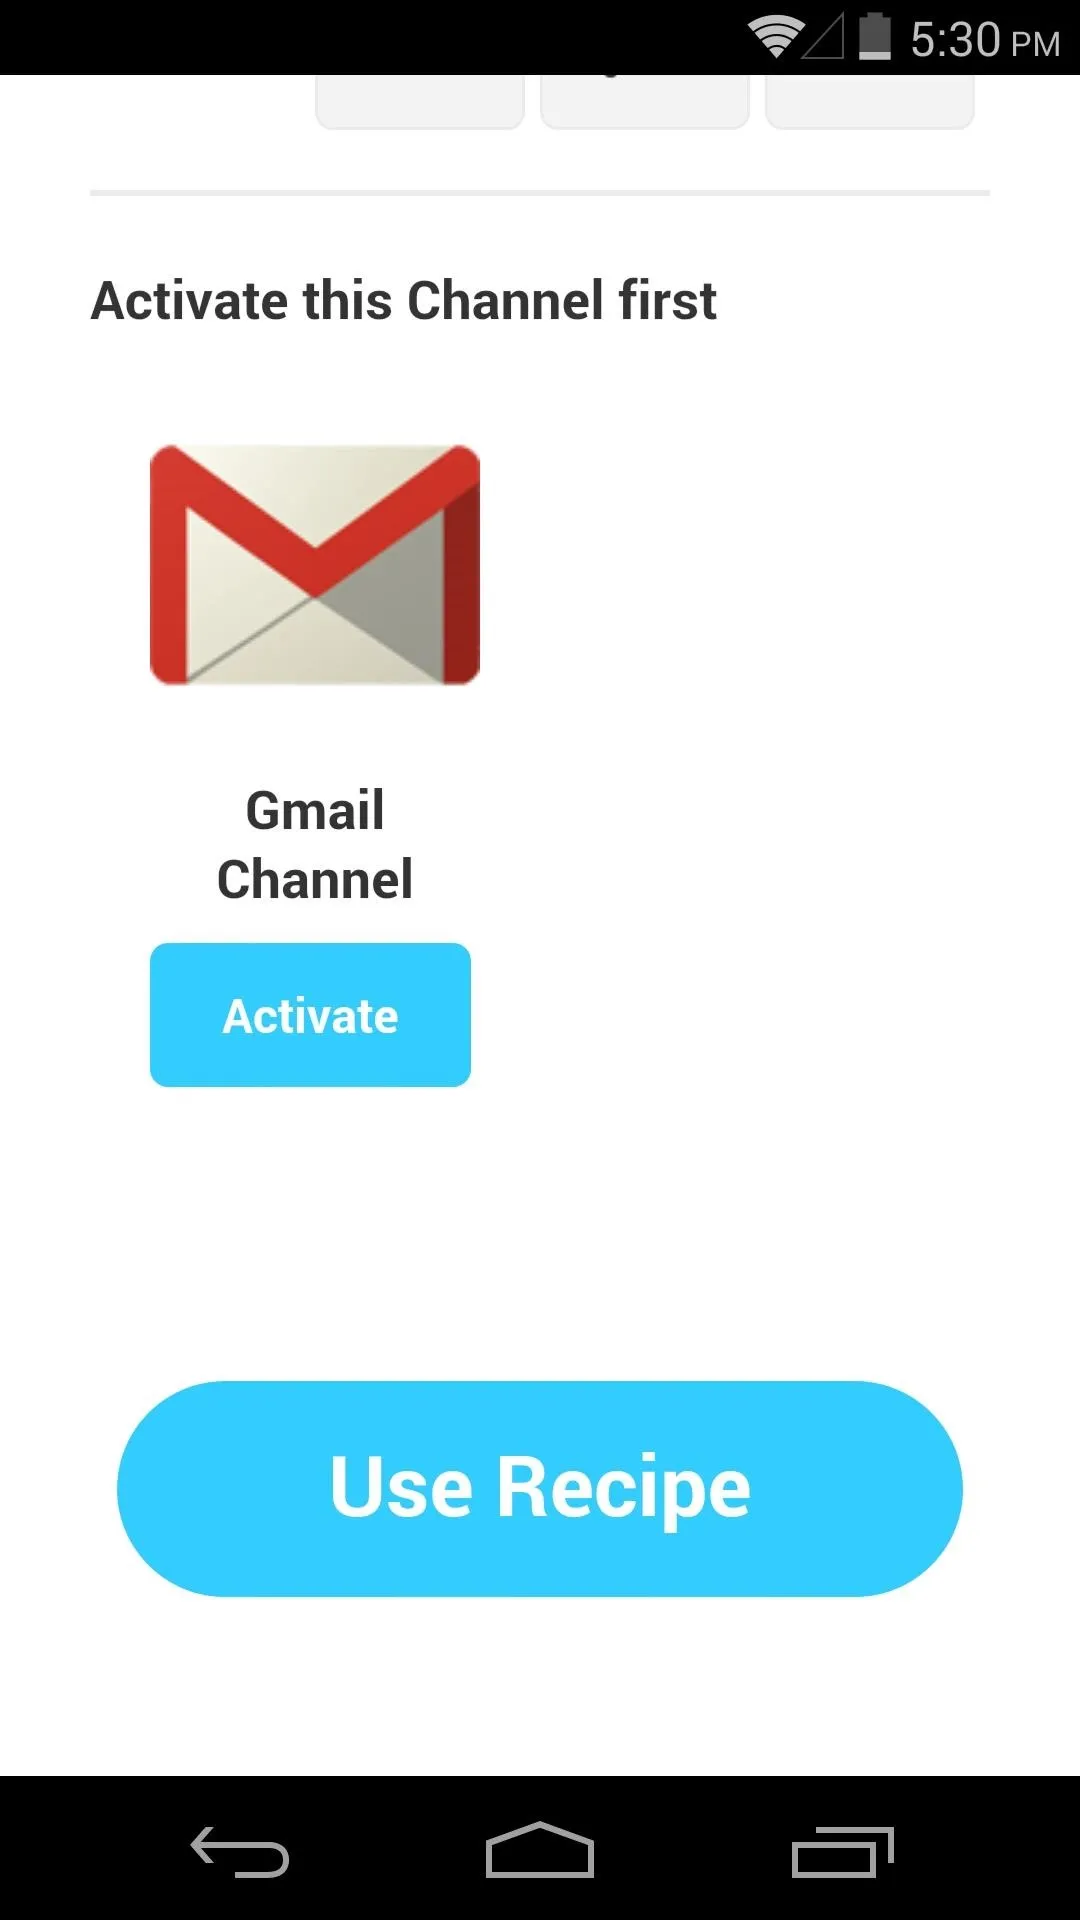
This recipe checks your Gmail account for new attachments before sending you a link with Pushbullet. Since it needs access to your Gmail account to do this, you'll need to activate the IFTTT Gmail Channel first.
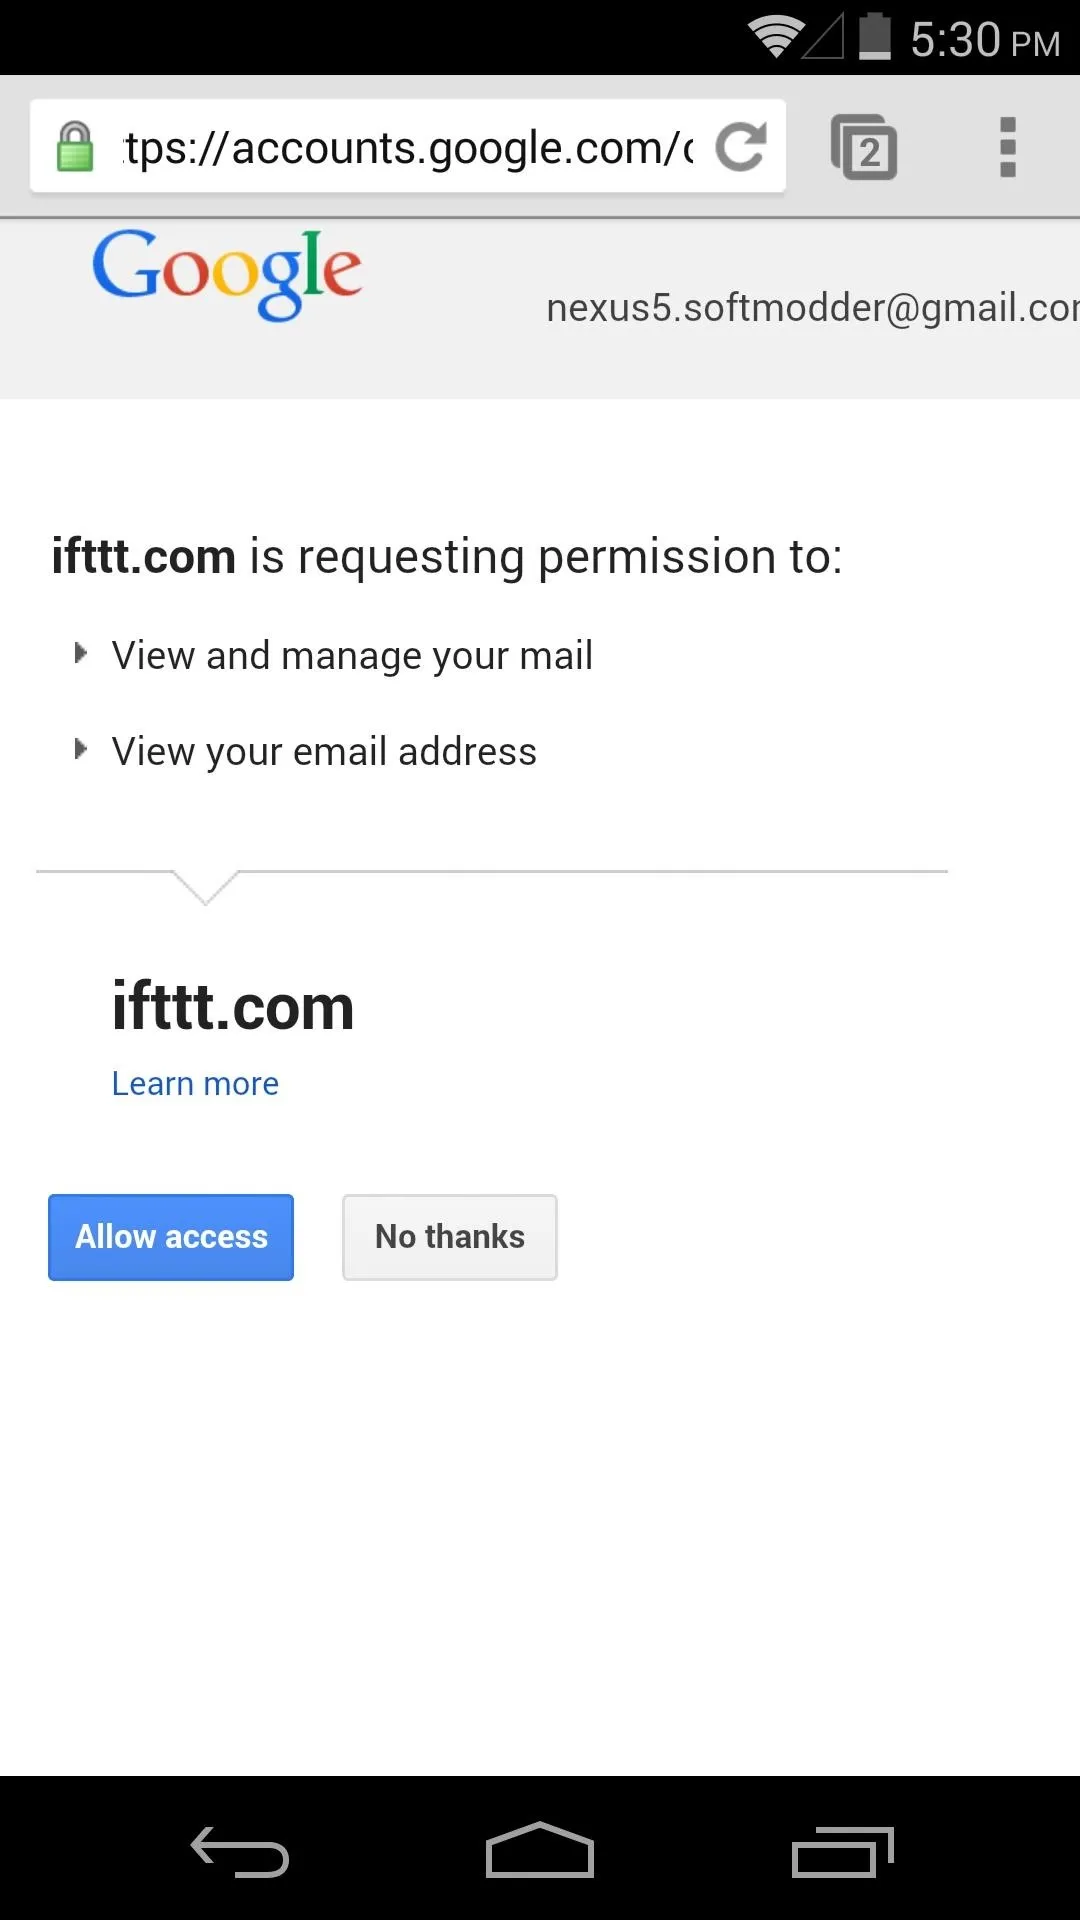
Tap the Activate button under Gmail Channel, then hit Allow Access on the following page. You'll see a screen saying Gmail Activated, where you can hit Done to wrap things up.
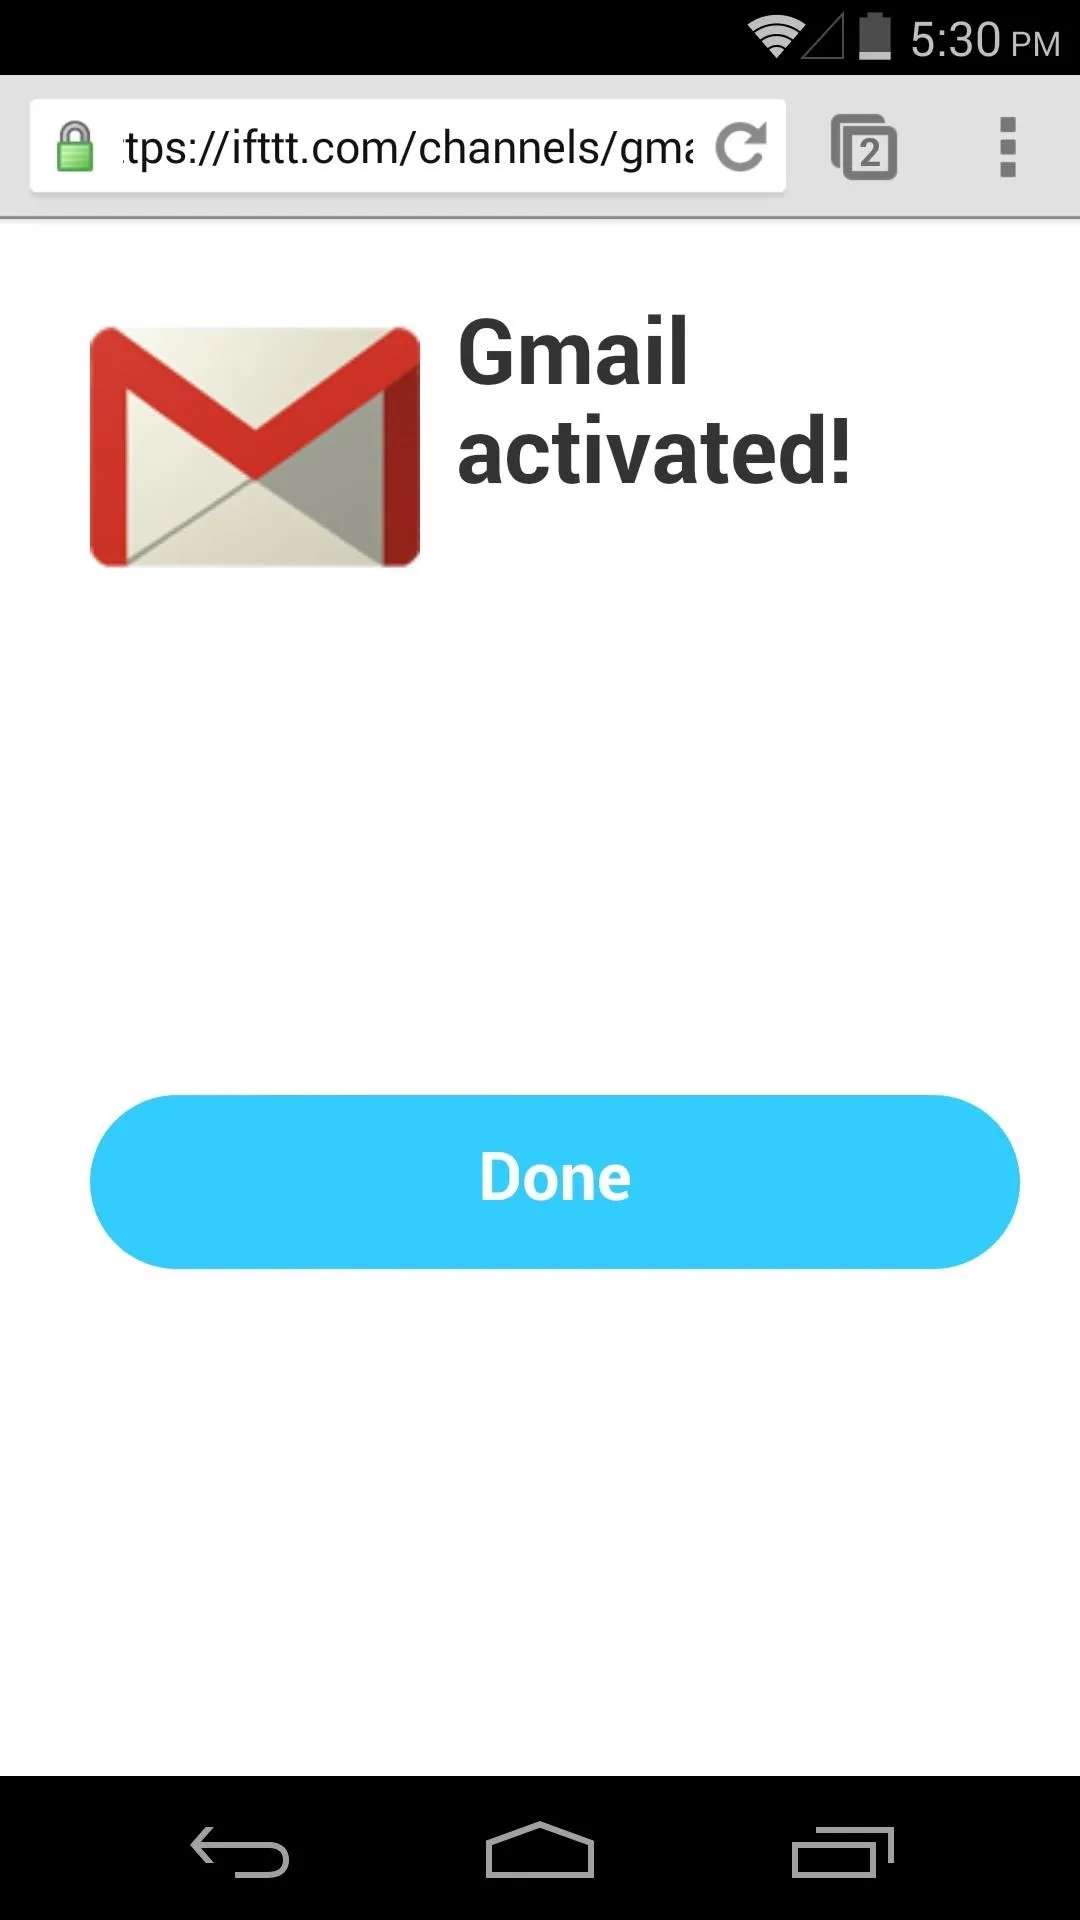


At this point, you'll be taken back to the recipe page. Tap Use Recipe, and you should see a message that says Personal Recipe Created.
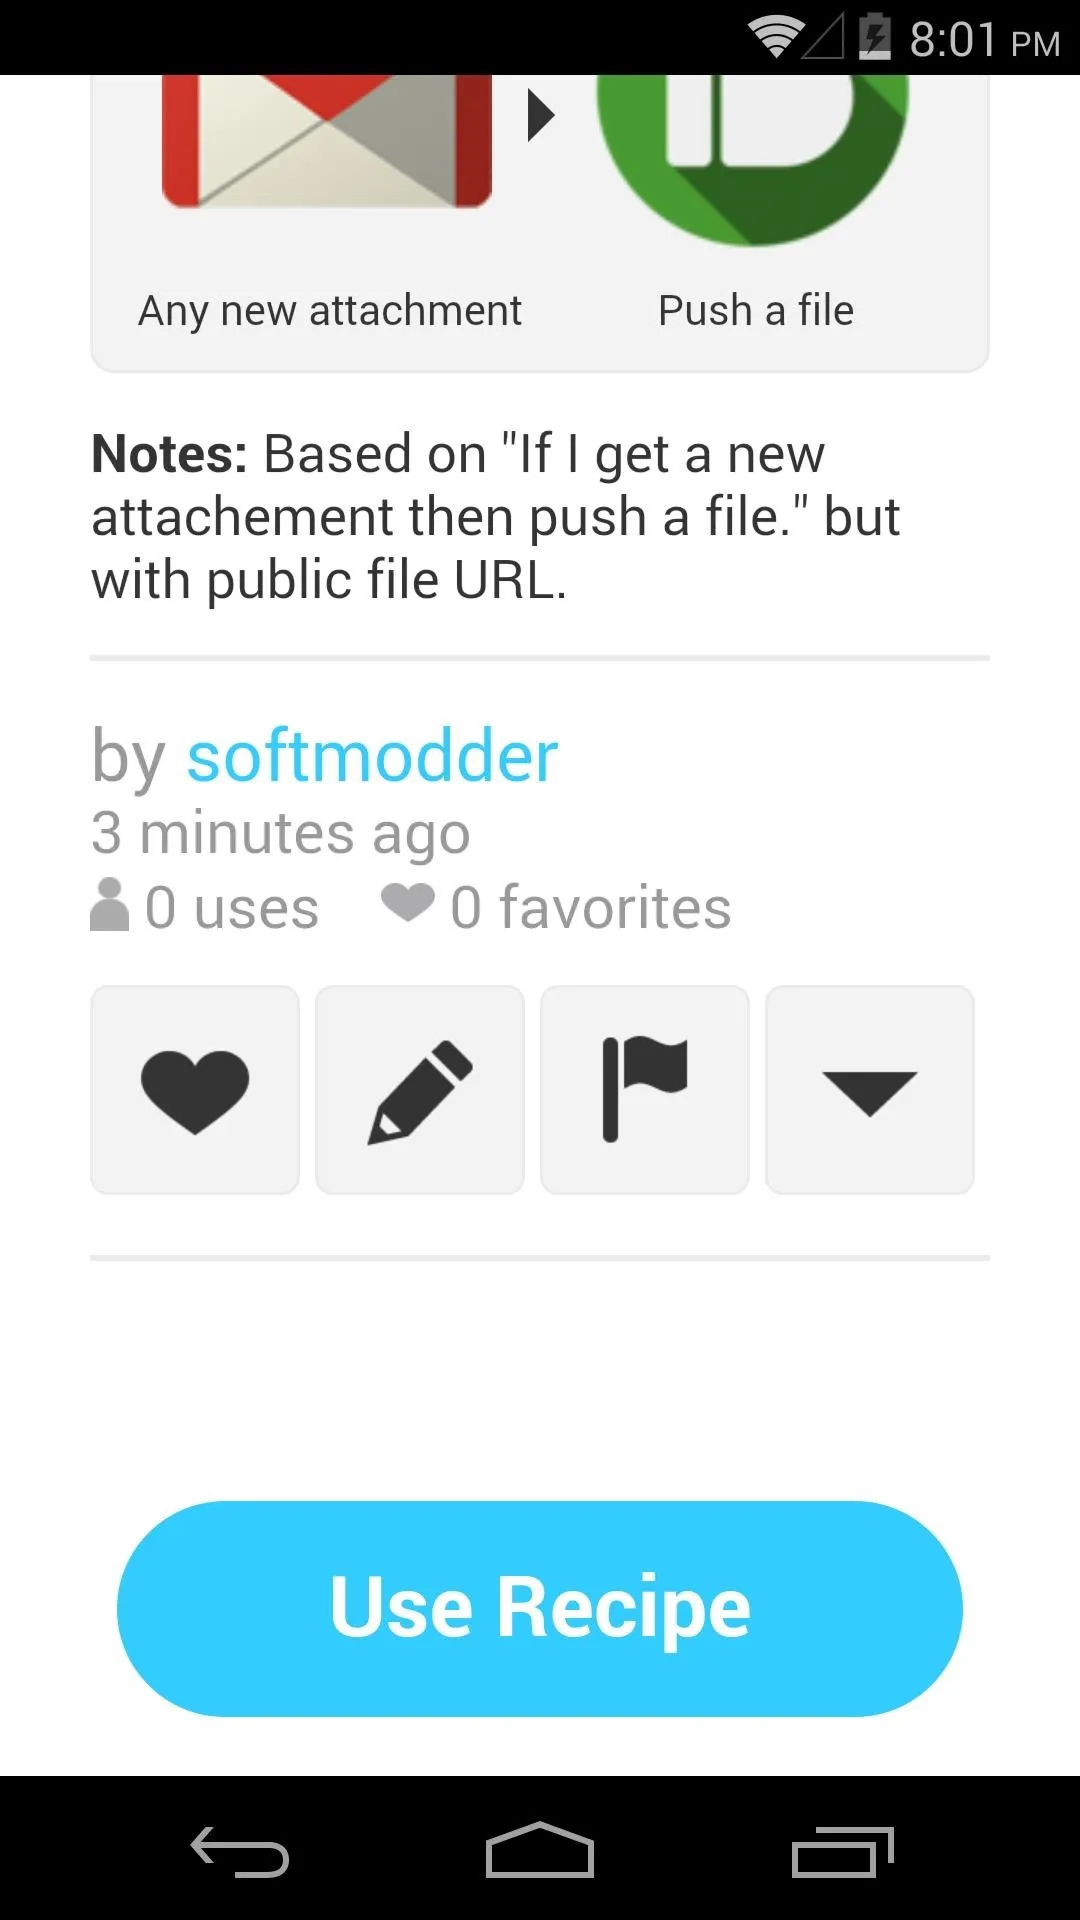
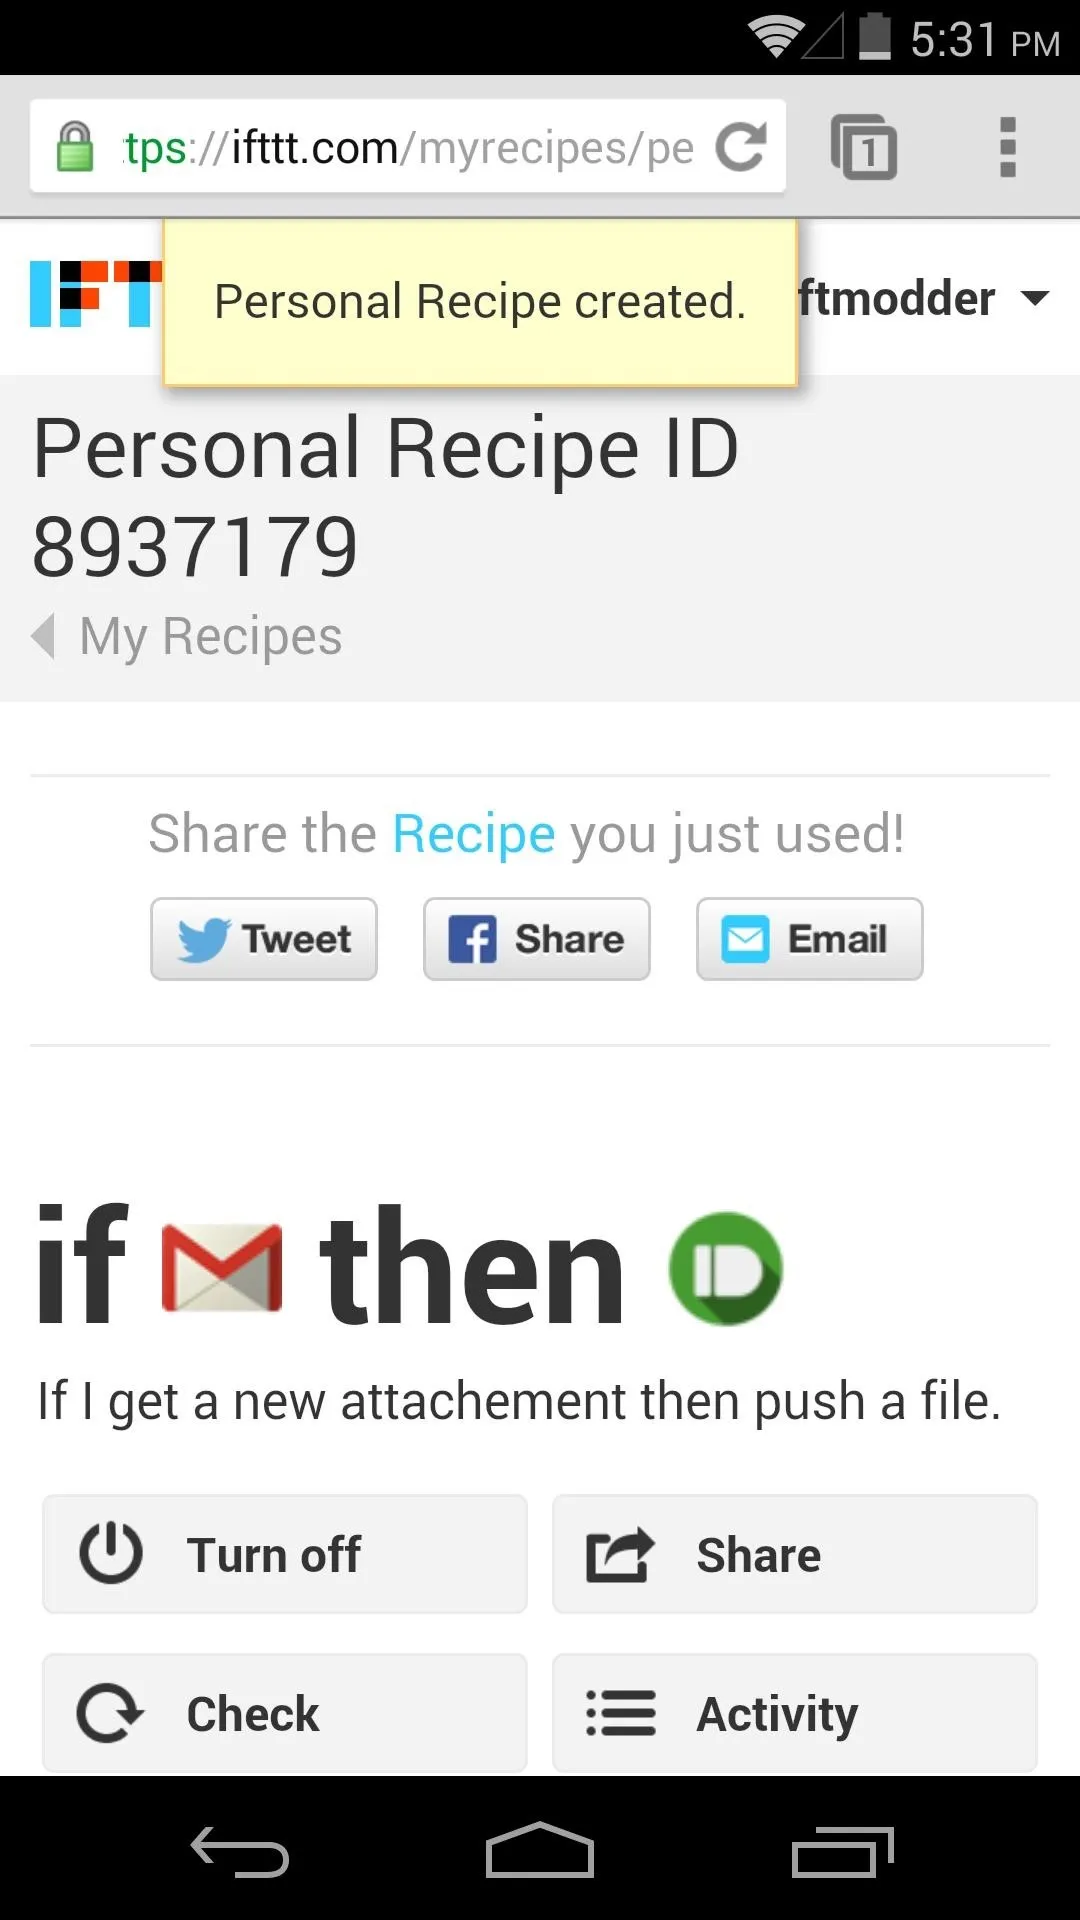


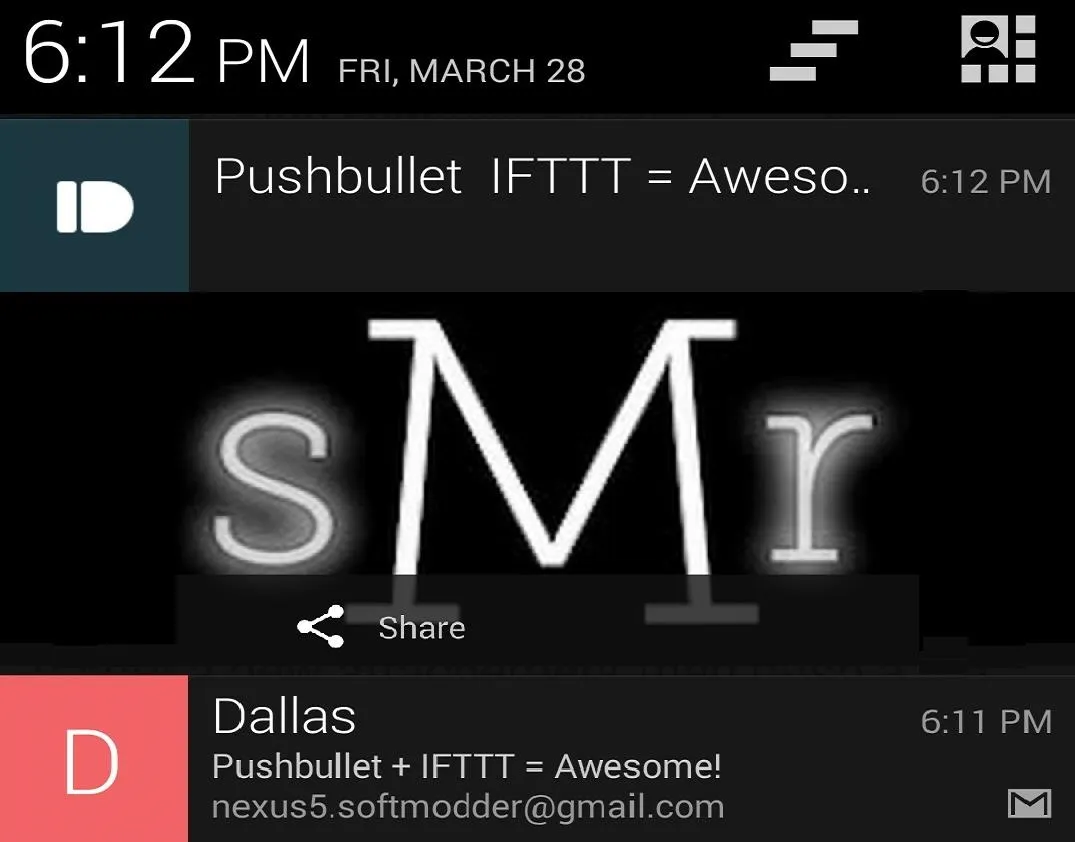
The recipe is now active, and you will receive a Pushbullet link to any attachments sent to your Gmail inbox.
More Examples
There are tons of Pushbullet recipes on IFTTT, so browse around the Pushbullet Channel and discover the possibilities. Here are a few more ideas to get you started:
- If it starts to rain, then push a notification
- If someone specific posts to Instagram, then push a link to the picture
- If LinkedIn recommends a job, then push a link to the job opening
- If rent is due, then push a reminder
- If the stock market closes, then push my stock's closing price
- If one of my Fantasy Basketball players gets injured, then push me a notification
- If I've been tagged in a Facebook photo, then send me a note
What are your favorite or most-used recipes?


Comments
No Comments Exist
Be the first, drop a comment!