Surely you've heard of the wildly-popular custom ROM CyanogenMod, right? As the longest-tenured third-party firmware for Android devices, CM has been able to maintain its popularity by supporting a wide array of devices and offering many customization options.
One such customization option is its "Theme Engine" functionality. It offers the ability to install themes in the form of simple apps, then apply the theme from CyanogenMod's settings interface. These themes are very far-reaching, too. They can change the look of almost everything on your phone—from system menus to app icons.
Usually, in order to get this functionality on your device, you'd have to go through the process of installing CyanogenMod (or one of the other custom ROMs that have since ported this feature), and end up losing your existing settings configurations, among other data. But developer Hai Duong Nguyen has brought CyanogenMod's Theme Engine functionality to the stock firmware on our Nexus devices by way of the Xposed Framework.
Prerequisities
Step 1: Install HKThemeManager
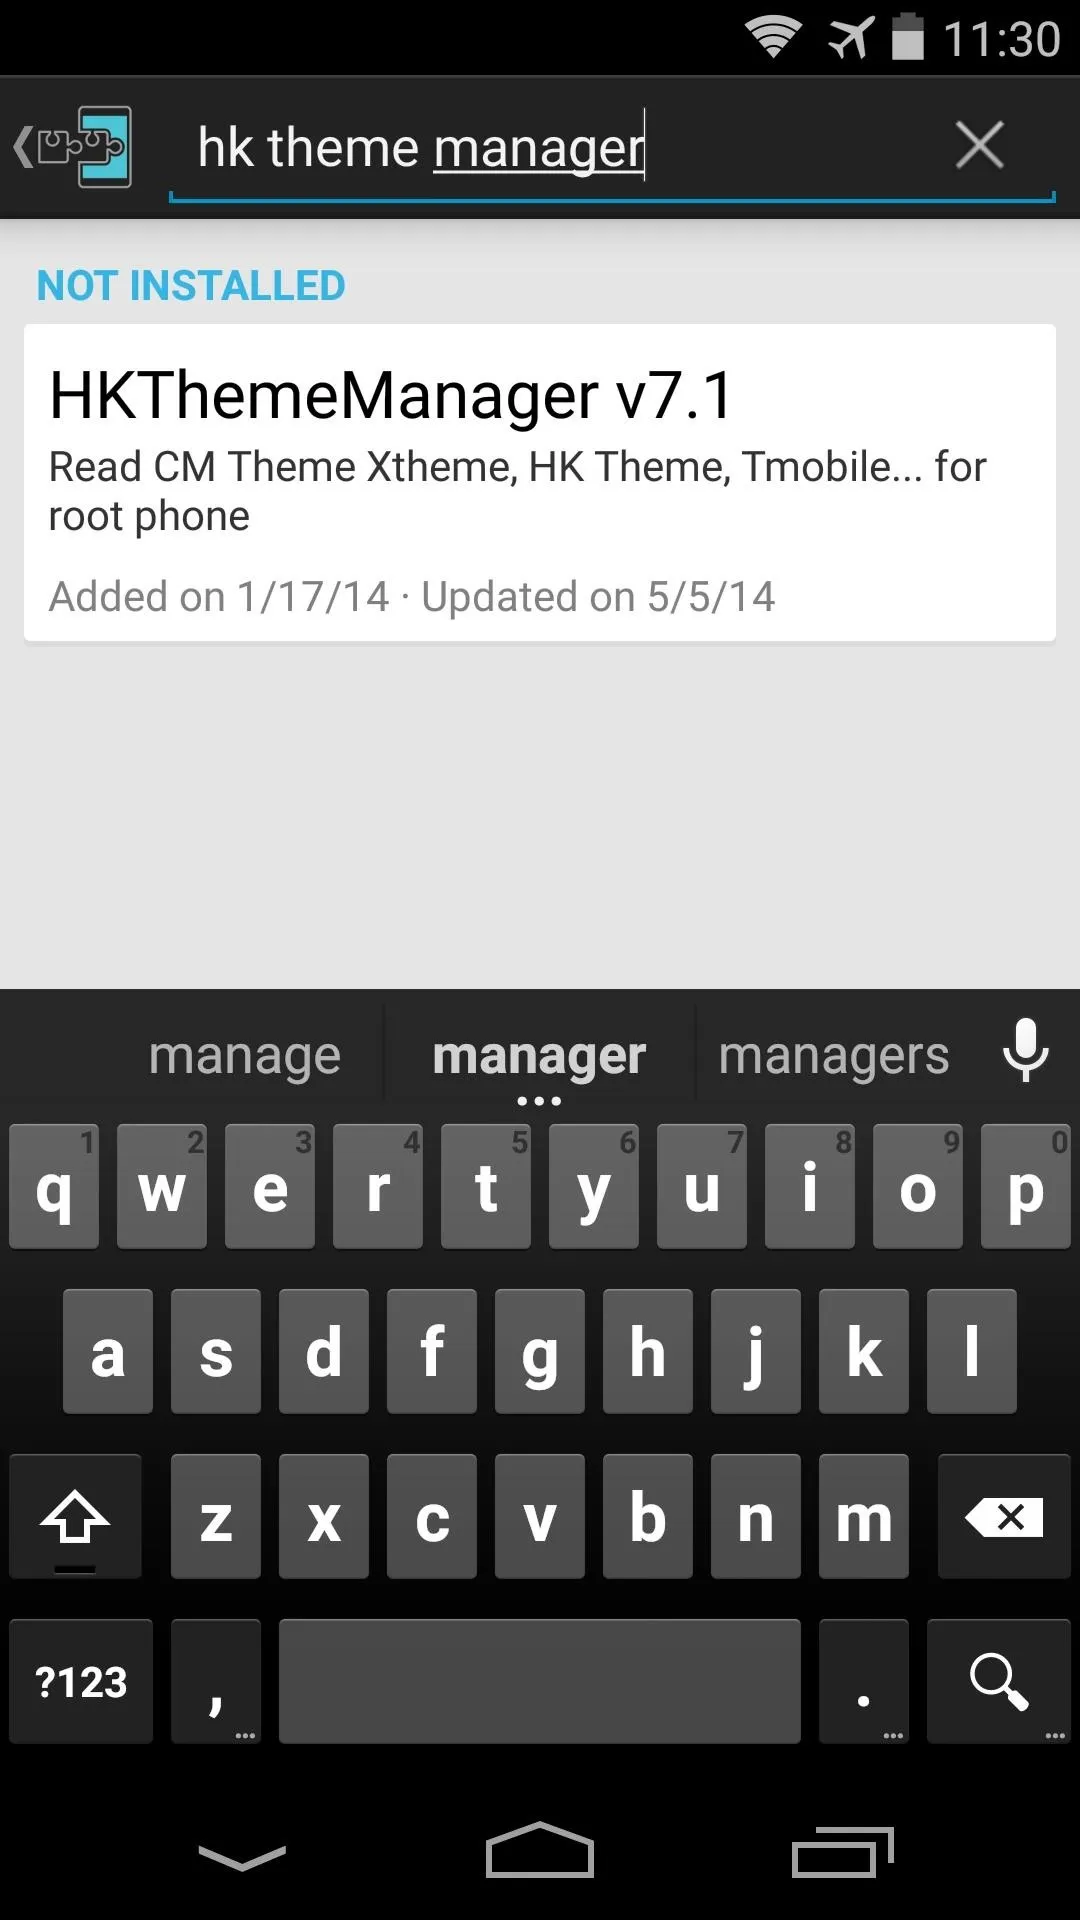
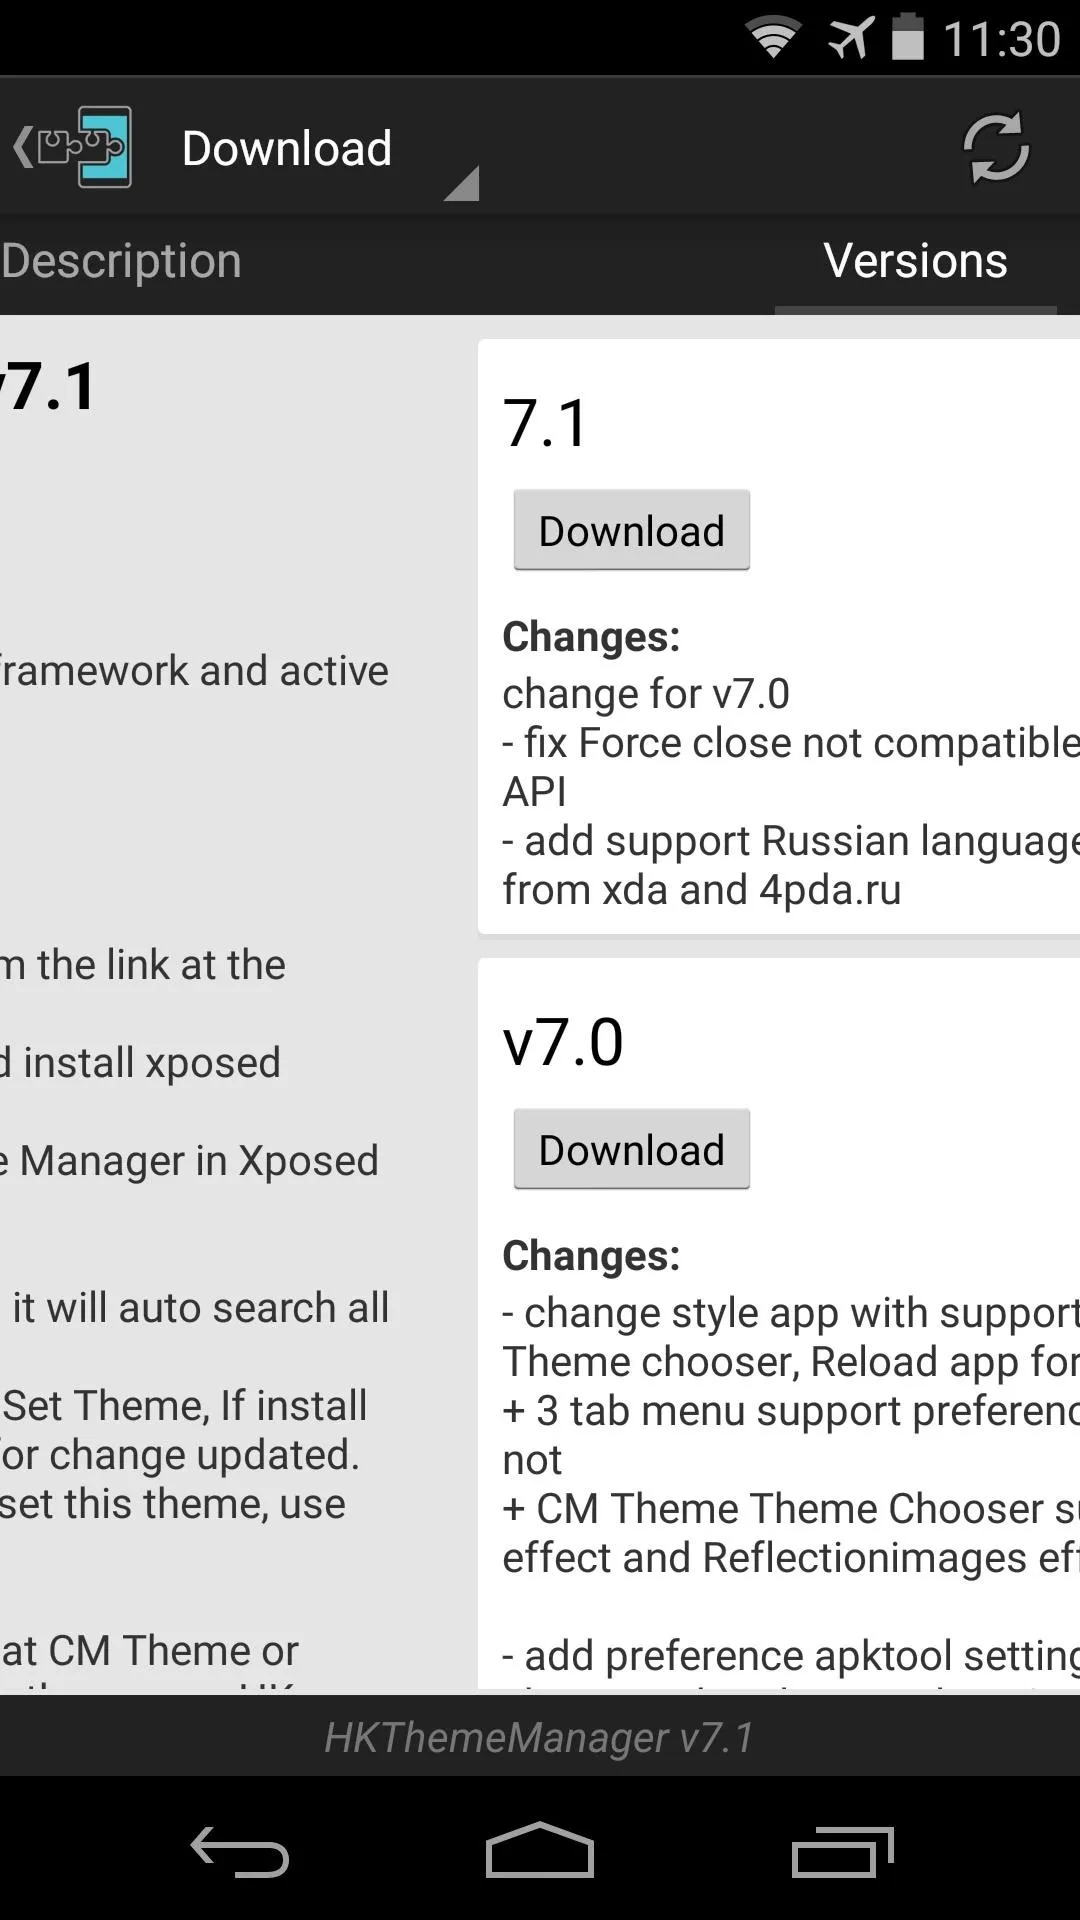
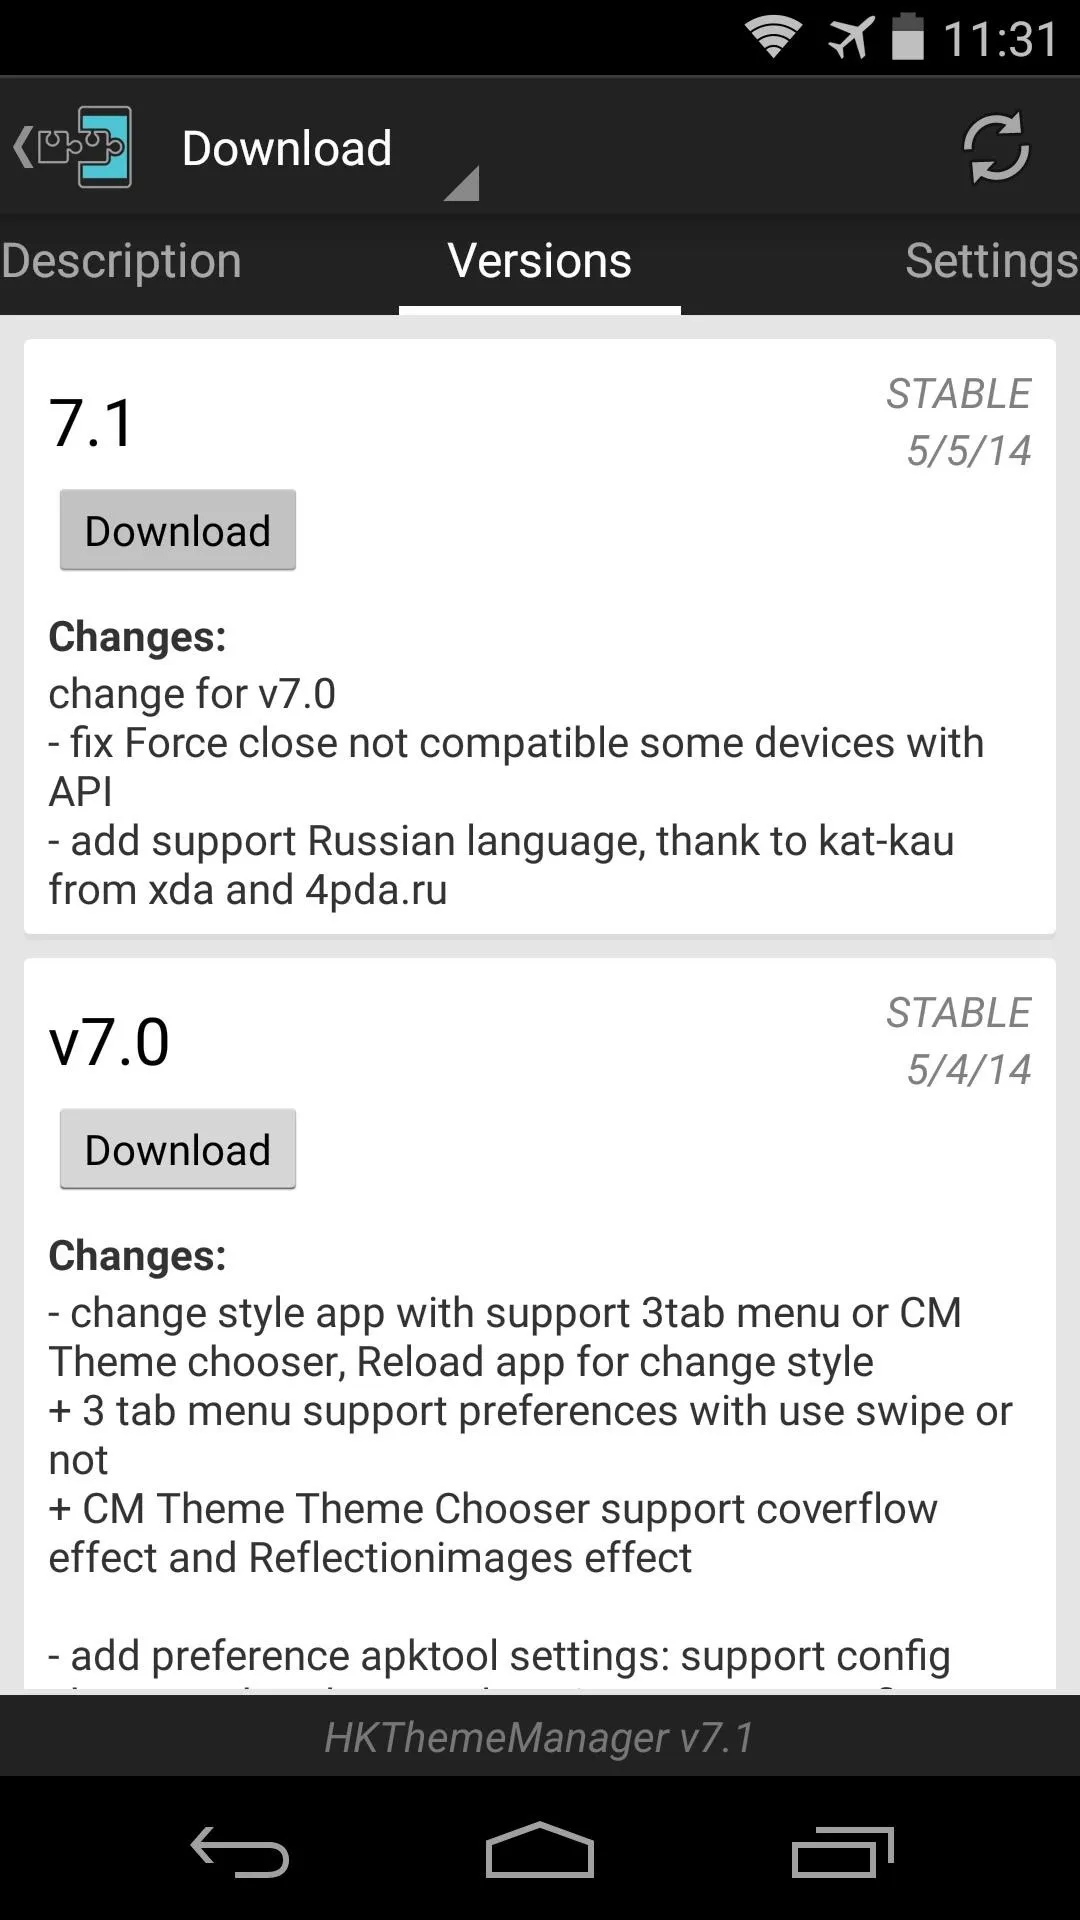
The module that lays the groundwork for you to use in applying CyanogenMod themes on your stock ROM is called HKThemeManager. Head to the Download section of your Xposed Installer app to search it by name, then tap the top result and swipe over to the Versions tab. From here, hit the Download button for the most recent entry. You can also download the module directly through this link.


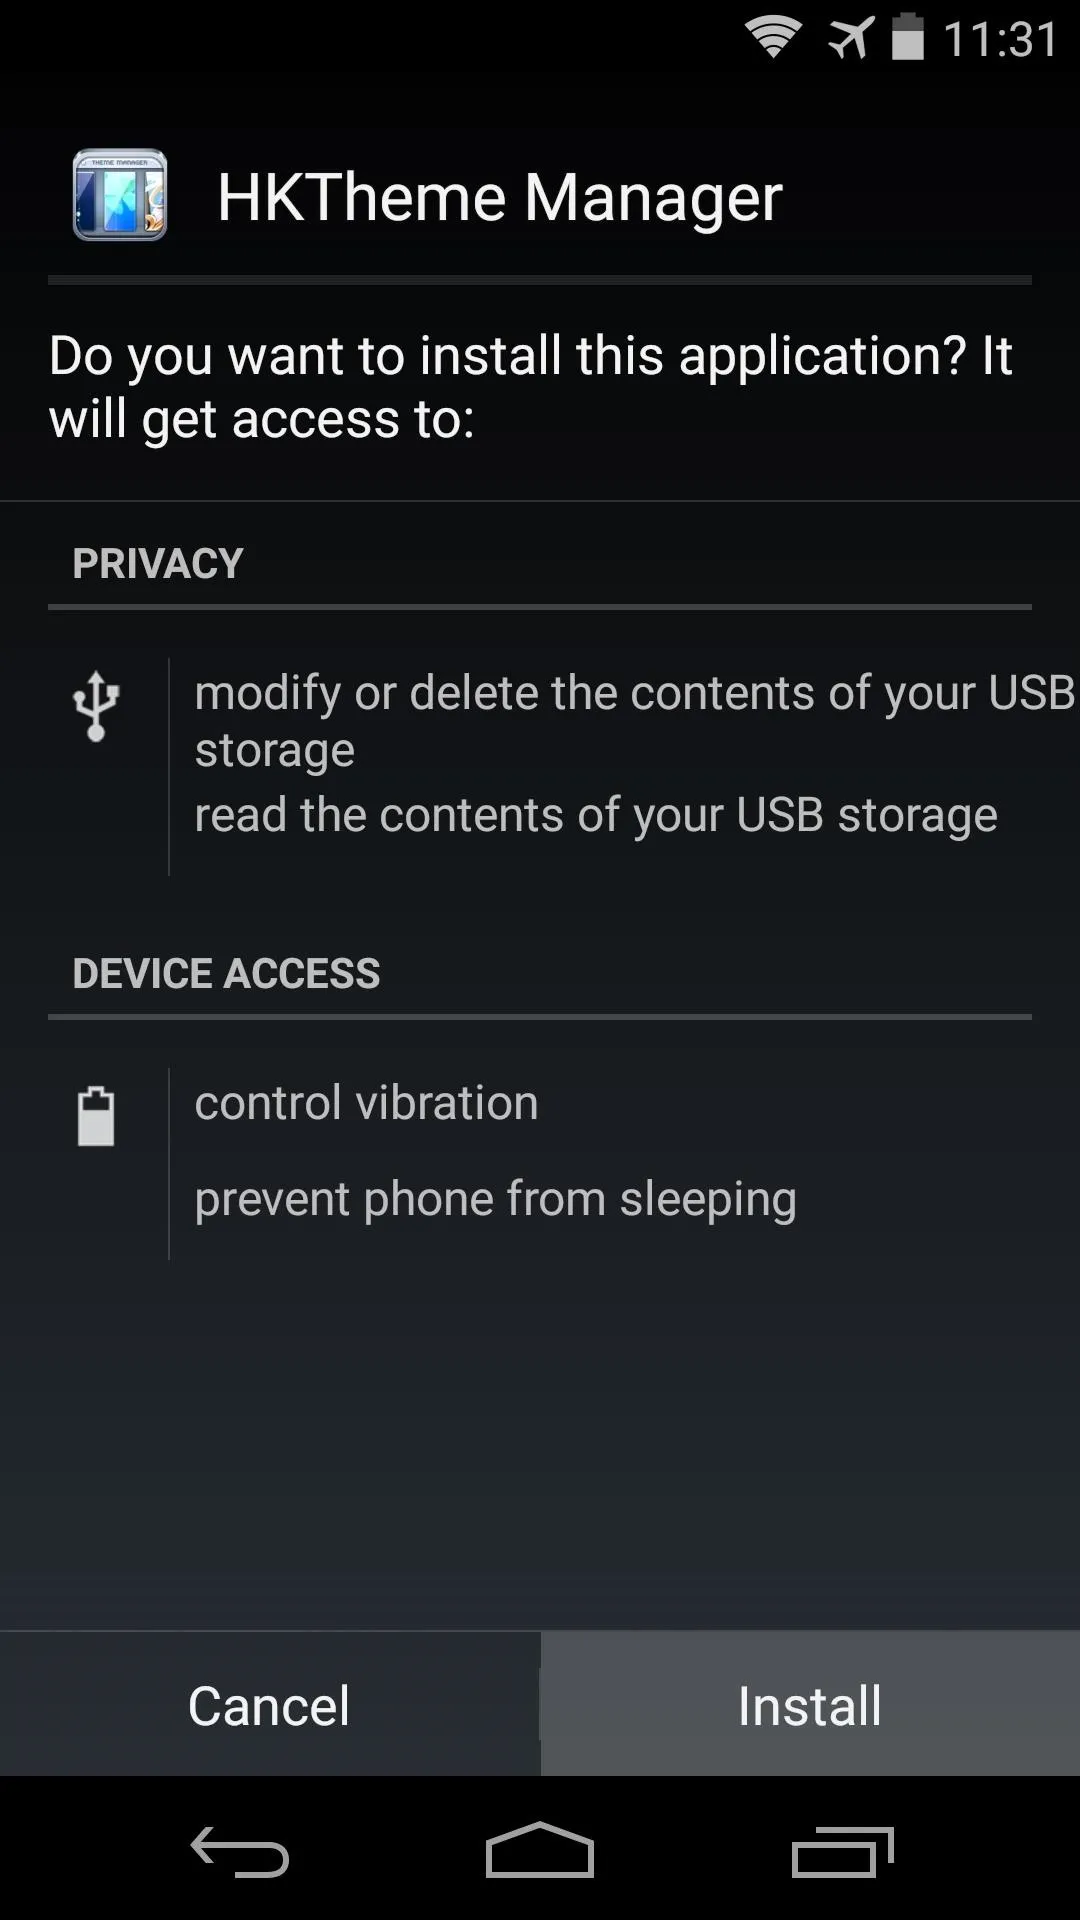
The installer will automatically launch, so press Install on the next screen.
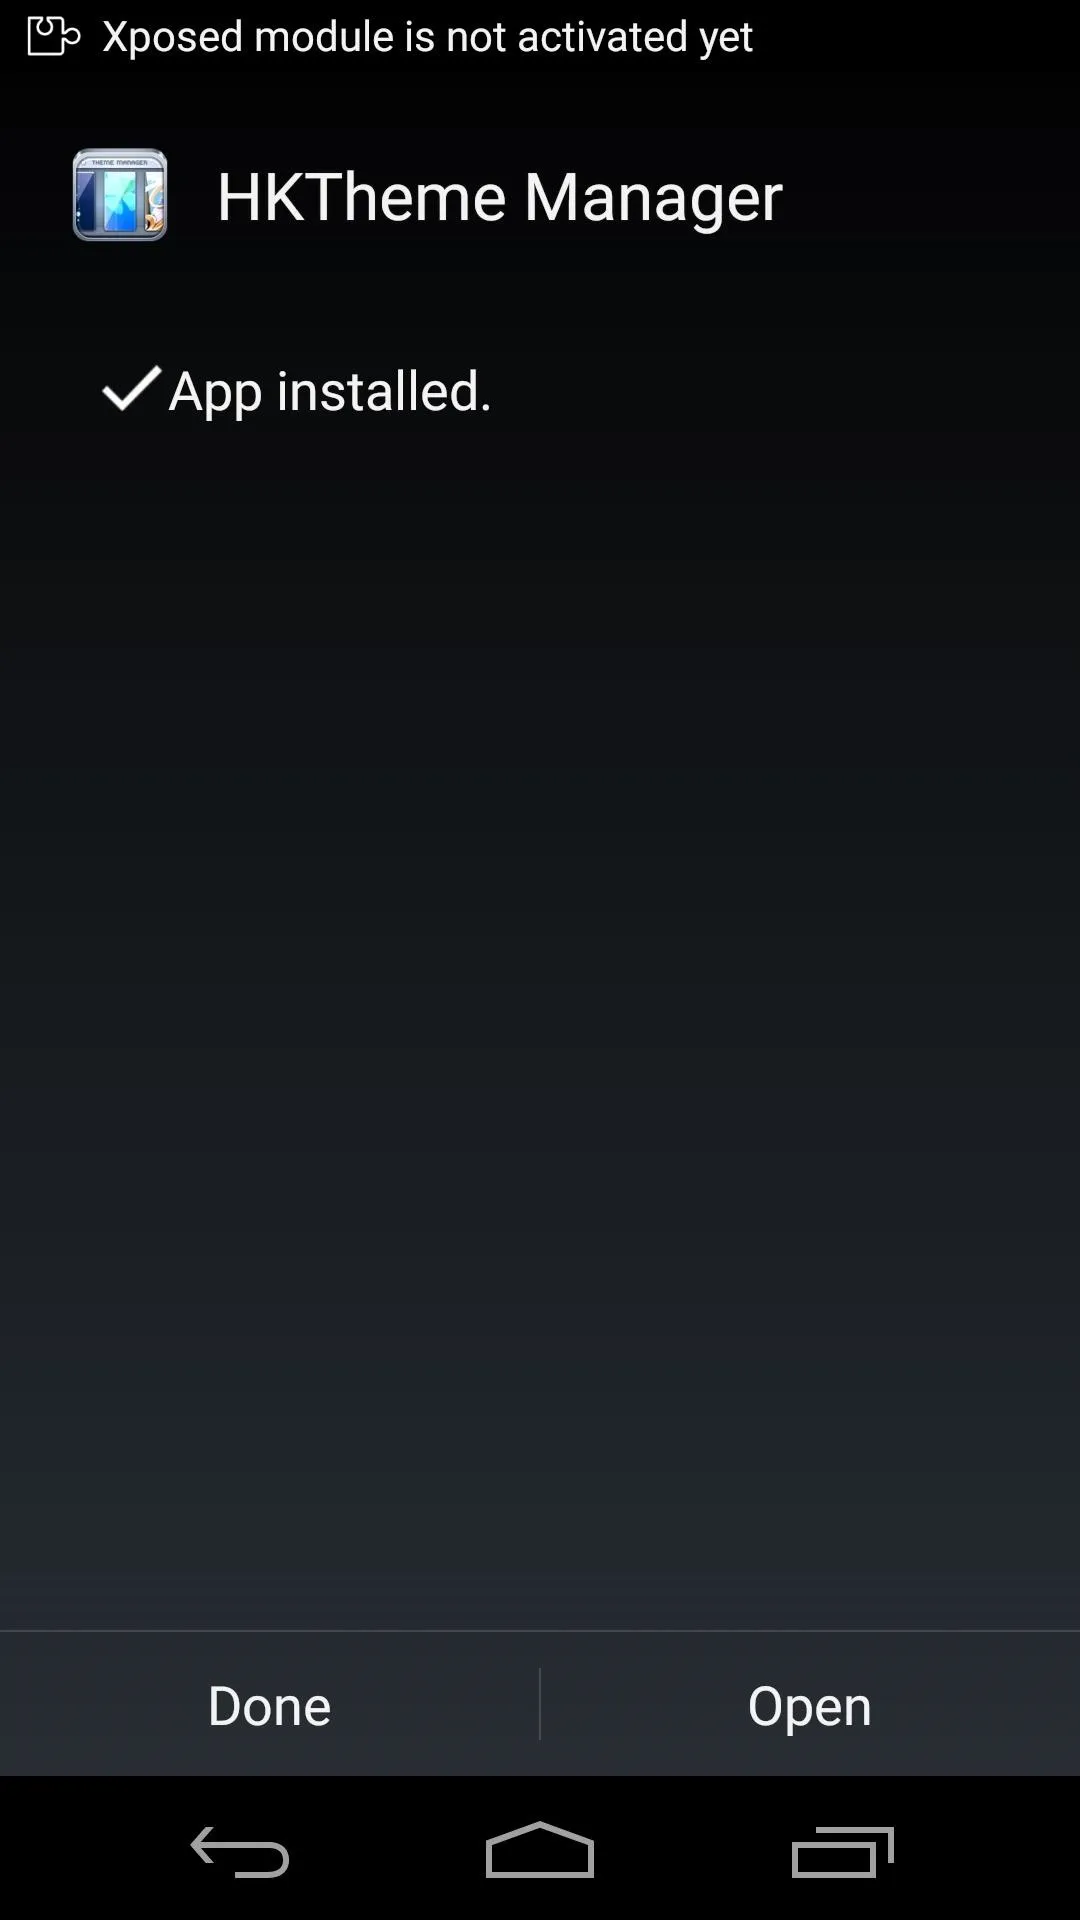


After that, you'll see a notification from Xposed letting you know that the module isn't activated yet and a reboot is needed. Tap the Activate and reboot button on this notification, and Xposed will handle the rest for you.


Step 2: Install a CyanogenMod Theme
There are many CyanogenMod-compatible themes available on the Play Store. Search "CM Theme" to have a look at some of the options.
Unfortunately, some of these themes use an XML file to theme Android, and the Xposed Framework itself is not capable of applying these files. As a result, some CyanogenMod themes you download from the Play Store may or may not work with HKThemeManager.
But the developer has been kind enough to "fix" a decent selection of these themes to make them compatible with his module. He's hosted the installer files for these fixed themes on Google Drive. Just tap this link from your Nexus device to view the complete list. If asked, open the link with your Google Drive app.
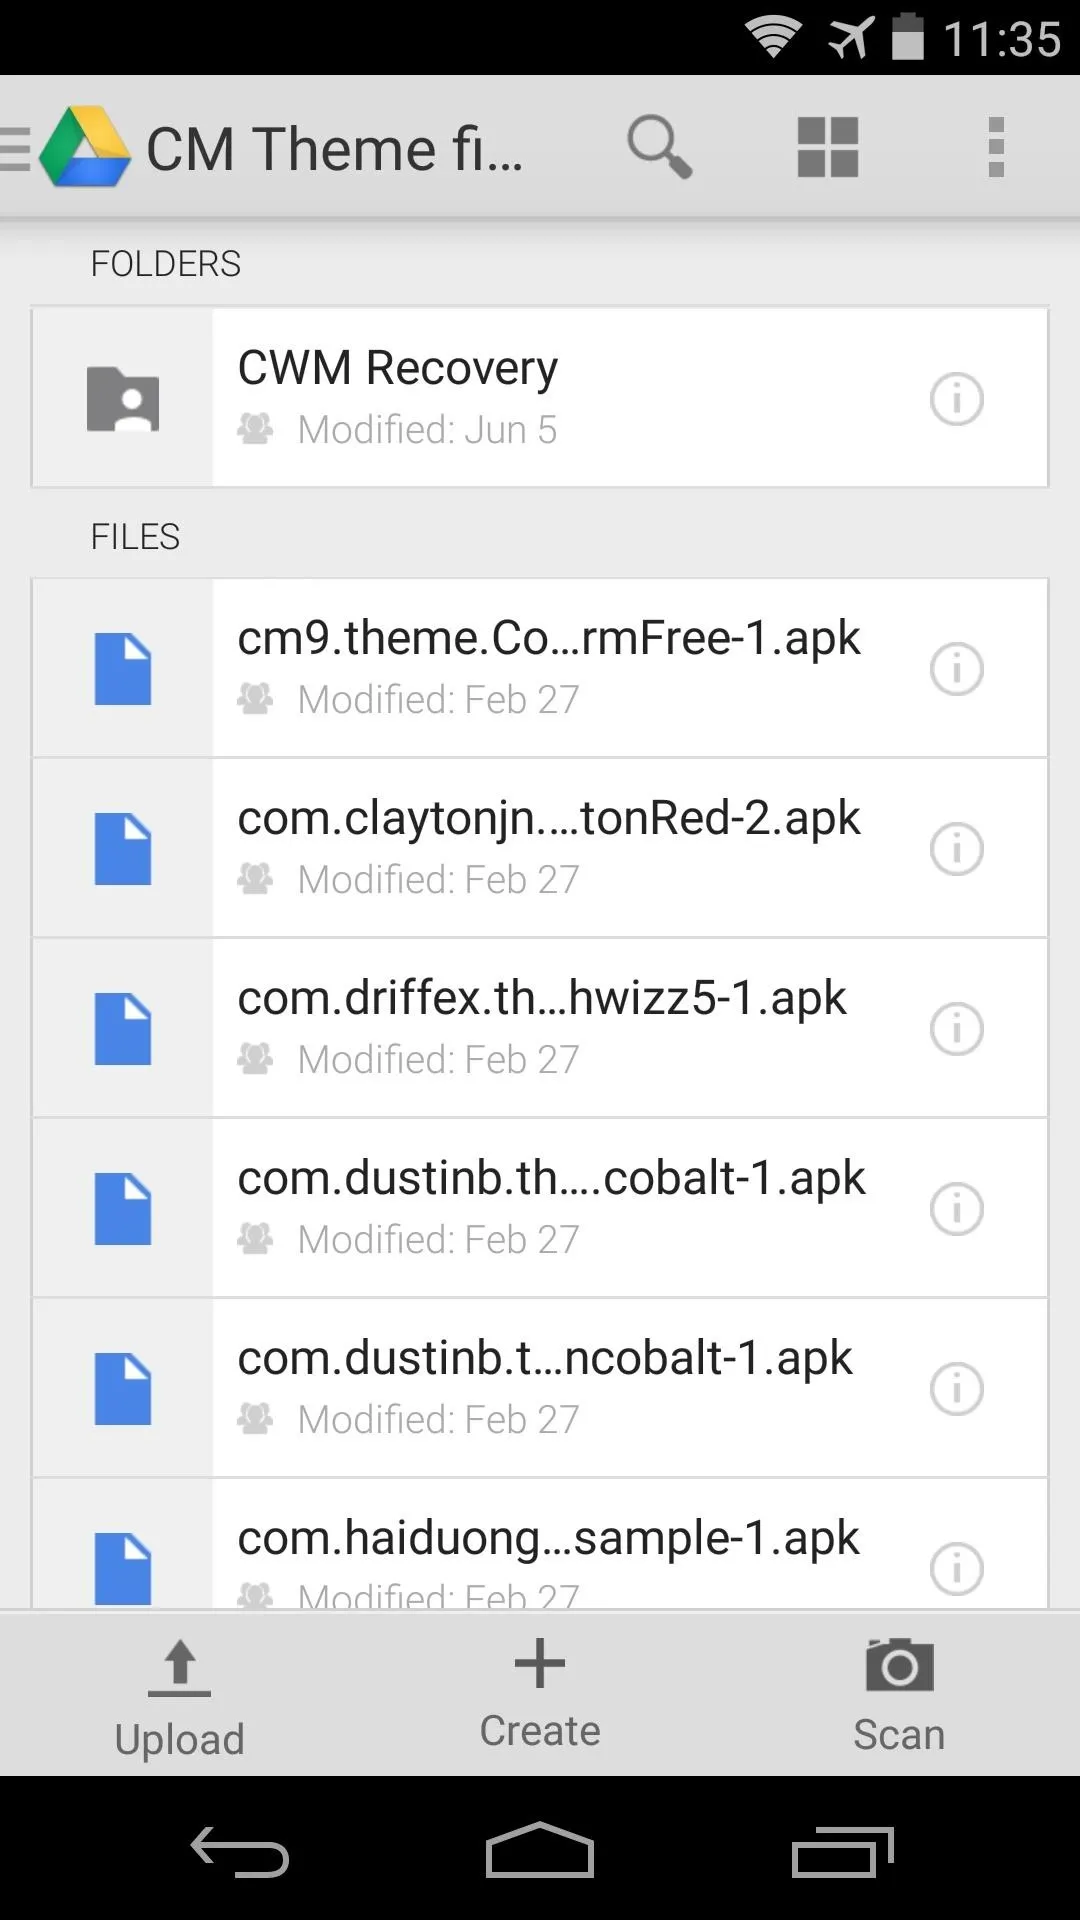
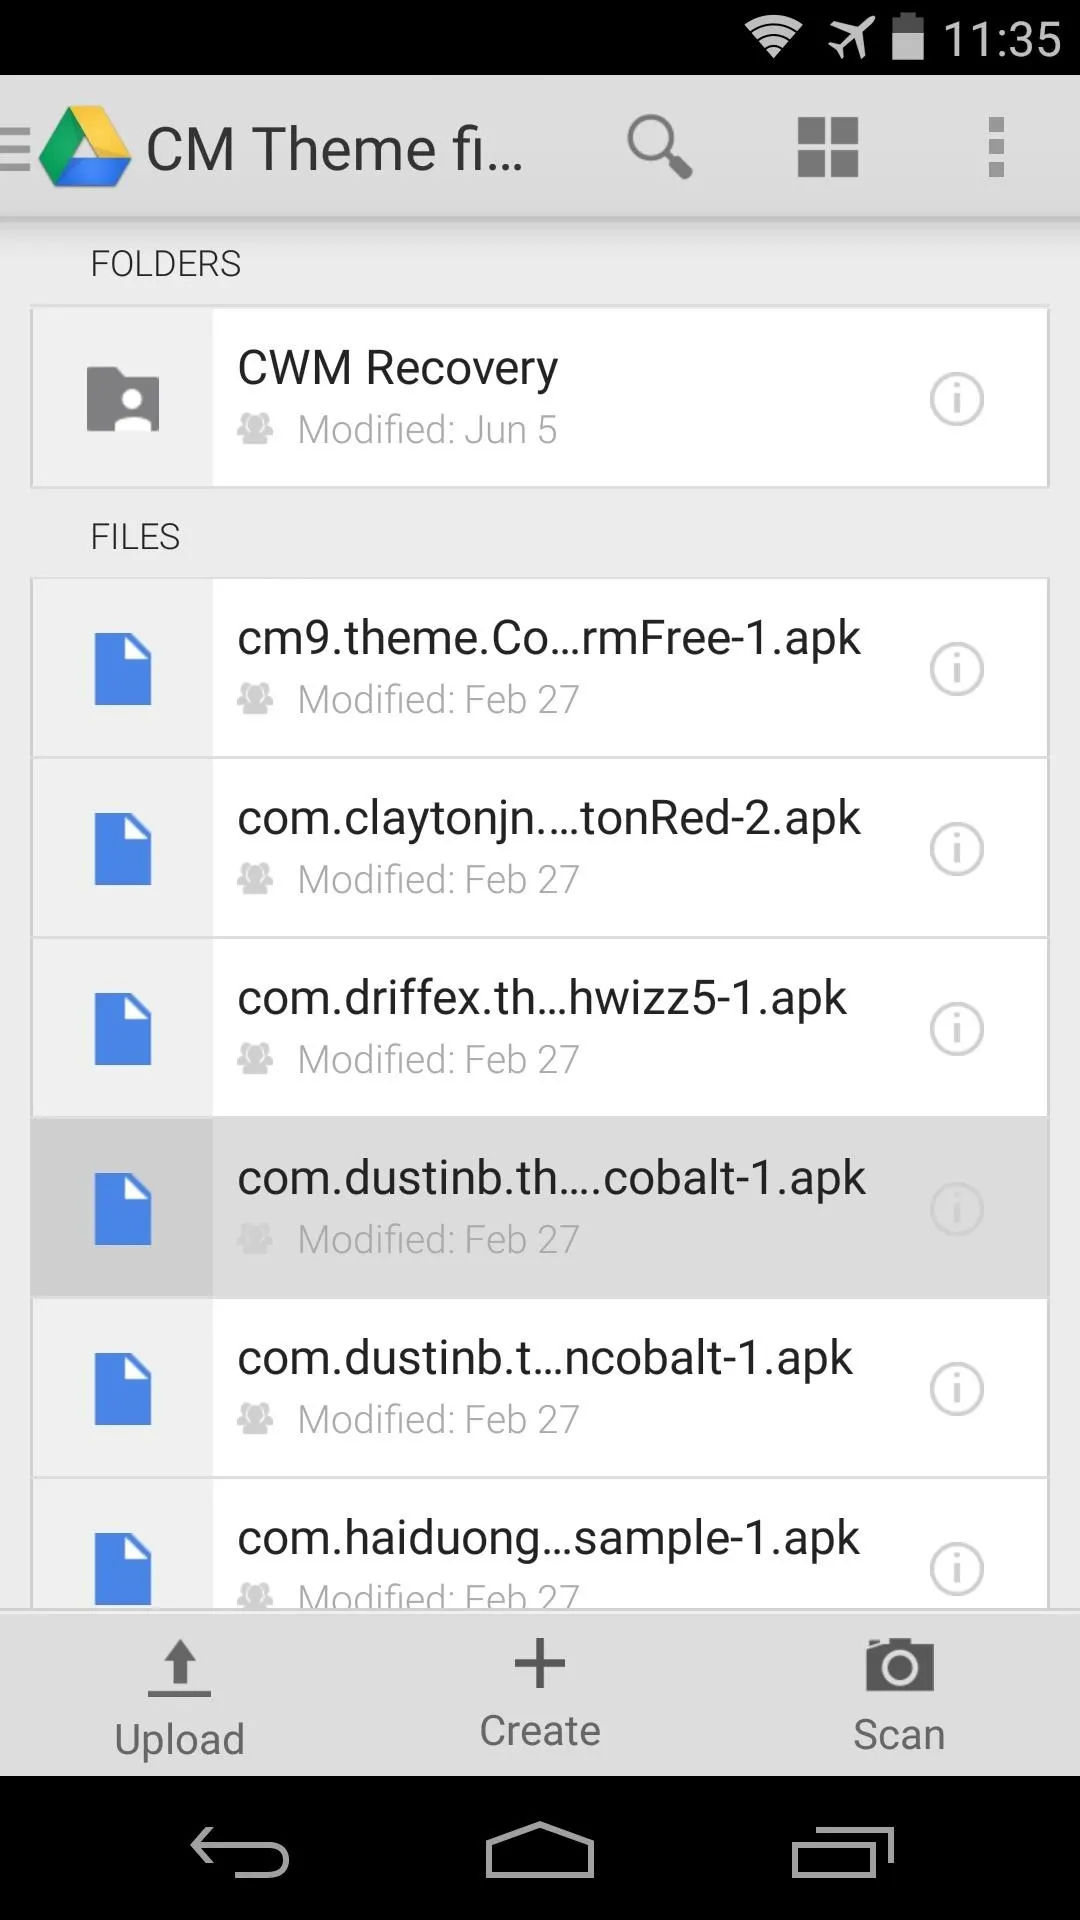


From here, the process of installing a theme is simple. Just tap one of the APK files listed, then Android's installer interface will launch automatically. Tap Install on that screen, then when finished, hit Done.
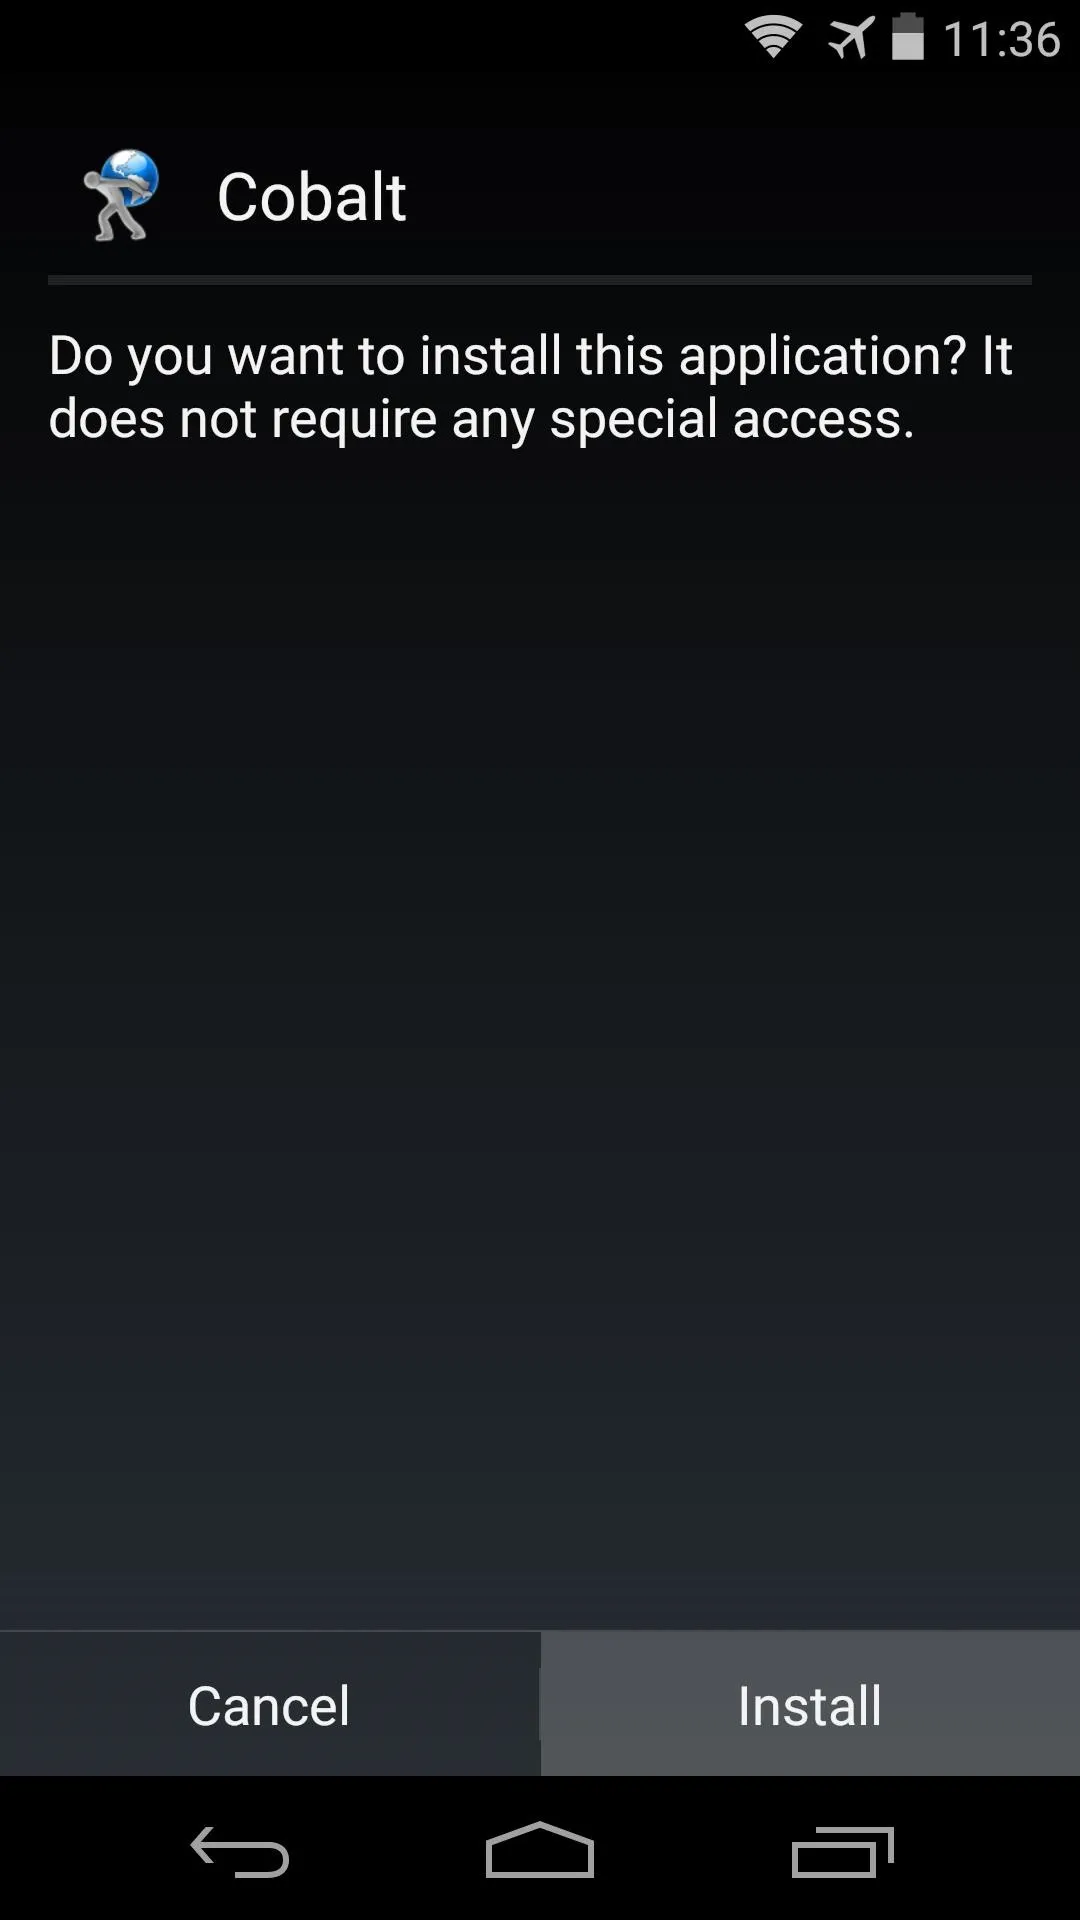
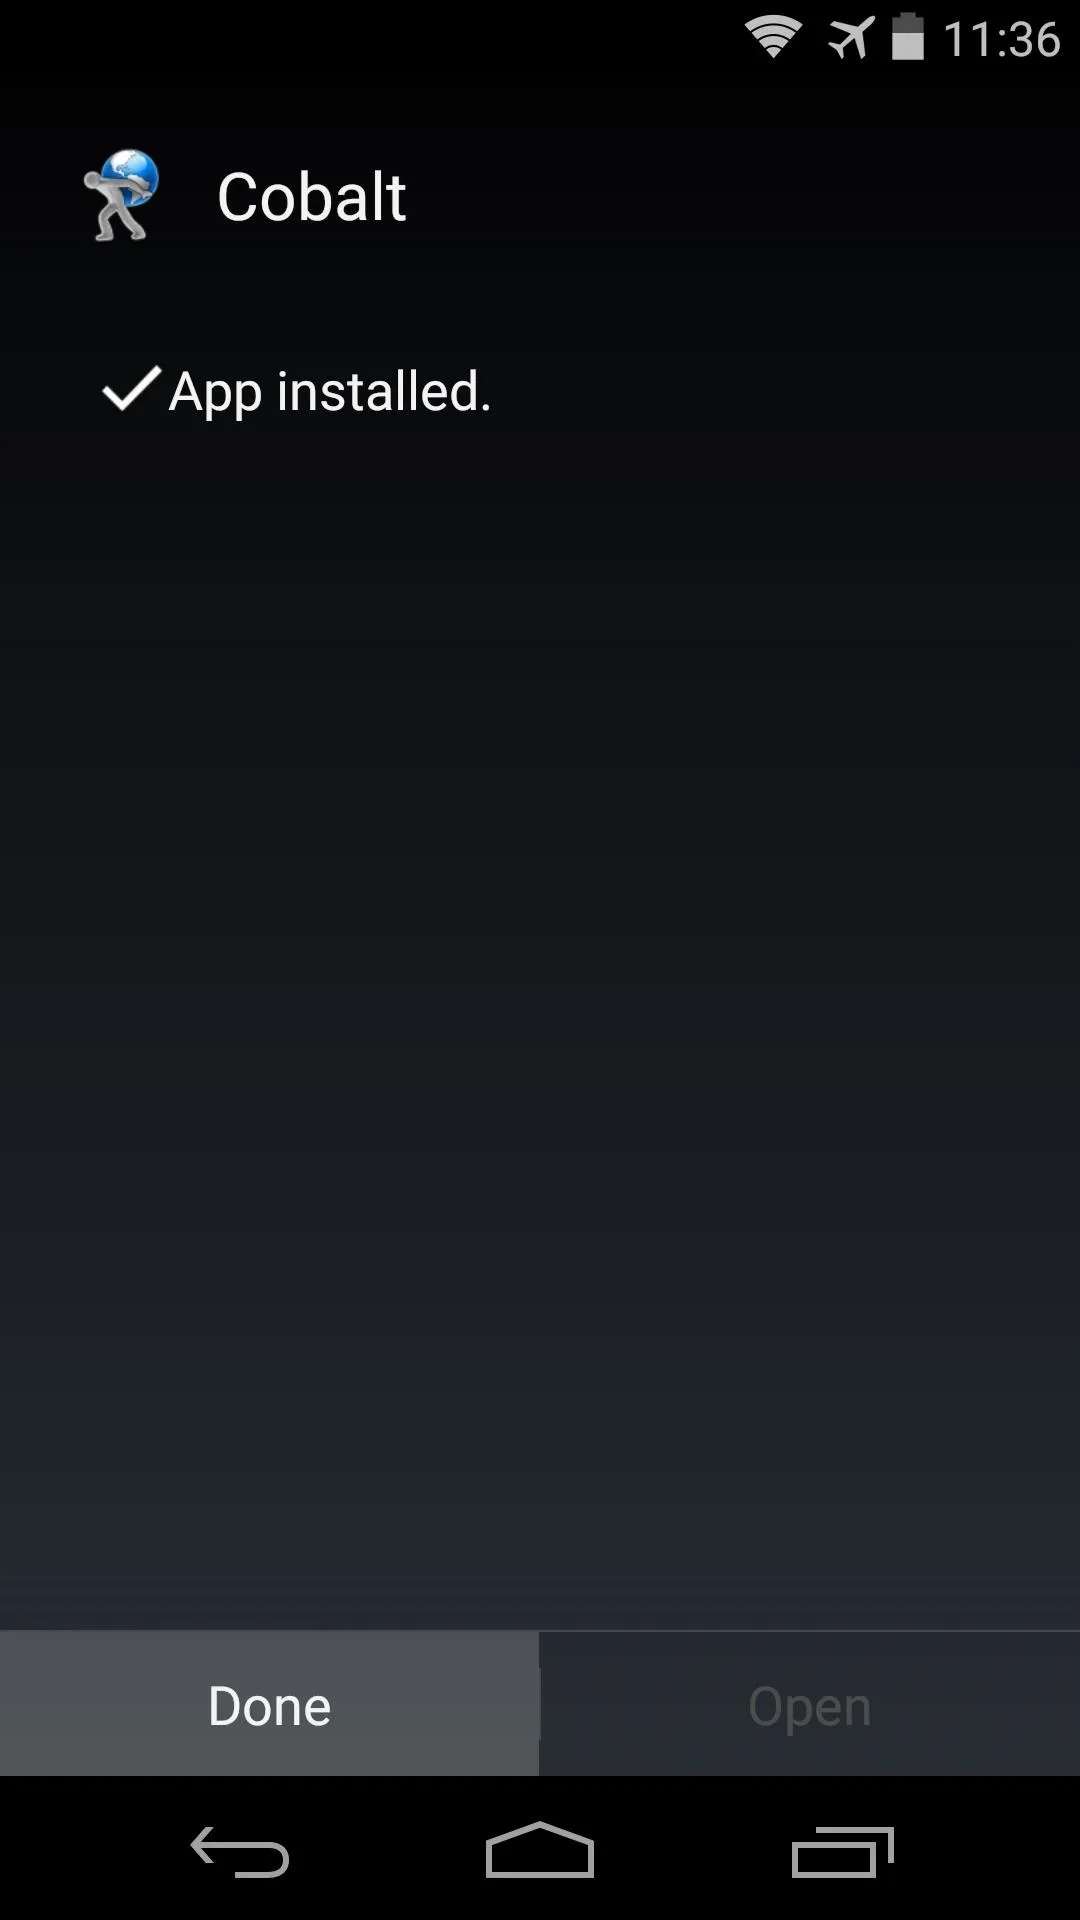


You can repeat this process with as many themes as you'd like. You'll be able to view the theme's overall look when it comes time to apply it.
Step 3: Apply a Theme
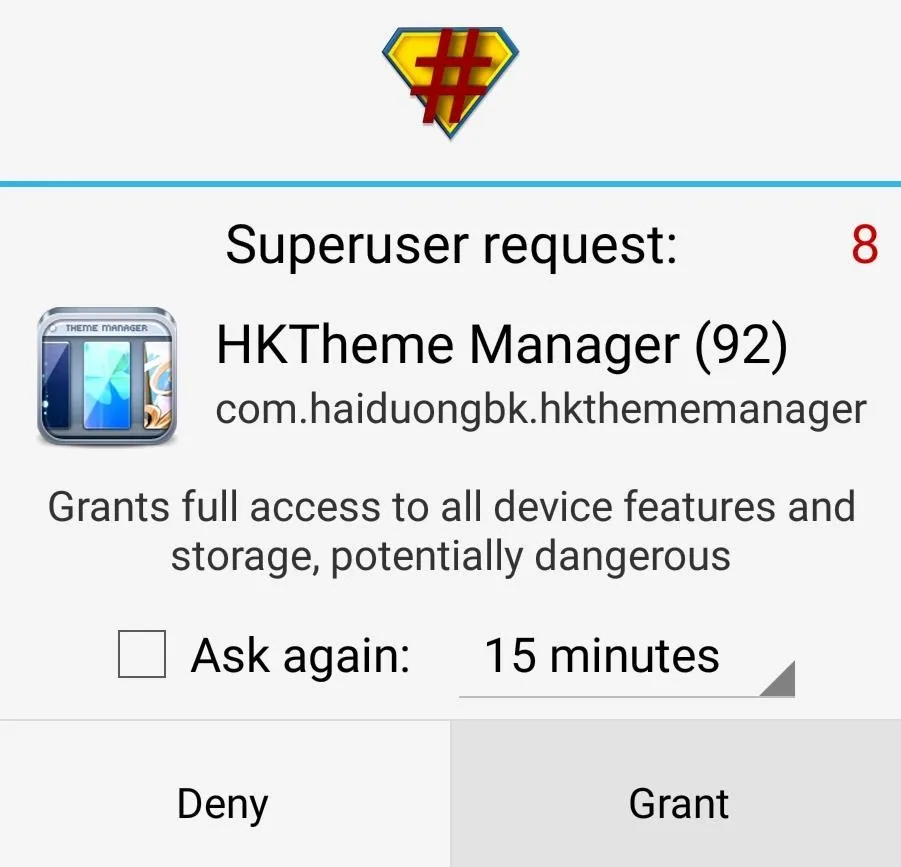
To apply a theme, just open up the HKThemeManager app from your app drawer. It will ask for Superuser privileges the first time you run it, so grant it those.
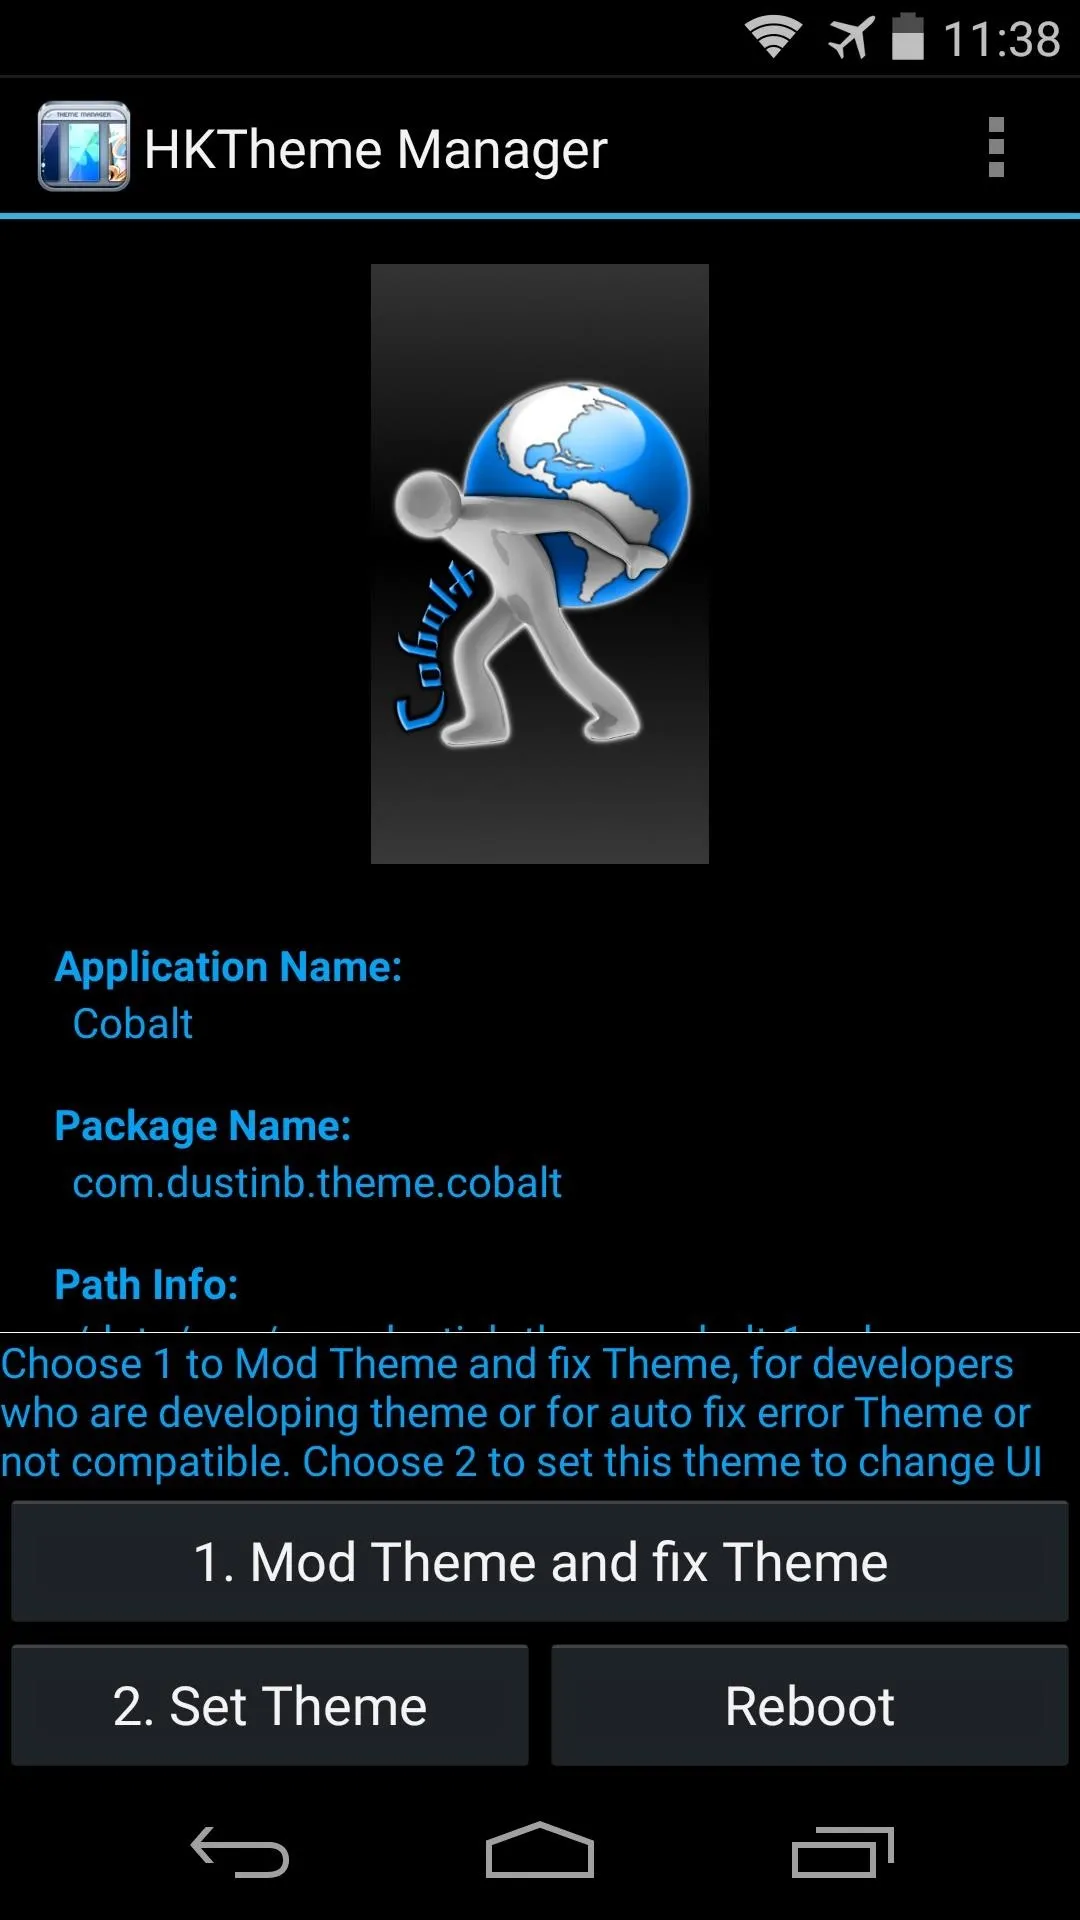
Next, you'll be shown a menu with all of the compatible CyanogenMod themes you've installed on your device. You can swipe to either side to view the different themes, and when you've found one that you'd like to apply, just hit the Apply button.


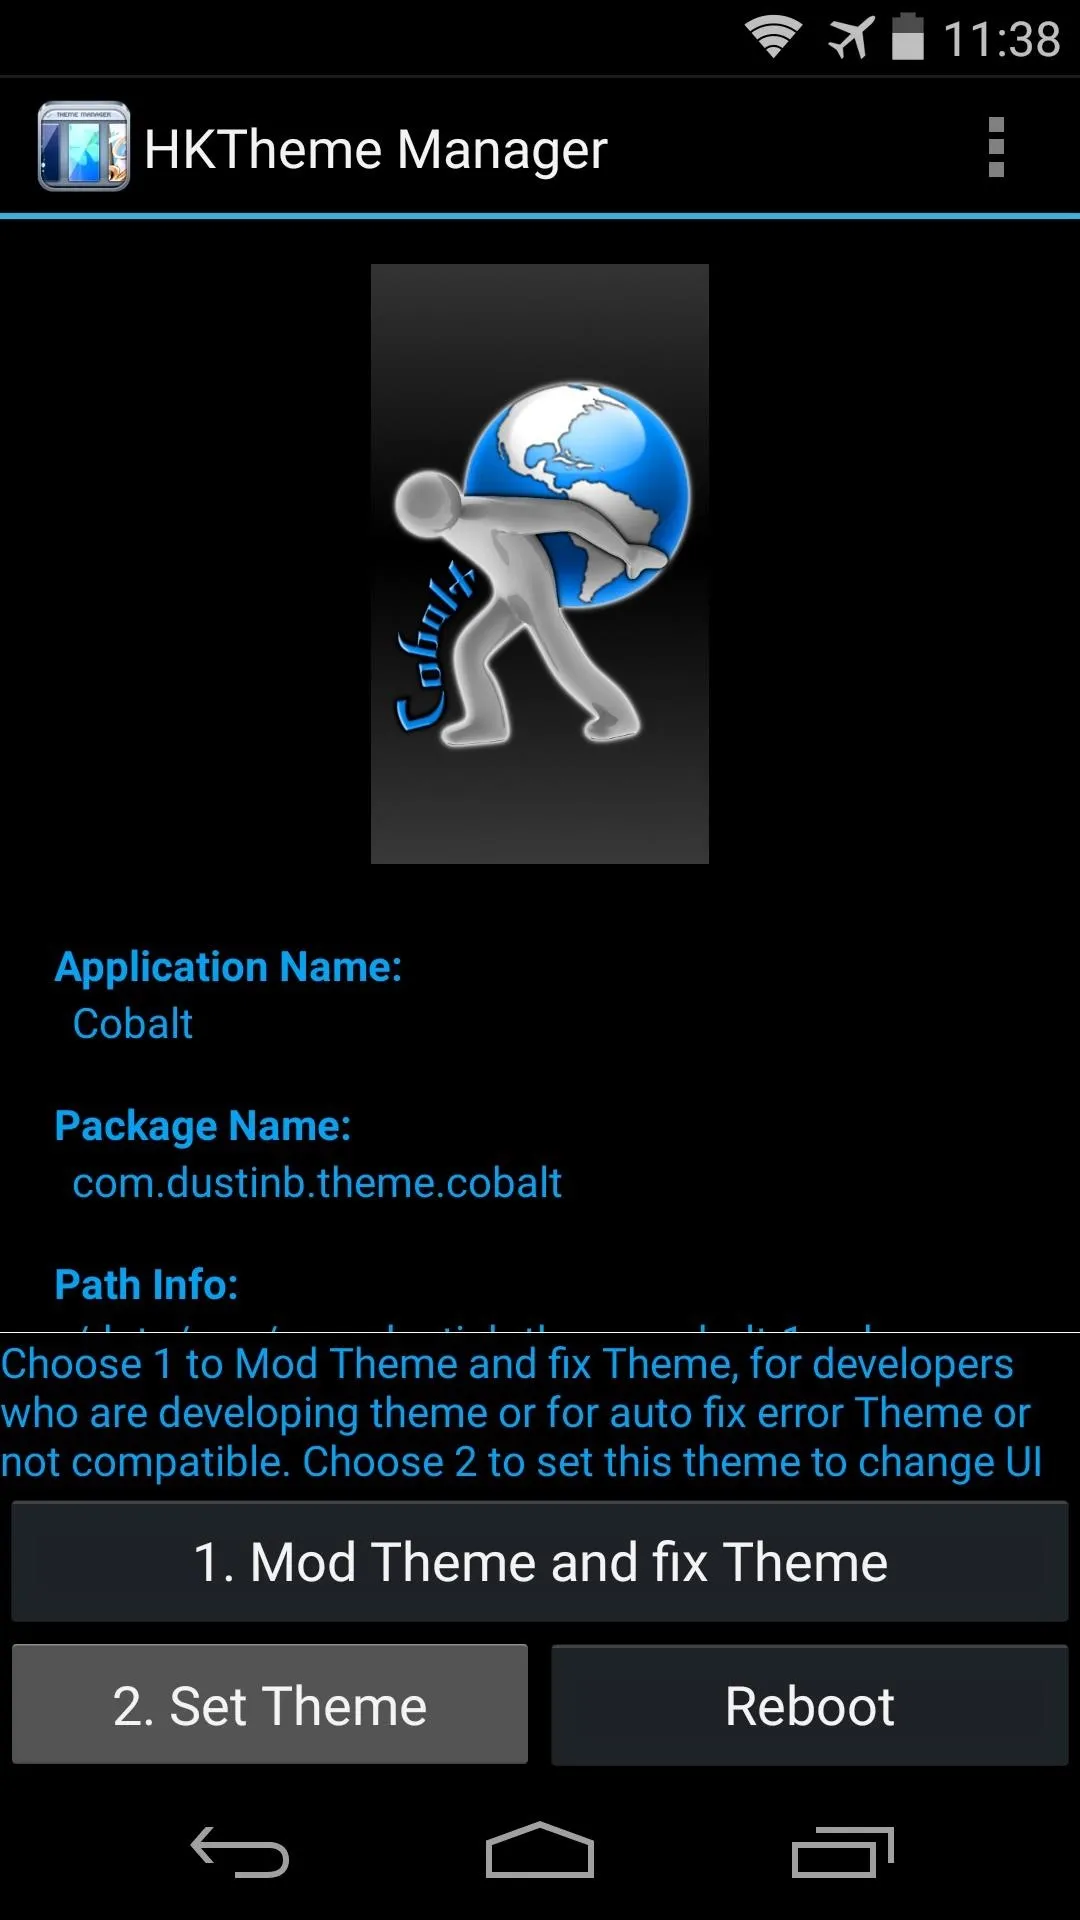
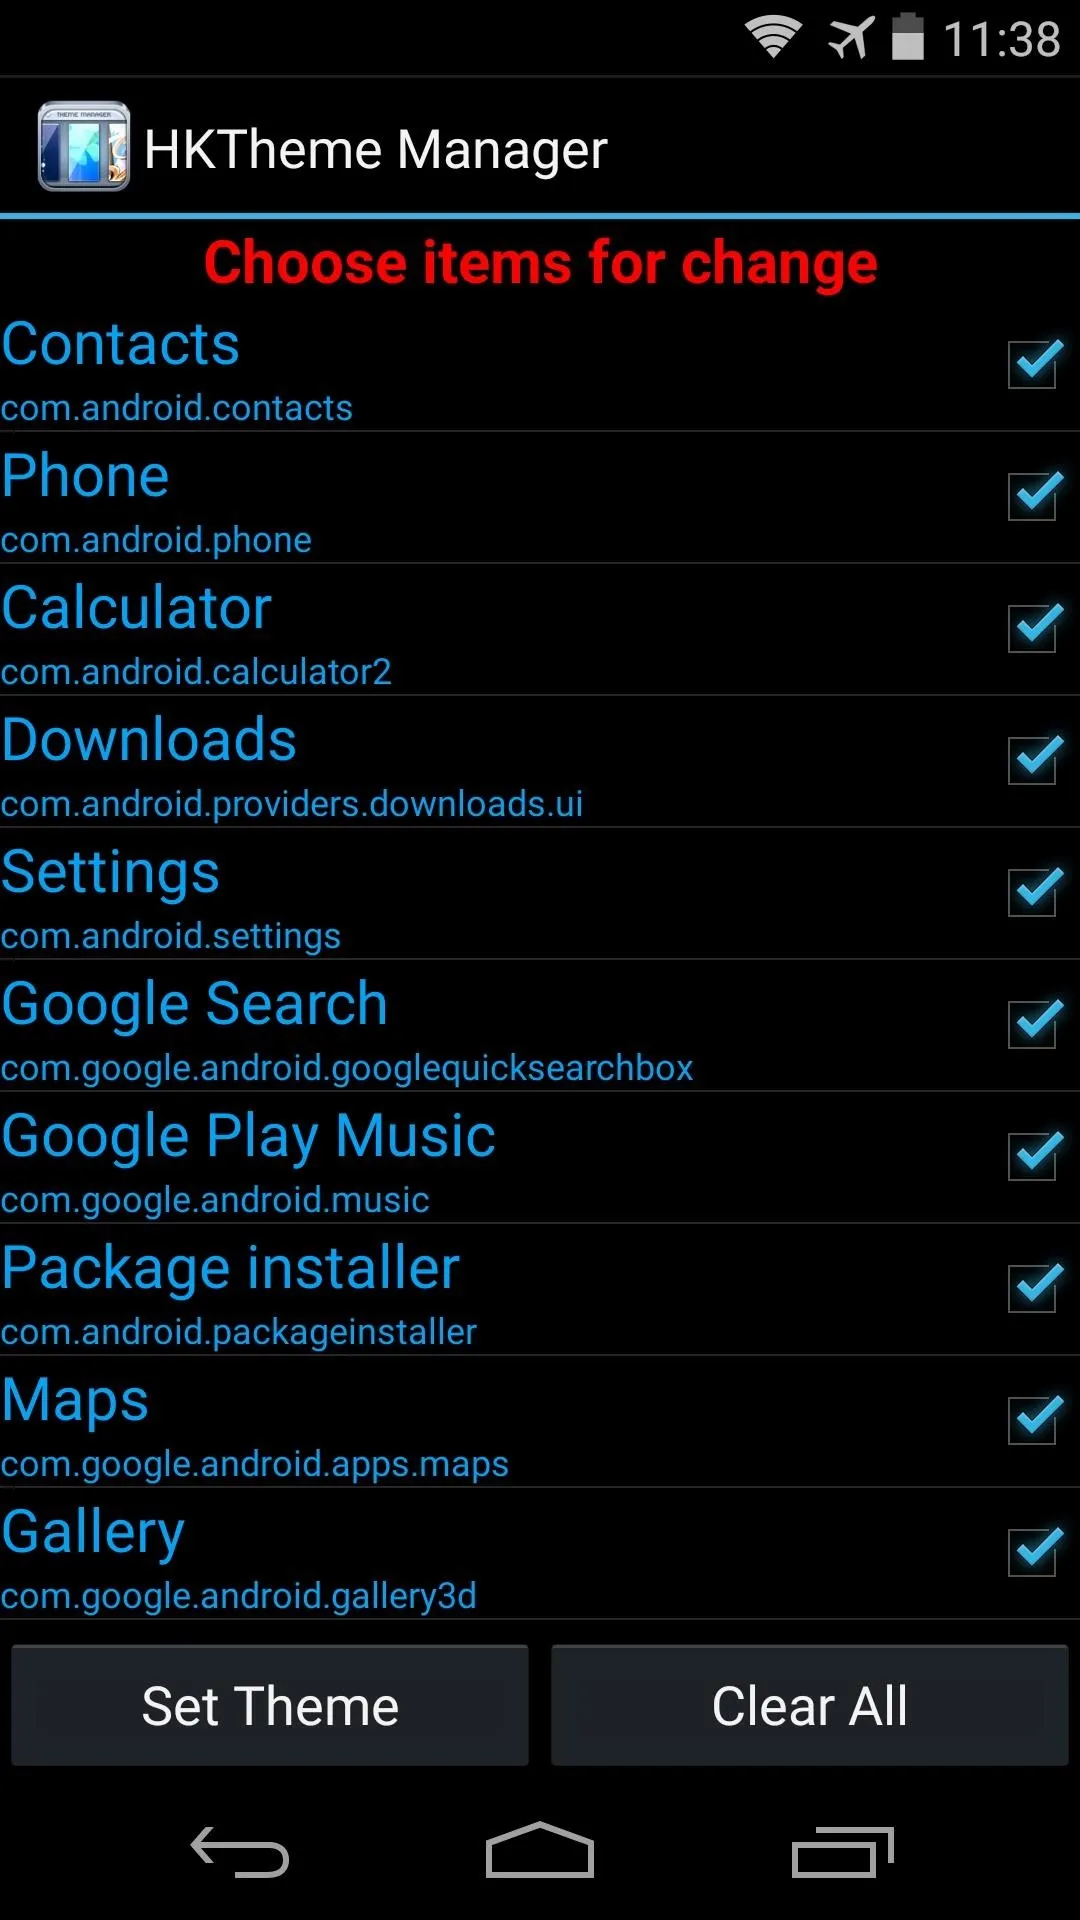
After that, simply hit Set Theme, and you'll be taken into an interface where you can adjust the various elements that the theme is capable of theming.


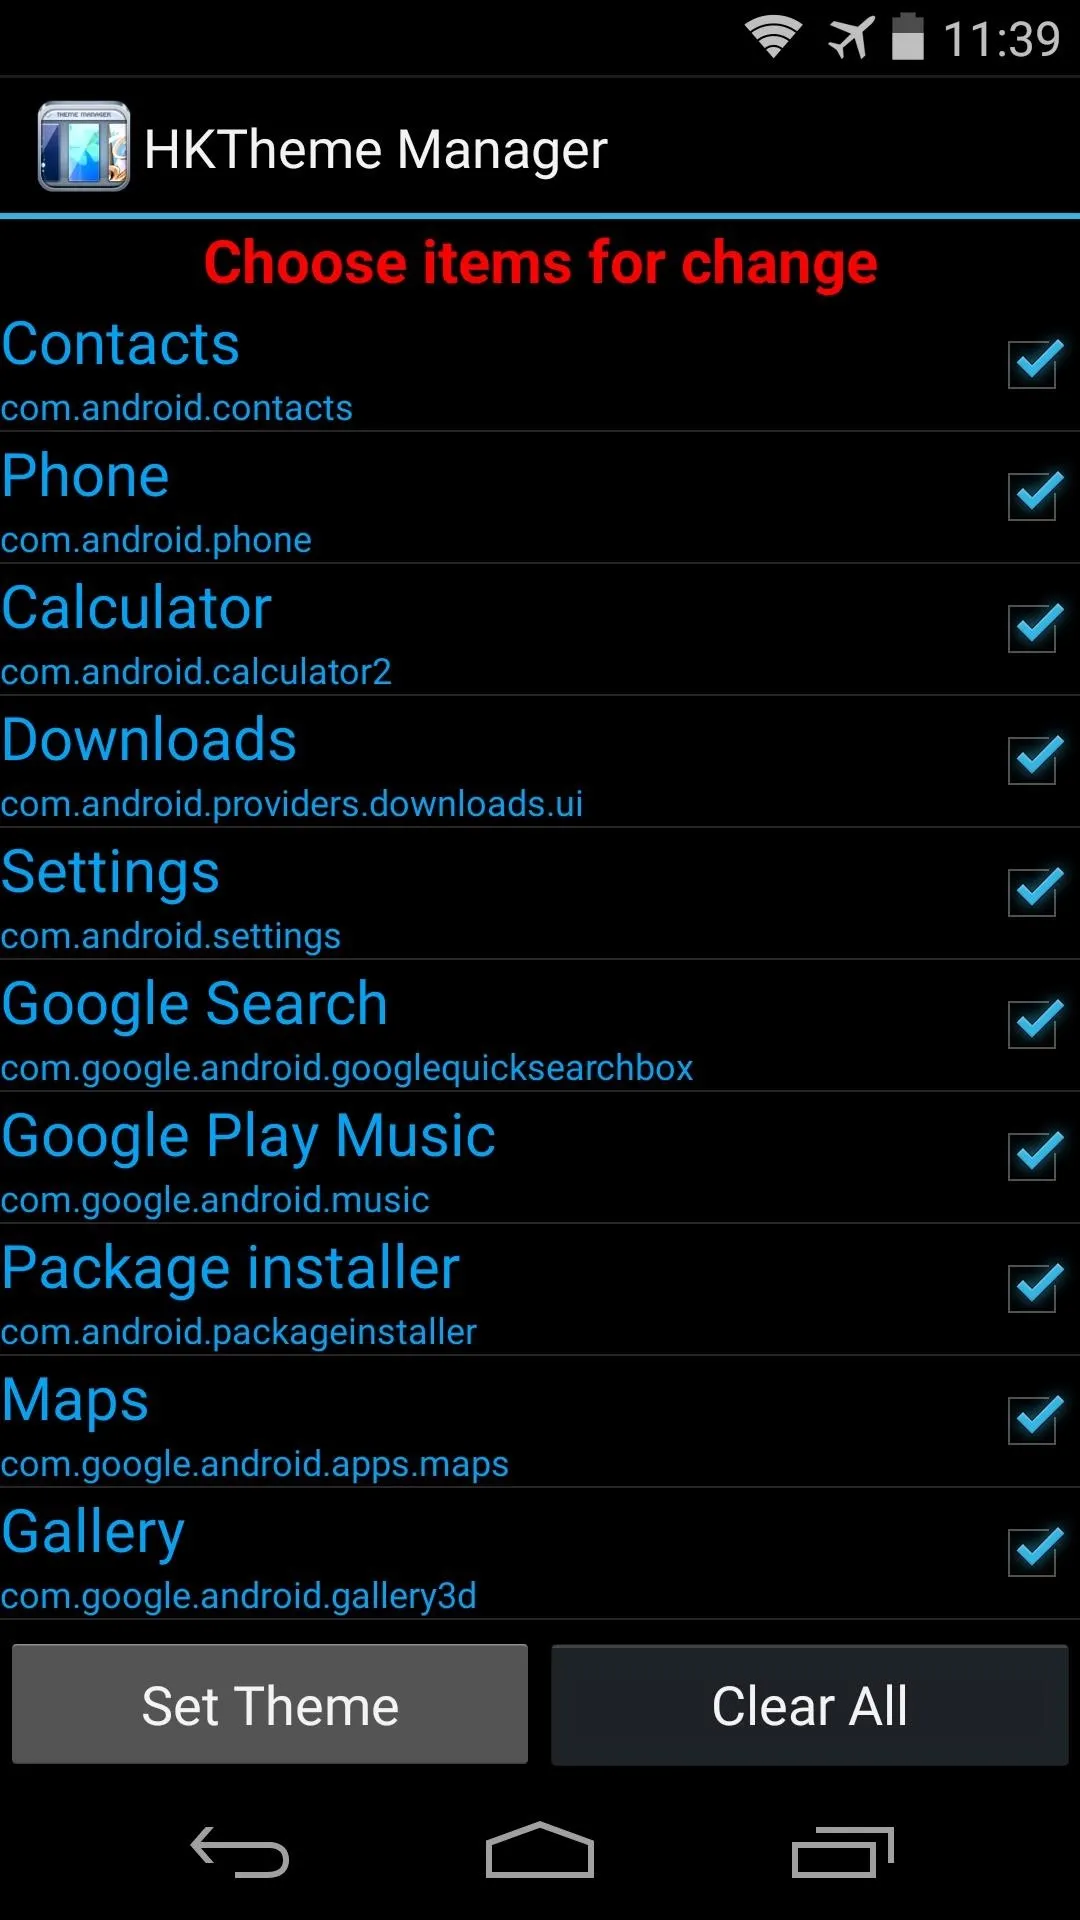
Here, all of the theme's various elements are enabled by default. If you find something that you'd rather not have themed, you can simply untick the corresponding box. When you're ready, just hit Set Theme. A reboot is needed for the changes to become active, so hit Update Now to take care of that part.
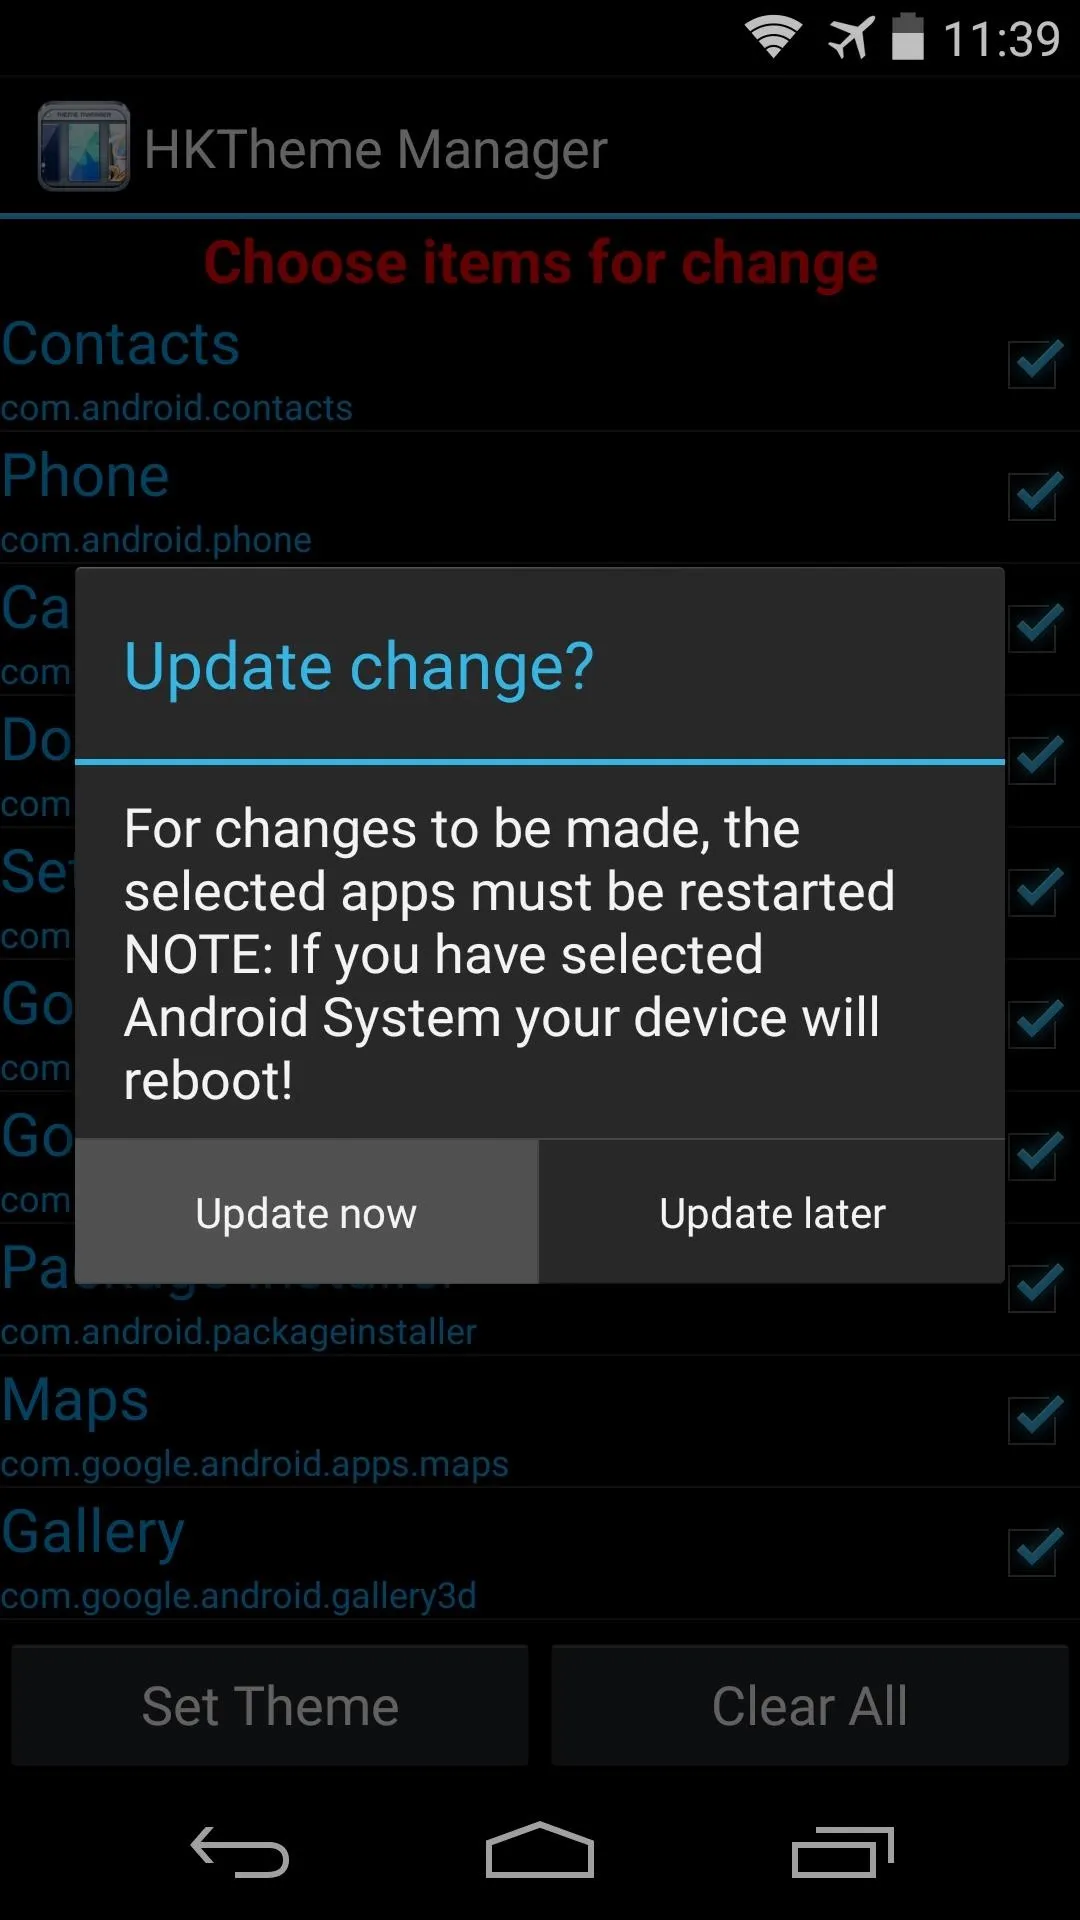


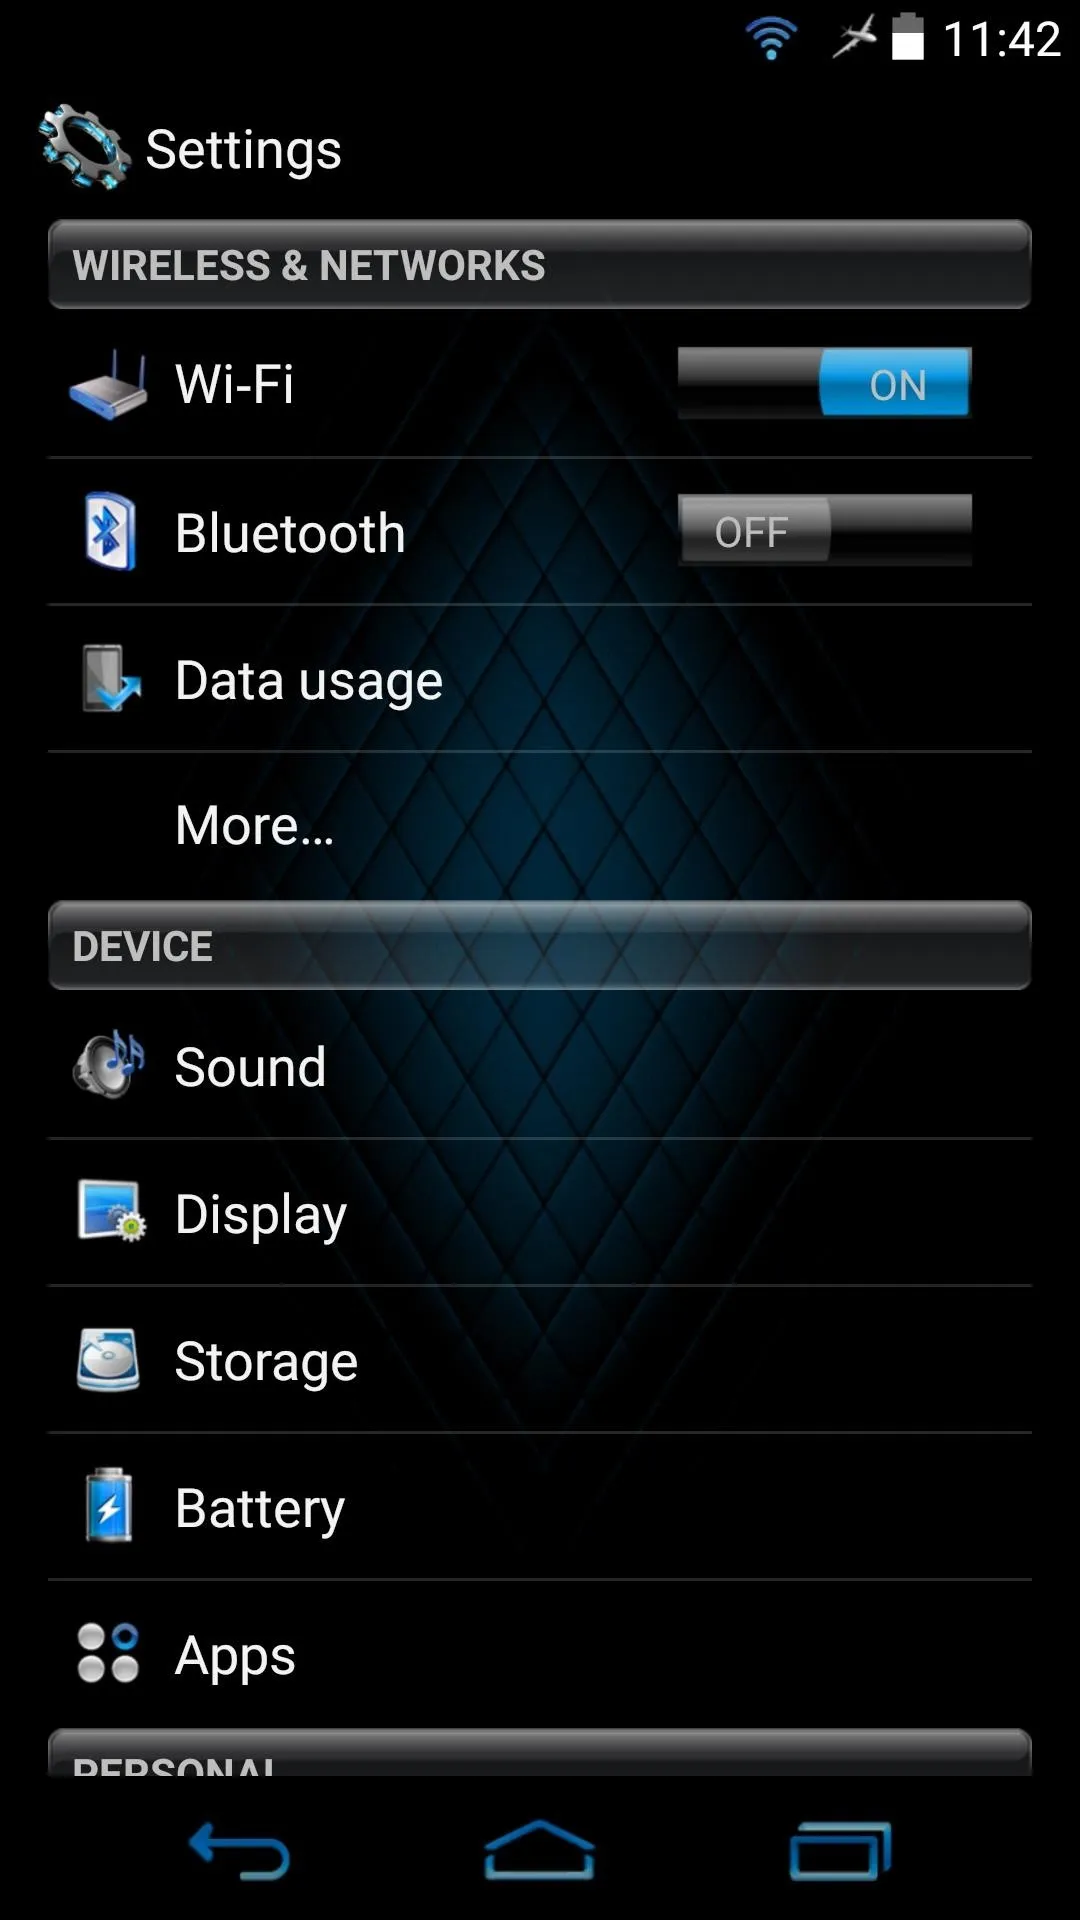
As soon as you get back up, your theme will be active.


As I said earlier, these themes are very far-reaching. Everything from app icons to system menus has been themed.



Which theme do you like the best? Let us know in the comments section below.


Comments
No Comments Exist
Be the first, drop a comment!