HTC's recent release of a new flagship phone brought tons of fanfare along with it. Dubbed The All New HTC One, the M8 edition of the popular One series phone also marked an update to the HTC Sense UI. Manufacturer skins like Sense can be a bit of a polarizing subject, especially amongst Nexus owners who are used to experiencing Android's interface exactly as Google envisioned it.
Hate it or love it, though, Sense 6.0 offers some unique features that aren't normally available on "vanilla" Android. Take BlinkFeed for instance—the HTC One's launcher integrates a customizable news feed directly into your home screen. So integral is BlinkFeed to the success of Sense 6 that they actually named their launcher "BlinkFeed".
So if you've ever wondered whether the proverbial grass is indeed greener, we're here to take you on a tour of the other side by showing you how to install HTC's BlinkFeed on your Nexus 5. And if you're looking for some other transformations to your Nexus 5, check out our guides on installing FireFox OS, the iOS-like MIUI ROM, and making your device an LG G2 clone.
What You'll Need
Step 1: Download the BlinkFeed Flashable Zip
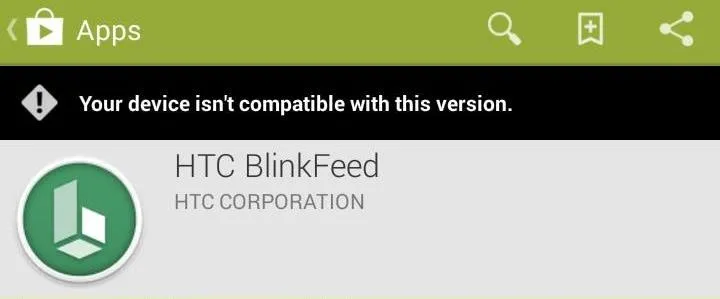
Thanks to a port from developer Ashutos Jain, we can now install a modded version of BlinkFeed for our Nexus 5s. From the web browser on your Nexus 5, head to this link to download the launcher directly onto your device, since it isn't available for us on Google Play.
Step 2: Boot into Recovery
Once you've got the HTCBlinkFeed.zip file downloaded, you'll need to boot your phone into Recovery mode.
To do this, power down your Nexus 5 completely. Next, hold the Volume Down button with one finger and press the Power button with another finger. From the screen that appears next, press the Volume Down key twice to highlight Recovery Mode, then press the Power key to make the selection.
Step 3: Flash the "HTCBlinkFeed.Zip" File
Before flashing anything in Recovery, it's always a good idea to make a backup, just in case. Also, make sure to have at least 50% battery so that no matter what, you don't lose power during a flash.
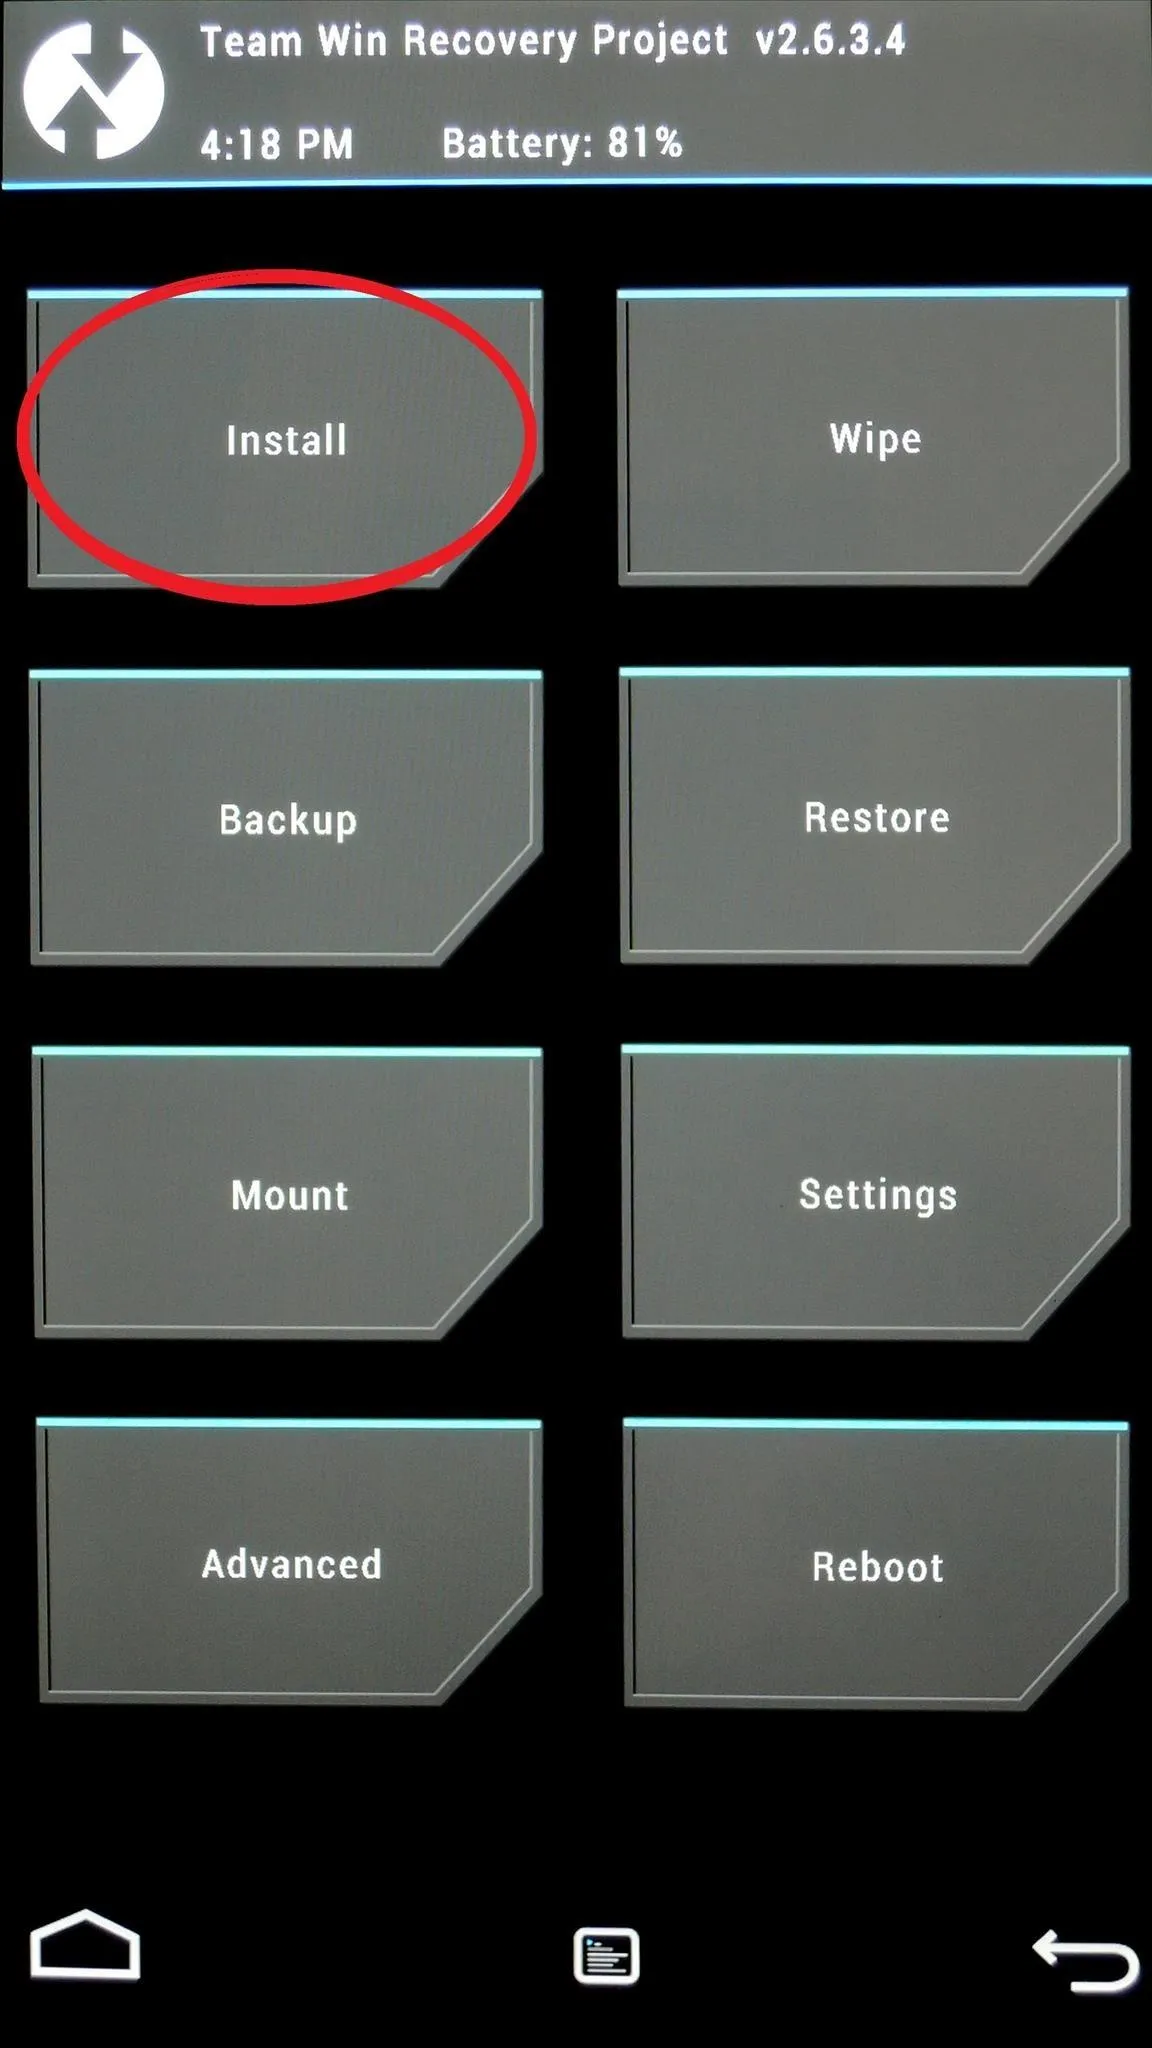
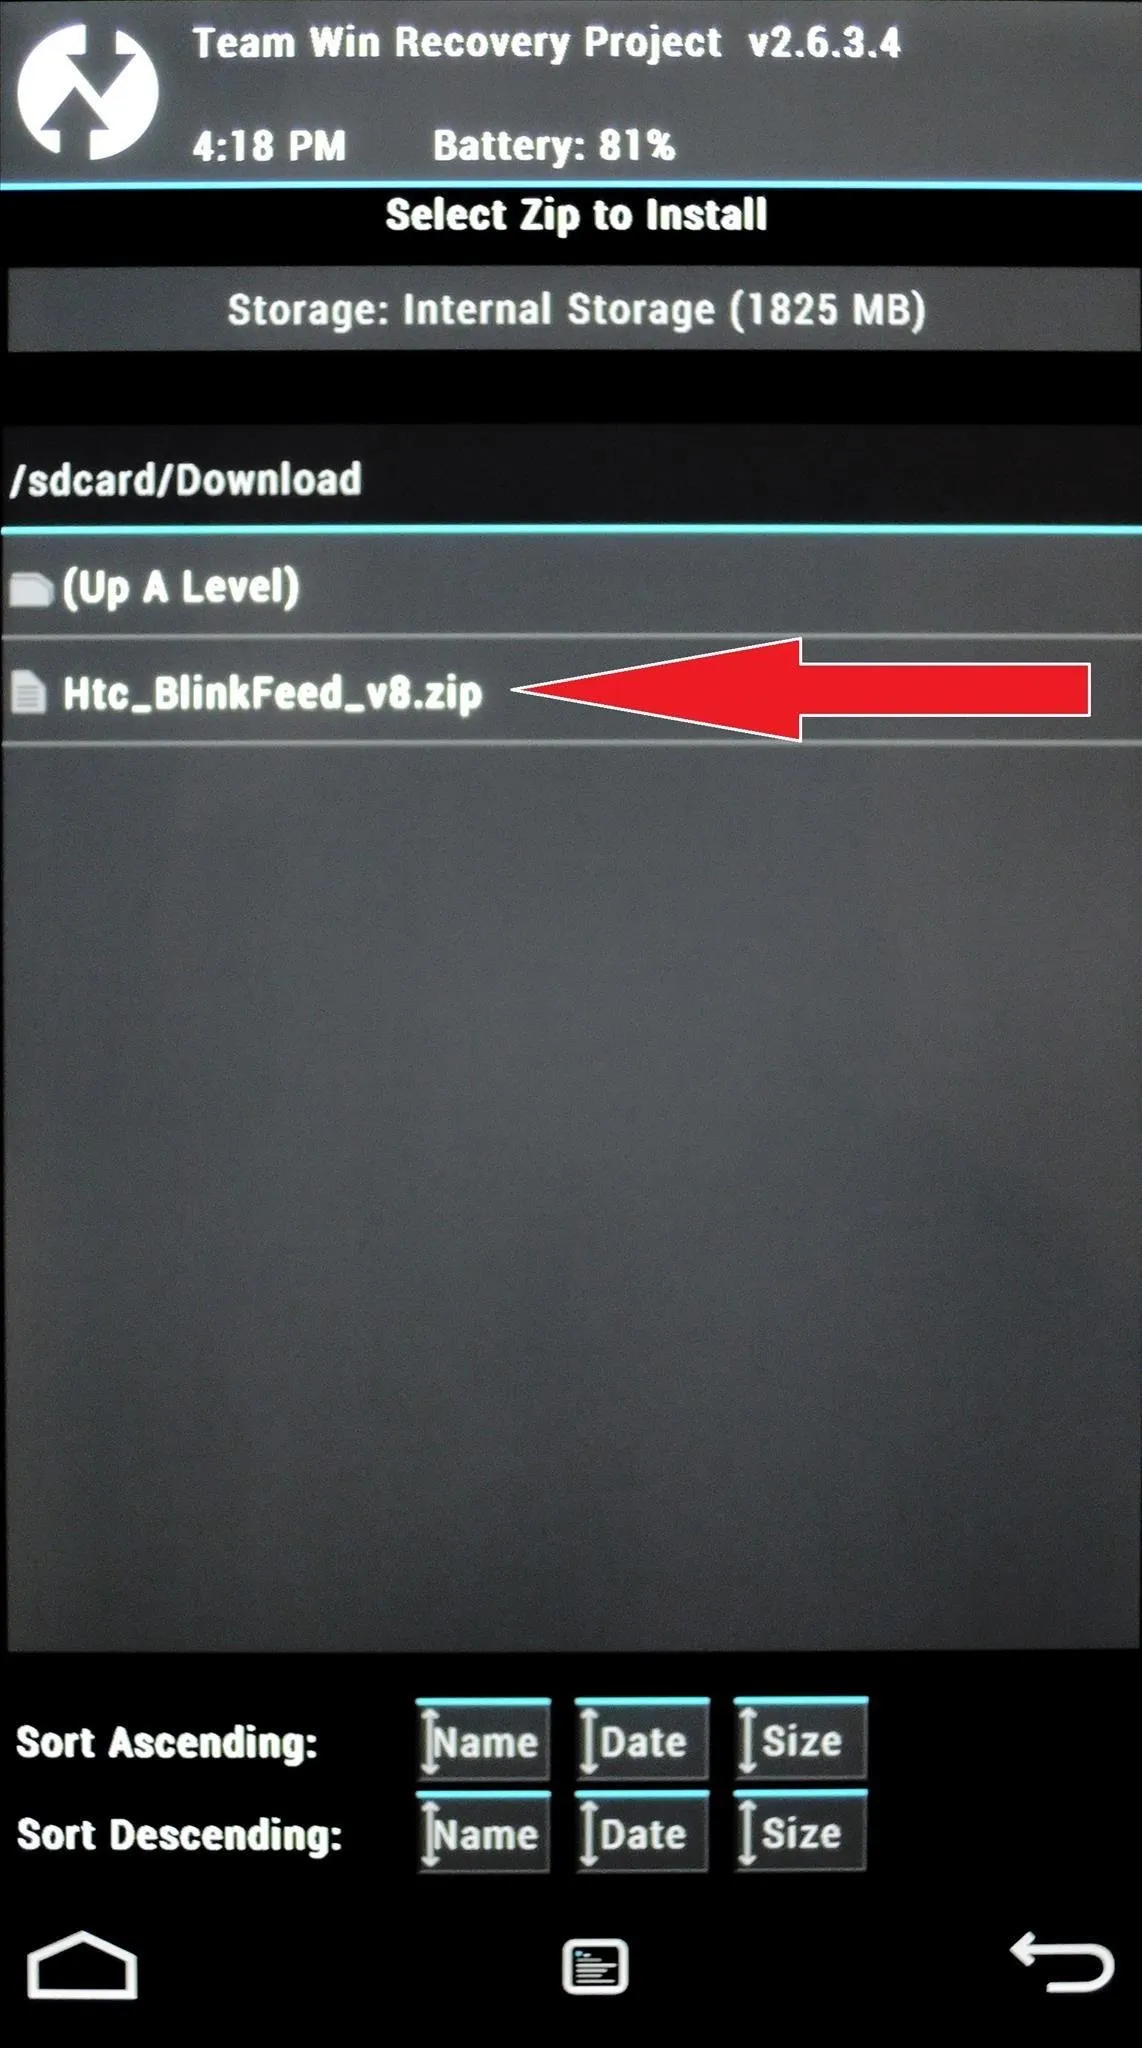
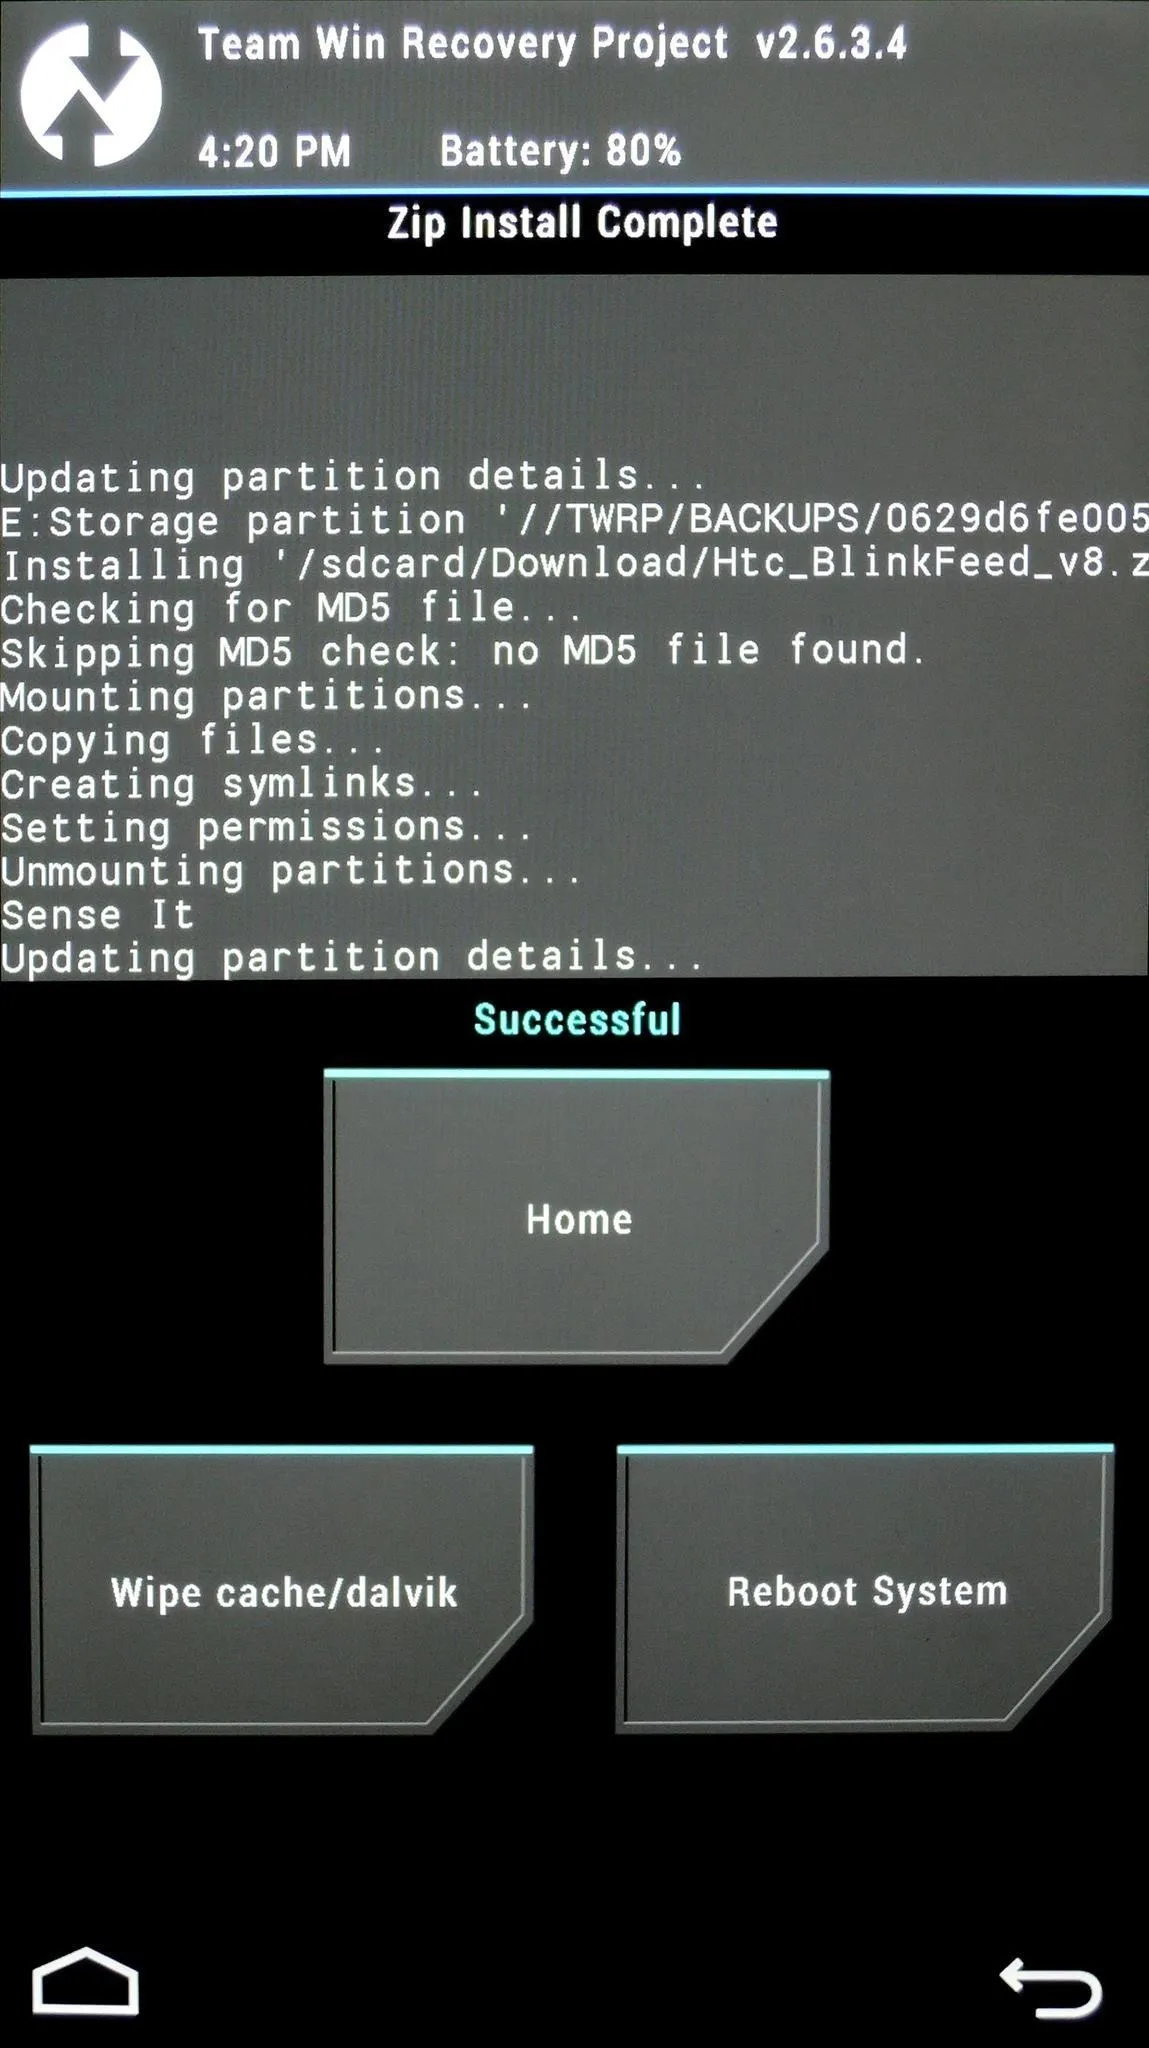
Once that's out of the way, hit the Install button in TWRP Recovery. Navigate to your Download folder and tap the installer file.


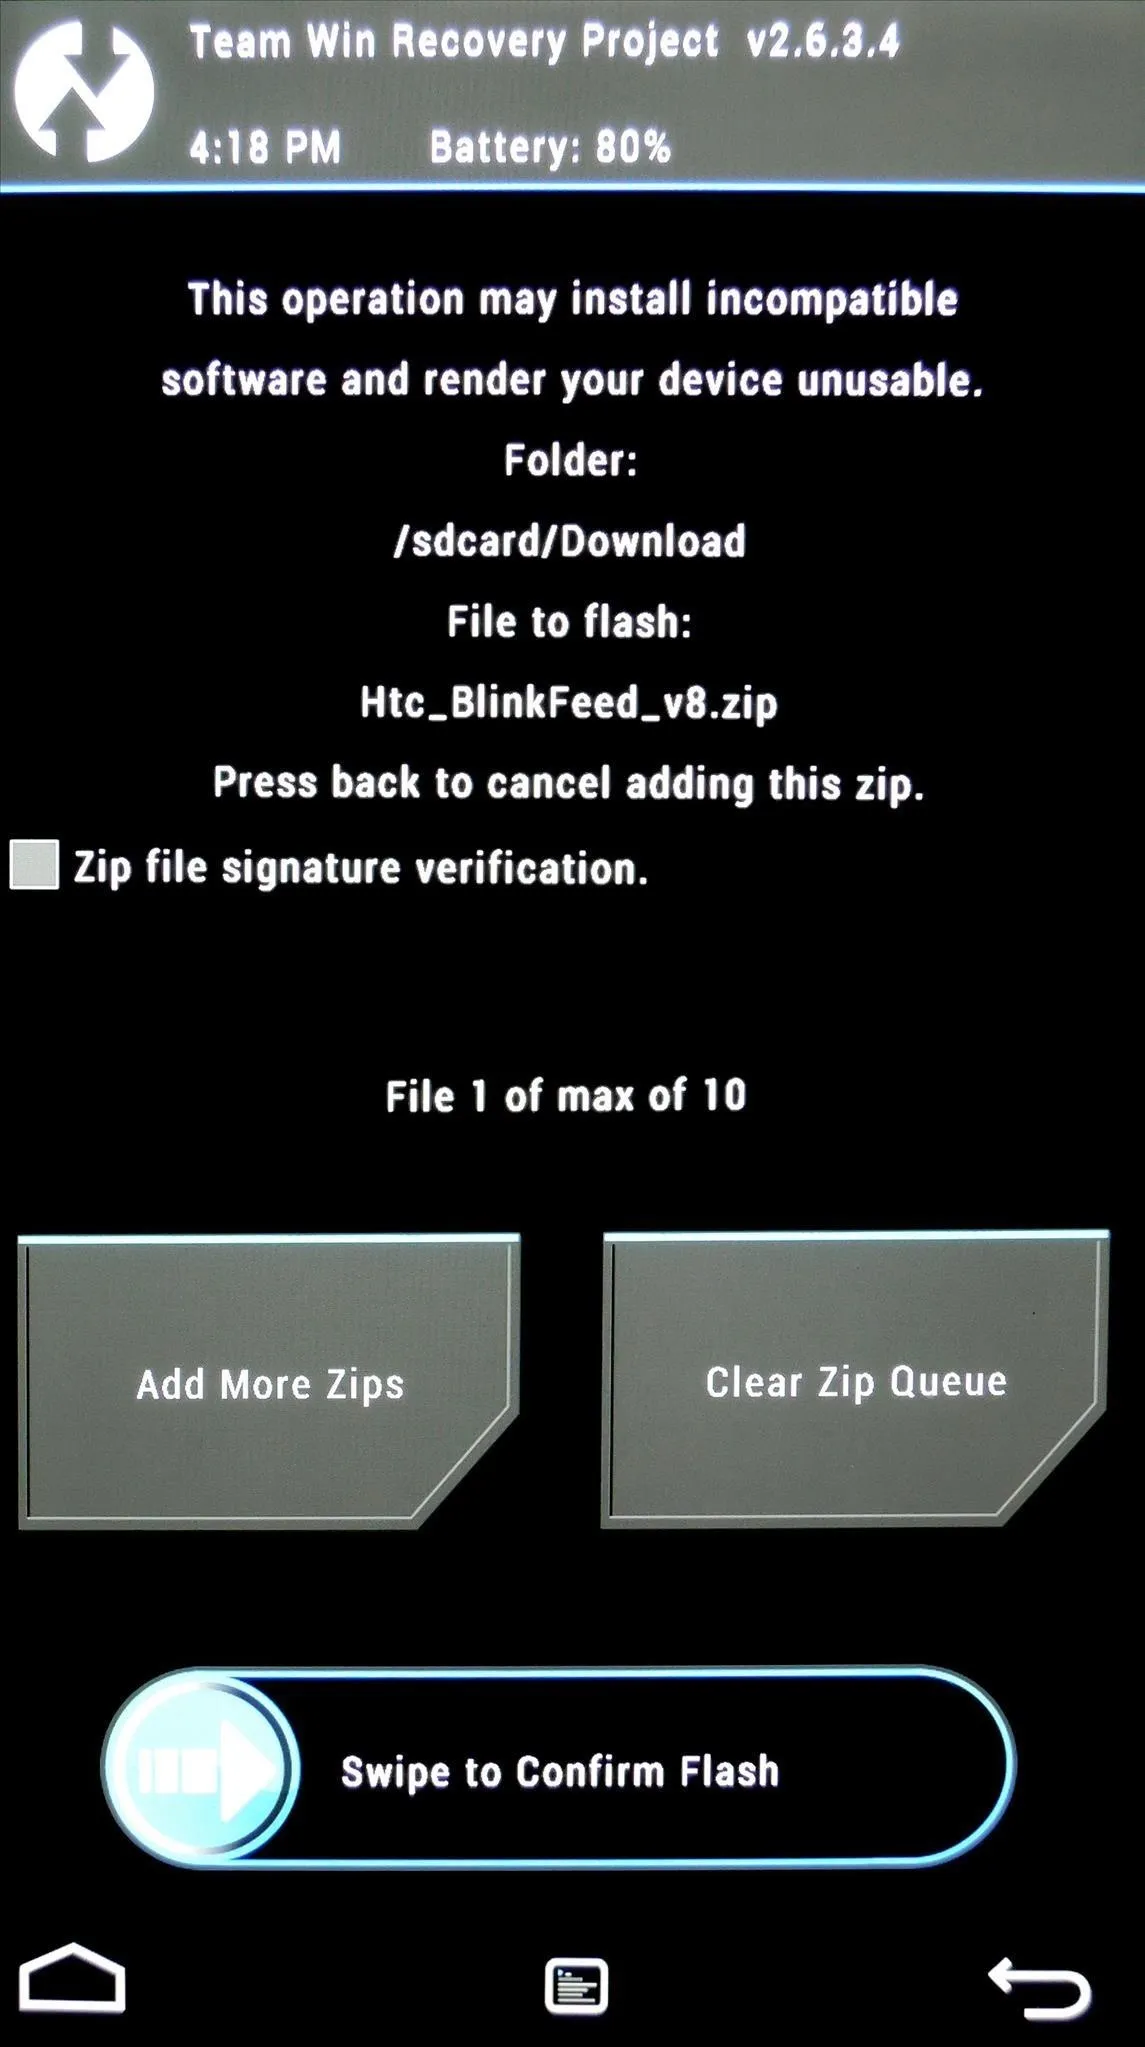
On the next screen, swipe the graphic across the bottom of the screen to initiate the install process. When installation is finished, tap Reboot System.


Step 4: Set HTC BlinkFeed as the Default Launcher
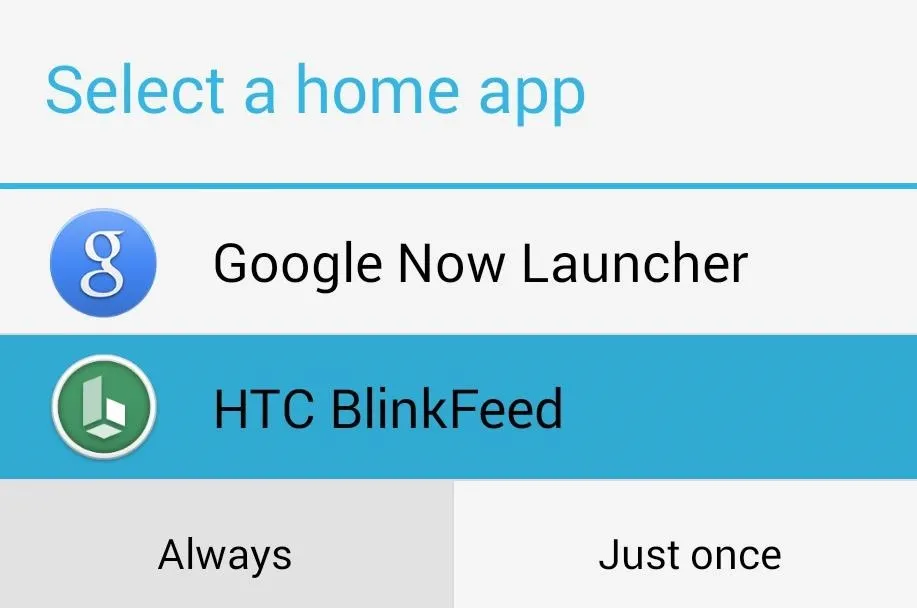
Once you're booted back up and past the lock screen, a dialog will appear asking you to Select a home app. Tap HTC BlinkFeed, then hit Always.
Step 5: Add Subscriptions to Your BlinkFeed
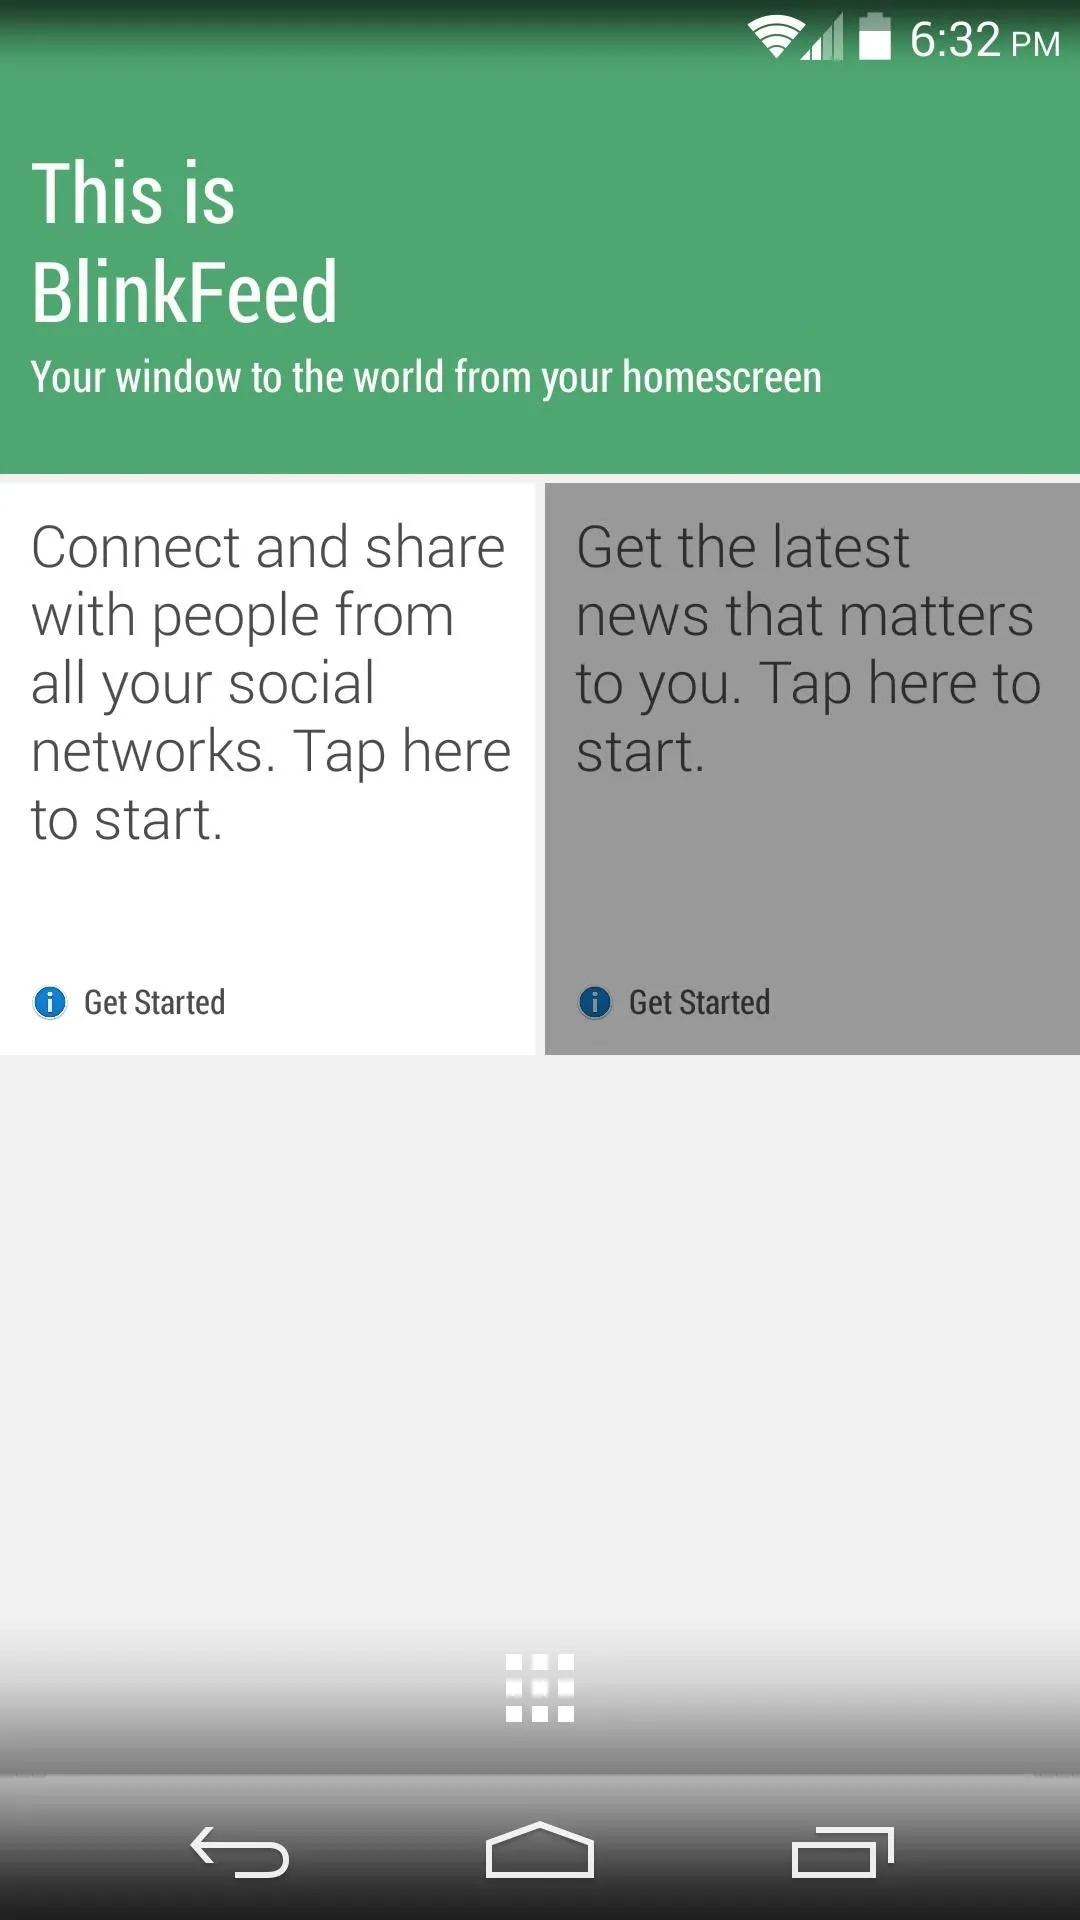
Next, you'll be greeted with an unconfigured BlinkFeed. In order to get things up and running, you'll need to add subscriptions to news services and social media sites.
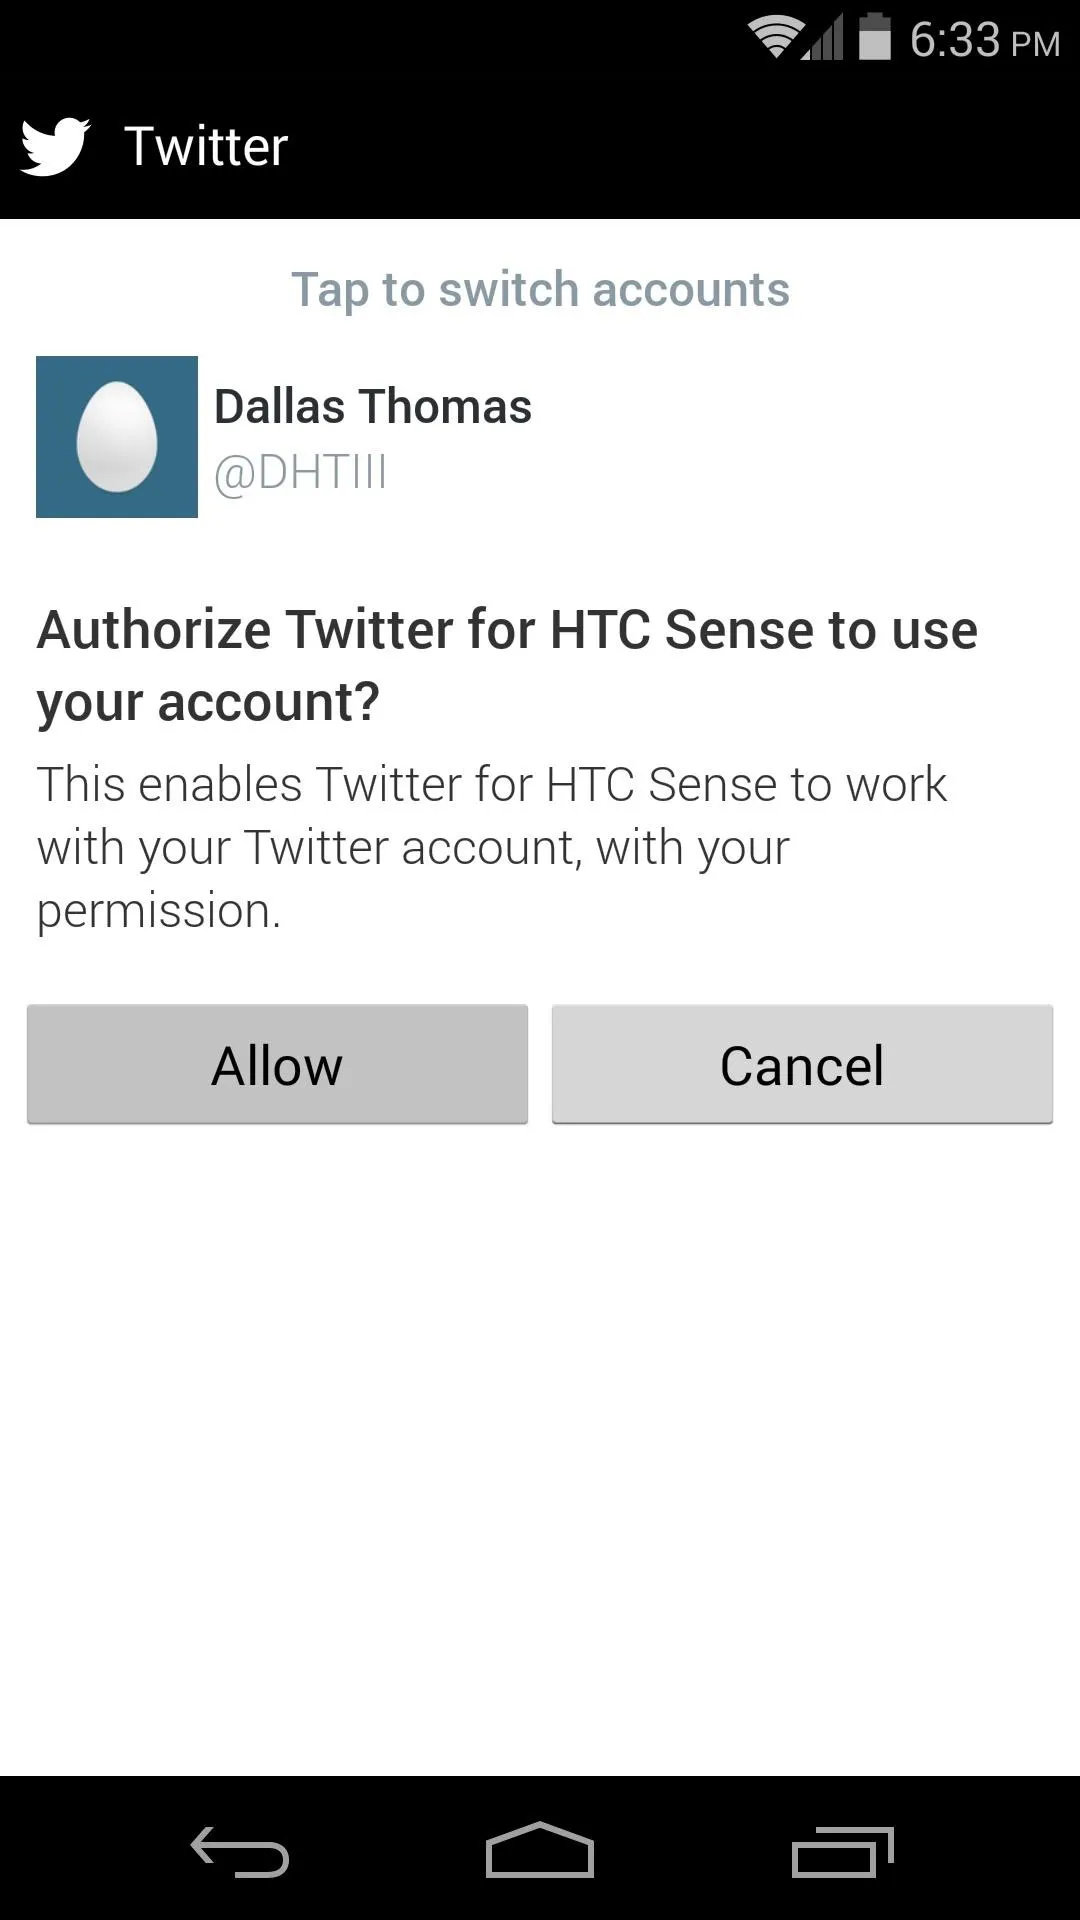
First, tap Connect and share with people... to add social media content to your feed. Tick the boxes for the services you wish to include, then grant BlinkFeed permission to access these services by tapping Allow. At the moment, this ported version of the launcher is limited to Twitter and restaurant recommendations through Foursquare.
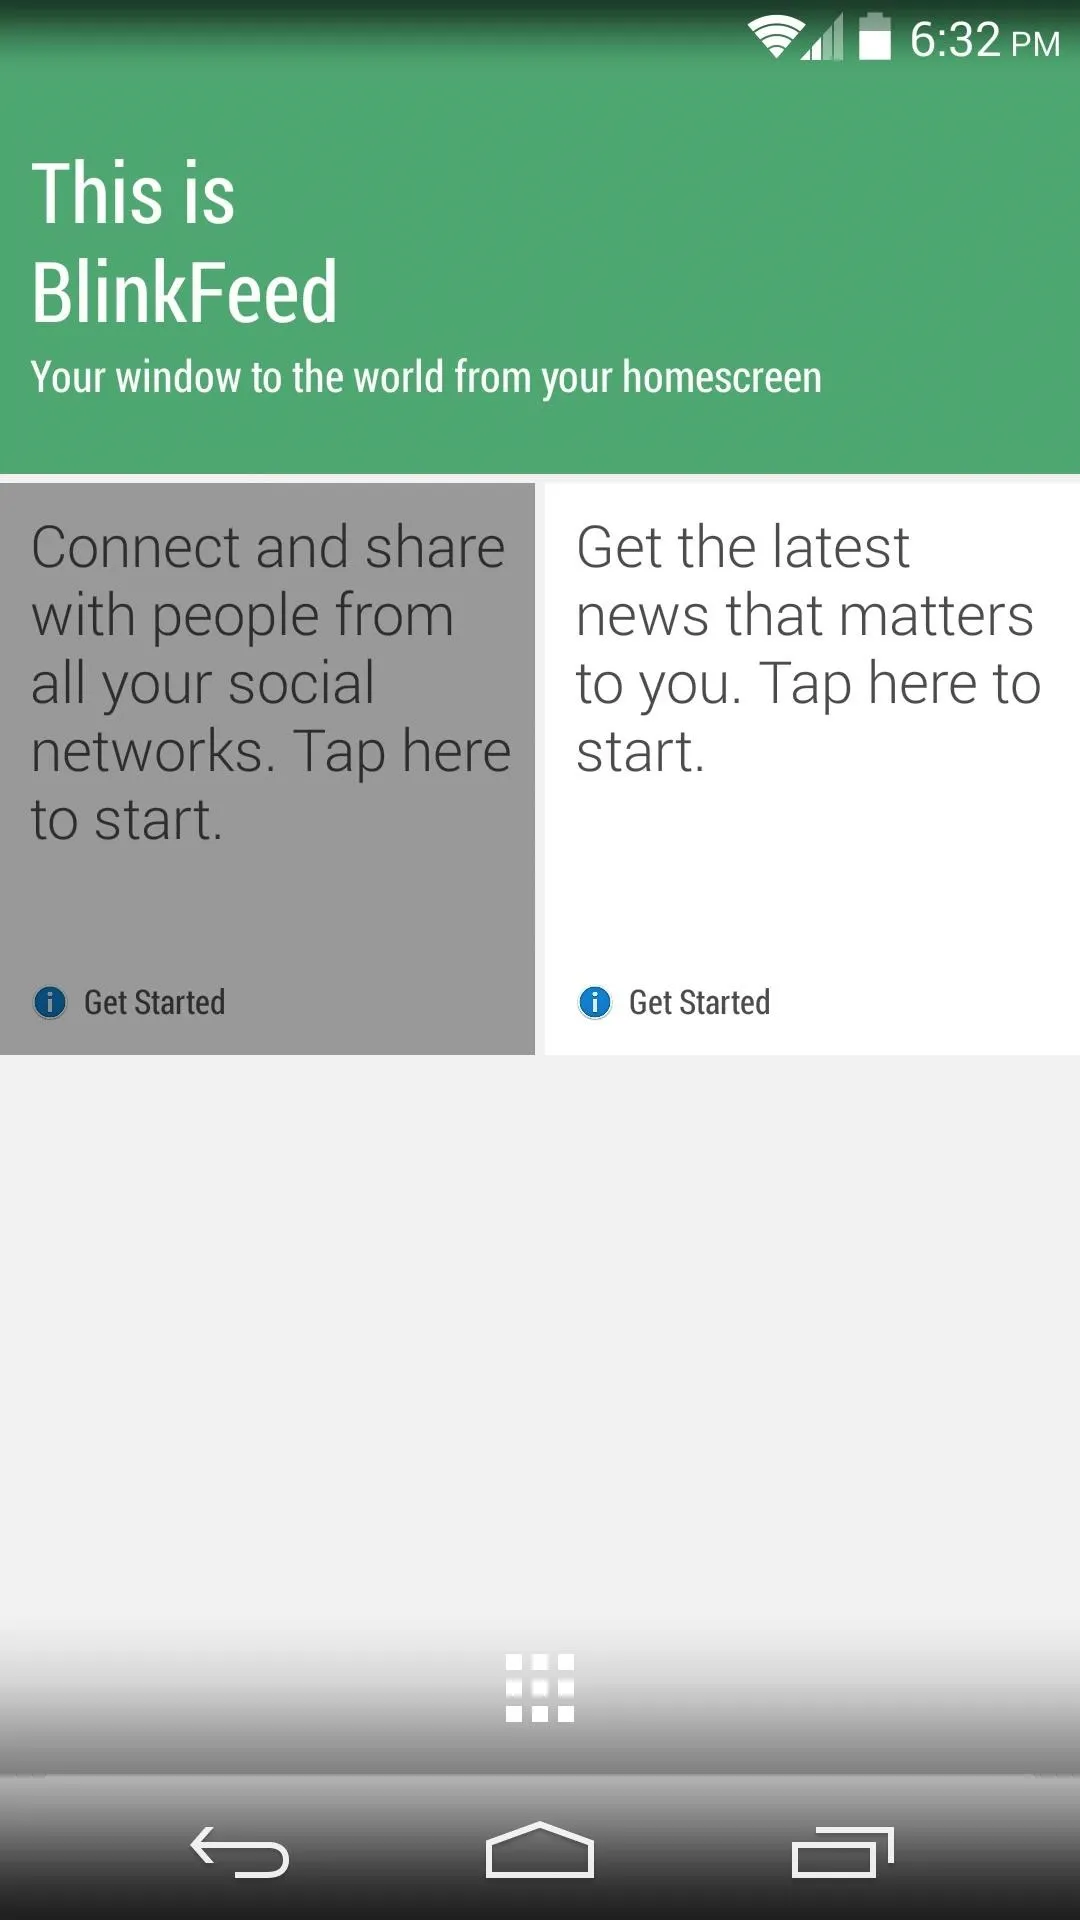
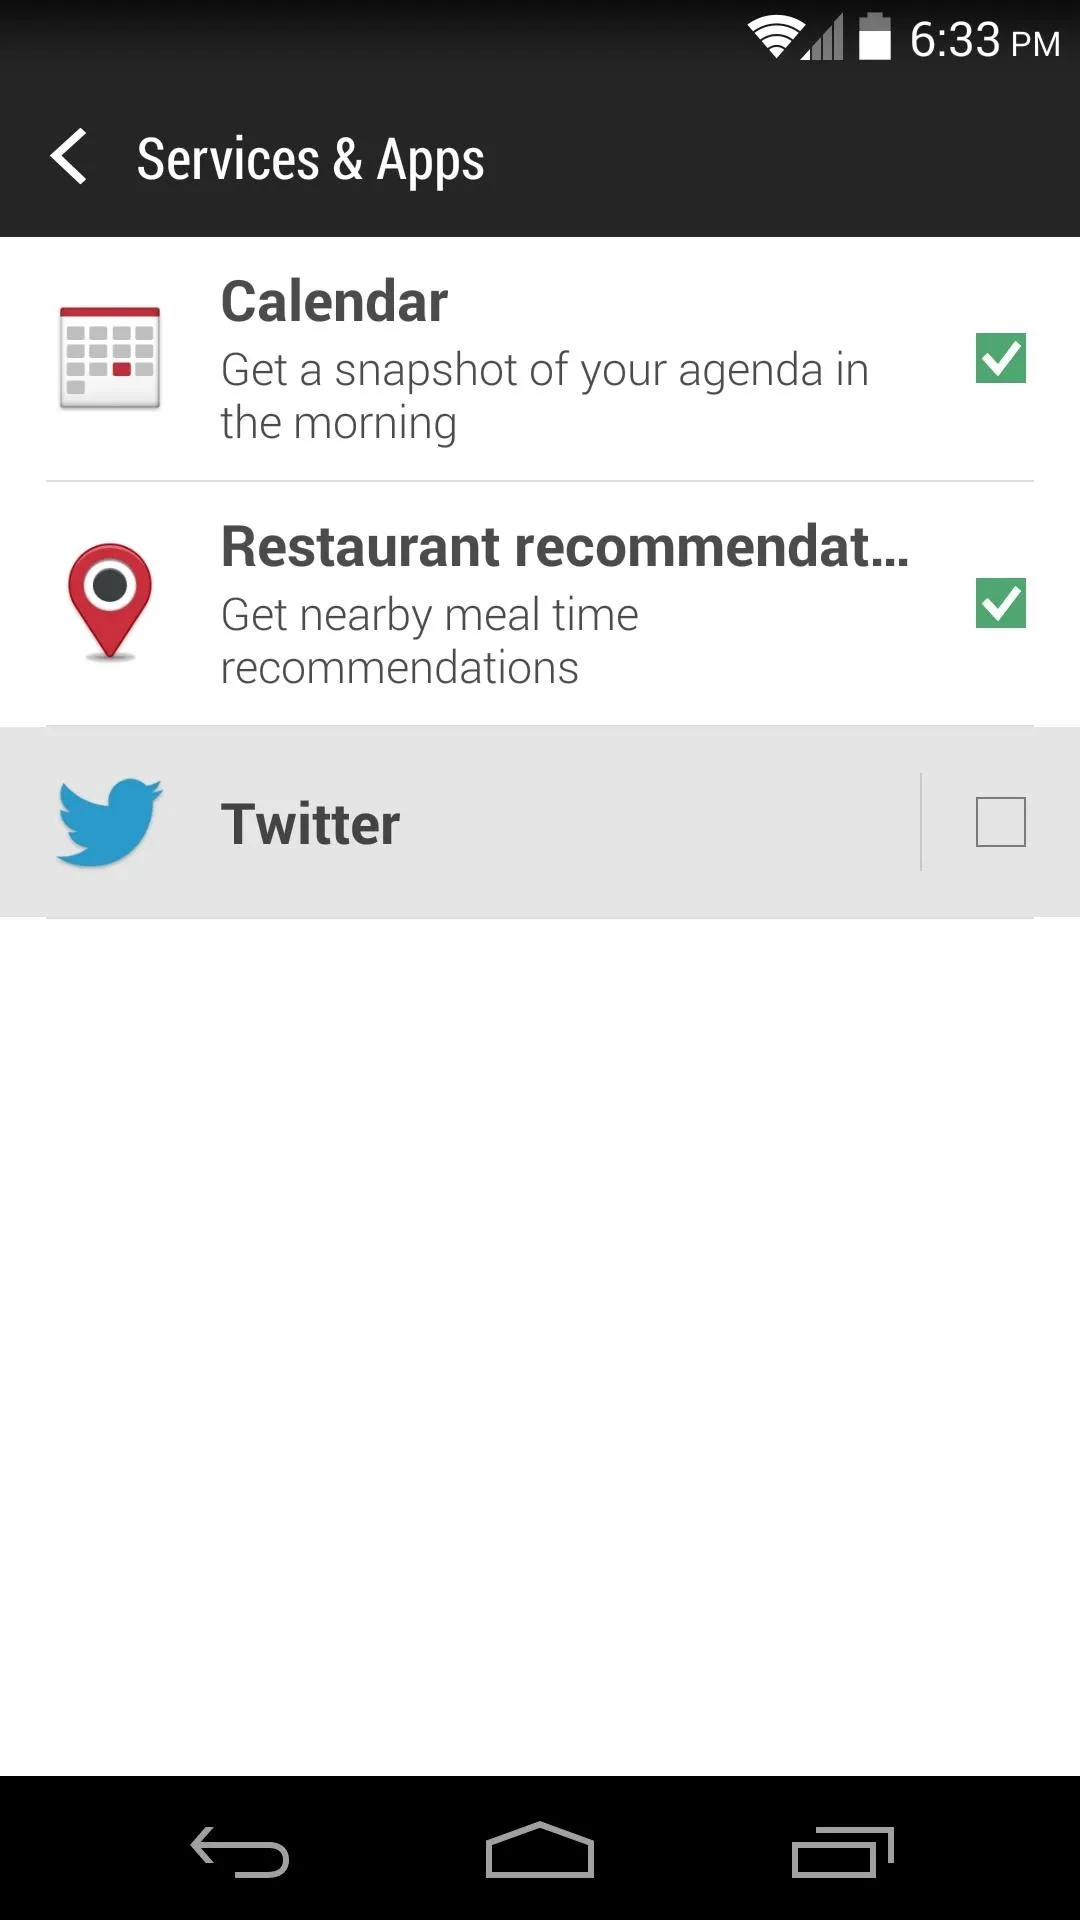


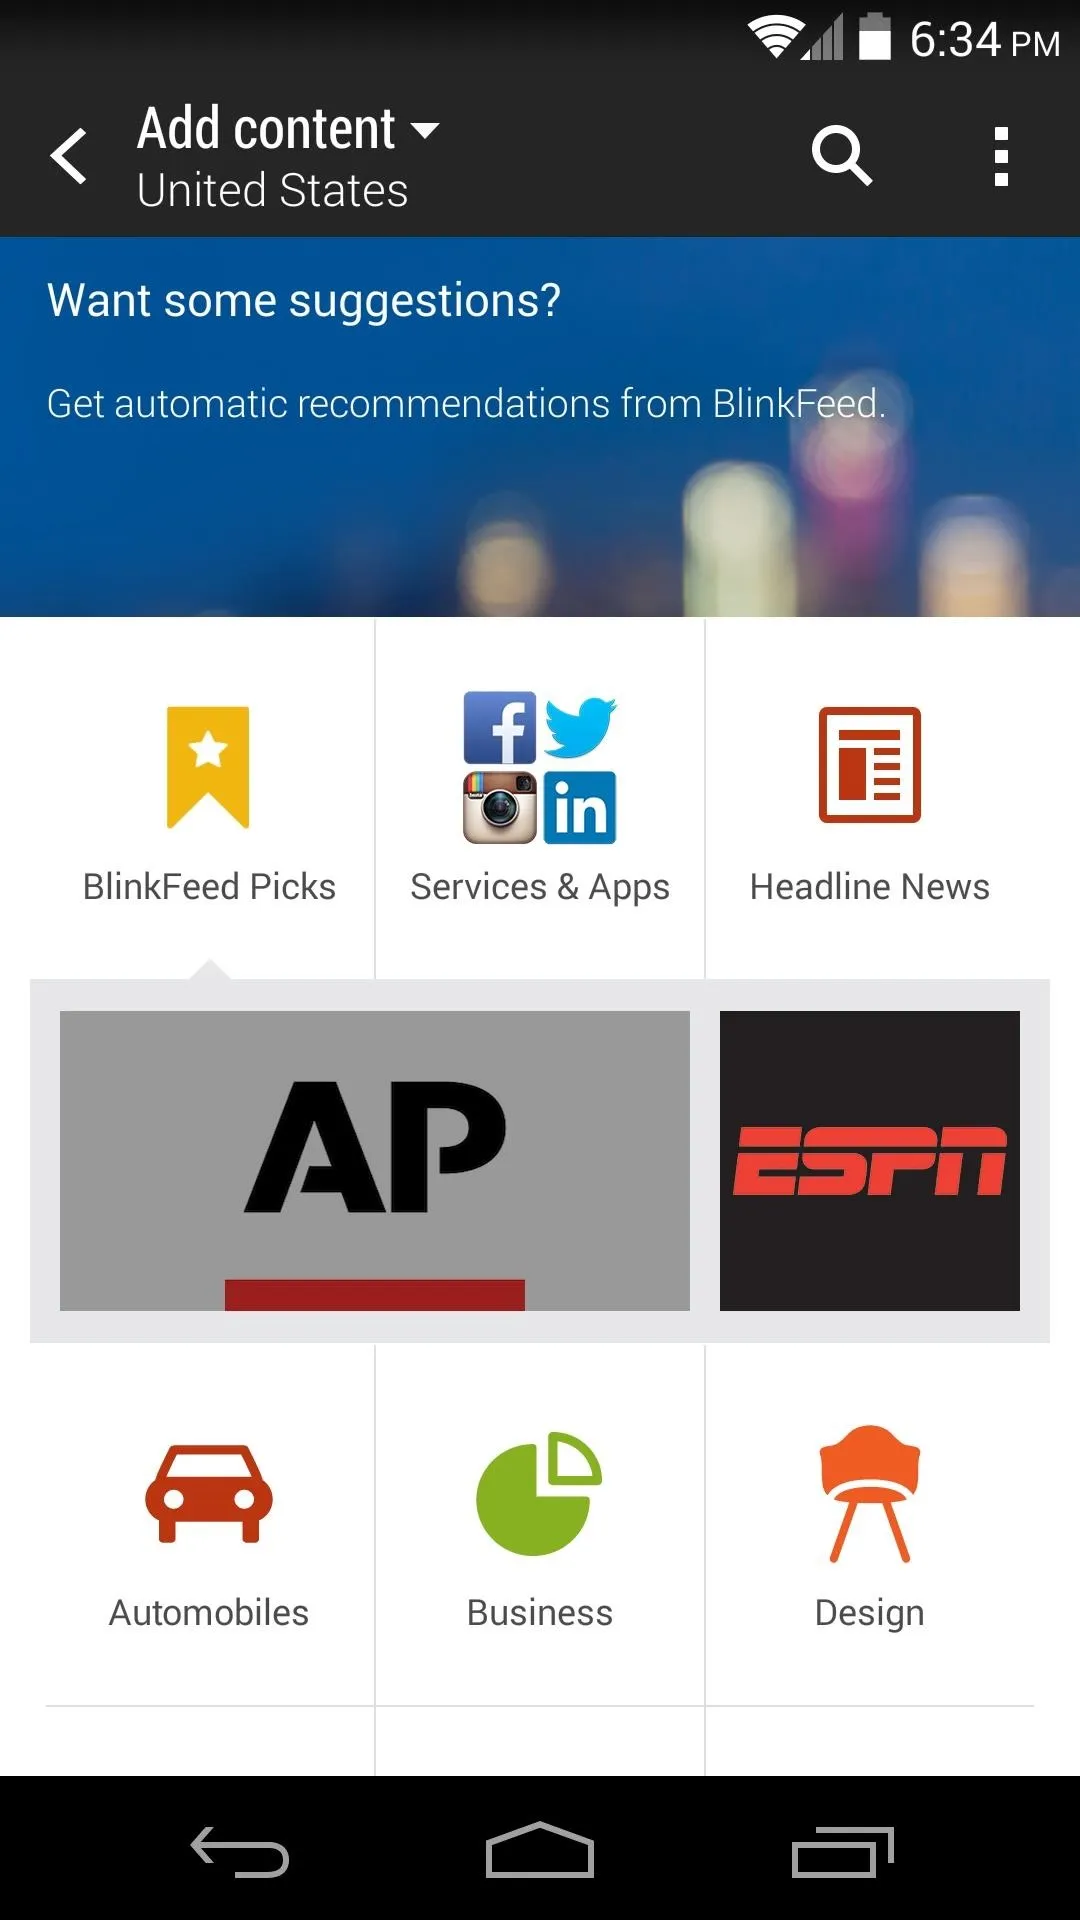
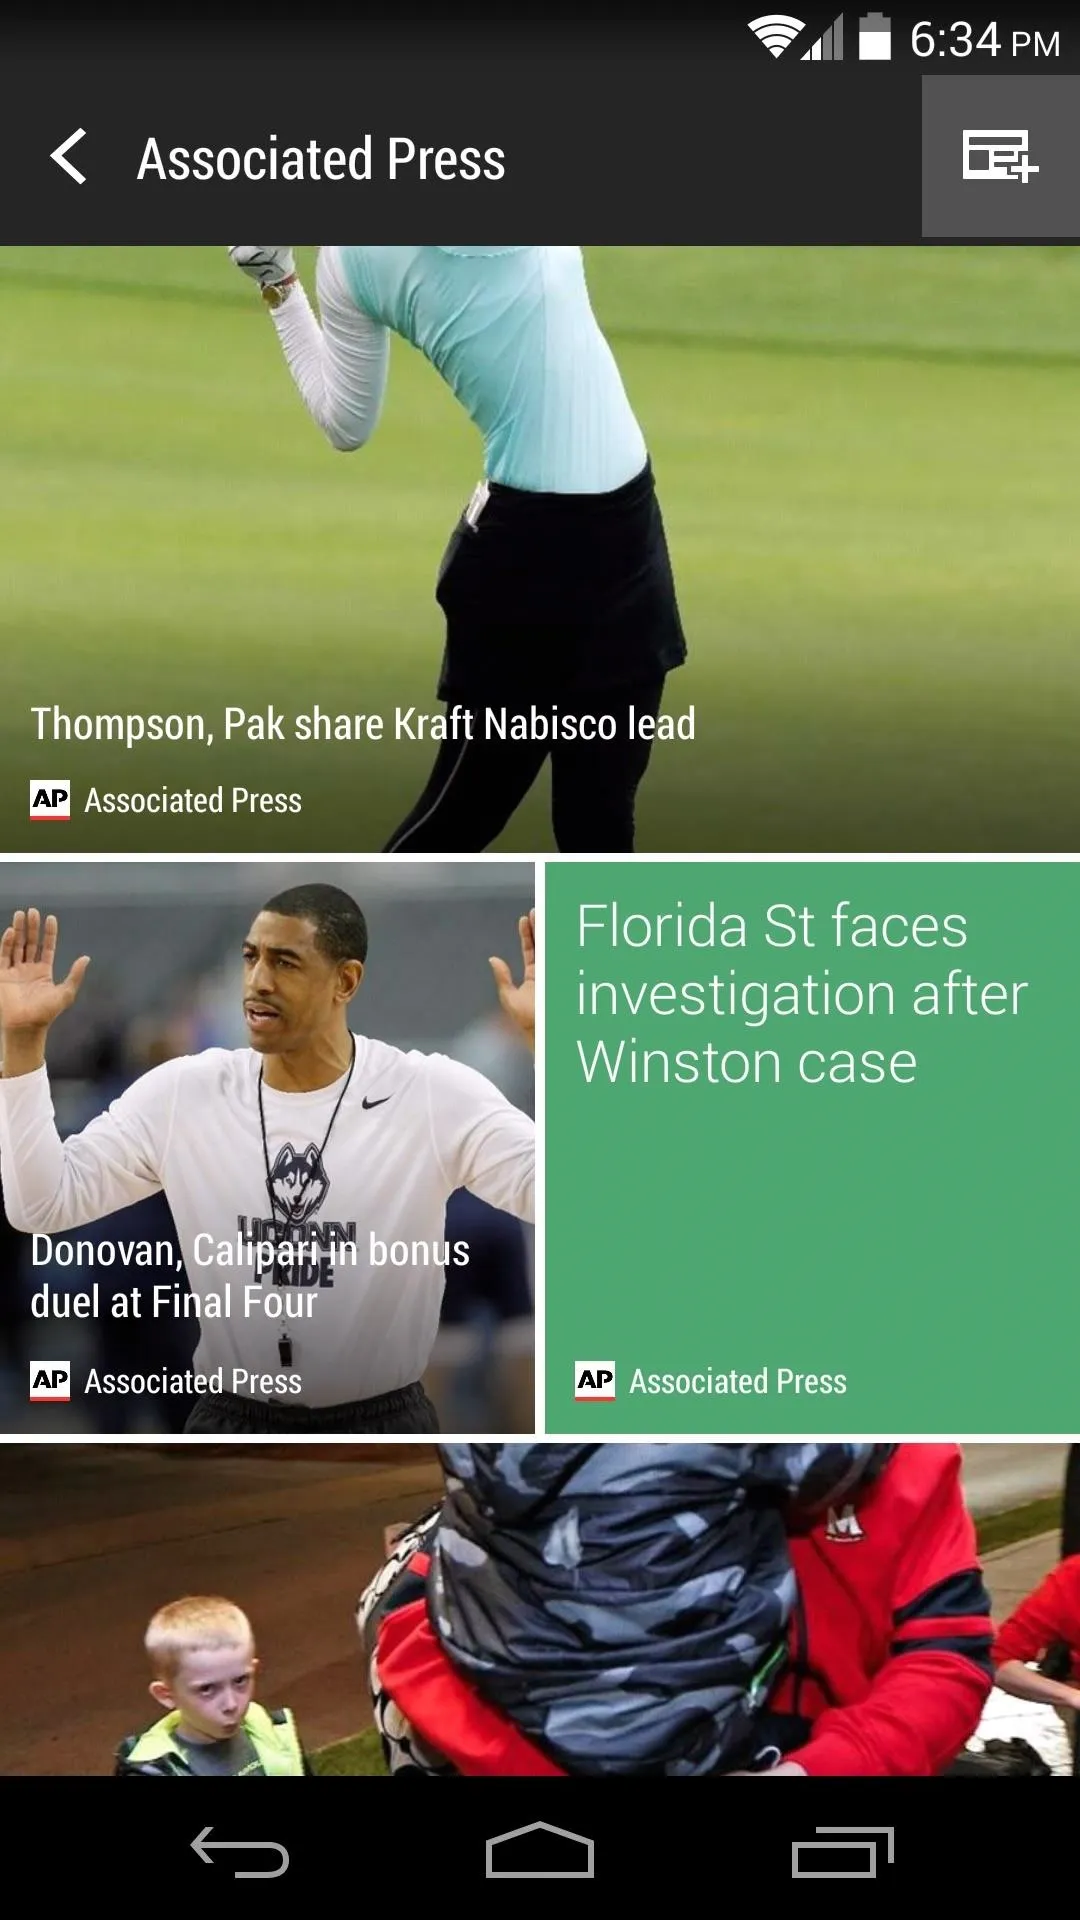
Tap the back button on your phone and BlinkFeed will begin to populate with information. Scroll through this list to find the tile labeled Get the latest news that matters to you. Browse through this list and tap a news service that you would like to follow, then hit the button at the top-right to subscribe.


Step 6: Customize the Rest of the Home Screens
The BlinkFeed screen that you've just customized is just one of the home screens on your new launcher. You can access it any time by swiping over to the leftmost screen.
The screens to the right of BlinkFeed function similarly to just about any other launcher. You can add app icons to the home screens, or even drag-and-drop new app shortcuts to the dock. Long-press any empty space to bring up a menu to change your wallpaper, add widgets, or manage home screens.
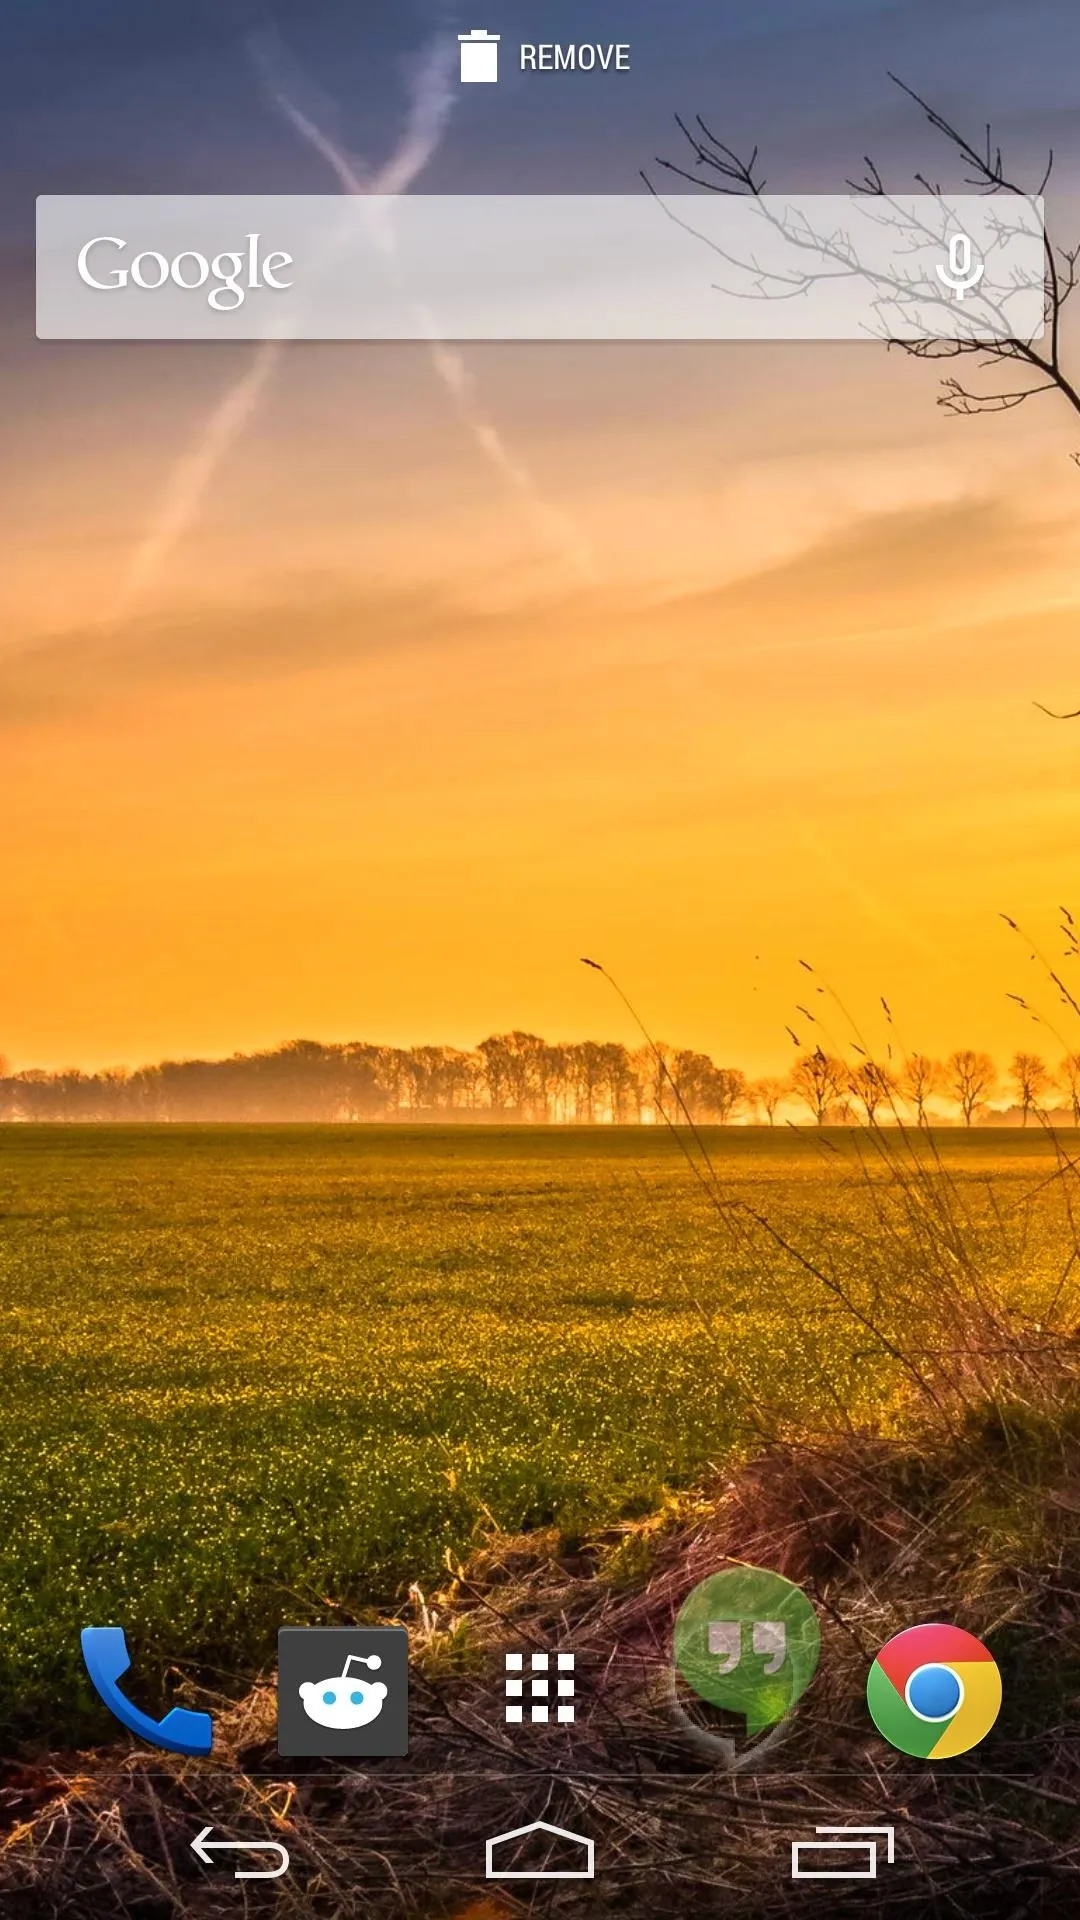
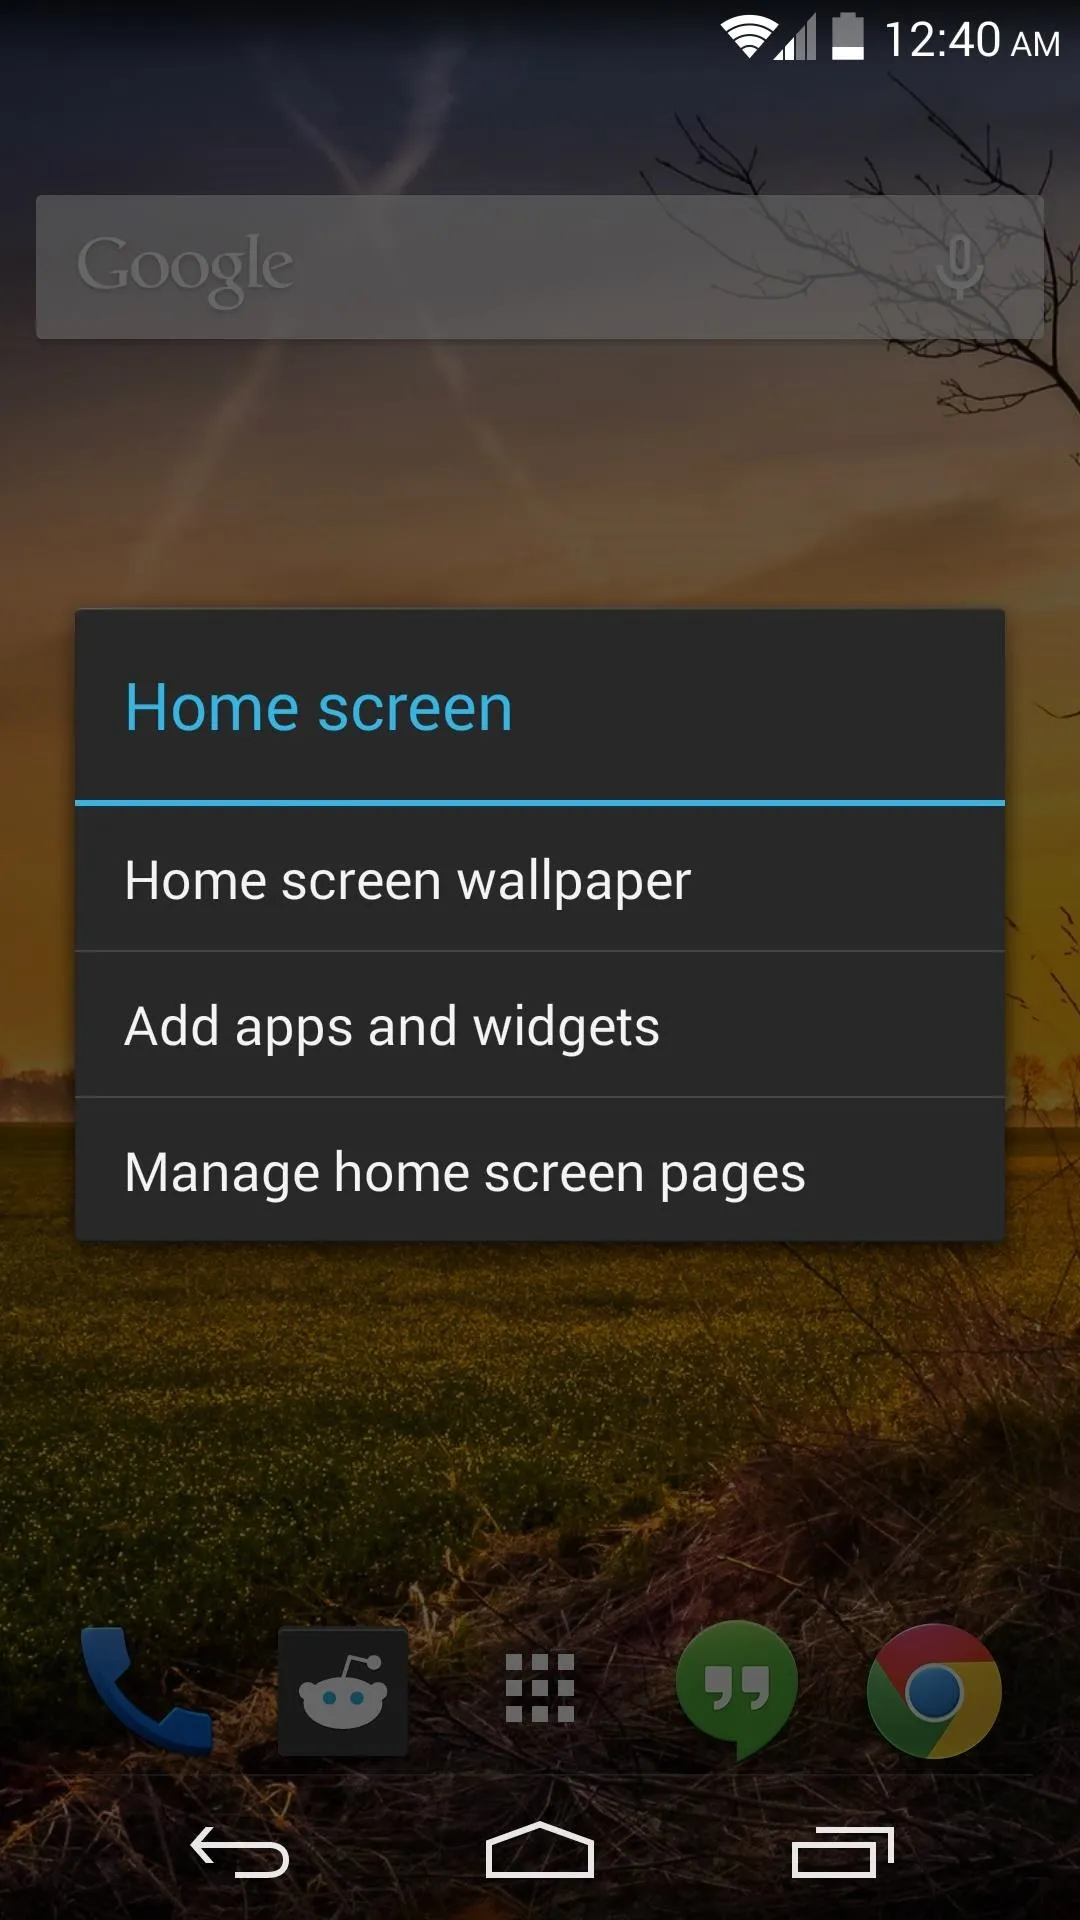


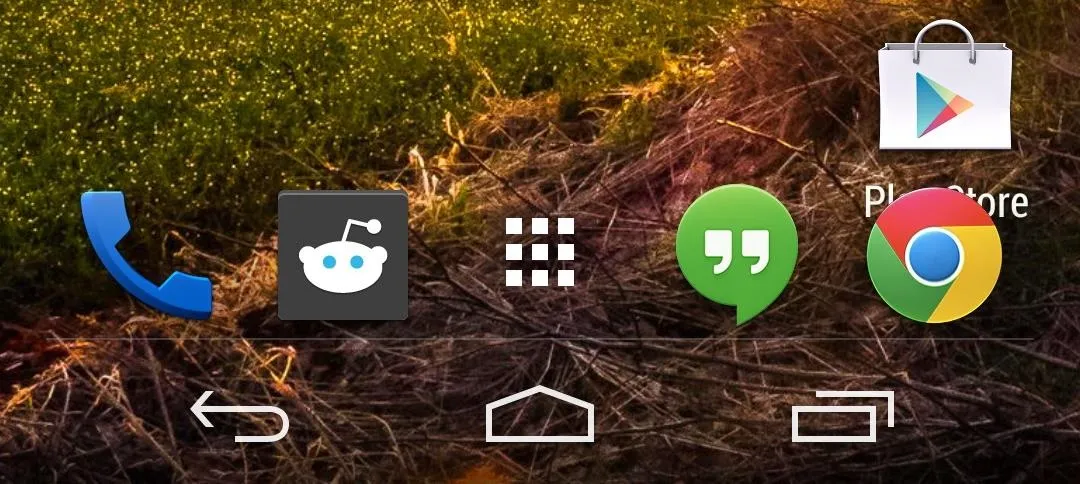
As this launcher is built for a different device, there are a couple of minor quirks. Icons on the bottom-most row of home screens overlap with the dock a little, and the gradient behind the on-screen navigation buttons doesn't quite match the rest of the screen.
Step 7: Organize the App Drawer
From the app drawer, hit the three-dot menu button on the top right-hand side to Rearrange Apps. Long-press an app, then drag it to rearrange the order. You can even create folders by dropping one app on top of another.
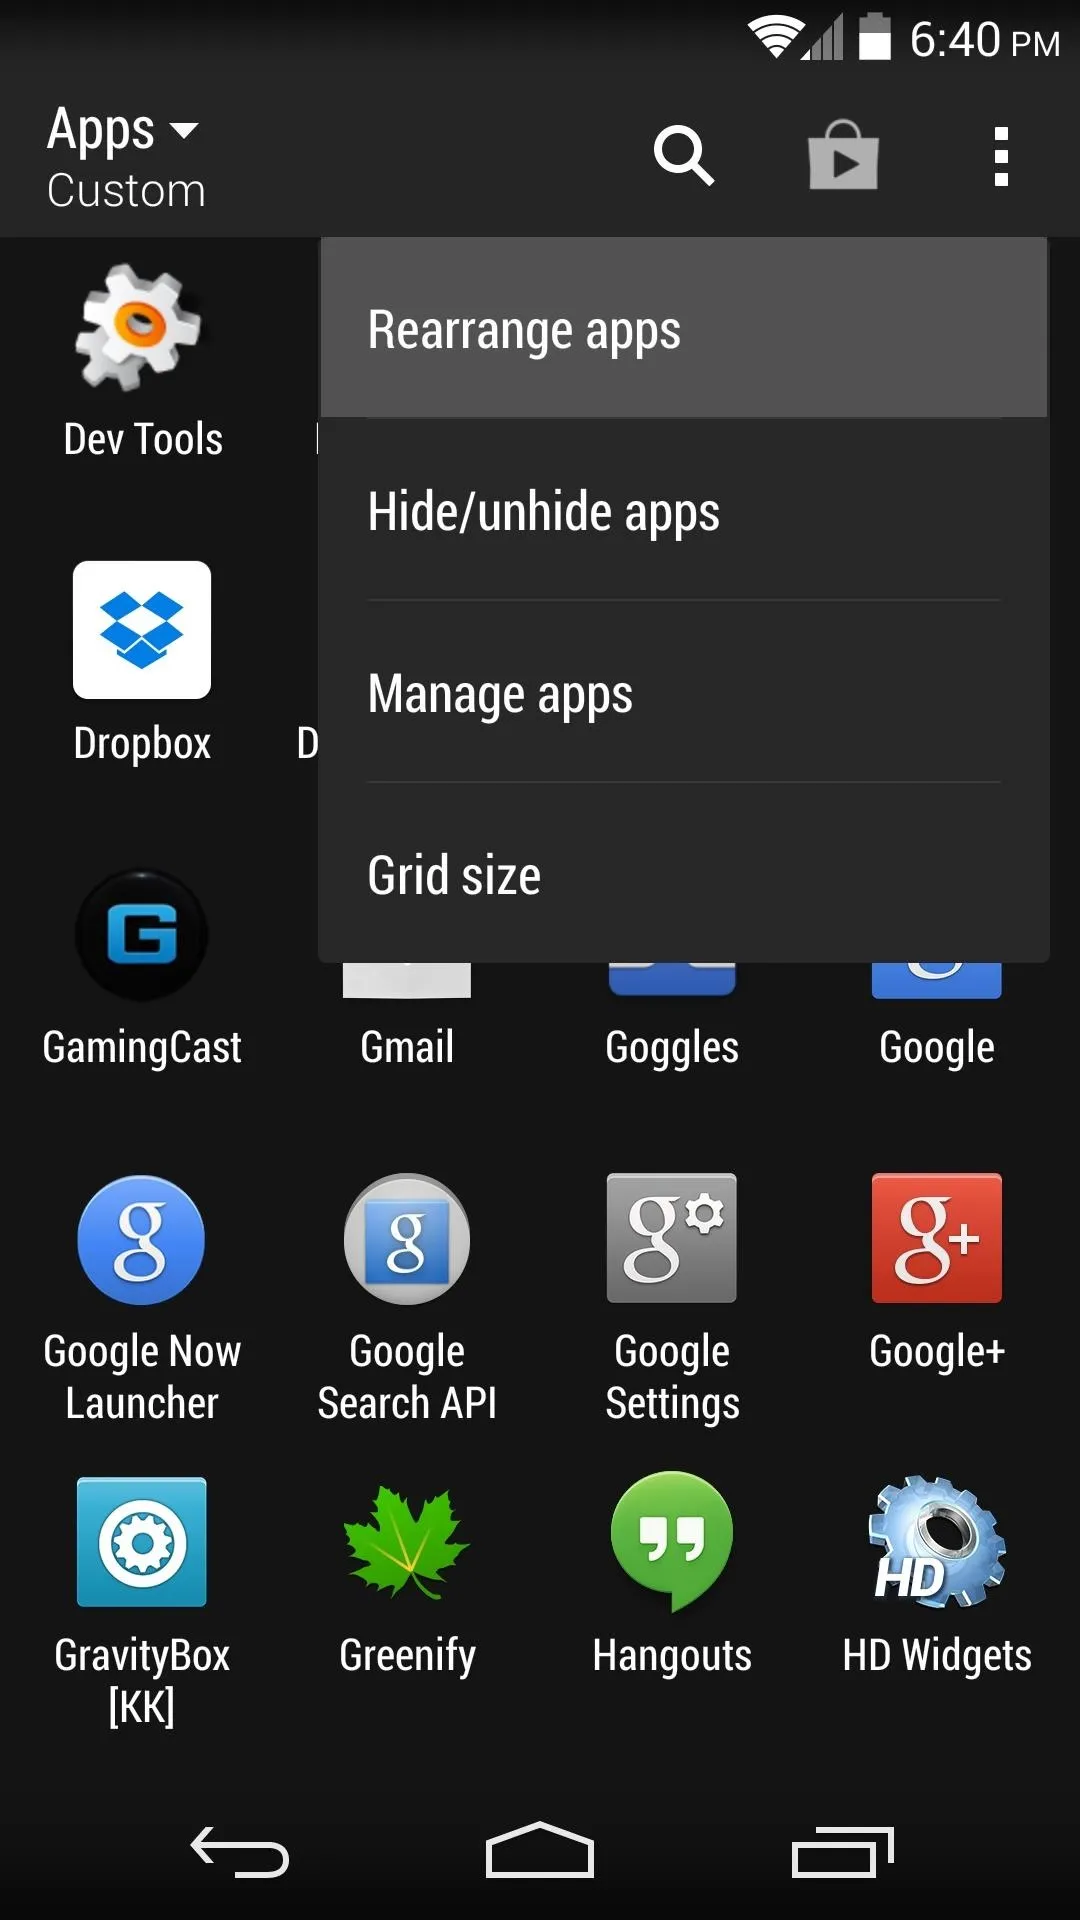
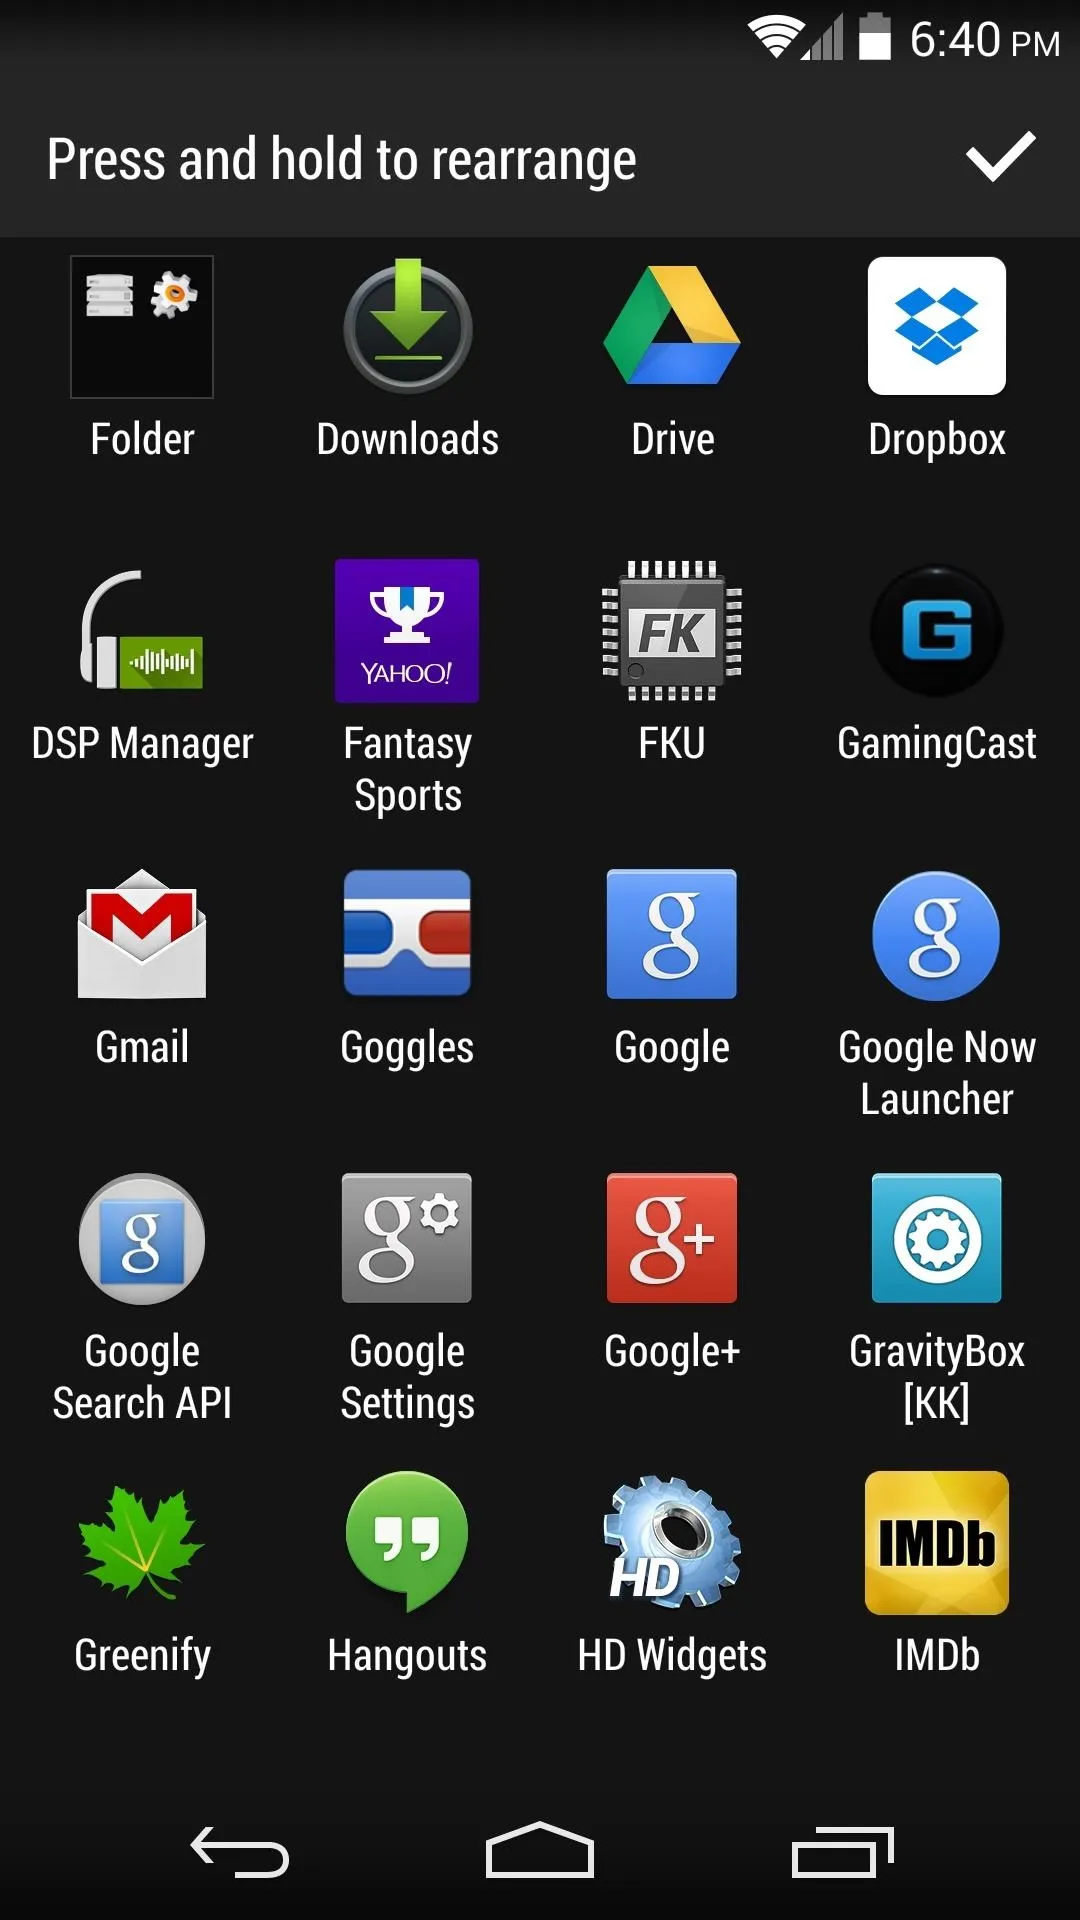
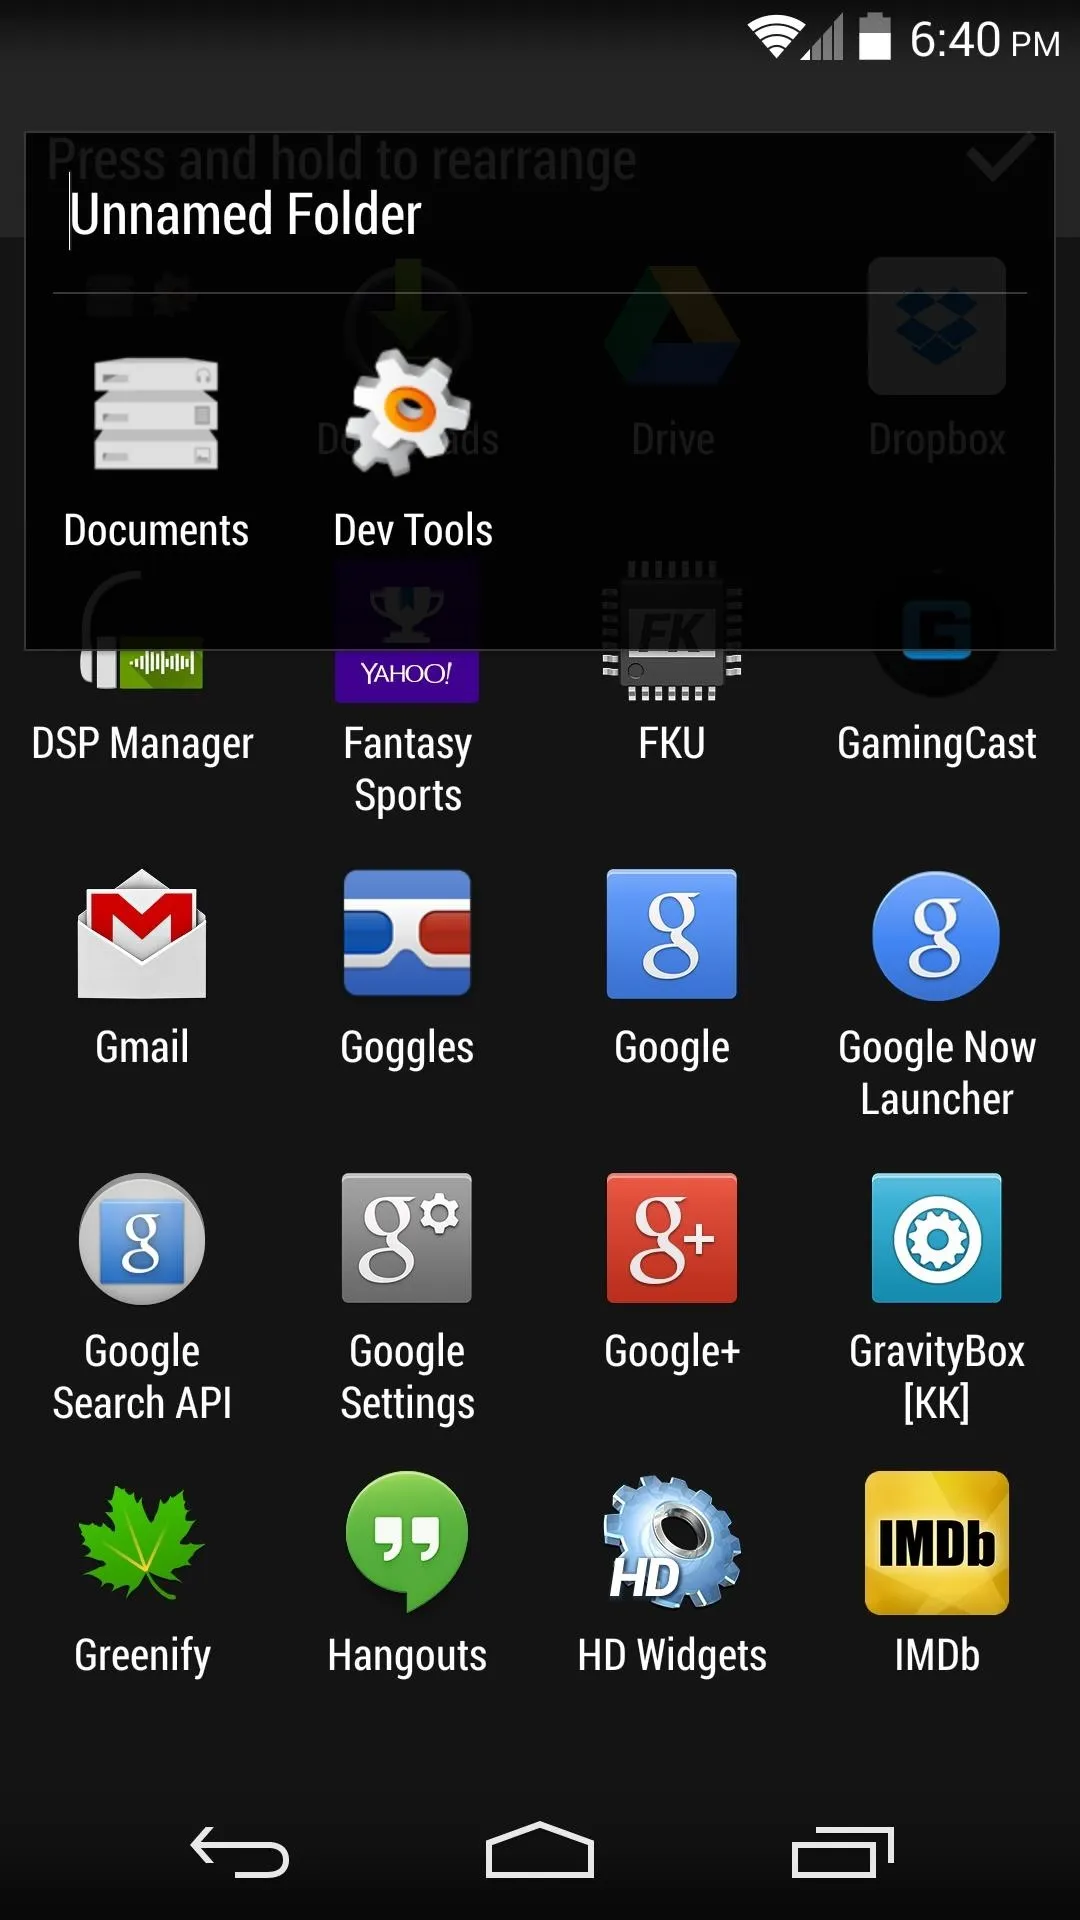


You can also hide apps from the drawer using this menu, and even change the grid size of the app drawer.
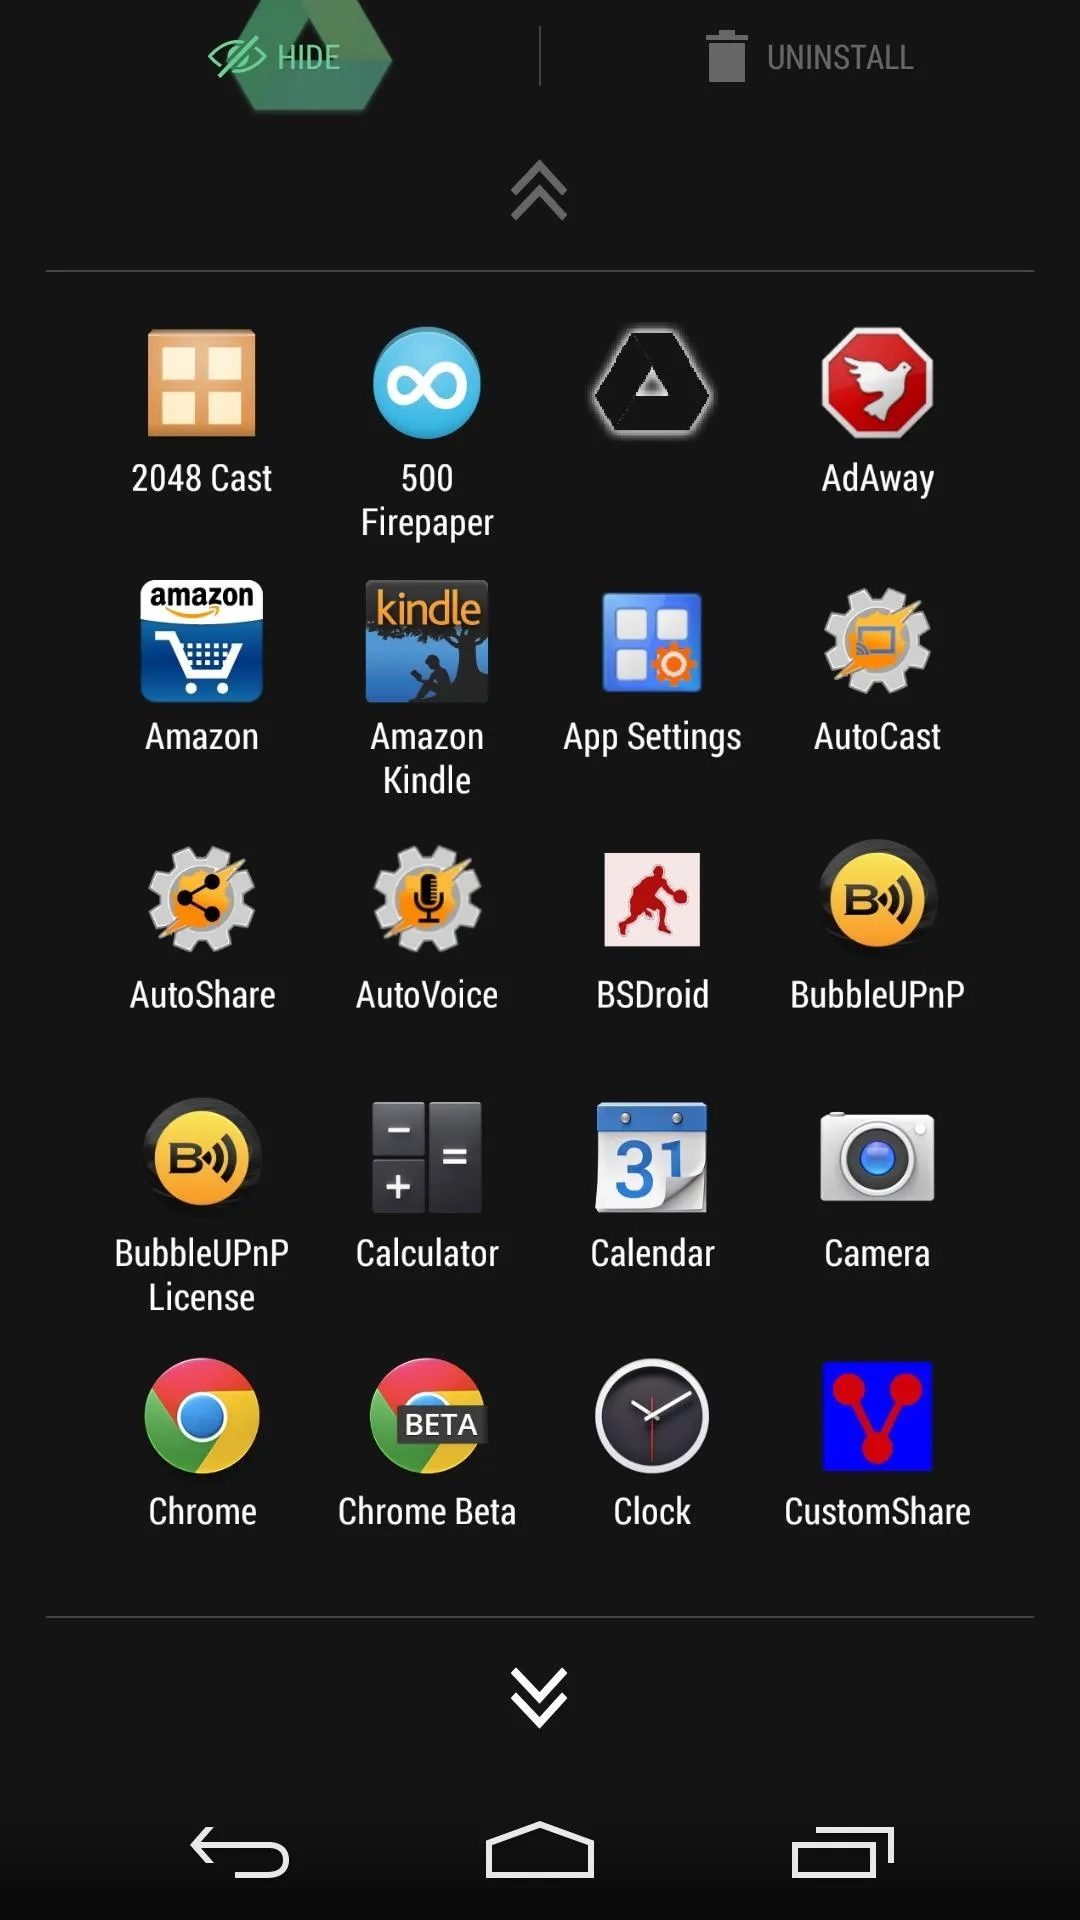
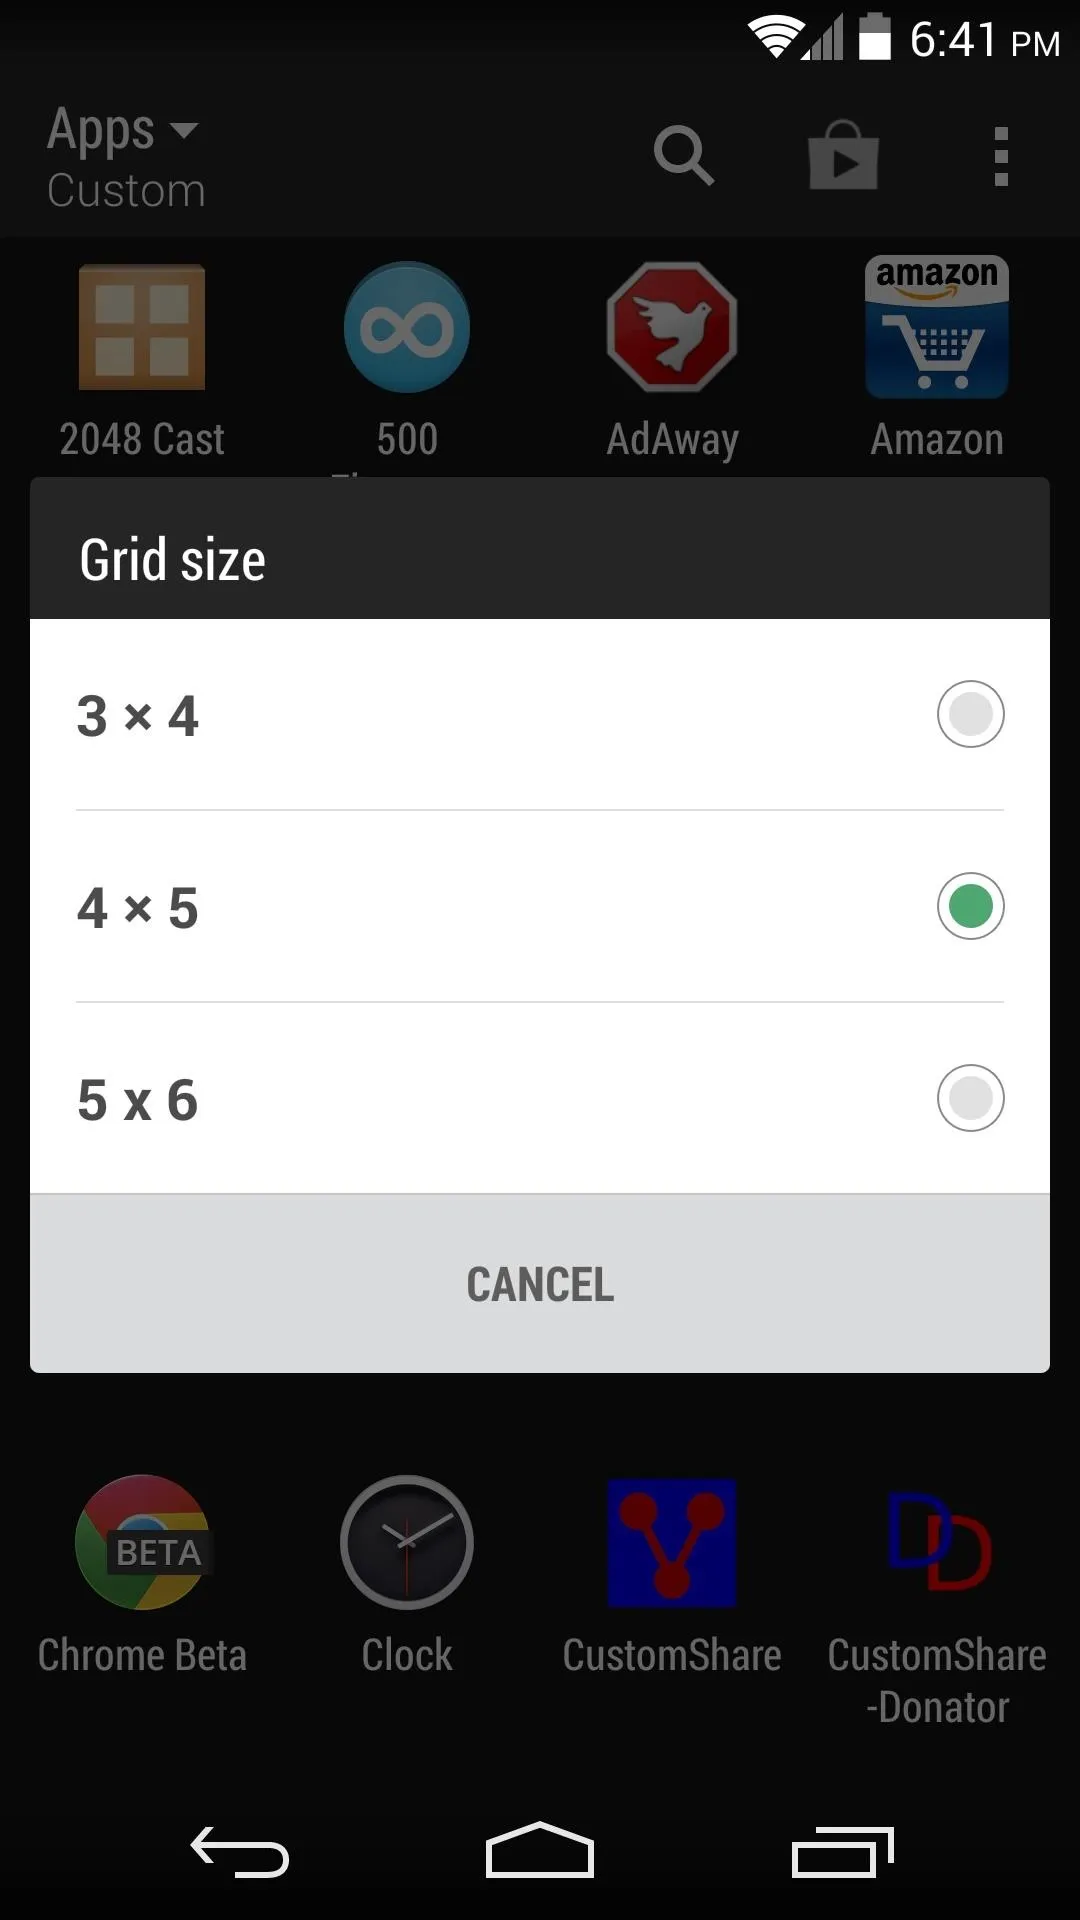


All in all, BlinkFeed offers a unique home screen experience that can bring tons of information to your Nexus 5 at a glance.
If you ever wish to switch back to your previous launcher though, you can do so by simply opening Settings, then finding the entry titled Home. Select your old launcher from here, and everything will be back to normal.


Comments
No Comments Exist
Be the first, drop a comment!