Google recently updated the camera software for the Nexus 5, and in doing so, made the app available to all devices running Android KitKat. This means that not only do we get a nice new camera interface on our phones, but we also get the benefit of an expanded development community.
Not every developer made the wise choice of purchasing a Nexus 5, so many did not have access to our stock camera app to tinker with...until now.
Today I'll show you how to access and modify the settings tucked away in the new interface. And with the new Lens Blur mode, you can even take pictures that can be converted to 3-dimensional animated GIFs. Couple those tips with a few softMods, and your camera app will be taking high-resolution shots with some handy customizations and personal flair.
Tip #1: Theme the Shutter Icons
To get started, we'll add a touch of personal flair to the camera app. This first tweak requires root, so be sure to check out Jesse's guide if you're not already set in that regard.
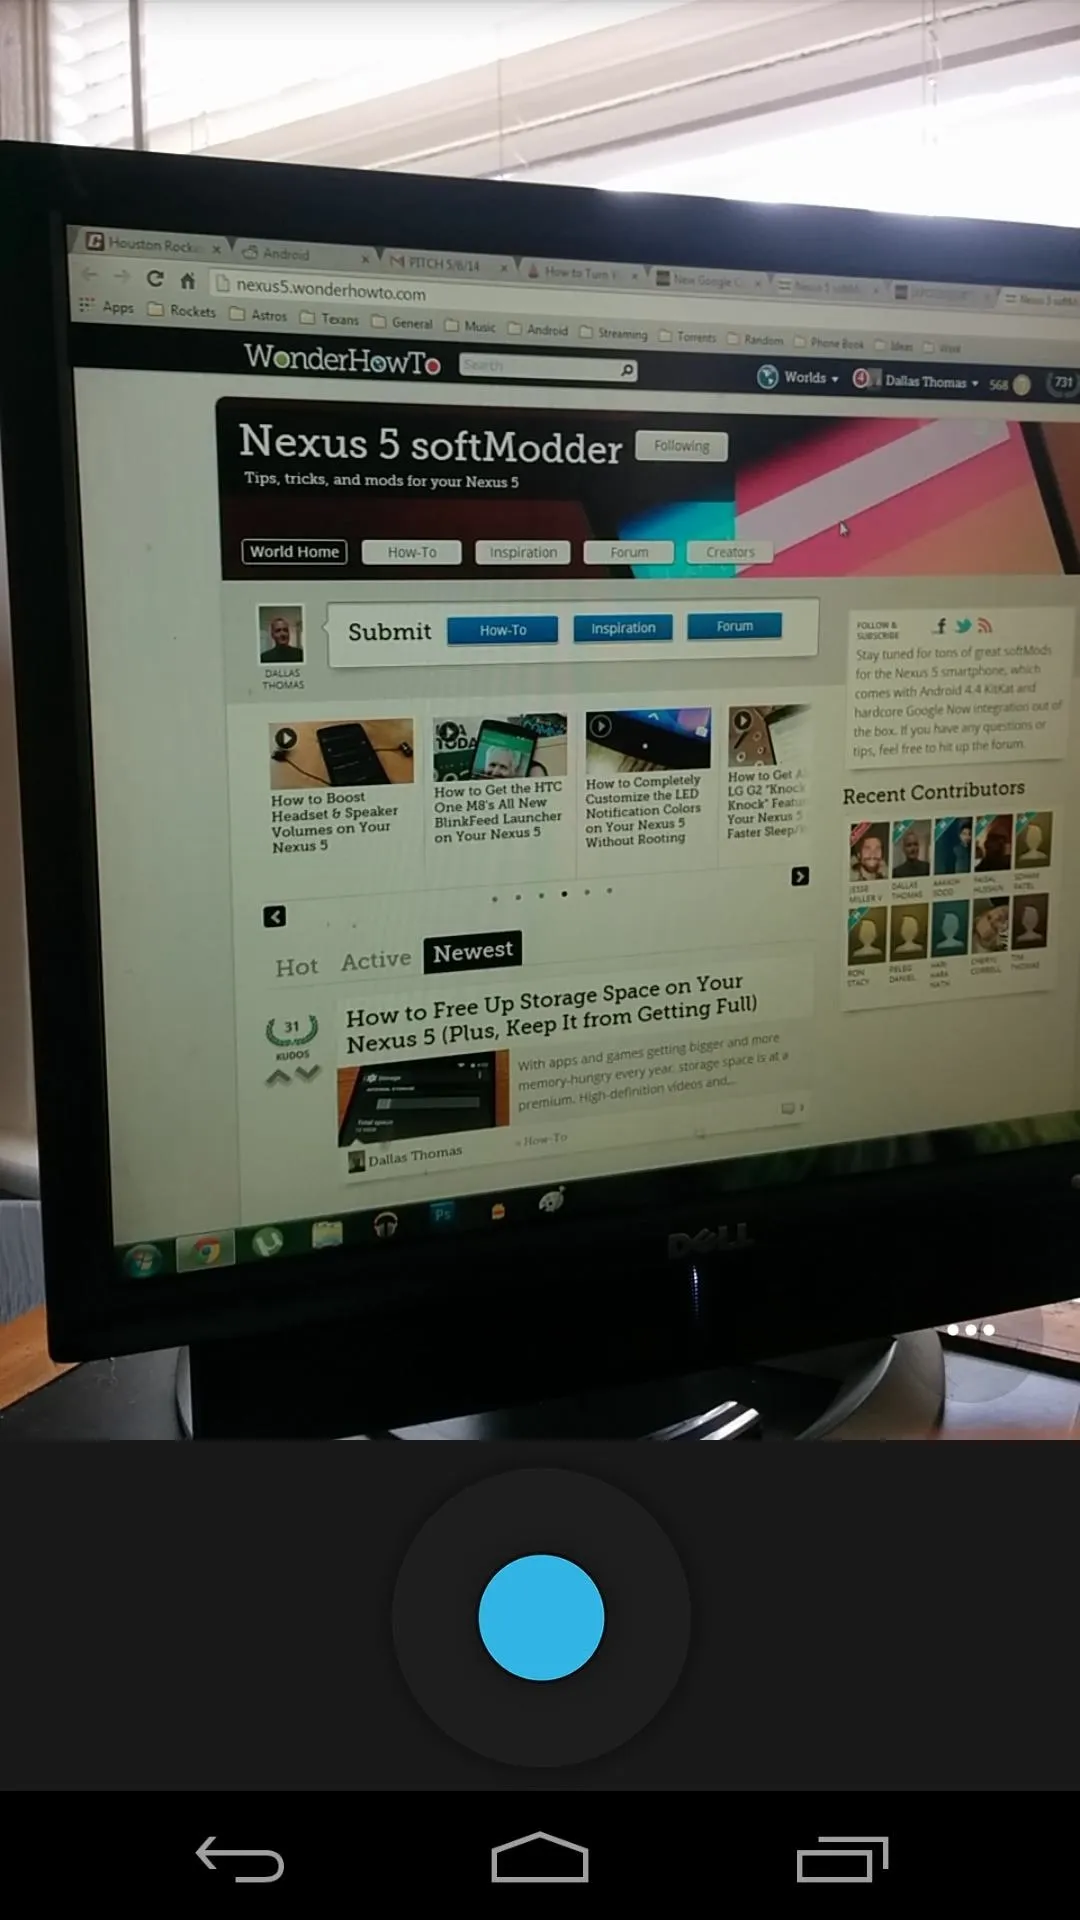
XDA user flex360 has made a themed version of the stock camera app for the Nexus 5. By and large, he has left the interface unchanged, only replacing the shutter buttons with a much more aesthetically pleasing icons.
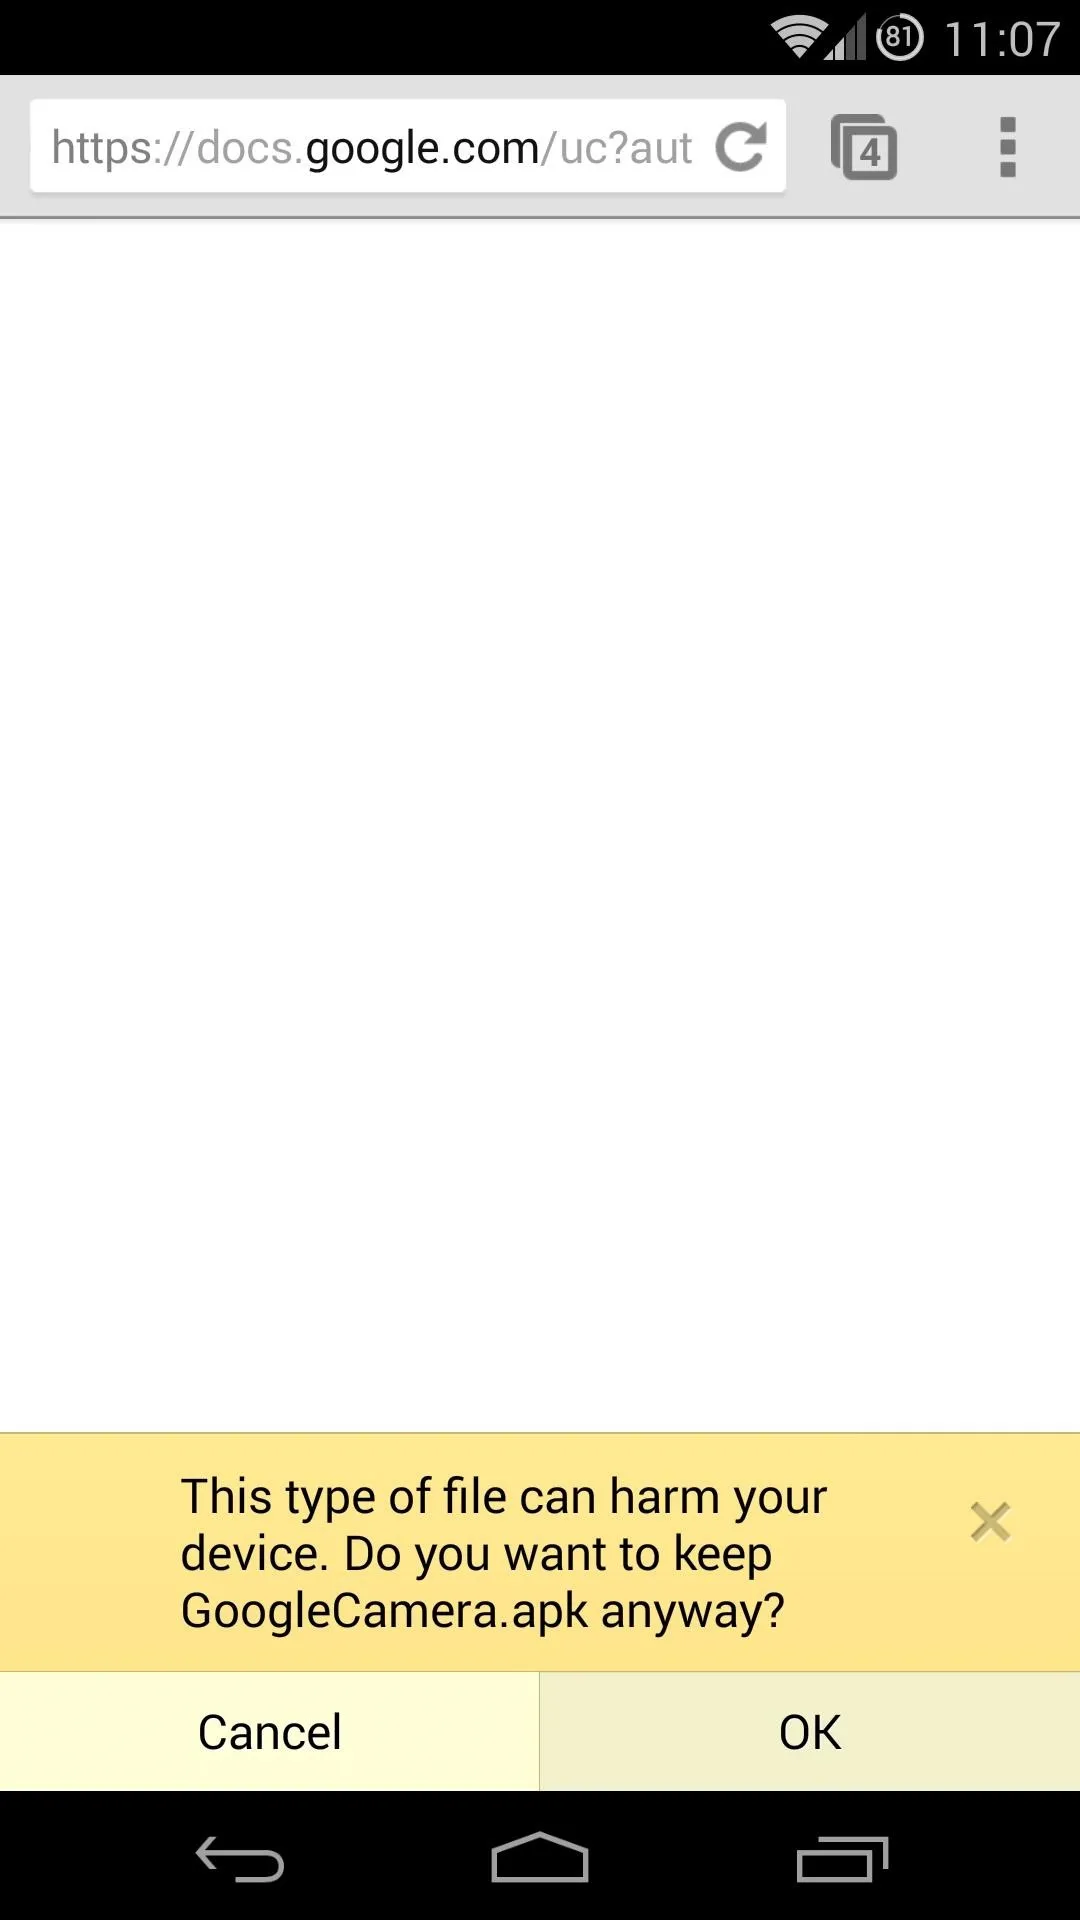
First, you'll need to download this themed version of the camera app. From the web browser on your Nexus 5, you can grab that here . Make sure to have "Unknown sources" enabled, since we aren't installing this from the Google Play Store.



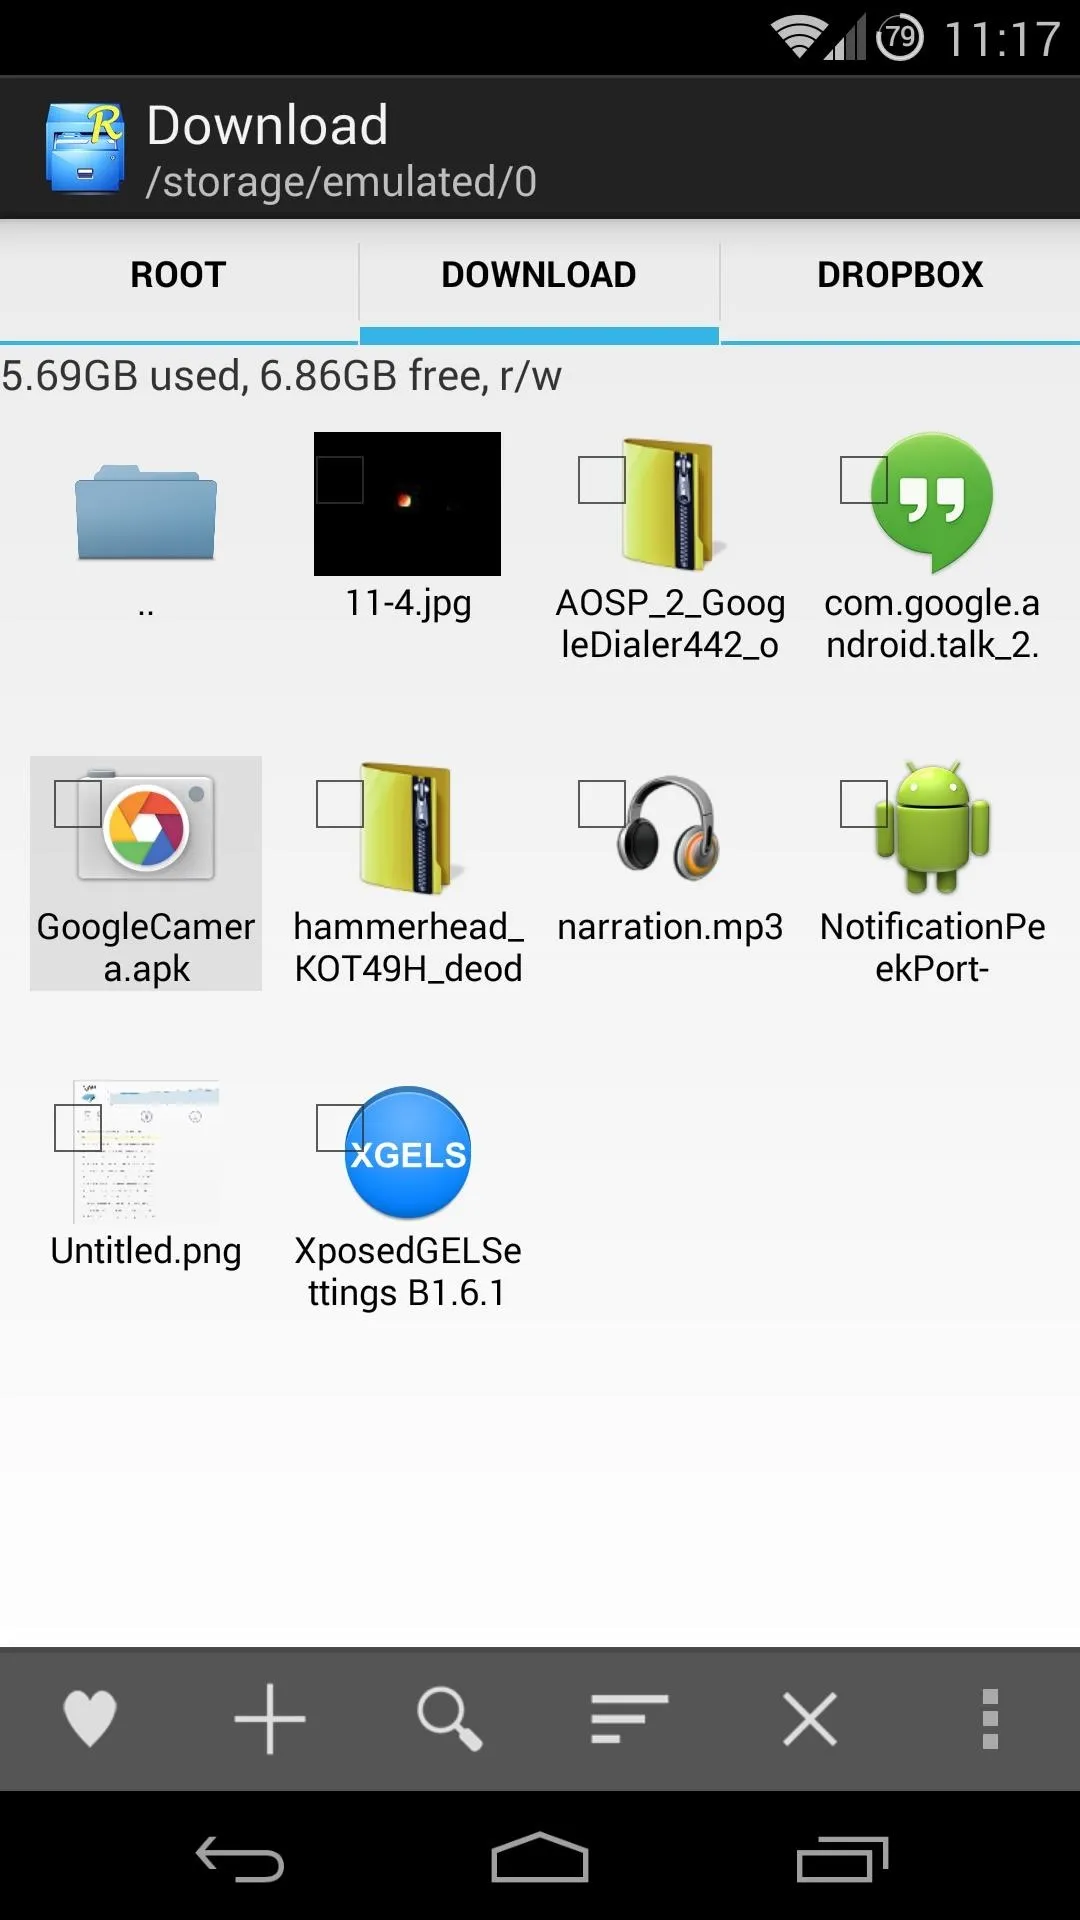
Next, open up your favorite root-enabled file browser. Navigate to the Download folder and copy the GoogleCamera.apk file.
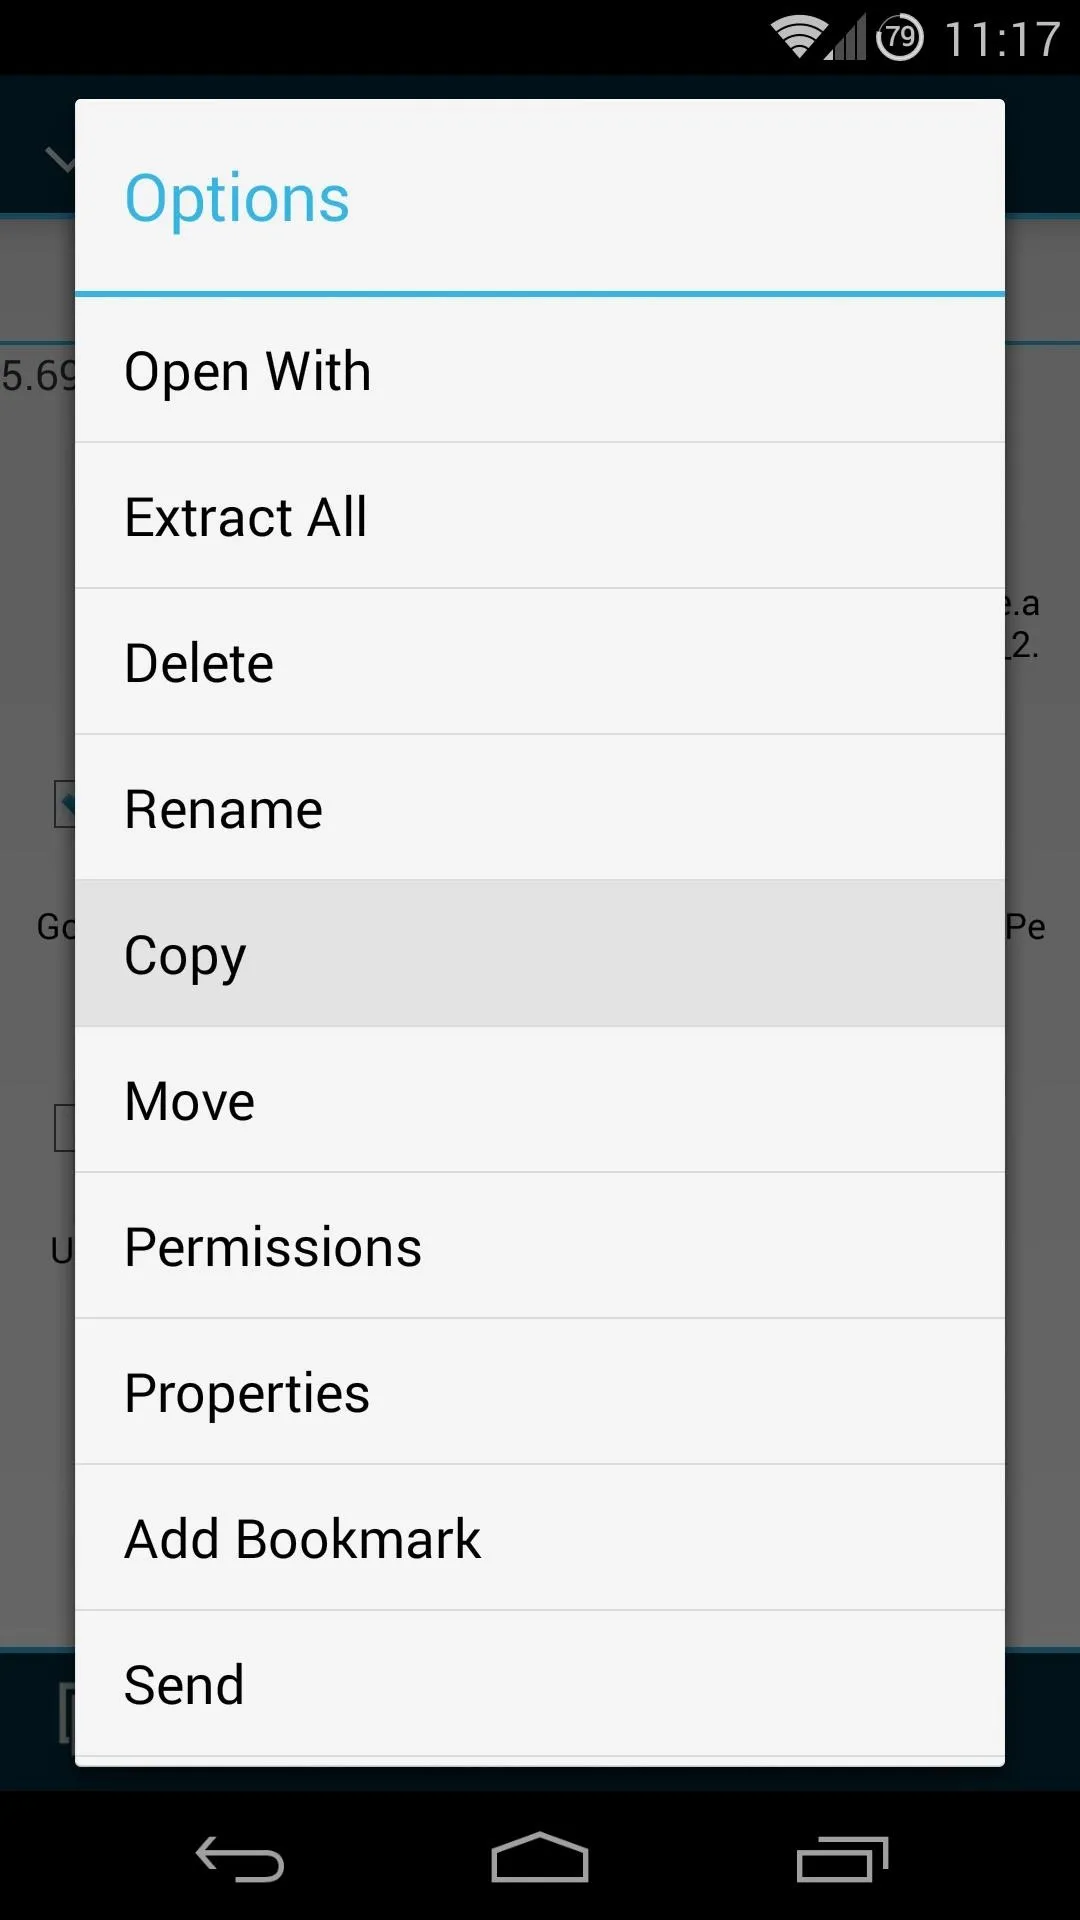


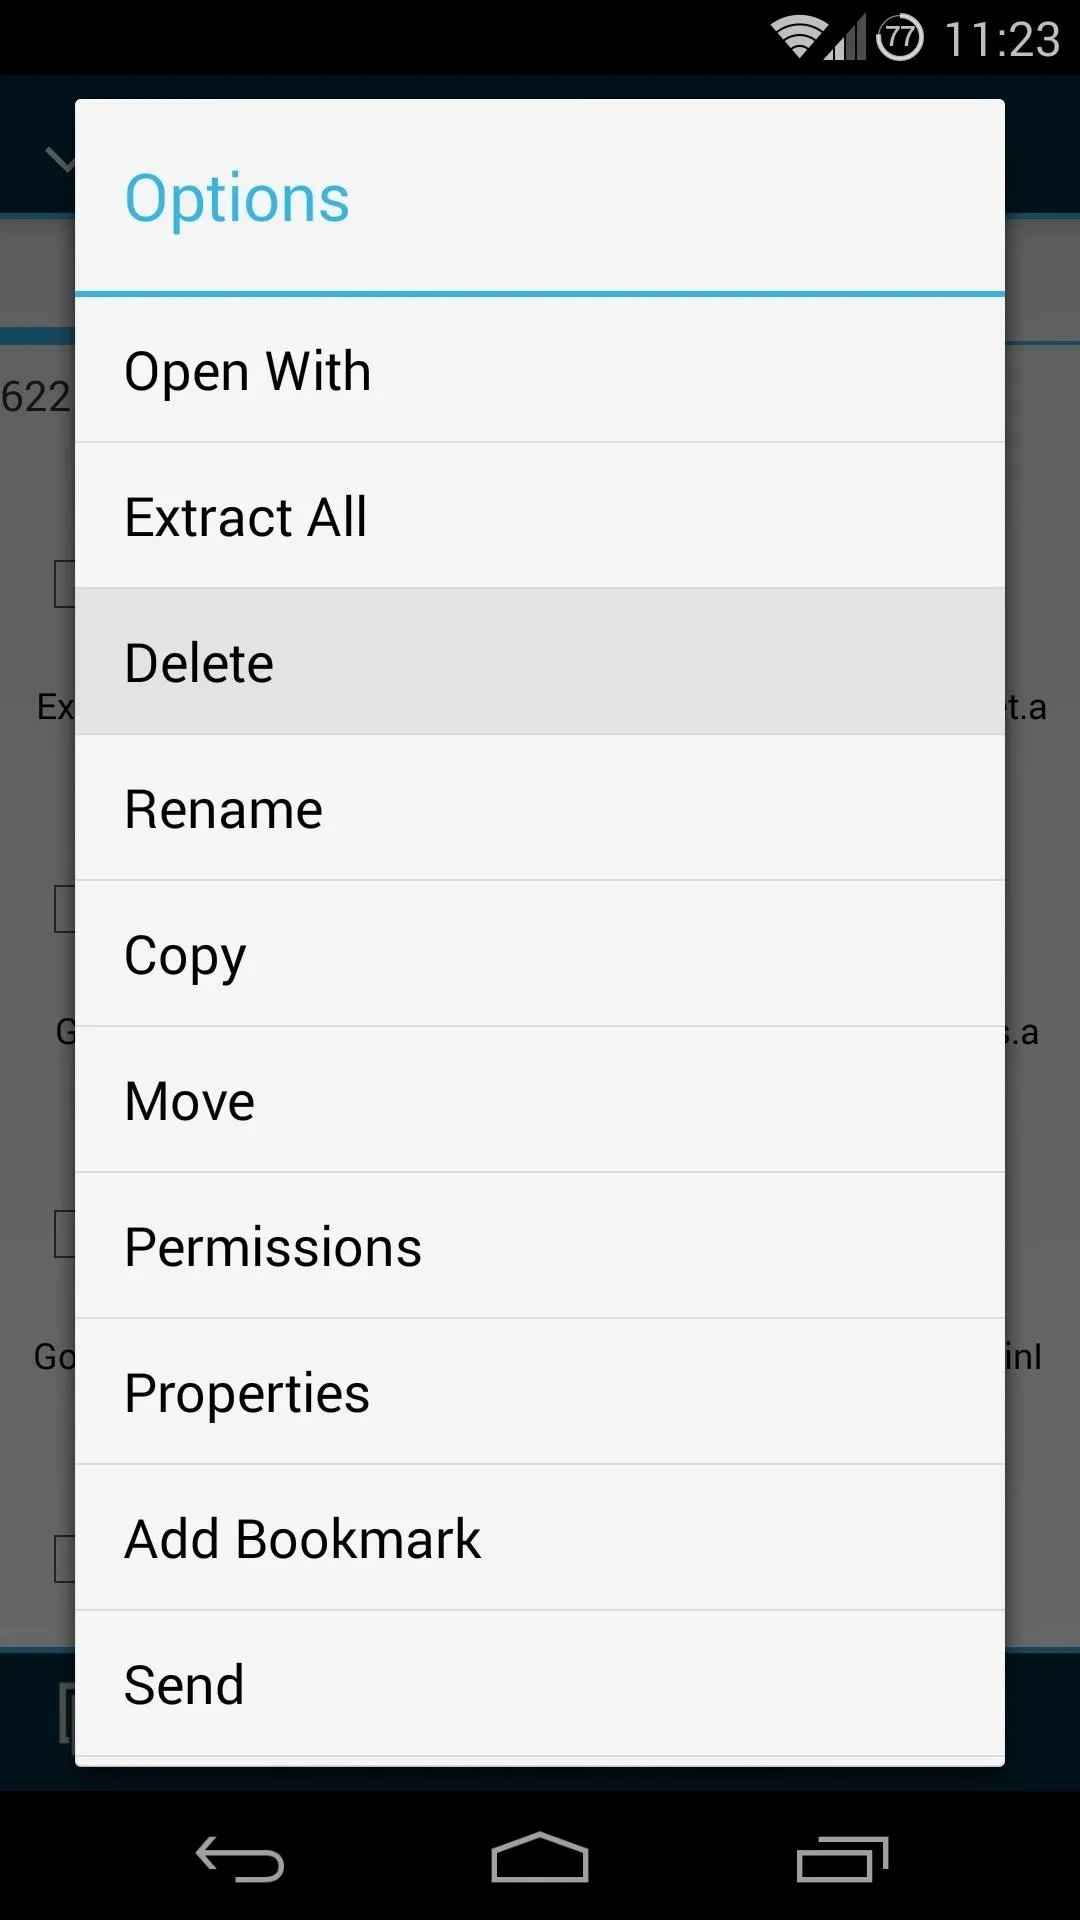
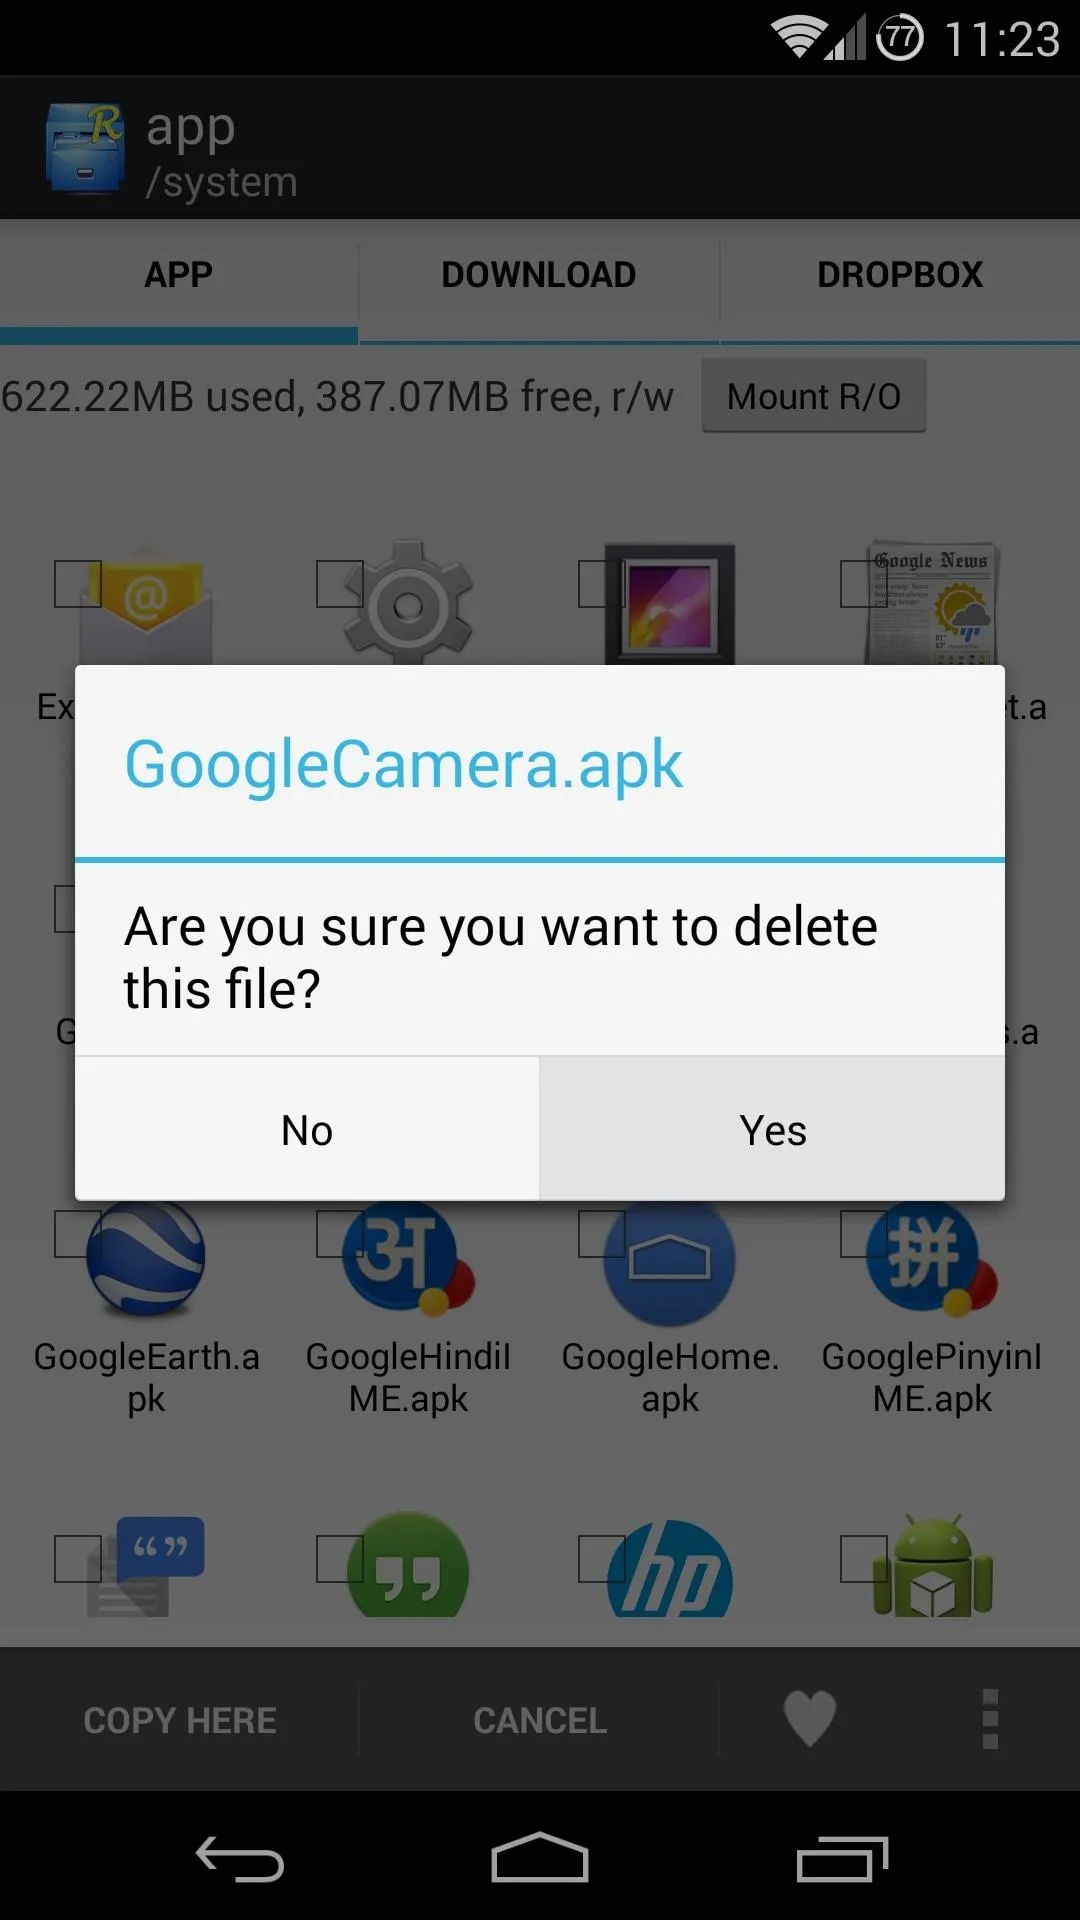
Now, navigate to the /system folder from the root directory of your device. From there, head into the /app folder. In this folder, delete the file named GoogleCamera.apk (you can also rename the original camera to something like "GoogleCamera.bak"). This is the old, un-themed camera app.
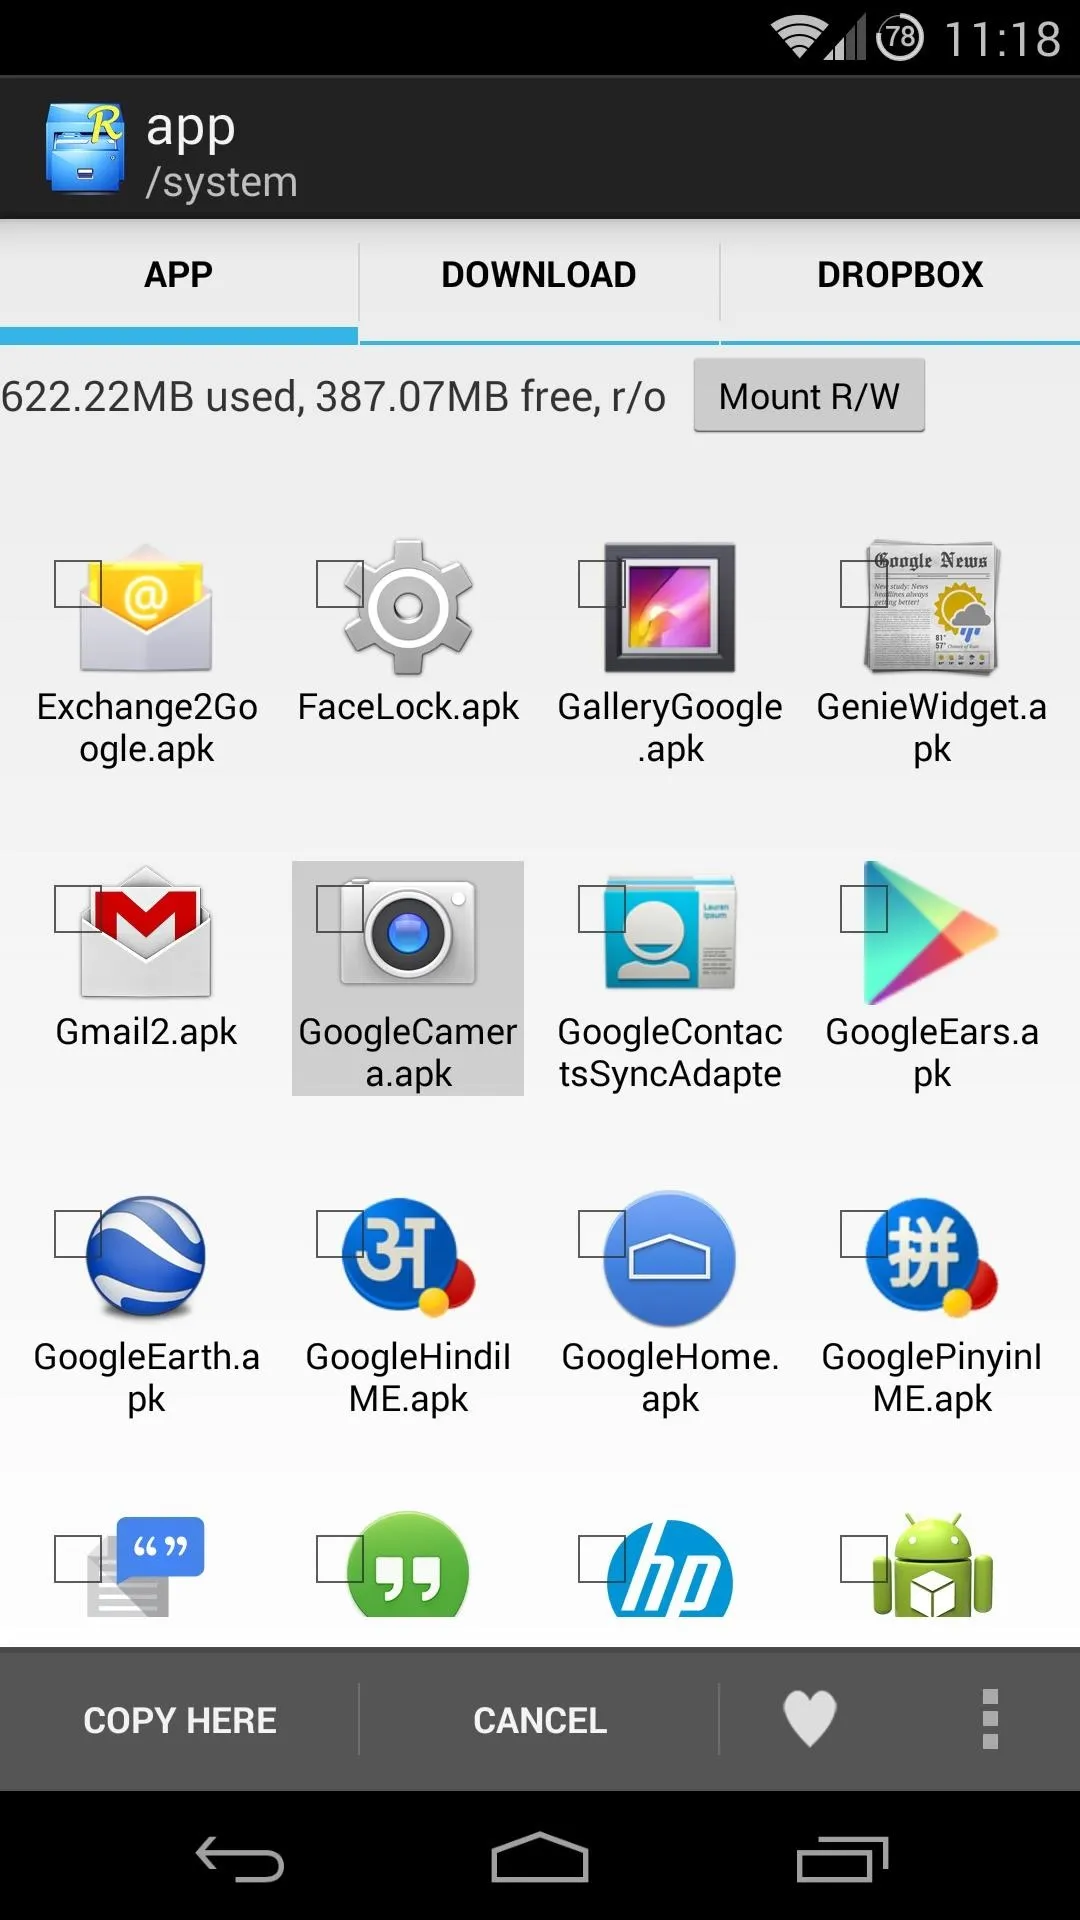


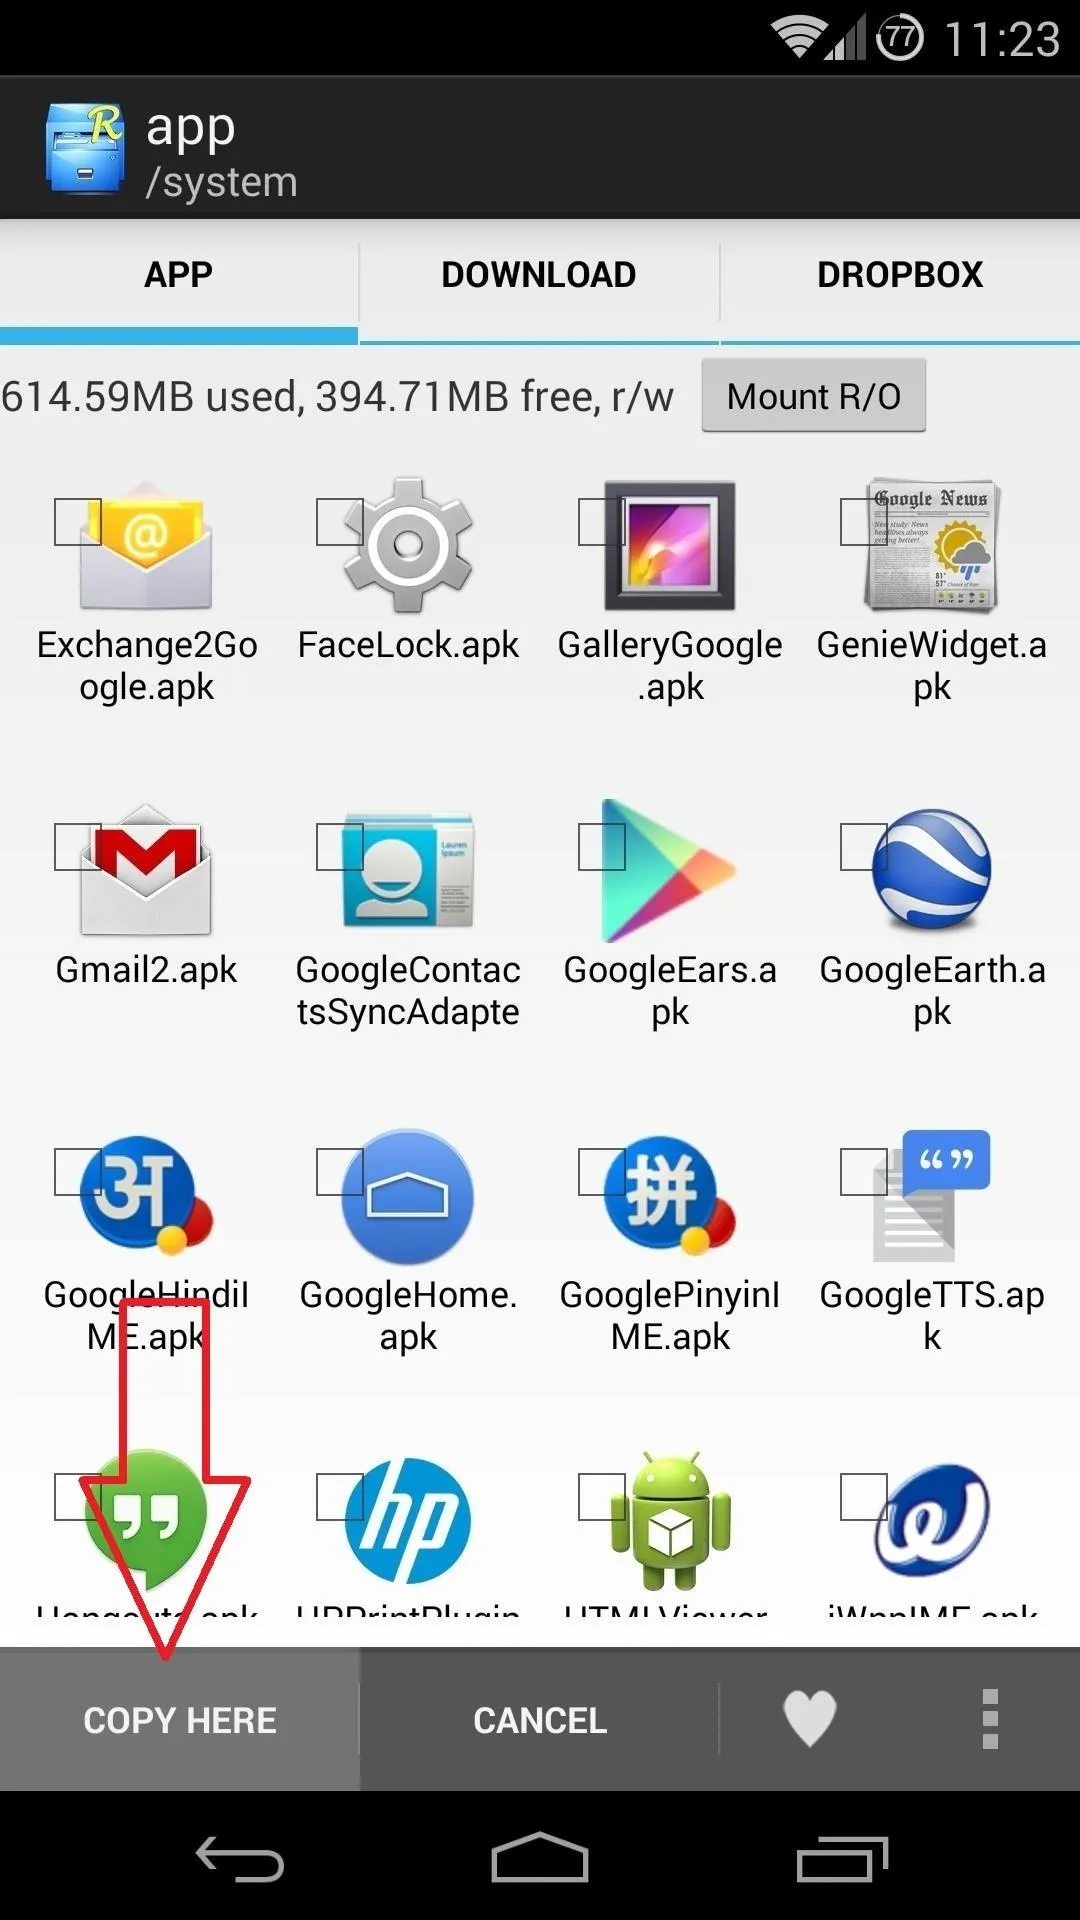
Paste the file that you copied earlier into its place. This is the new, themed version.
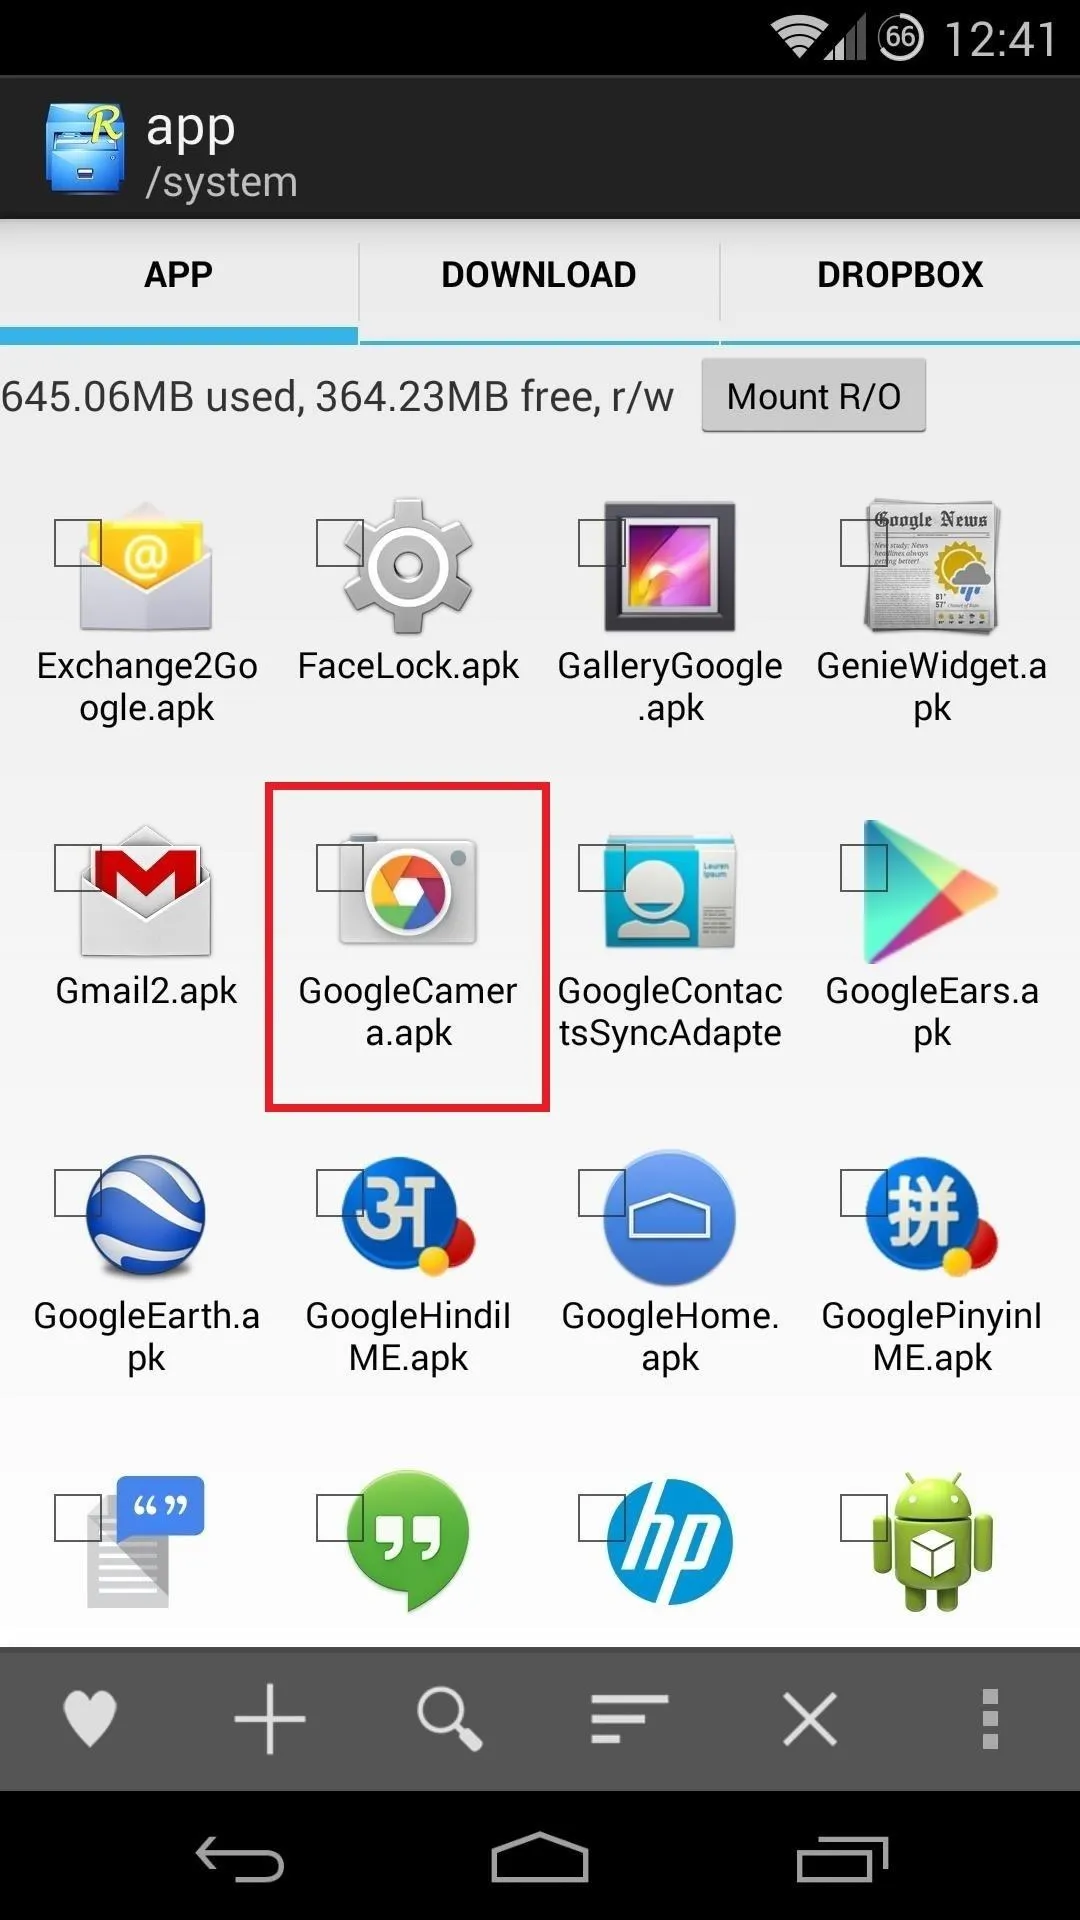


For the changes to take effect, you'll need to reboot your phone. The camera shutter button should now be changed.


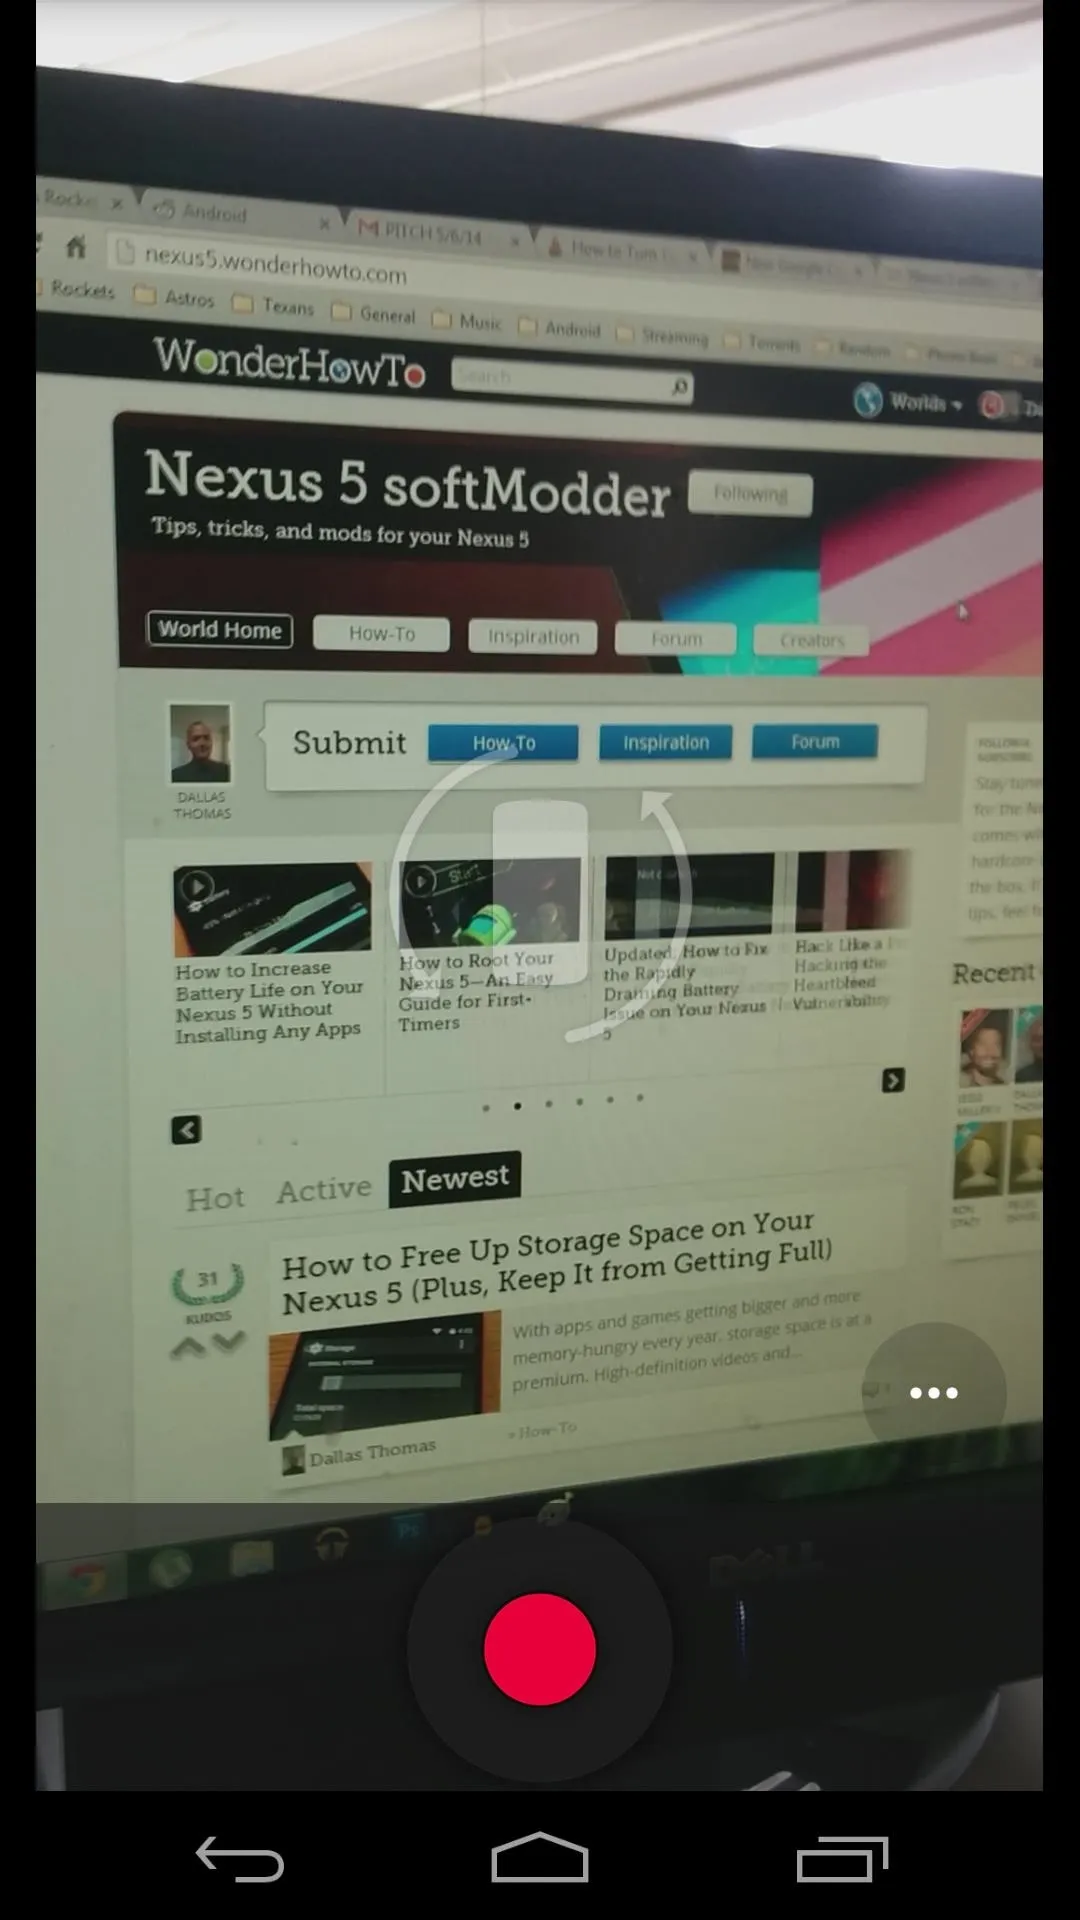
And the video record button should be shiny and new as well.


Tip #2: Configure Advanced Camera Settings
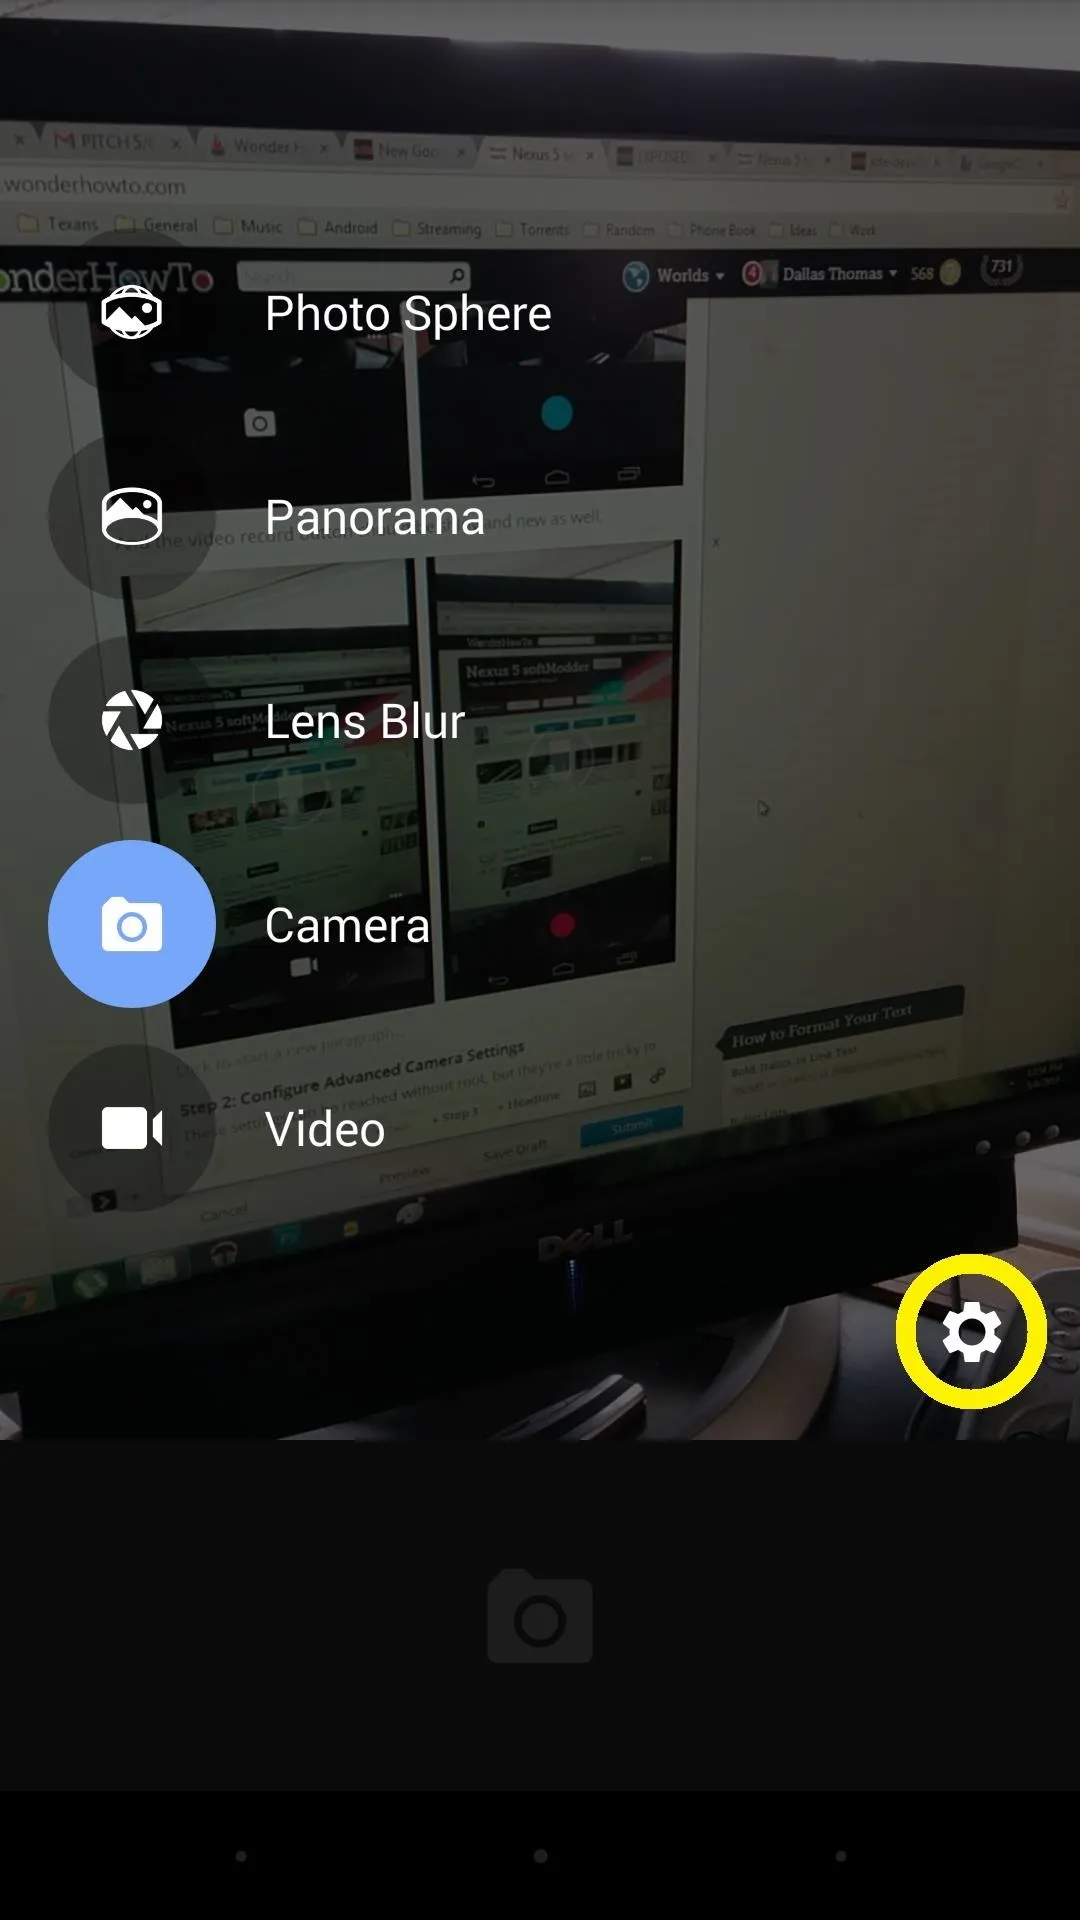
These settings can be reached without root, but they're a little tricky to find. From within the camera app, slide your finger in from the left edge of the screen. This brings up the various camera modes, and if you look closely, it also shows a small settings button near the bottom-right. Hit that button to tweak some of the advanced settings.
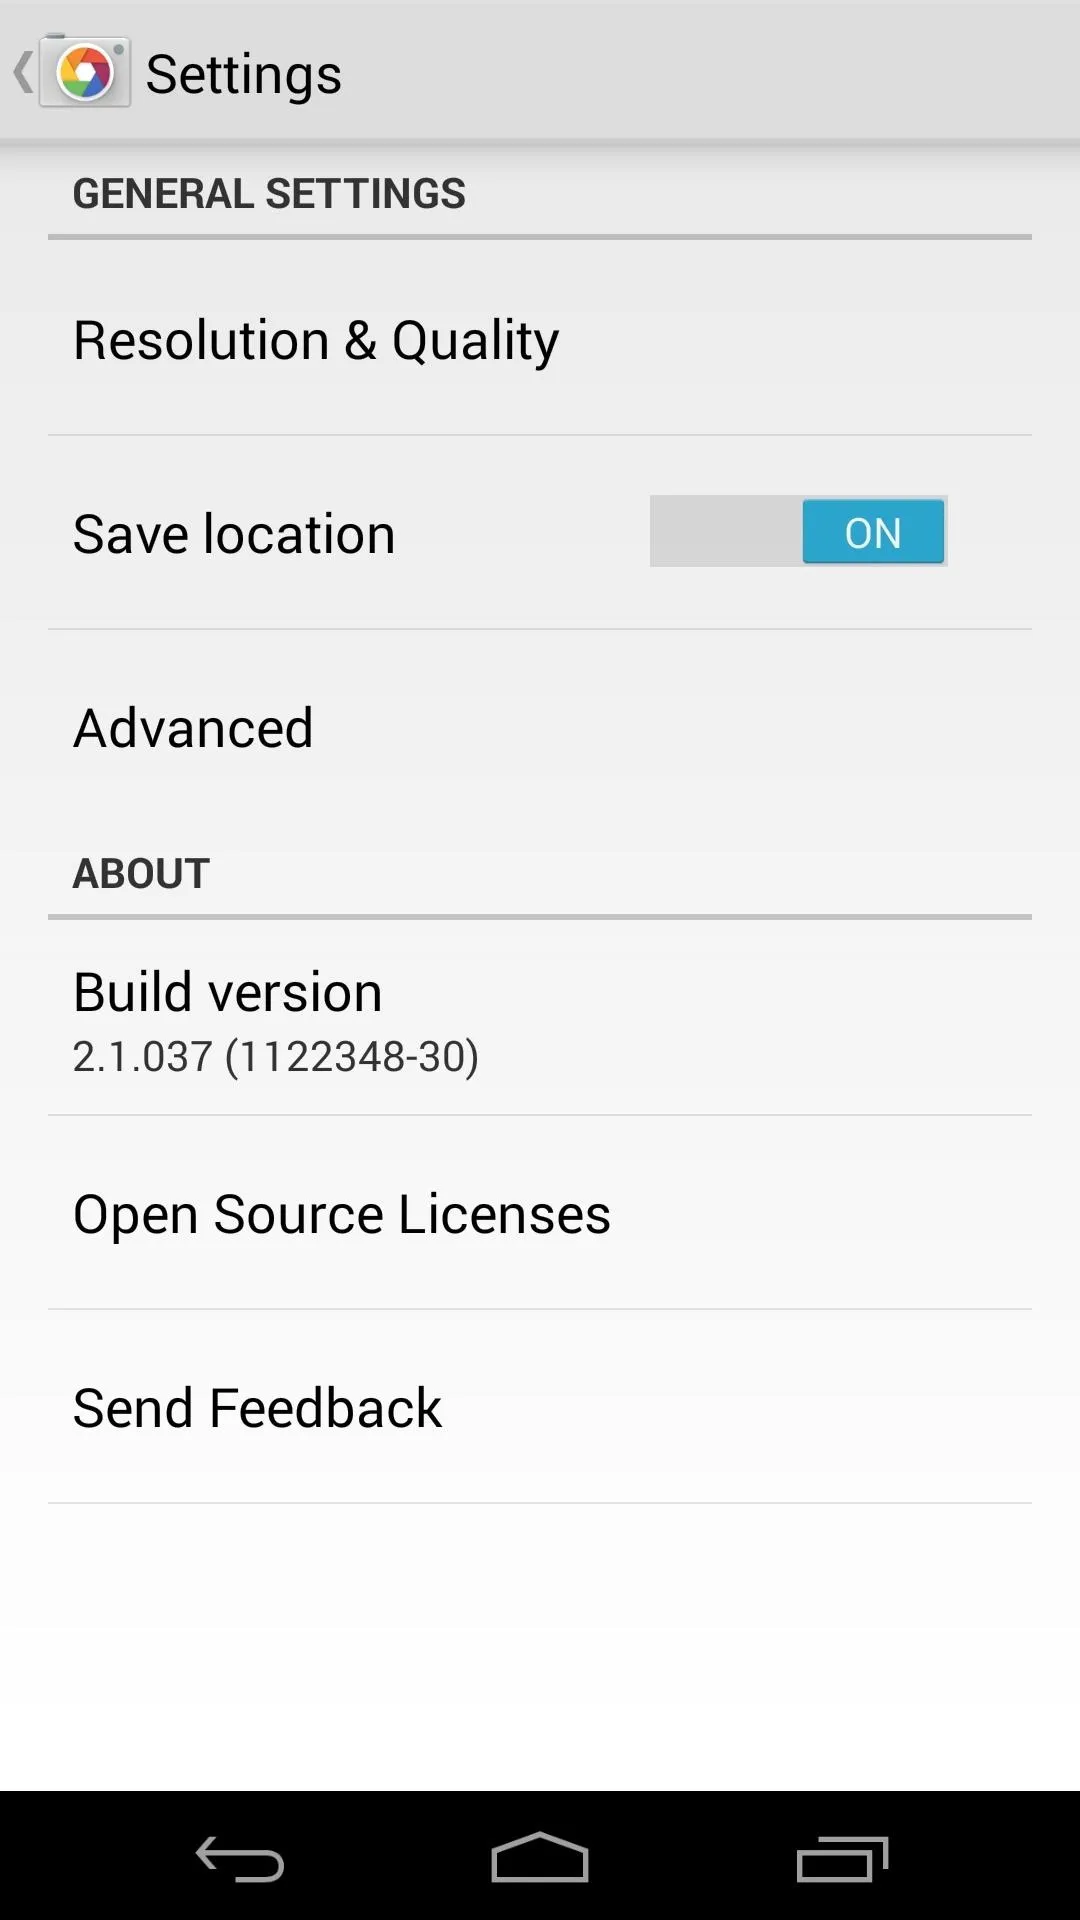


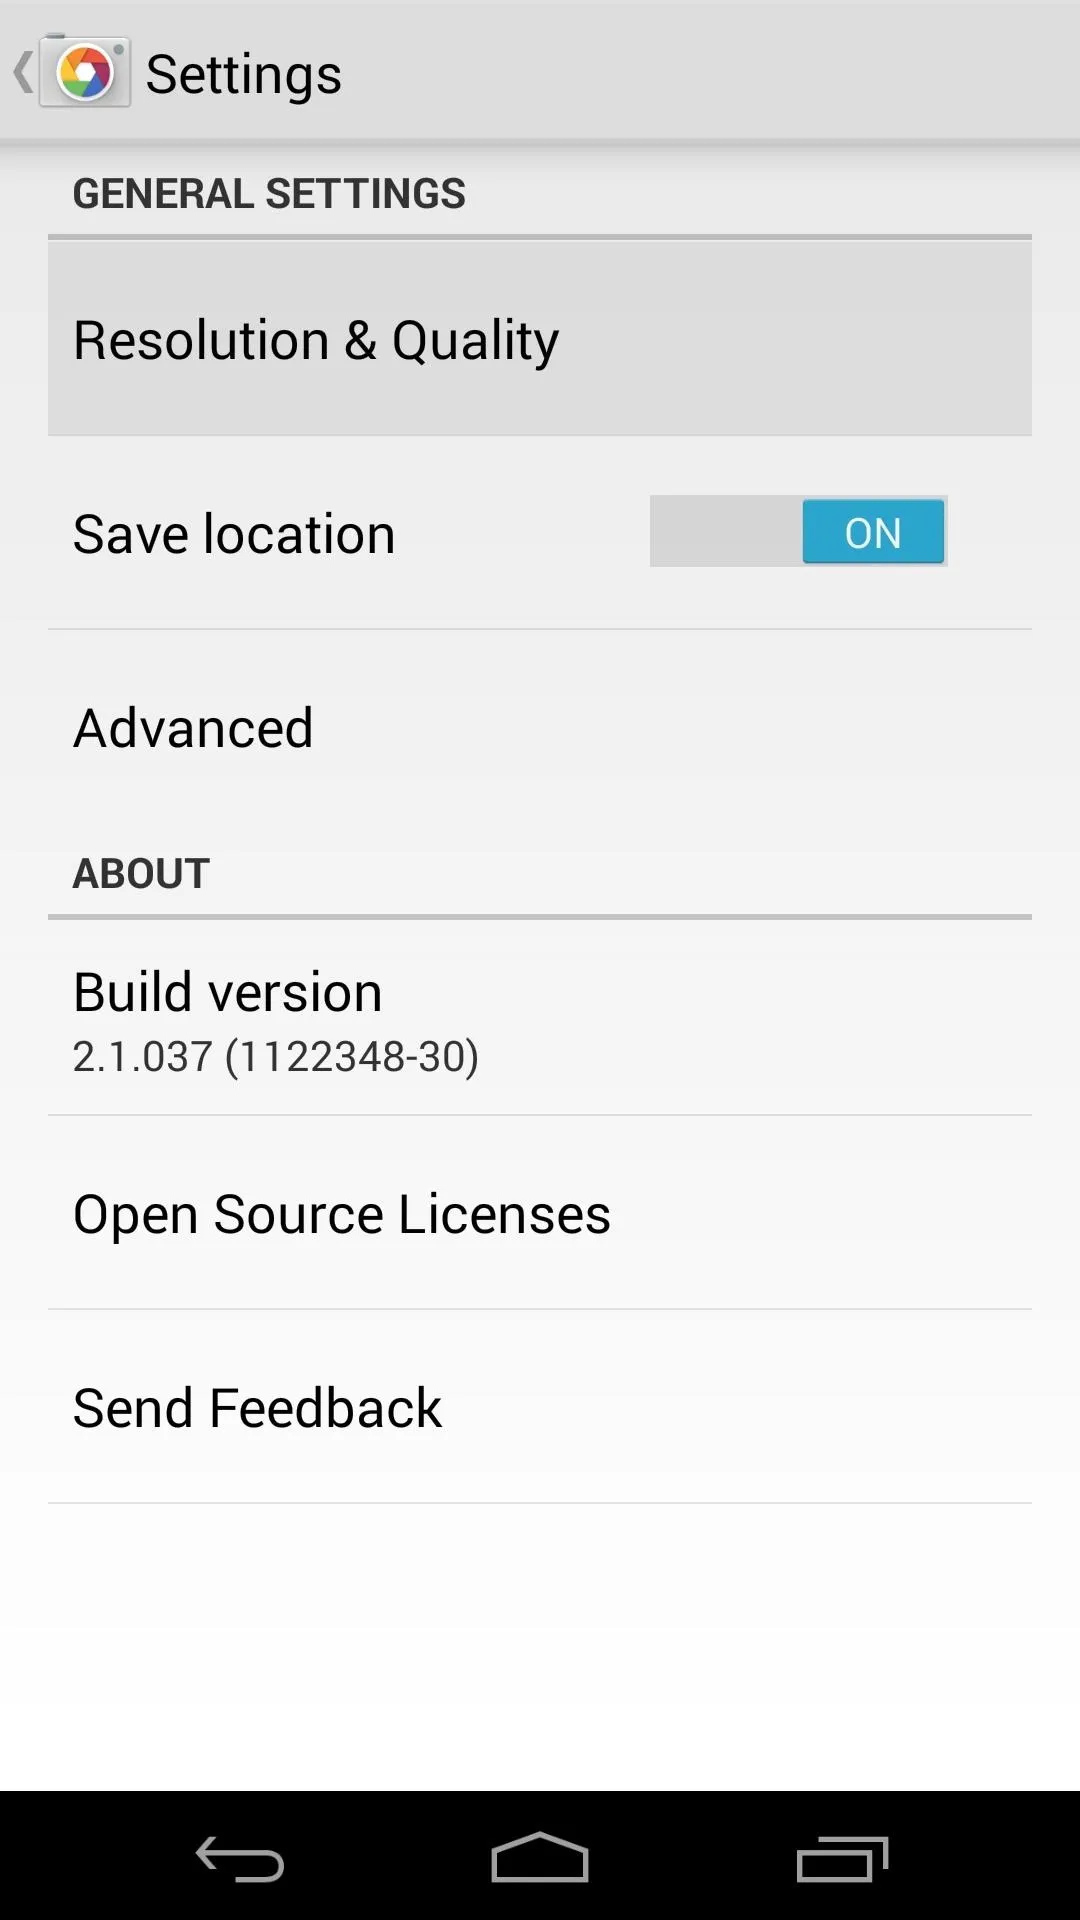
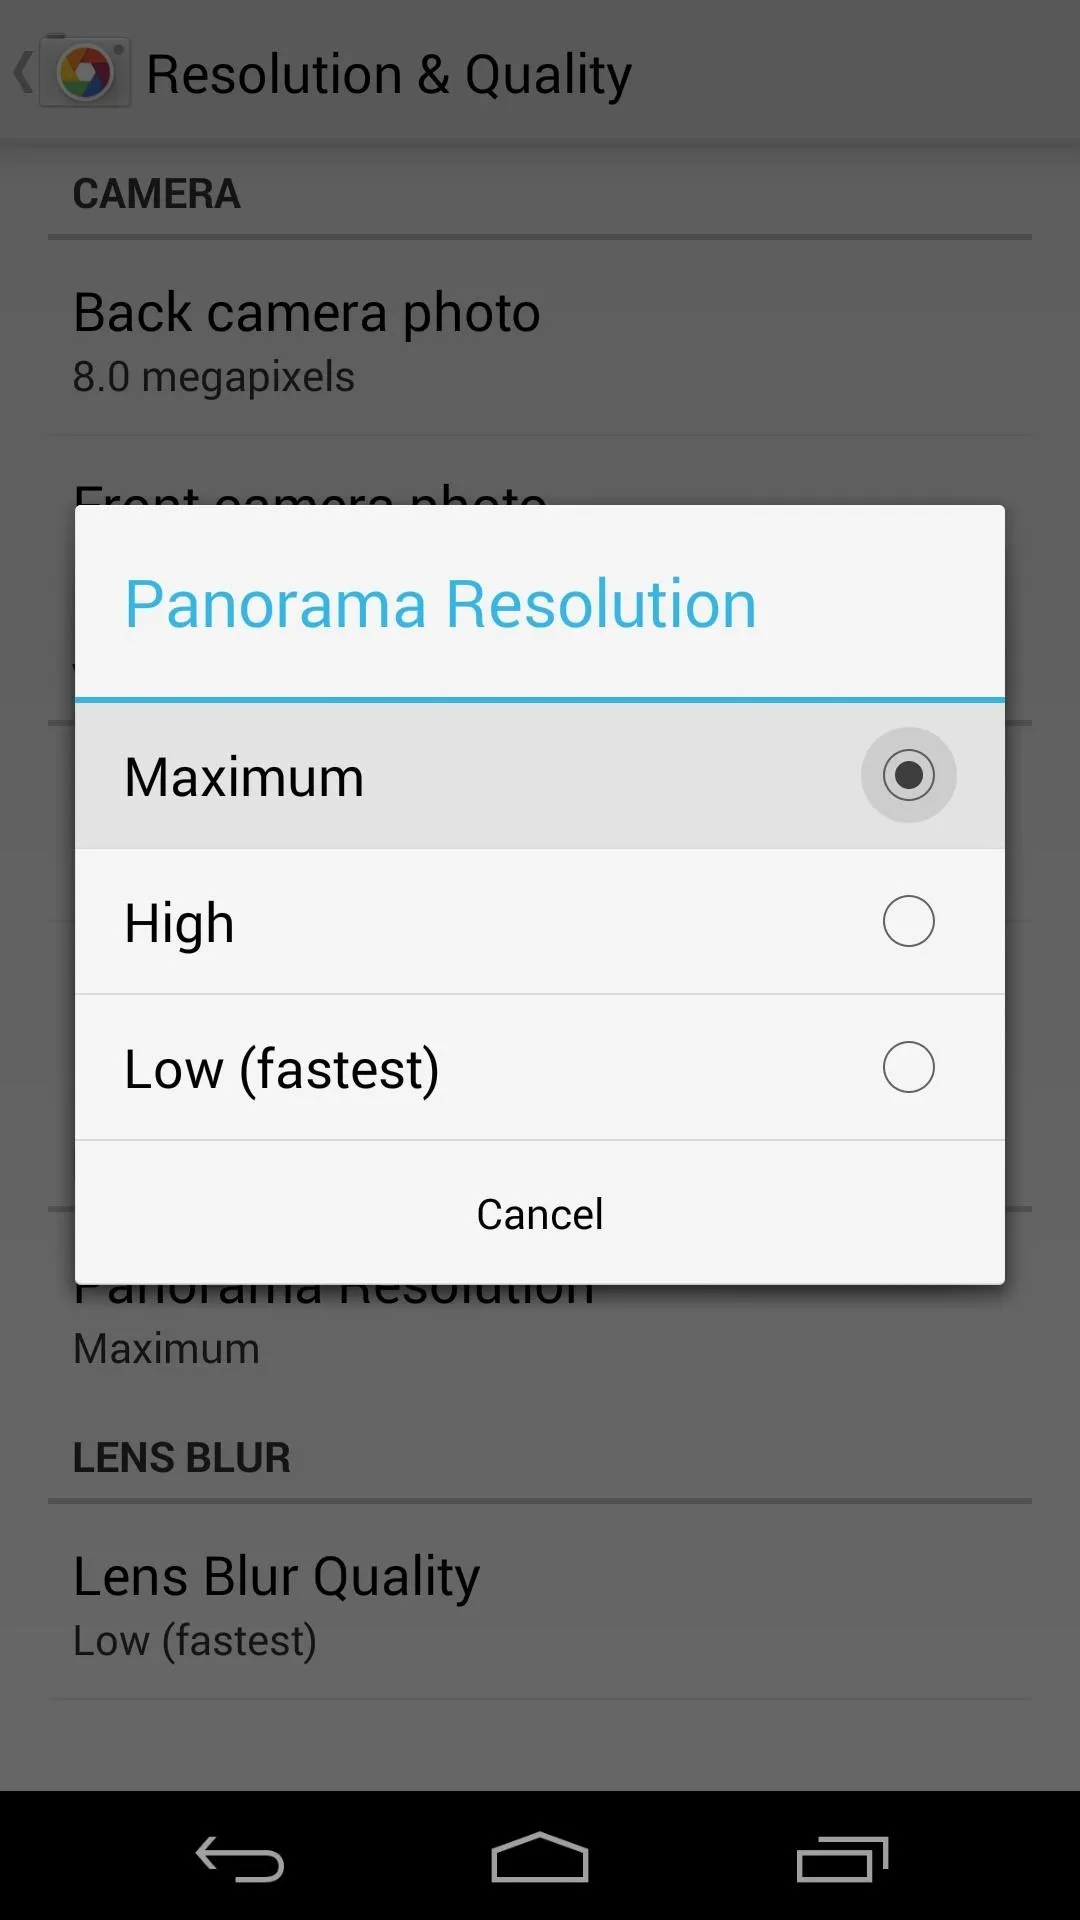
Under Resolution & Quality, you can increase the resolution of various picture modes.
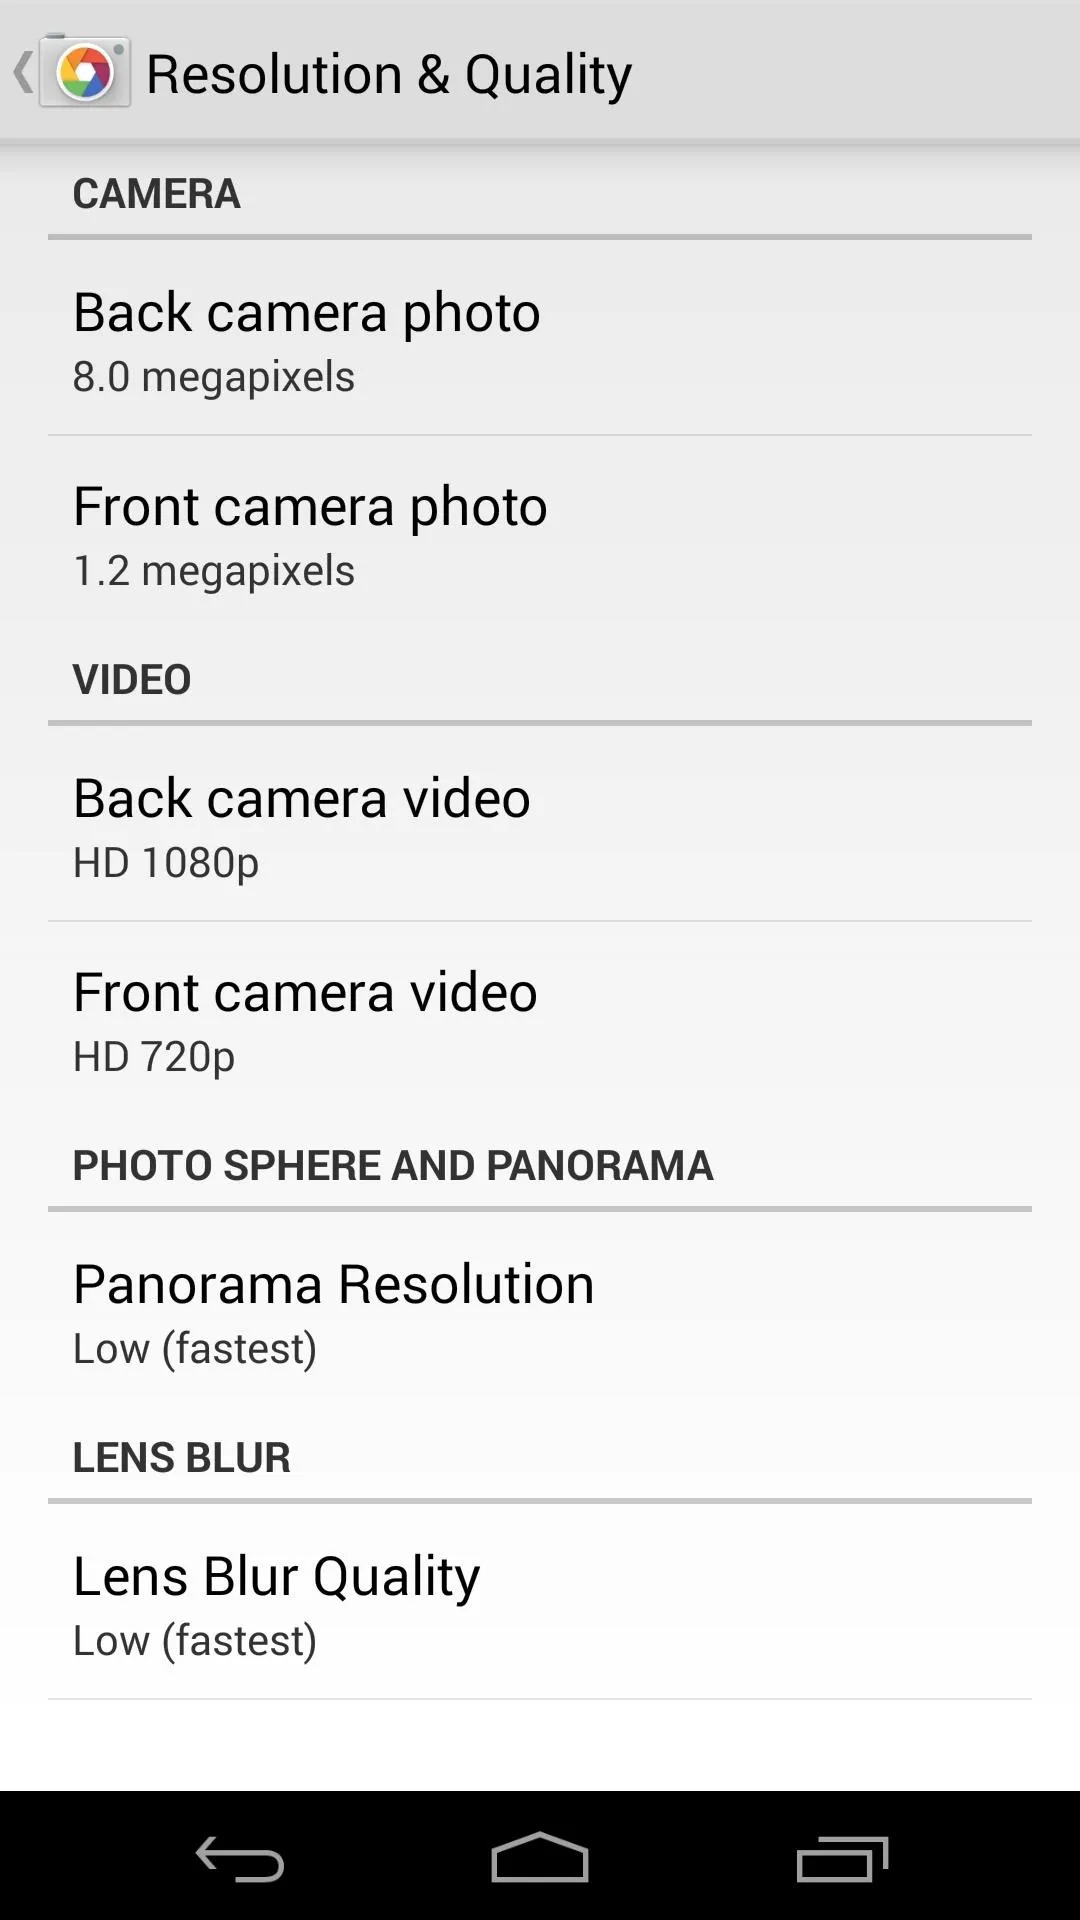


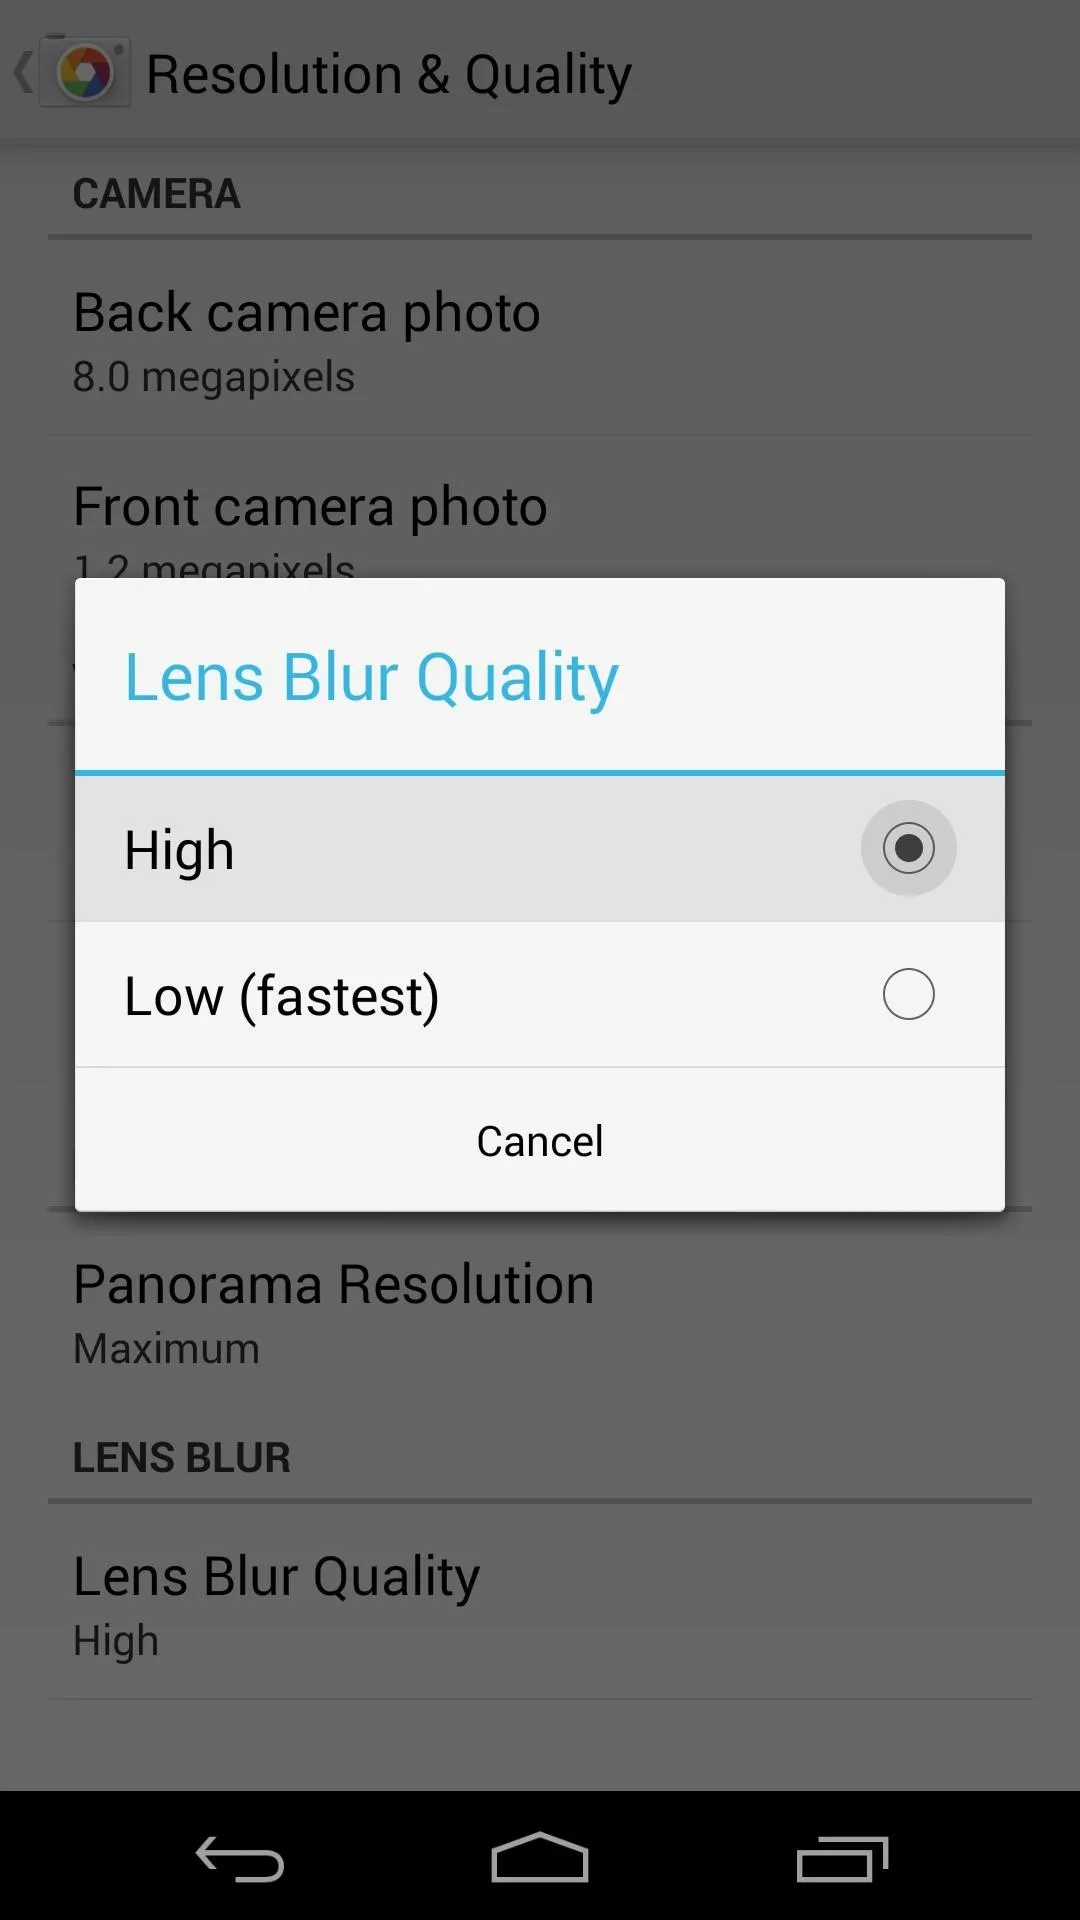
The first four entries here are already set to their highest quality. Tap Panorama Resolution to increase the resolution of these types of photos to their maximum levels. Do the same for Lens Blur Quality to get the best possible pictures there.


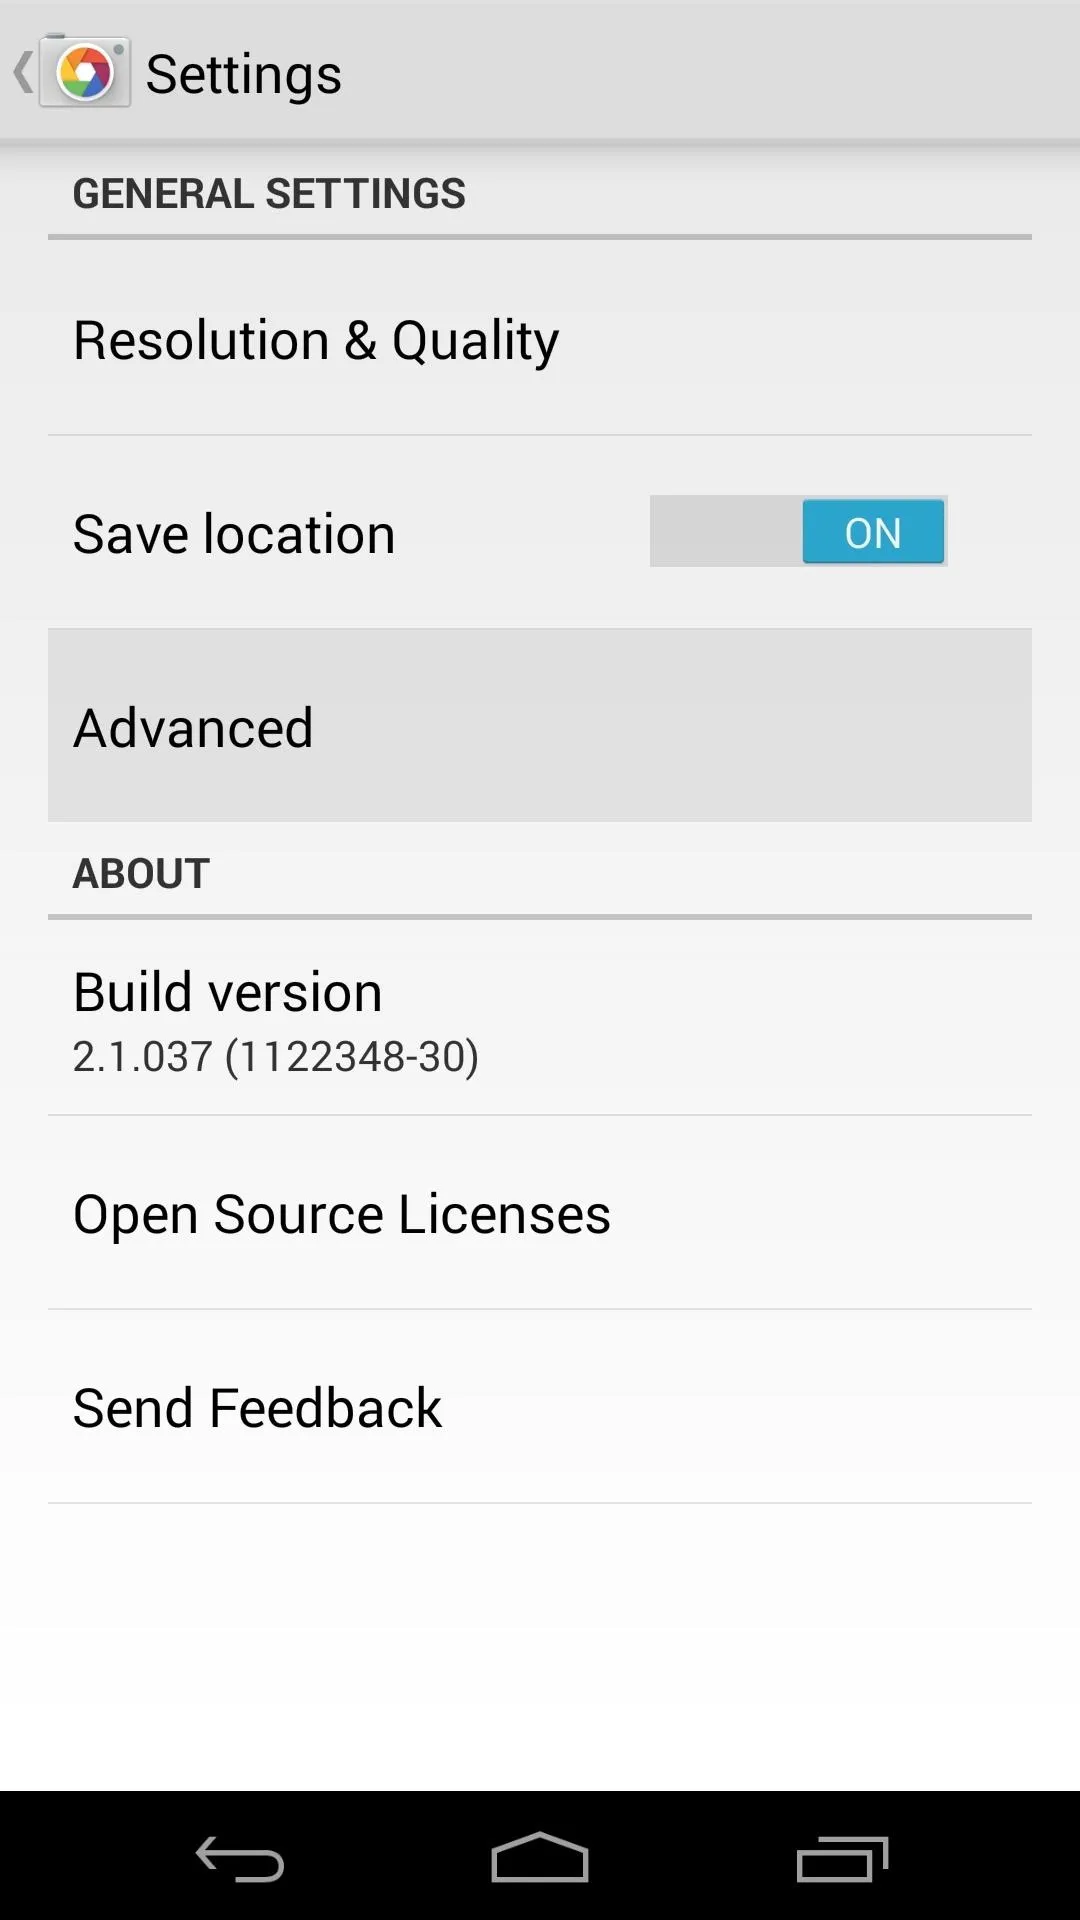
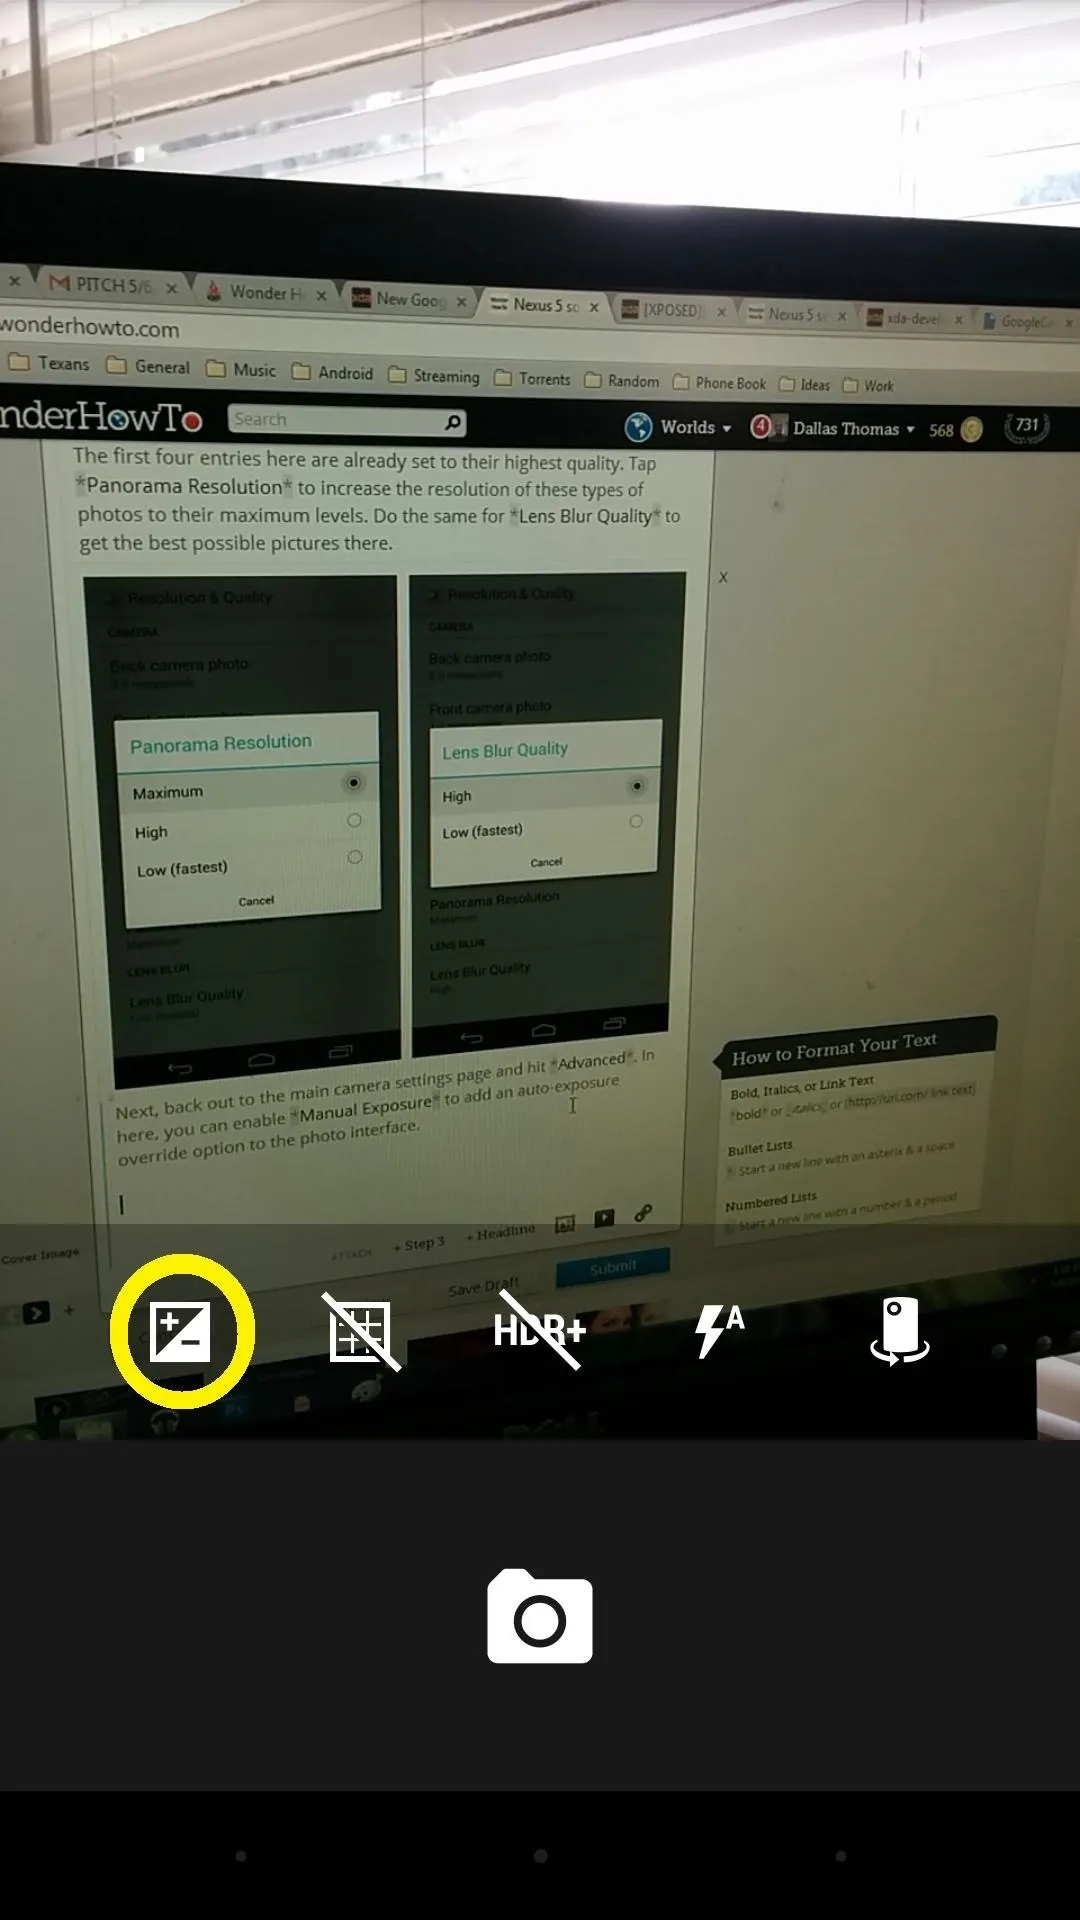
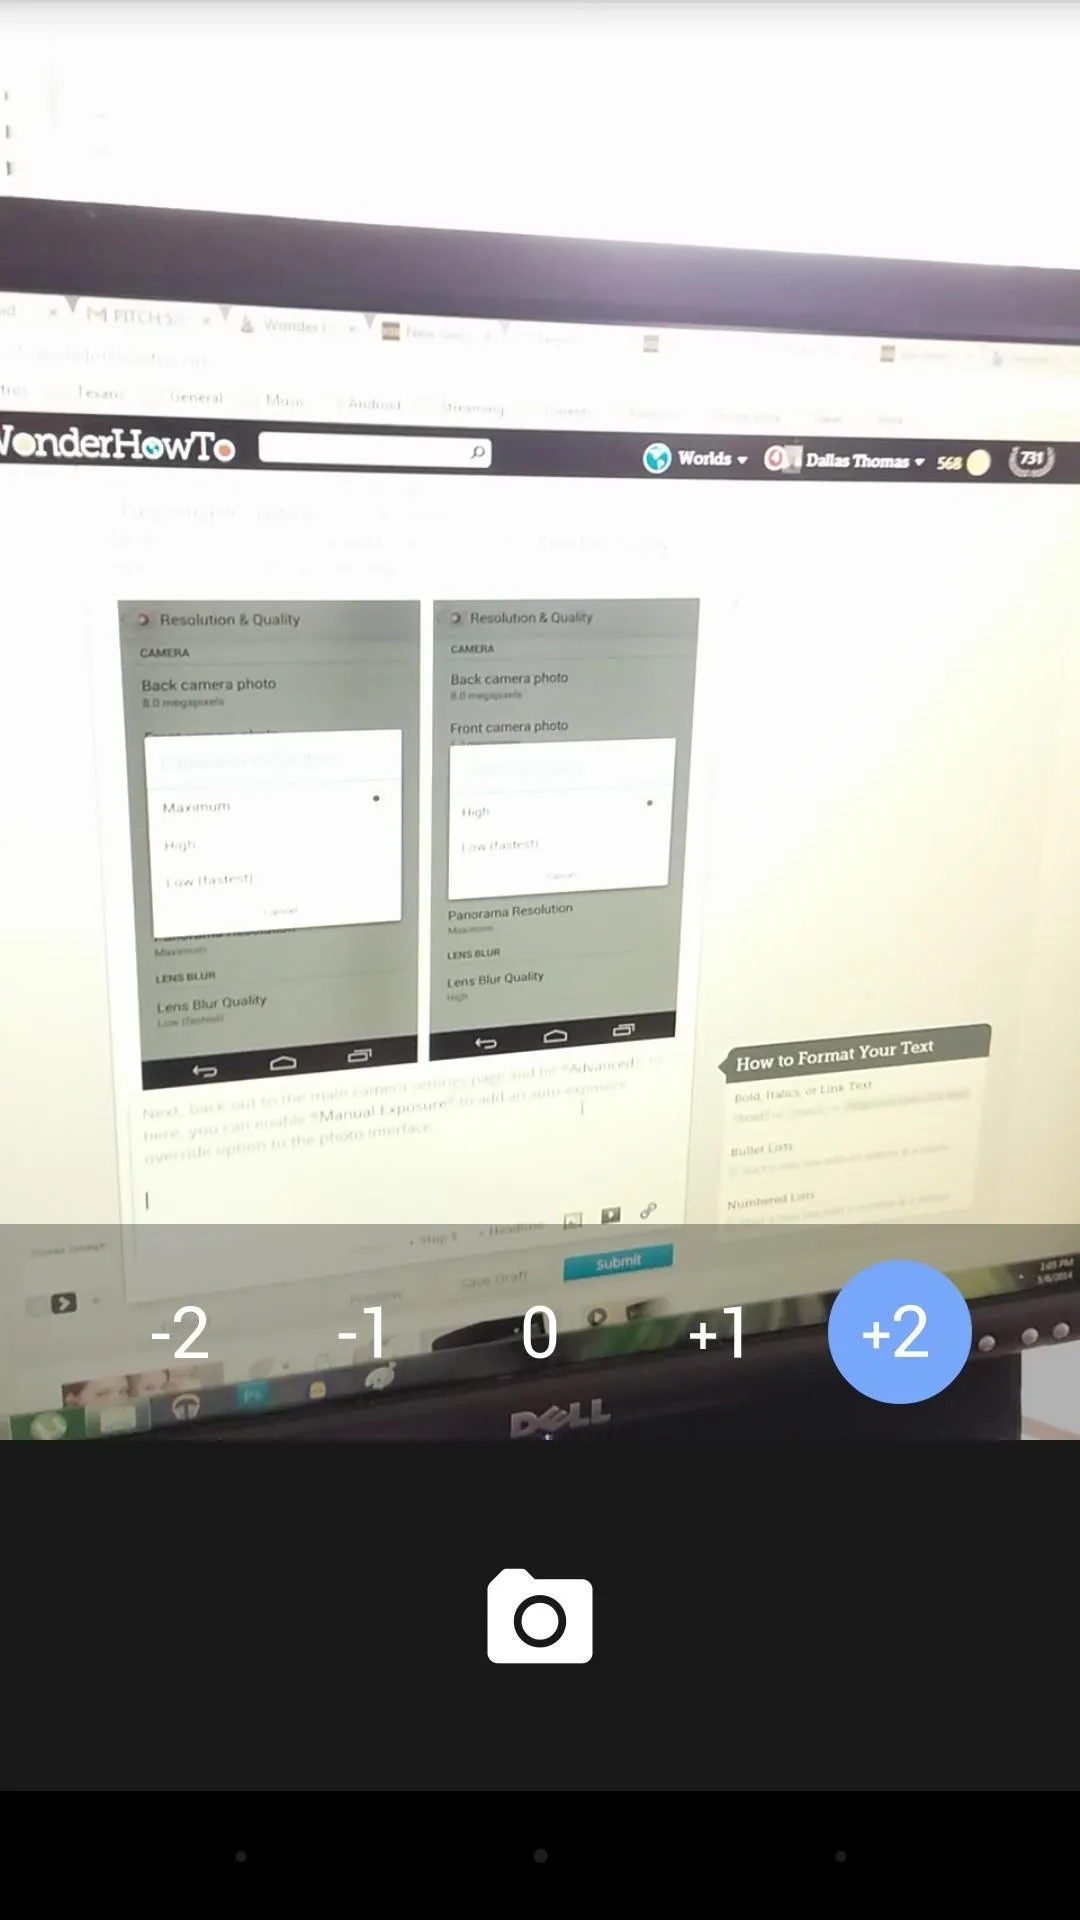
Next, back out to the main camera settings page and hit Advanced. In here, you can enable Manual Exposure.
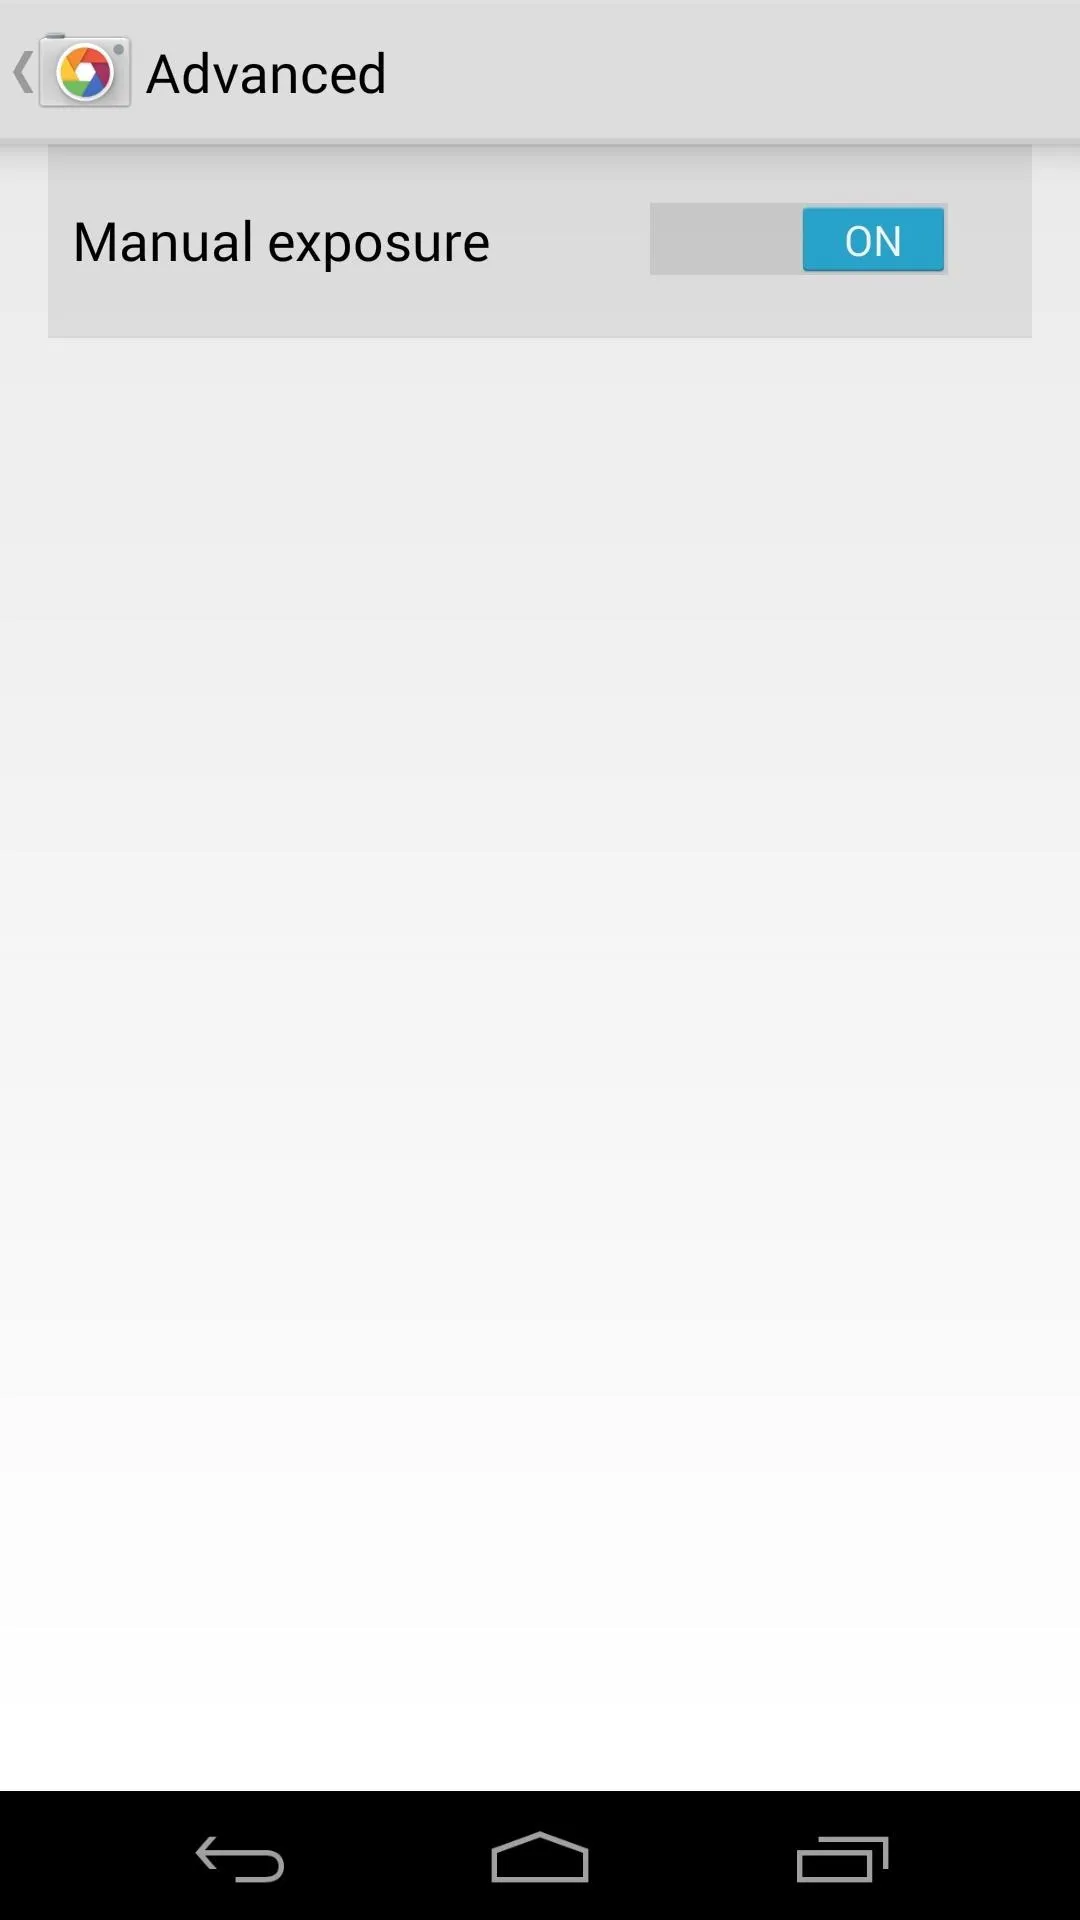


This will add a new option to the normal photo interface that allows you to adjust exposure levels manually.


Tip #3: Add Volume Rocker Zoom Controls
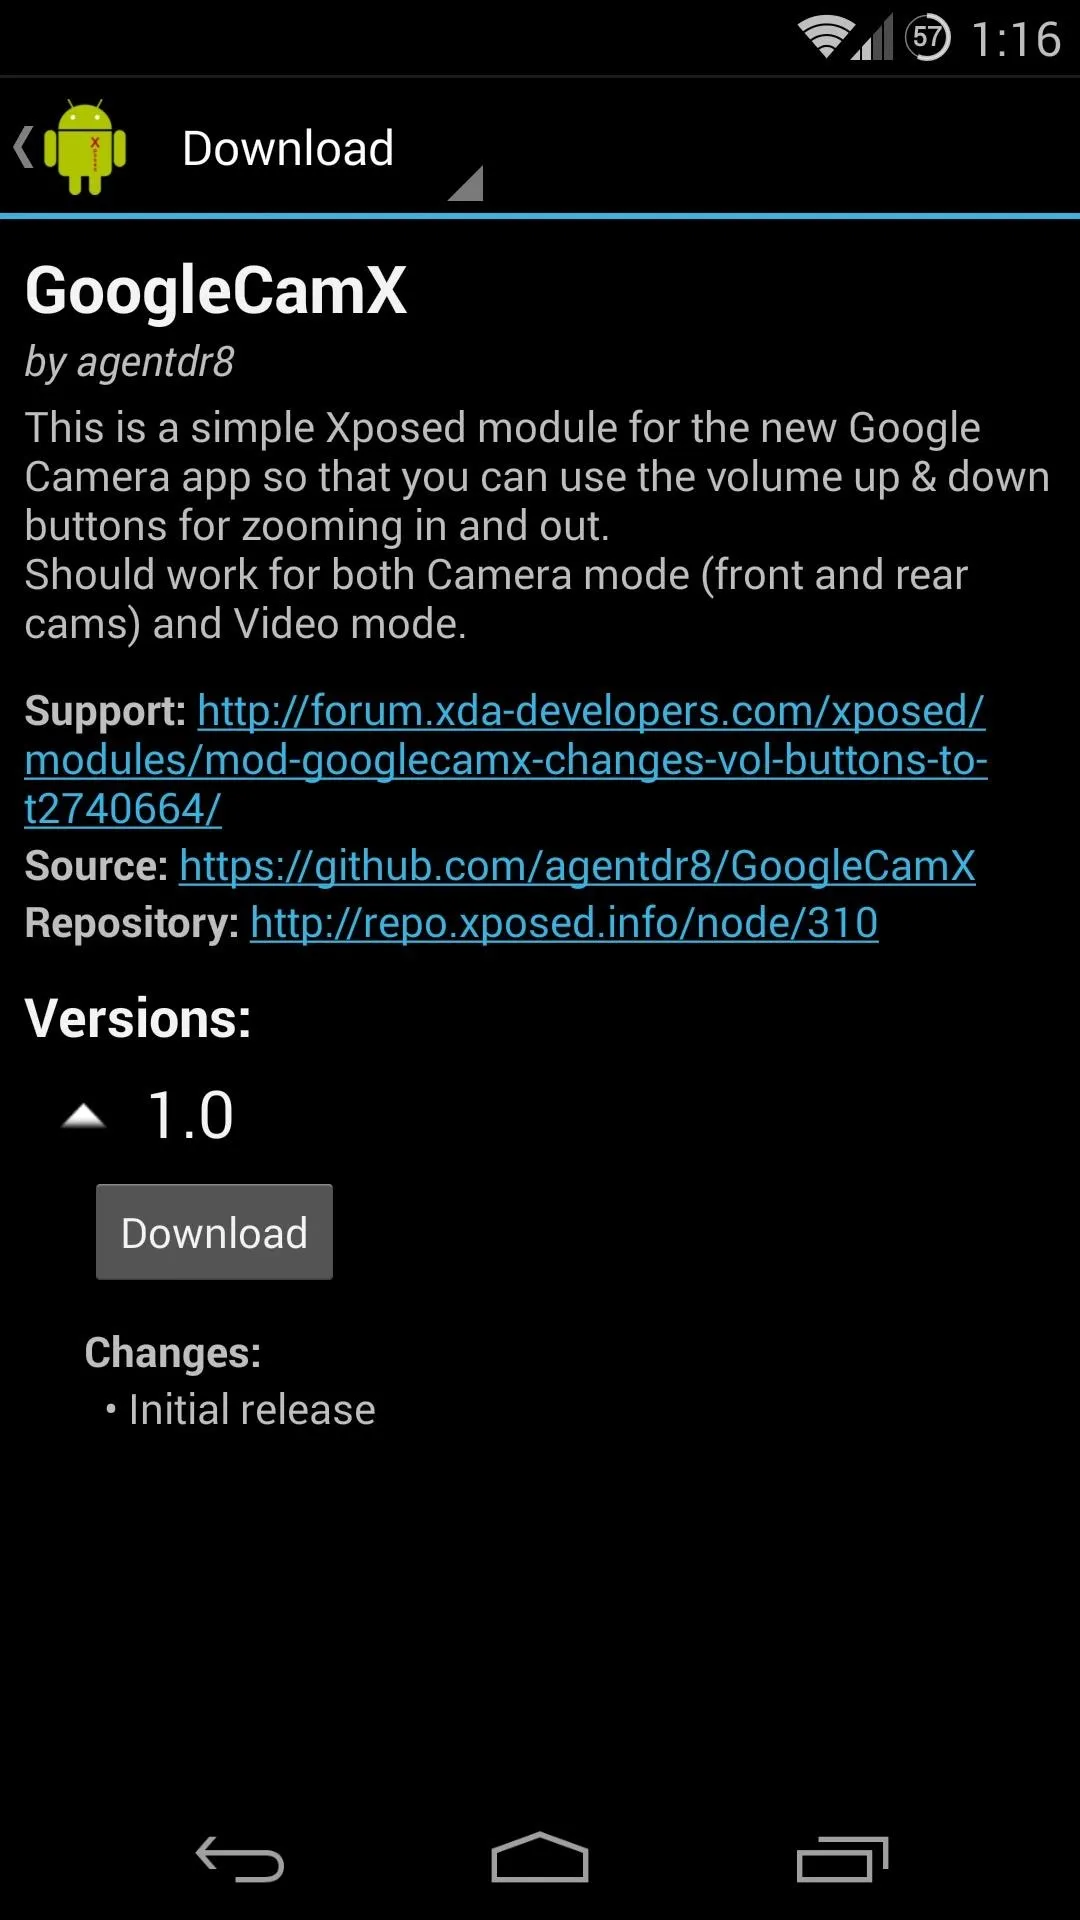
Zooming in and out with the stock camera app can be a bit of a pain. If you are rooted and have the Xposed Framework installed, developer AgentDr8 has a module that will make this much easier.
Instead of struggling to maintain your shot while using two fingers to pinch and zoom, you can now simply use the volume buttons on your Nexus 5 to zoom in and out.
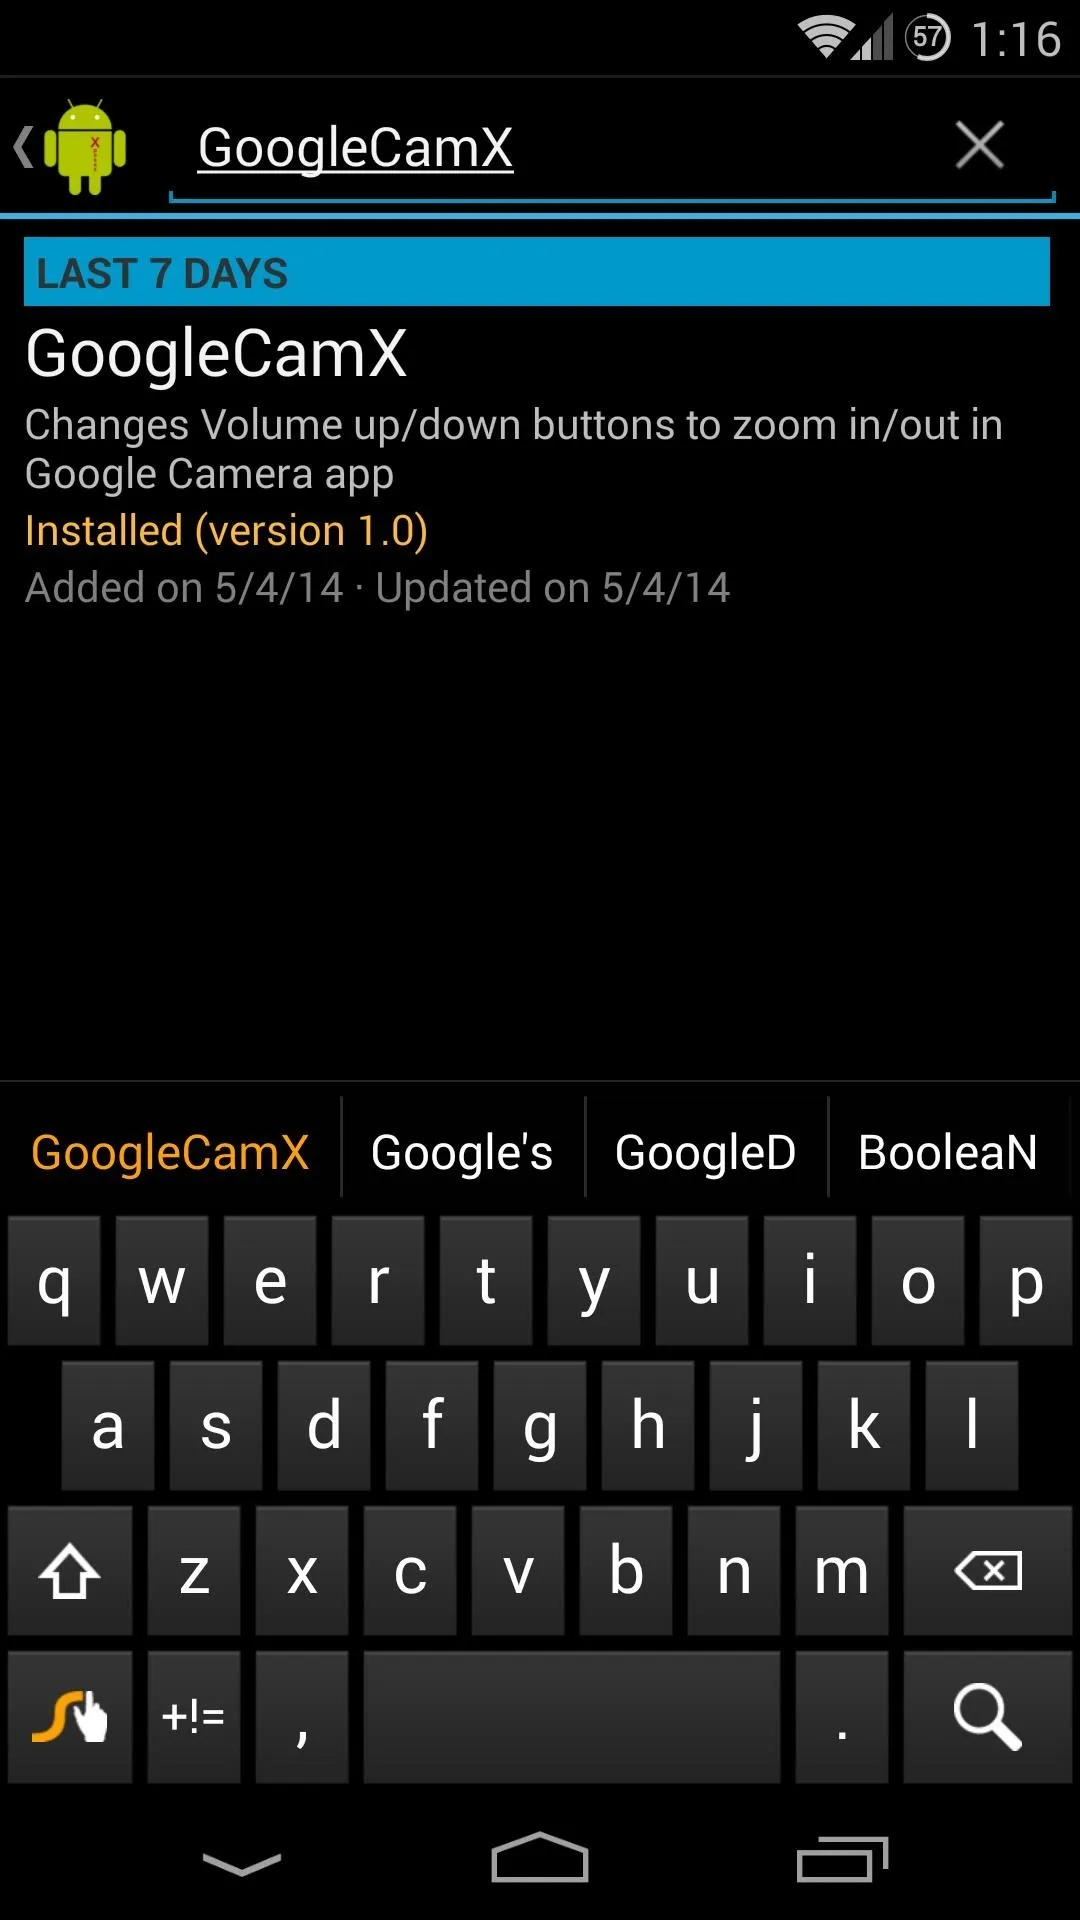
From the Xposed Installer app, head into the Downloads section. Search GoogleCamX to download and install the module. You can also download the module directly from here.
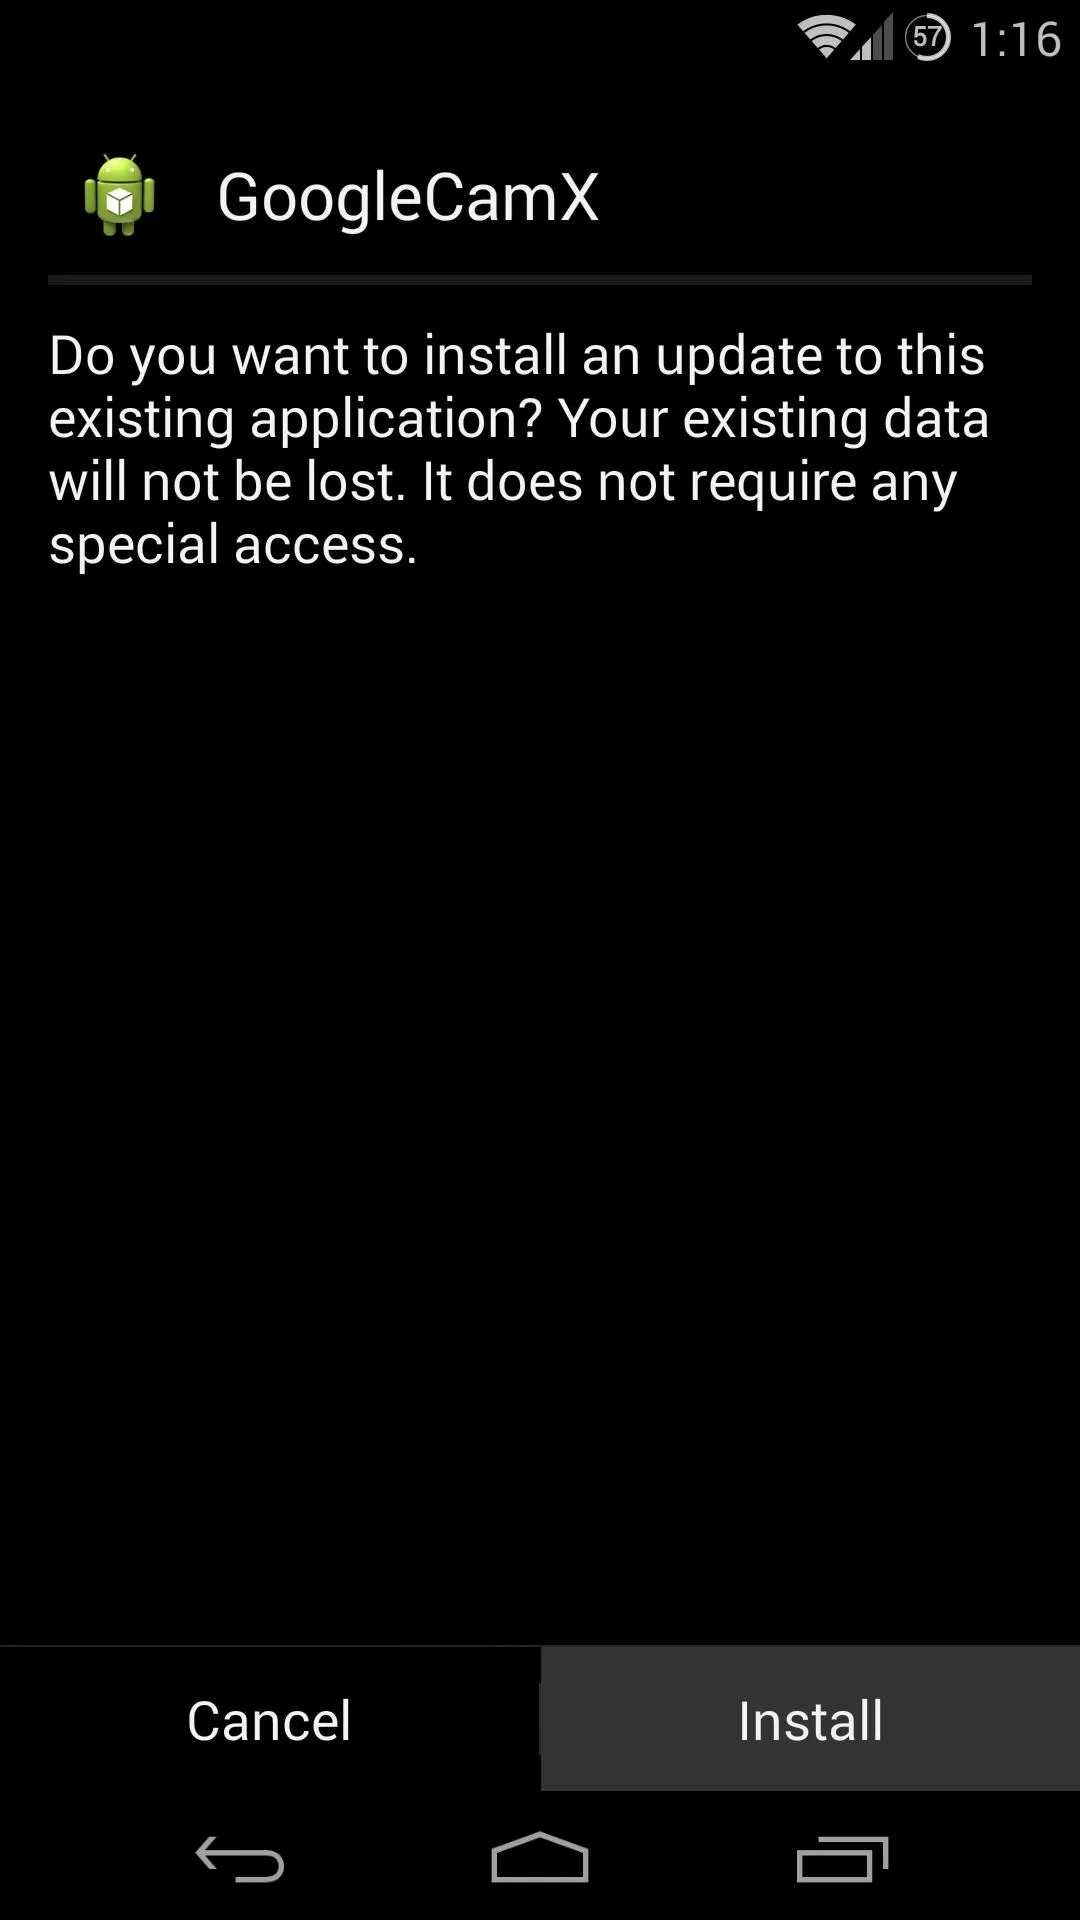


Once installed, be sure to activate this module and then reboot.
The volume rocker zoom functionality works in camera and video modes with either the front or rear cameras, but does not work with HDR+ enabled.
Tip #4: Create 3D Animated GIFs
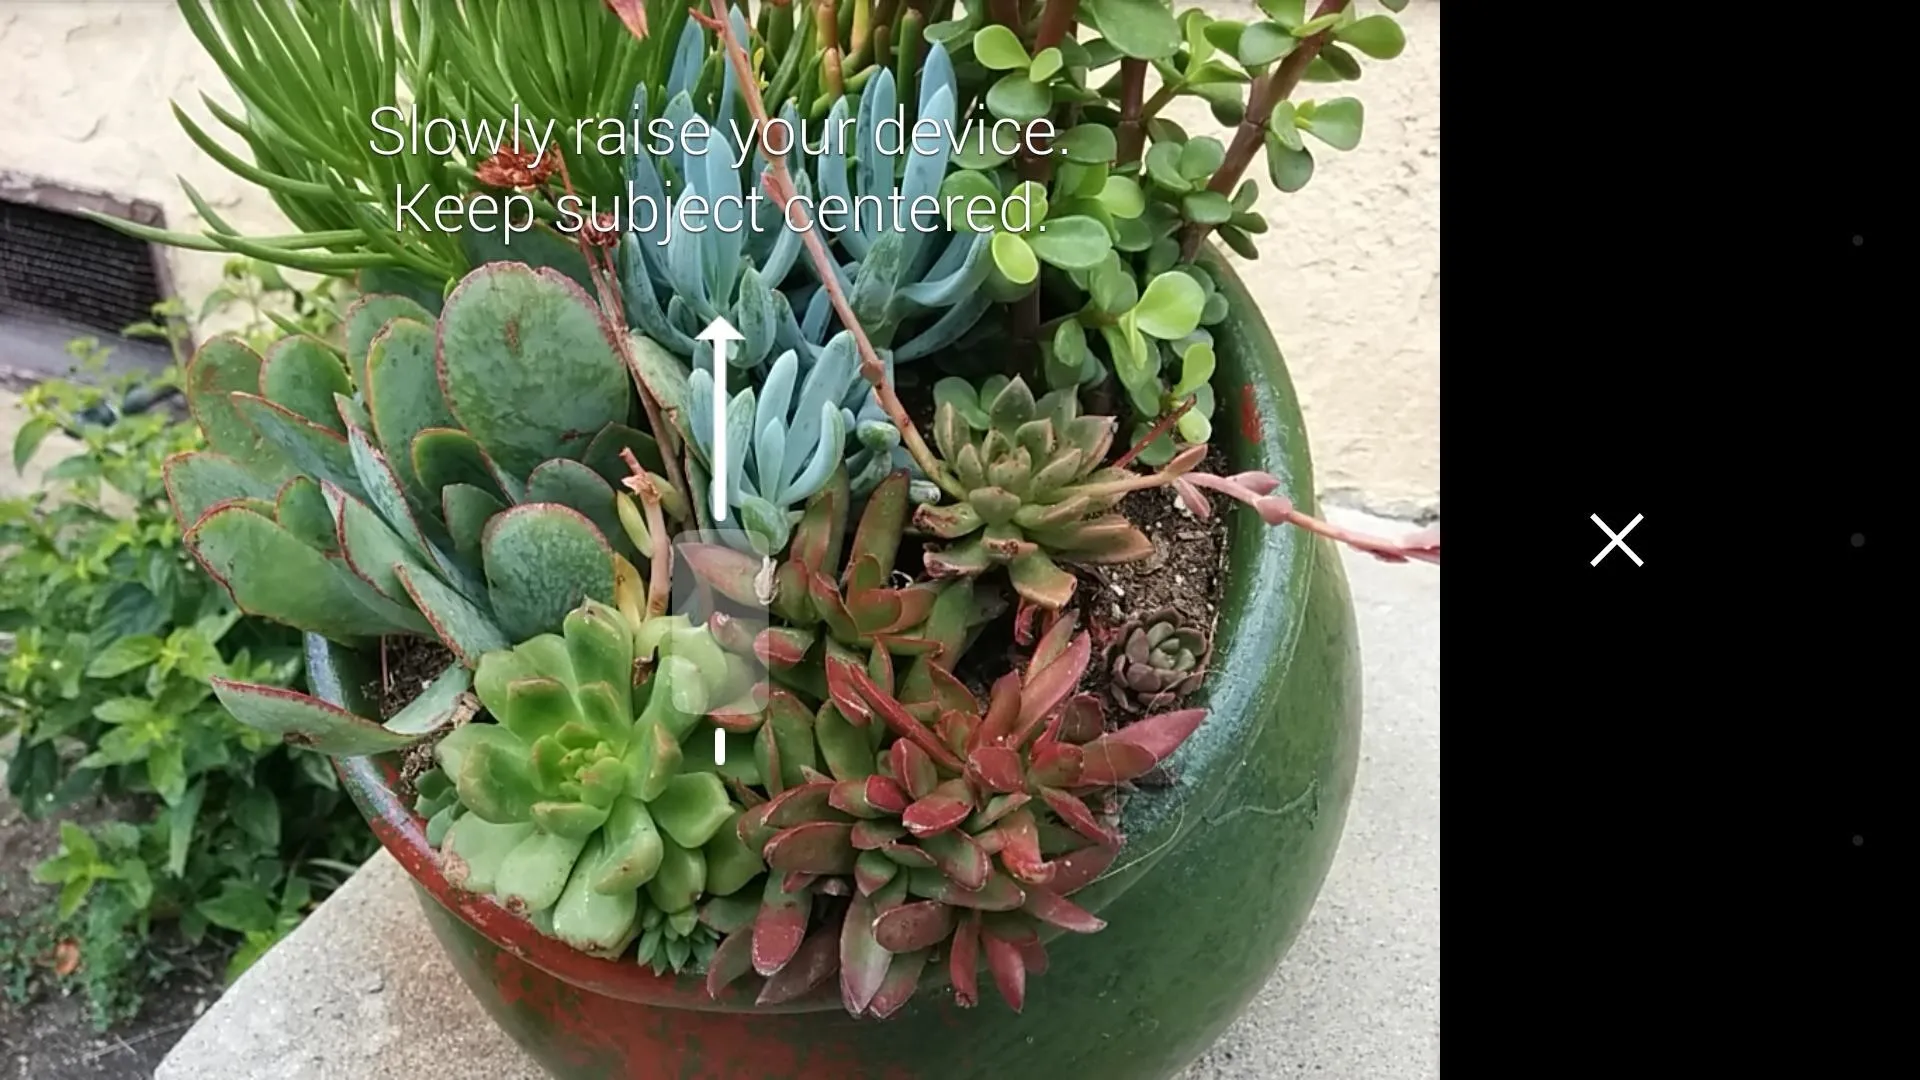
The Lens Blur mode on the new Google Camera app is pretty awesome by itself. You take a picture, then tilt the phone, and the app creates a 3-dimensional map that gets embedded in the photo's metadata. This map is then used as a reference point so that you can go back and change the focal point of your picture.
That 3D map has an X, Y, and Z coordinate for each individual pixel from the original photo that you took. And since this map is embedded in your photo, it can be accessed by other apps and services. One such service is a website maintained by developer Rafal Lindemann, which Faisal has covered in this article.
Lindemann's website has added a new functionality, though, and this one might be its coolest yet: it uses that 3D map to create animated images with a parallax effect. To get started, you'll need to take a lens blur photo.
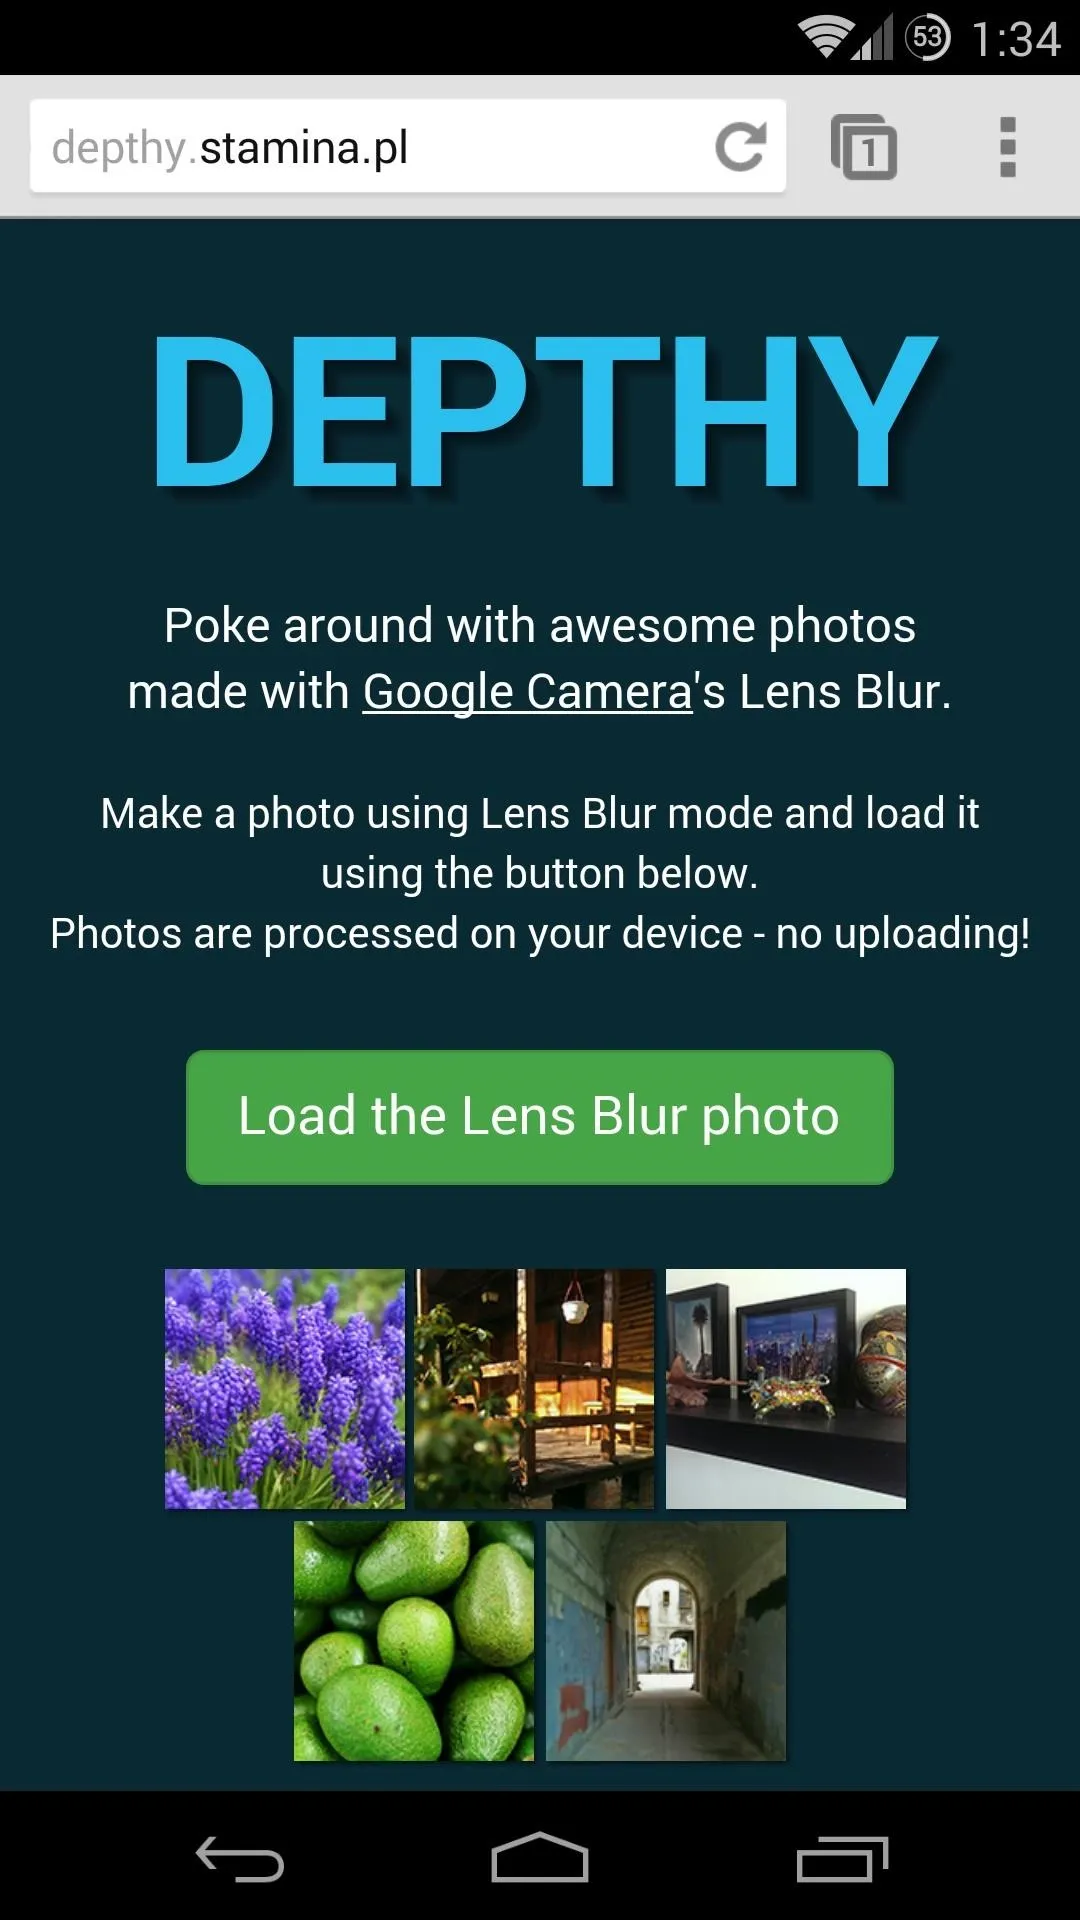
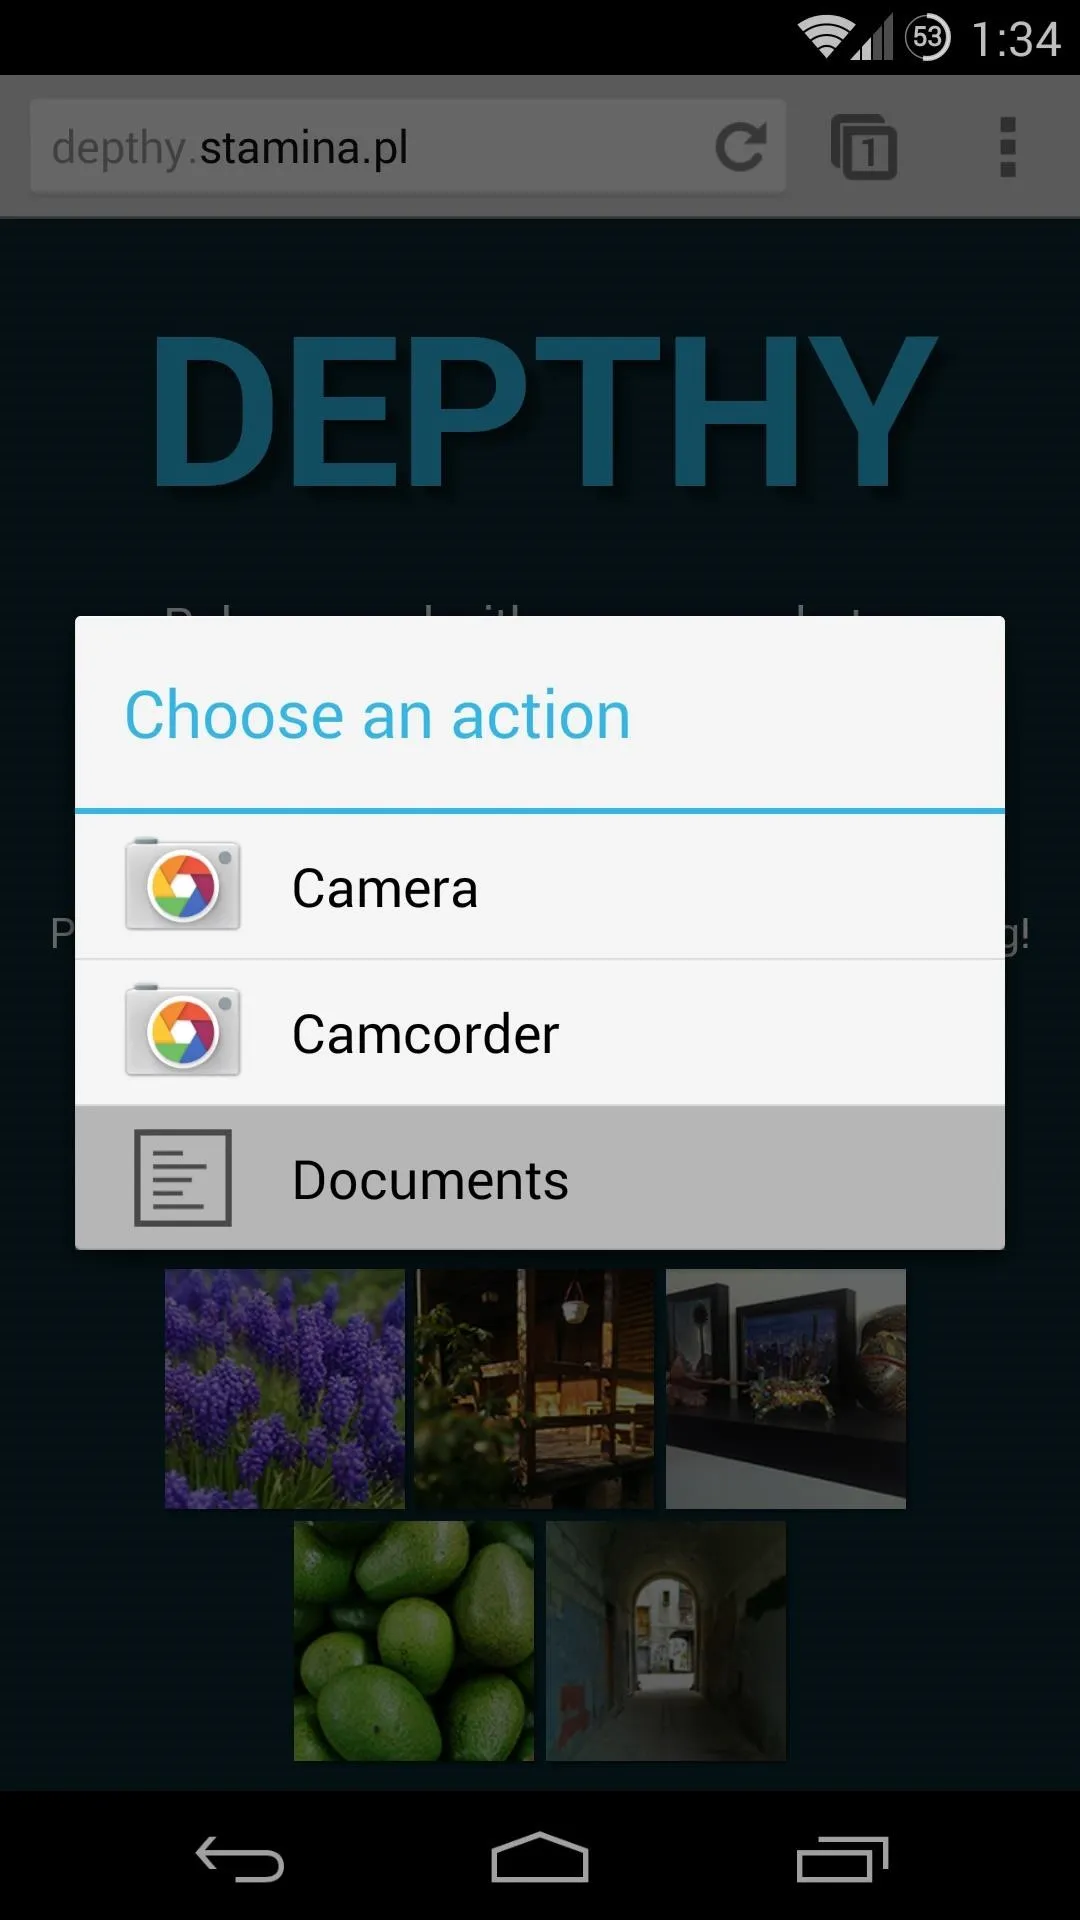
Once that's finished processing, head over to the Depthy website from your Nexus 5. At the top of the page, tap Load the Lens Blur photo. From the dialog box that appears, select Documents, then navigate to the photo you just took.
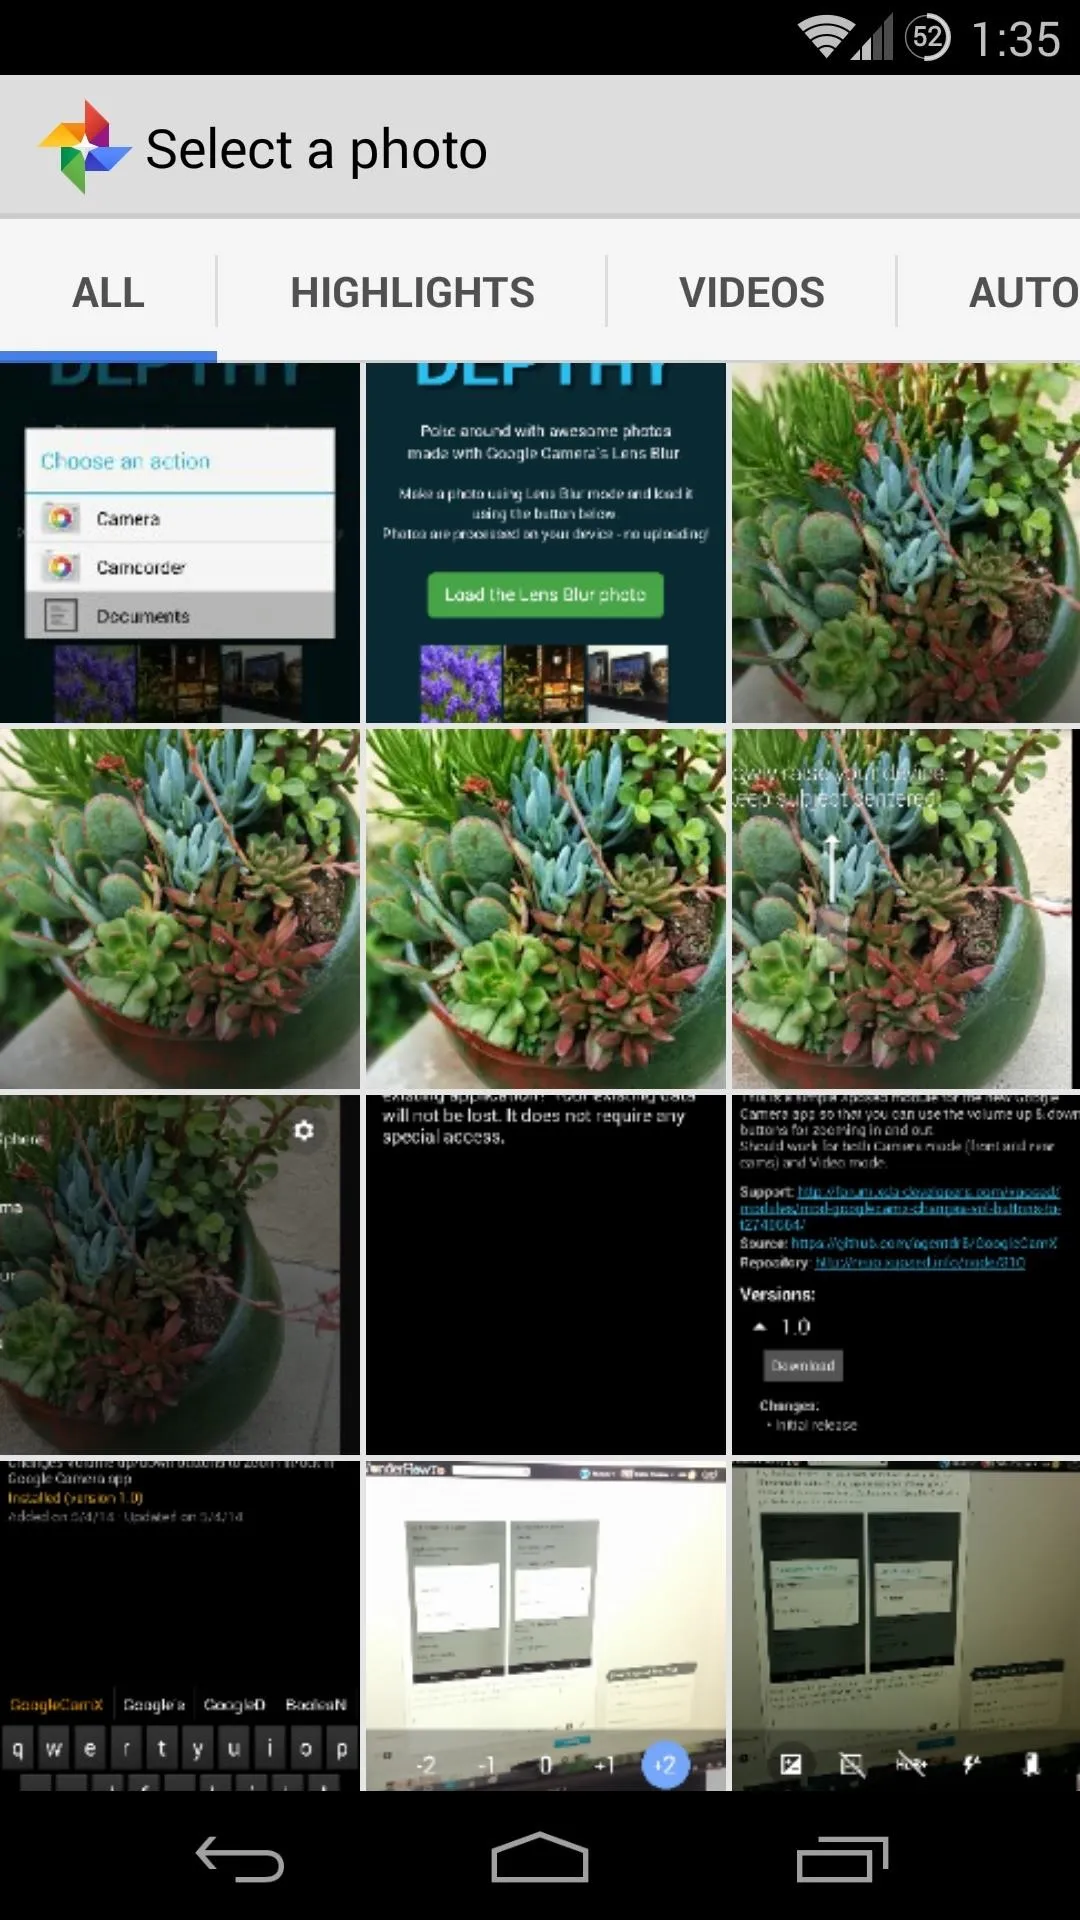


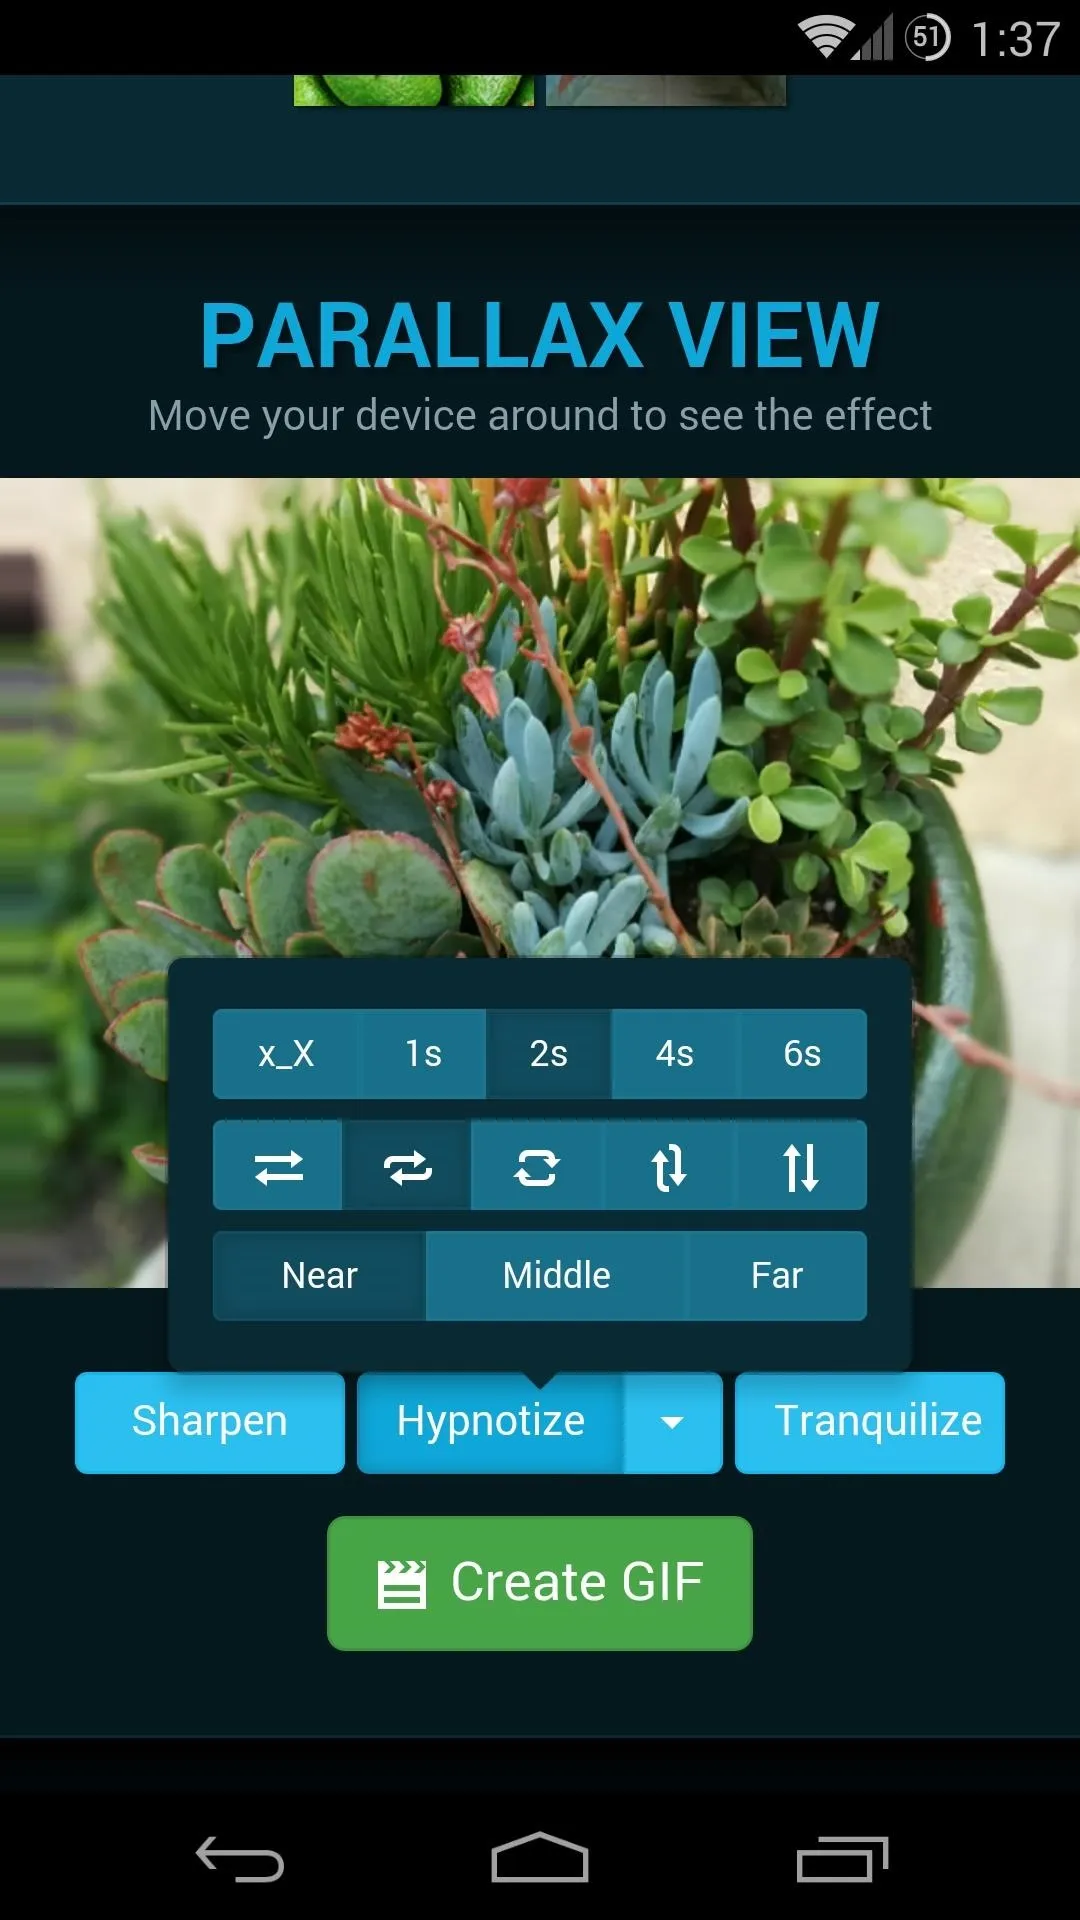
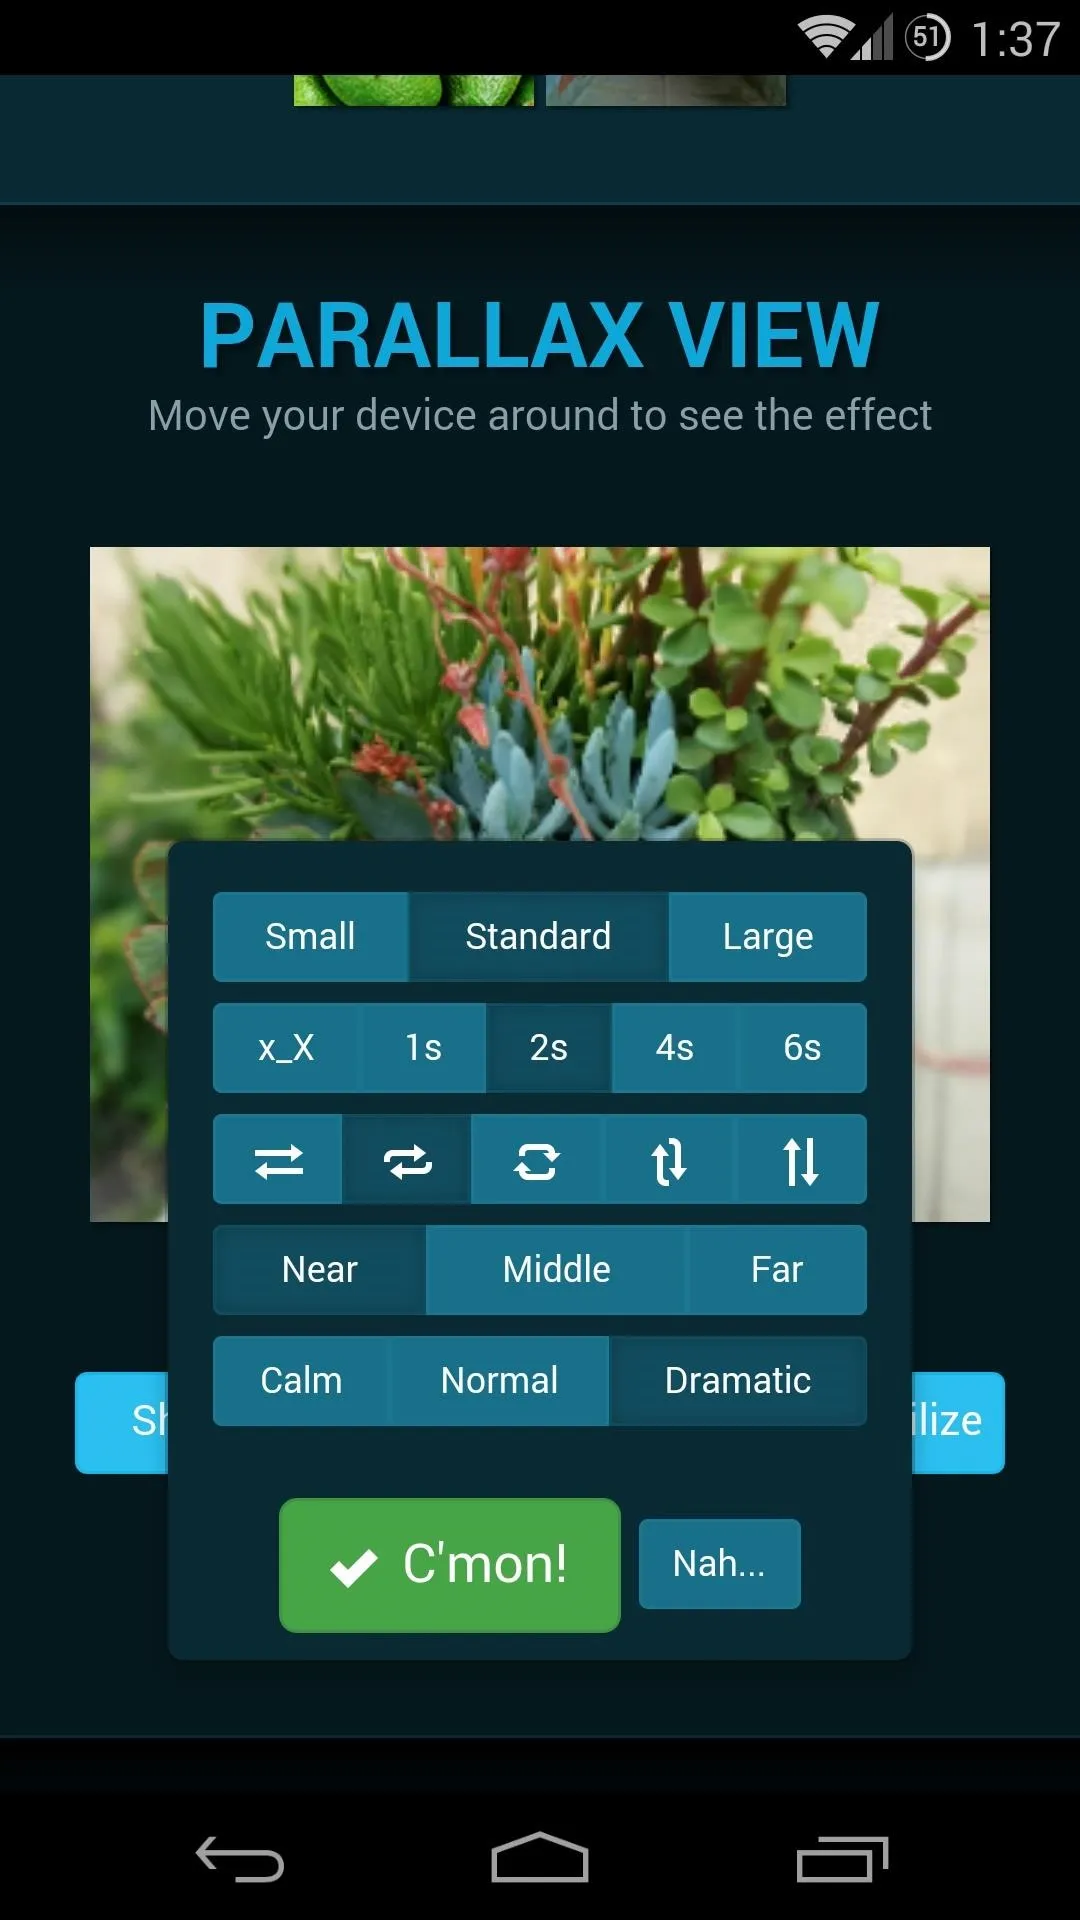
Give the photo a few seconds to upload, then scroll down the page a little bit. You'll see your lens blur photo with a parallax effect already applied. Underneath it, you can play around with options to alter this effect and make it even more dramatic. When you're satisfied with the effects, tap Create Gif, then confirm by hitting C'mon.


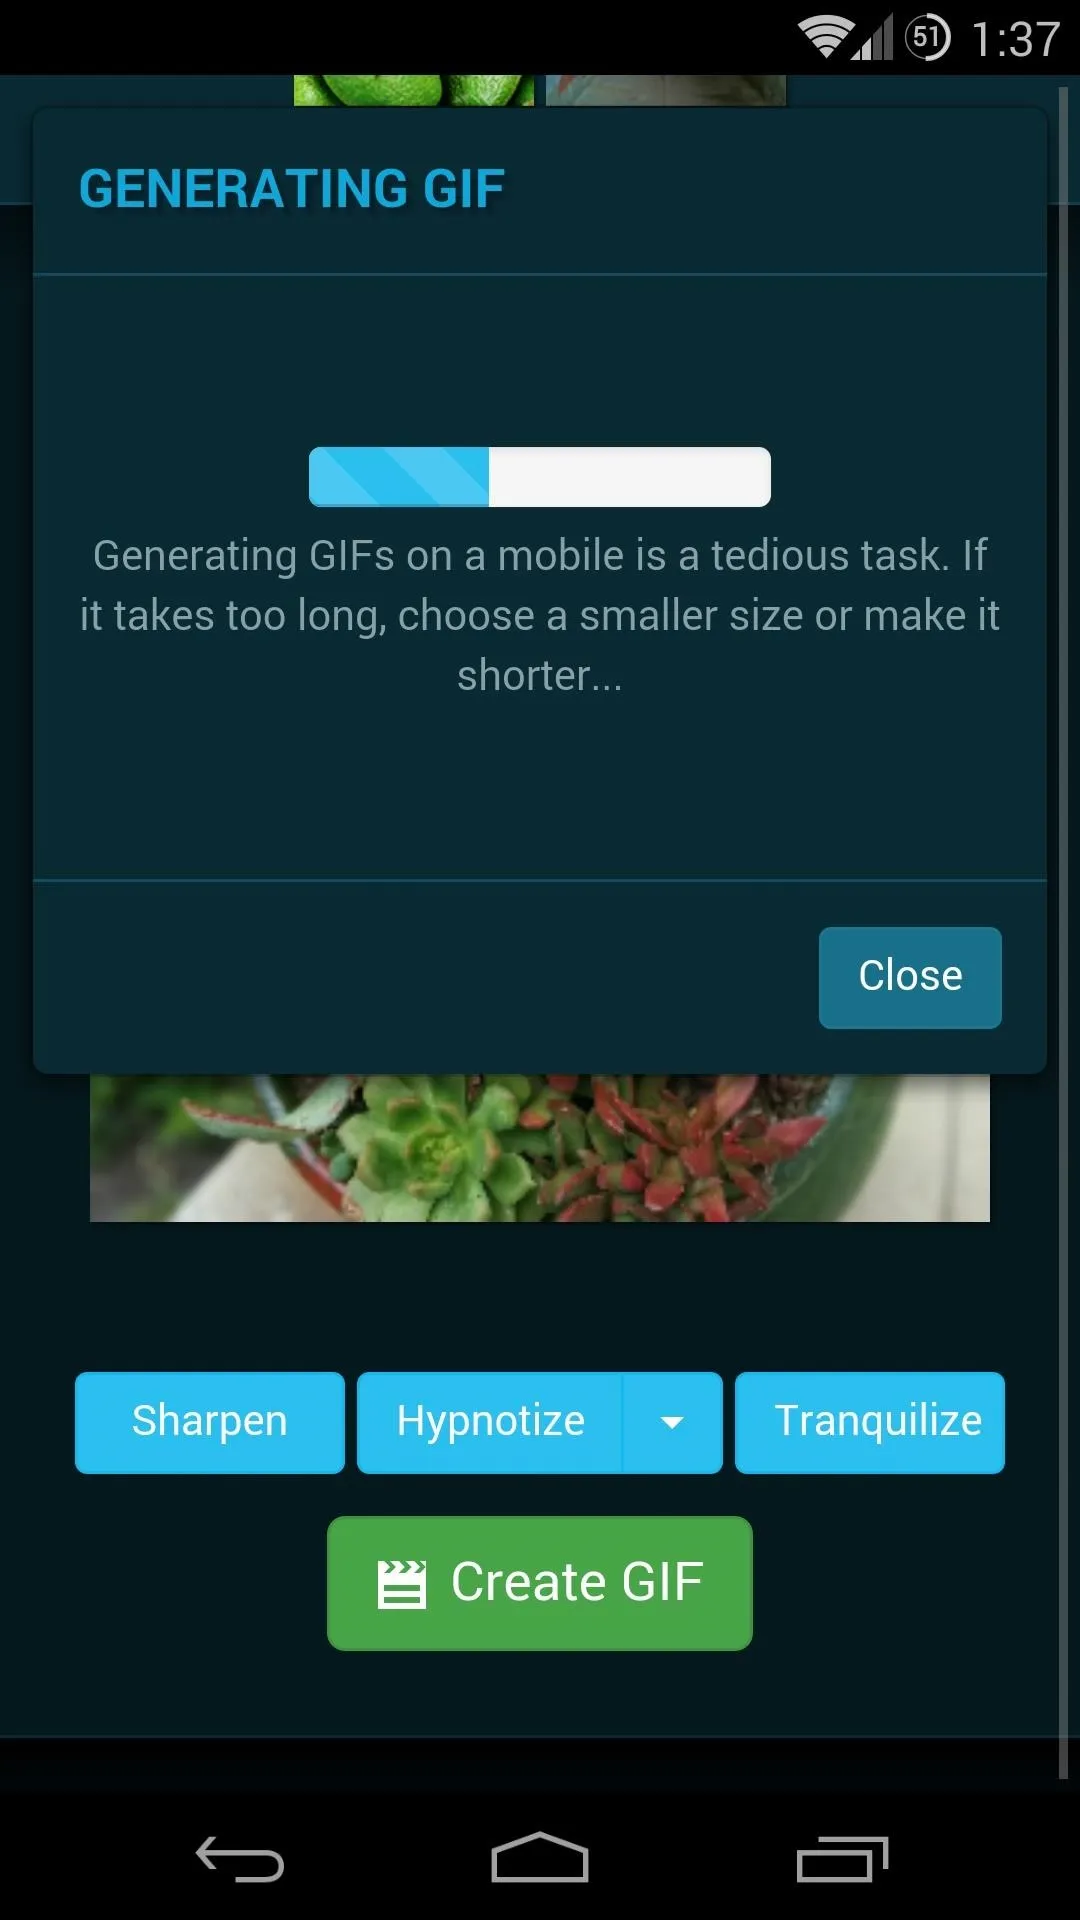
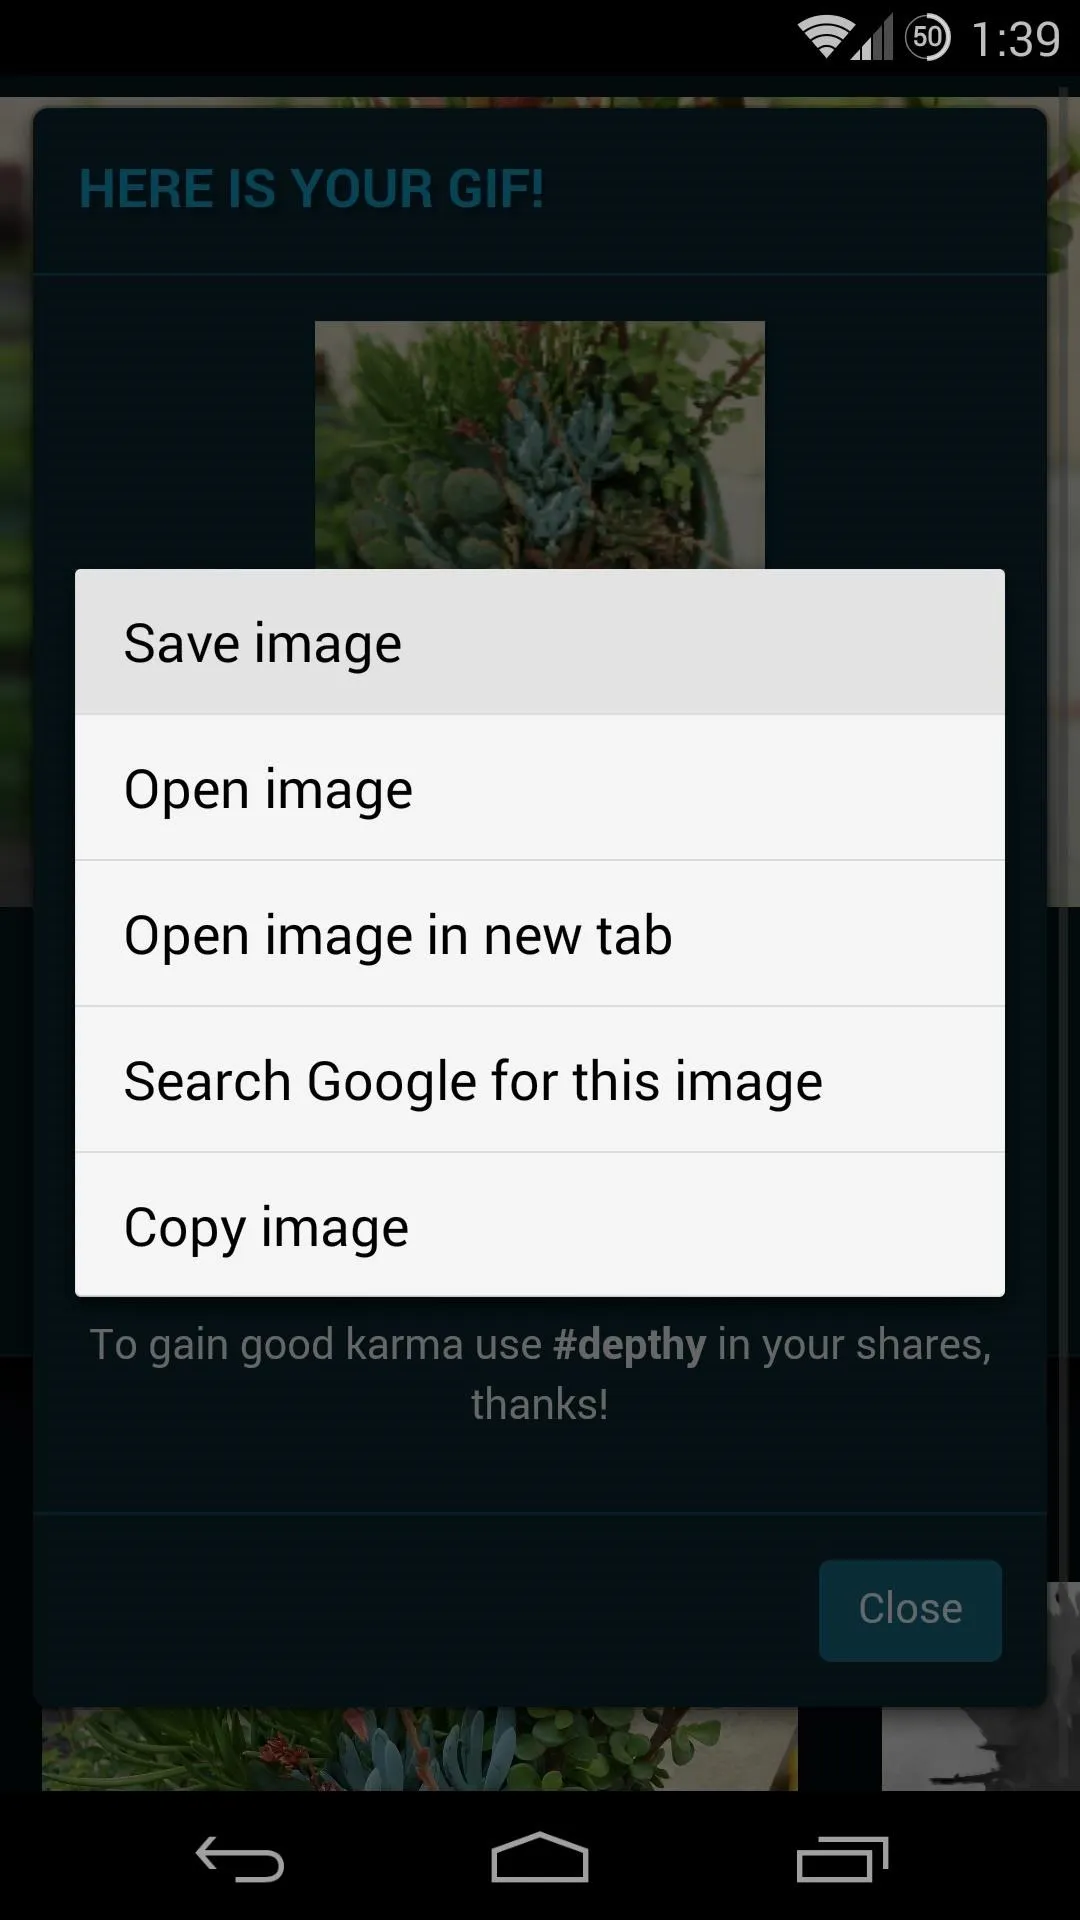
Give the website some time to create your GIF, and when it's ready, you will be shown the end result. From here, you can long-press the GIF to download it, or you can hit Share it to upload it to imgur.com.



In the end, your result should look something like this:
But if you don't want to use the site, or would rather have a video than a gif, check out Nelson's article on the camera app Phogy. It may not use the Google Camera, but the effects are pretty stellar regardless, and are output in .gif or .mp4 formats.
So, now the camera on your Nexus 5 should be a little easier on the eyes, a little easier to operate, and take panoramas and lens blur photos with much higher resolutions. You can even impress your friends with the crazy 3D gifs that you made. Speaking of, we'd like to see some of your creations, so share some links to your 3D GIFs in the comments section below.


Comments
No Comments Exist
Be the first, drop a comment!