Sony has been hard at work refining its Xperia line of flagship phones. With a 6-month release cycle, they've managed to slim bezels, increase viewing angles, and boost processing power in the 1.5-year span between the original Xperia Z and the Z2.
They've also been hard at work on the software side of things during that time. Their launcher has gone from cartoonish and busy to classy and stylish over this span. With the release of the Z2, this home screen app has found a great balance between form and functionality.
Thanks to some ace work by XDA recognized contributor Nasheich, we can now enjoy this launcher on our Nexus 5s.
Prerequisites
Step 1: Download the Launcher Files
There are a few different files that you'll need to download in order to get this going. Two of these are system files, and the third is the Launcher itself. Click the following links to download them, then transfer the files to the Download folder on your Nexus 5. You can also tap these links directly from your Nexus 5 to skip the copying step.
Step 2: Move the XML File to the System Partition
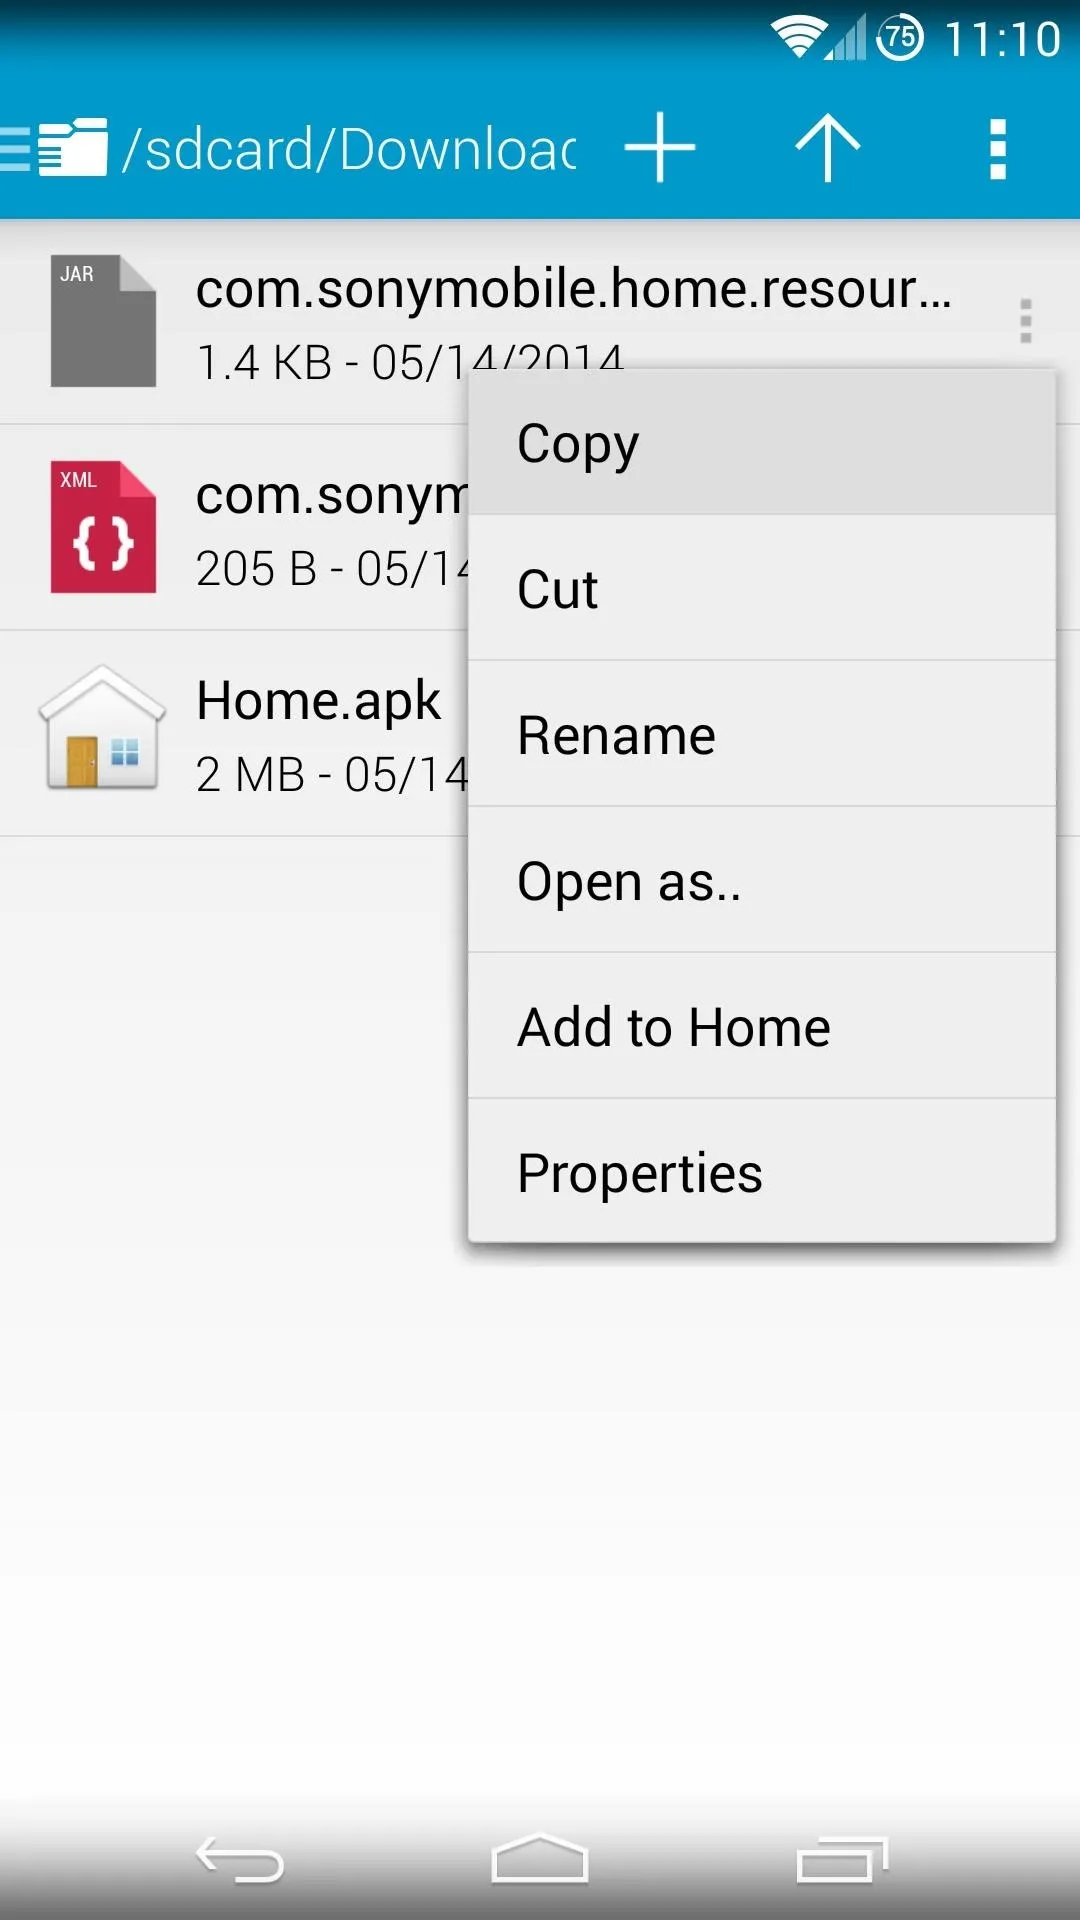
This is where root comes in. Open up your favorite root-enabled file browser and navigate to the Download folder on your phone's storage. Copy the com.sonymobile...xml file and navigate to the root directory. From here, head in to system, then etc, and open the permissions folder. Paste the xml file in here.
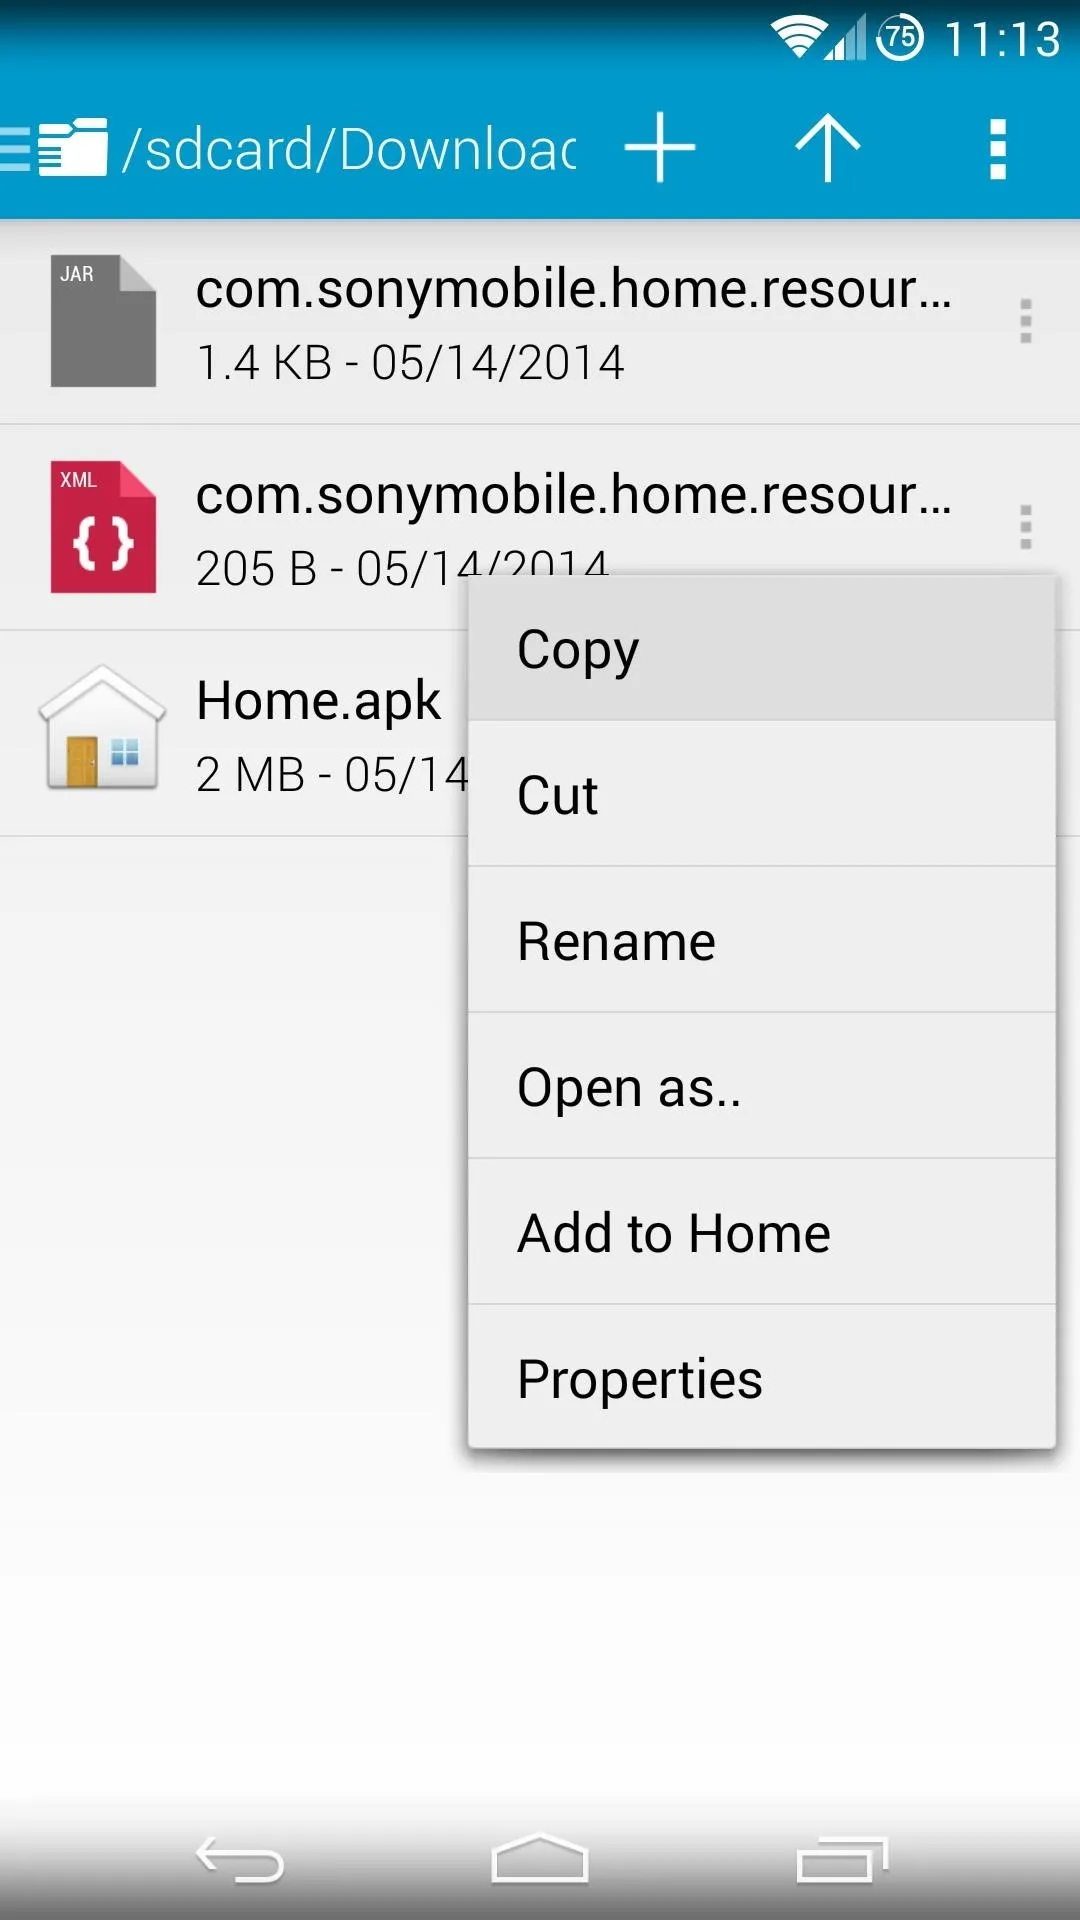
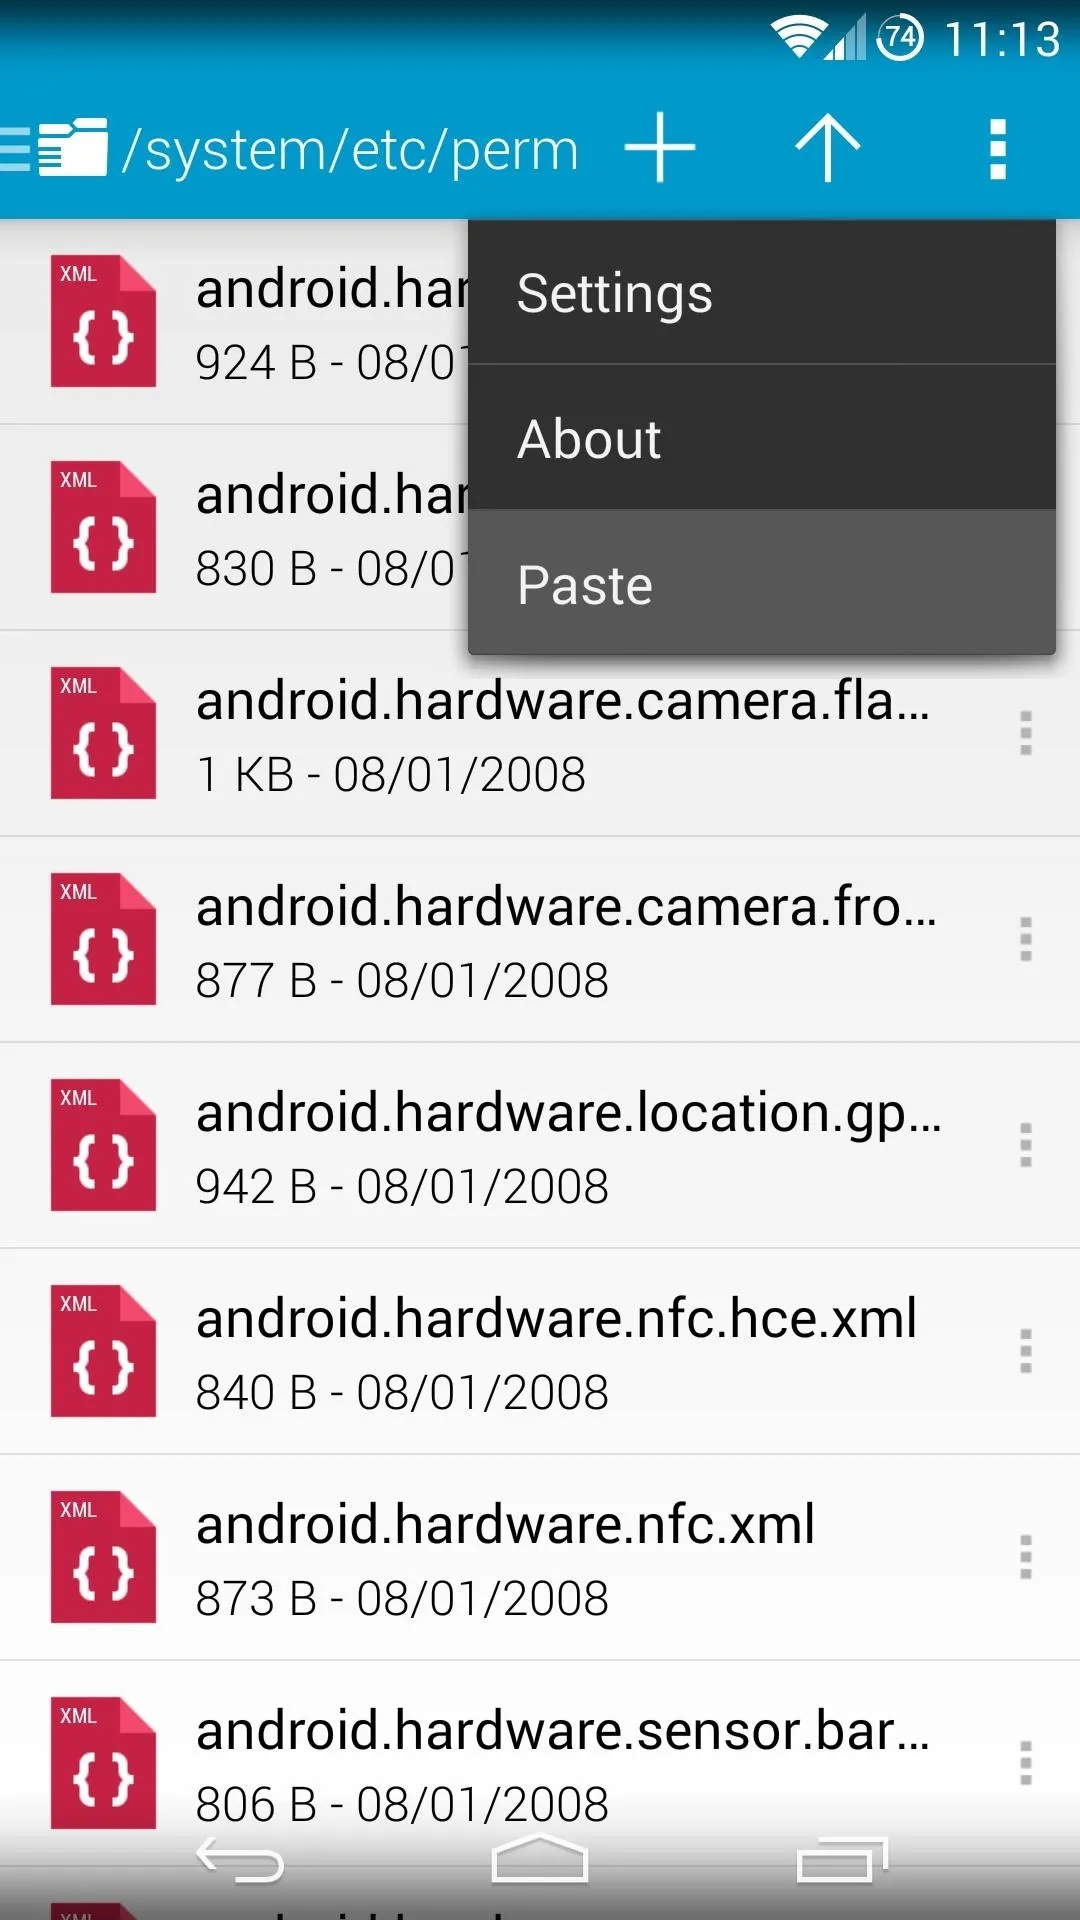


Now, you'll need to make sure that the permissions of this file you just copied match the permissions of the rest of the files in this directory. To do this, long press any file in this folder and select Permissions (some file browsers will have this item located under Properties). Take a look at the boxes that are ticked here, then hit Cancel.
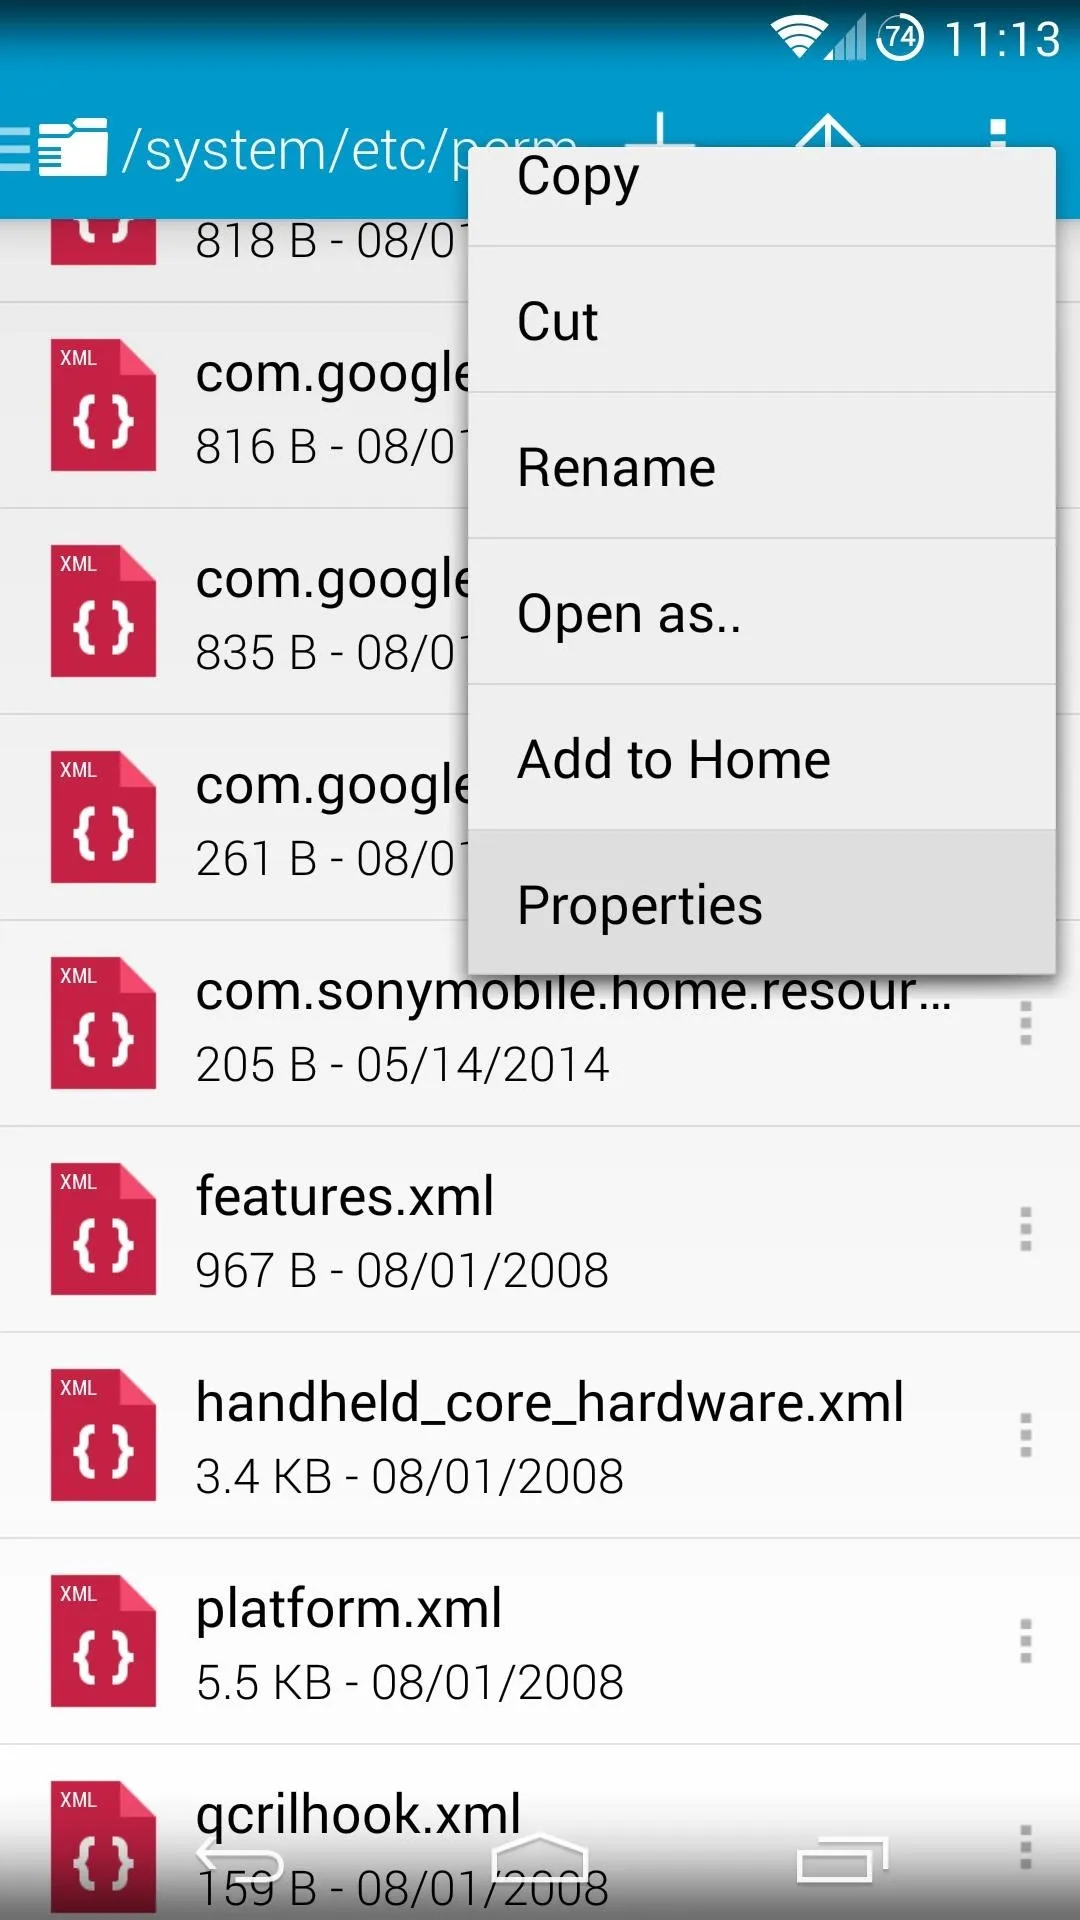
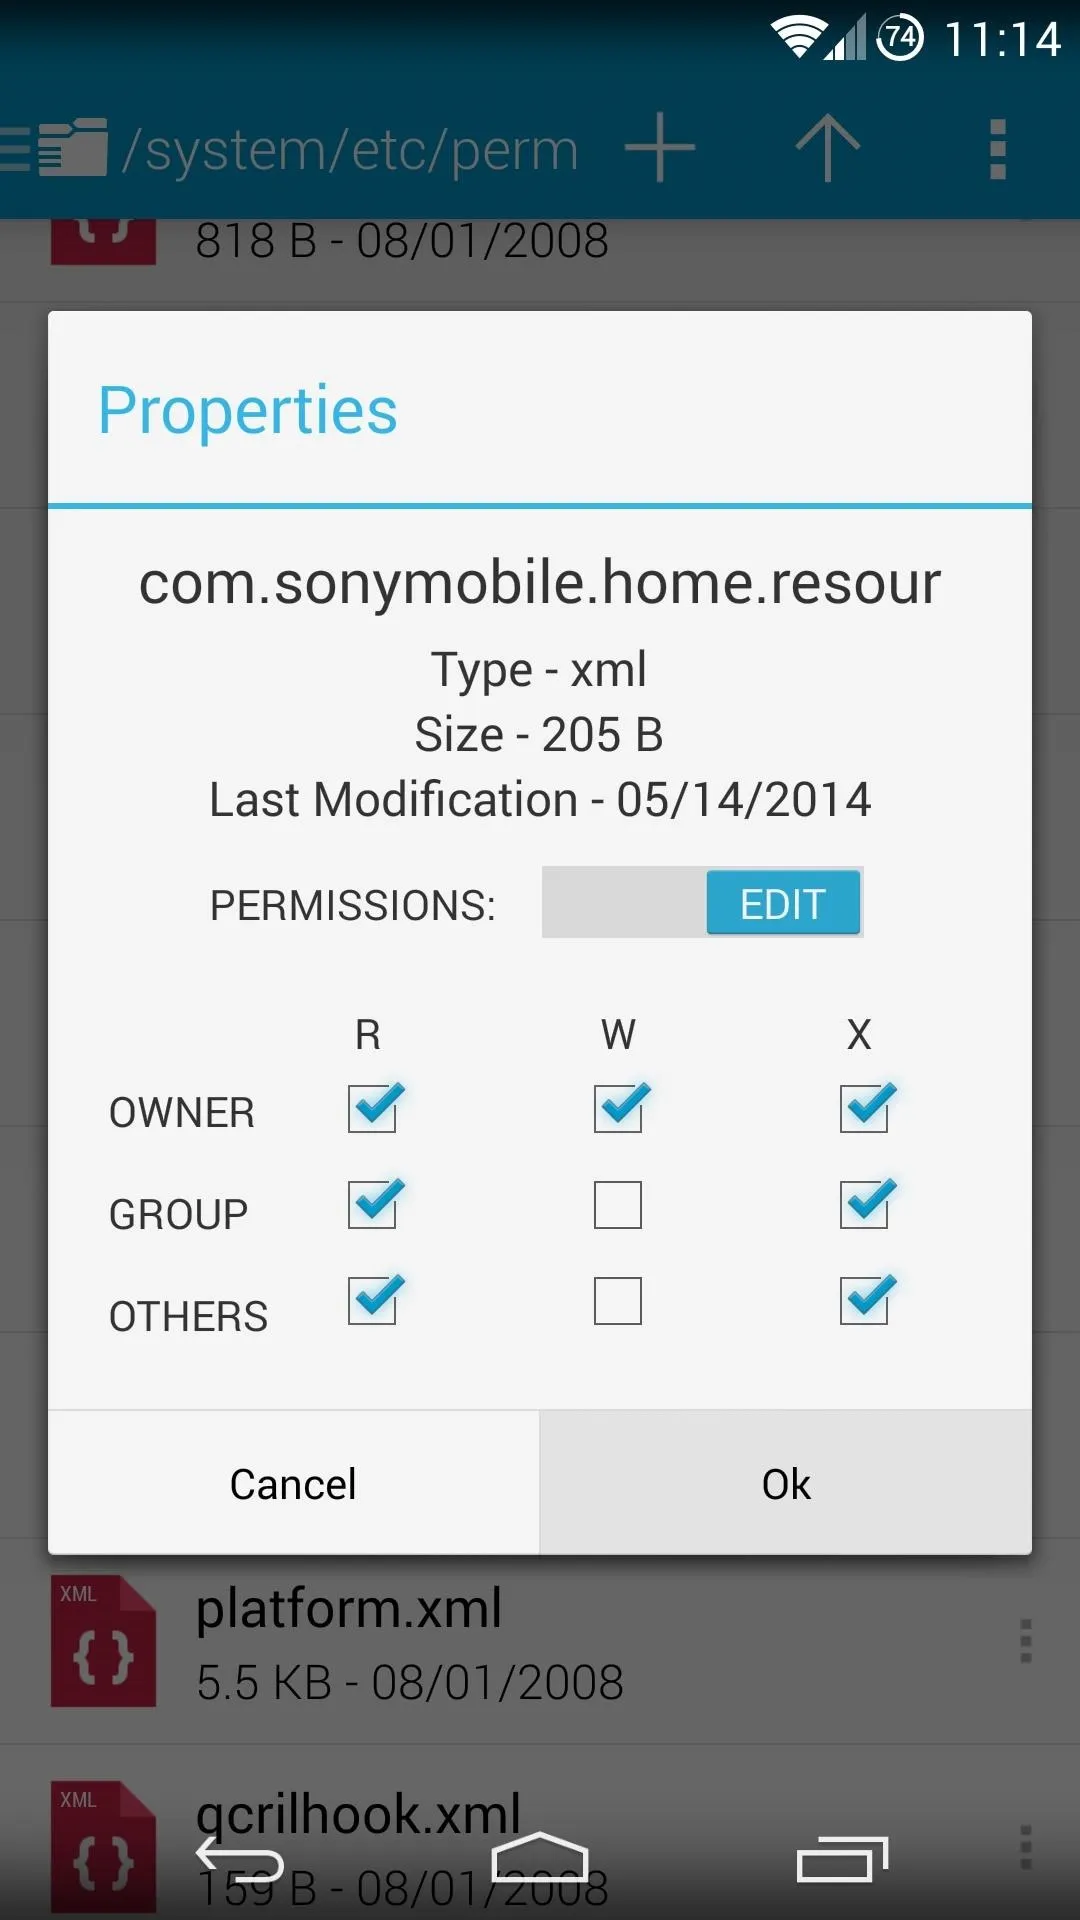


Now, find the com.sonymobile...xml file that you moved to this folder, and long-press it. Select Permissions, then set these to match the permissions of the file you checked out earlier.
Step 3: Move the JAR File to the System Partition
Now head back to the Download folder on your Nexus 5. The com.sonymobile...jar file will need to receive the same treatment as the XML file.
Copy this file, this time pasting it into the /system/framework folder. Again, check another file in this folder to find the typical permissions here.
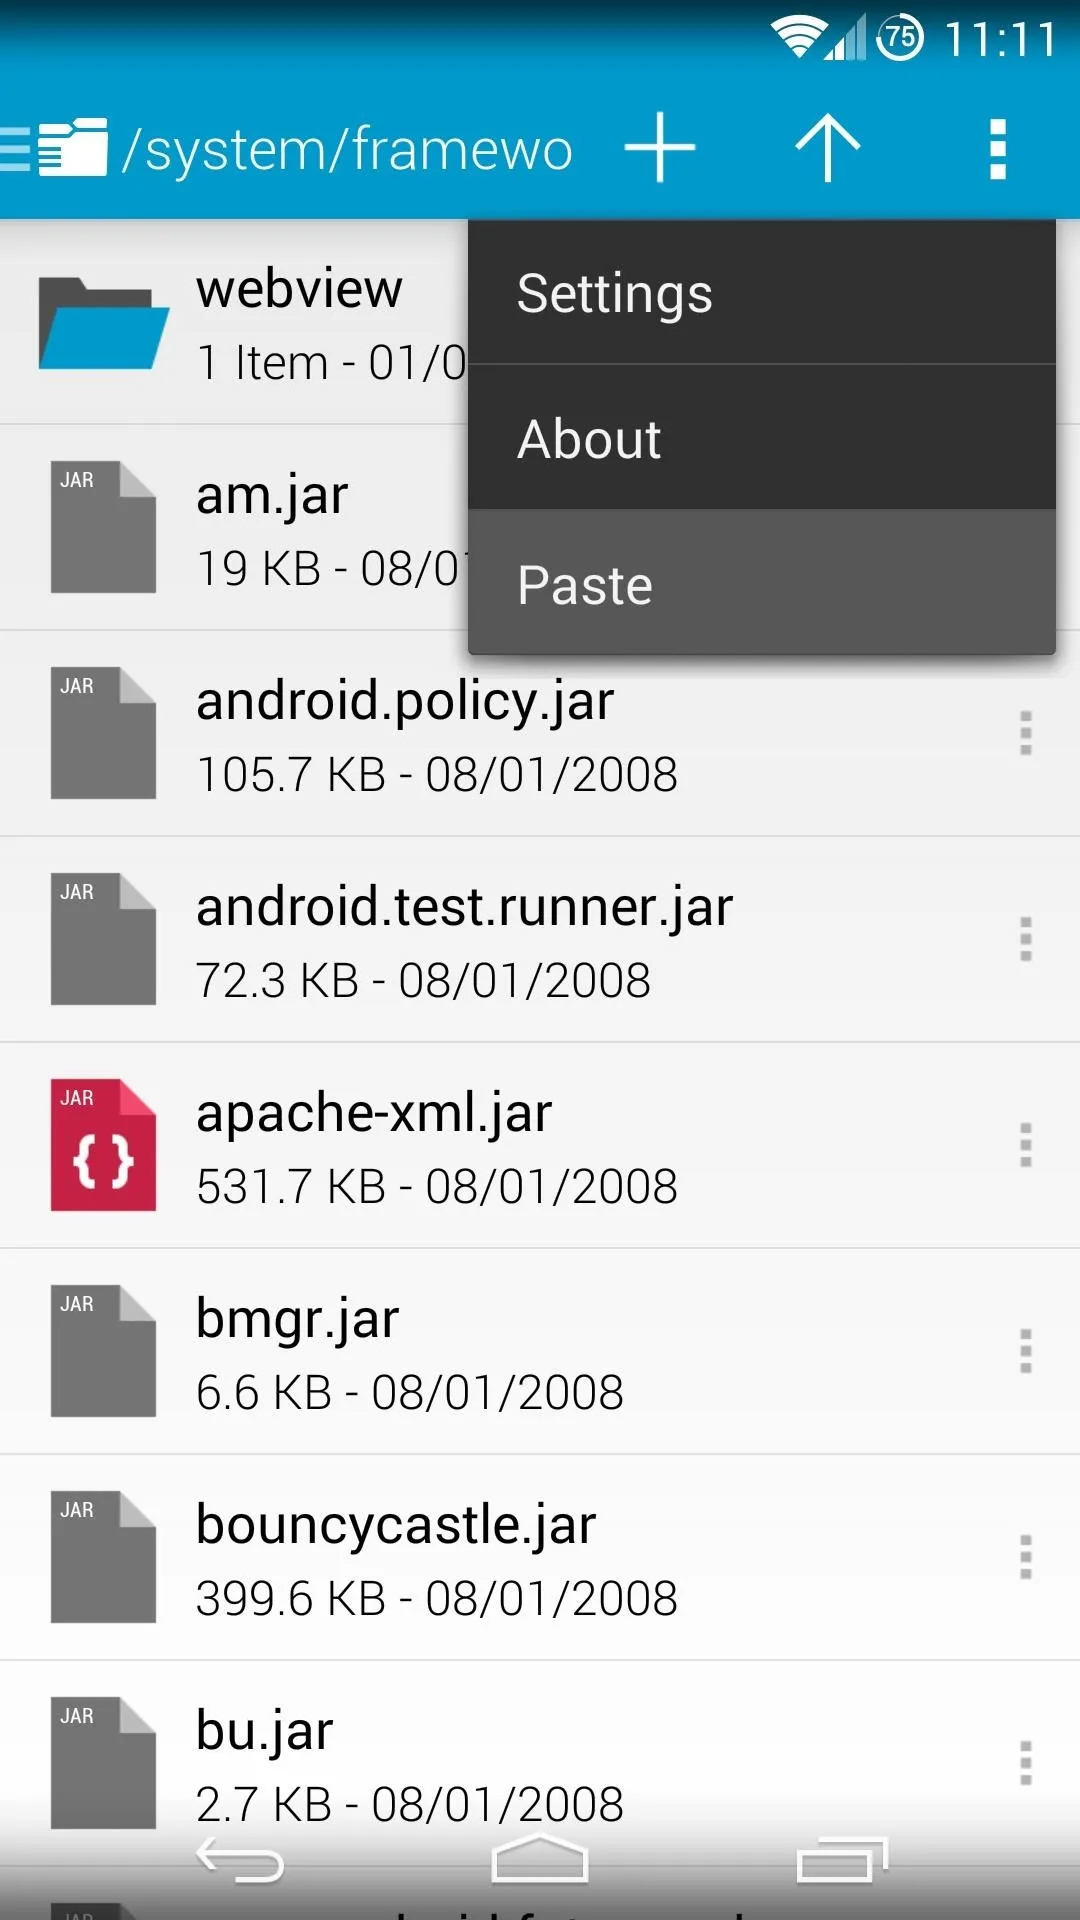


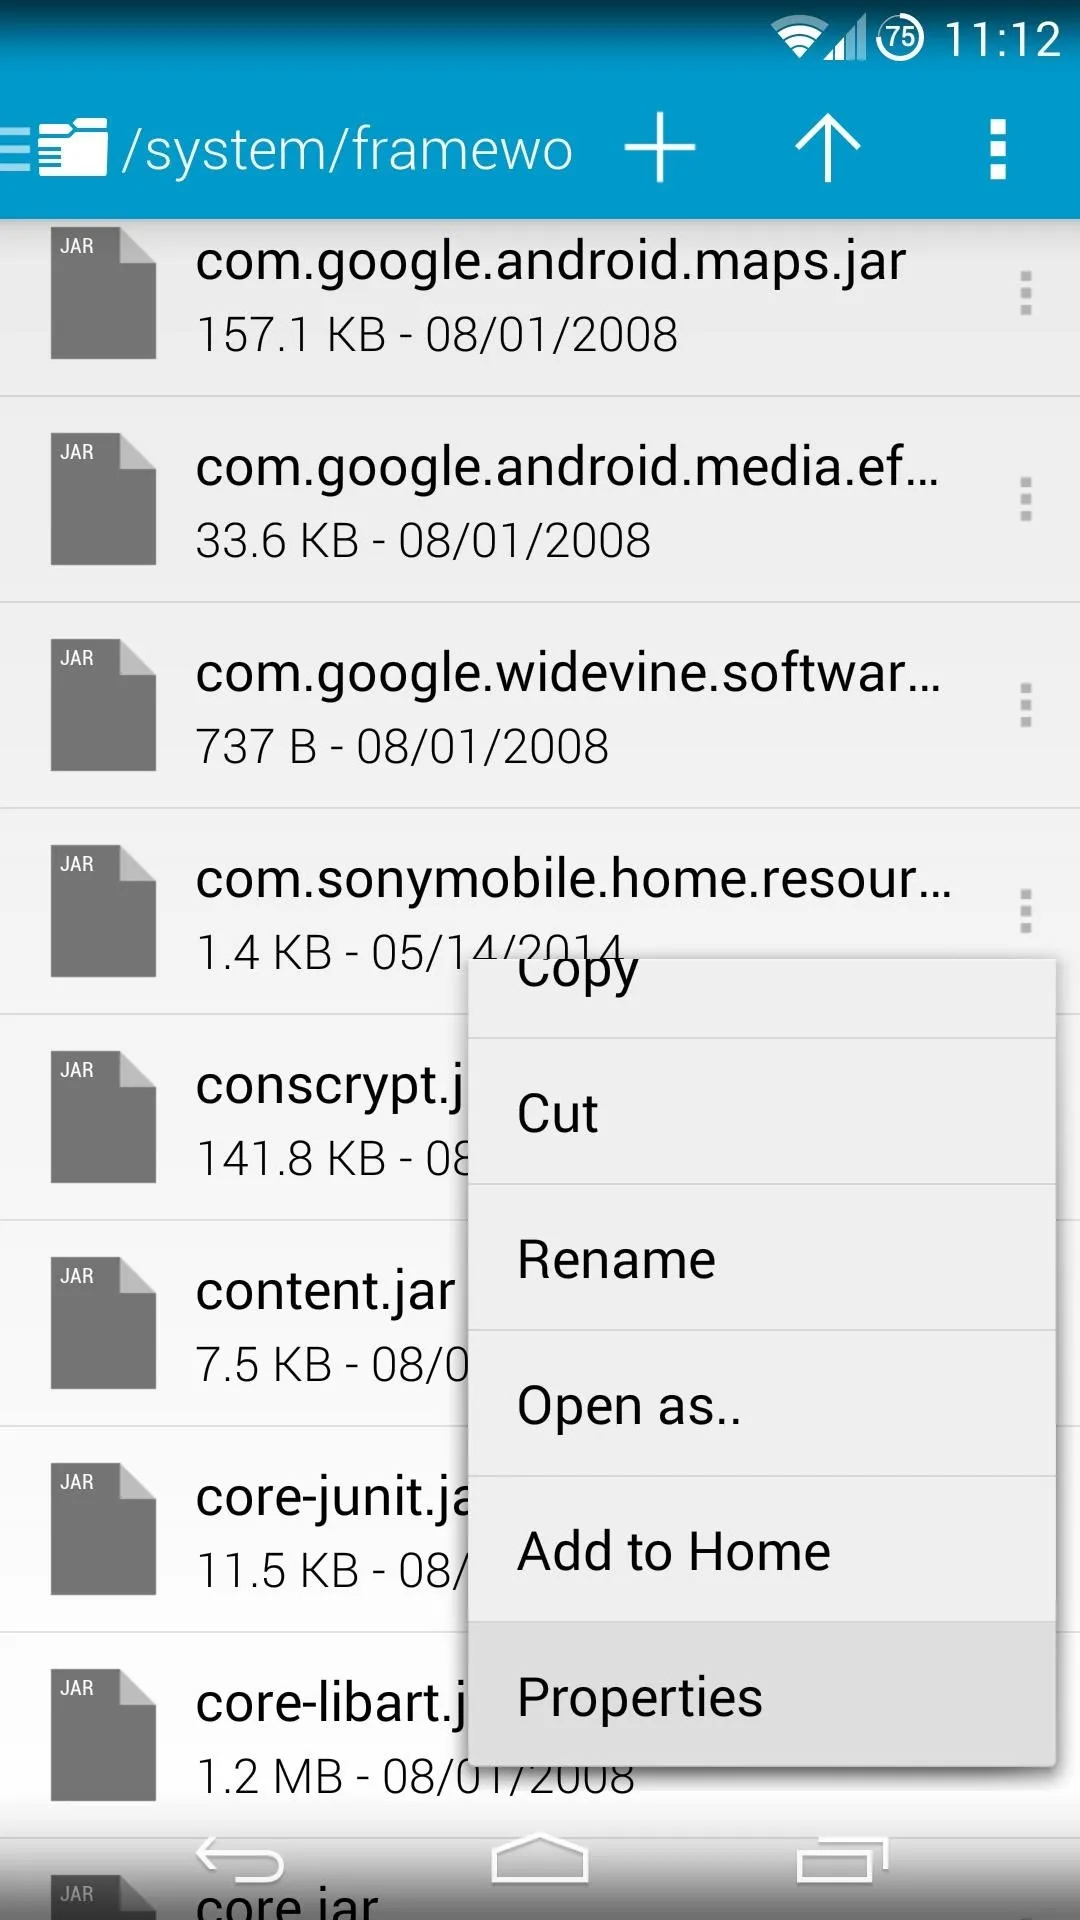
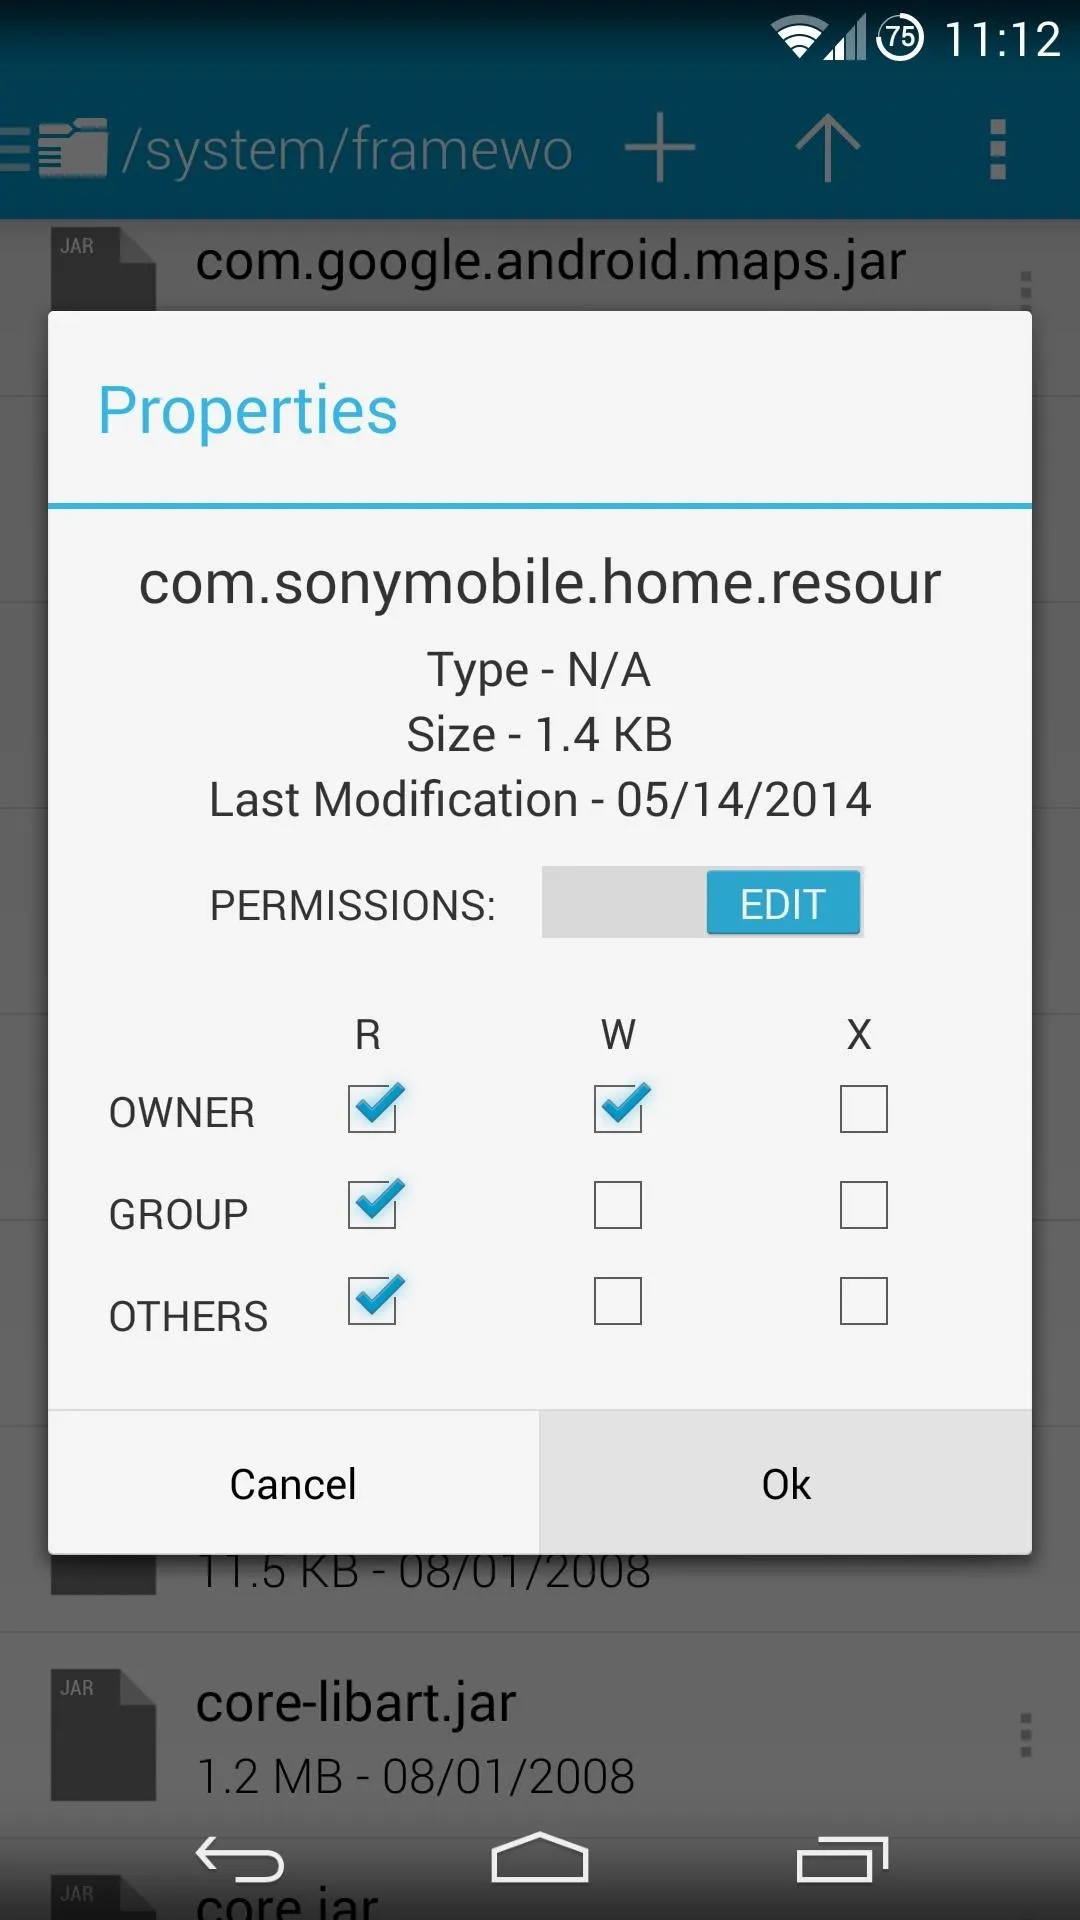
Next, long-press the com.sonymobile...jar file and select Permissions. Match these values with the values from other jar files in this folder, then press OK.


Step 4: Install the Launcher
Next up, just head to your Download folder and tap the Home.apk file. If asked, choose Install, otherwise just follow the prompts for installation like any other app.
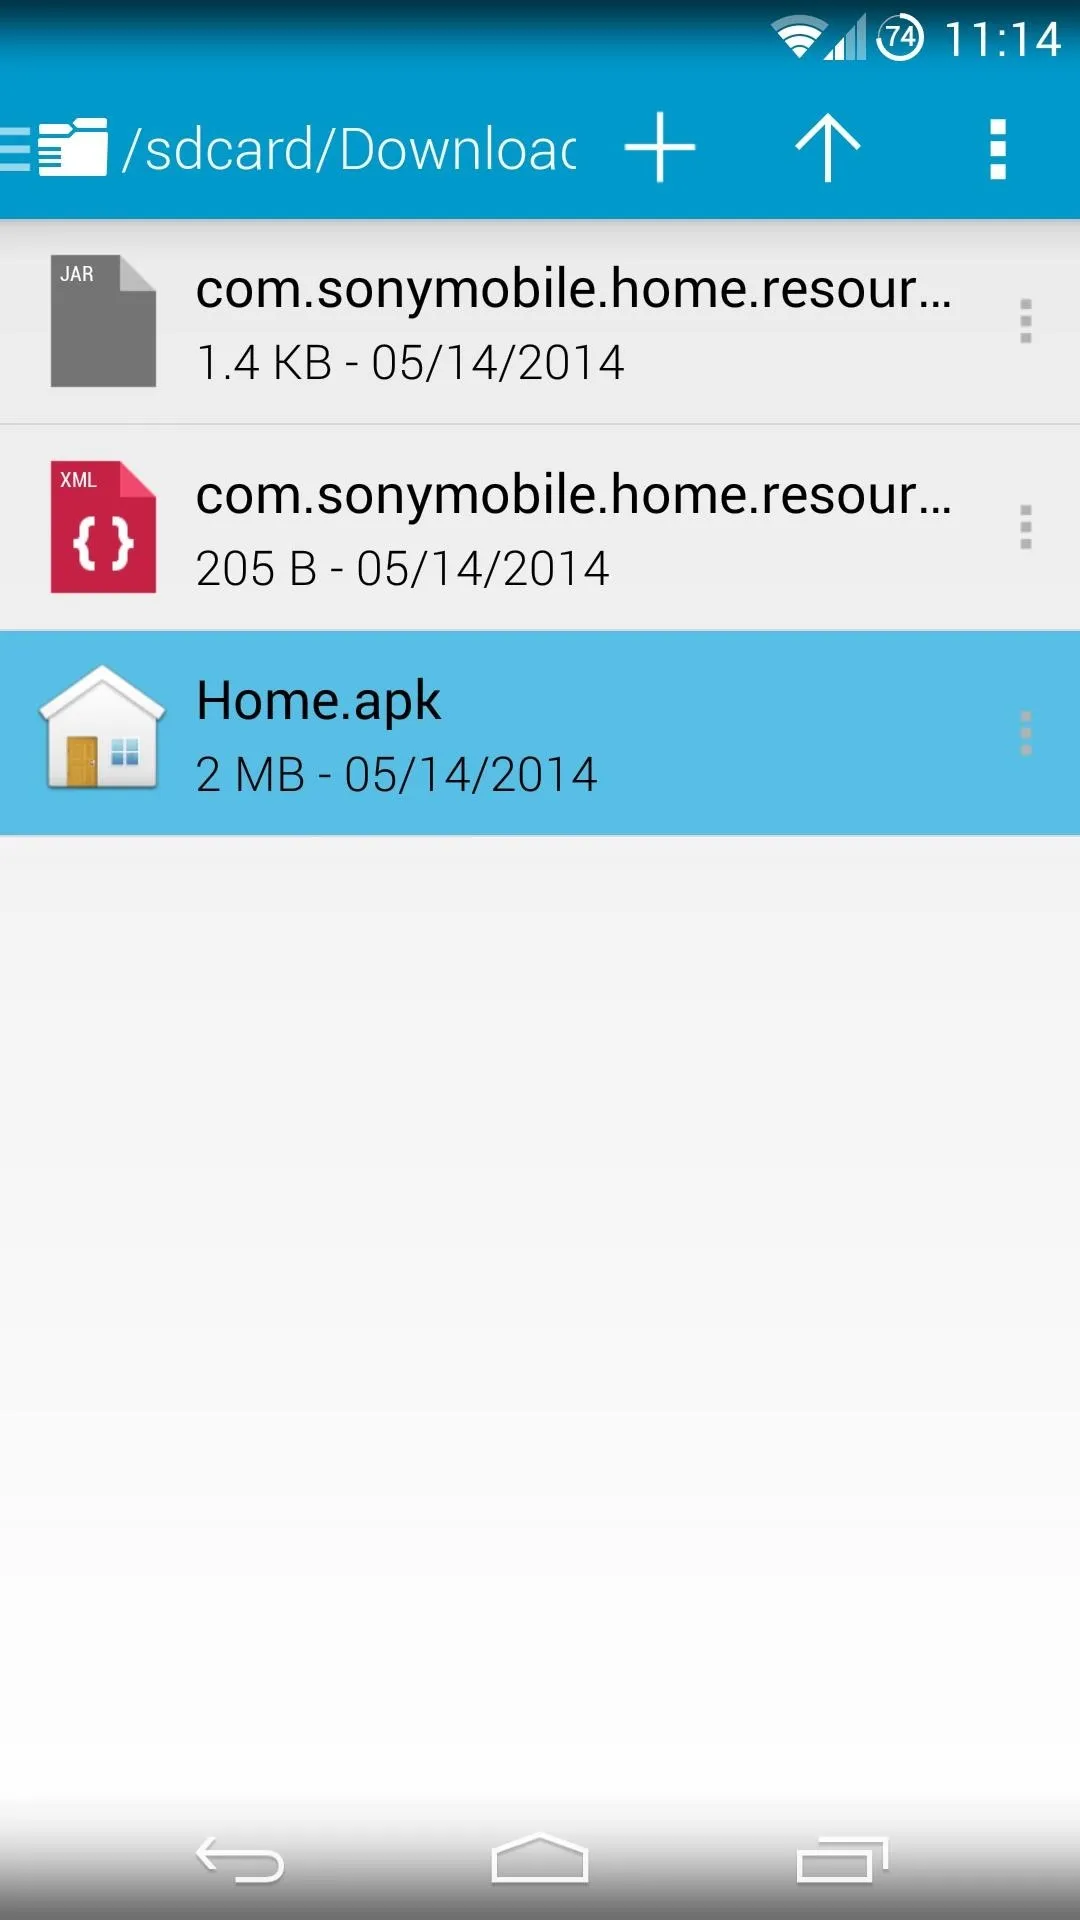
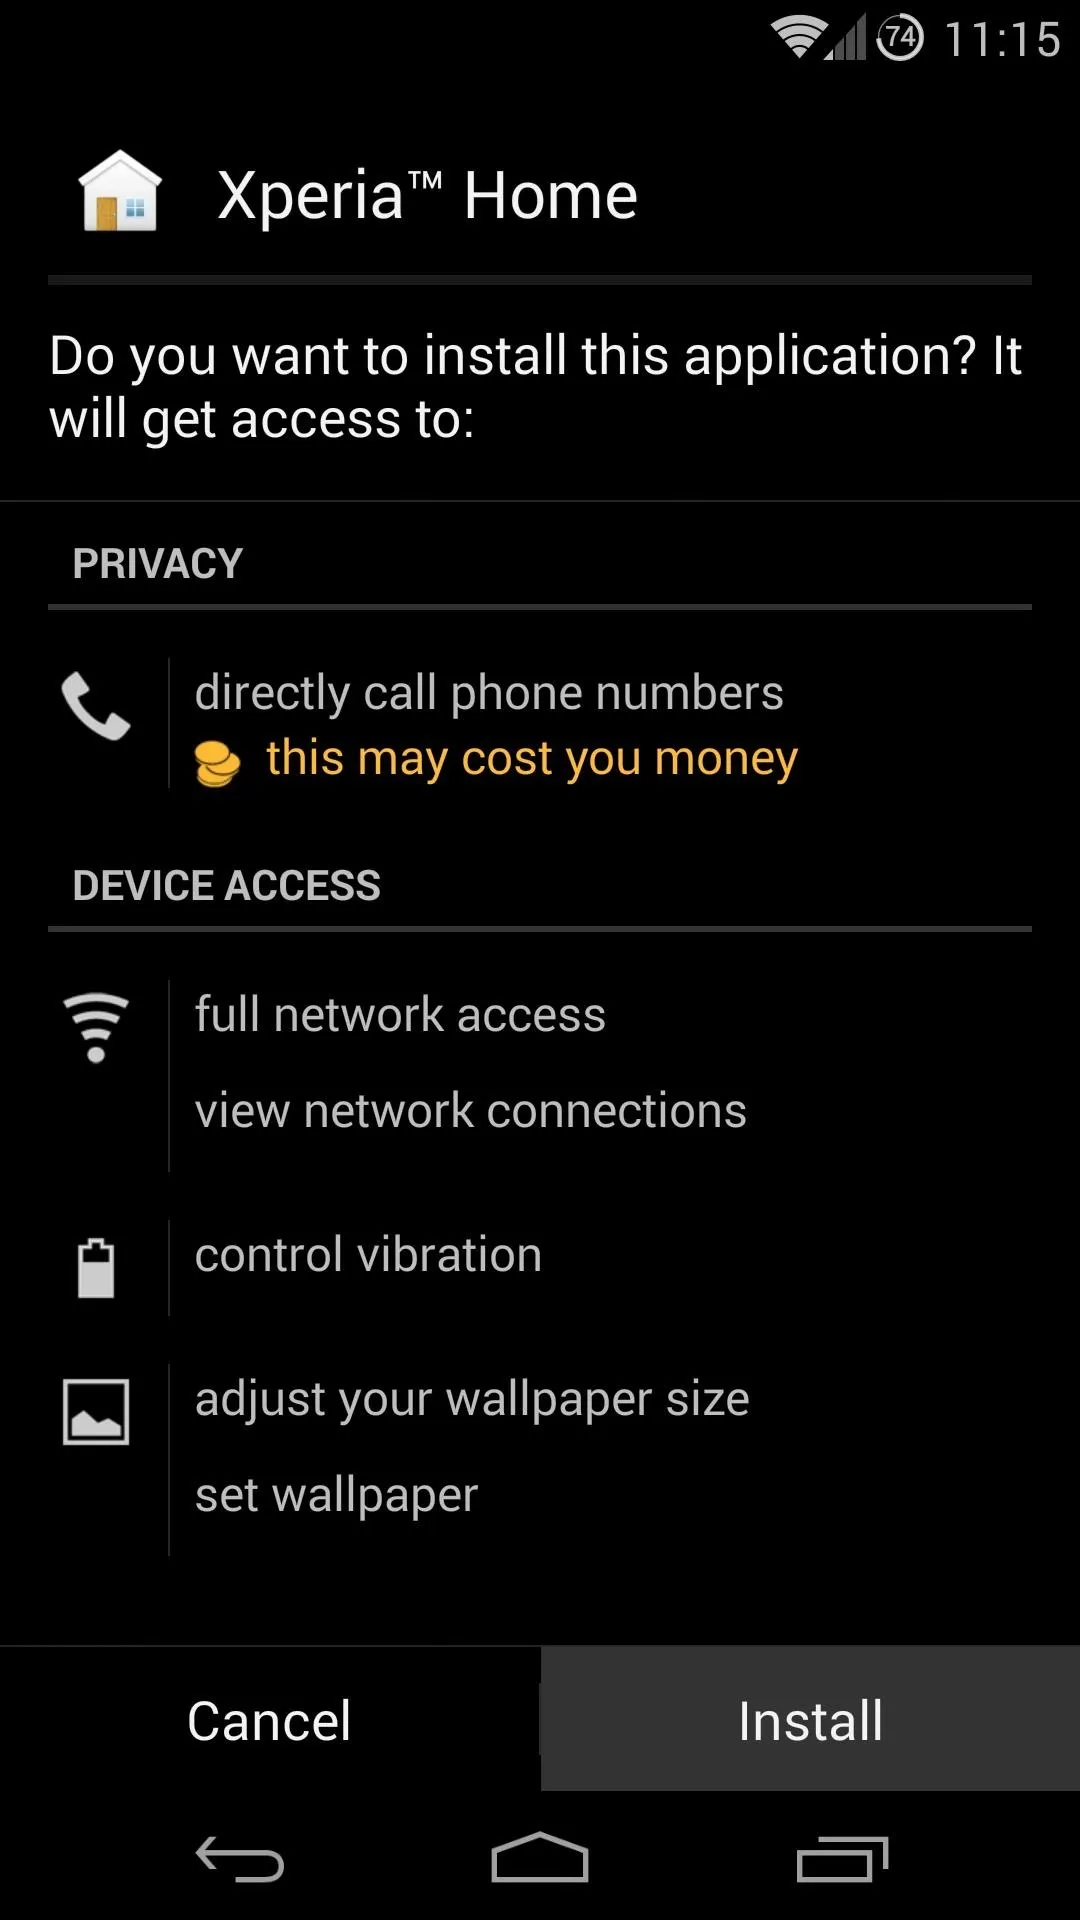
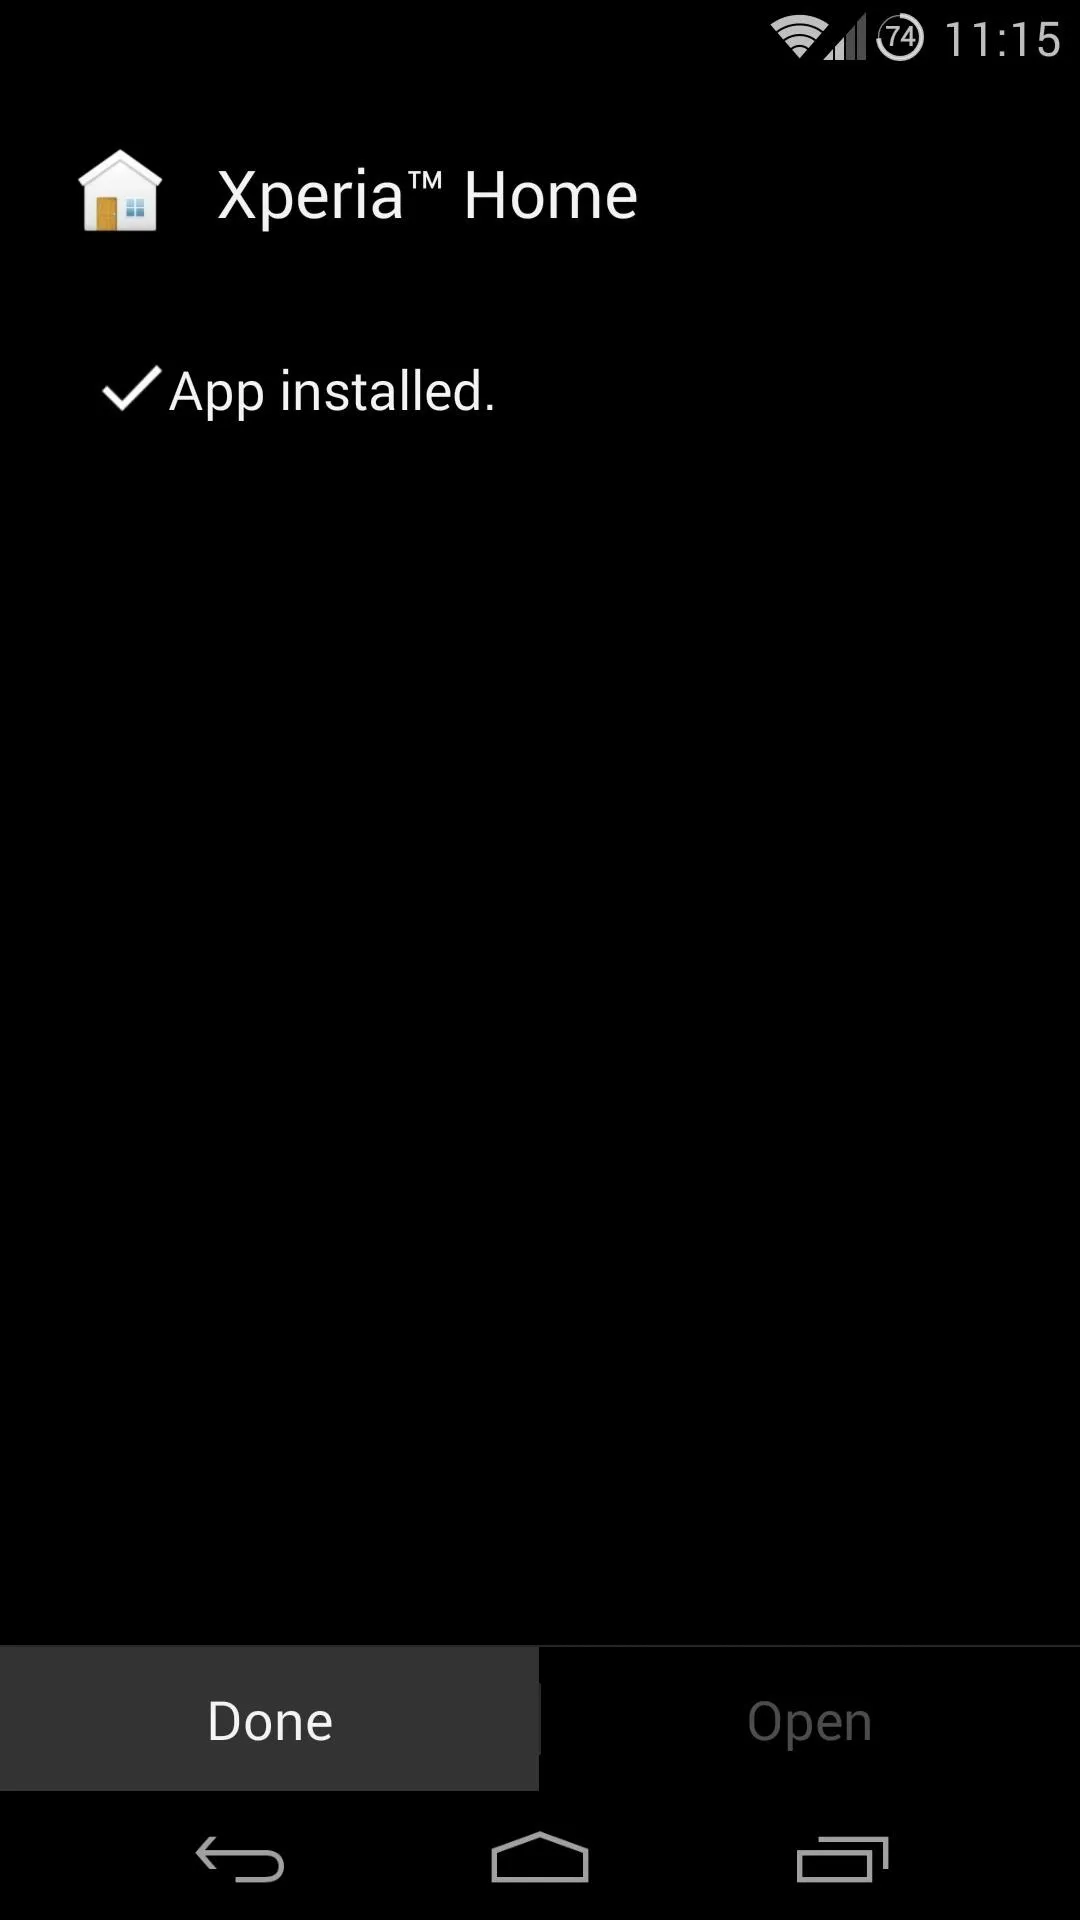


When finished, press Done.
Step 5: Reboot & Select Your New Home App
At this point, everything is set up. You'll just need to perform a quick reboot for the system to load the XML and JAR files your transferred earlier.
Once rebooted, unlock your phone and it will immediately ask you to Select a home app. Choose Xperia Home, then tap Always.
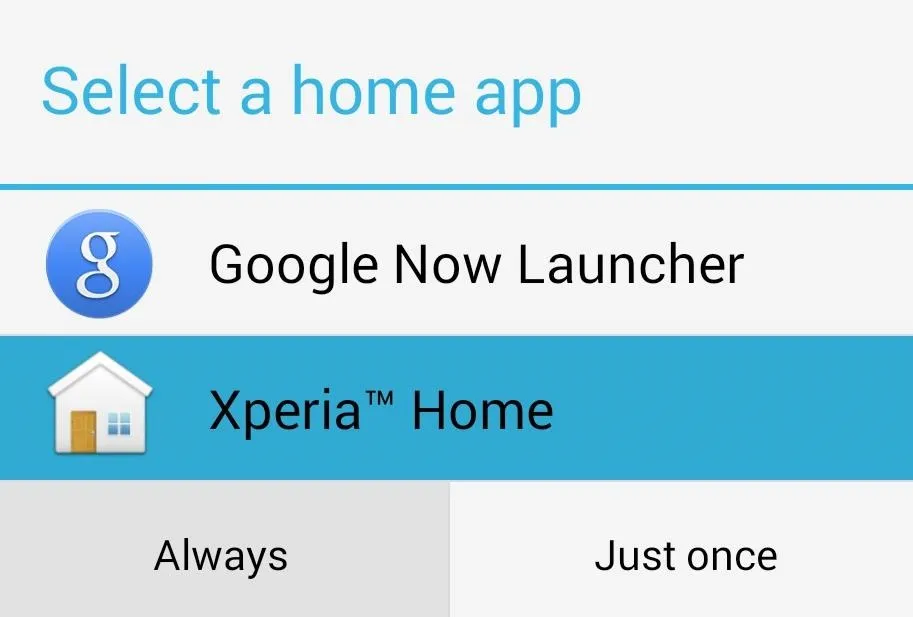
Step 6: Using Your New Launcher
The home screen of the Xperia Launcher is clean and simple, but the app drawer is where this launcher really shines.
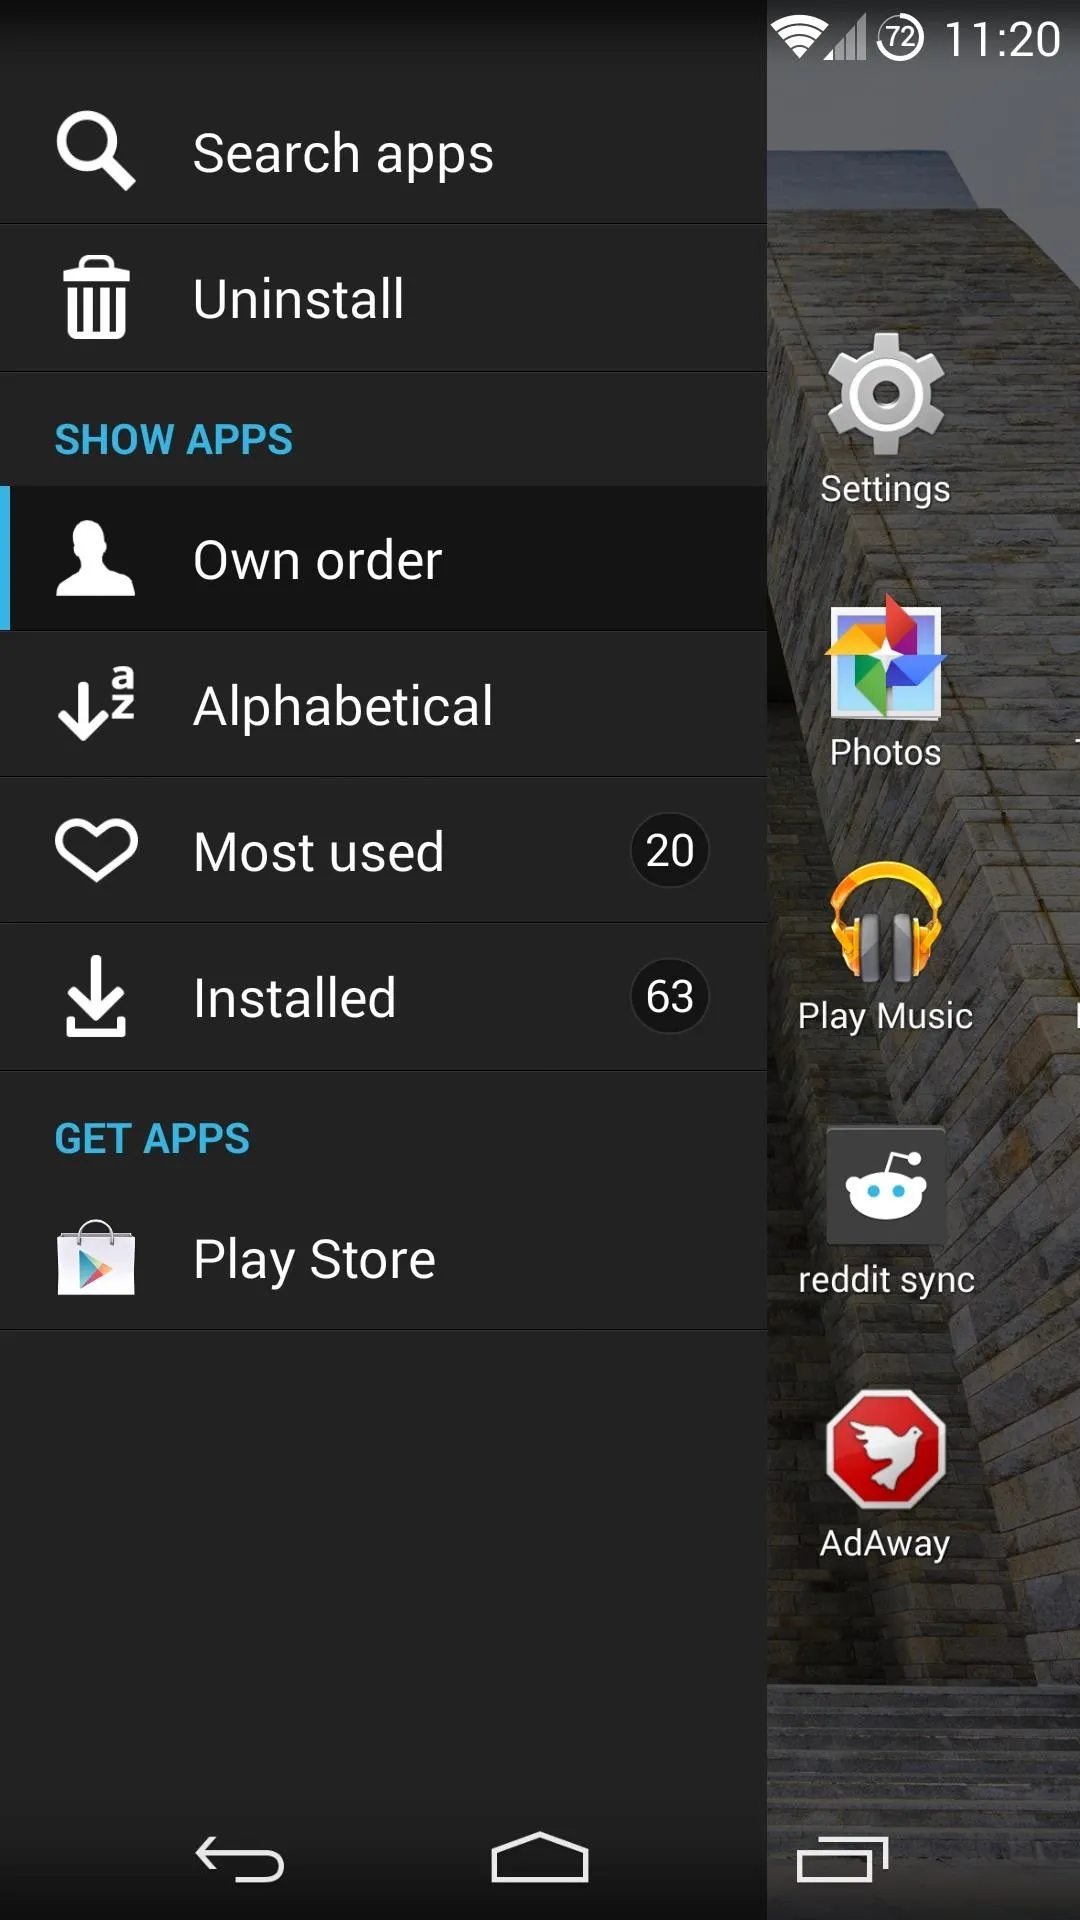
If you swipe past the leftmost page in your app drawer, you'll see a handy menu. This comes with options for searching installed apps and configuring the way these apps are presented. There's even a quick link to Google's Play Store to install more apps.
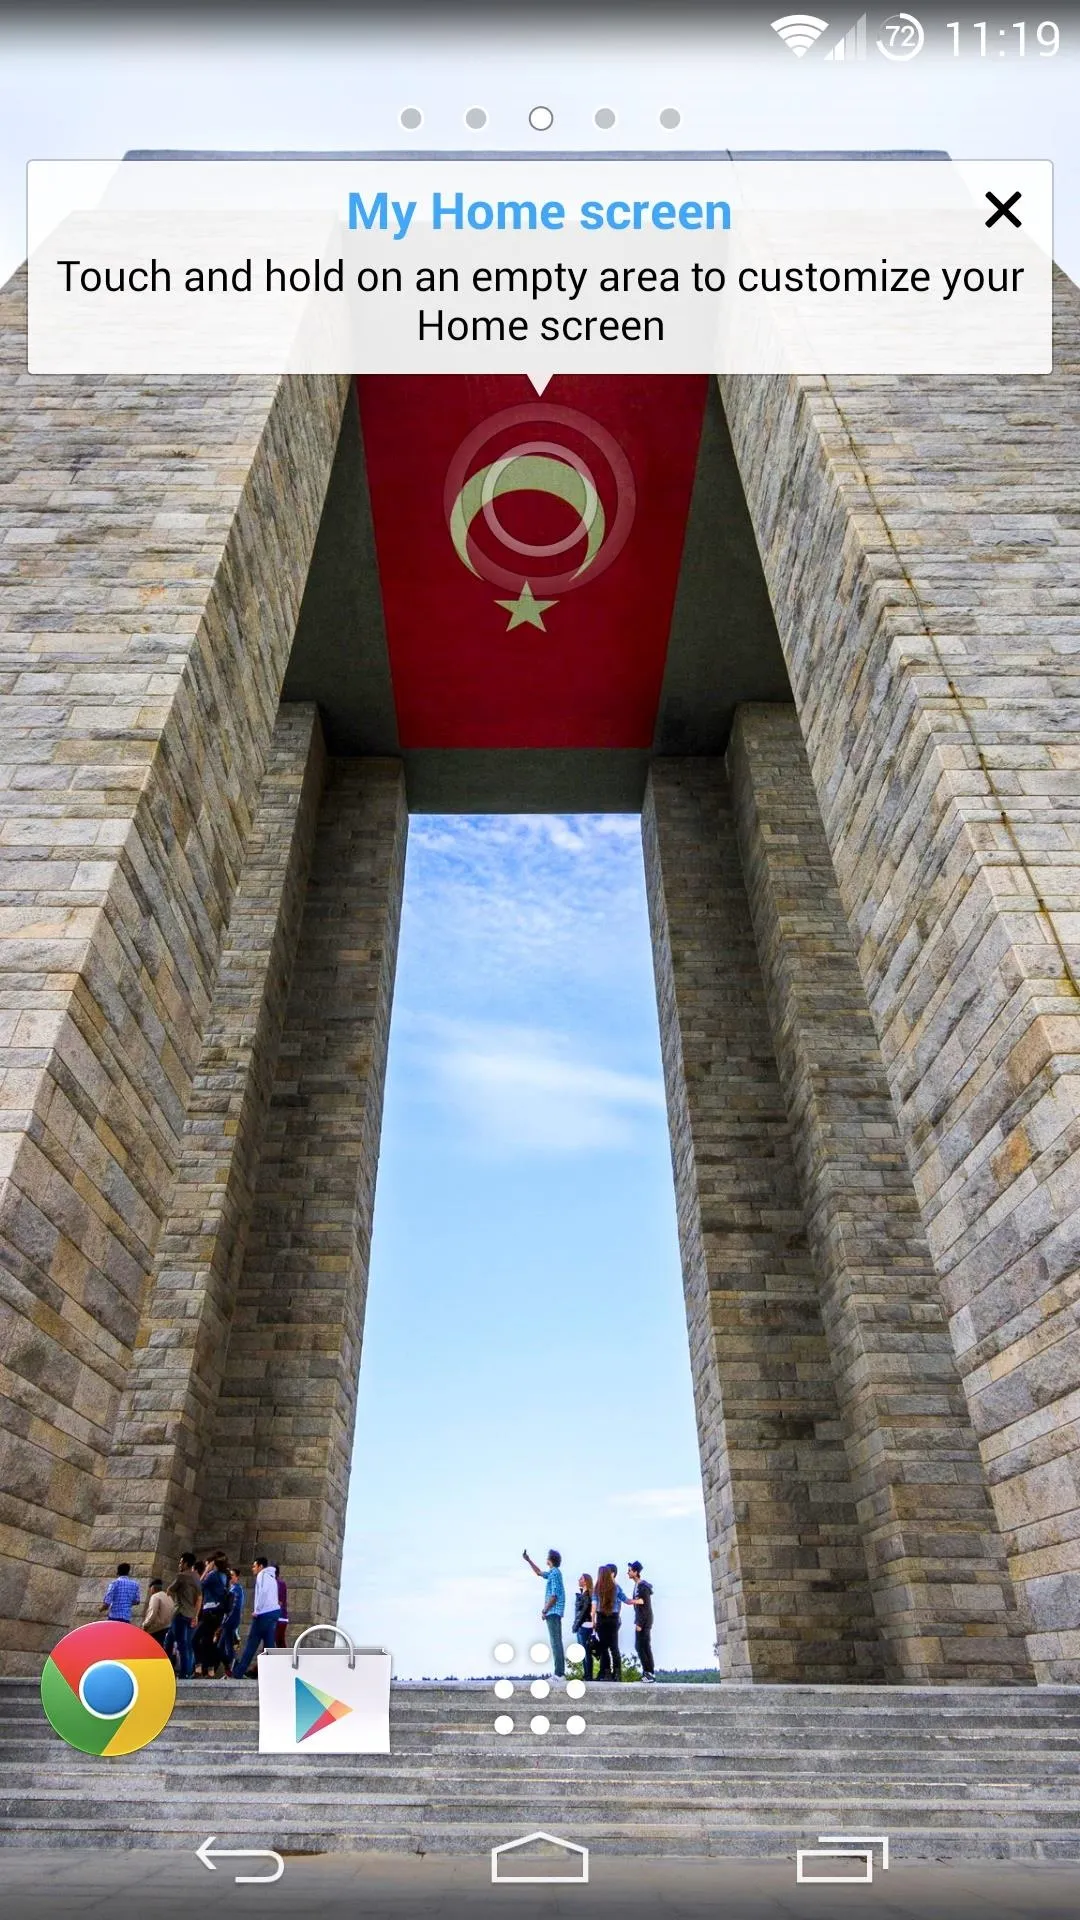
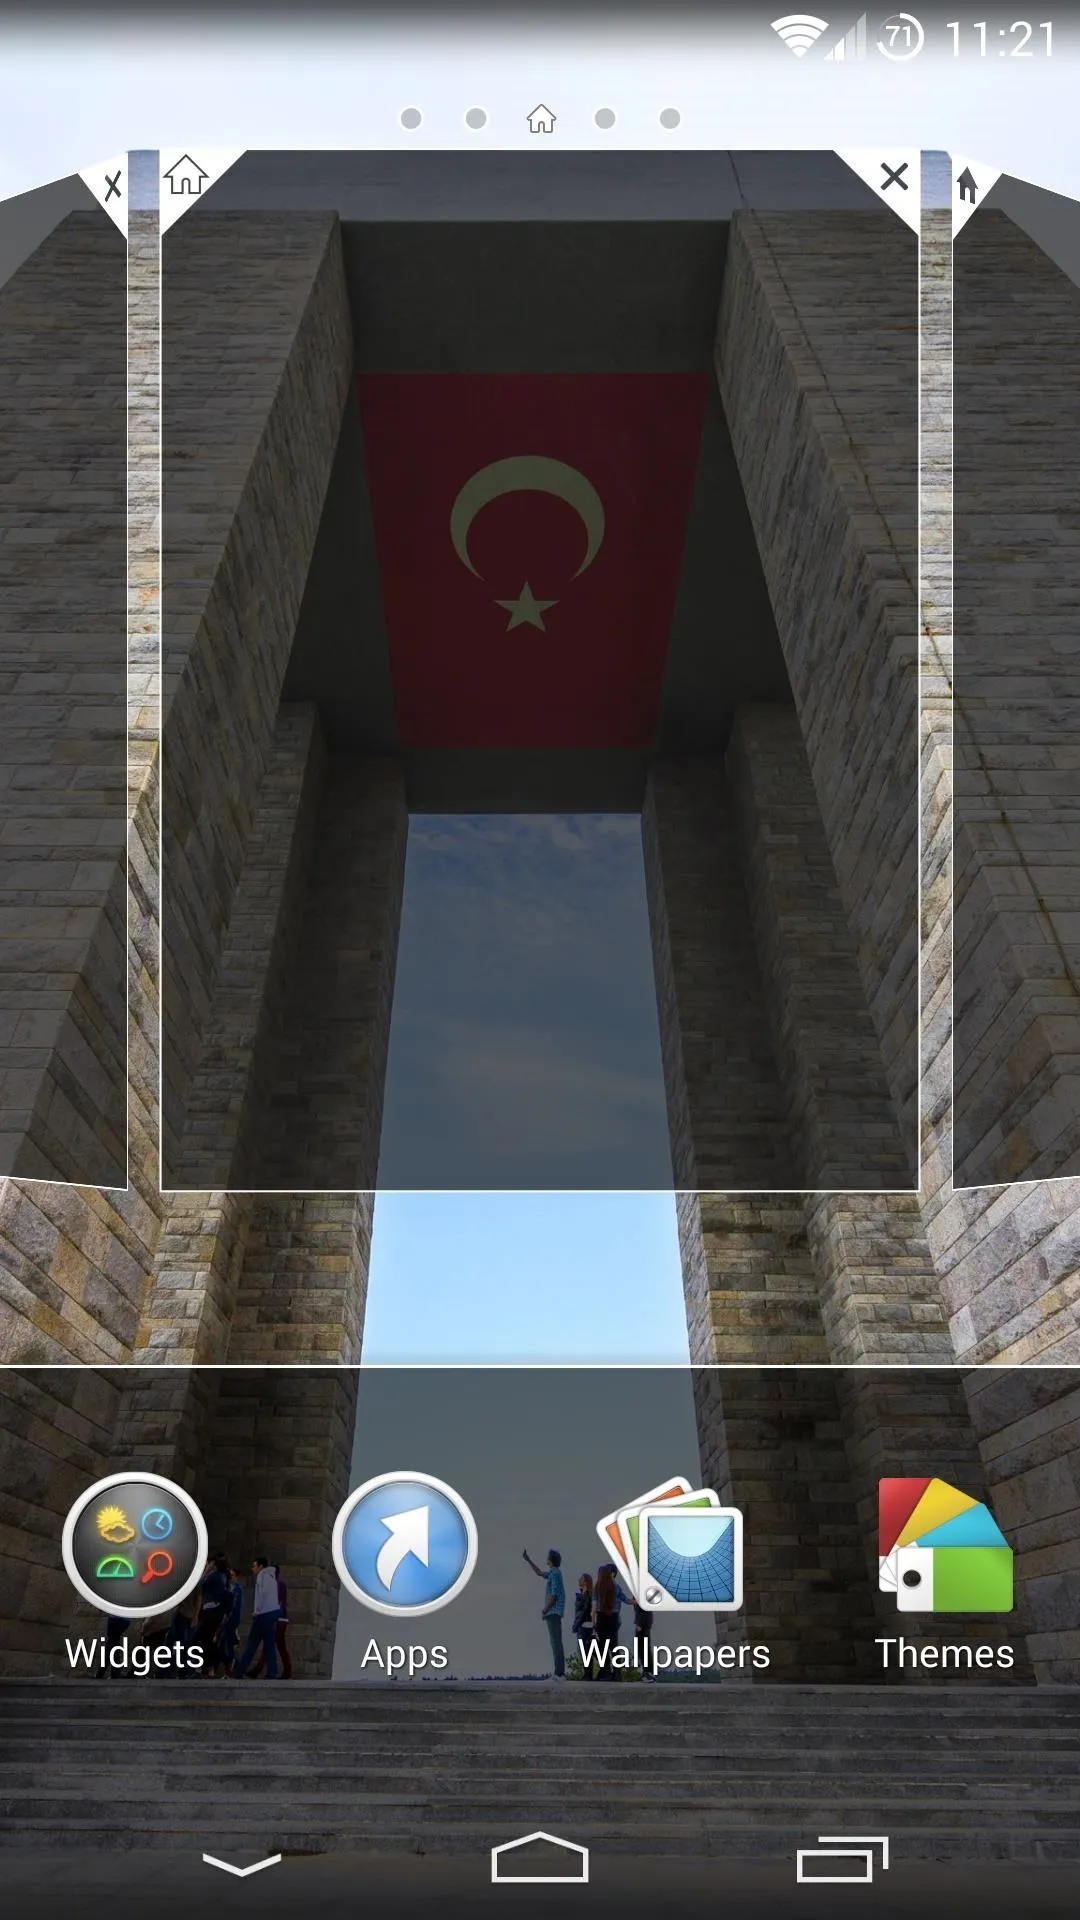


Long-pressing any open space on your home screen brings up the launcher's menu options. You can add apps and widgets from this screen, as well as change your wallpaper. The Themes option does not work at this time, however.
If you ever want to switch back, it's as simple as going to your phone's settings, then Home, then selecting Google Now Launcher. You can also hit the Delete button next to Xperia Home if you want to uninstall this softMod.
I'm really liking this launcher so far, how about you? Do you prefer the stock Nexus launcher or the Xperia launcher? Let us know in the comments section below.


Comments
No Comments Exist
Be the first, drop a comment!