As is the case with most software updates, Android 5.0 brought changes that were viewed by users as somewhat positive and somewhat negative. This generally happens because we're accustomed to the old way of doing things, and changes, no matter how useful, can slow us down.
But sometimes, new additions can truly be both positive and negative at the same time. This is the case with Lollipop's new Overview screen, which replaced the old Recent Apps screen and added separate entries for Chrome tabs and Google Searches. On the downside, though, every app that you've ever opened since you installed Lollipop is retained in this list until you swipe it away.
So top Android developer Chainfire created a new app that will allow you to curate the Overview screen rather easily. You can set the list to be trimmed after a certain amount of entries accumulate, or you can have it only keep apps that are currently running.
Requirement
Step 1: Install Recently
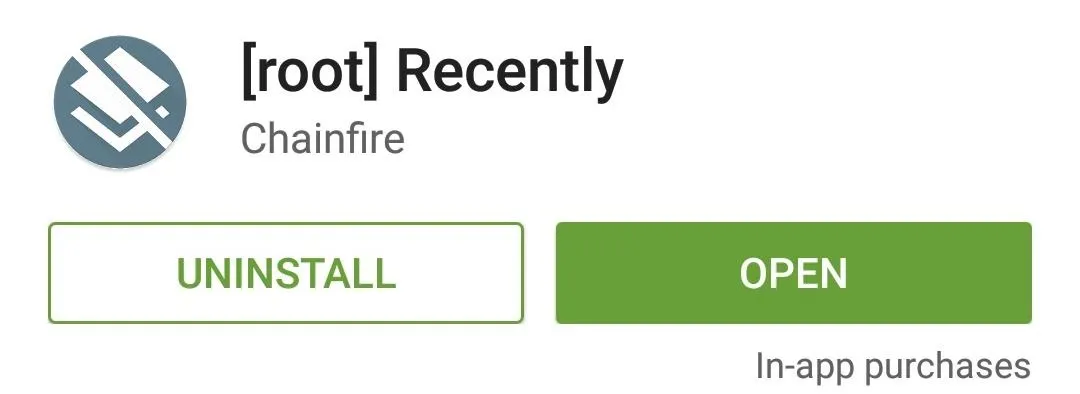
Chainfire's new app is called Recently, and it's available on the Google Play Store for free. Search for it by name to get it installed, or head directly to the install page here.
Step 2: Configure the App
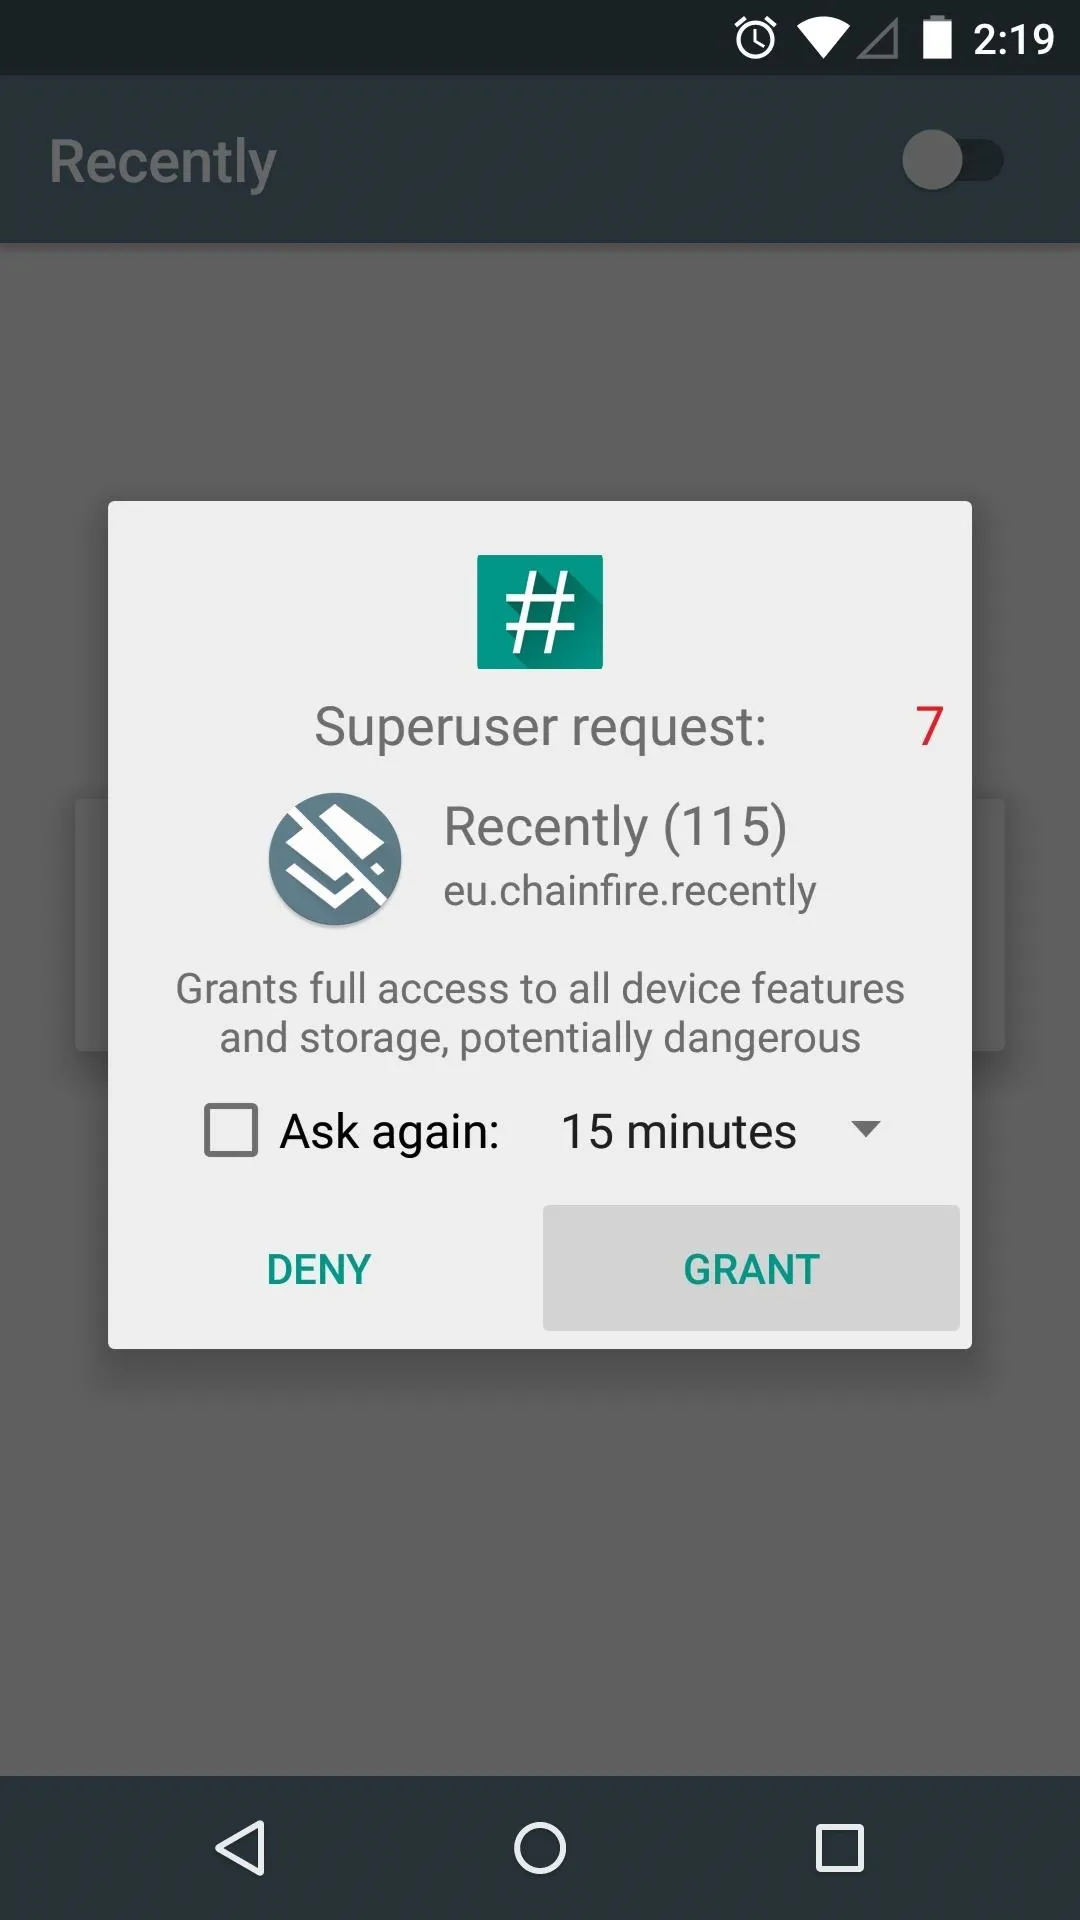
When you first launch Recently, the app will ask for Superuser access. Tap "Grant" on this popup, and you'll be taken to Recently's main menu.
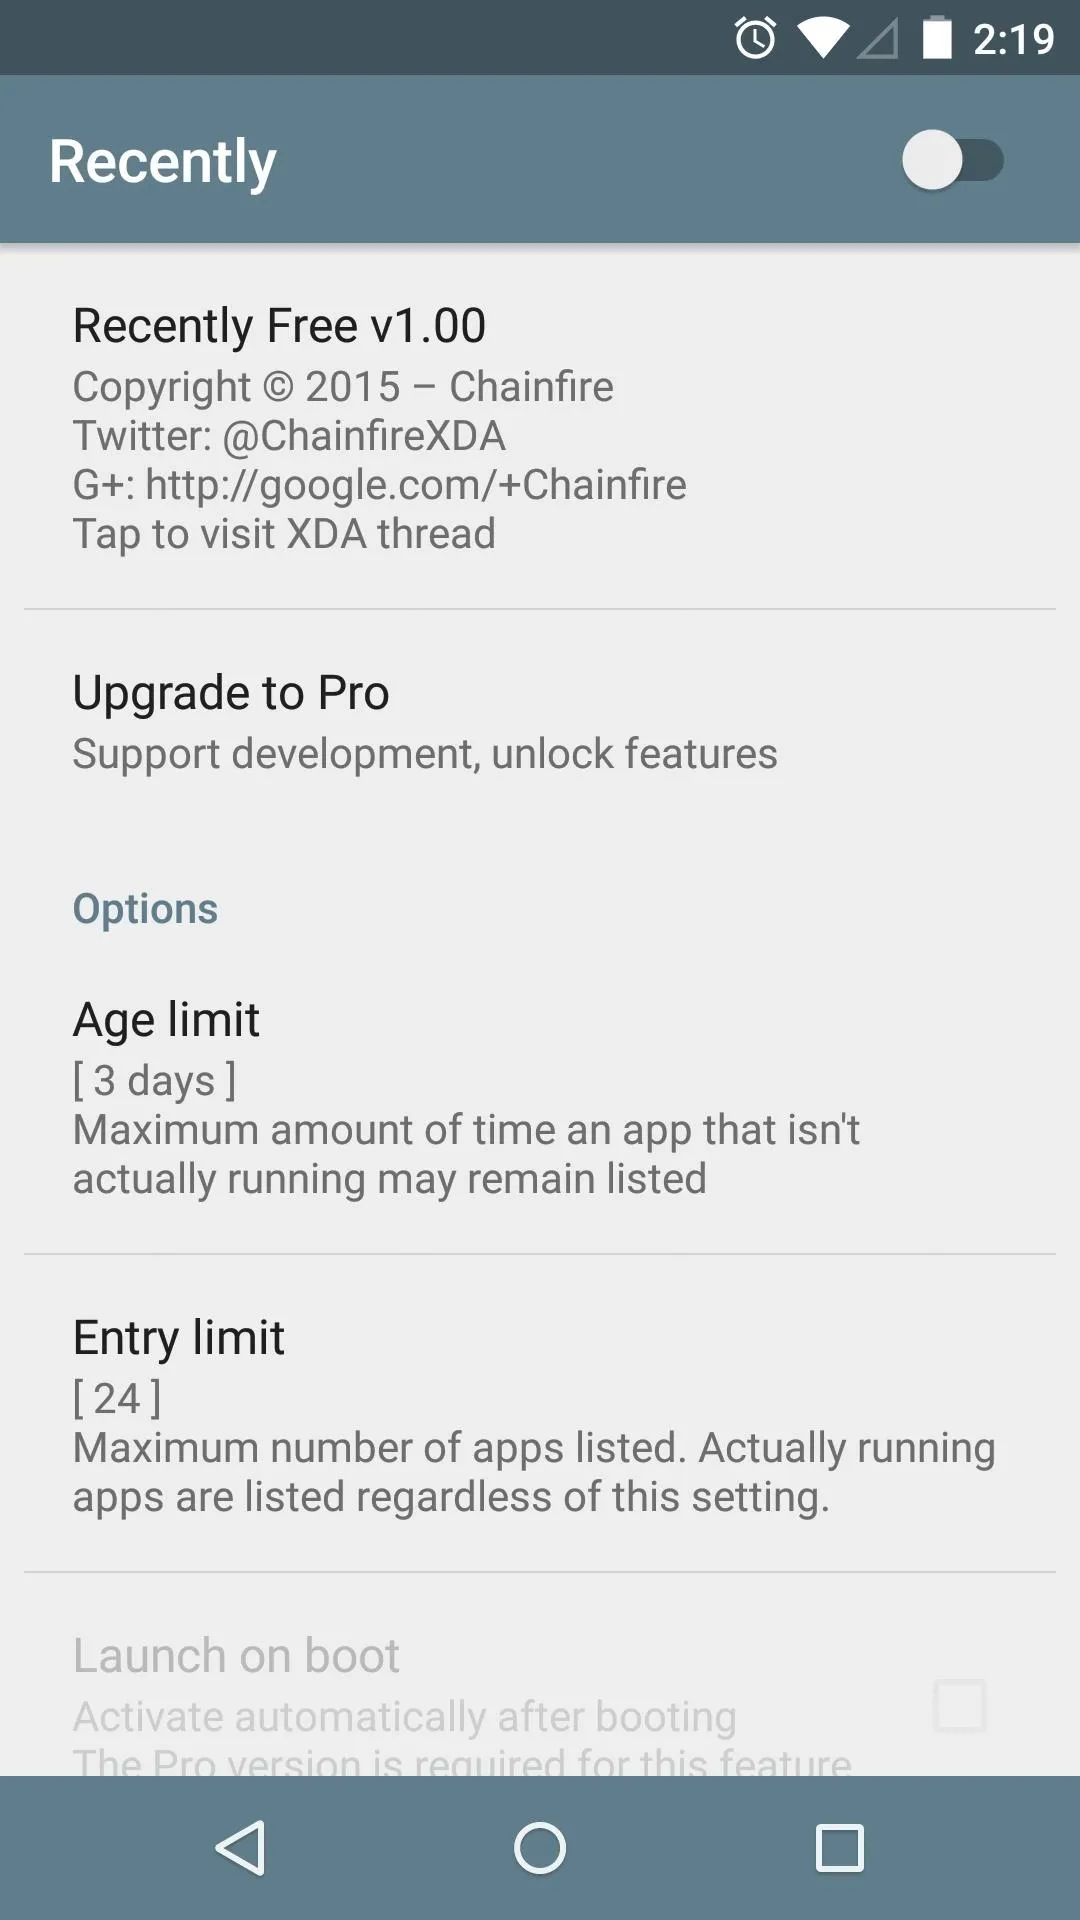


From here, toggle the switch at the top of the screen to "On" to enable the Recently service. Don't worry, though, Recently is very battery-friendly, so the running service won't really affect anything.
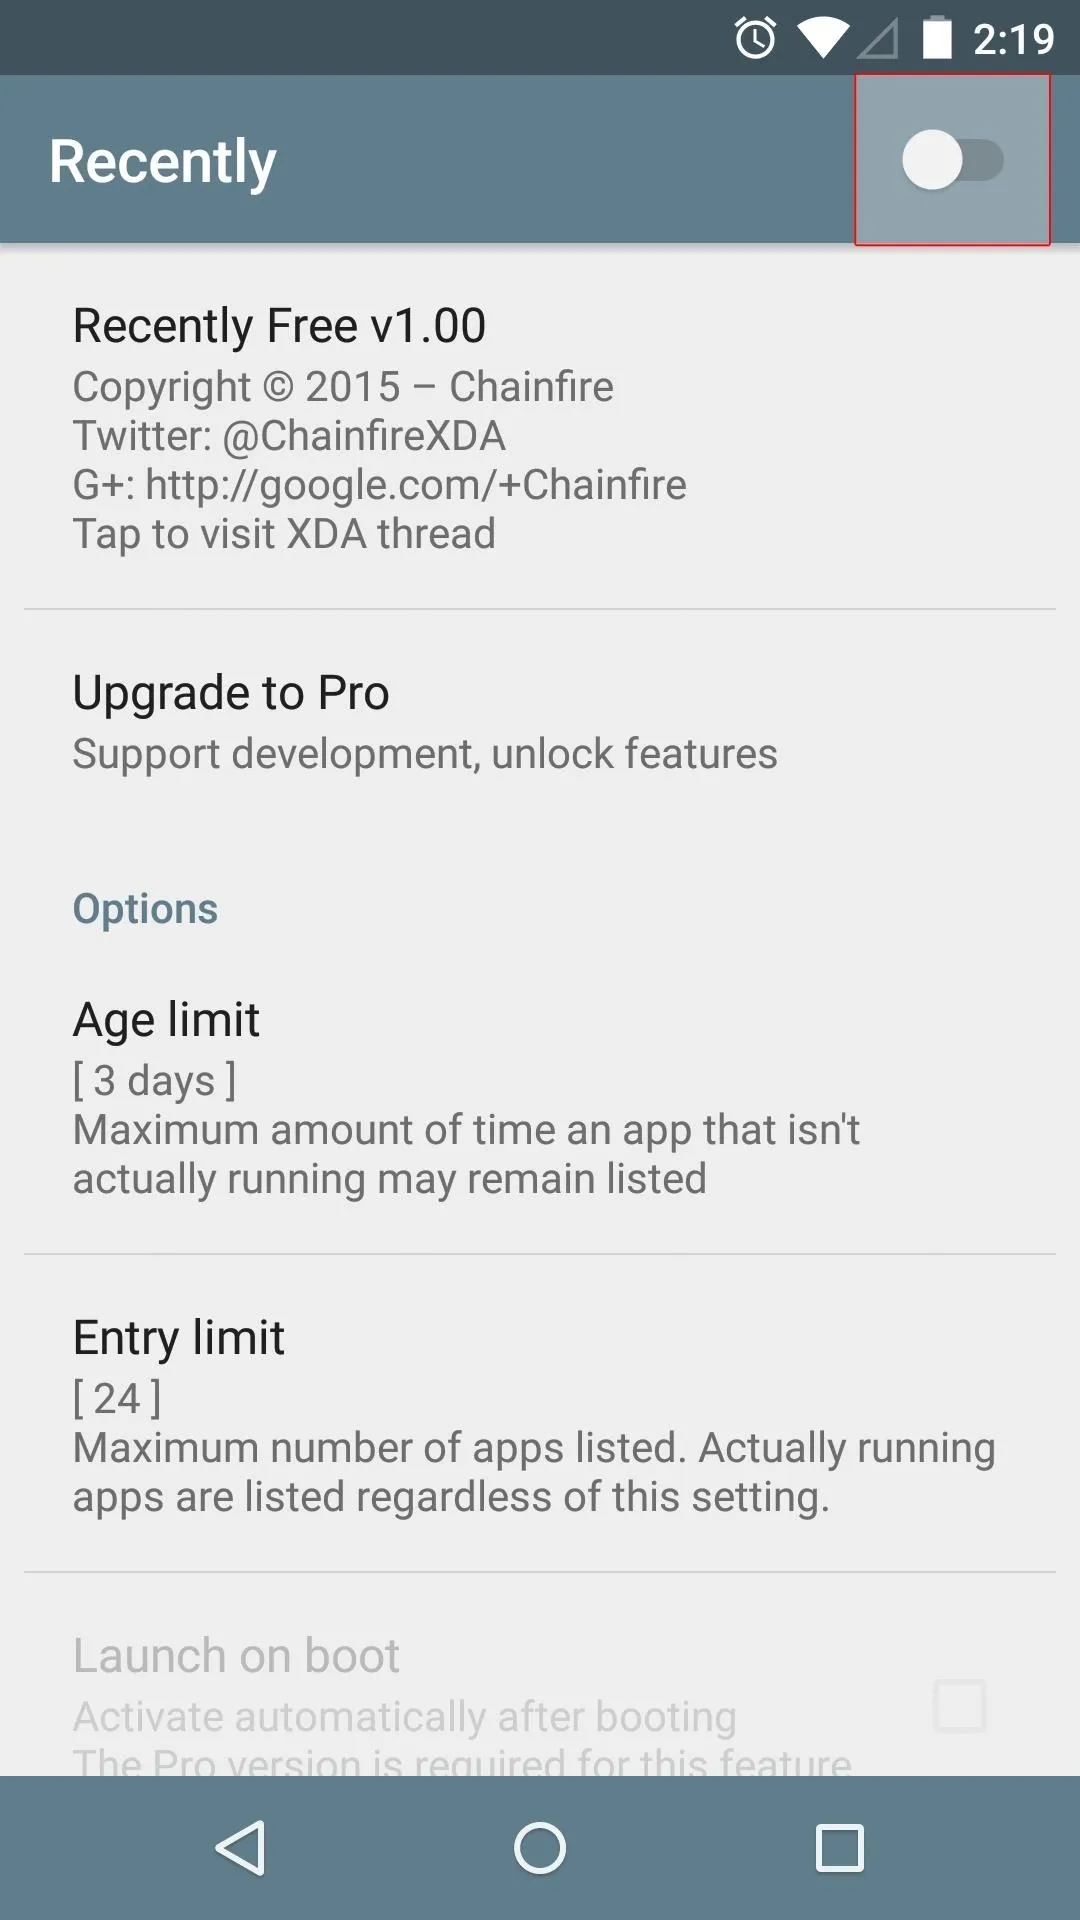
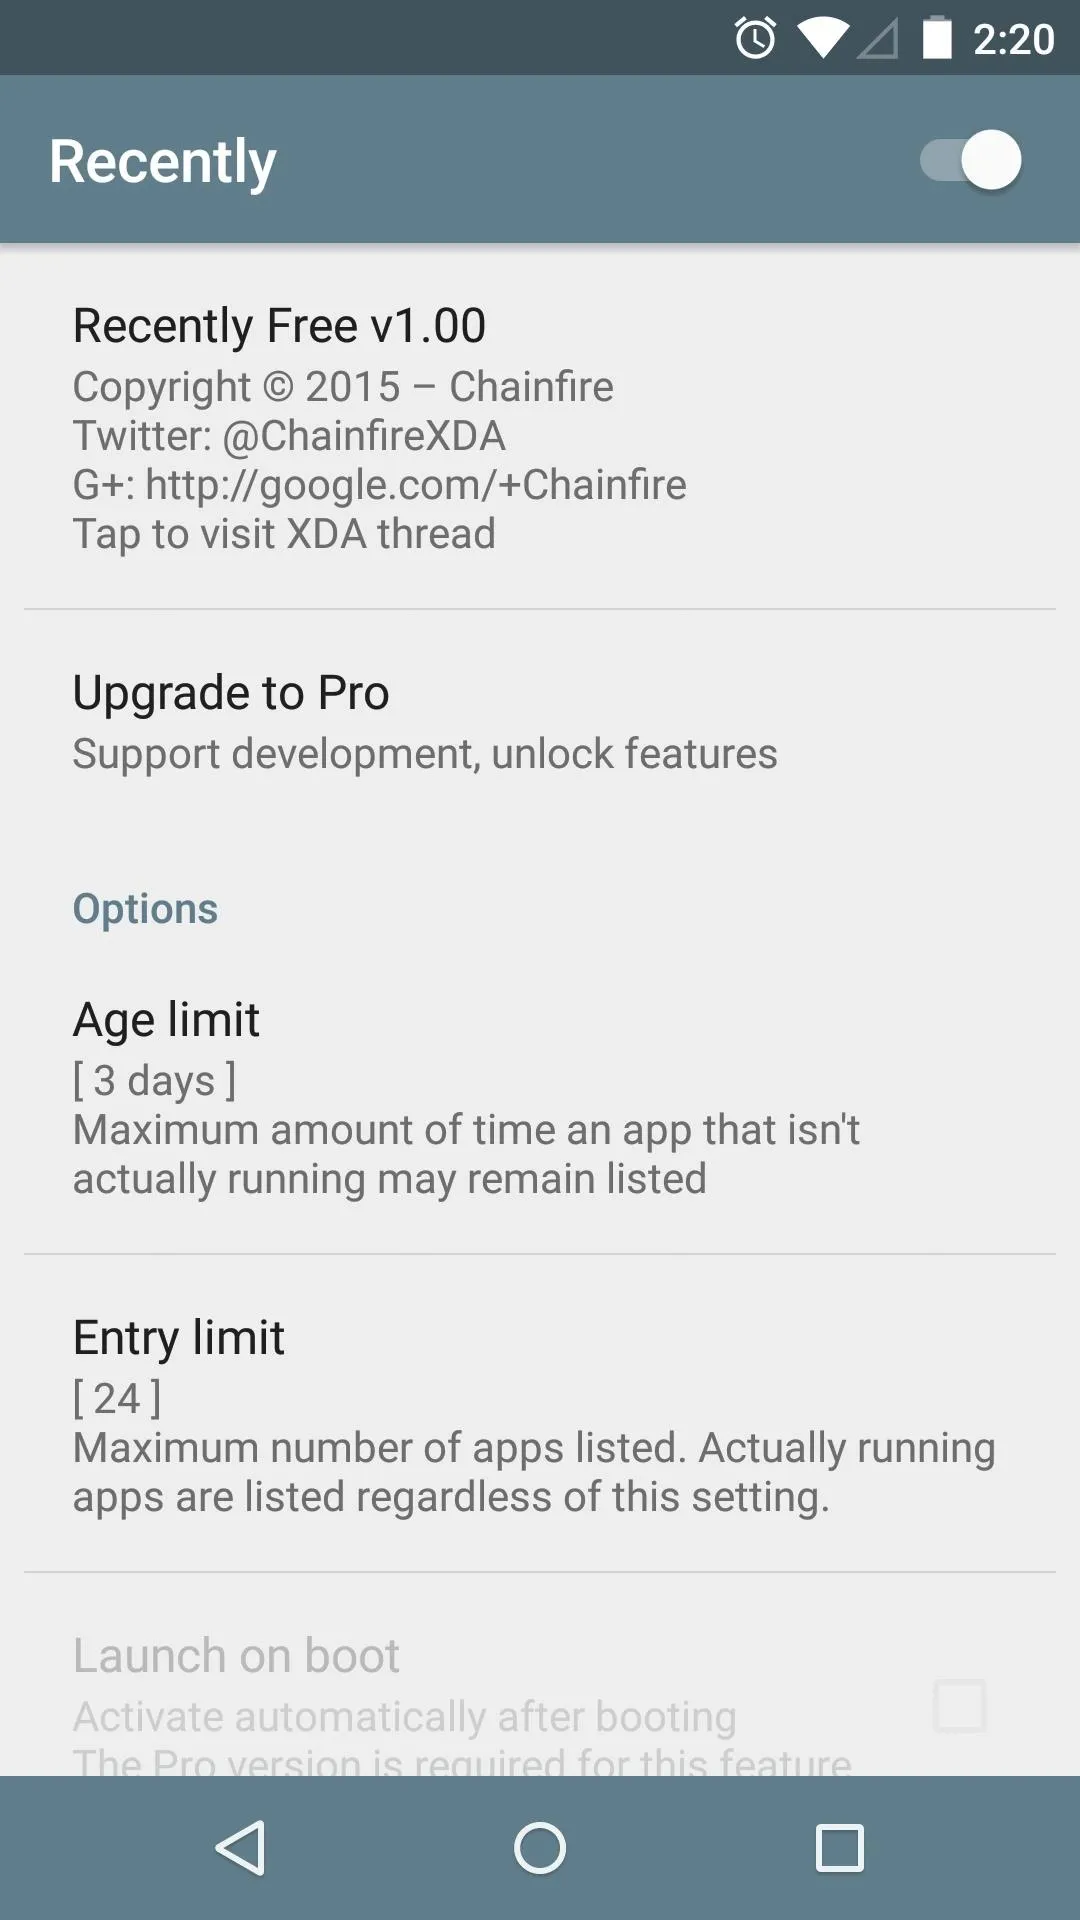


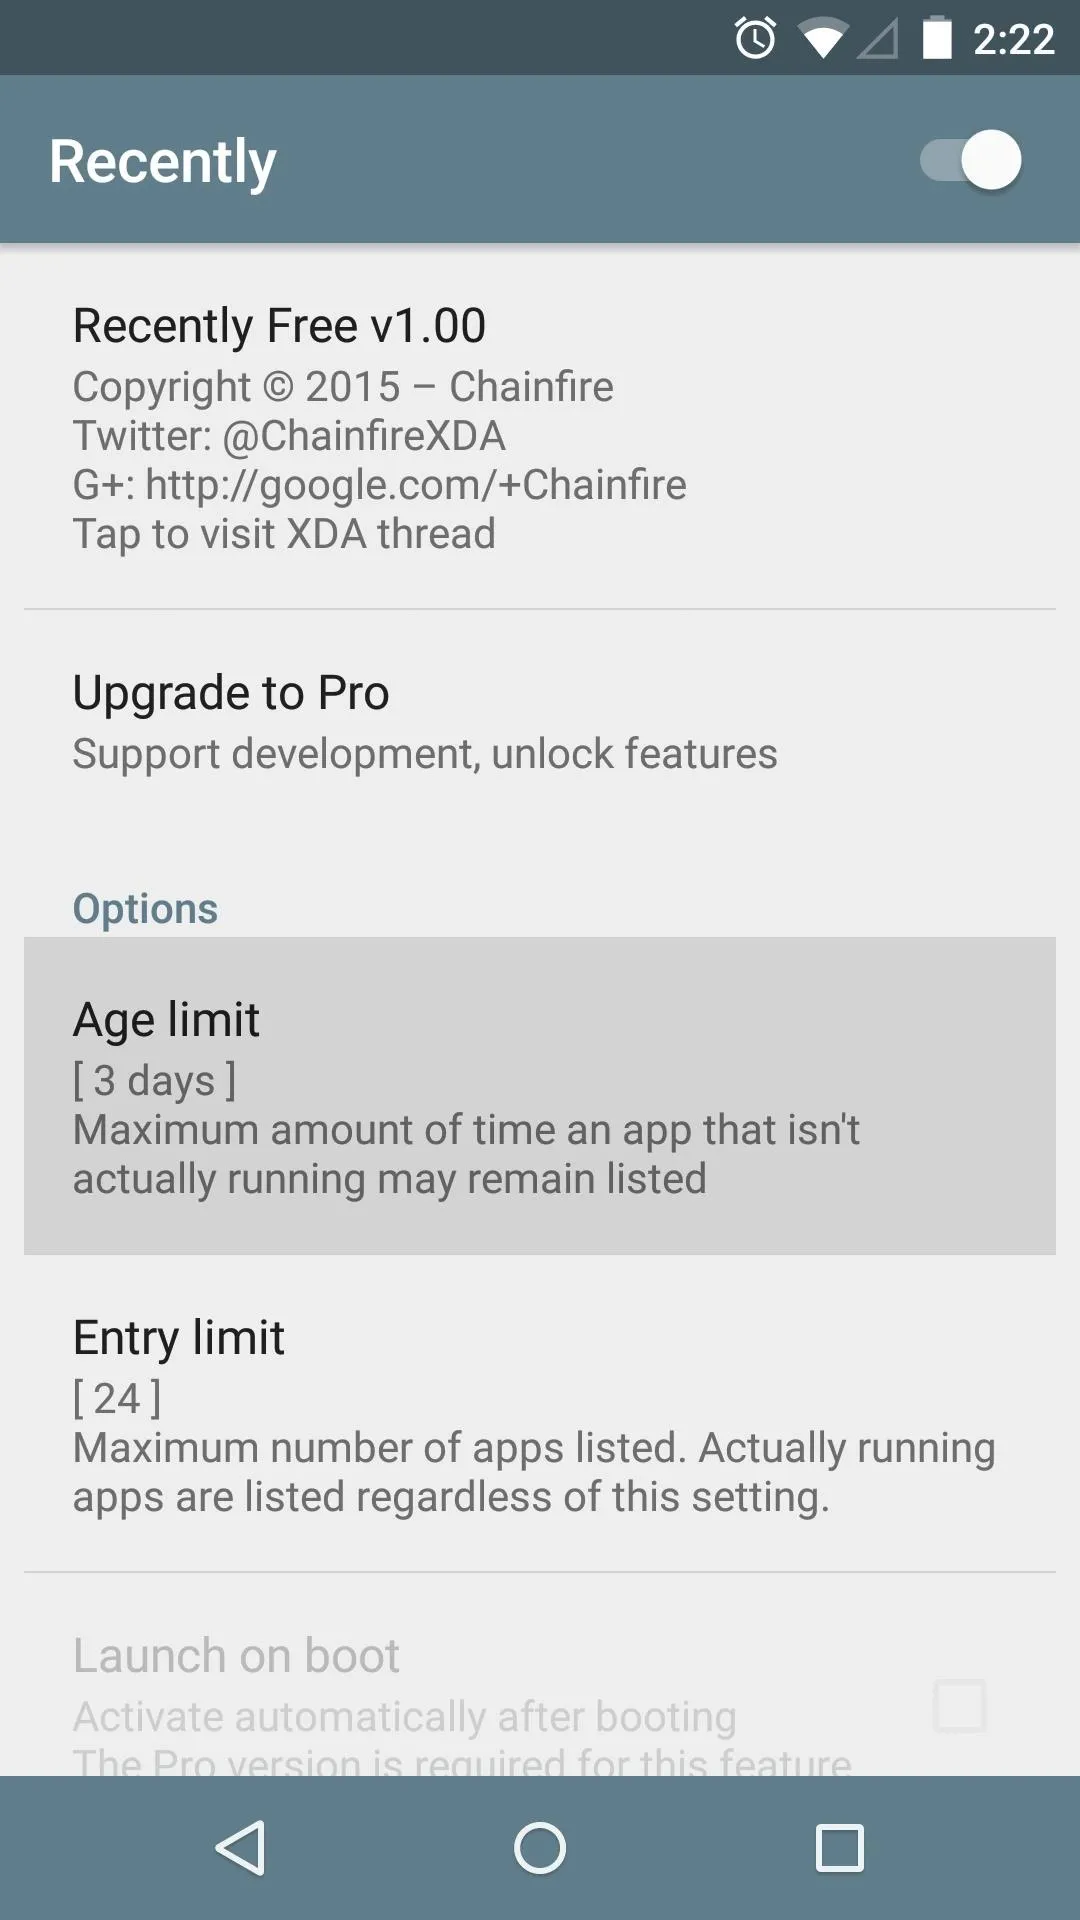
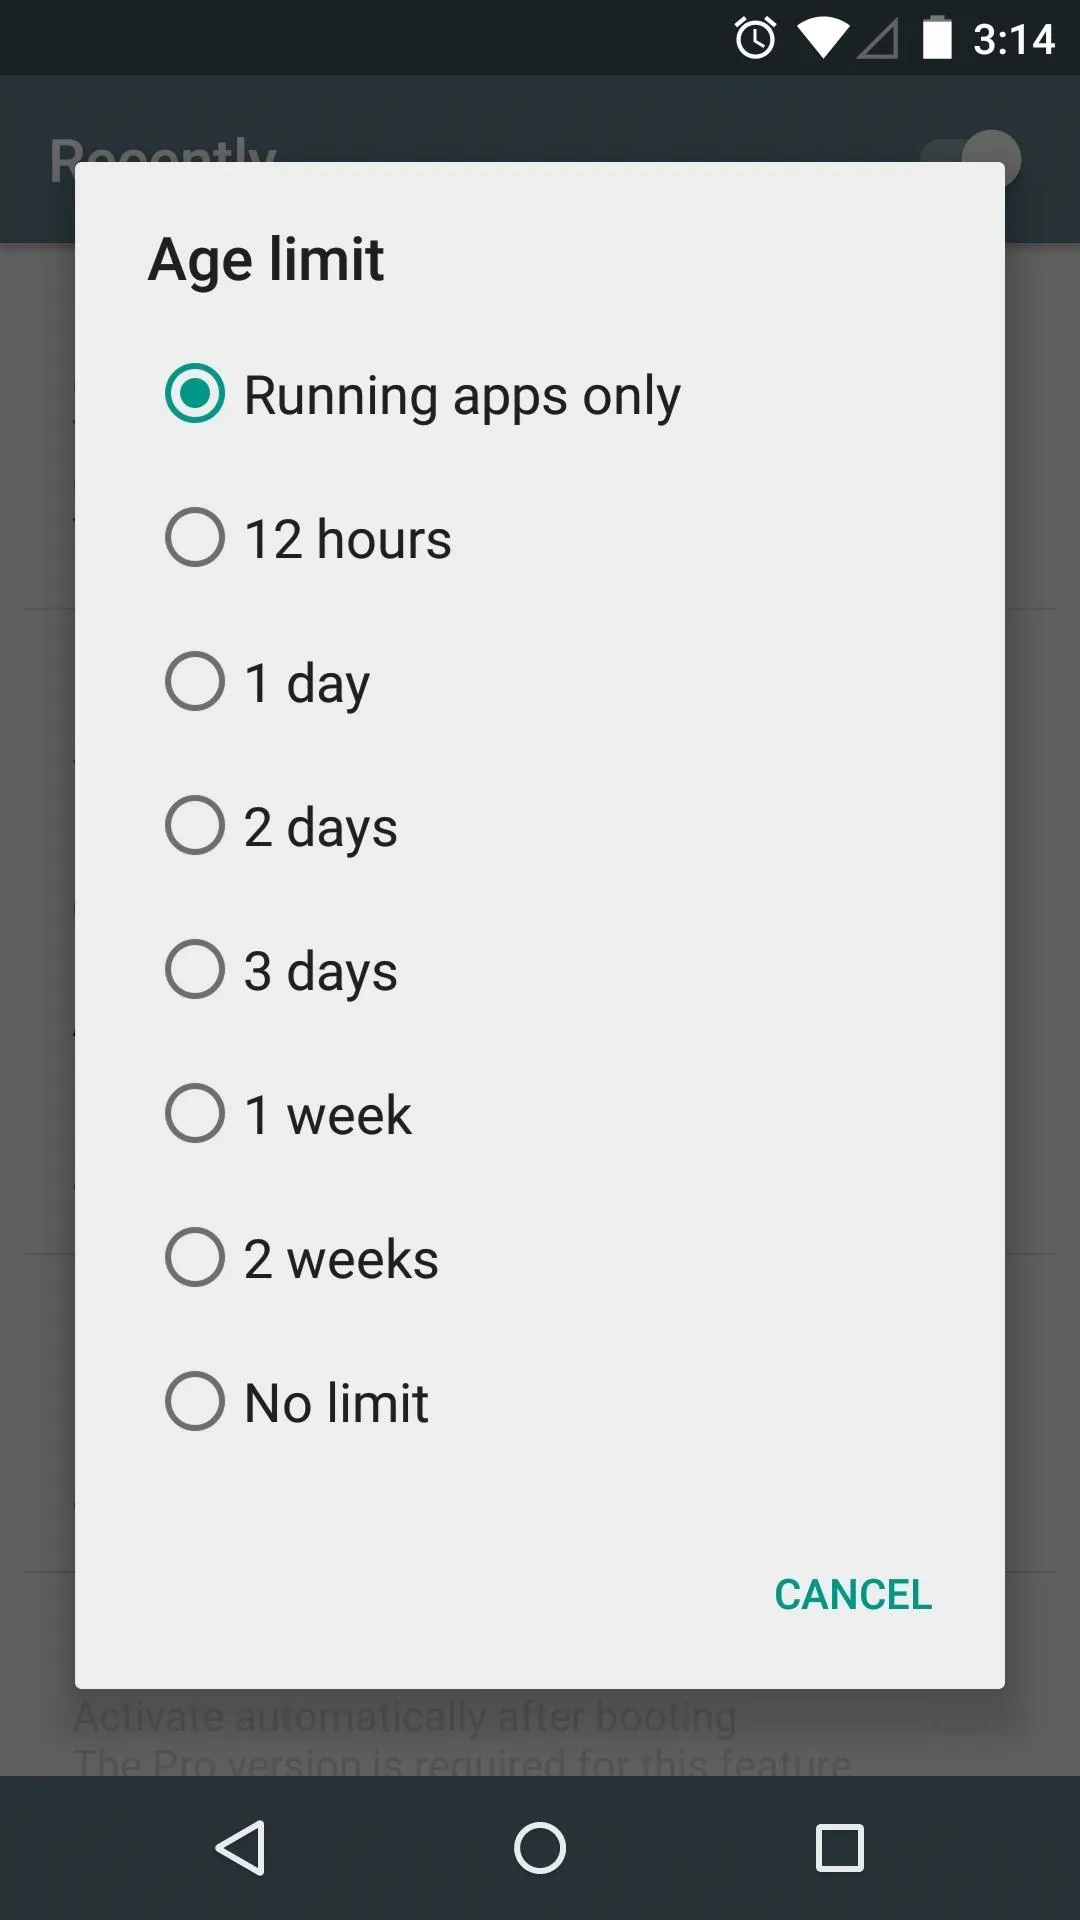
From here, tap "Age Limit" to set the length of time that apps can stay in your Overview screen. If you'd prefer that only running apps be kept in your Overview screen, select the "Running apps only" option.


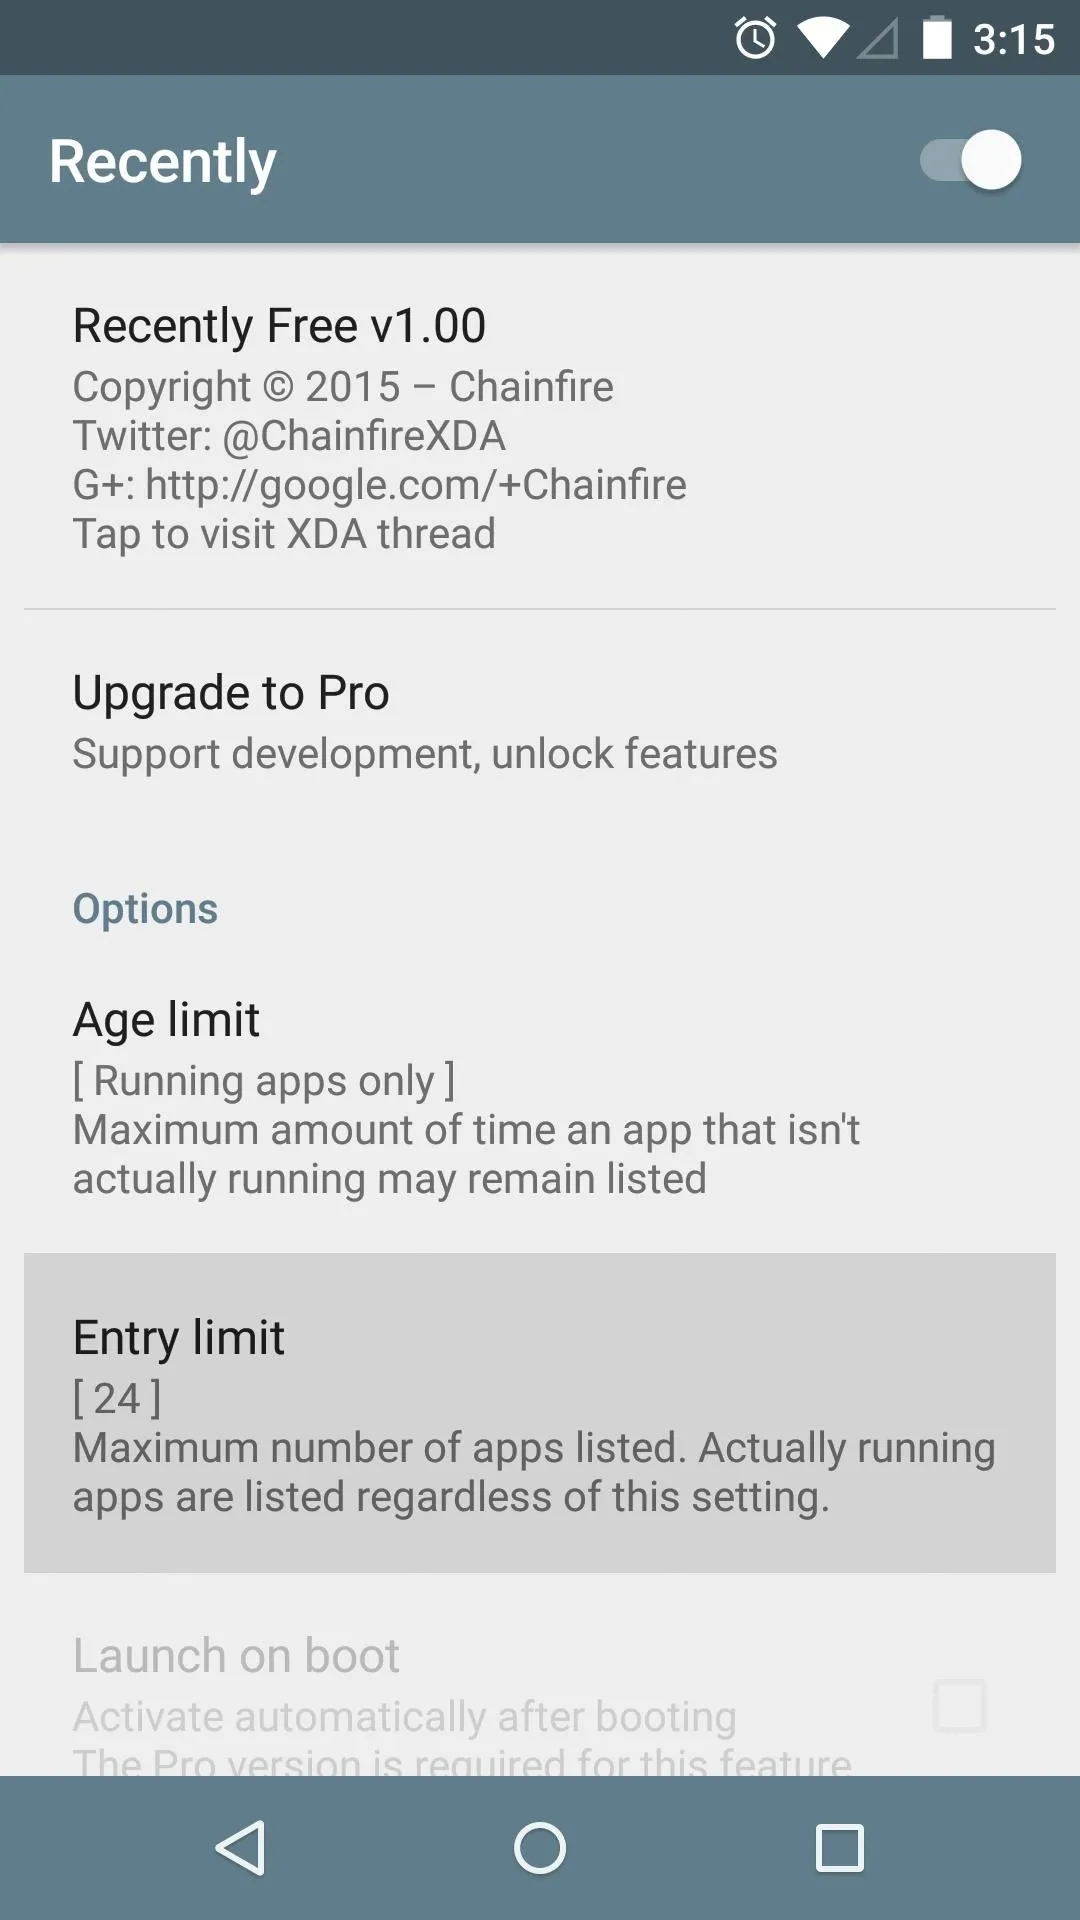
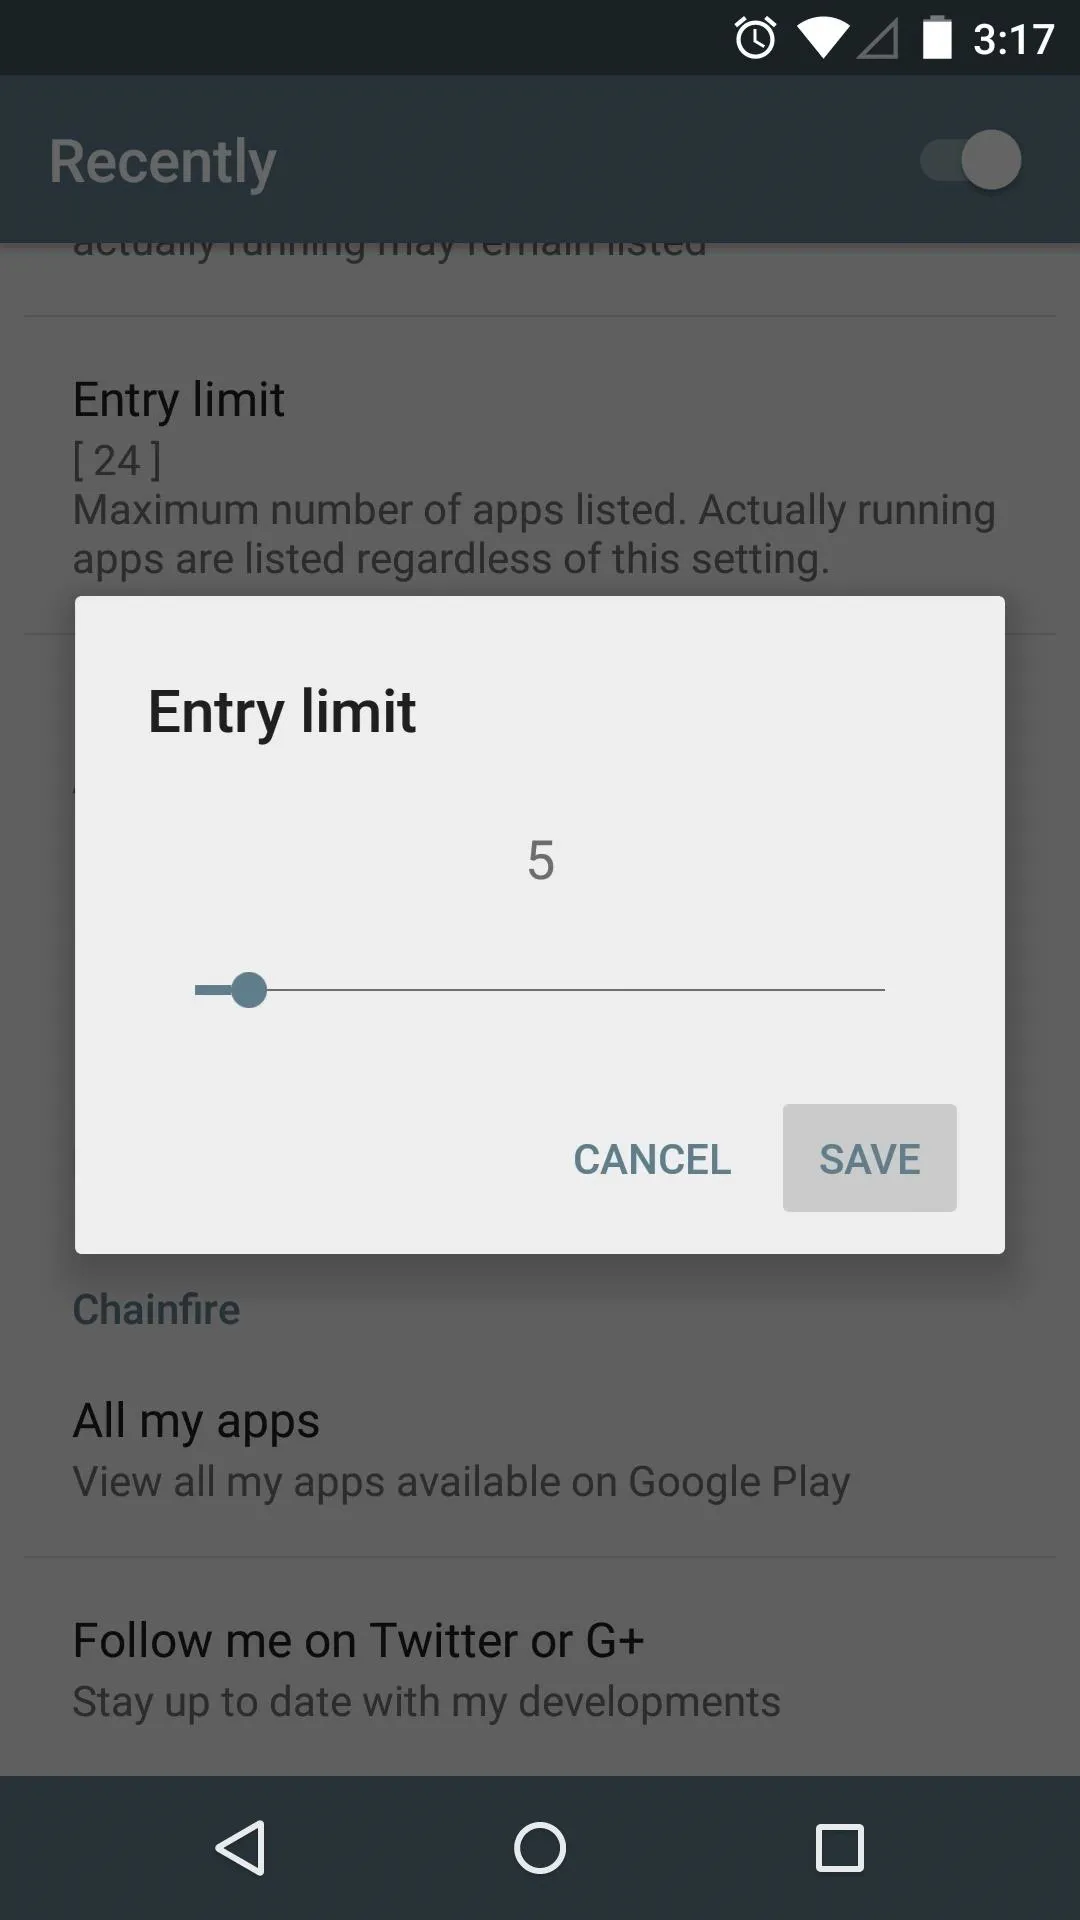
Next, you can edit the maximum number of apps that will be allowed in your Overview screen. Tap "Entry limit," then choose a value to do just that.


Step 3: Set the Service to Start on Boot
As it stands, you'll have to open Recently and turn the service on after each reboot. If you'd like this to happen automatically, you have two options.
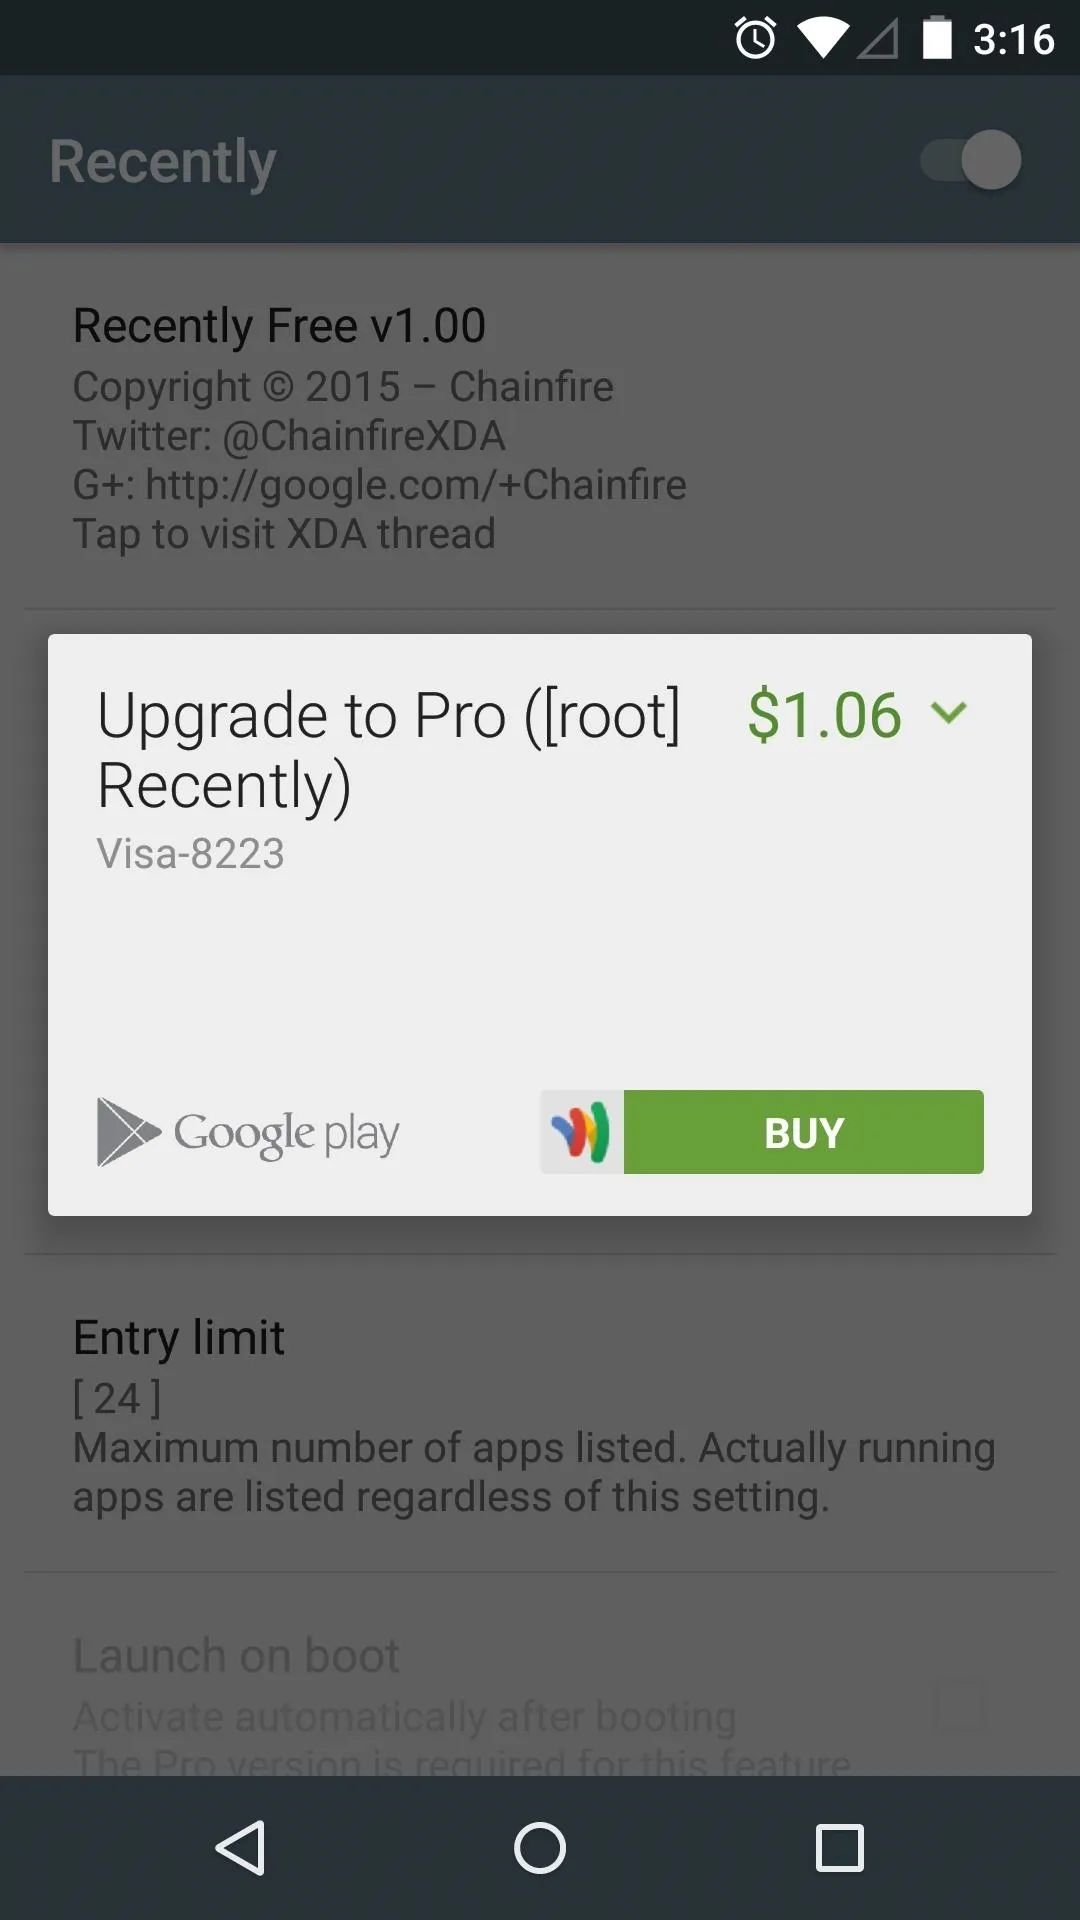
First, you can purchase the pro version of Recently for $1.06 by tapping the "Upgrade to Pro" button. If you like the app, it would be a nice way to show your support to the developer. If that's not in the budget right now, Chainfire has been nice enough to give us an option to enable all Pro features for free. Tick the box next to the "Freeload" entry if you'd like to go that route.
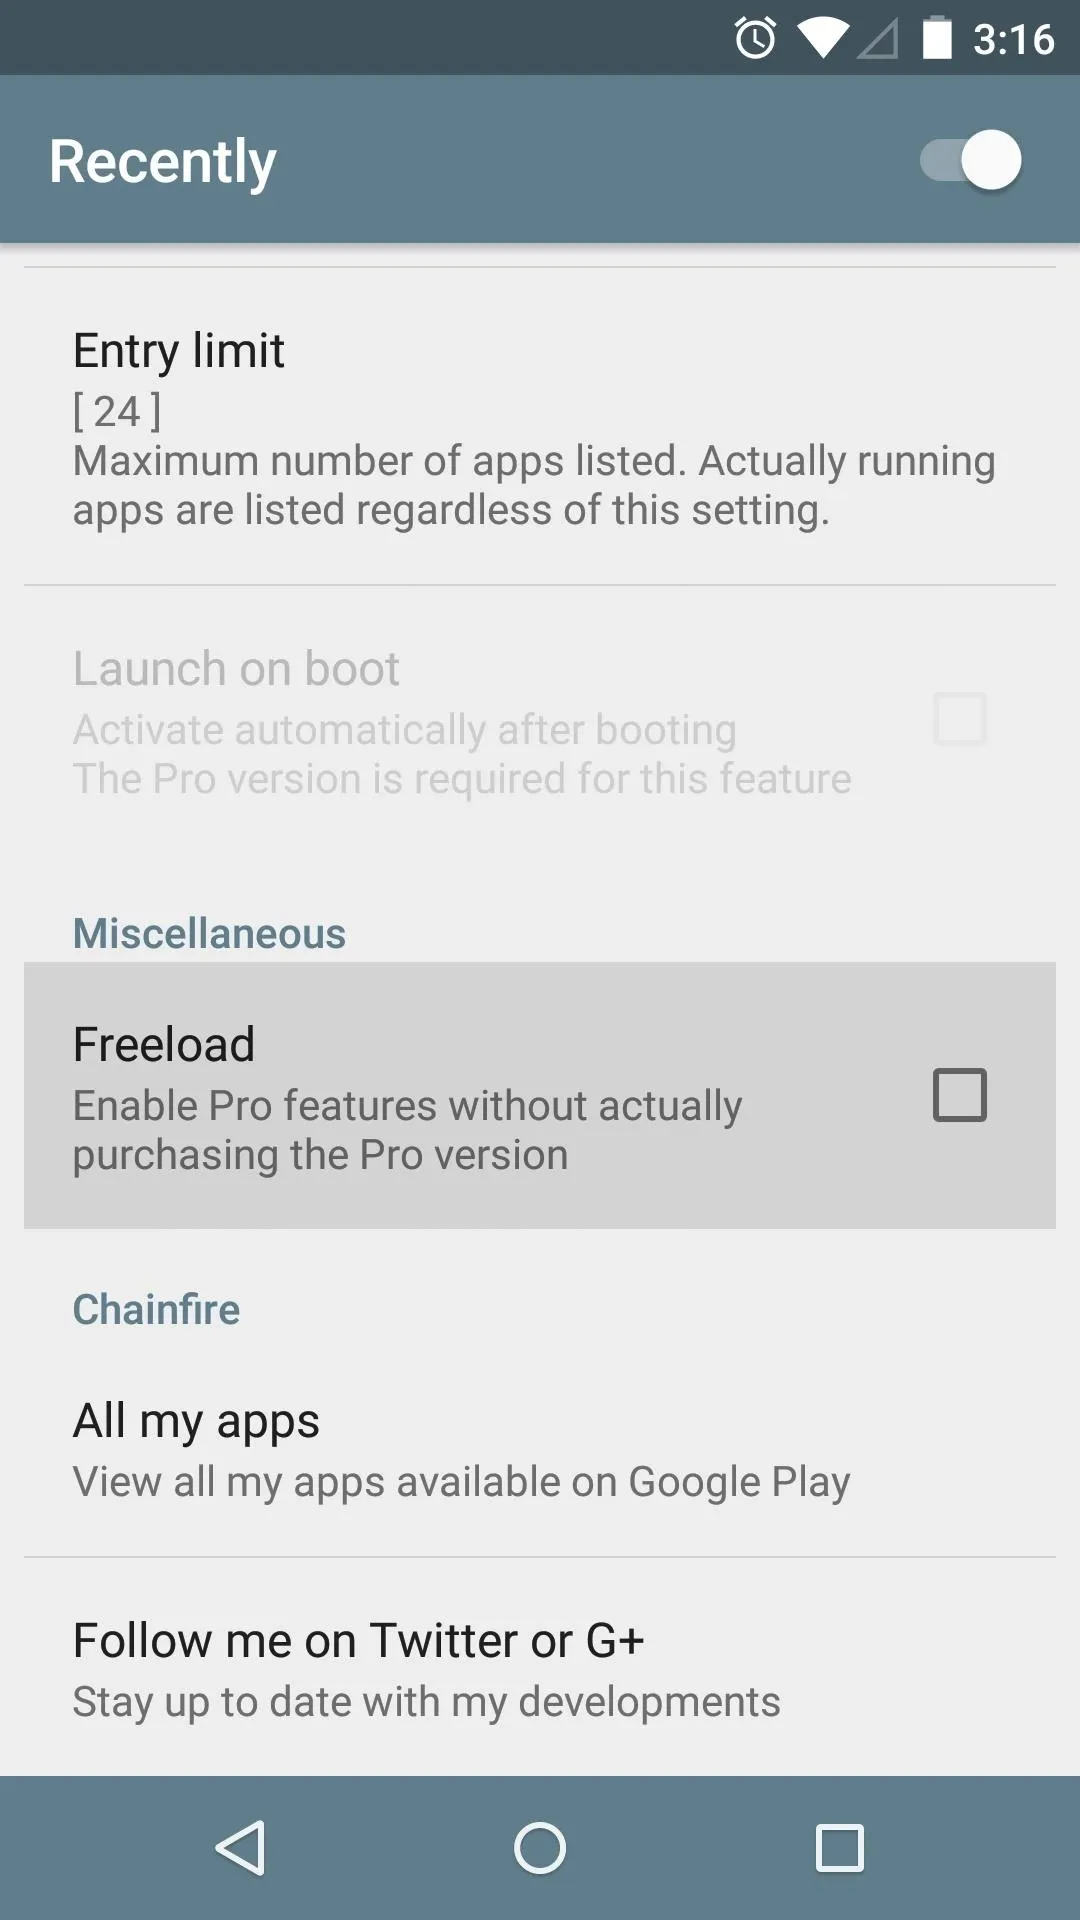


After that, tick the box next to "Launch on boot," and the app will make sure that its service is always running.
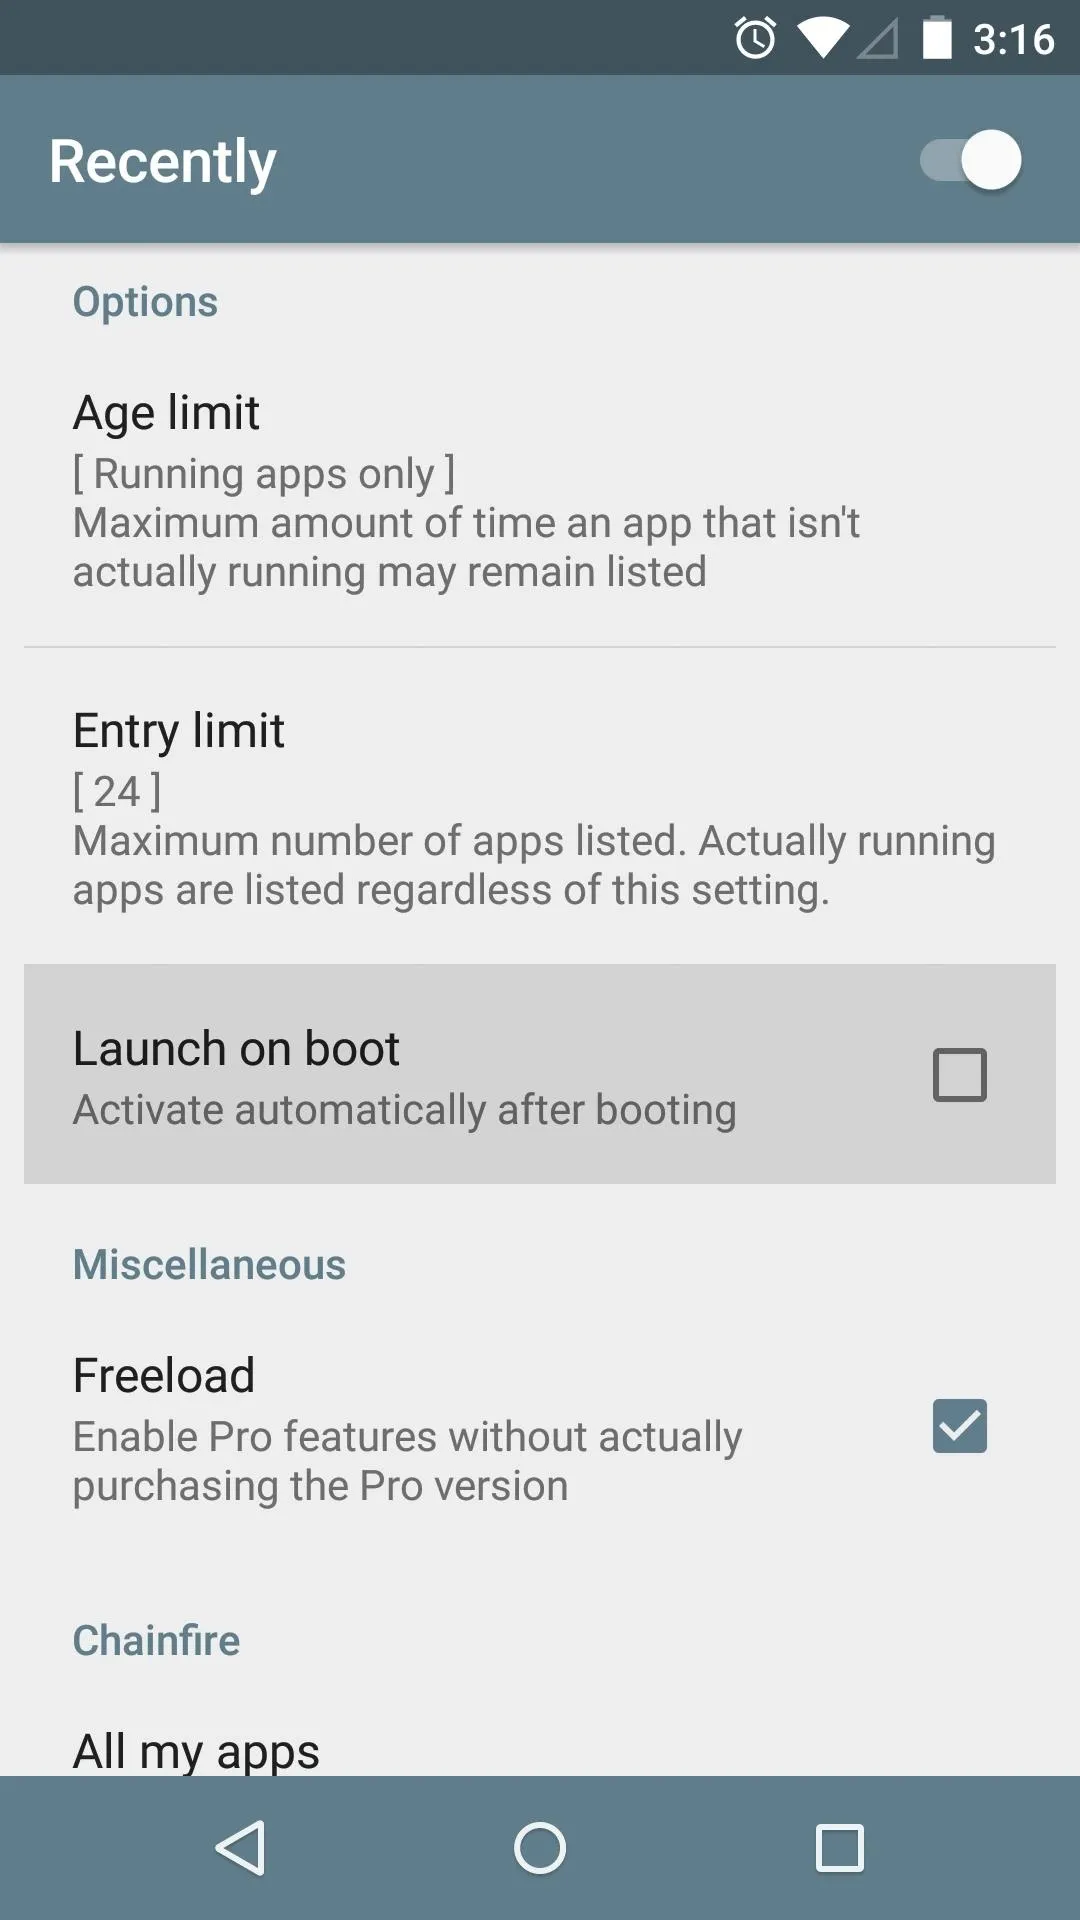
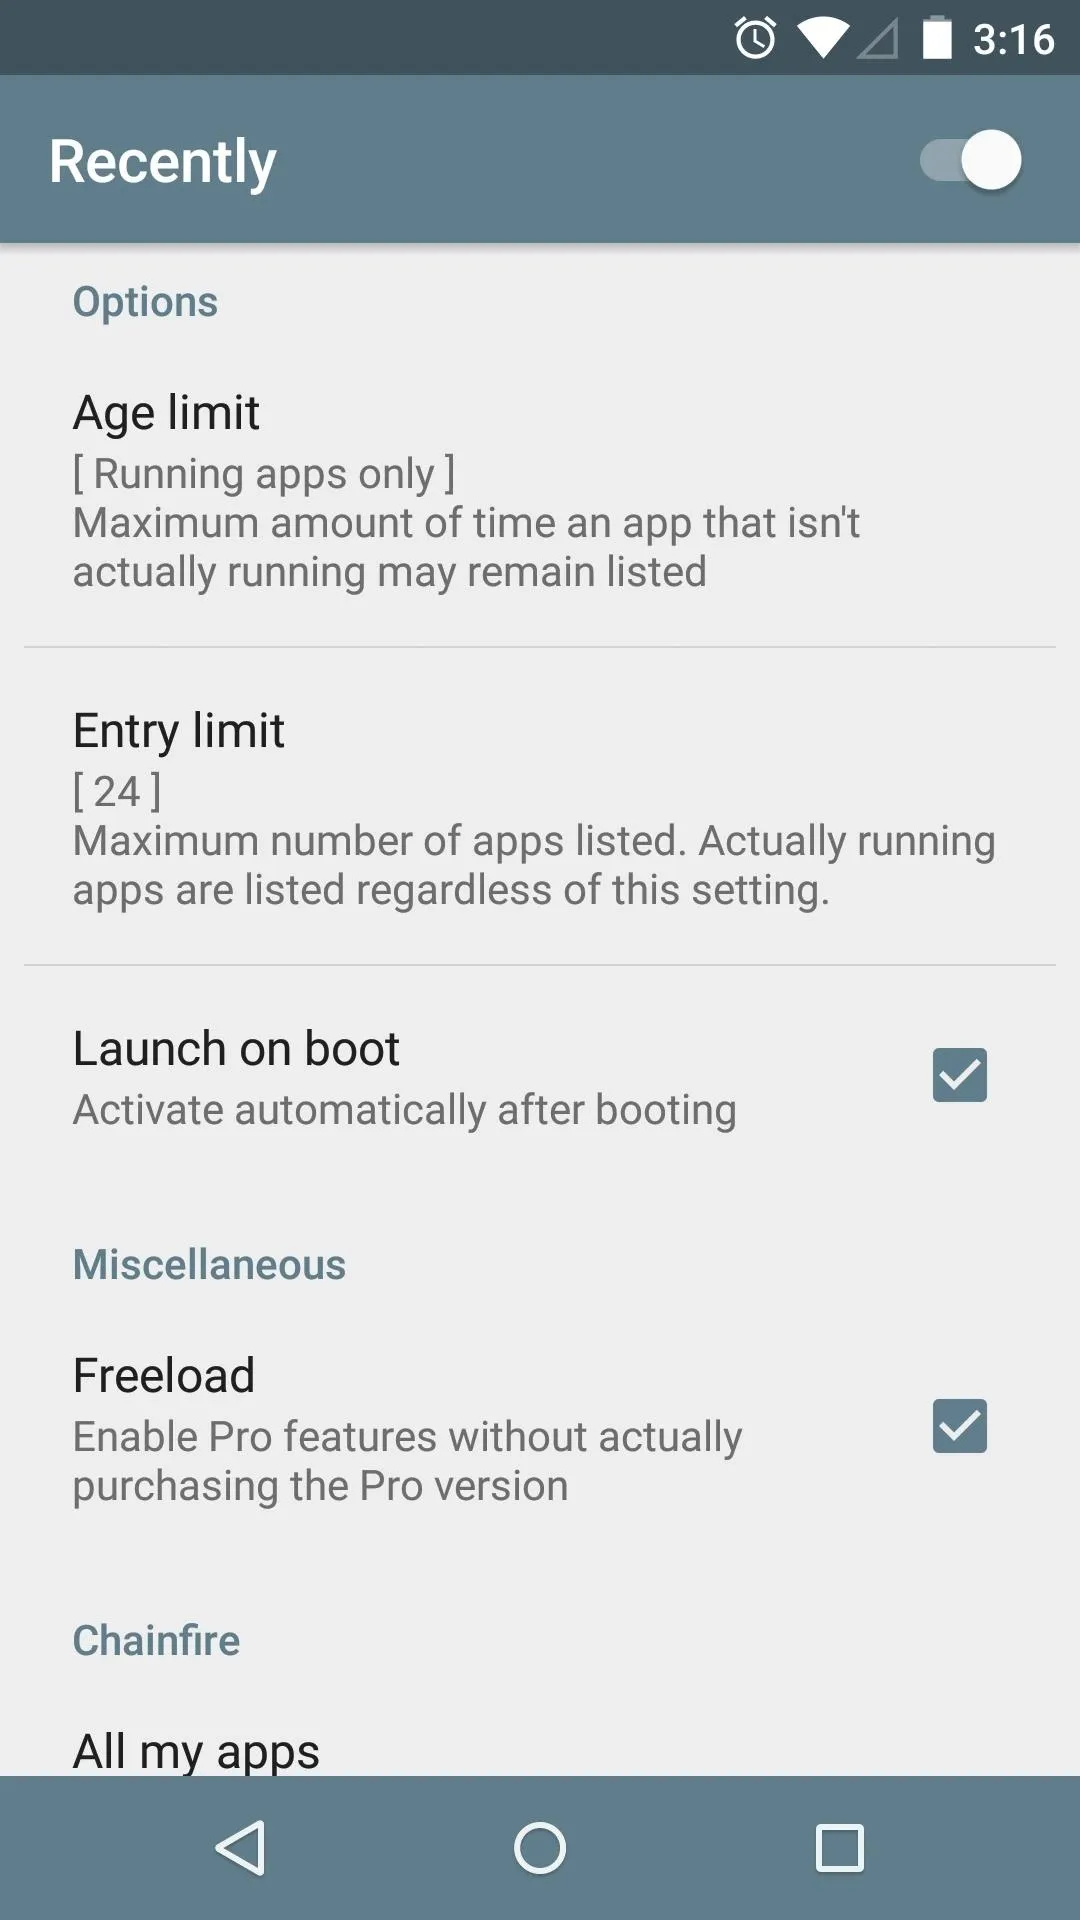


From now on, your Overview screen will automatically be trimmed down to the values you entered in Recently.
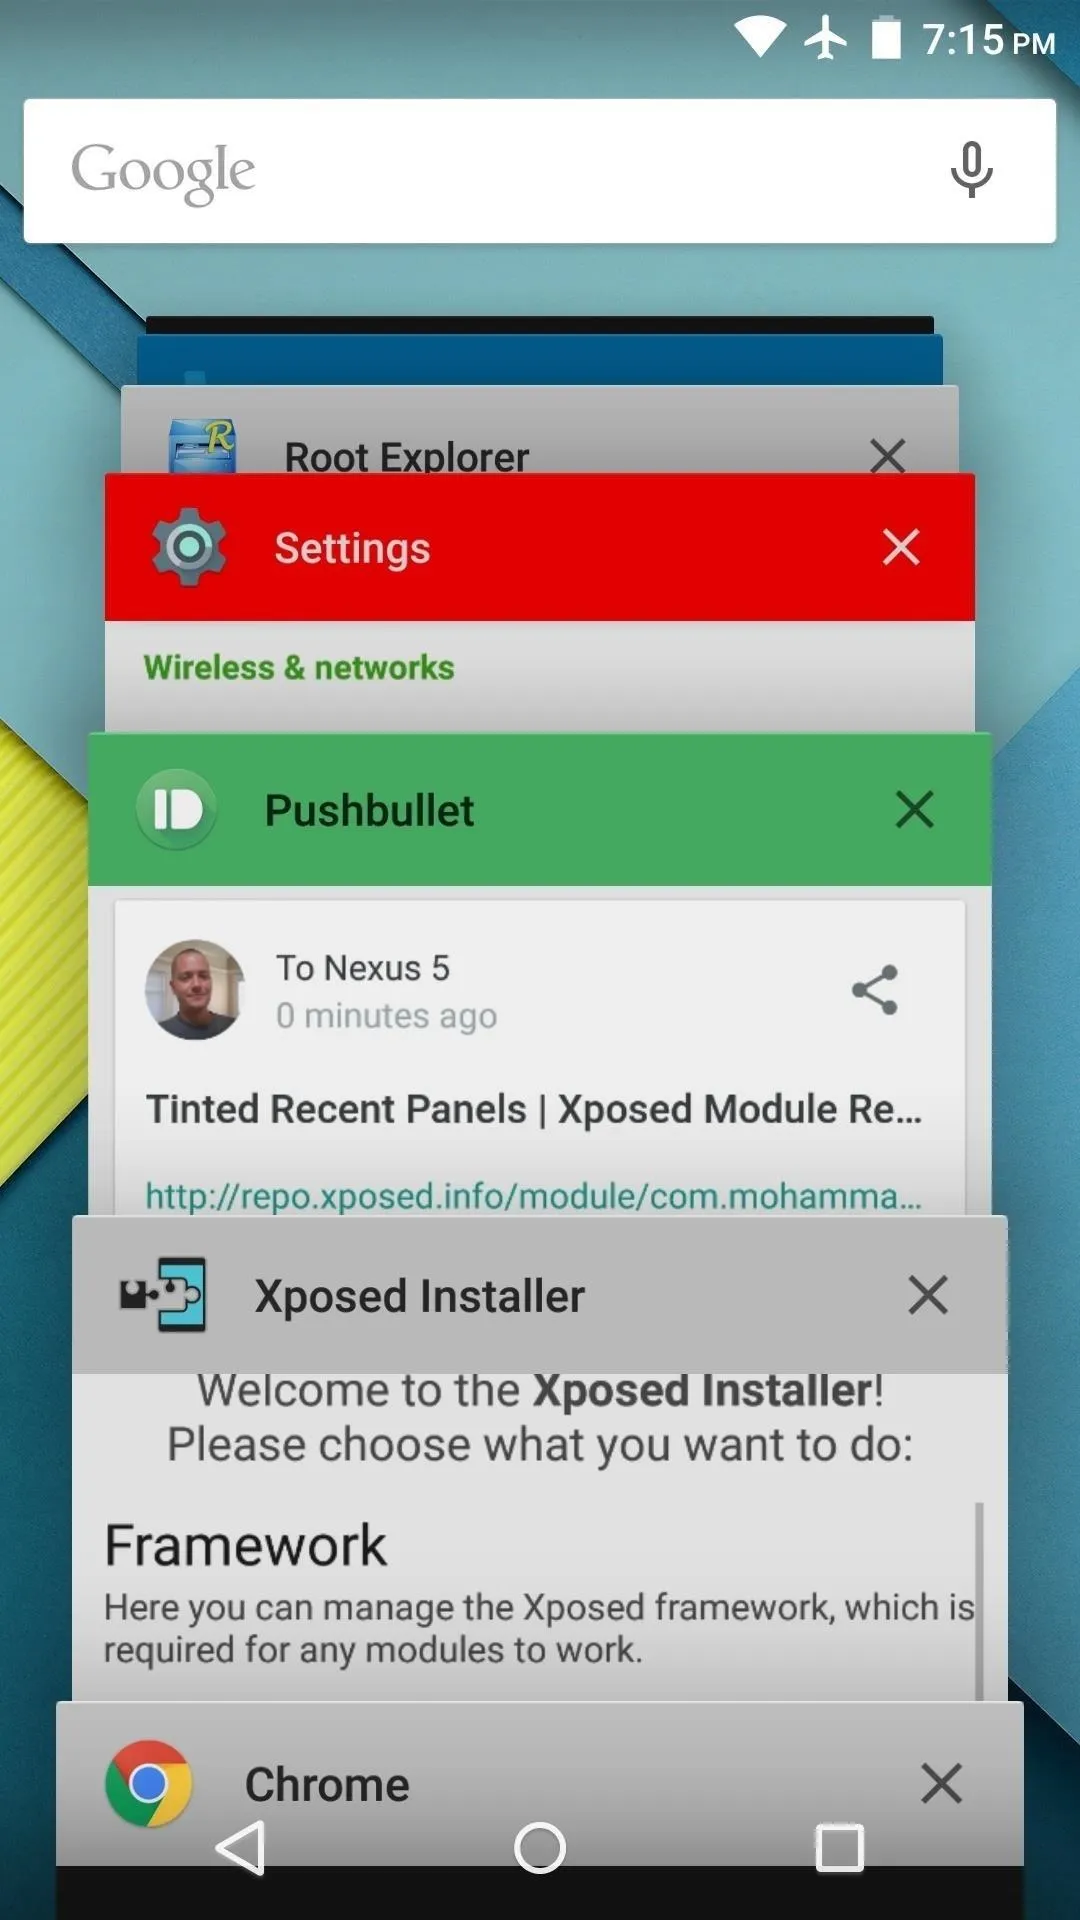
Before Recently
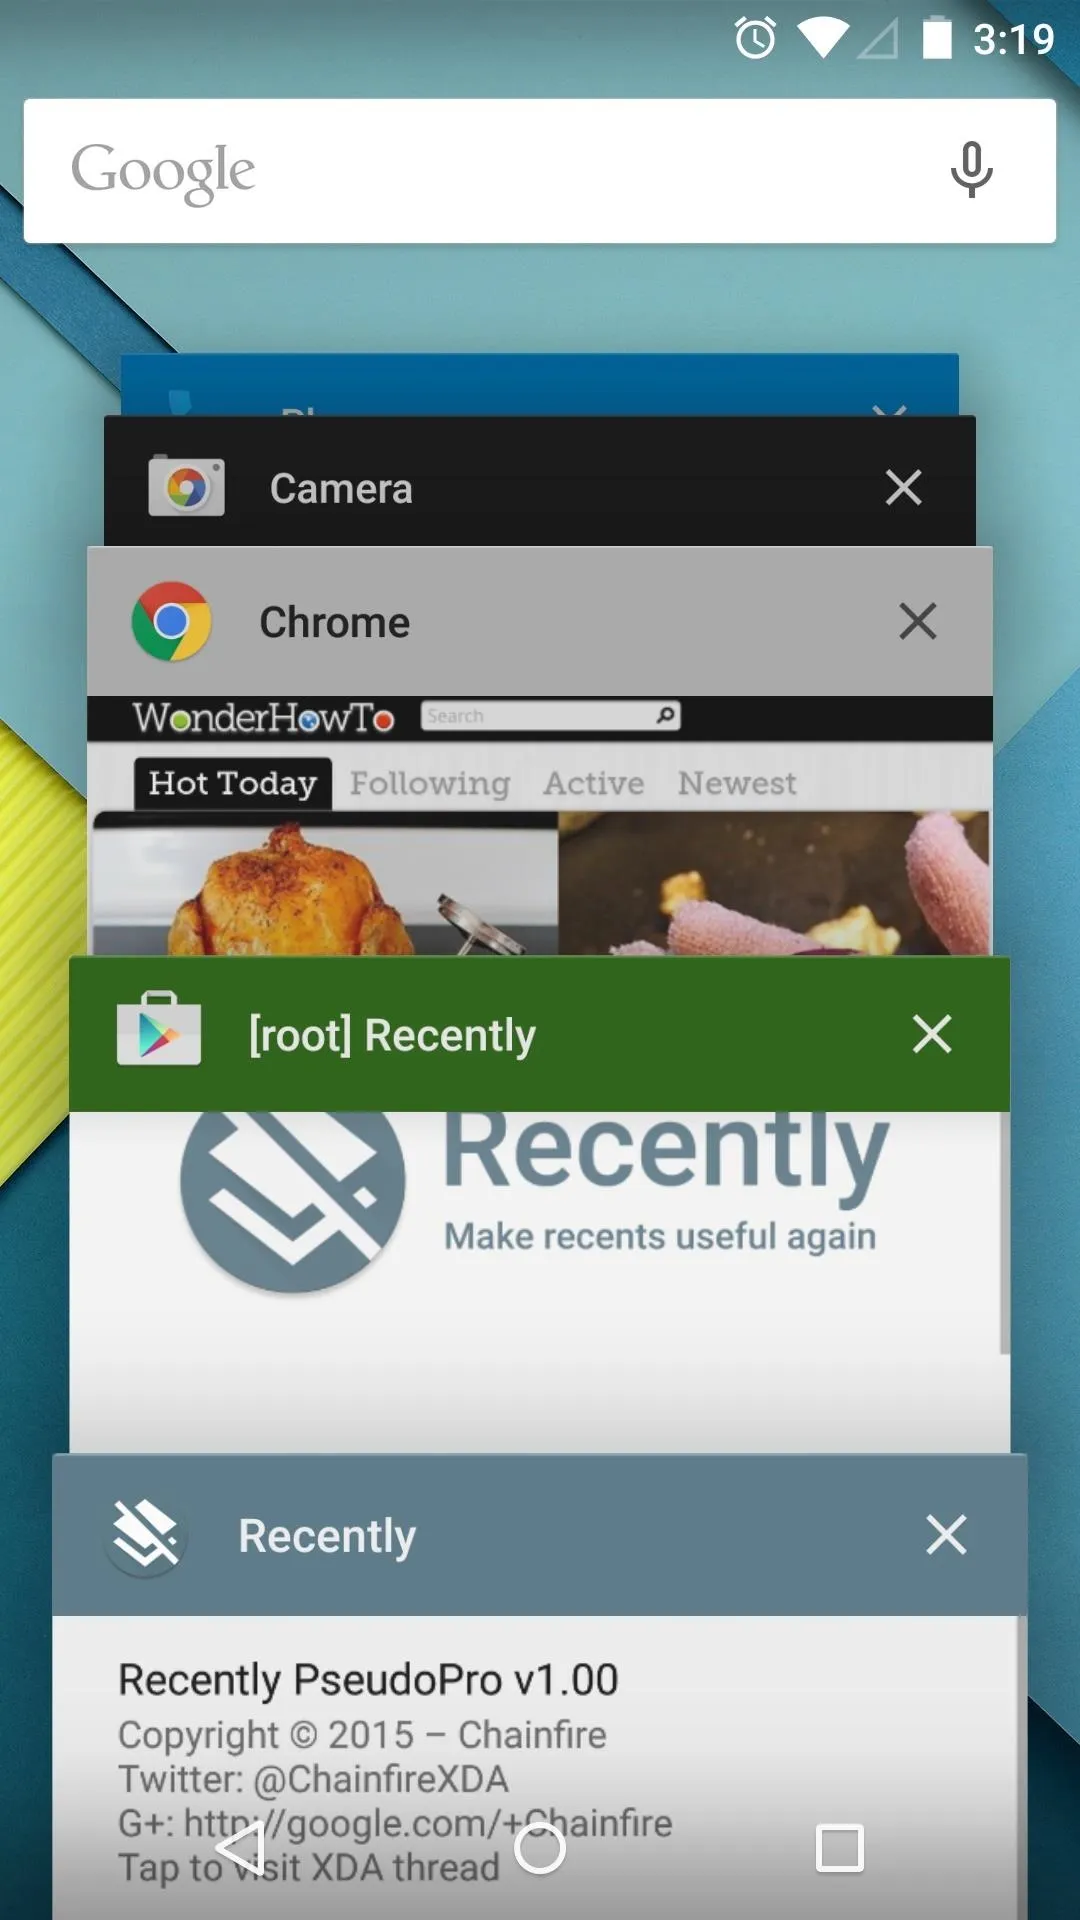
After Recently (only 5 apps in Overview)

Before Recently

After Recently (only 5 apps in Overview)
How many apps did you allow in your Overview screen? Let us know in the comment section below, or drop us a line on Facebook, Google+, or Twitter.
And if you want to spruce up your Overview screen even more, check out Tinted Recents Panel, an Xposed module that lets you color code headers in the Overview screen.



Comments
No Comments Exist
Be the first, drop a comment!