Now that Hangouts is Android's default messaging app, it's given us a lot of cool new features. A bouncing ellipsis lets you see when the other party is typing, and an indicator shows you whether they've read your message or not. You can even answer the age-old question of "Where you at?" with a tap of a button, sending a map of your location.
One feature that it lacks, at least at the moment, is the ability to send videos. You can, however, send animated GIF images through Hangouts, so today I'm going to show you how to do just that. And of course, these are also great for sharing on Pinterest, Reddit, Tumblr, Twitter, and other social media sites.
Step 1: Install "Video to GIF" from Google Play
There are several different apps that can create animated GIFs on Android, but most aren't without deal-breaking flaws. Some make GIFs only if you've shot the original video from within their app, like Face2Gif (which is great for the selfie-obsessed). Others end up with distorted GIFs once you've sent them via Hangouts.
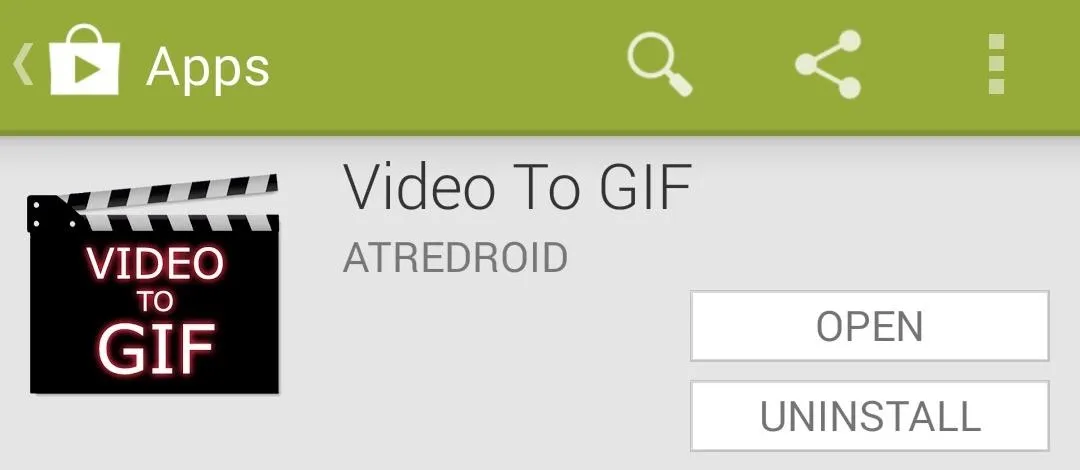
The app Video To Gif by developer Atredroid is immune to these issues. It offers a simple, yet robust interface that lets you shoot videos through your normal camera app and then convert them to Hangouts-ready GIFs. You can find and install the app directly on Google Play.
Step 2: Load Up a Video That You've Taken
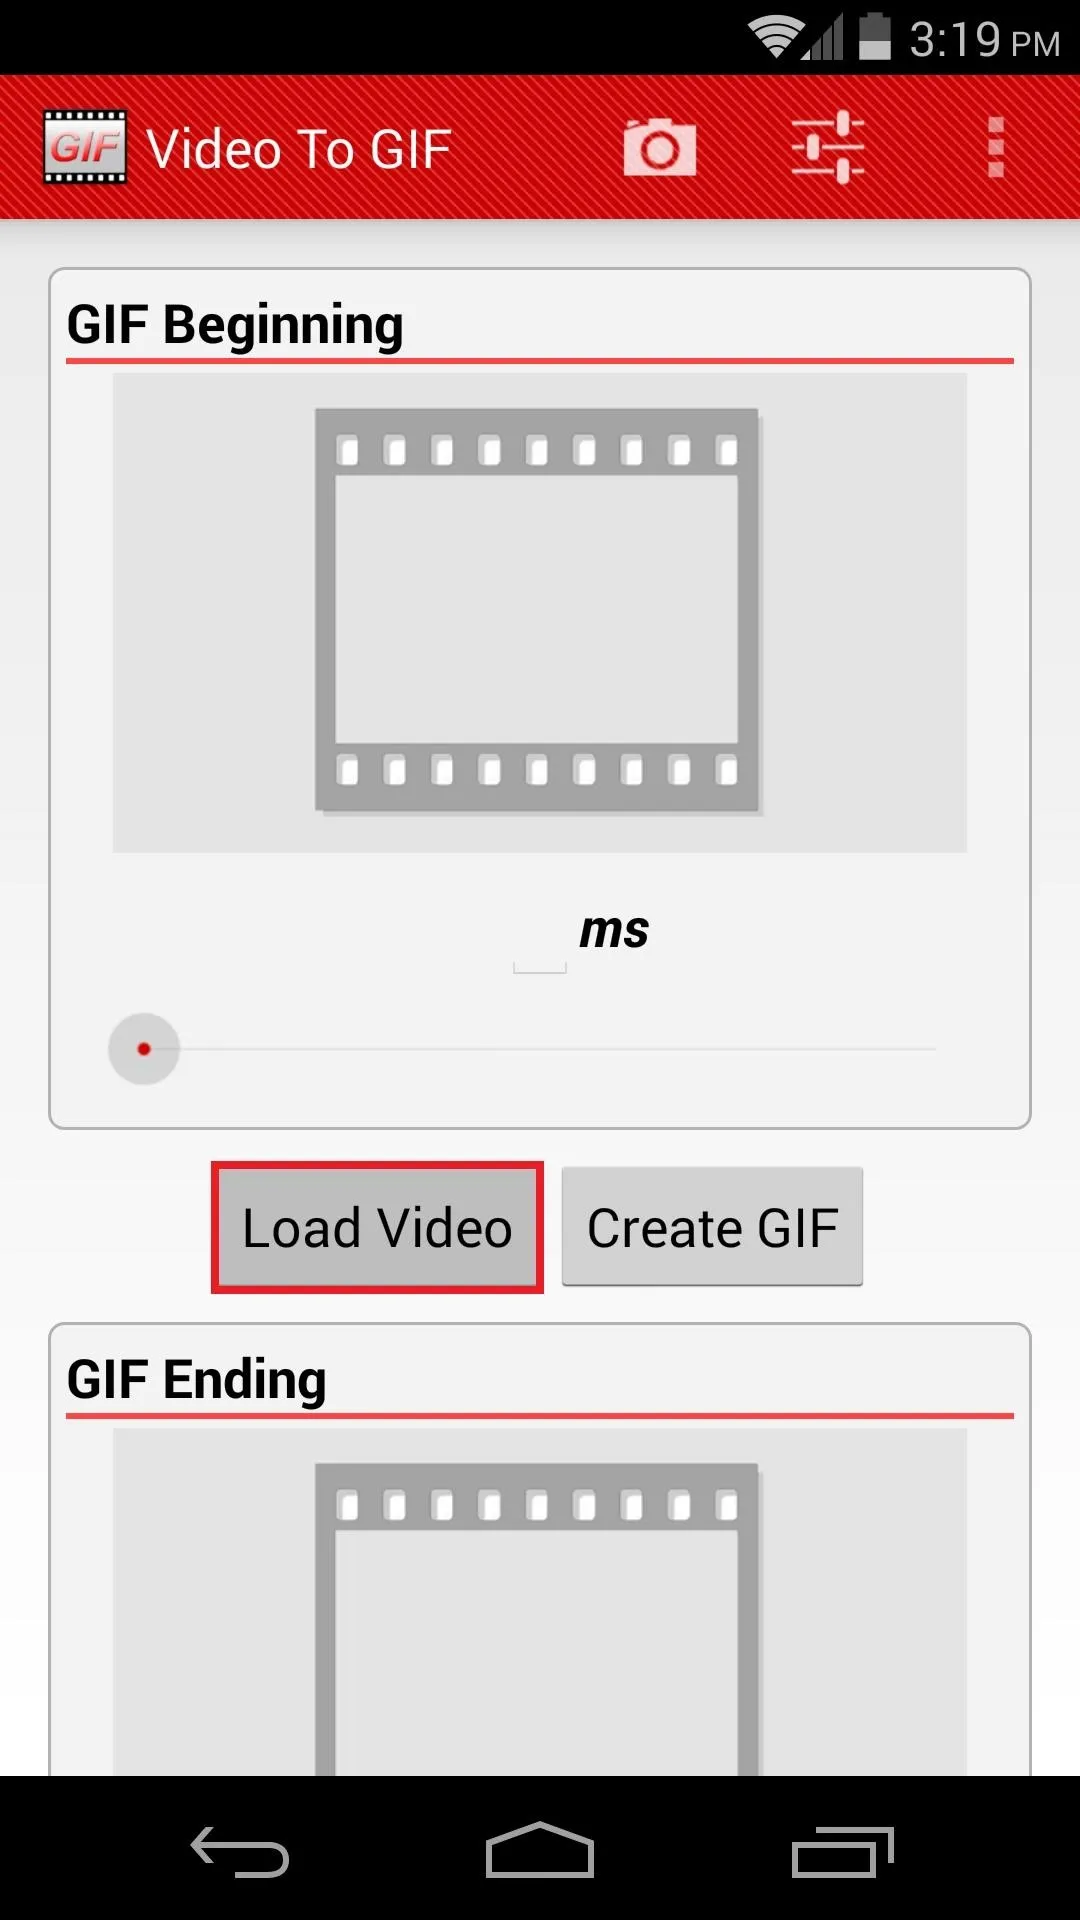
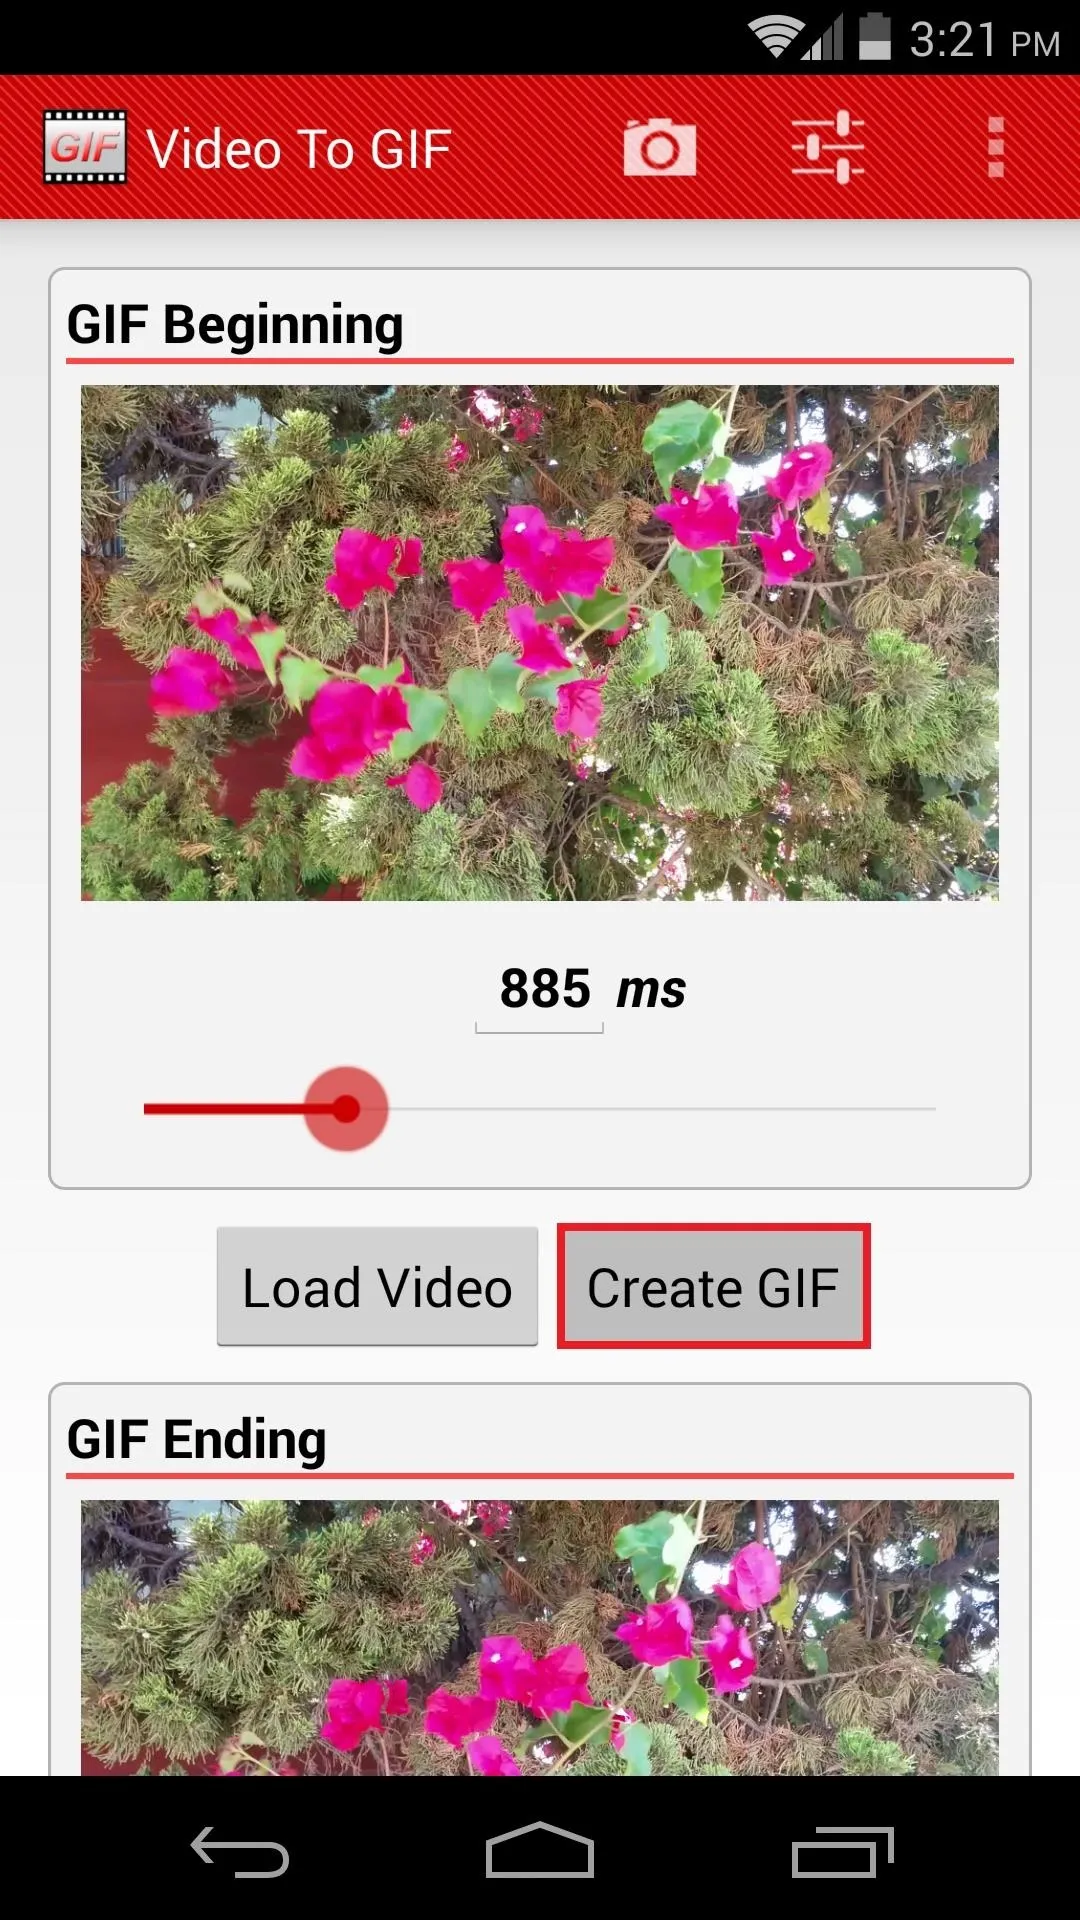
When you launch Video To GIF, you'll be presented with its simple-to-use editor interface. From this screen, tap the Load Video button, then browse to and select the video you wish to convert.
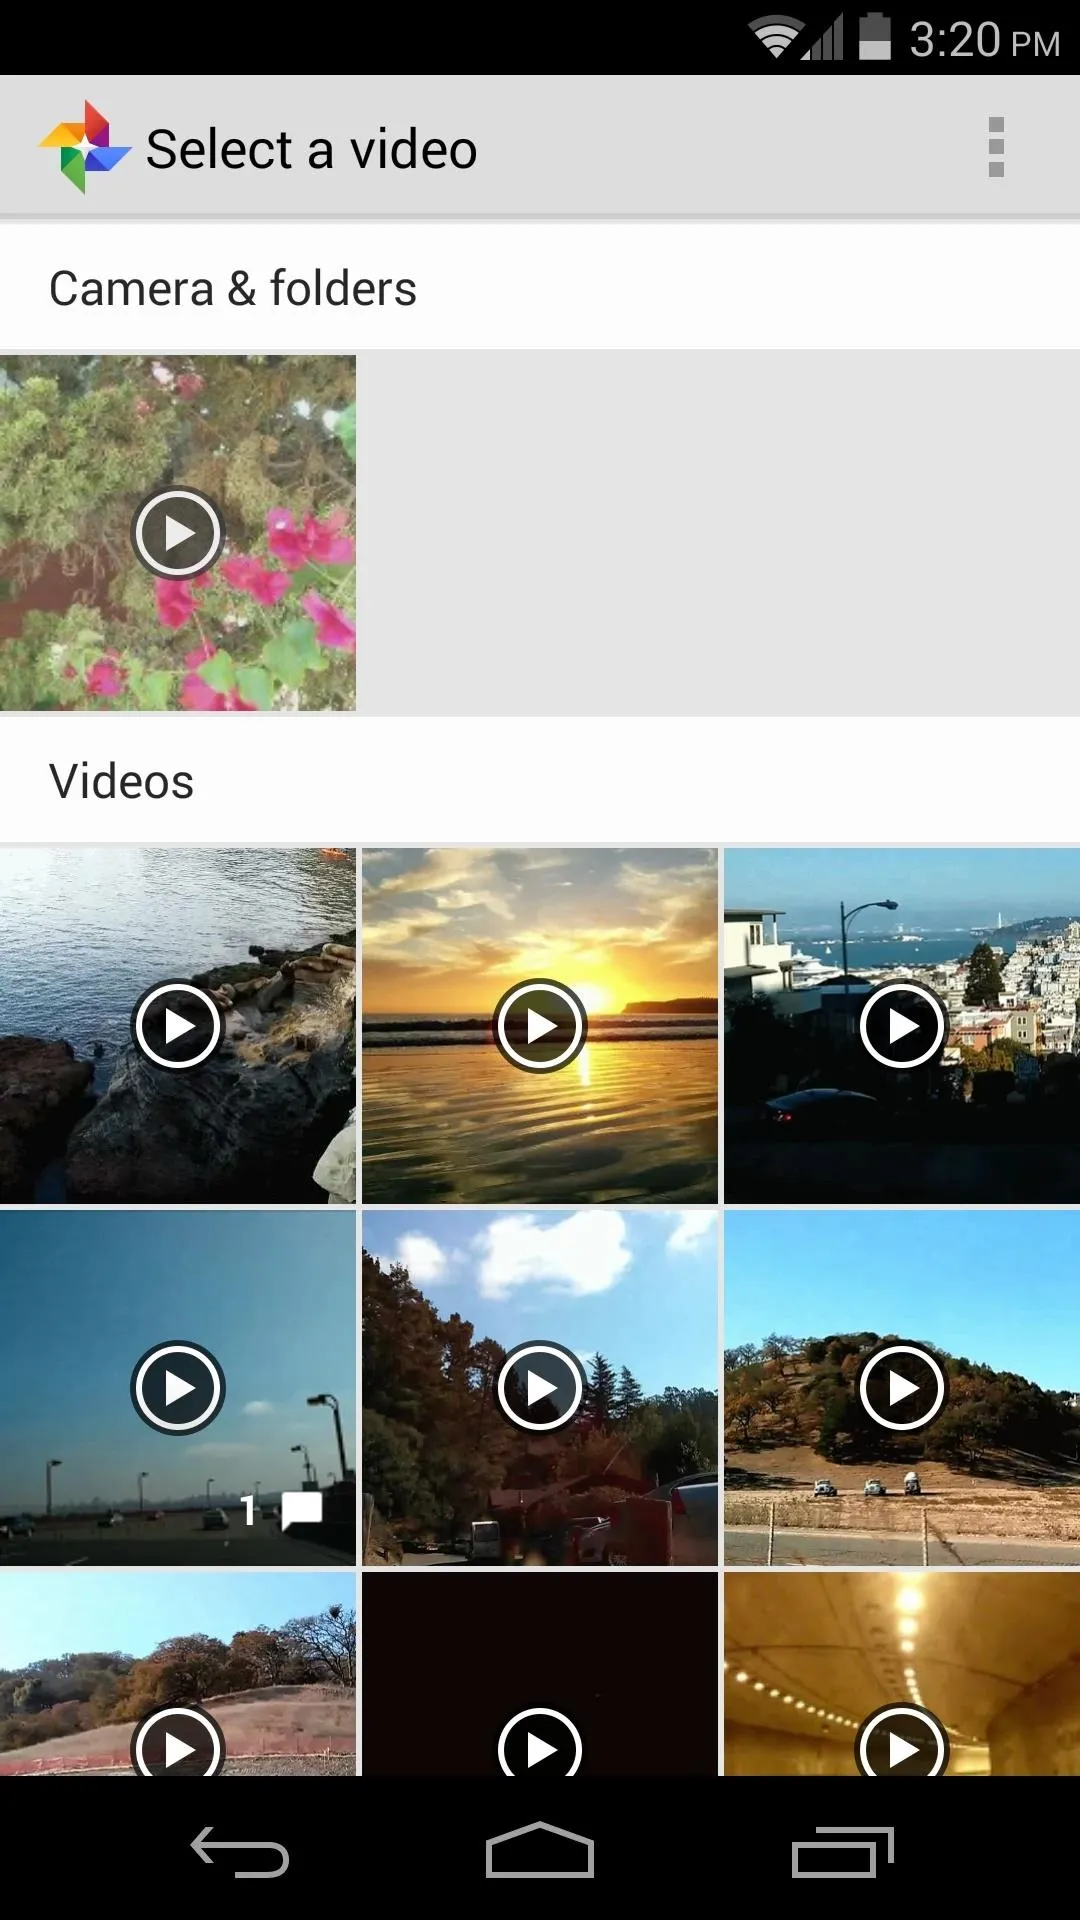


Alternatively, you can tap the camera icon at the top and record a new video to use.
Step 3: Crop the GIF
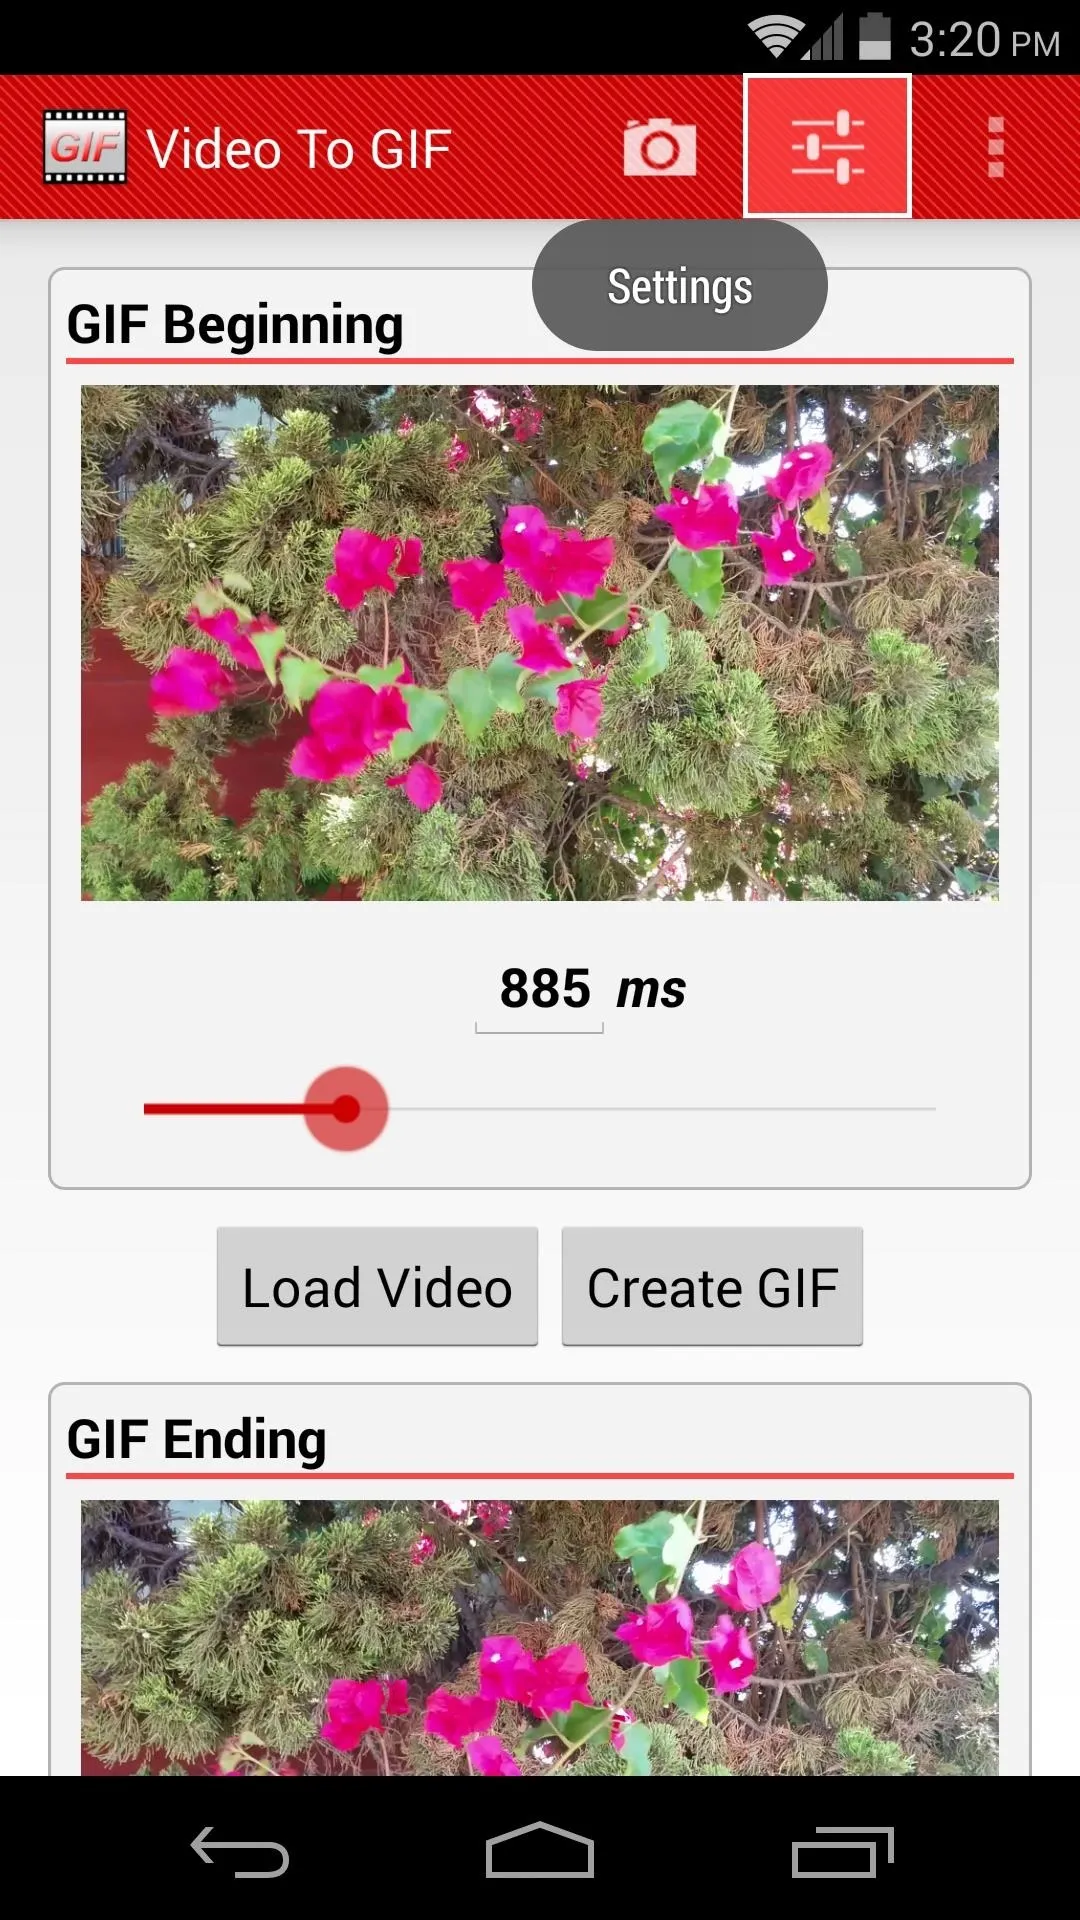
Using the sliders on this main screen, you can set where the GIF will begin and end. From the GIF Beginning portion, you can choose where you would like the GIF to start. The ending point can be set under GIF Ending.
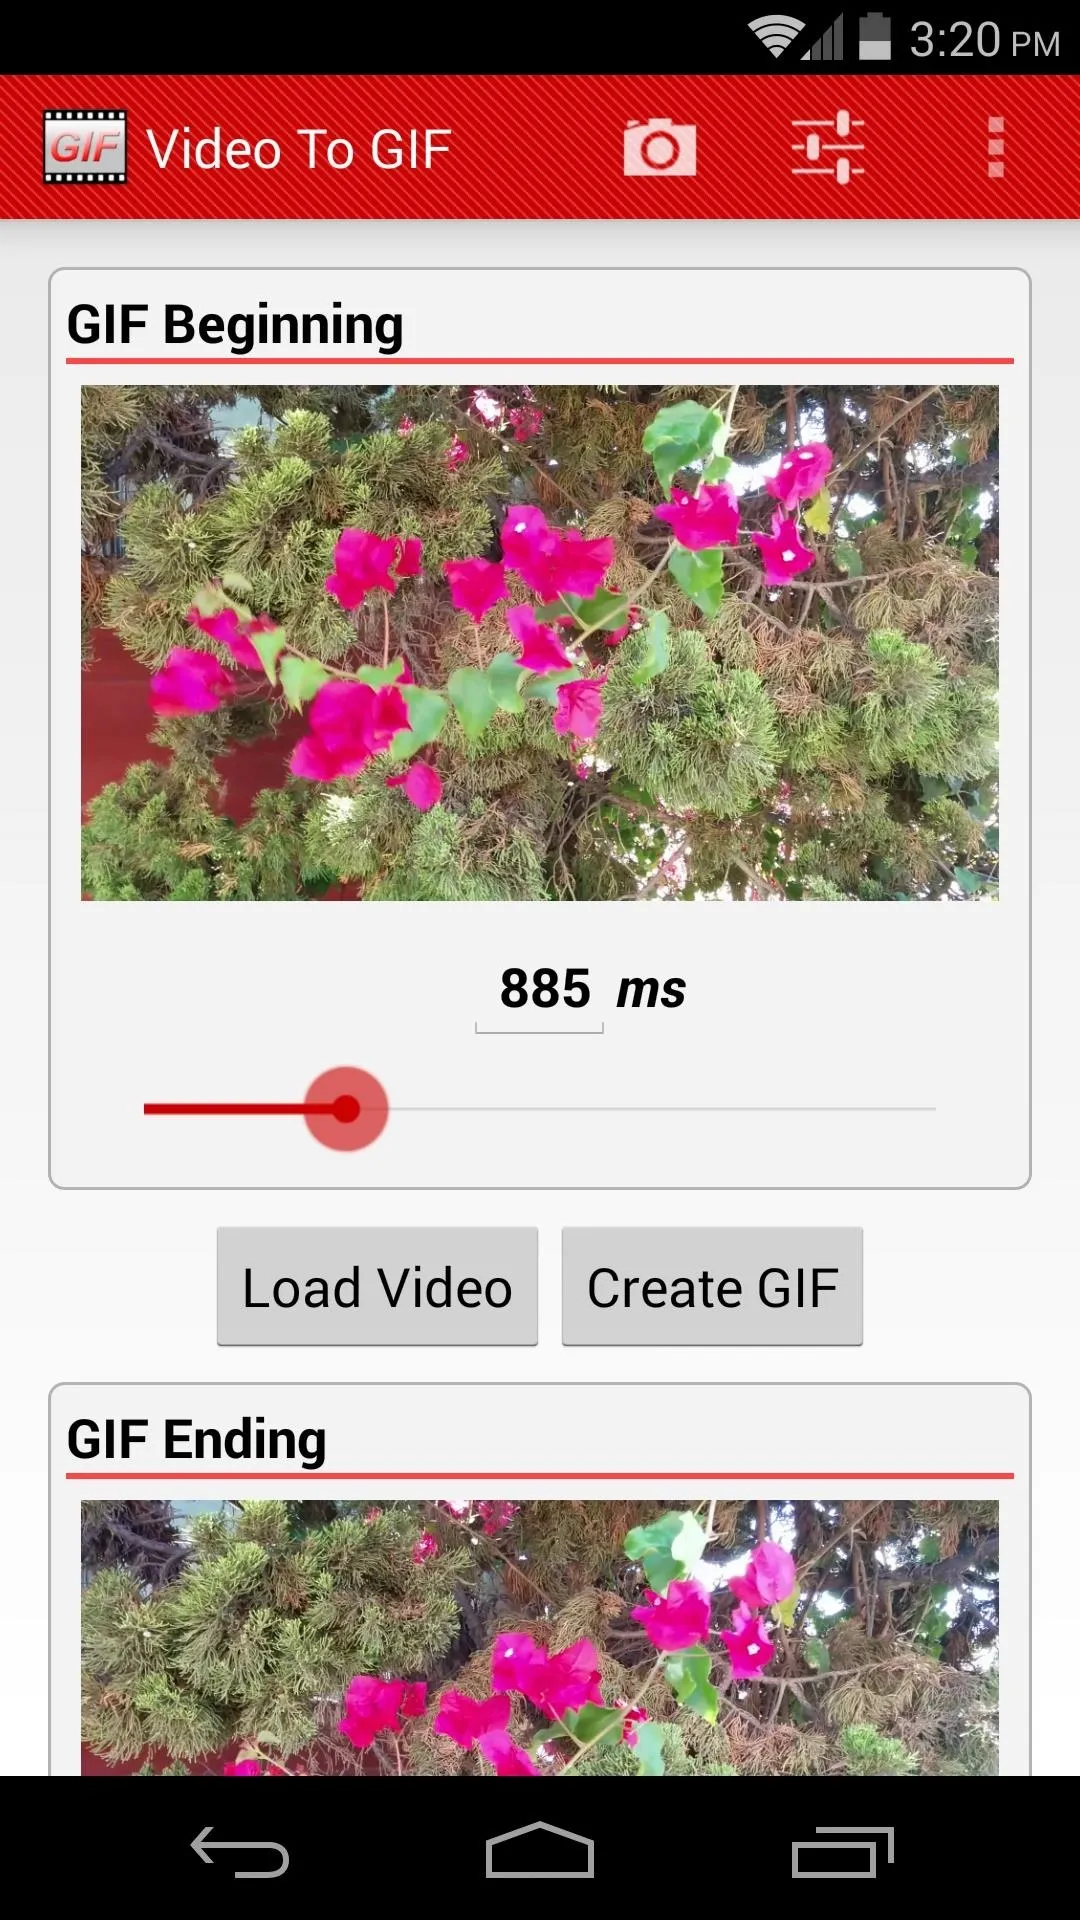
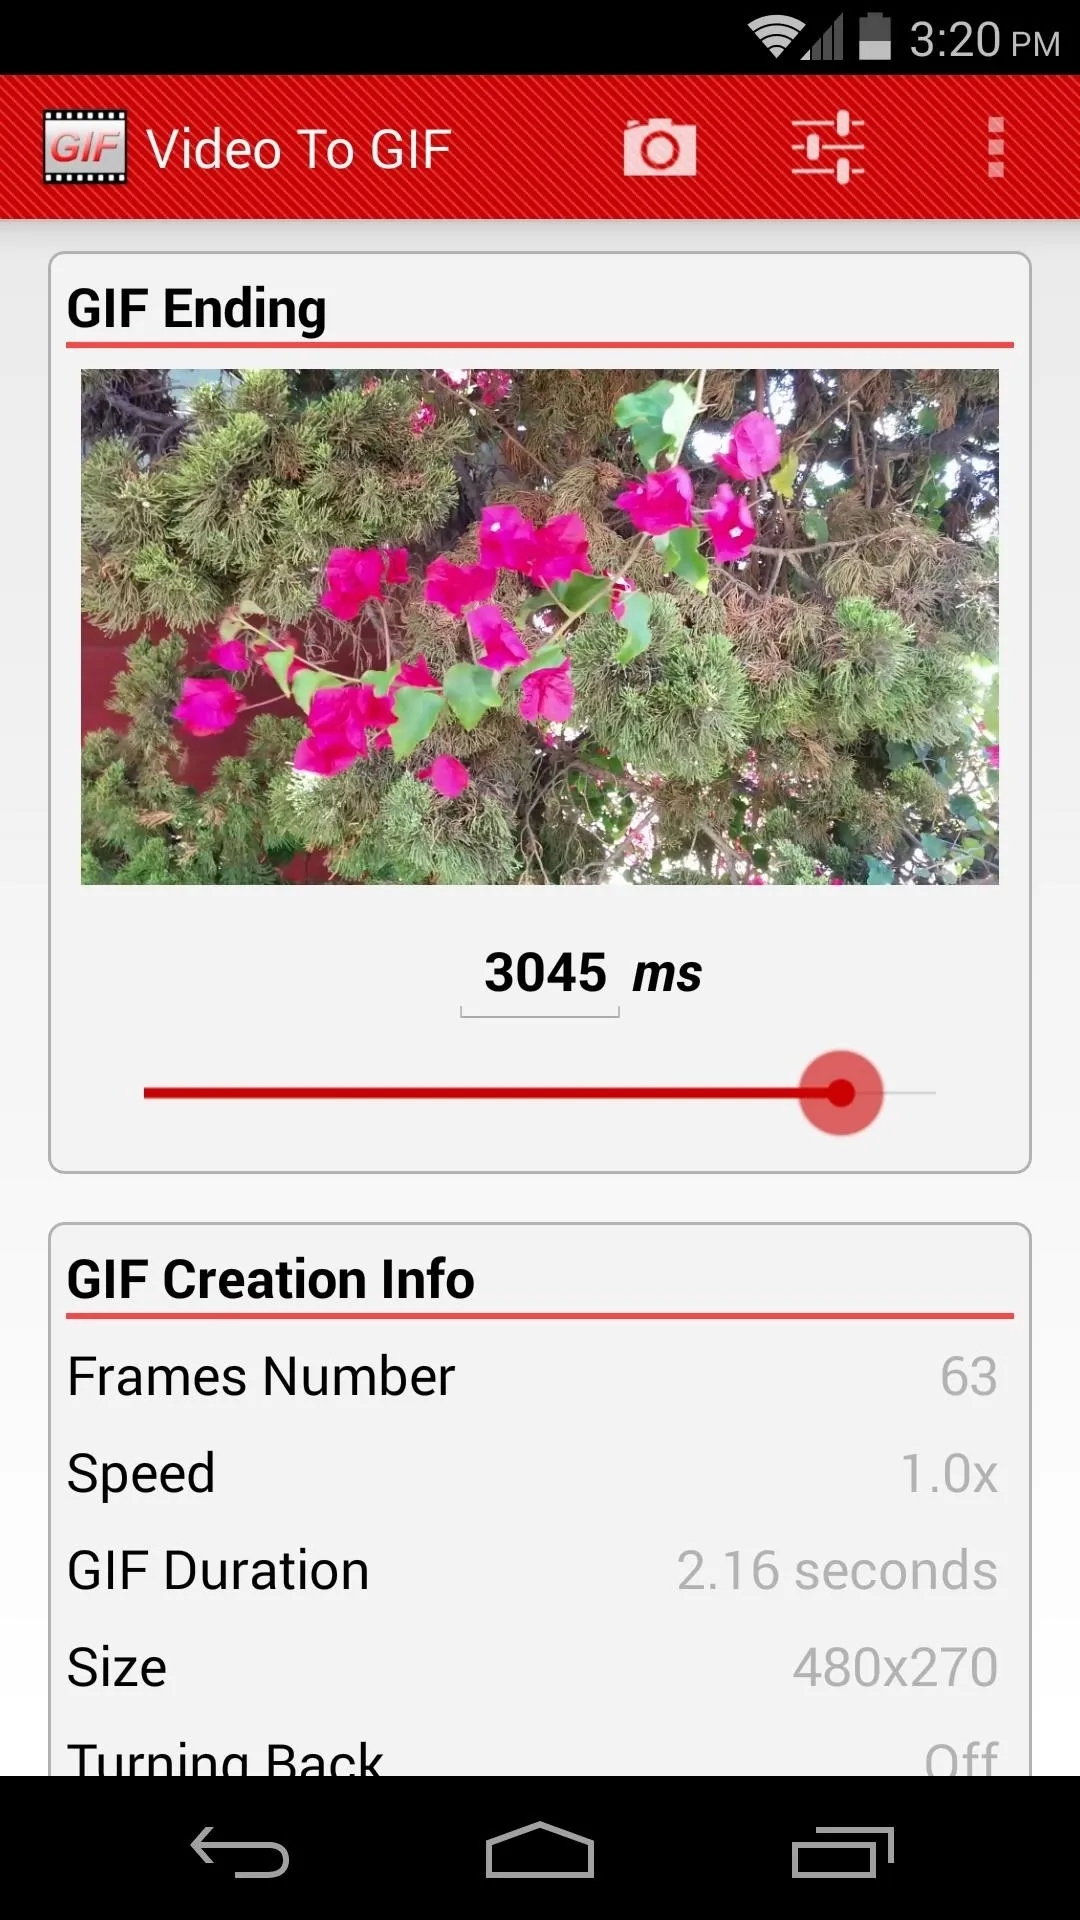


When adjusting these sliders, you are shown a real-time preview of the frame that represents the beginning or end of your GIF-to-be.
Step 4: Adjust Image Quality & Other Settings
Tap the settings icon near the top right-hand side and you will be able to configure additional image options. From here, you can adjust Frame Rate to set the amount of frames your GIF will show in a second's time. The Speed slider can change the rate at which your GIF plays.
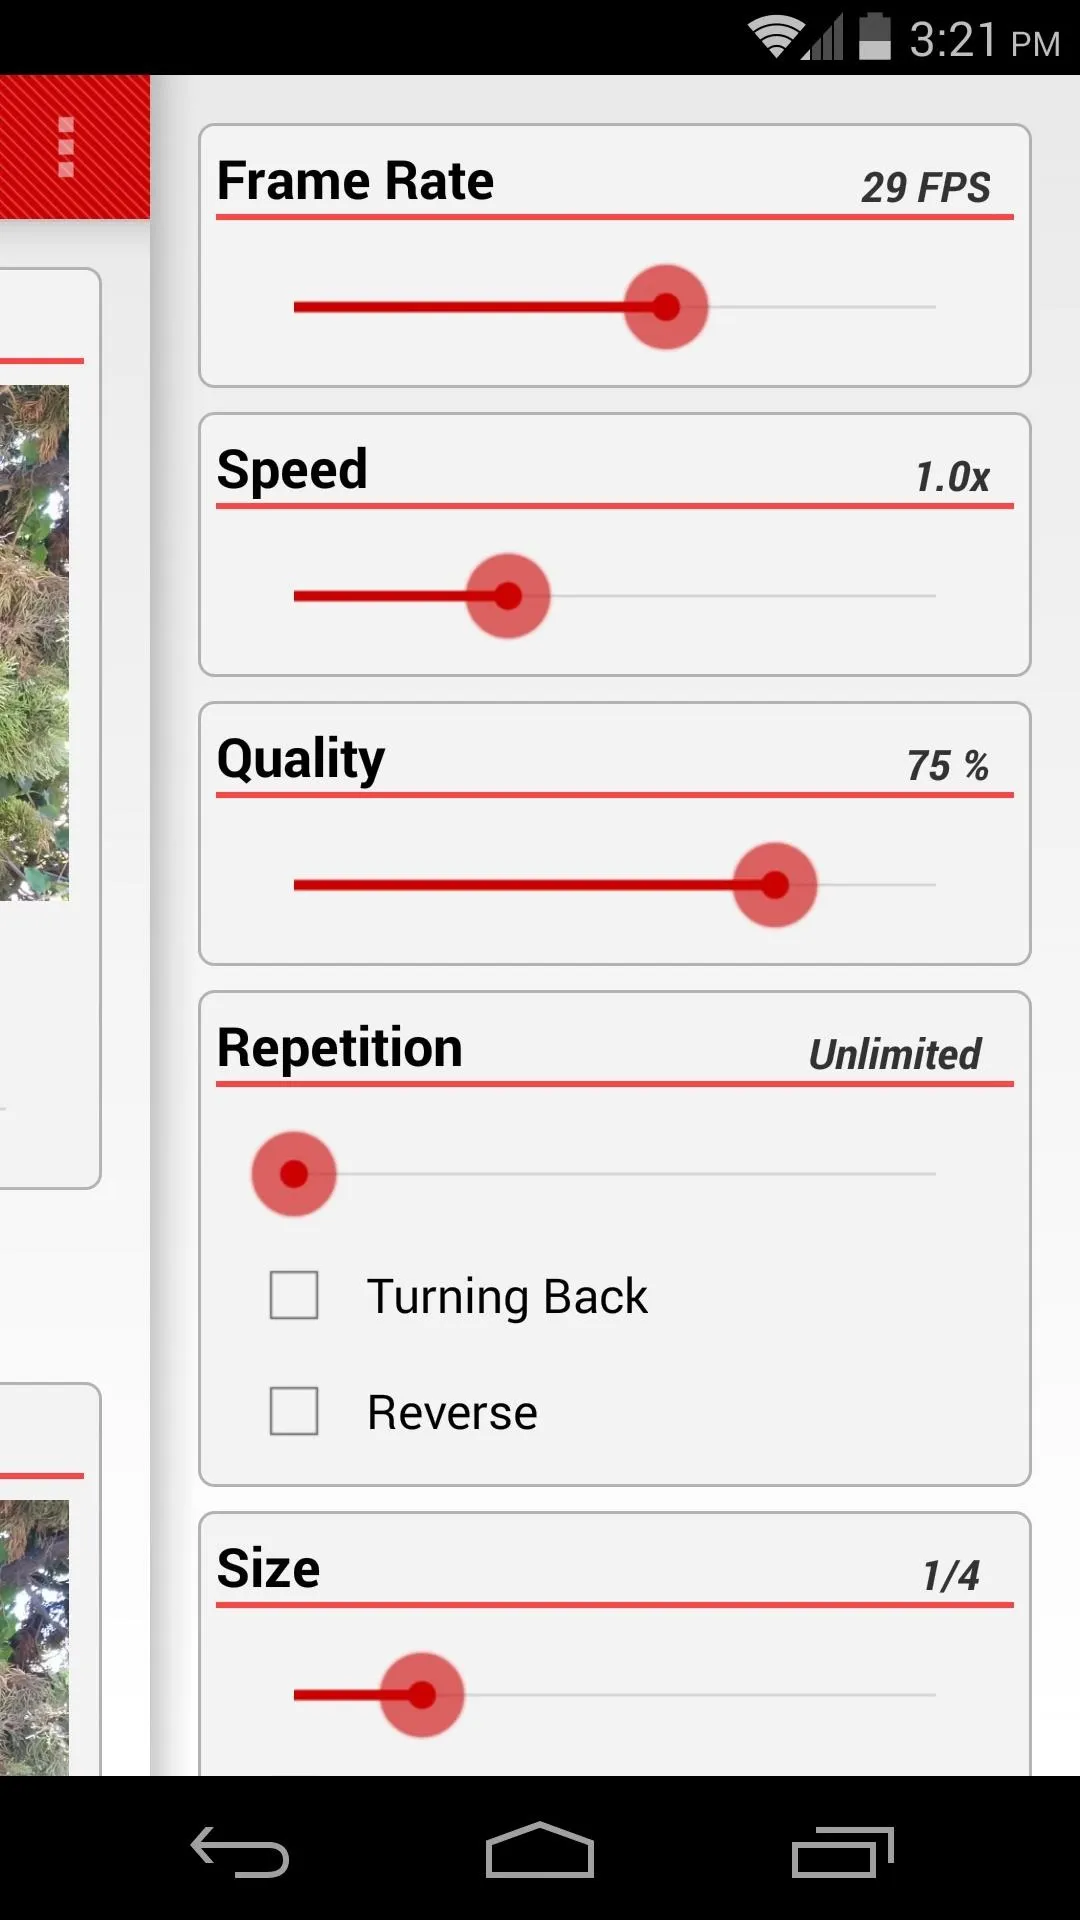


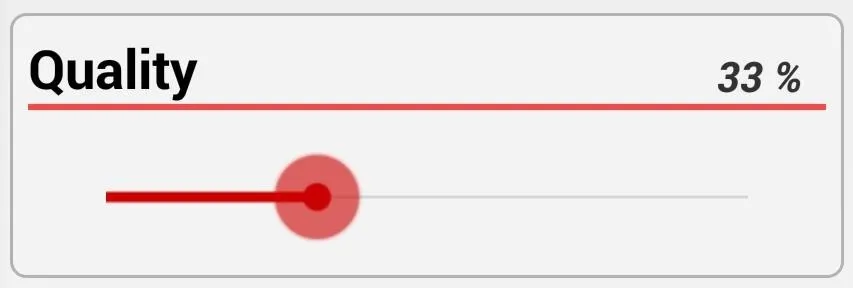
Quality is an important one, as this setting has the most bearing on the file size of your GIF and the time it takes to be created and sent. Since your Nexus 5 records video in high-resolution 1080p, it is best to set this value well below 50%.
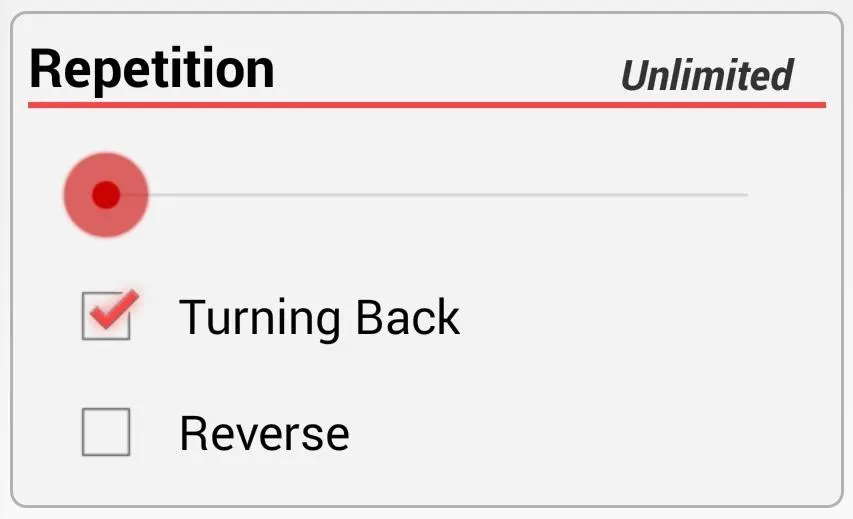
The Repetition slider sets the amount of times that the GIF will repeat before stopping, and sliding this to the far left will let the GIF repeat infinitely. Tick the box next to Turning Back if you want the GIF to play, then smoothly loop in reverse. Reverse will start the GIF by playing it backwards.
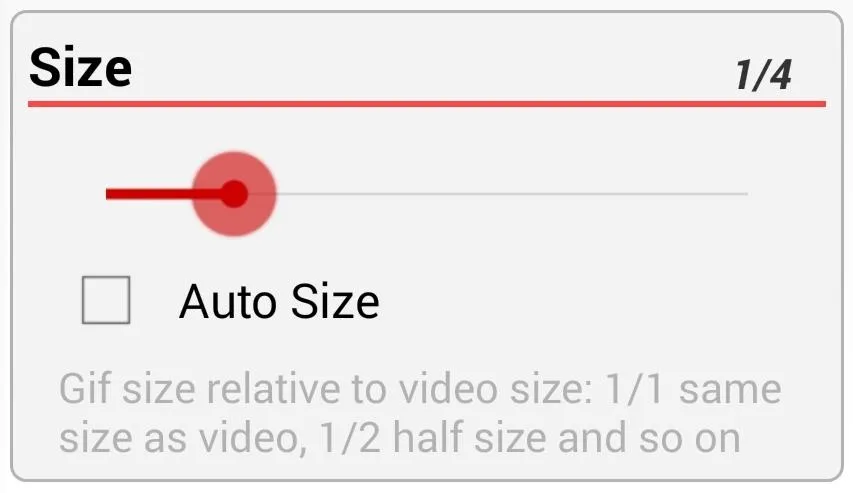
Size is another value that Nexus 5 owners can afford to minimize. Slide the bar to the right to shrink the GIF, or to the left to leave it at the original 1080p dimensions.
Step 5: Create the GIF
Once you've got all of the image settings in order, back out to the main screen and tap Create GIF. This process can take anywhere from a few seconds to 15 minutes depending on the length of your video and how high the image quality settings were.
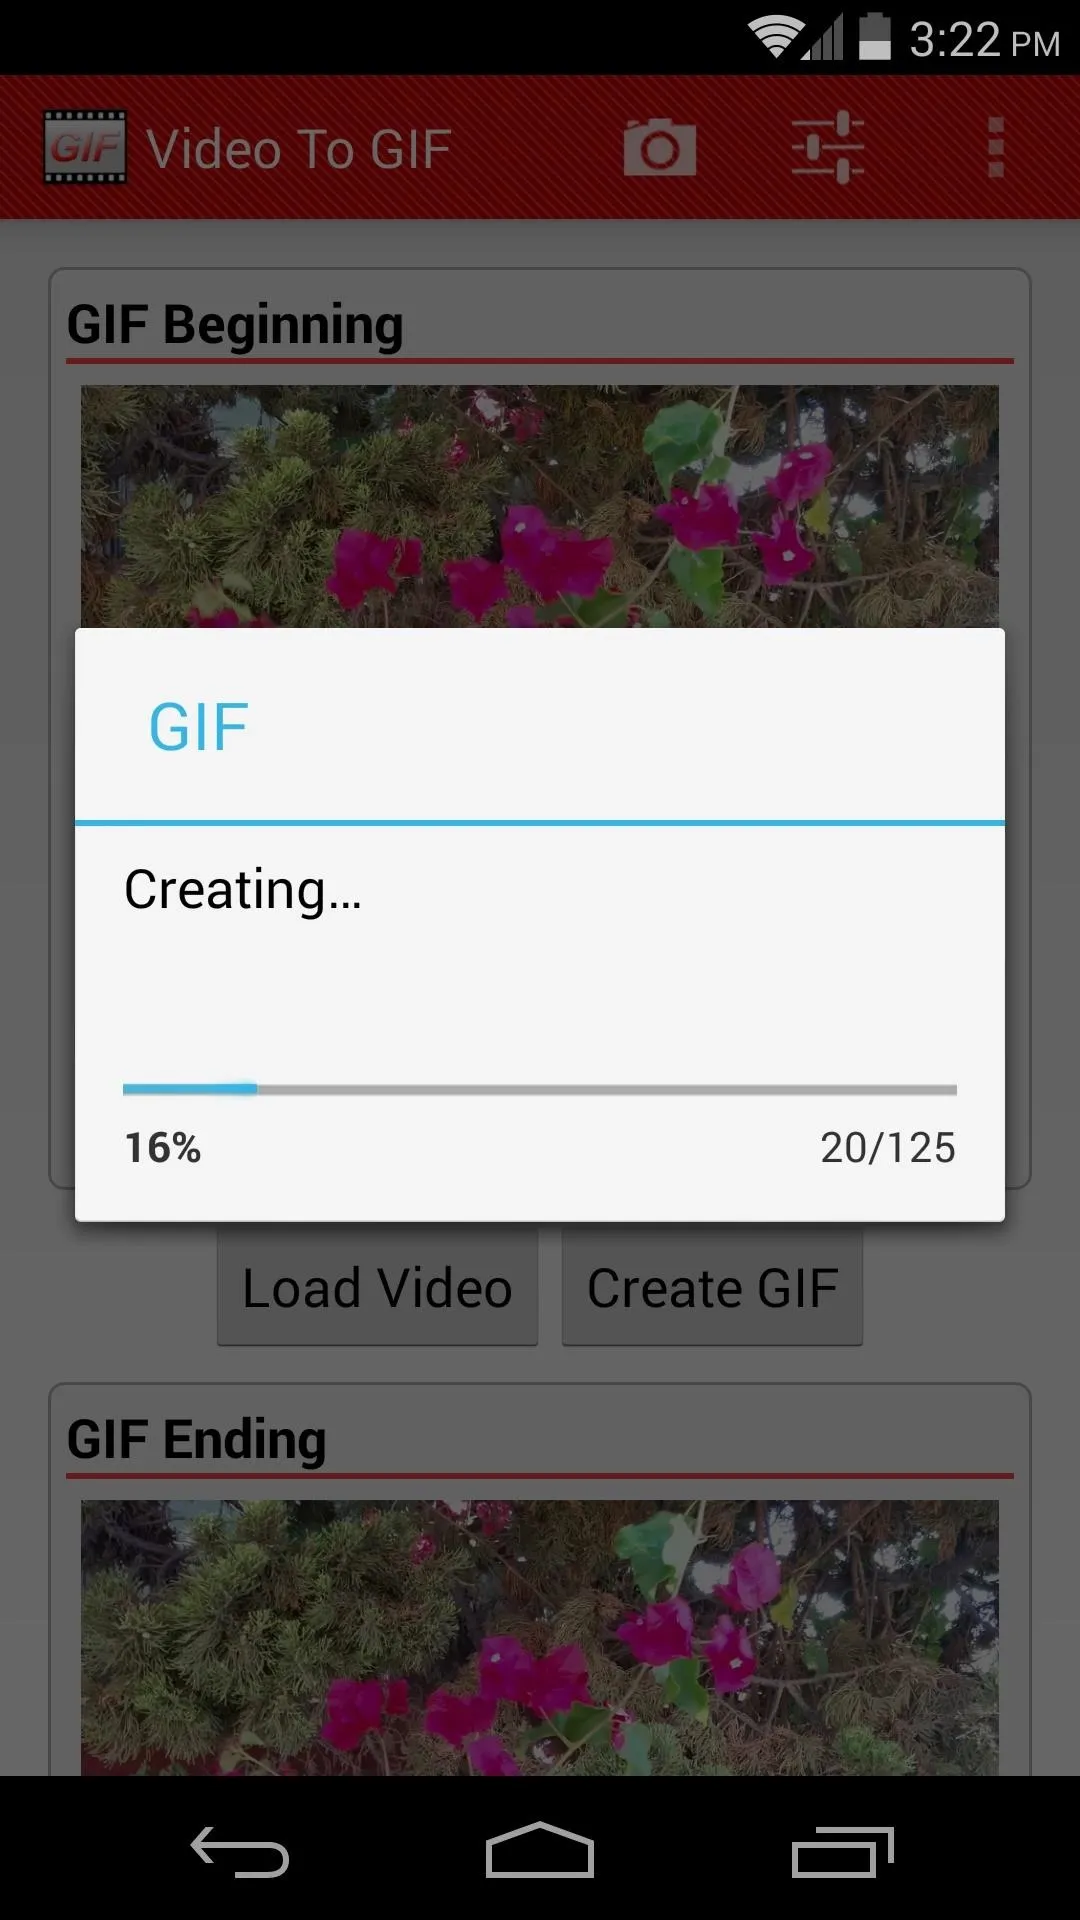


If you've followed my suggestions here, a 15 second clip should take about a minute to convert.
When the process is finished, you'll be taken to an in-app file browser window. This file browser can sometimes be a bit finicky, but it's non-essential, as we can still view this GIF with Hangouts.
Step 6: Send the GIF Through Hangouts
Now, open up Hangouts and jump into the conversation thread where you want to send the GIF. Tap the Camera icon at the bottom-right, then choose Attach Photo.
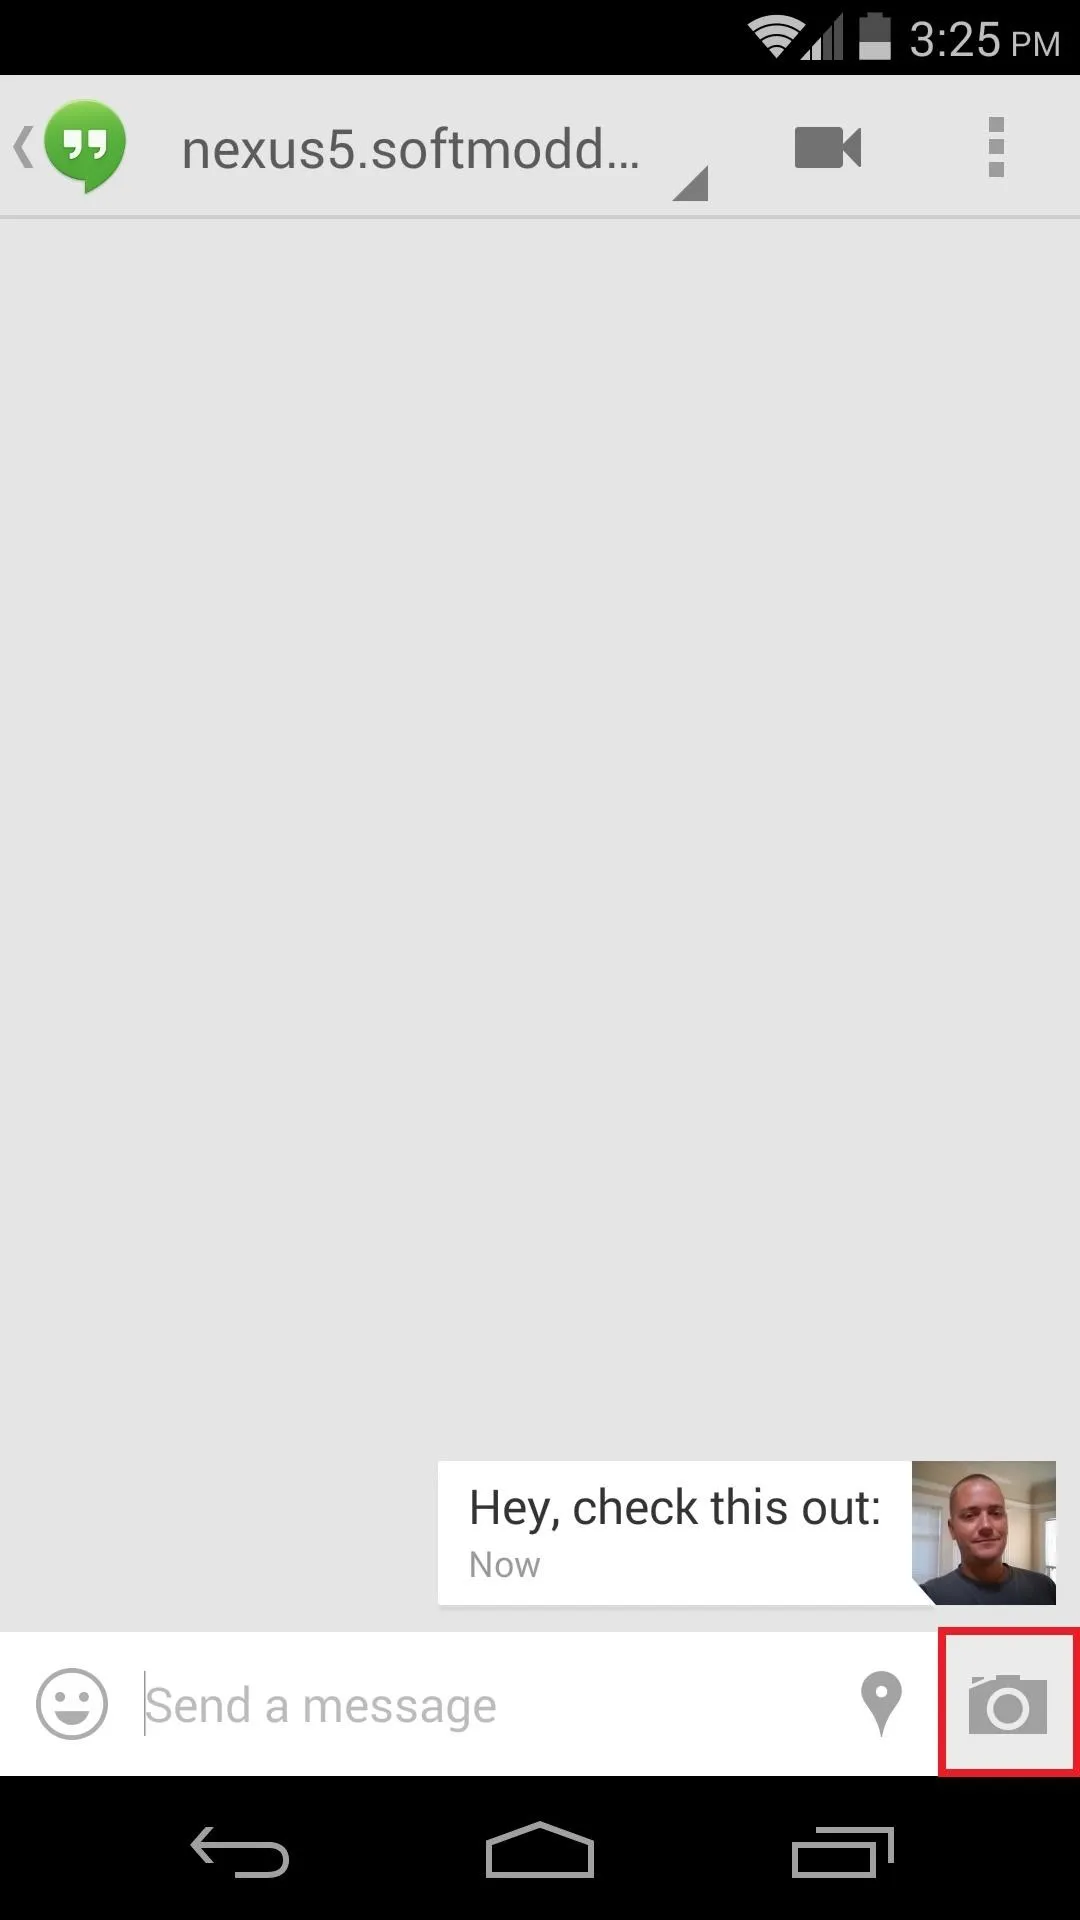
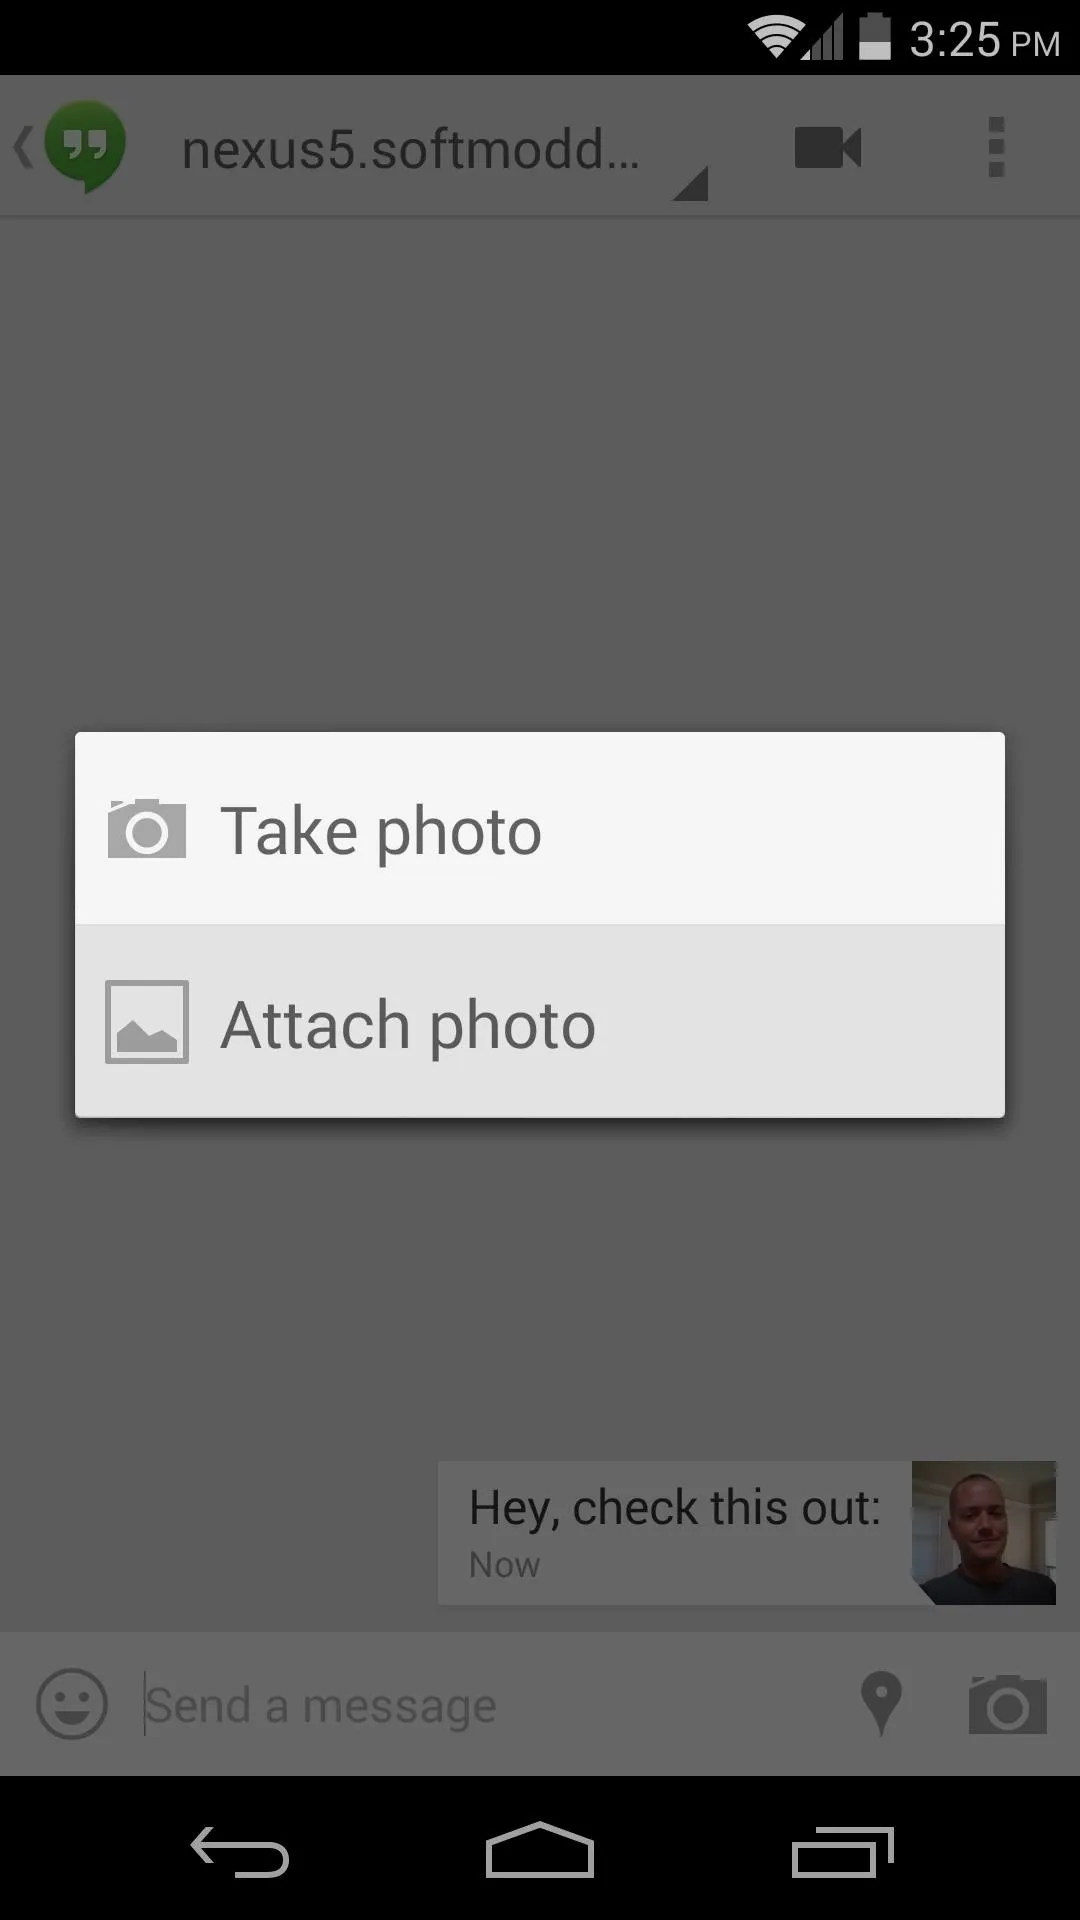


From the next screen, tap the GIF you just created. It should be at or near the top of this list, since the files are organized by most recently created. Now tap the Send button at the bottom right-hand corner, and your GIF will be delivered to its recipient.
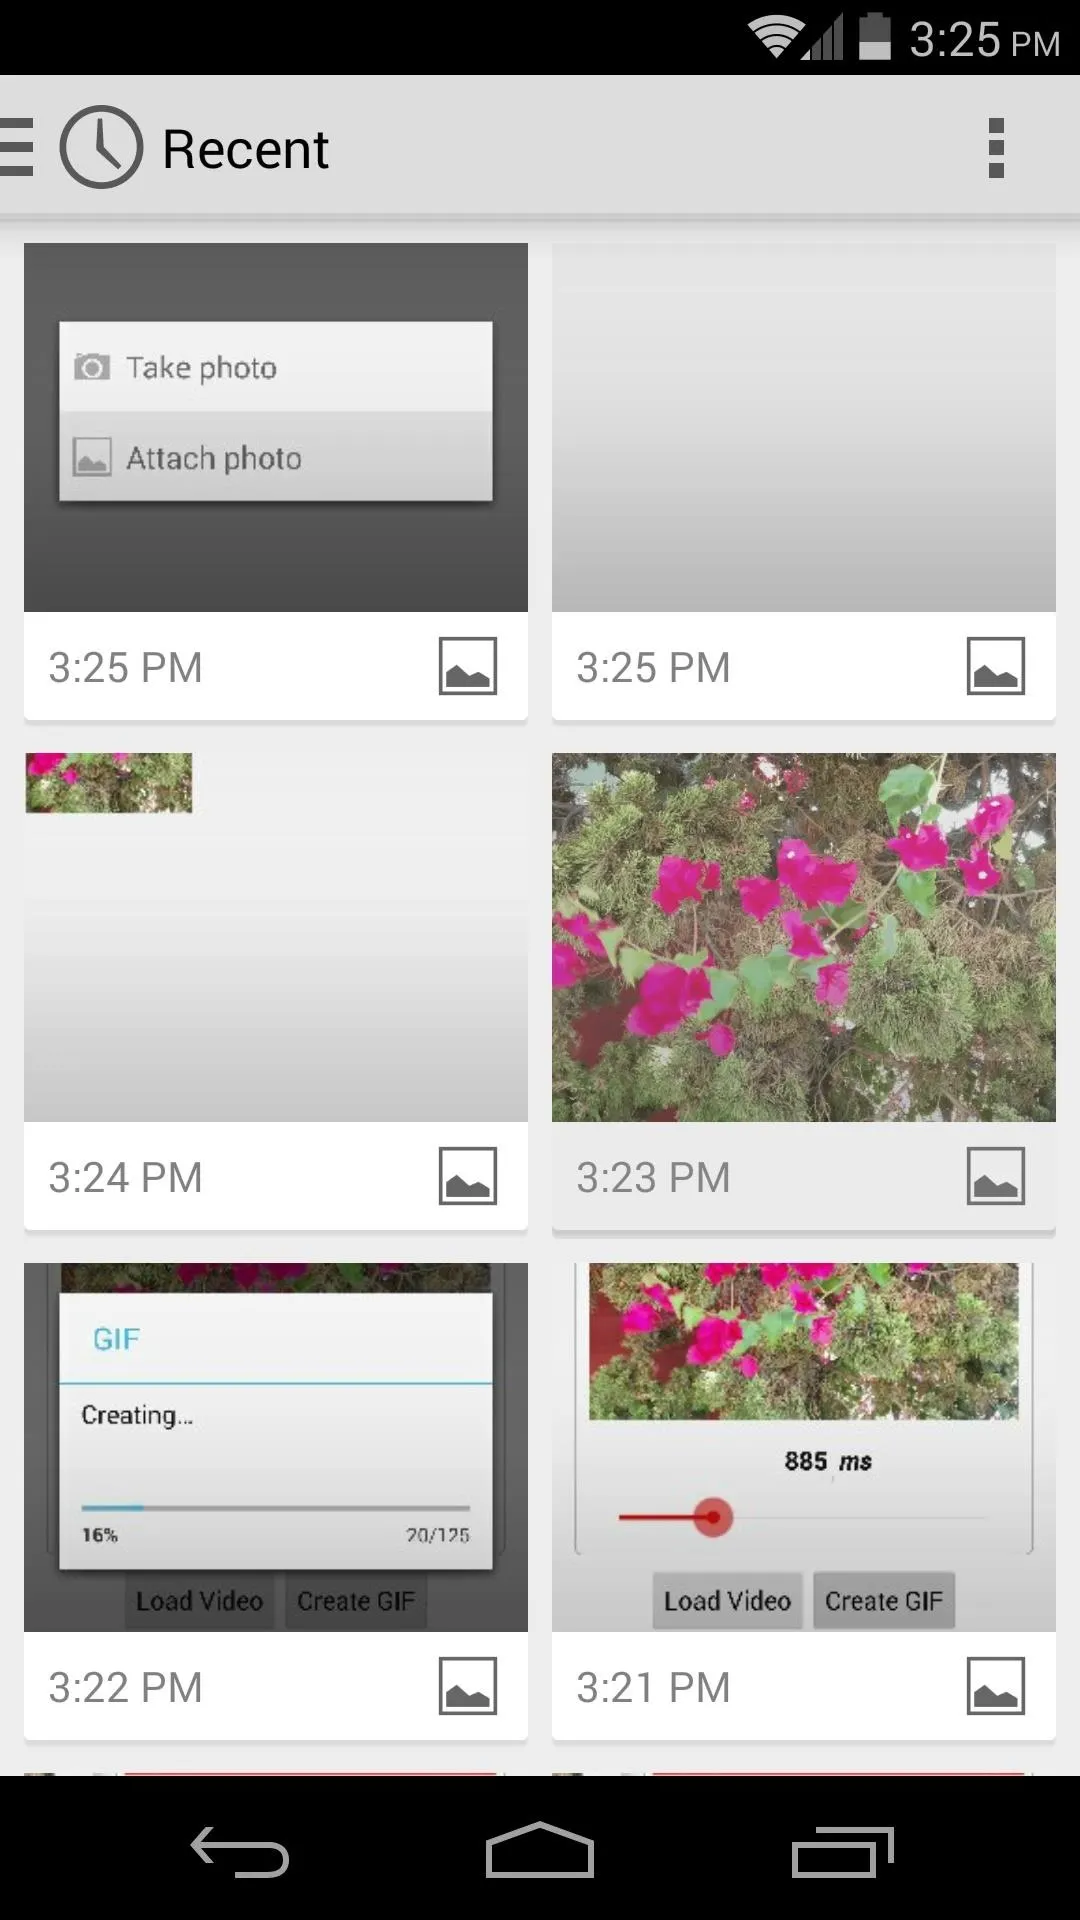
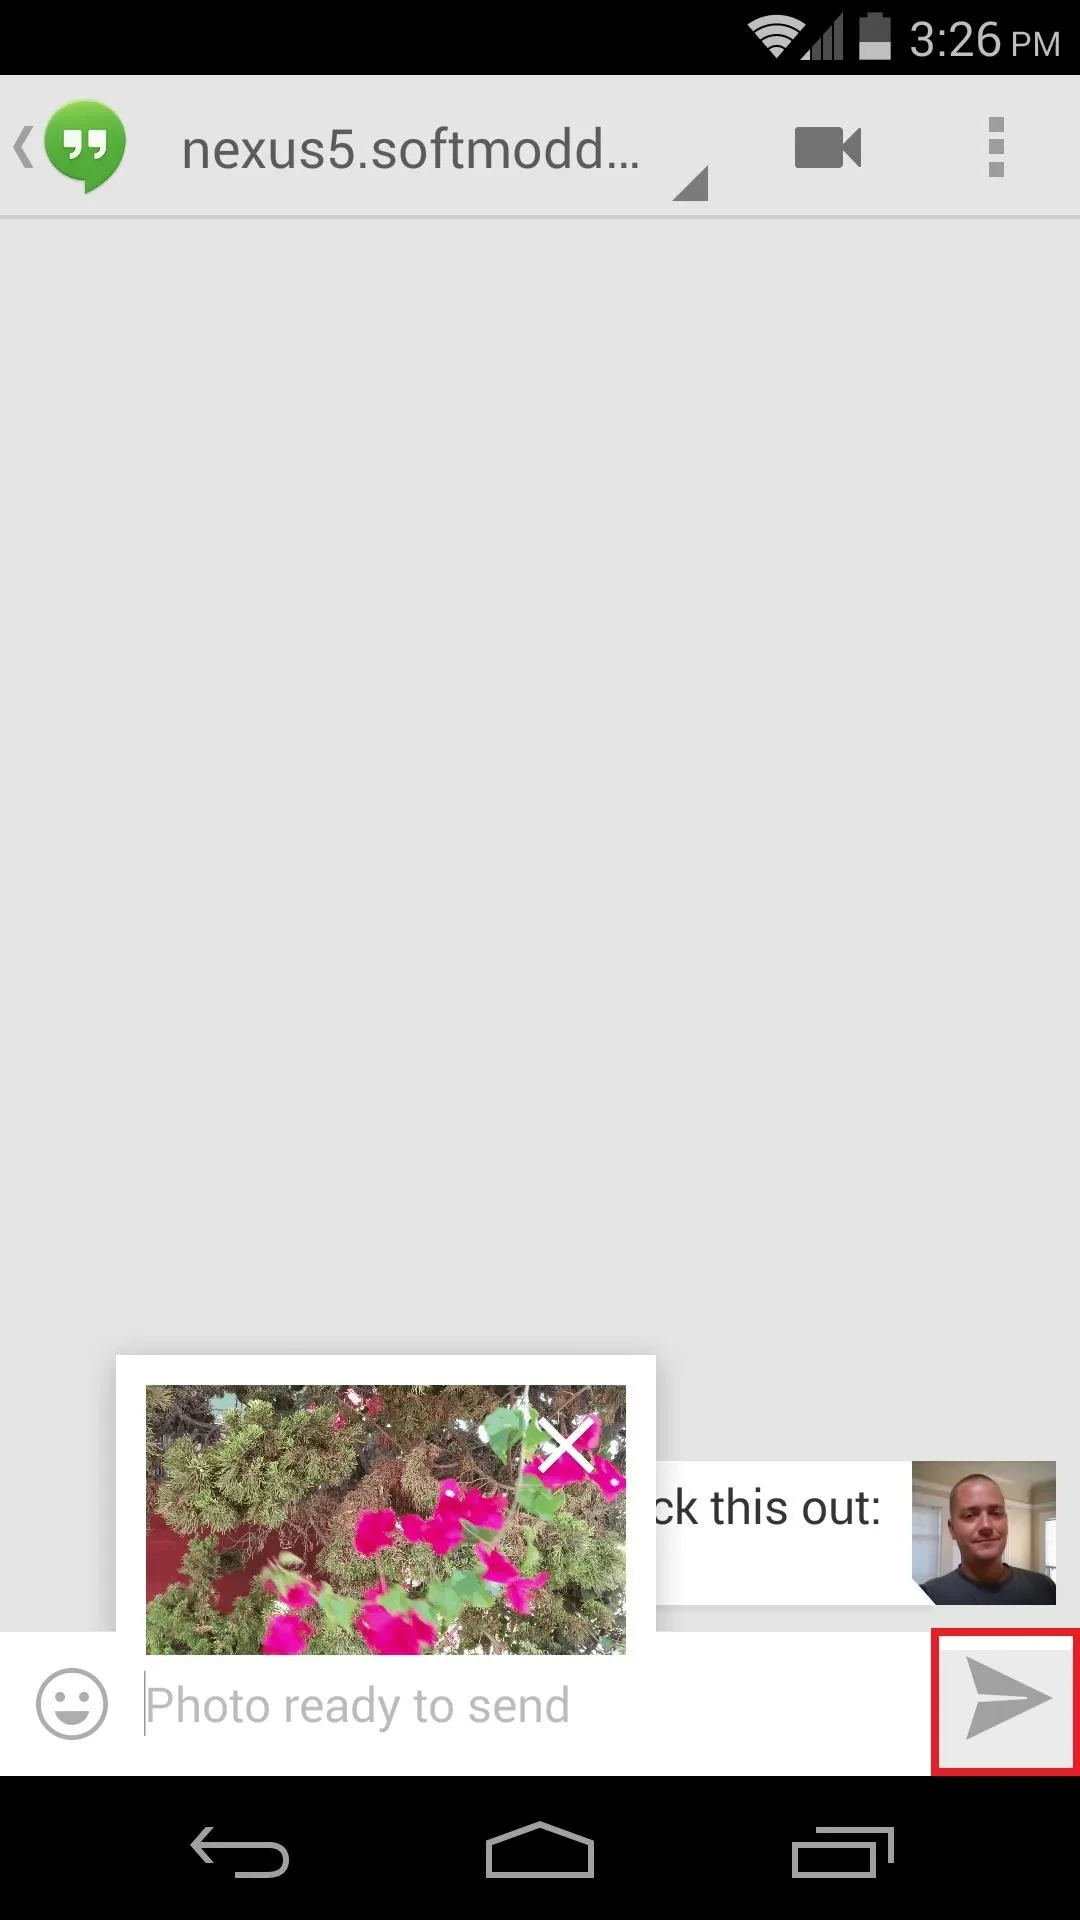
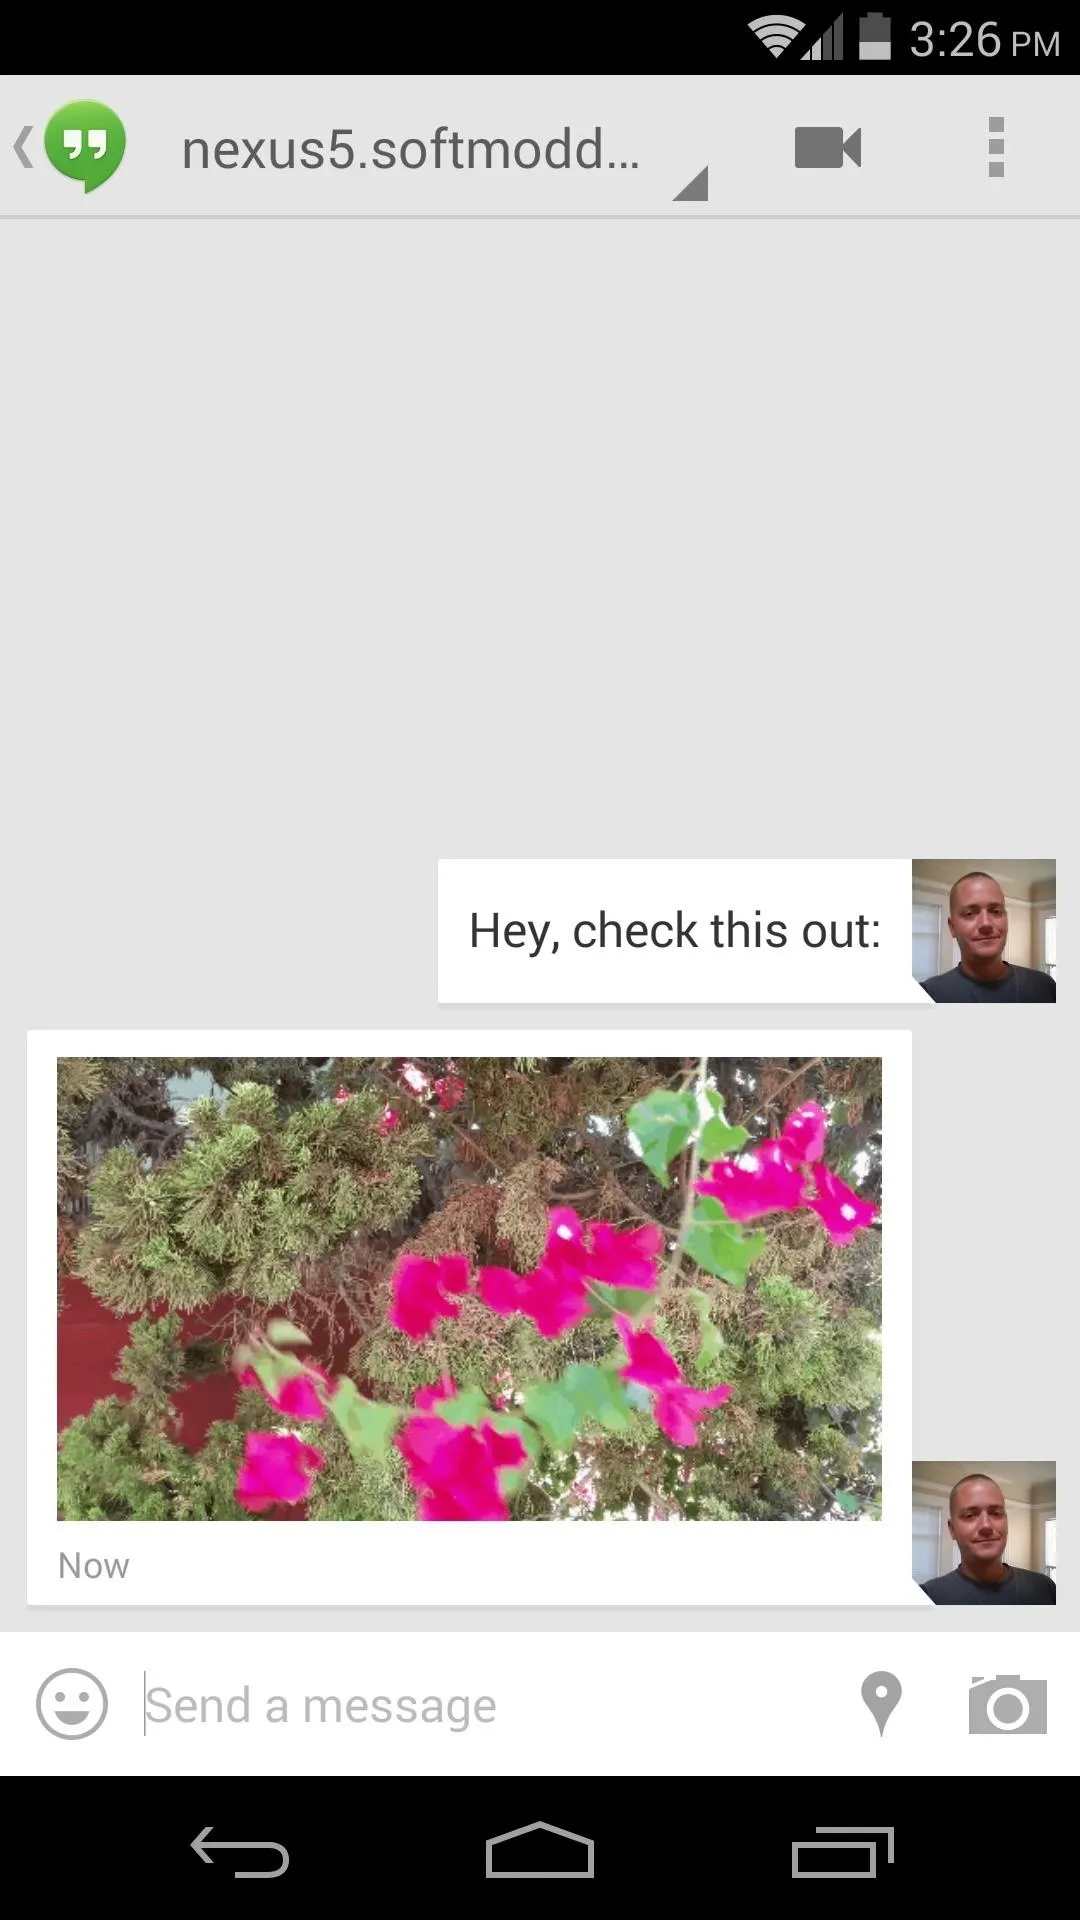


You're now ready to send GIFs to all of your friends on Google Hangouts. Remember to play around with the image settings to find a happy medium between quality and file size. Once you've set those options, they will still be in effect the next time you go to create a GIF—so finding that perfect balance should be easy.


Comments
No Comments Exist
Be the first, drop a comment!