The act of viewing a new notification on your Nexus 5 can feel a bit clunky and cumbersome at times. When a new message comes in, you hear the notification sound, you see the LED blinking, but you can't see what the actual notification says without waking the device and opening the notification tray.
Several attempts have been made to curb this bothersome exchange, such as the Active Notifications feature of the Moto X and apps that attempt to clone its functionality.
Once recent implementation of this type of feature was done by the great developers behind the custom ROM Paranoid Android. Their take on streamlining the notification experience is known as Peek, and lets you see an at-a-glance view of your notifications by just picking up your phone.
But to save us the trouble of having to flash a new ROM to get this feature, developer Zhe Lu has made an app that replicates Peek. Simply enable "Unknown sources" on your Nexus 5 and you can have this feature on any stock or custom ROM.
Step 1: Download Notification Peek
Zhe Lu's Notification Peek app can be downloaded from his GitHub page. From your Nexus 5, tap the newest download to get started. Hit OK to accept the download, then a notification will appear showing you the download progress.
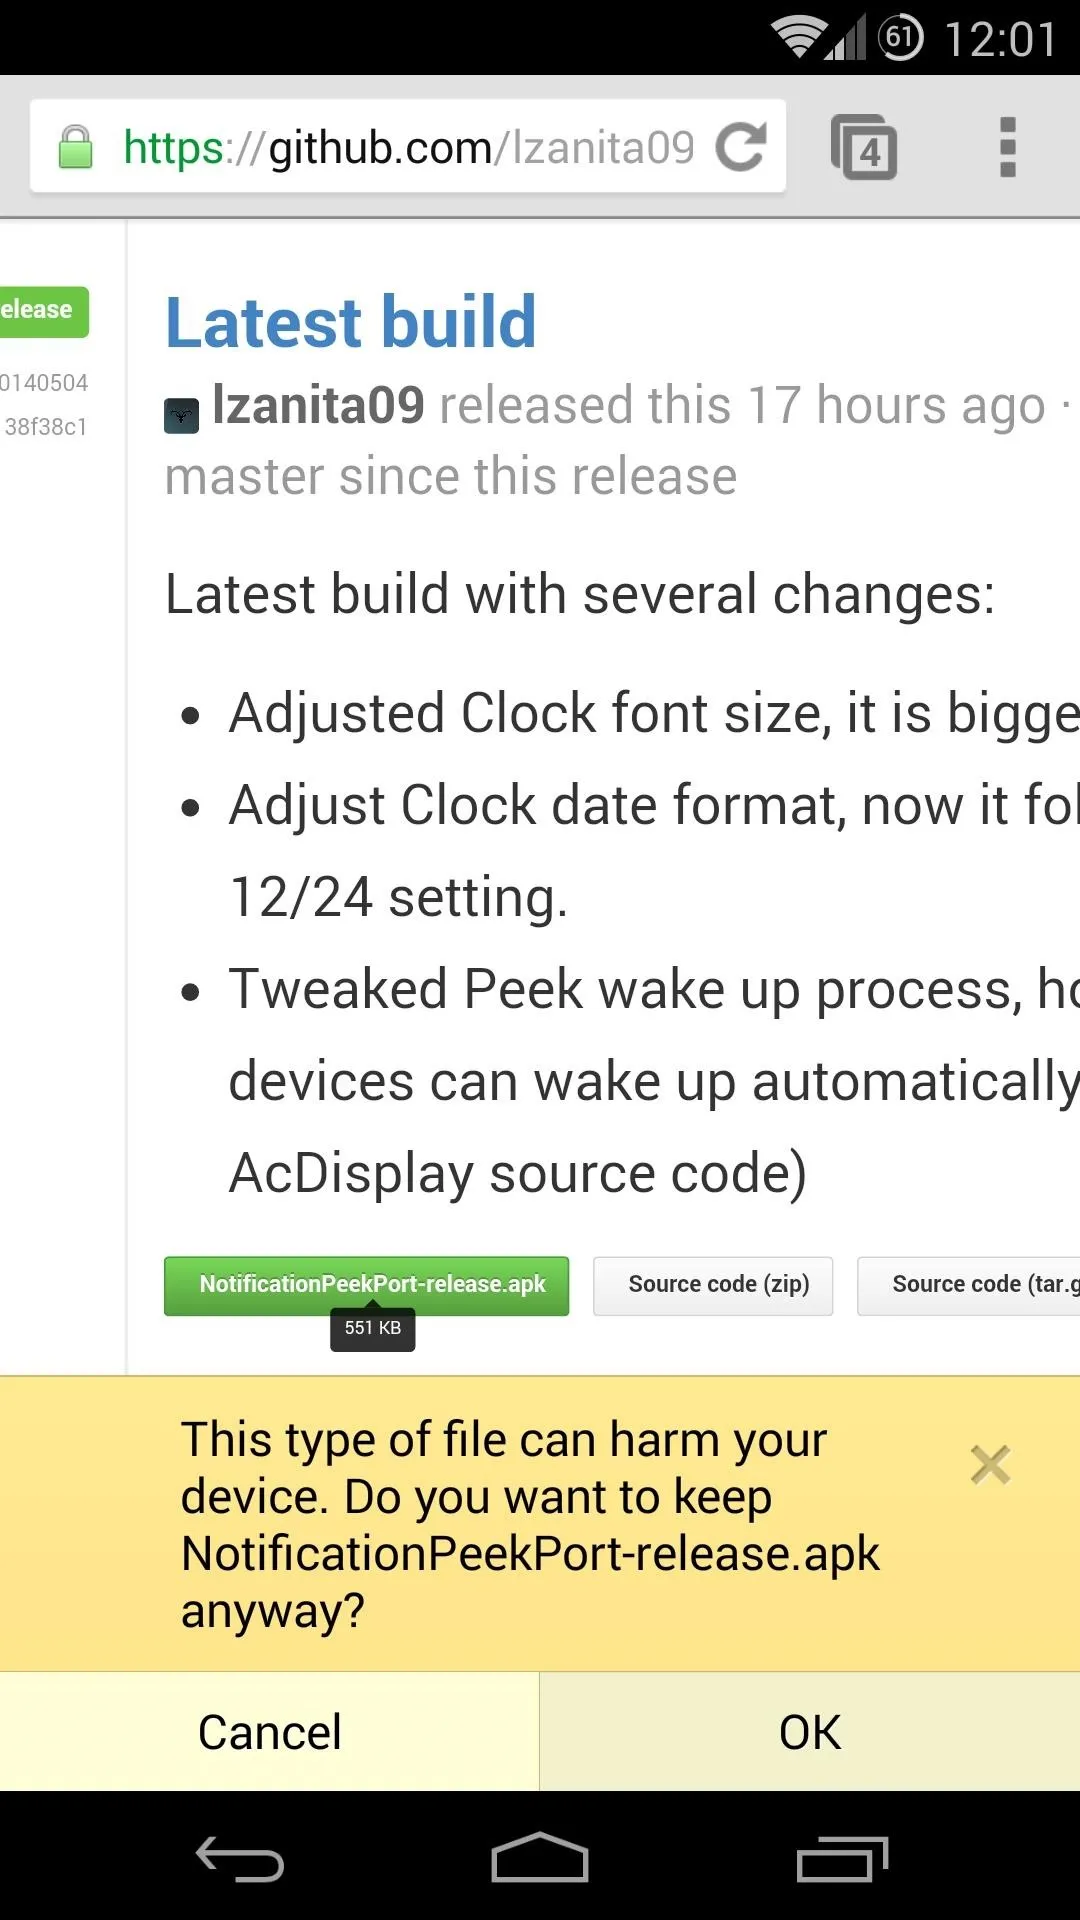
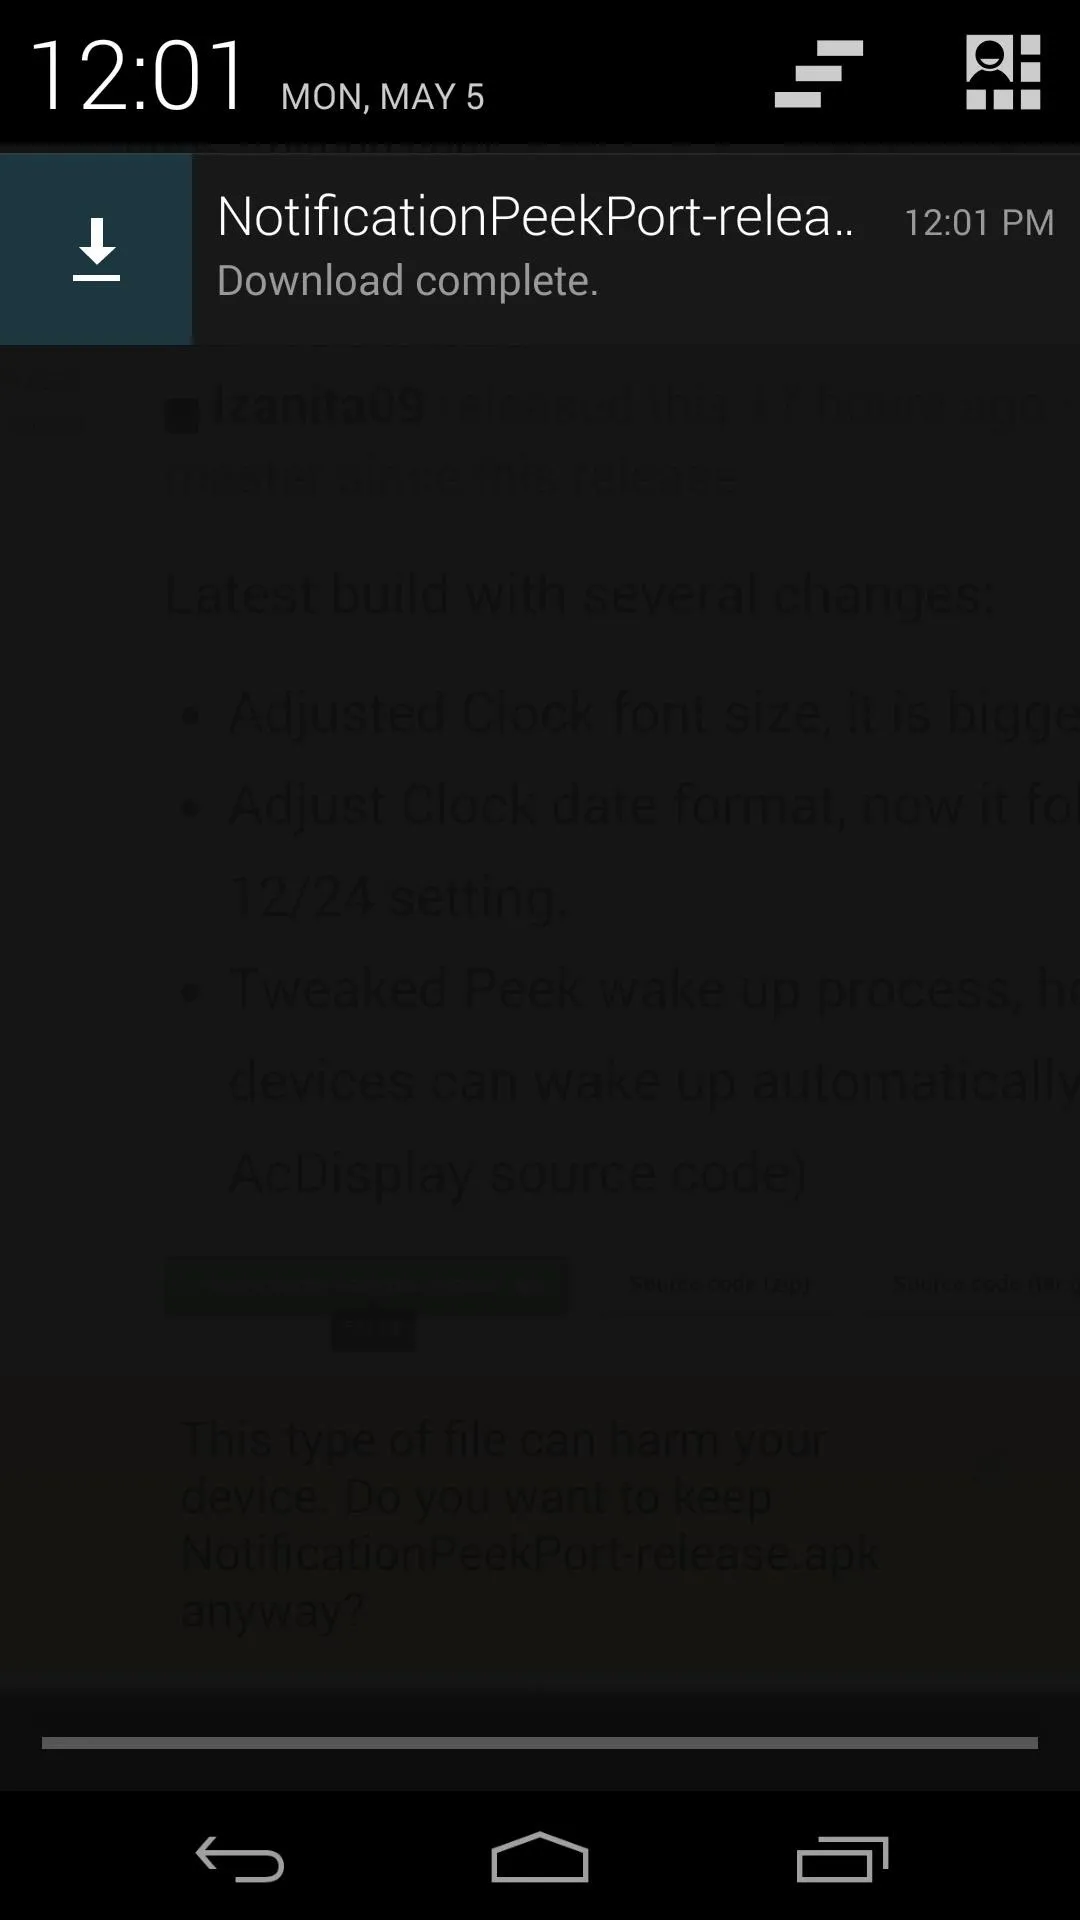


When the download has finished, tap the notification to trigger the install process. From here, hit Install, and when finished, tap Open.
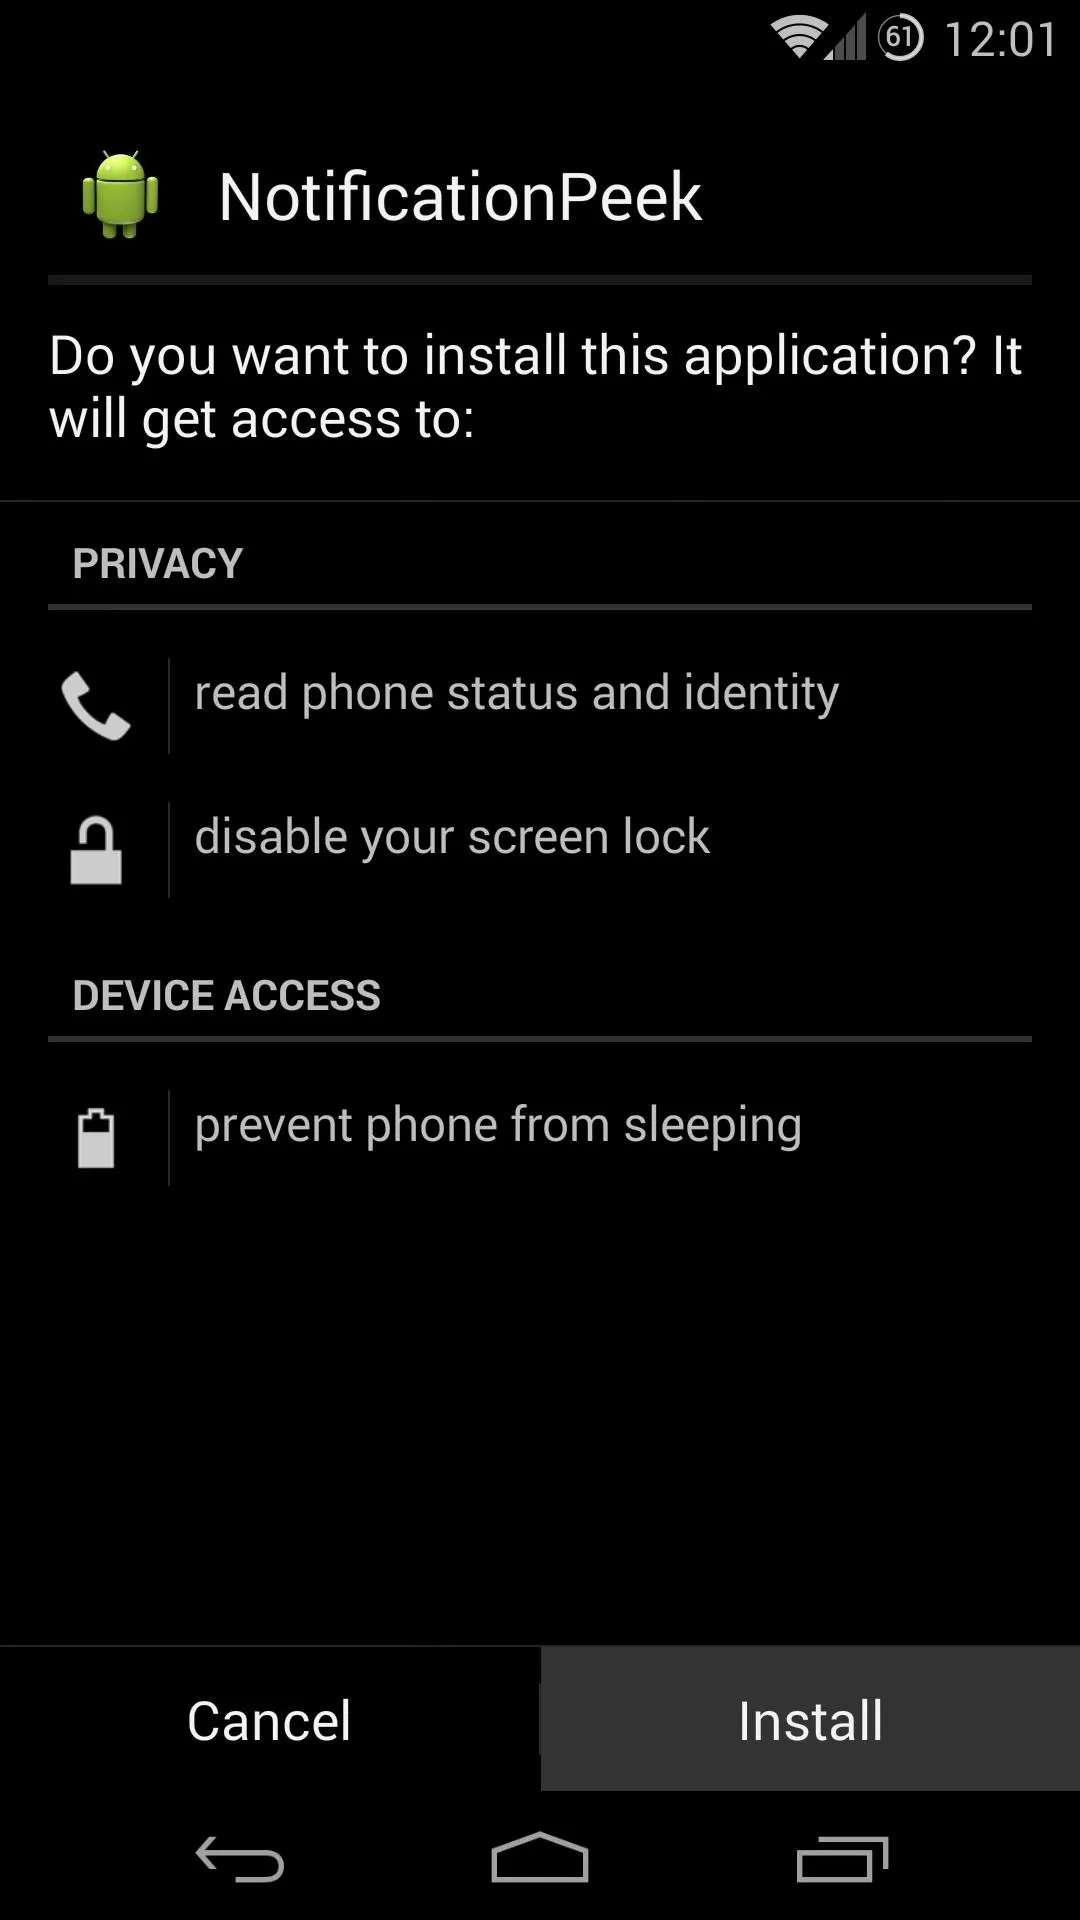
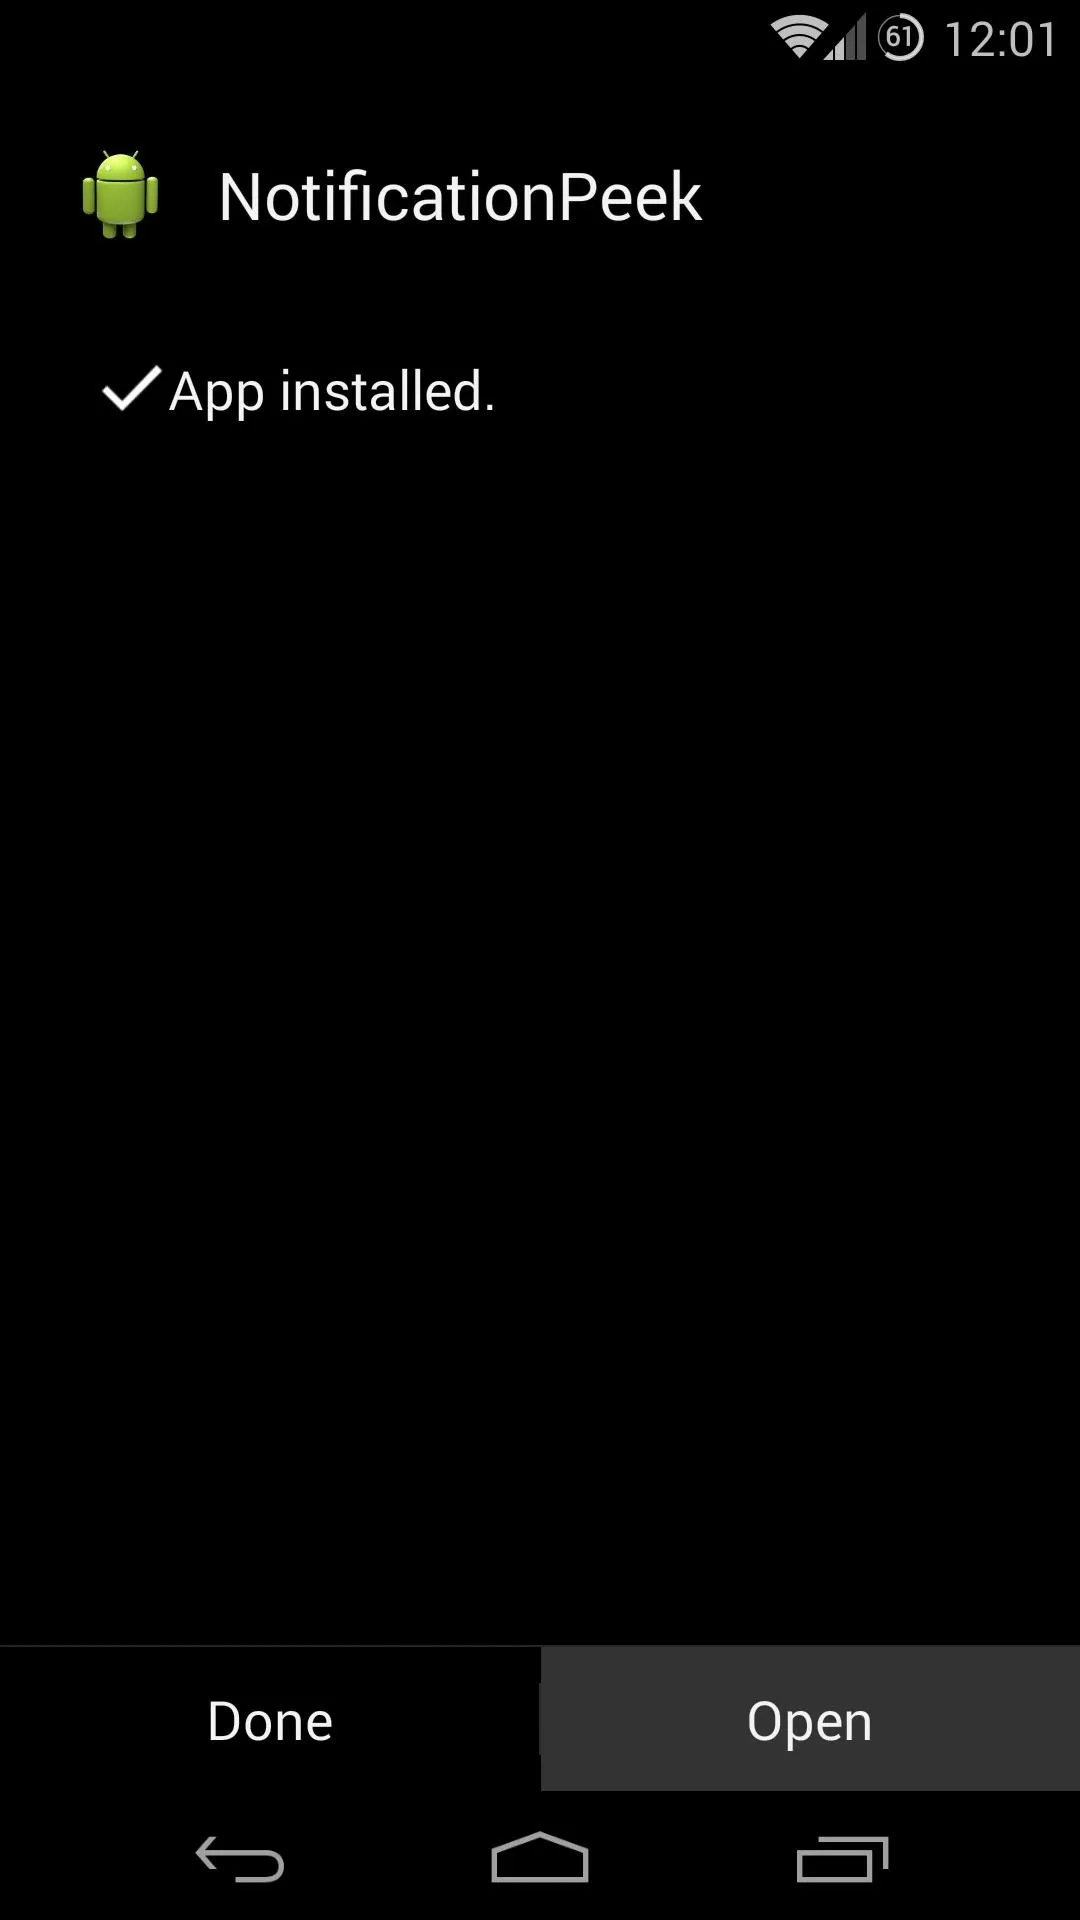


Step 2: Configure Notification Peek
From within the Notification Peek app, tap Enable Notification Access. On the next screen, tick the box next to Notification Peek, then hit OK.
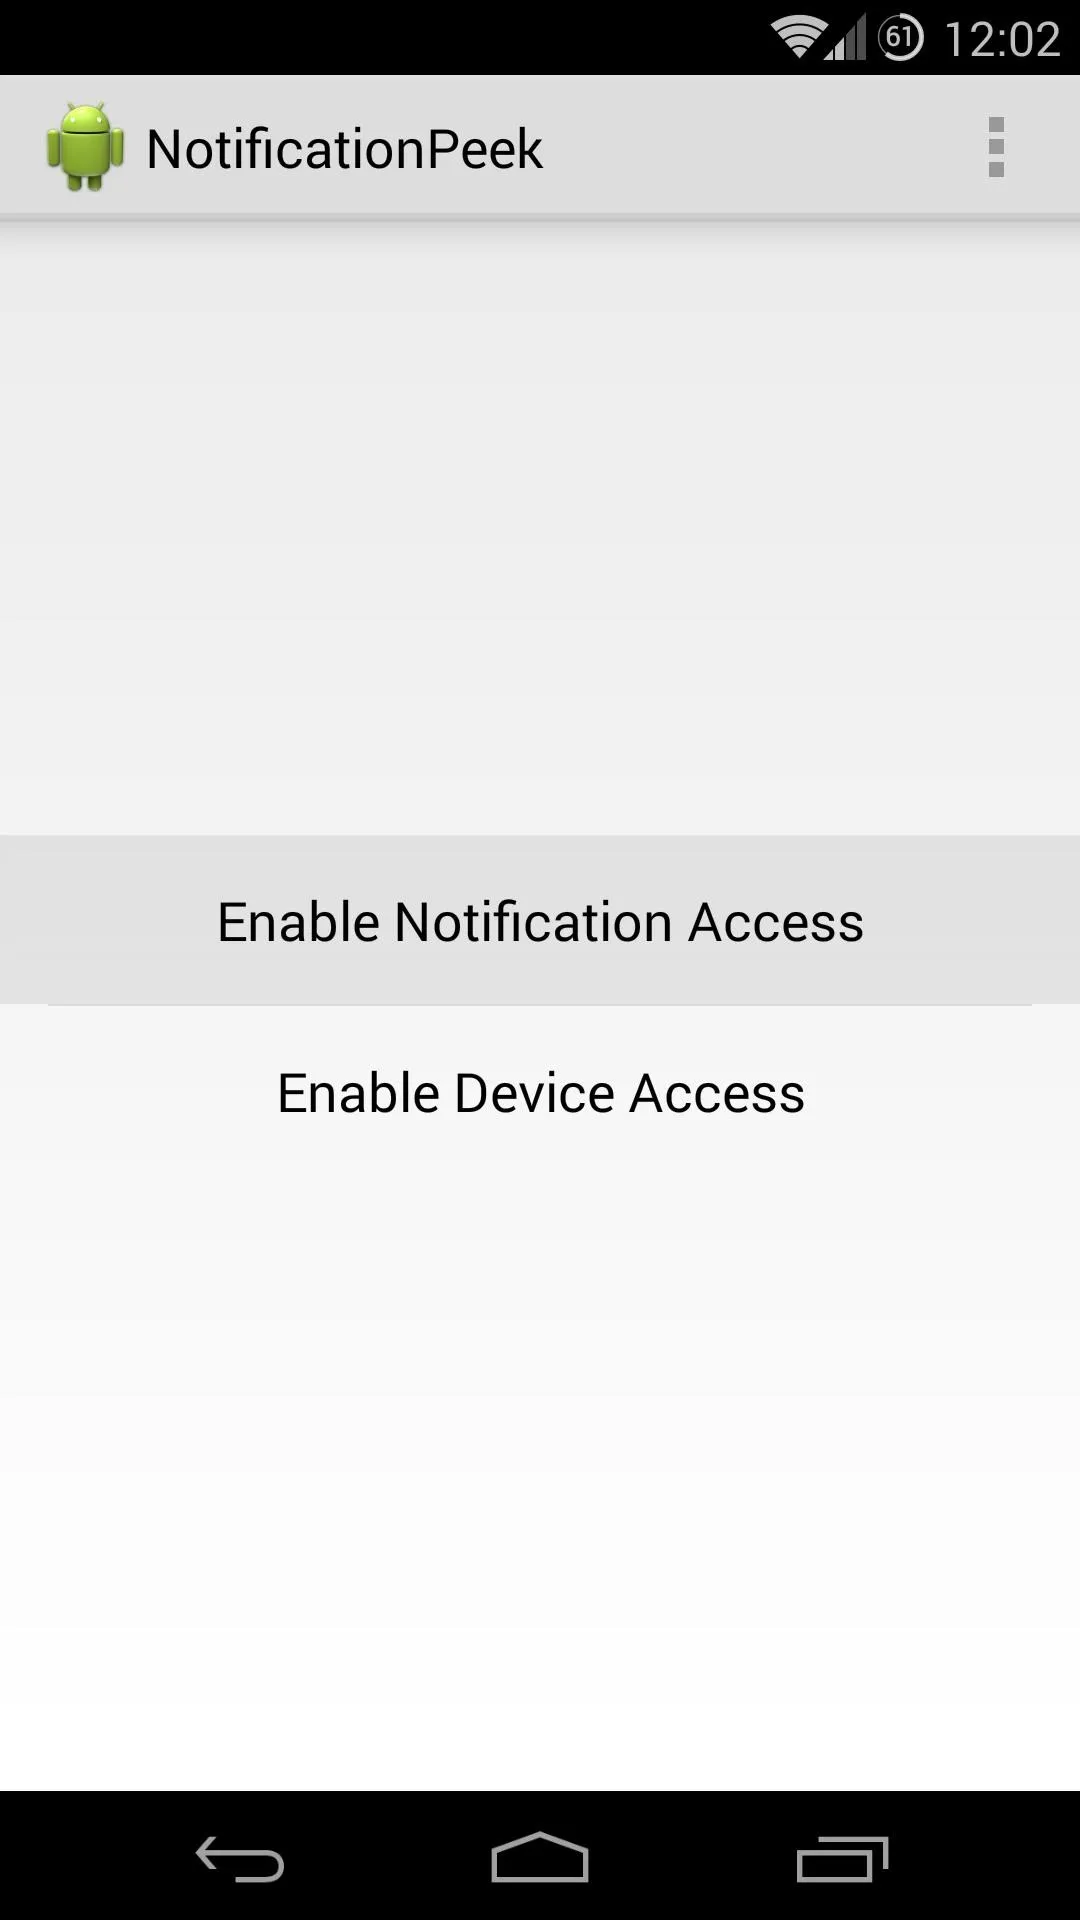
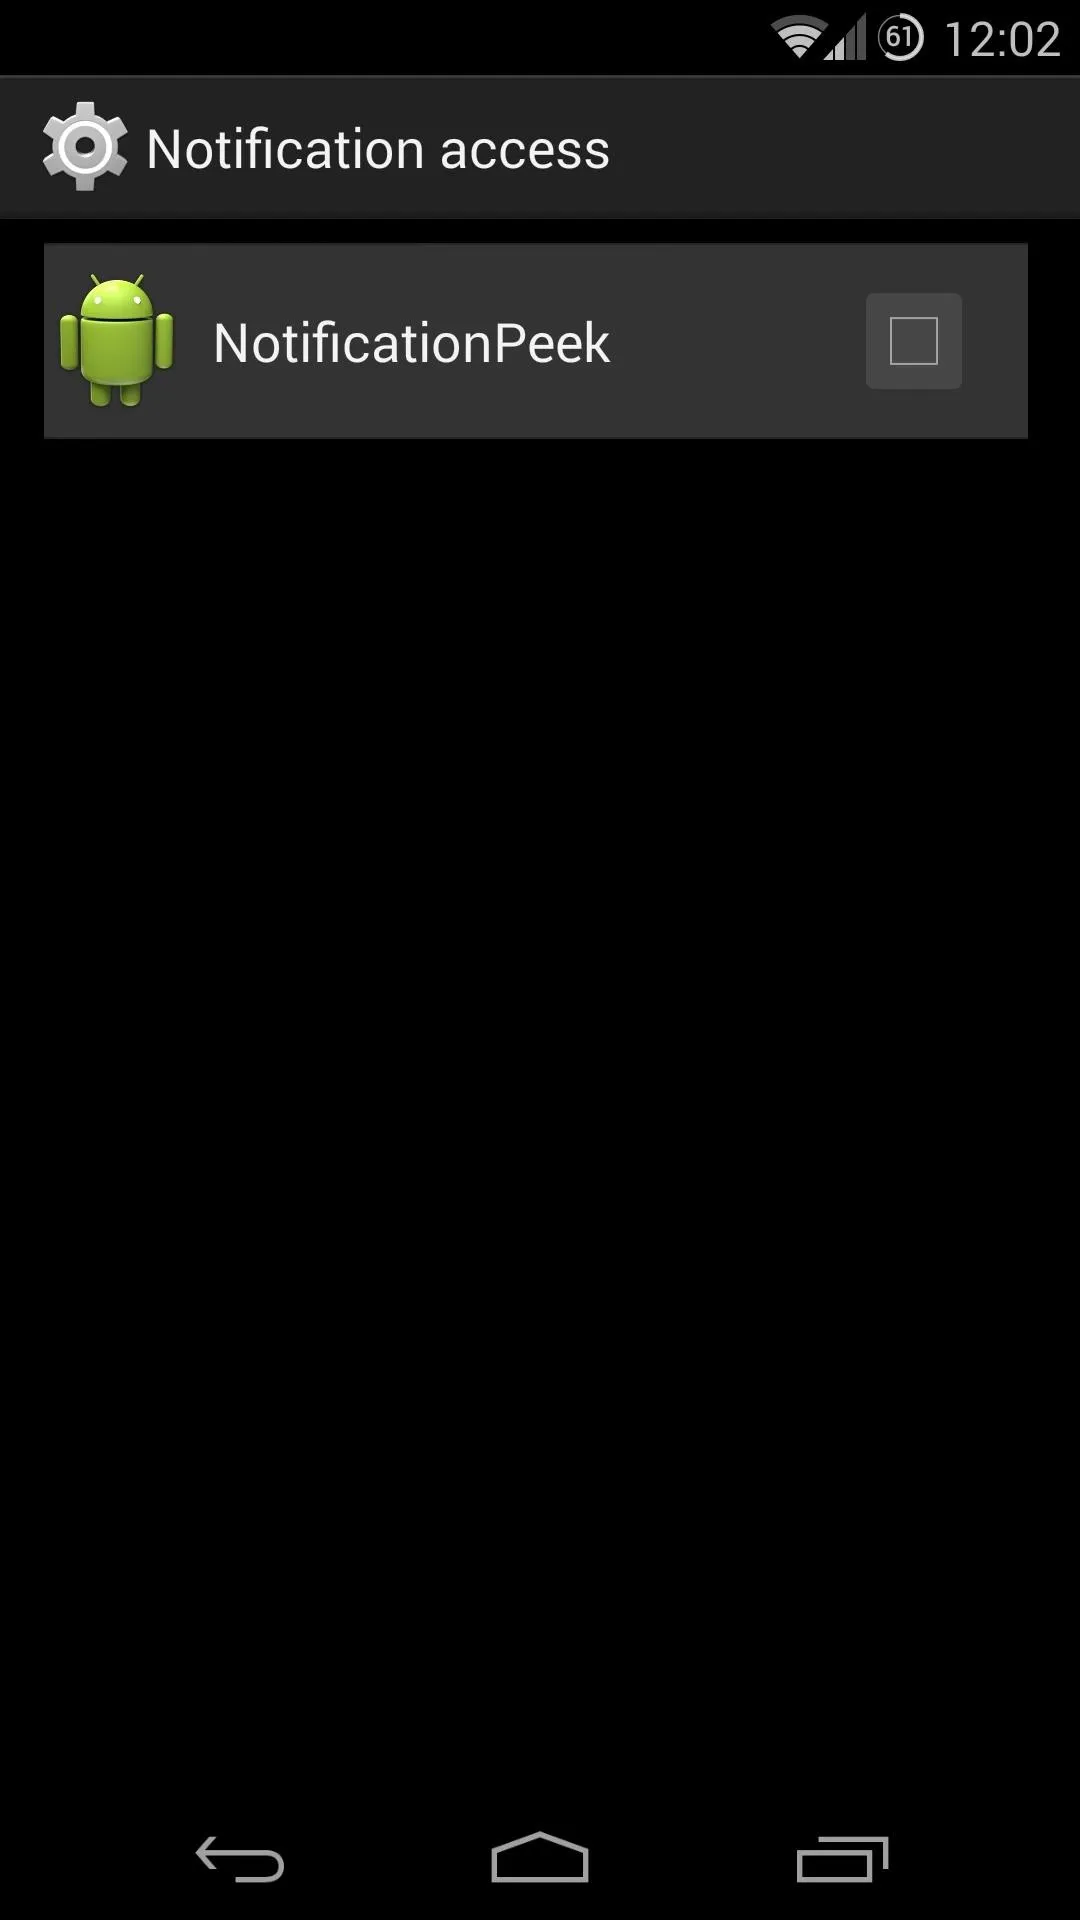
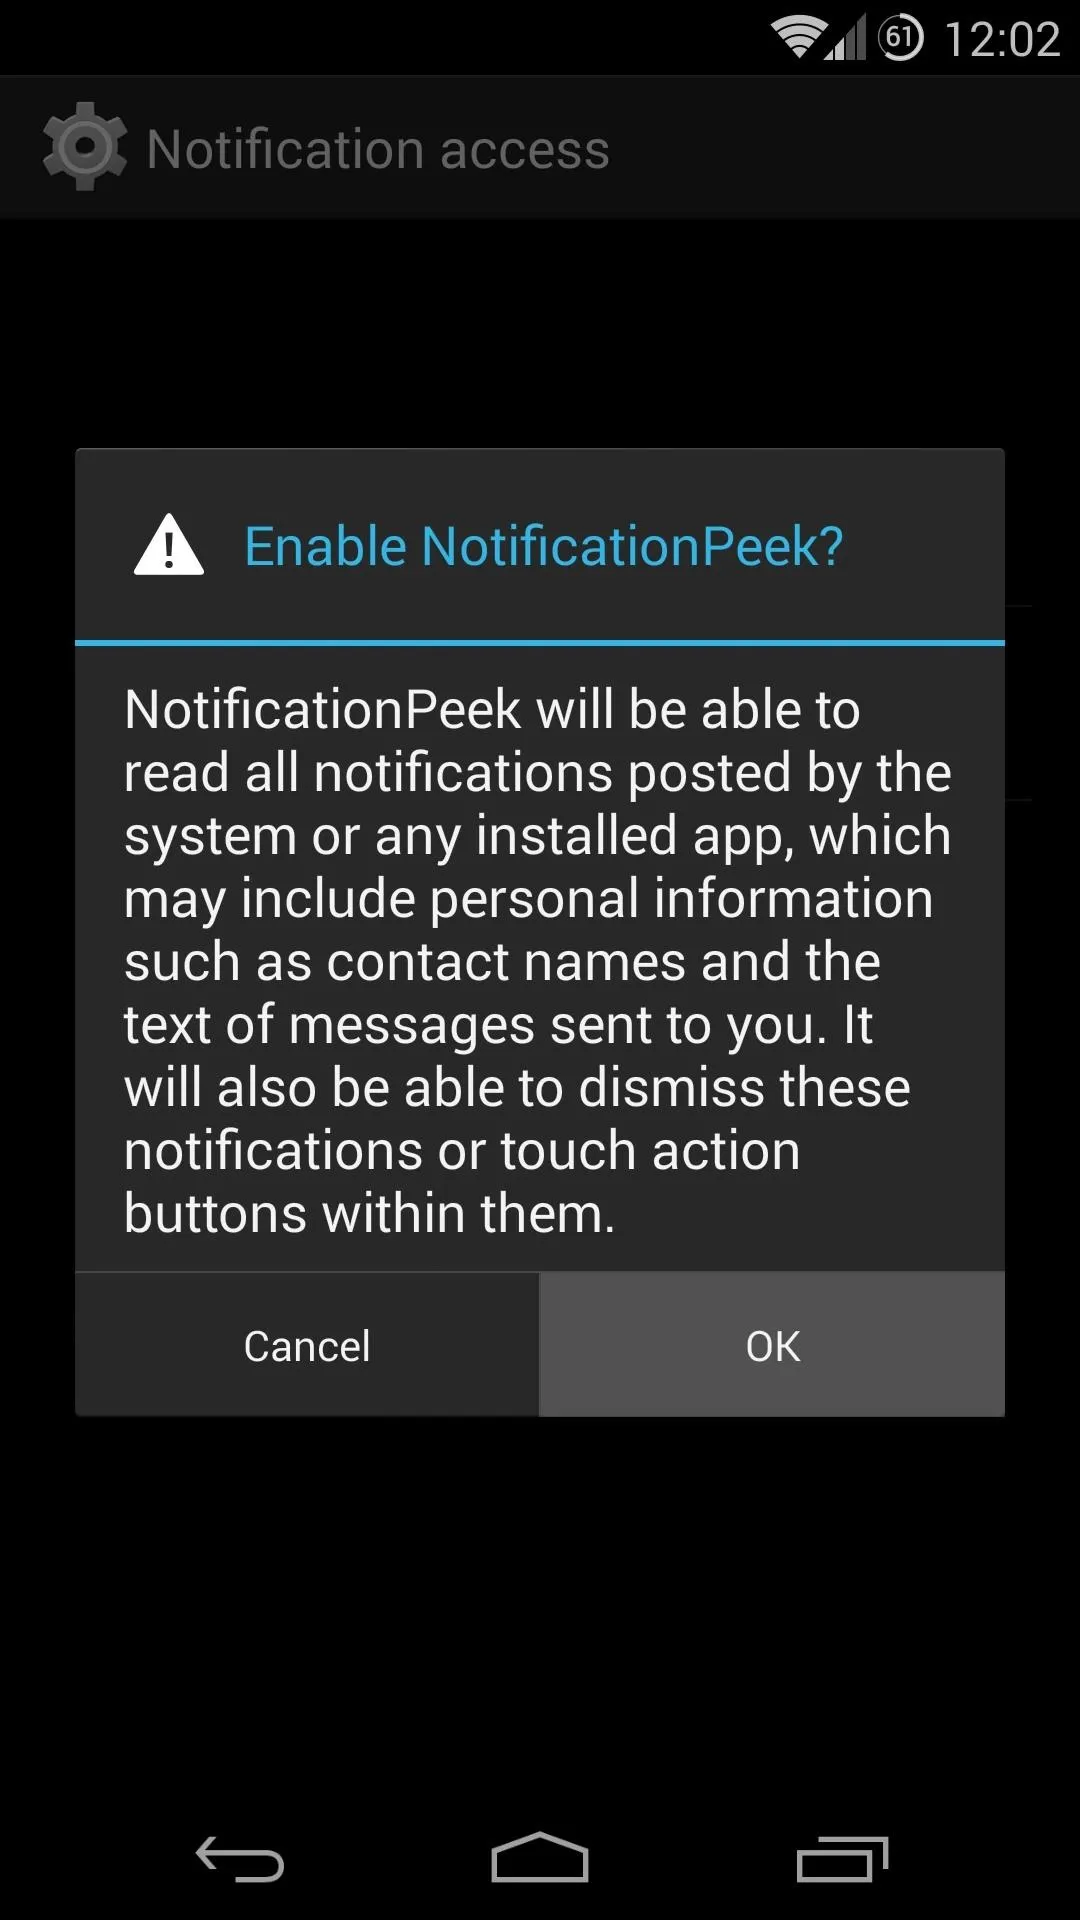


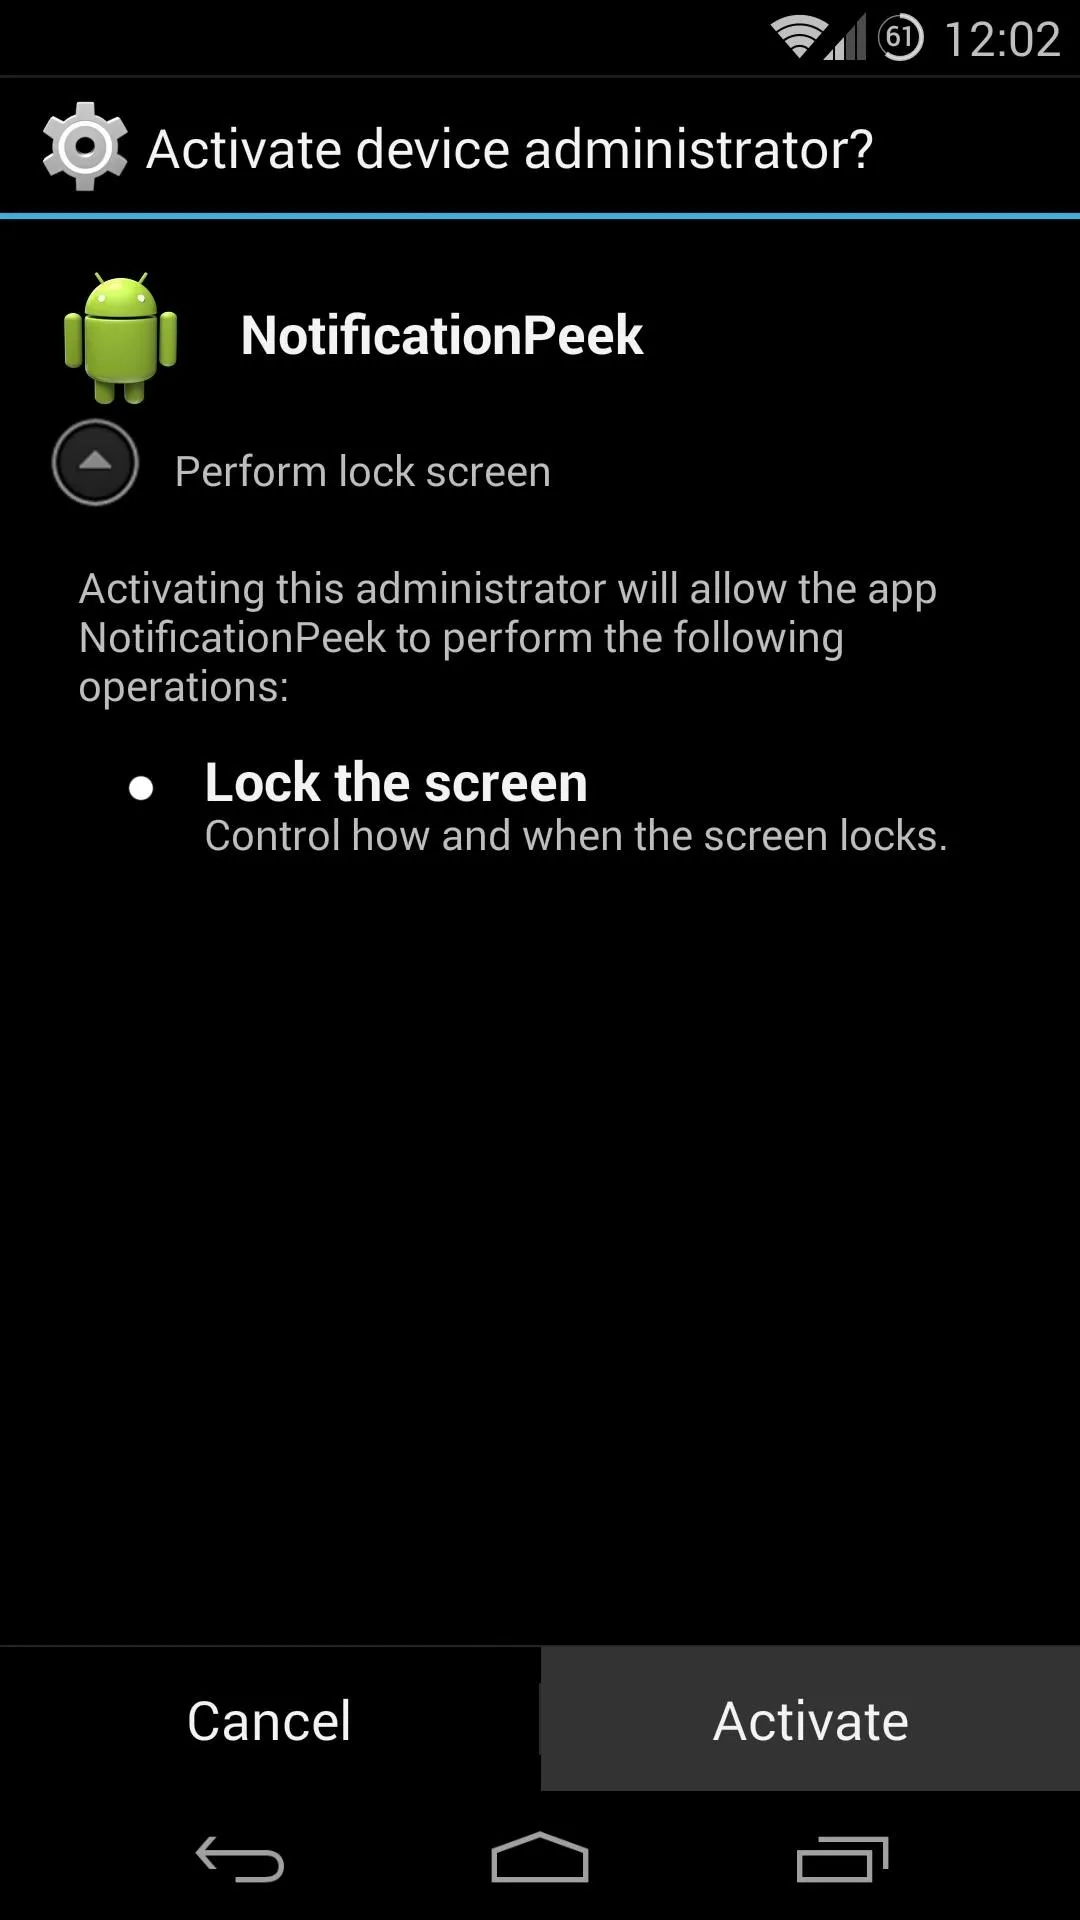
Next, tap your phone's back button to head back to Notification Peek. This time, tap Enable Device Access, then hit Activate on the following screen.
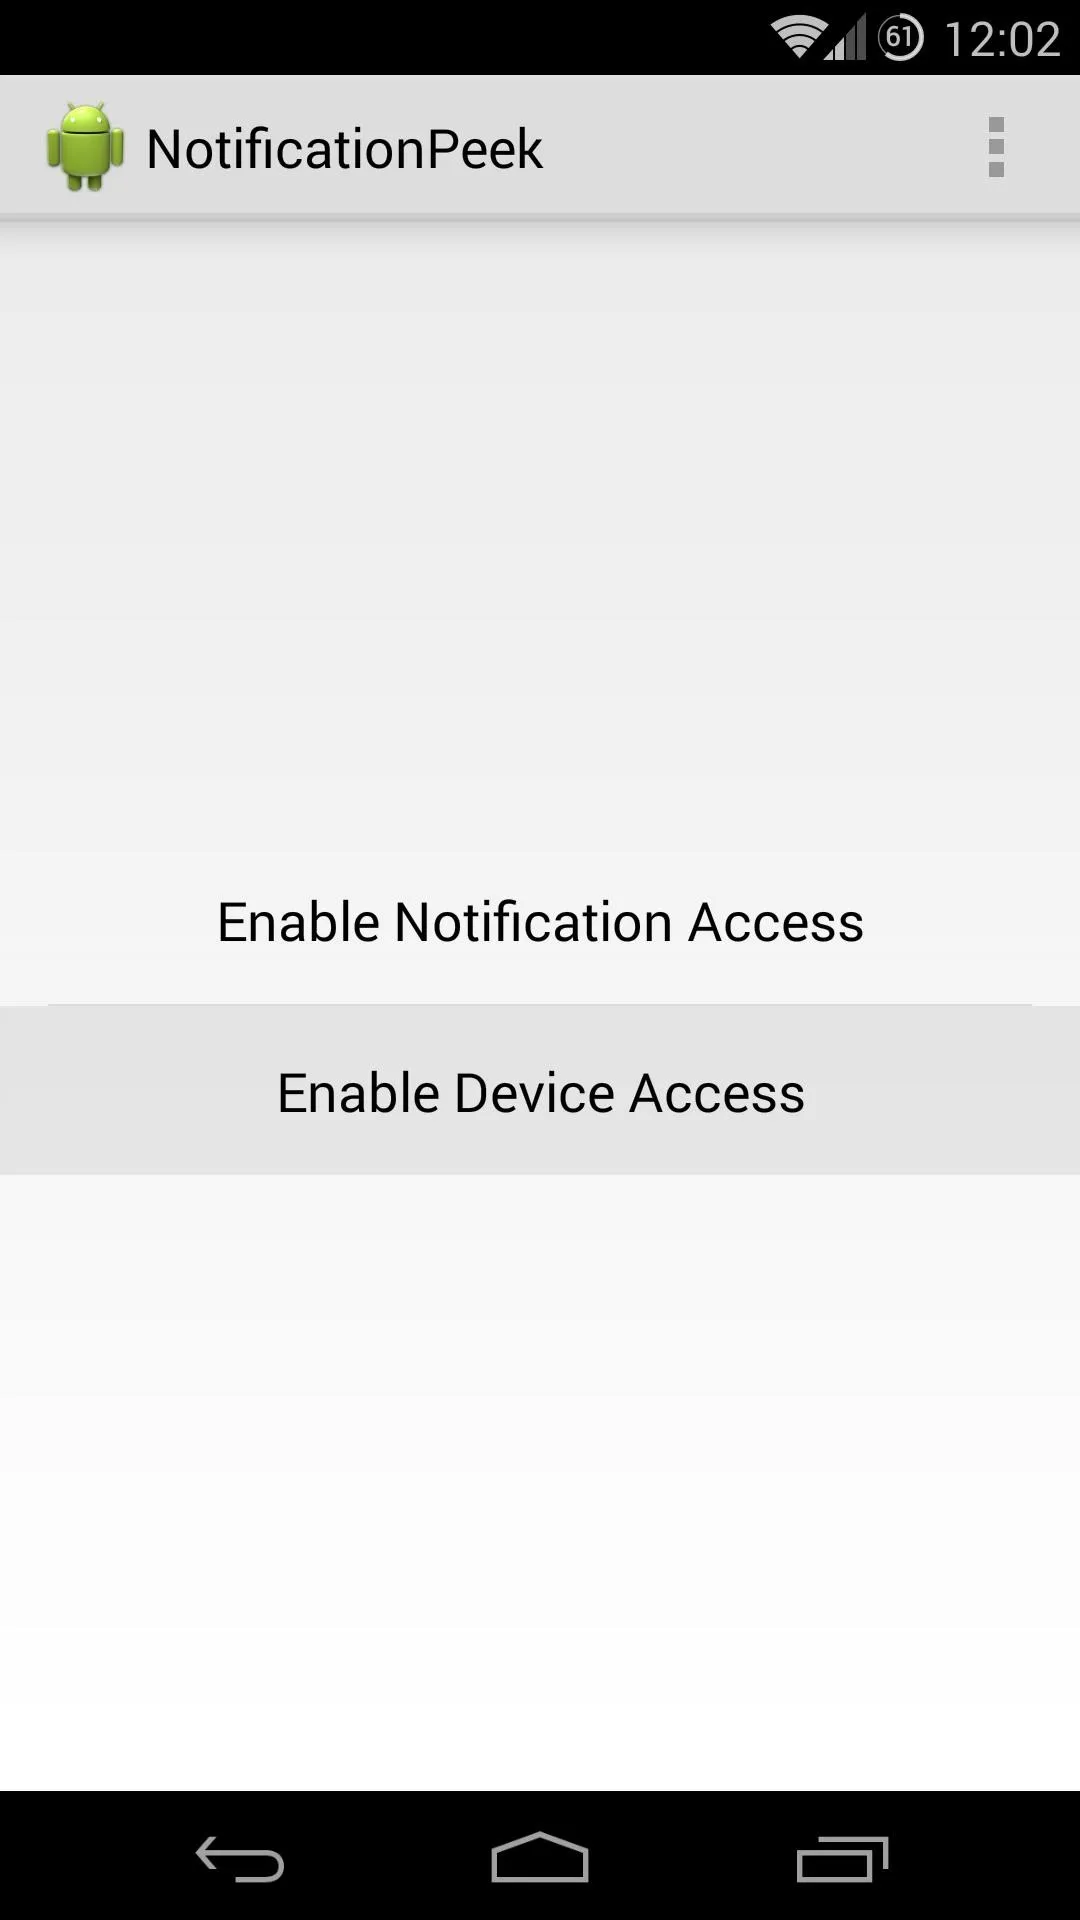


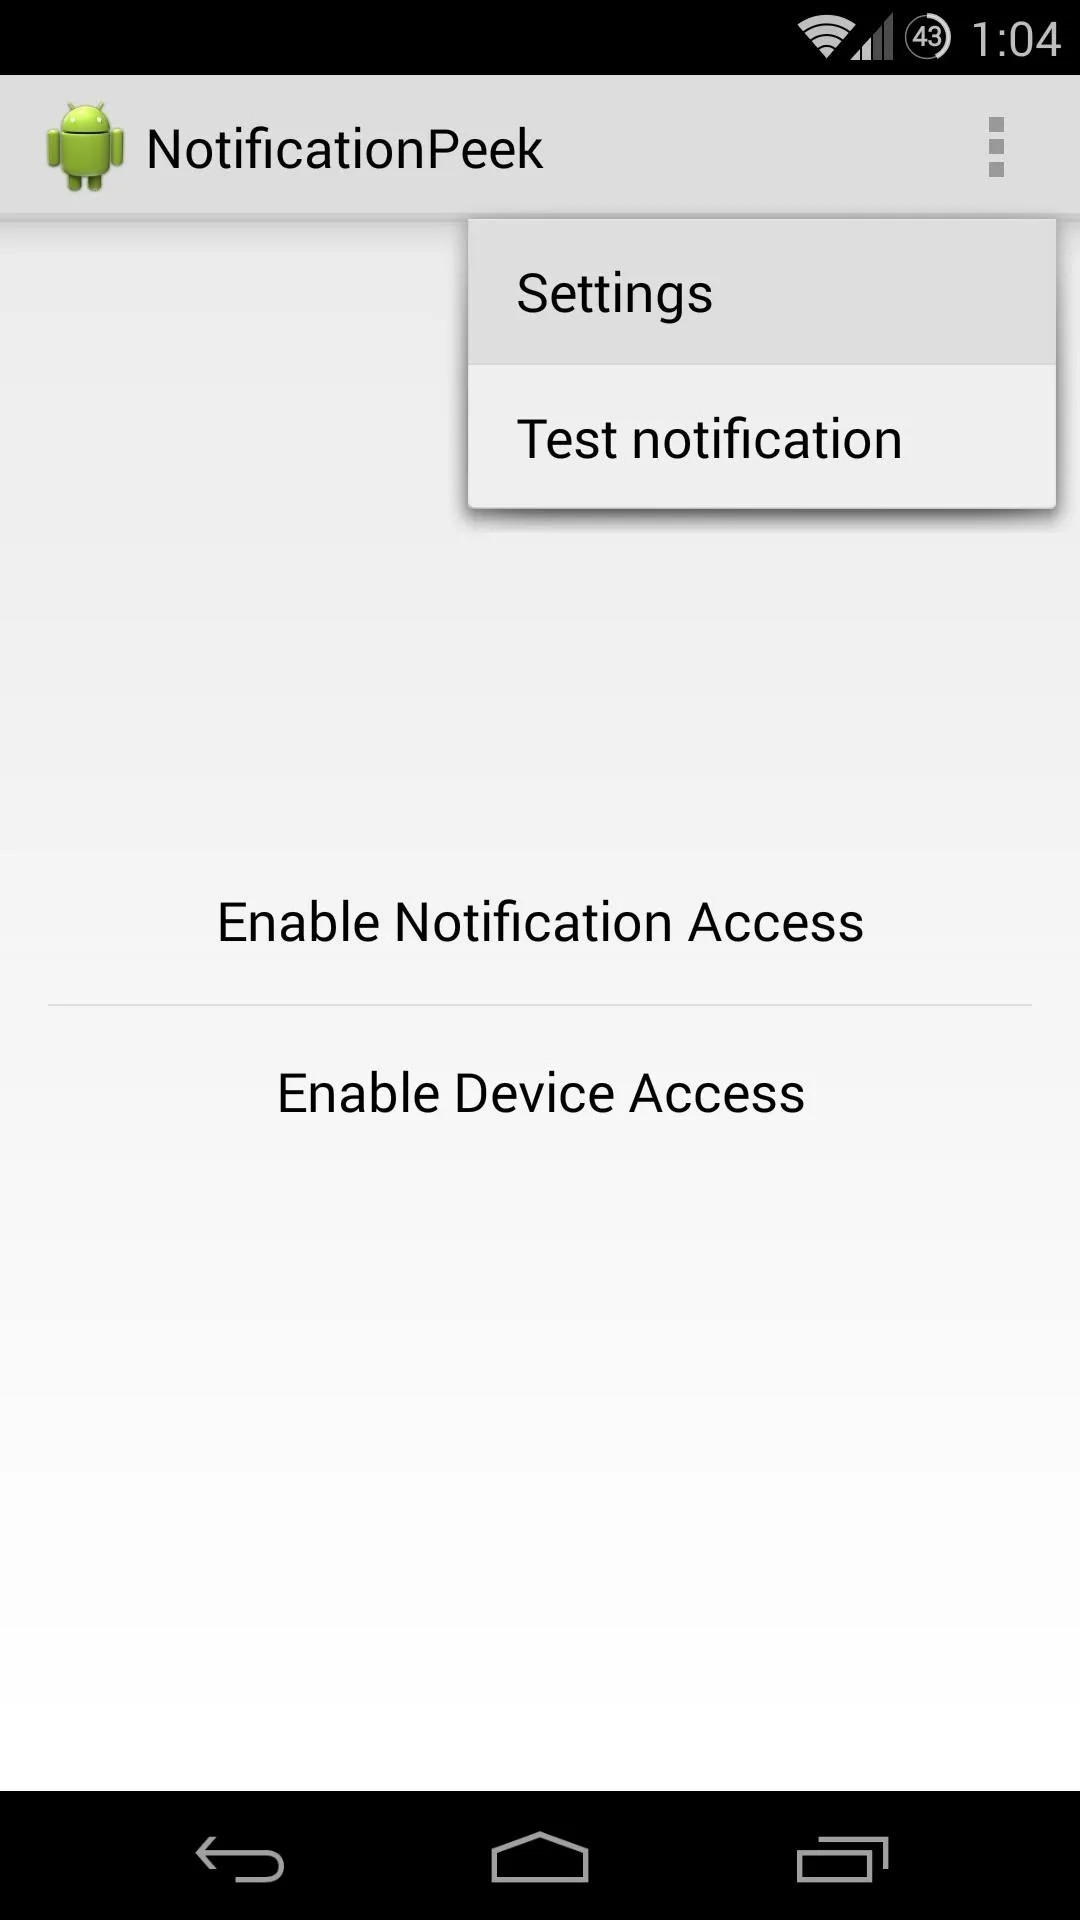
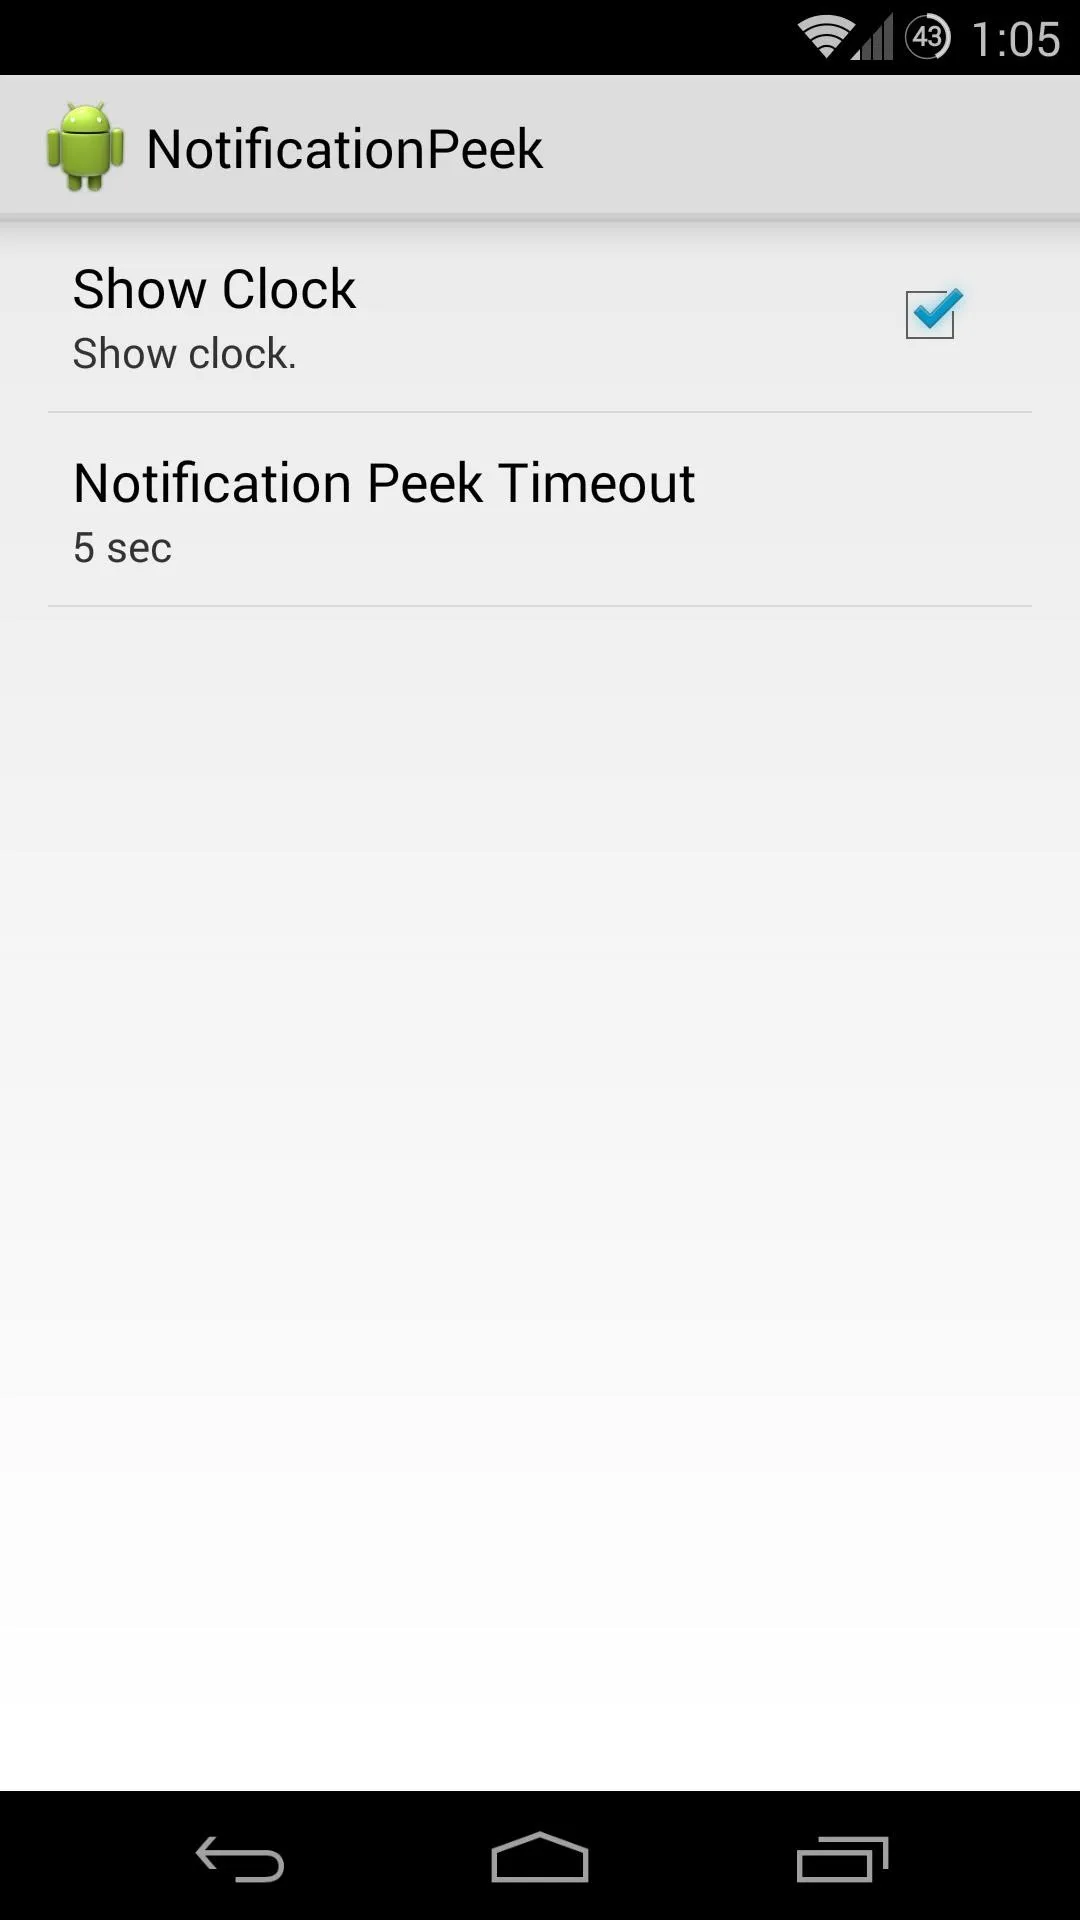
From the three-dot menu button at the top, tap Preferences to customize your notification screen. From here, you can toggle the clock that shows when you receive a notification, and you can set how long the screen will stay on after you pick up your phone.


Step 3: Use Notification Peek
Notification Peek's changes aren't noticeable when your screen is on. To try out your new feature, turn the screen off and wait for a notification. When you do receive a notification, your device will beep and start blinking the LED like normal. If you want to see what the notification says, just pick up your phone.
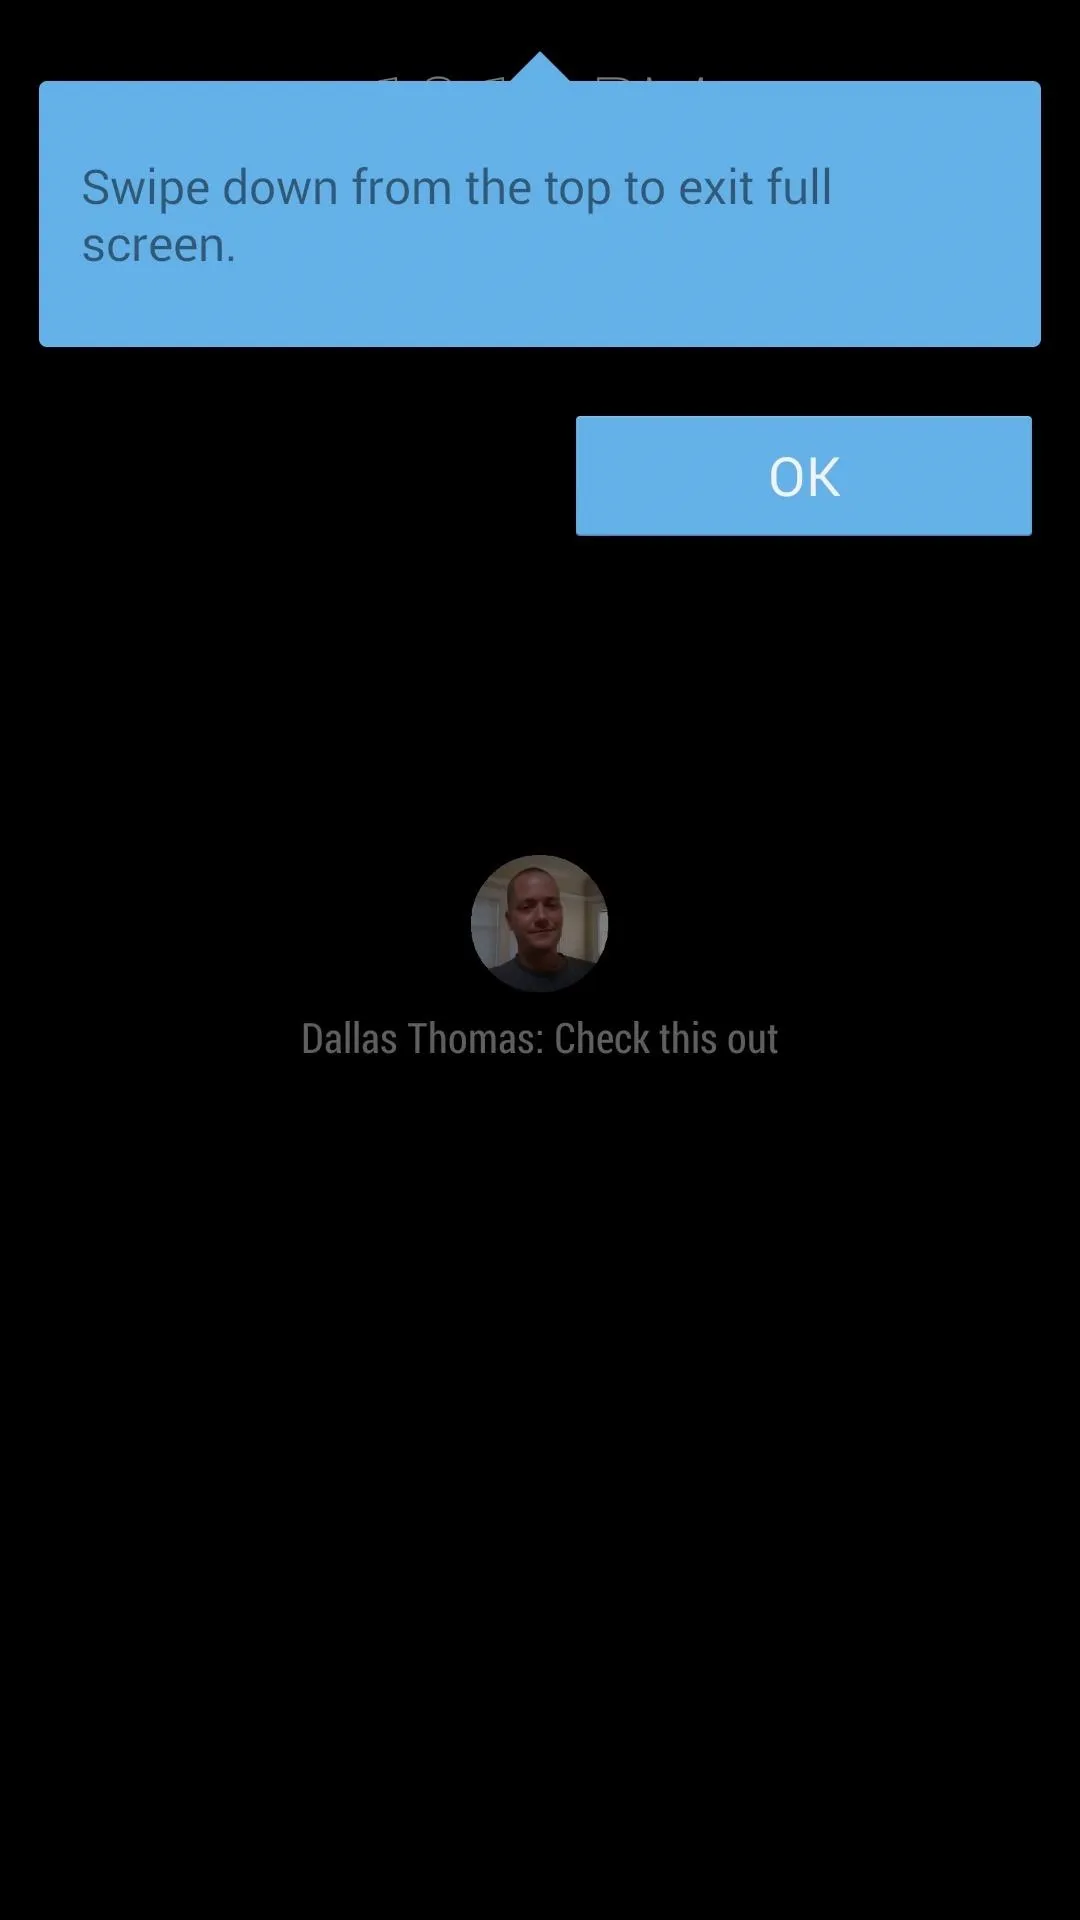


The first time you receive a notification this way, you'll have to tap OK to acknowledge that the phone went to Immersive Mode. After that, you can even interact with your notifications by tapping the icon above them. This will take you into the app that posted the notification. If you receive multiple notifications, you can switch between them by tapping the corresponding icon at the bottom.
Uninstalling Notification Peek
If you decide this app isn't to your tastes, there is an extra step you need to take to uninstall it (thanks Steph). Because Notification Peek requires device administrator permissions, you first need to disable them.
Head to Setting -> Security -> Device administrators and uncheck the box associated with Notification Peek. From there, uninstall the app like normal.


Comments
No Comments Exist
Be the first, drop a comment!